|
Re: Joe's '49 Club Sedan
|
||||
|---|---|---|---|---|
|
Home away from home
|
Howard,
I removed the amp gauge and replaced it with one of the spare Packard gauges I had and wired it to read volts. It worked on the workbench, so we'll see it it works in operation. It's hard to find a 6V gauge to add under the dash so I tied modifying a spare gauge. Once I ever get the car running again, I'll test the operation of the alternator with a digital volt meter.
Posted on: 2018/5/4 14:23
|
|||
|
||||
|
Re: Joe's '49 Club Sedan
|
||||
|---|---|---|---|---|
|
Home away from home
|
Kev,
It's a 1-wire. Rigged a gauge as a volt meter to replace the amp meter. Joe
Posted on: 2018/5/4 11:01
|
|||
|
||||
|
Re: Joe's '49 Club Sedan
|
||||
|---|---|---|---|---|
|
Home away from home
|
Working on finishing up the under hood wiring. Putting together wire groupings so harnesses can be built. Easier with an alternator but the OD wiring is a challenge.
Attach file:  (120.05 KB) (120.05 KB)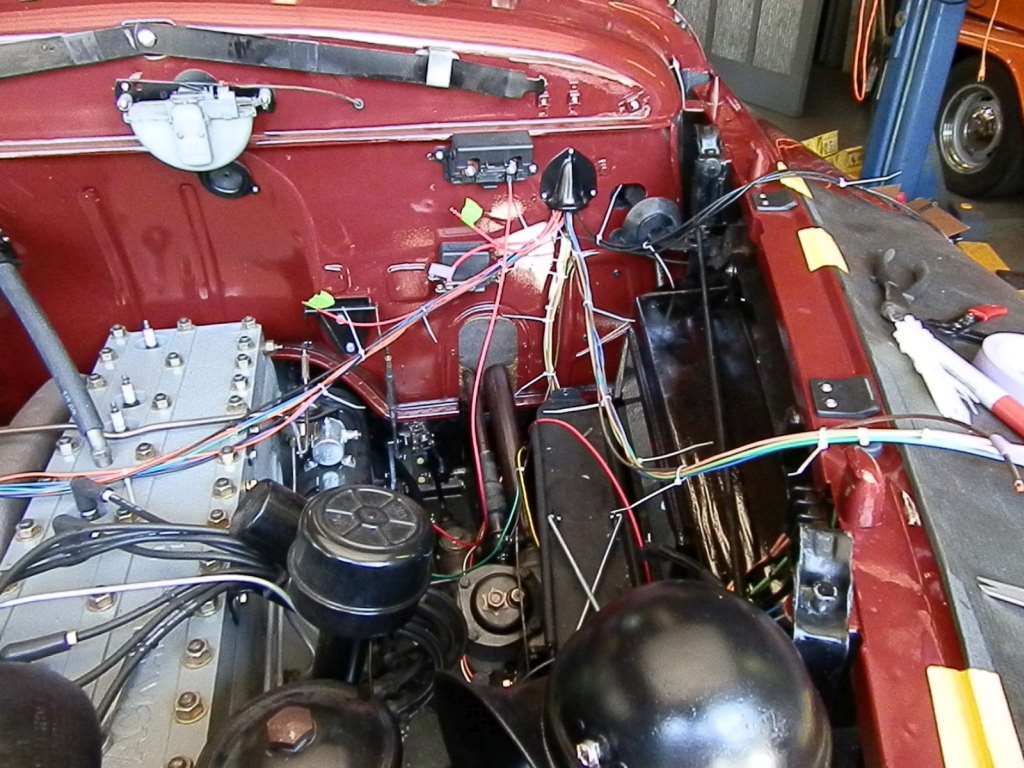
Posted on: 2018/4/30 12:55
|
|||
|
||||
|
Re: Joe's '49 Club Sedan
|
||||
|---|---|---|---|---|
|
Home away from home
|
No, it's just a modified GM alternator. I may go back to my original plan of putting the headlight grounds back on the terminal strip rather than grouping them with the ground wires for the parking lights and horn. Then run a 10 or 12 gauge wire from the other side of the terminal to the main ground buss. When I tested the 6V halogen headlights directly off the pair of Optima batteries they were very bright.
Posted on: 2018/4/23 15:29
|
|||
|
||||
|
Re: Joe's '49 Club Sedan
|
||||
|---|---|---|---|---|
|
Home away from home
|
Howard,
I was going to put the headlight ground wires on the vacant terminal on the block but just bundled them with the other 4 individual ground wires from the parking lights and the horns. They are in the bundle below the colored wires and all 6 wires are connected to a buss (picture) that will be connected to the positive battery terminal. All the electrical components in the car have individual ground wires giving them an electrical connection directly to the battery, no chassis grounds. I'm also using a 6V positive ground alternator so there is no generator or regulator. PackardInfo must have been down earlier today and I couldn't get on. I want to send you a PM regarding the kick switch wiring for the OD. Joe Attach file: (73.45 KB)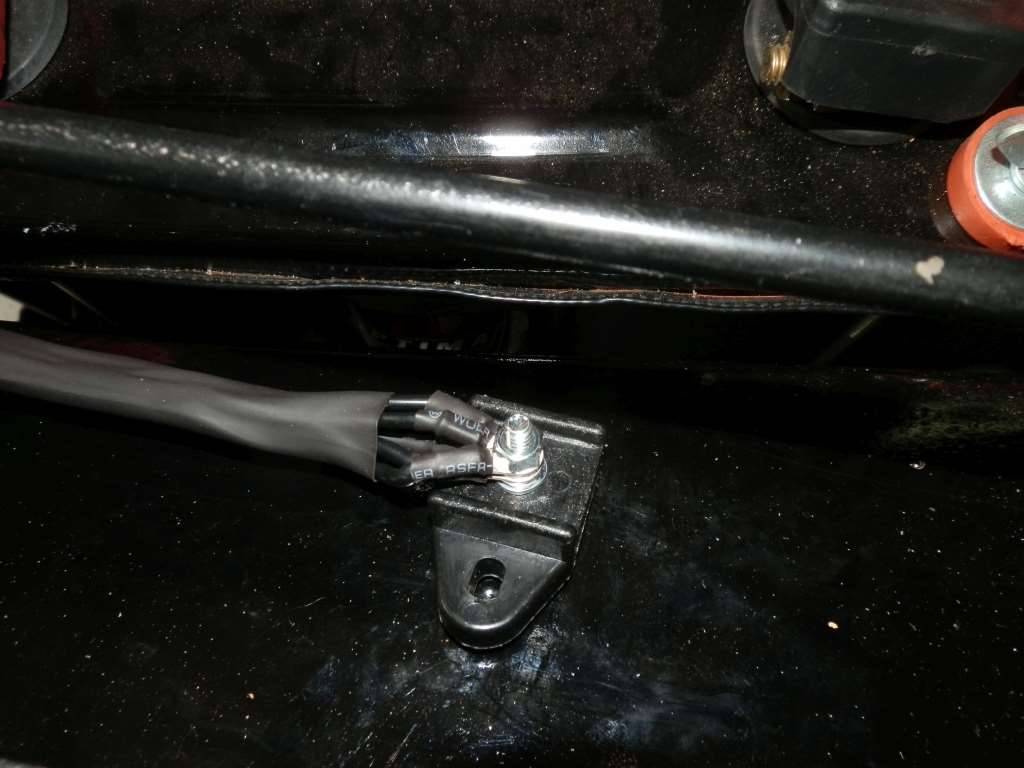
Posted on: 2018/4/23 10:27
|
|||
|
||||
|
Re: Joe's '49 Club Sedan
|
||||
|---|---|---|---|---|
|
Home away from home
|
Terminated the headlights, parking lights and turn signal harnesses and tested all the components for proper operation. Moving on to the rest of the under-hood wiring.
Attach file: (97.57 KB)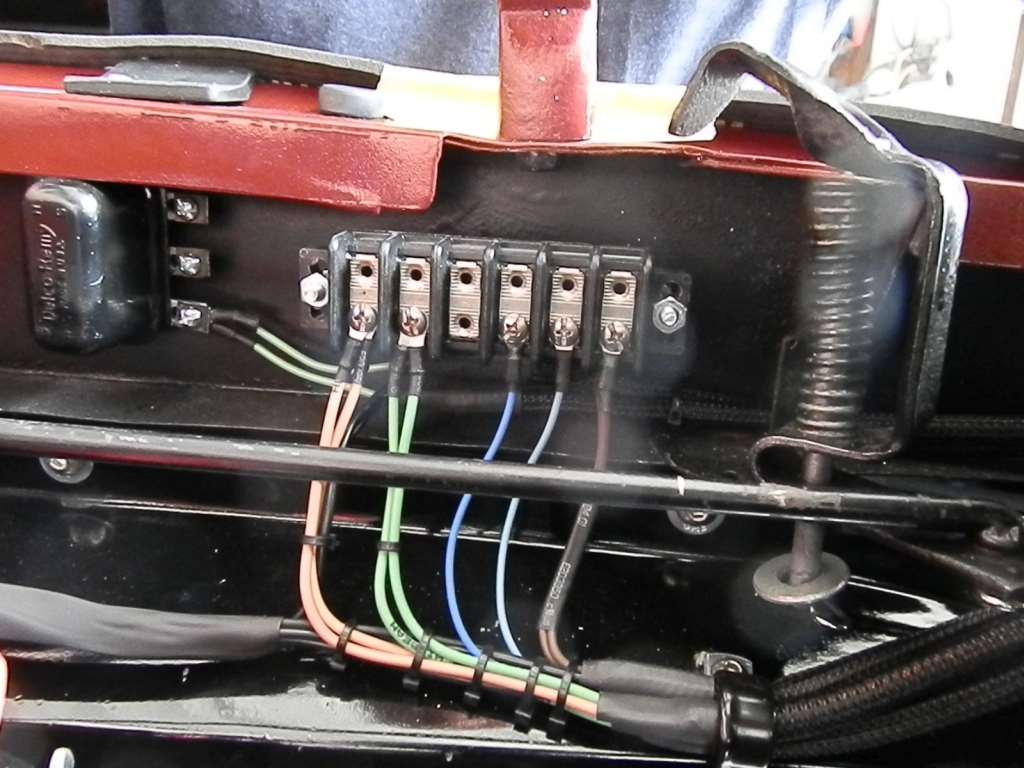
Posted on: 2018/4/22 11:33
|
|||
|
||||
|
Re: Joe's '49 Club Sedan
|
||||
|---|---|---|---|---|
|
Home away from home
|
Got the wiring harnesses made for the headlights, parking lights and horns. Covered with split braid sleeving rater than electrical tape and heat shrinked at the ends. Each component carries its own ground wire that will give a direct electrical connection to the positive terminal of the battery. The harnesses were routed and secured to the drivers side where they will be terminated to a barrier terminal strip for the lights and the horn relay. Wiring for the horns was terminated to the horn relay and the horns and relay tested OK. More pics on PC blog.
Attach file: (87.64 KB)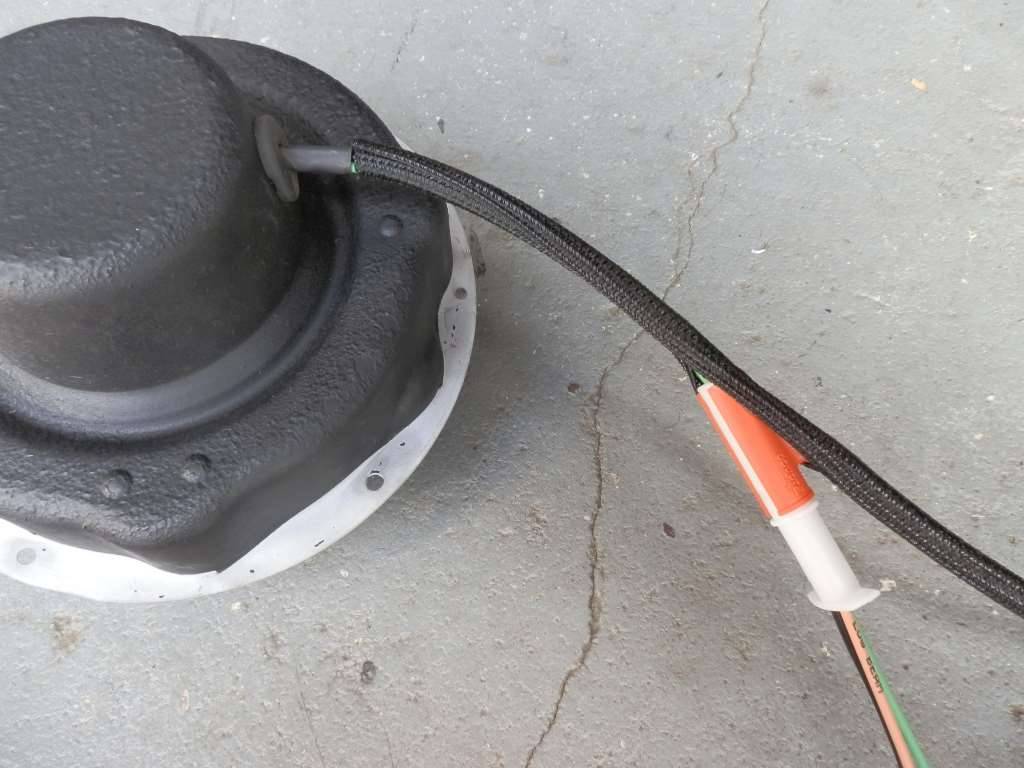 (96.84 KB) (96.84 KB)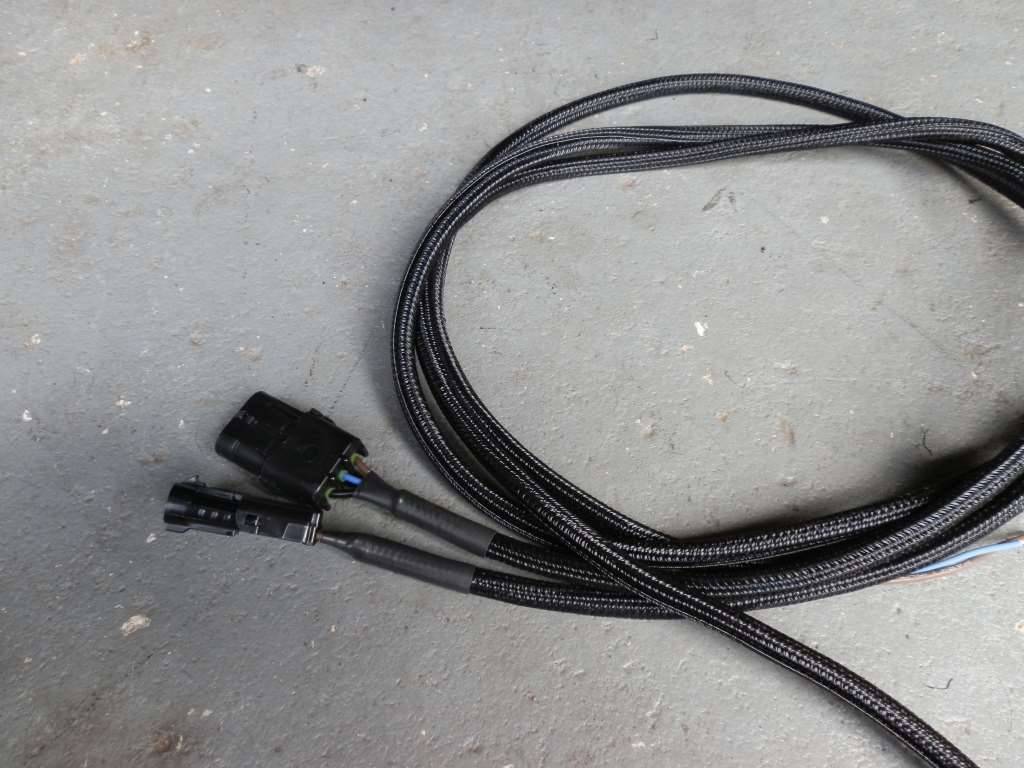 (85.02 KB) (85.02 KB)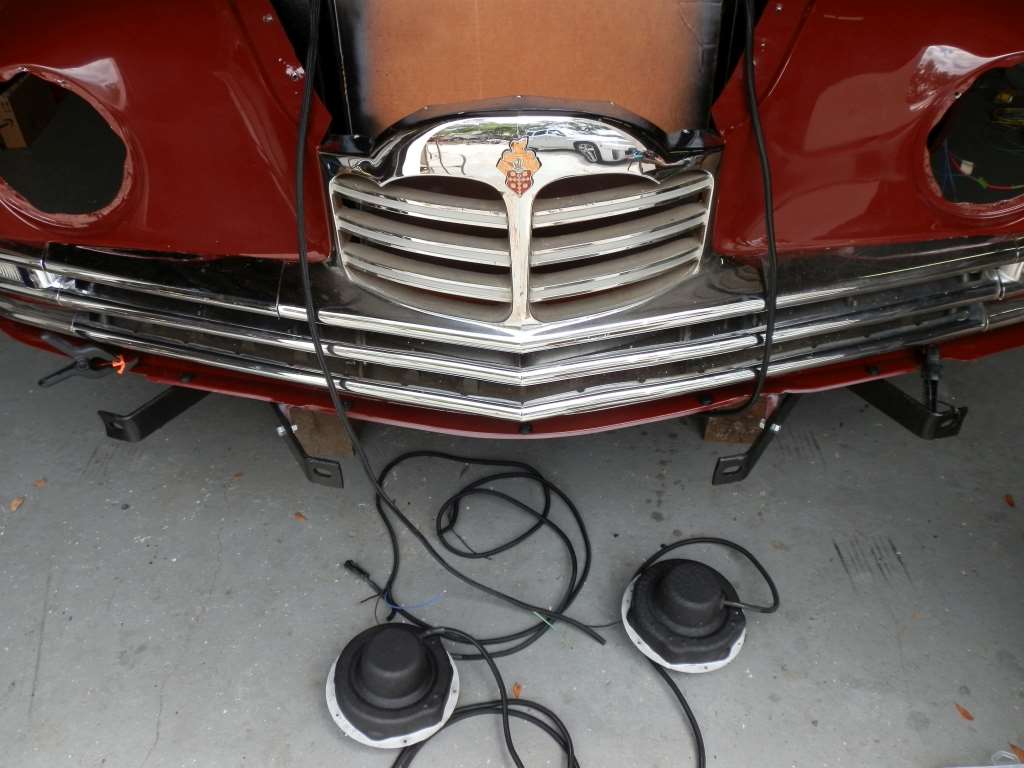 (85.14 KB) (85.14 KB)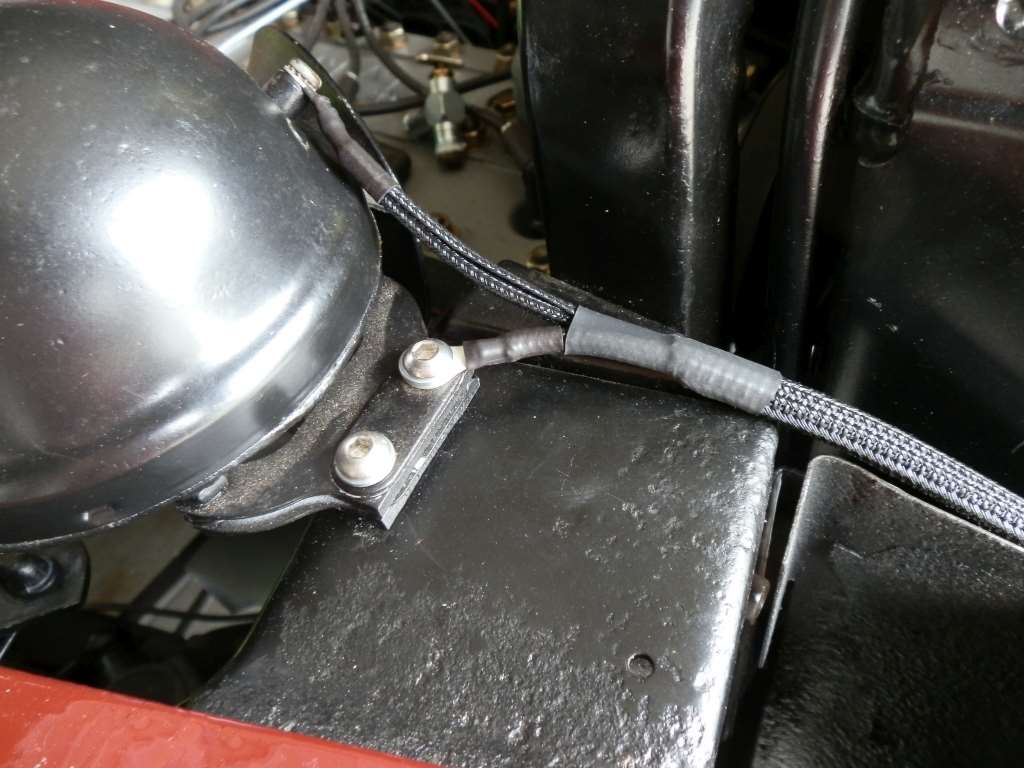
Posted on: 2018/4/20 10:47
|
|||
|
||||
|
Re: Series 23 Horn Relay Location
|
||||
|---|---|---|---|---|
|
Home away from home
|
Mounted on it's side, that's what threw me. I knew it came off from there but couldn't figure out the mounting. Tried to mount it upright but the terminals hit the inner fender. The top mounting hole is hidden.
Thanks for the help! Joe
Posted on: 2018/4/18 9:00
|
|||
|
||||
|
Series 23 Horn Relay Location
|
||||
|---|---|---|---|---|
|
Home away from home
|
I have lost the location of the horn relay on my car. I think it was on the left side upper inner fender panel but can't find the mounting holes. Just another re-assembly puzzle!
Joe
Posted on: 2018/4/17 9:22
|
|||
|
||||
|
Re: Series 23 Hood Release
|
||||
|---|---|---|---|---|
|
Home away from home
|
Deskdriver,
This is exactly what I was looking for. Your statement about the spring being a "bear" to get in place is an understatement! It was like trying to compress a valve spring with your bare hands. It was so hard I thought I was doing something wrong. When I got the car 3 years ago, I took the releases apart and painted them. I don't remember it being so hard to re-assemble. The springs sat un-assembled for a couple of years and I think they expanded. After numerous failed attempts and bruised fingers, I put the springs in a vice and compressed them. This shrunk their length about an 1/8" and made them "slightly" less difficult to install. I still have the passenger side to install. Thanks for your response! Like Dell, I did note the rubber seal was on backwards. Joe
Posted on: 2018/4/17 8:54
|
|||
|
||||


.jpg")


