|
Re: Mark's 1950 Super Eight
|
||||
|---|---|---|---|---|
|
Just can't stay away
|
Finally, the engine shop has blessed the block and parts that I delivered in November...Valves, springs and guides are on the way to be inserted over the next two weeks...then on to the cam, pistons and crank to finish up the short block.
Today I rebuilt the Delco distributor that was sitting on the bench. I checked the weights and springs, replaced the vacuum advance and new points and condenser. Next is generator and starter brushes.
Posted on: 2017/4/2 17:30
|
|||
|
||||
|
Re: Mark's 1950 Super Eight
|
||||
|---|---|---|---|---|
|
Just can't stay away
|
Britelink Bluetooth Audio Receiver: Portable, Bluetooth Music Receiver with Stereo Output (3.5 mm) for Home and Auto Stereo Systems -- By CyberTech? (Amazon).
Vibrator Aurora Designshttp://www.tech-retro.com/Aurora_Design/Accessories.html I didn't consider FM and my system is still 6v positive ground. Mark
Posted on: 2017/3/13 13:46
|
|||
|
||||
|
Re: Mark's 1950 Super Eight
|
||||
|---|---|---|---|---|
|
Just can't stay away
|
Still waiting for my engine. Meantime I rebuilt my radio (all new caps and some new tubes). I used a great vibrator replacement with circuit protection and am very happy with its performance. Earlier I bought an off the shelf electronic vibrator and it immediately blew even though I changed out the buffer cap. I also added Bluetooth to the stock radio...works great! To do this I added a switch and a 3.5mm socket to the back of the case where I can switch from the tuner to a remote Bluetooth receiver and back.
Can't wait to get this ride back on the road and pull in to a cruise night playing 1940's radio out of the real car radio.
Posted on: 2017/3/12 18:27
|
|||
|
||||
|
Re: Mark's 1950 Super Eight
|
||||
|---|---|---|---|---|
|
Just can't stay away
|
Mike. I'm using Honest Jacks on Rainier avenue in Seattle. The are slow. But good. Due to the length of the engine block, 3 feet, most machine shops that do car engines can't handle the length. In hindsight I think I would have gone to a shop that does large truck Diesel engines. It's hard to find someone who knows how to rebuild a large flathead.
Posted on: 2017/2/20 11:25
|
|||
|
||||
|
50 Super Eight Door Panel Trim
|
||||
|---|---|---|---|---|
|
Just can't stay away
|
Hi all:
I'm looking for a source for interior door panel trim. Thanks
Posted on: 2017/2/19 14:03
|
|||
|
||||
|
Re: Motor/transmission removal and reinstall, 48 coupe
|
||||
|---|---|---|---|---|
|
Just can't stay away
|
I sweated removing the upper radiator support...I finally drilled out the spot welds, removed the grill and the whole motor trans and OD slipped out nicely..Photos in my Blog
Mark
Posted on: 2016/12/20 16:33
|
|||
|
||||
|
Re: Mark's 1950 Super Eight
|
||||
|---|---|---|---|---|
|
Just can't stay away
|
Progress, the engine is torn down to the block with no real obvious cracks or problems. I noticed that the rod journals will need polishing, I hope I get away without a crank grind.
Next week it goes to the machine shop for cleaning and inspection then if all goes well we will grind the valves and hone the cylinders so it can be reassembled.
Posted on: 2016/9/10 11:18
|
|||
|
||||
|
Re: 23rd Series Engine Removal
|
||||
|---|---|---|---|---|
|
Just can't stay away
|
It took me a long time to get up the courage to do this alone. Don't worry this is easy with the right tools. I read as many posts in this forum as I could find and the differing opinions held me up while I processed every ones method of pulling the engine (with or without the trans attached). In the end I decided to go for it with the trans attached. I'm glad I did. Don't forget to bag and label every nut and bolt you take off so when you later go to put things back together you will know where stuff goes. Good luck with your project.
Posted on: 2016/8/4 11:02
|
|||
|
||||
|
23rd Series Engine Removal
|
||||
|---|---|---|---|---|
|
Just can't stay away
|
Well, my replacement engine that I hauled home that was "running when removed" never ran. I broke it down and took it to my machine shop and sure enough it was cracked from and exhaust seat way into the cylinder...so junk.
After reading all the posts about engine removal I broke down and hauled out the "good" engine yesterday. Some things I learned about the 23rd series engine removal. You can and should take out the engine and trans together. I removed the OD solenoid but I don't think that was necessary considering how easily the engine came out. You pull the grill and the radiator. You drill out the upper radiator support and remove. You strip as much as you can off the engine while it is in the car. Intake manifold, etc. Disconnect the wires from the OD and mark them so you will know where they go later. Disconnect the OD linkage from the OD and the engine and carefully move it clear of the engine. I disconnected the clutch rod from the clutch and disconnected the shift linkage from the engine and trans. Take good pictures because later it will be confusing how the shift linkage goes back. Use a good stable lift, mine is a 2 ton with extendable legs. I set the arm at 1 ton that is what would easily reach the balance bar. Use a 1.5 ton leveling arm, I got mine at Harbor Freight. I located the balance arm on the second set of head nuts on the rear and where ever it fell forward. The balance arm easily fits under the head nuts so no need to pull the head. Support the rear of the engine with a jack under the clutch inspection plate not the oil pan. I used a 2x6 to cushion the engine from the jack. Now that the rear of the engine is supported you take up tension on the lift with the balance arm slightly aft of center. You drop the cross members in the back, 2 if you have overdrive, while supporting the engine with a jack in the rear. I opened up the trans tunnel to get at the bolts on the rear motor mounts, this saves a lot of time. My carpet was shot anyway. Disconnect the rear motor mounts from the cross member and then disconnect the large rear cross member and drive it down and out. Remove the two bolts that mount the front of the engine to the frame and the engine will be free. At this point I raised the engine slightly to get it free and check around it to make sure it can come all the way out. Now relieve the rear jack pressure slightly to see how the engine swings on the lift. Adjust the balance arm to hold the engine slightly tail down. Now move the engine forward and raise it so as to clear the bumper with the front mount. Continue raising the engine and moving it forward paying careful attention to the tail of the transmission. Adjust the balance as necessary to clear the oil pan and the rear of the transmission. Continue slowly moving things forward until the engine is clear of the car. Carefully lower the engine onto the stand or support it with tires to remove the transmission. I made a stand out of 4x4's and HD casters. This seems to hold the whole assembly well enough to move it to where I can lift it onto an engine stand after removing the transmission and clutch. I didn't have help so moving the lift on concrete was not possible alone. I used a $15 cable lift to pull the engine forward and hooked it to the back of my car as an anchor. No, I didn't pull it with the car just the ratchet. Photos in my blog Mark's 1950 Super Eight
Posted on: 2016/7/25 14:10
|
|||
|
||||
|
Re: Mark's 1950 Super Eight
|
||||
|---|---|---|---|---|
|
Just can't stay away
|
More Photos
Attach file:  (389.20 KB) (389.20 KB)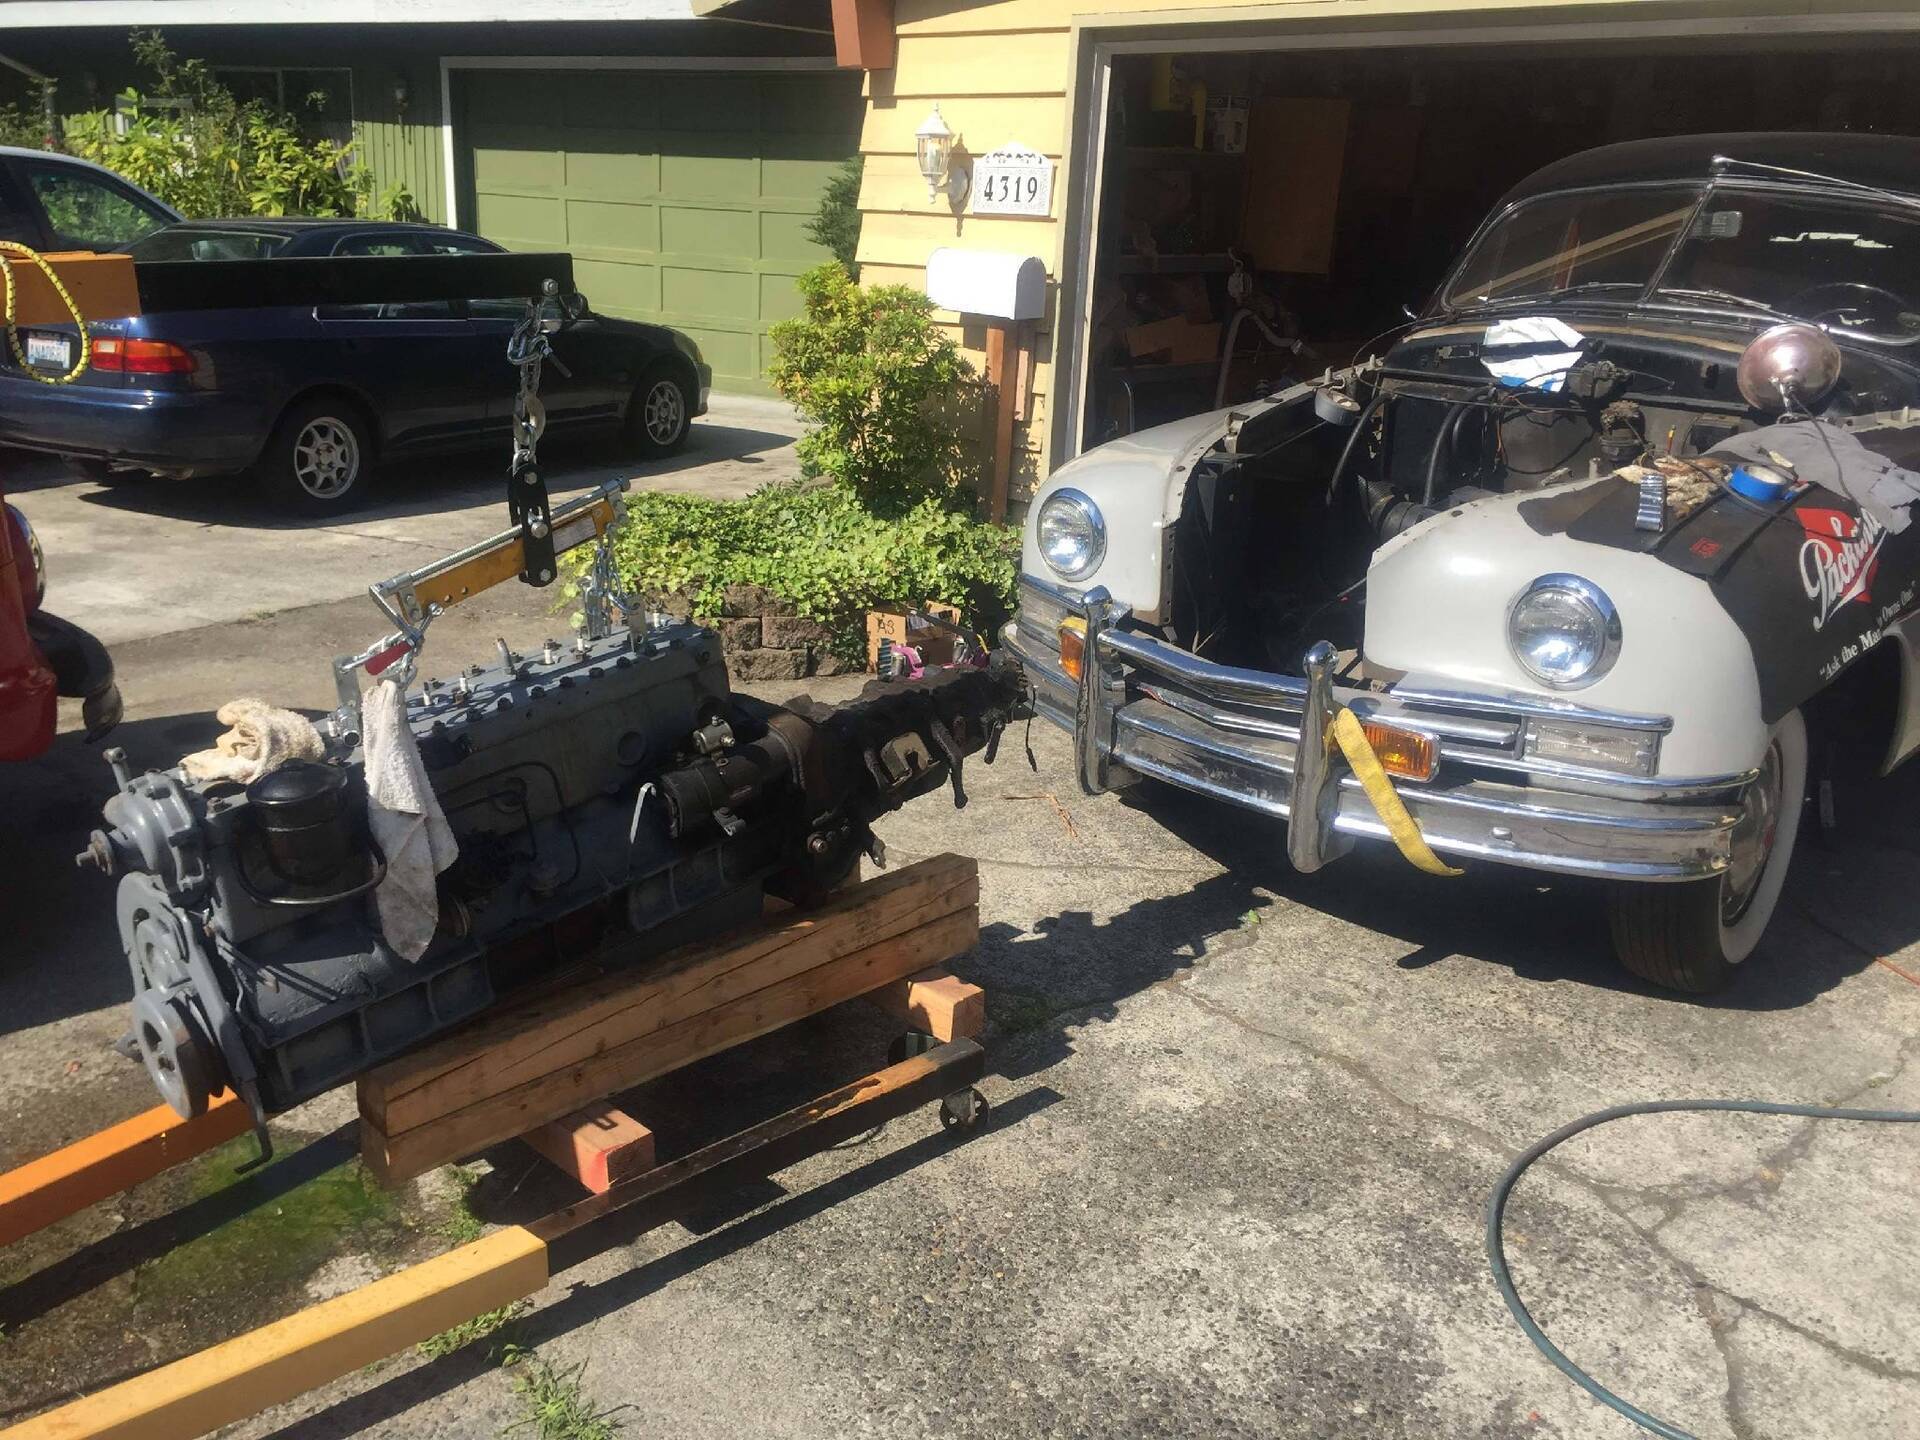 (471.79 KB) (471.79 KB) (306.32 KB) (306.32 KB)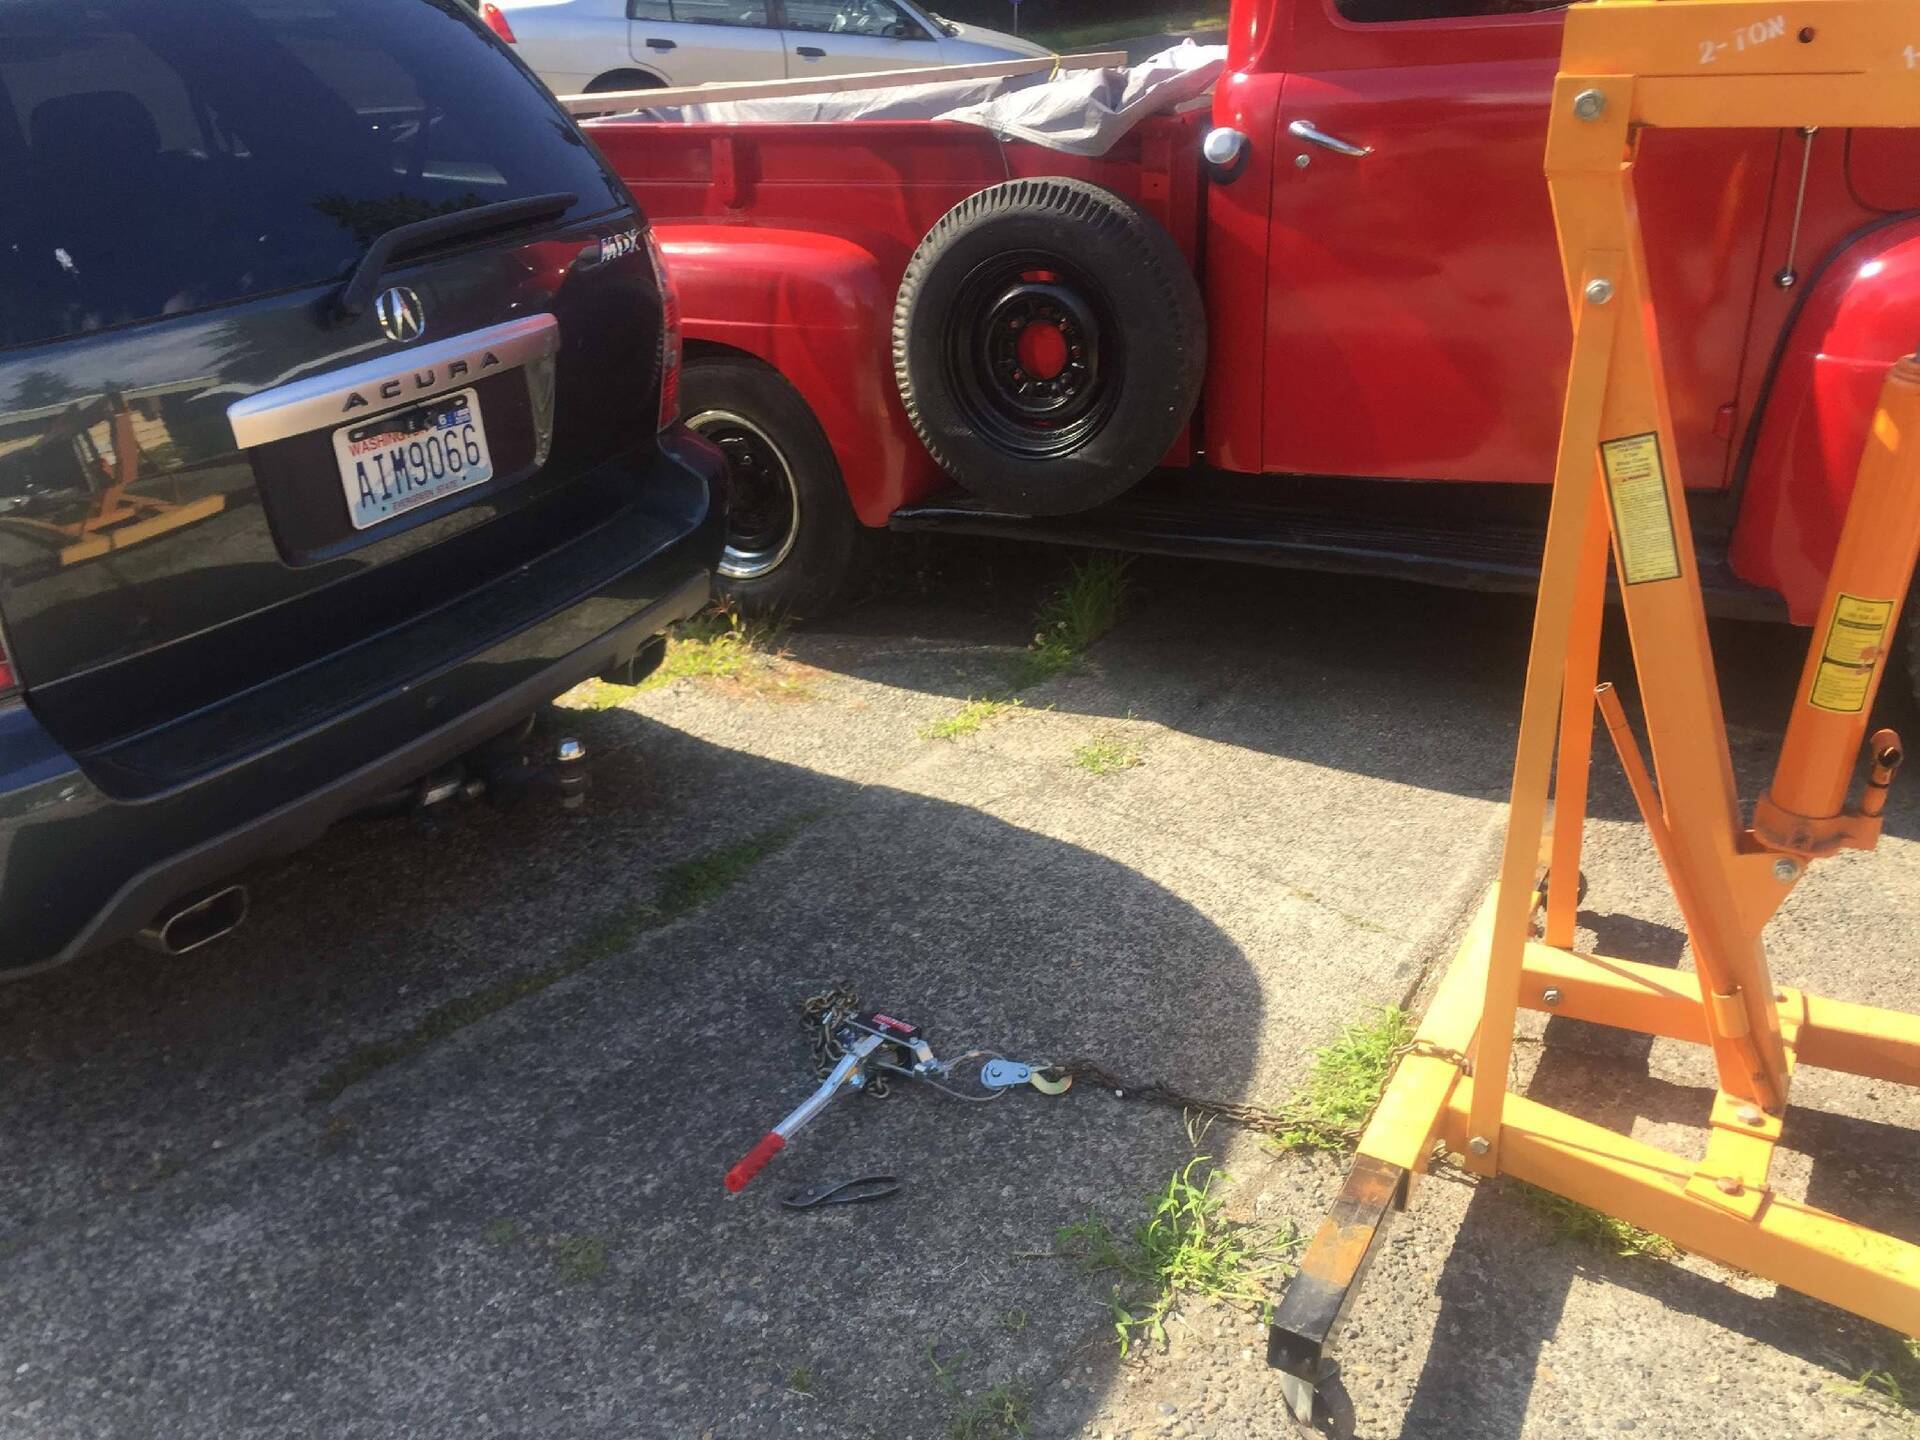 (452.01 KB) (452.01 KB)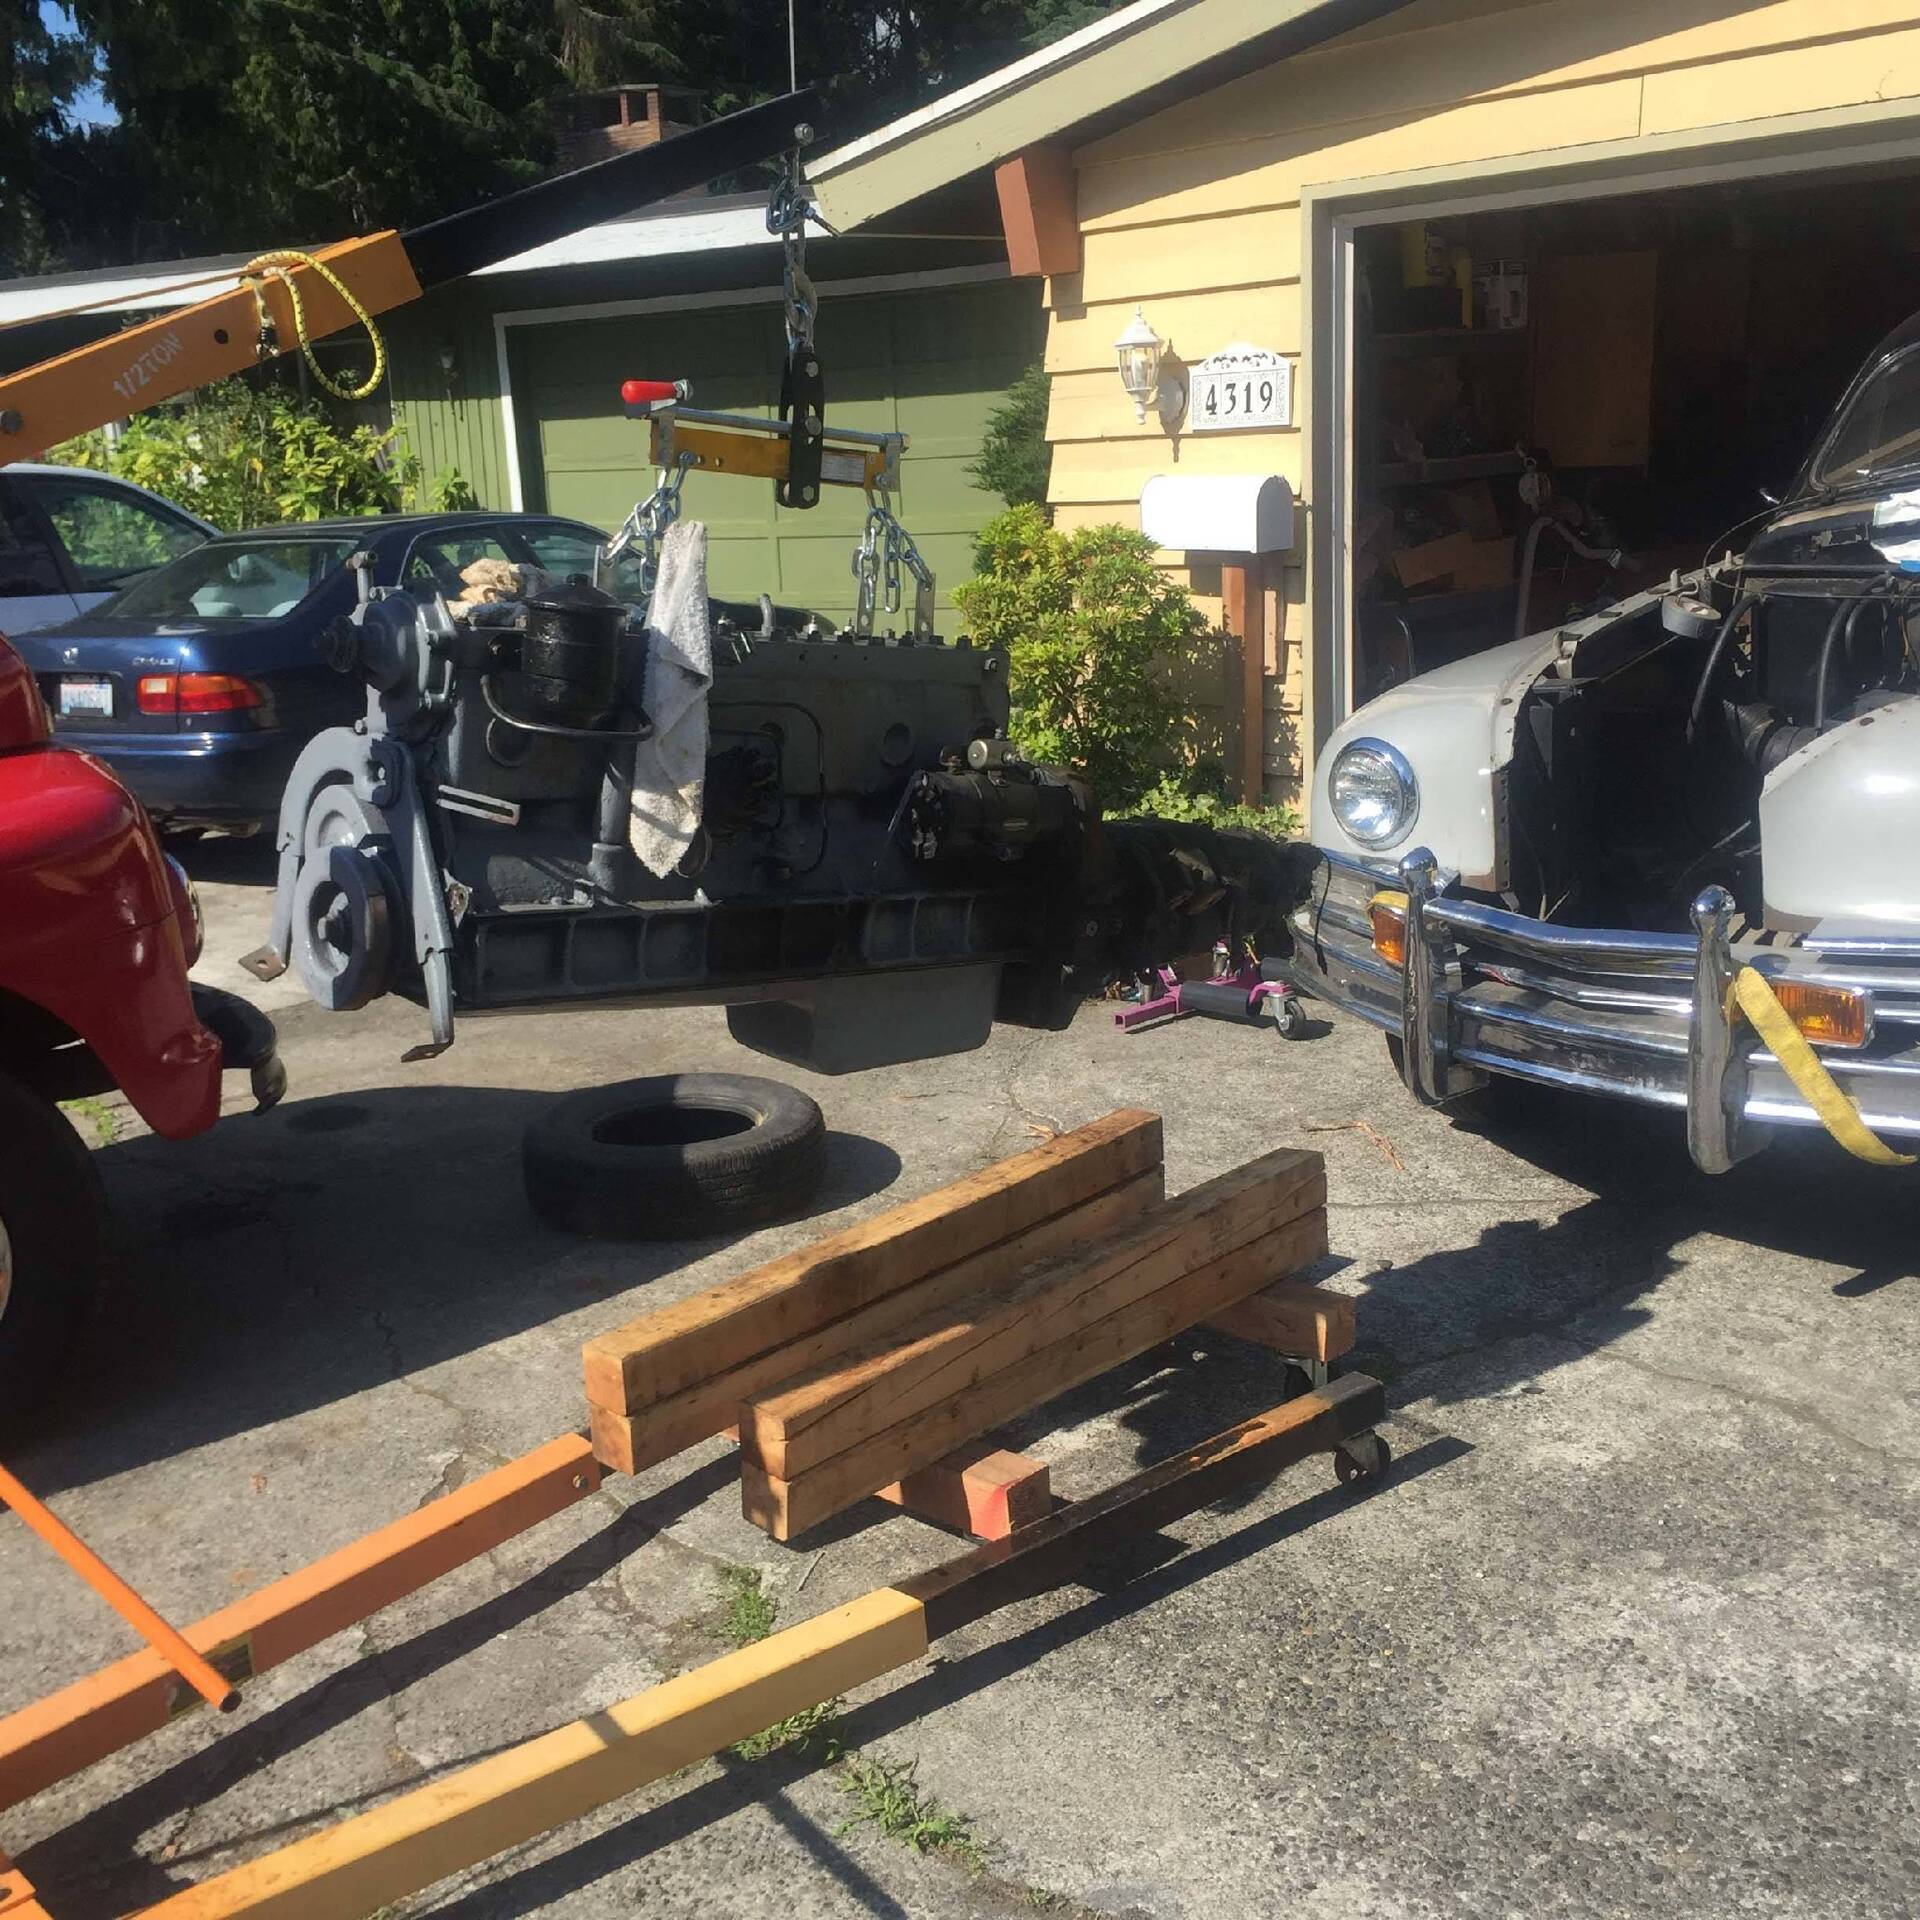
Posted on: 2016/7/25 14:07
|
|||
|
||||


