

|
Re: 1956 Packard Patrician Rebuild Project
|
||||
|---|---|---|---|---|
|
Home away from home
|
Hi Troy, Tough break on the Packard. I don't envy your situation, but I've been there in the past. Back in 1988 I bought a very rusty 1965 GMC pickup truck, which forced me to learn how to weld and fabricate patch panels. My hood had 32 separate patches along with another 75 to 100 tiny rust perforations in the outer skin that had to be welded. The fender and door bottoms were gone, the rockers and front cab mounts were gone too. There was a six inch long hole in the roof overhang above the windshield, and the cowl was rotted out across the entire width of the truck up behind the dashboard. There were additional holes in the fronts of the fenders, tail gate, bed sides, wheel wells, inner fenders, firewall, the filler panels between the hood and doors, and the big panel behind the grill. Parts availability back then was just outer rocker skins, cab mounts, lower door skins and fender bottoms. It's more important to make sure to completely cut out the old rust than it is to have your new metal perfectly match the original parts. The only way to completely stabilize the car is to make sure no rust remains, even if it means being real aggressive when cutting away the rot.
Jeff Attach file:  (49.17 KB) (49.17 KB)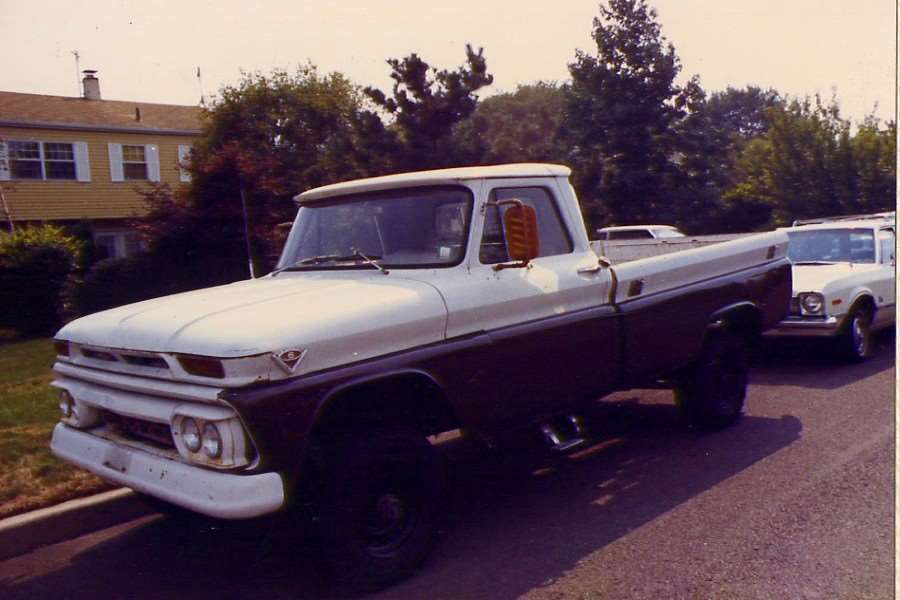 (62.05 KB) (62.05 KB)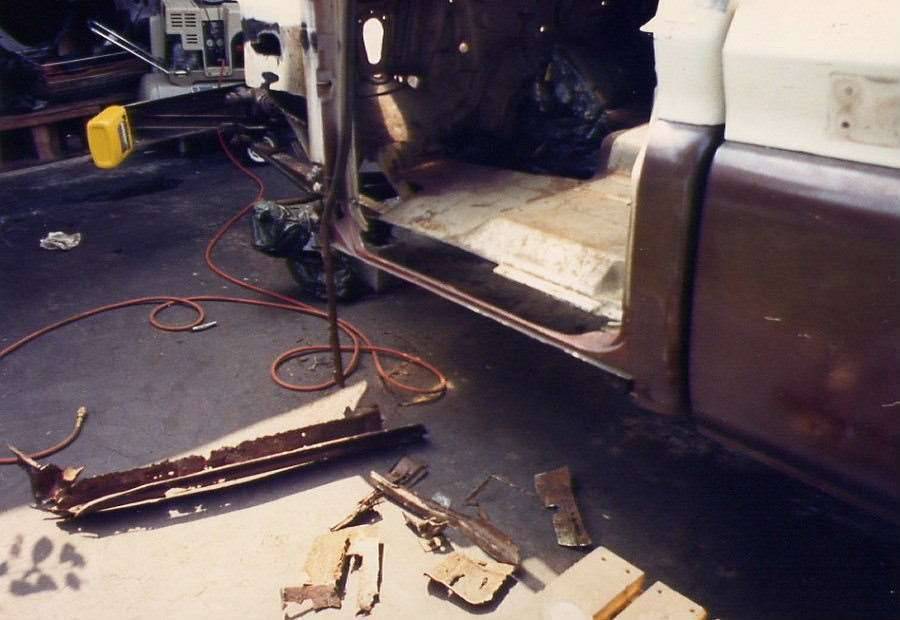 (48.69 KB) (48.69 KB) (37.10 KB) (37.10 KB)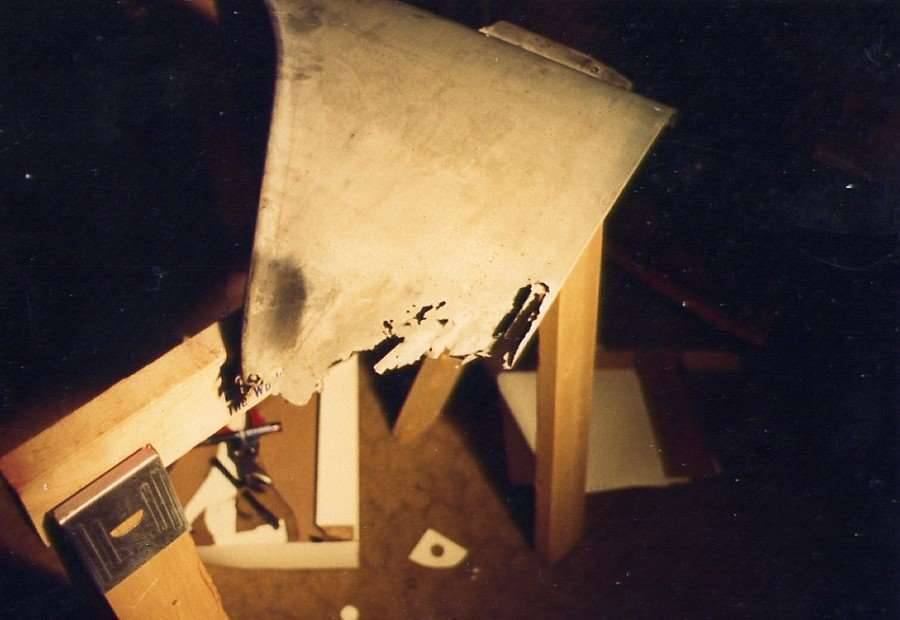 (77.18 KB) (77.18 KB)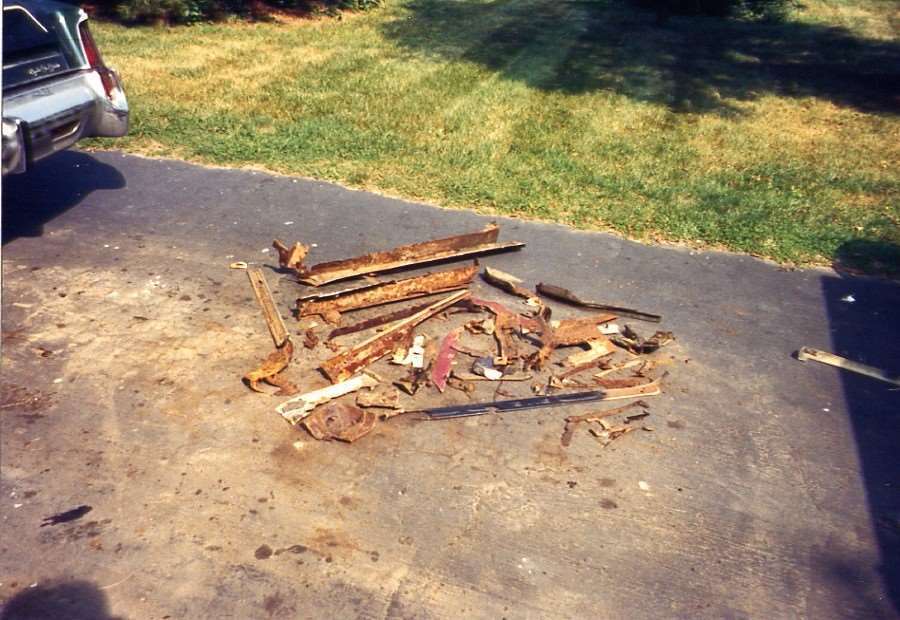 (50.12 KB) (50.12 KB)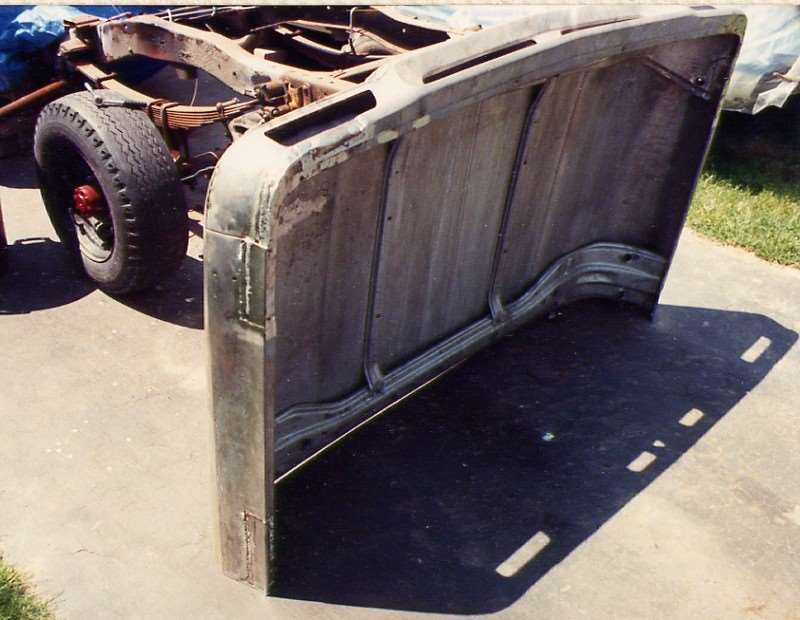 (61.19 KB) (61.19 KB)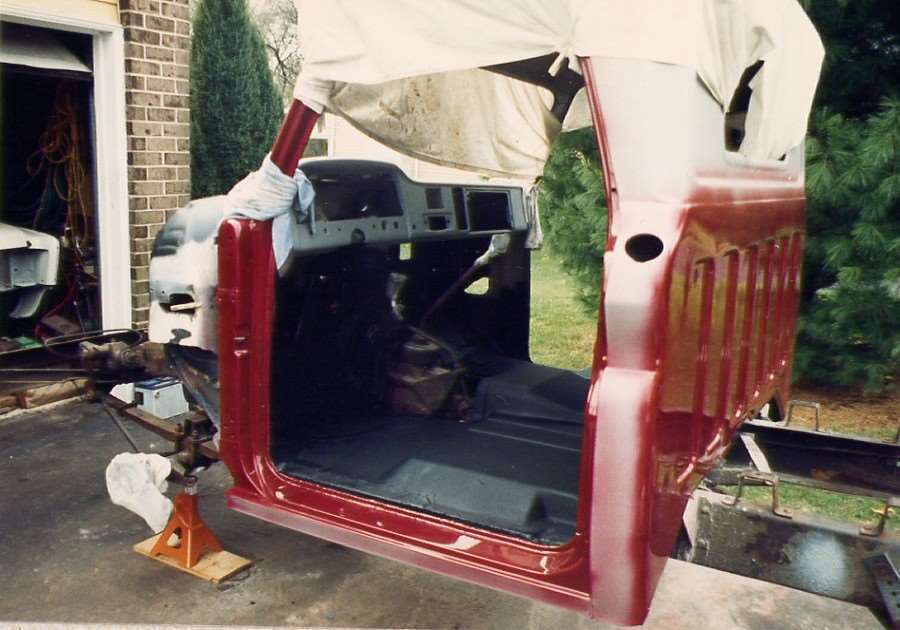 (42.05 KB) (42.05 KB)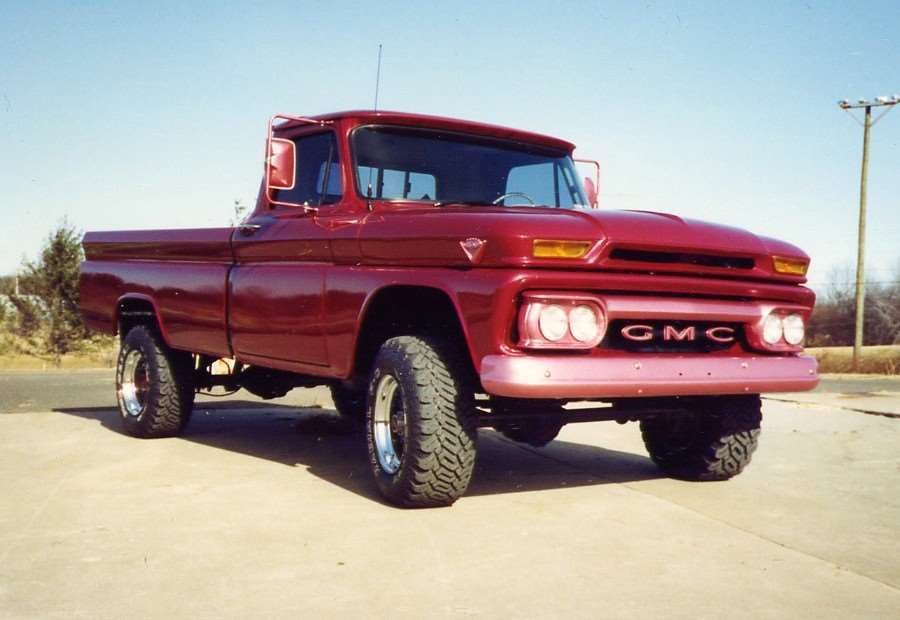 (92.10 KB) (92.10 KB)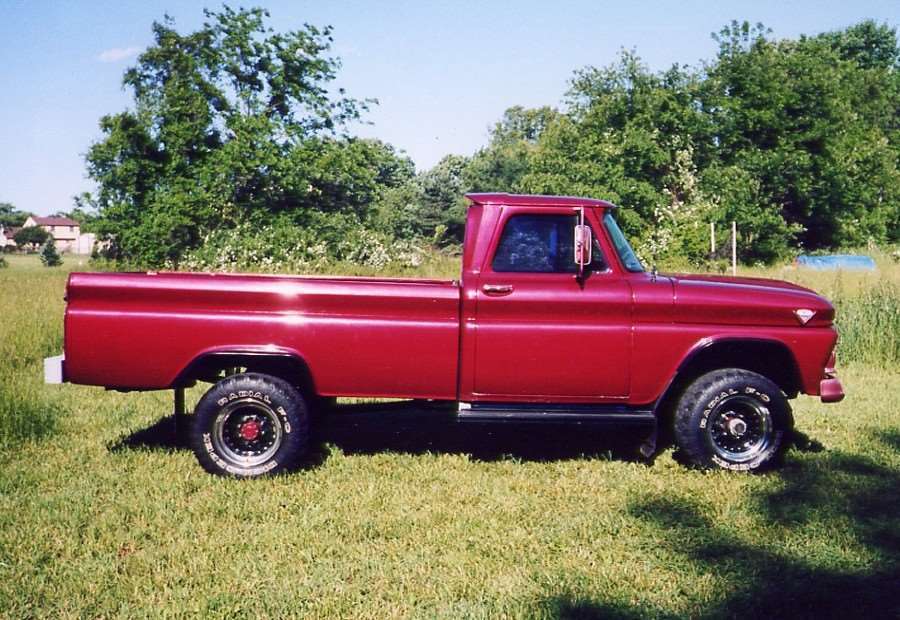 (36.67 KB) (36.67 KB)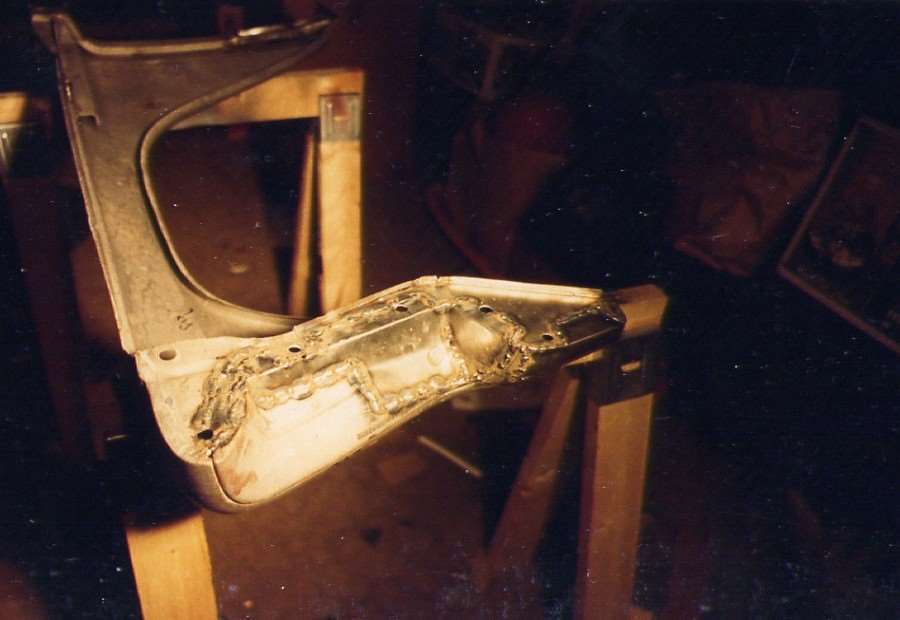 (37.47 KB) (37.47 KB)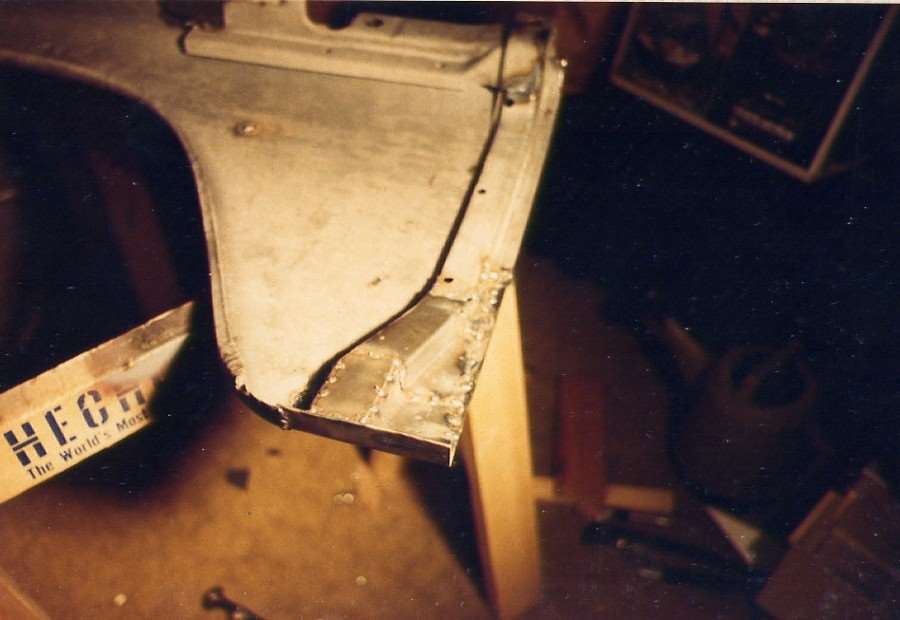
Posted on: 2013/11/16 1:40
|
|||
|
||||
|
Re: 1956 Packard Patrician Rebuild Project
|
||||
|---|---|---|---|---|
|
Home away from home
|
Floor Pans were delivered today, Spent some time taking some critical measurements and building jigs to keep the door pillars in place. With any luck, I will get to spend some time tomorrow removing the passenger side floor. Got to get to a good stopping point in the next few weeks. Shoulder surgery in about 4-5 weeks and the Doctor said it will be a year before I can get back to what I am doing. I am going to loose some precious time on the Packard. Not a happy camper.
Posted on: 2013/11/16 20:26
|
|||
|
[url=https://packardinfo.com/xoops/html/modules/
|
||||
|
||||
|
Re: 1956 Packard Patrician Rebuild Project
|
||||
|---|---|---|---|---|
|
Home away from home
|
Nice, Looks like I can save over half the pans. The front and rear pans were rusted between the body and the frame. The under seat pan is good. Going to be spending the next few days fabricating the floor braces. Wish my son would spend time out in the Garage but at 17, it is all about Video games.
Attach file: (118.42 KB)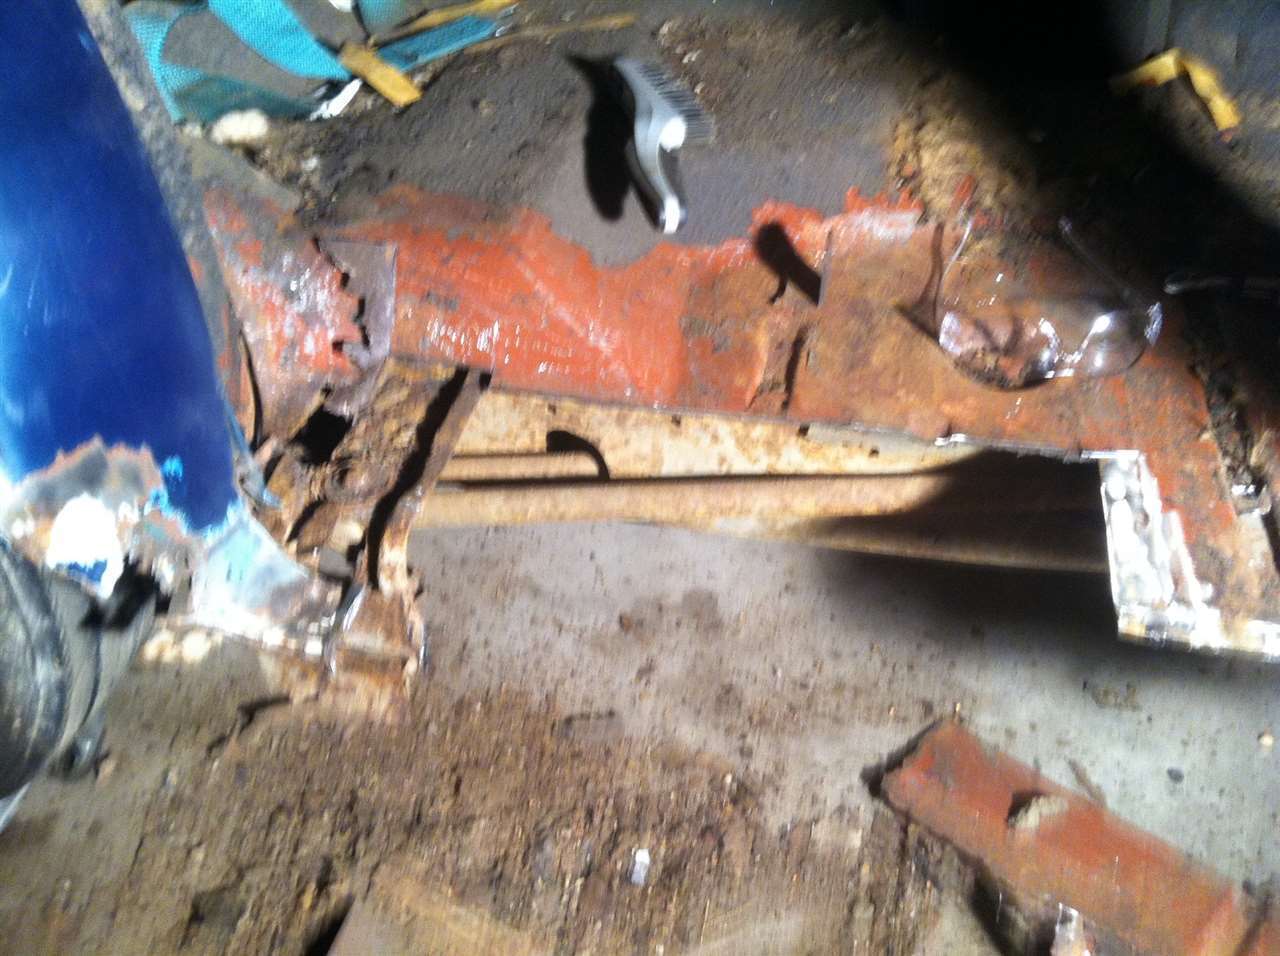 (112.35 KB) (112.35 KB) (143.12 KB) (143.12 KB) (119.17 KB) (119.17 KB)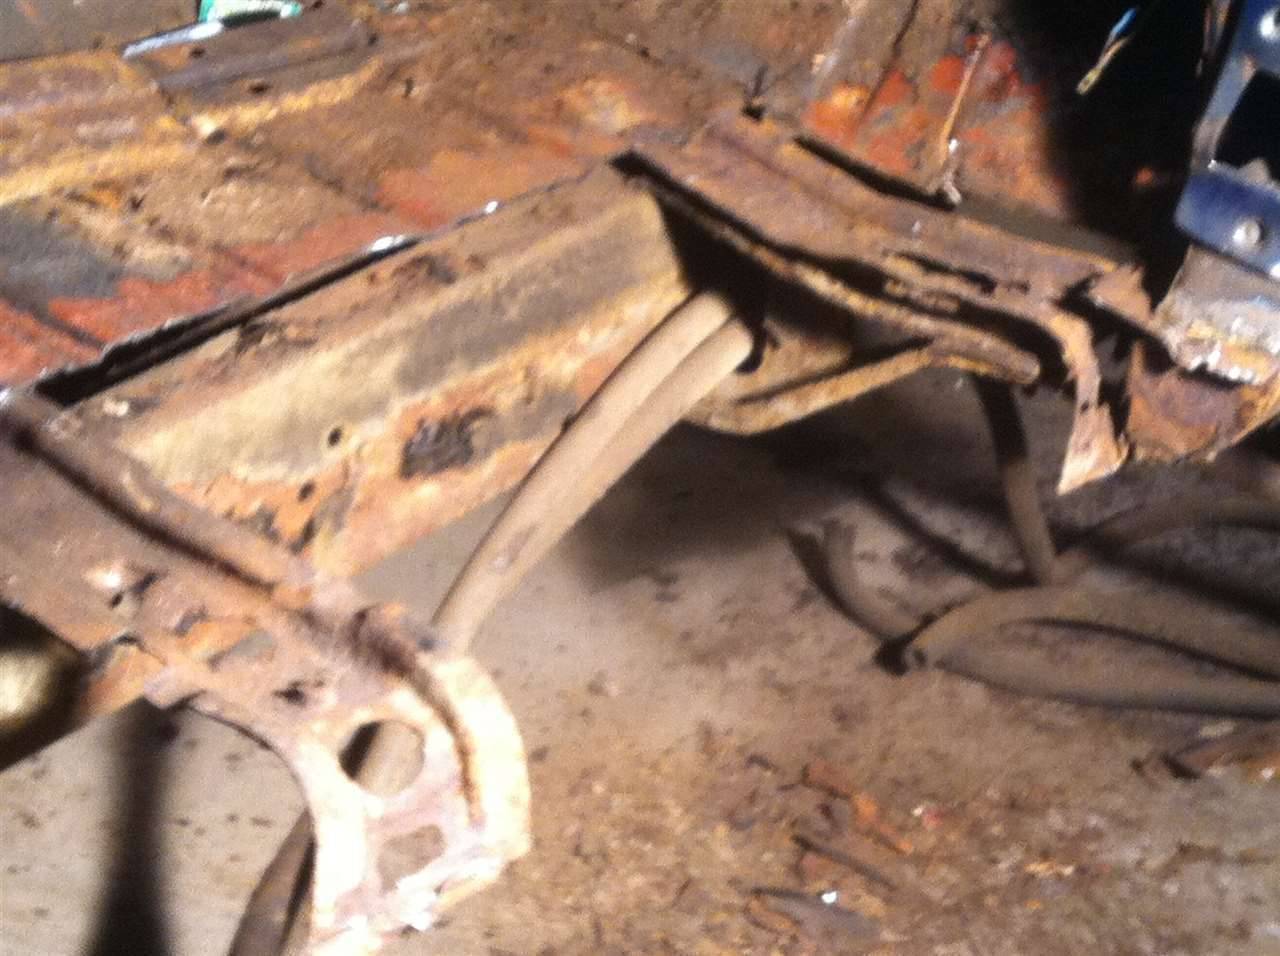 (119.57 KB) (119.57 KB)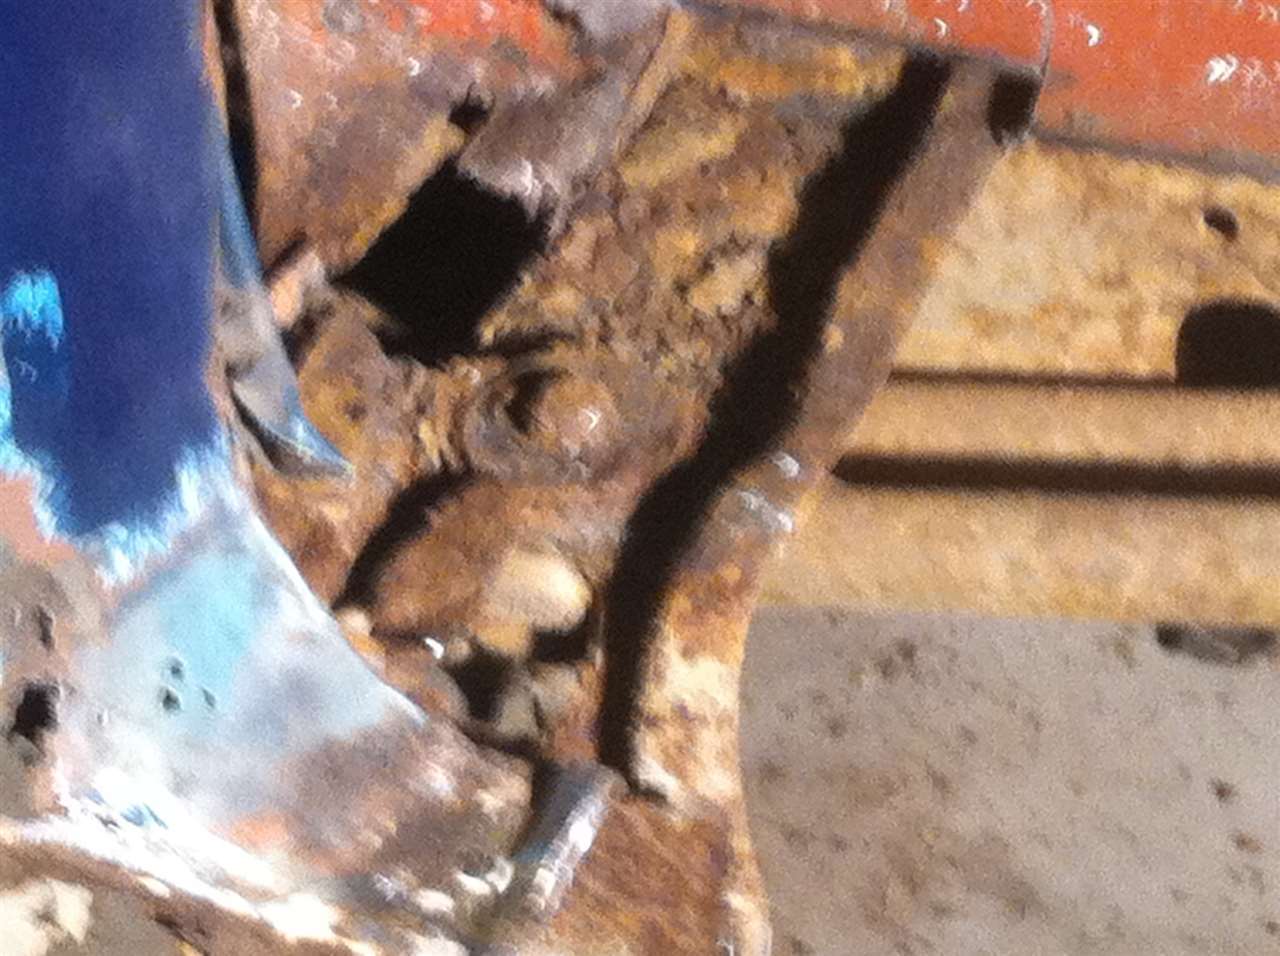
Posted on: 2013/11/17 19:20
|
|||
|
[url=https://packardinfo.com/xoops/html/modules/
|
||||
|
||||
|
Re: 1956 Packard Patrician Rebuild Project
|
||||
|---|---|---|---|---|
|
Home away from home
|
Working on the Floor braces. I looked a roll forming, and I also looked at picking up a donor body. They are solid except the last few inches on the ends. Right or wrong, I decided to cut out the rust and scab in flat stock. it is a work in process but it is strong. $8.00 fix.
Attach file: (110.48 KB)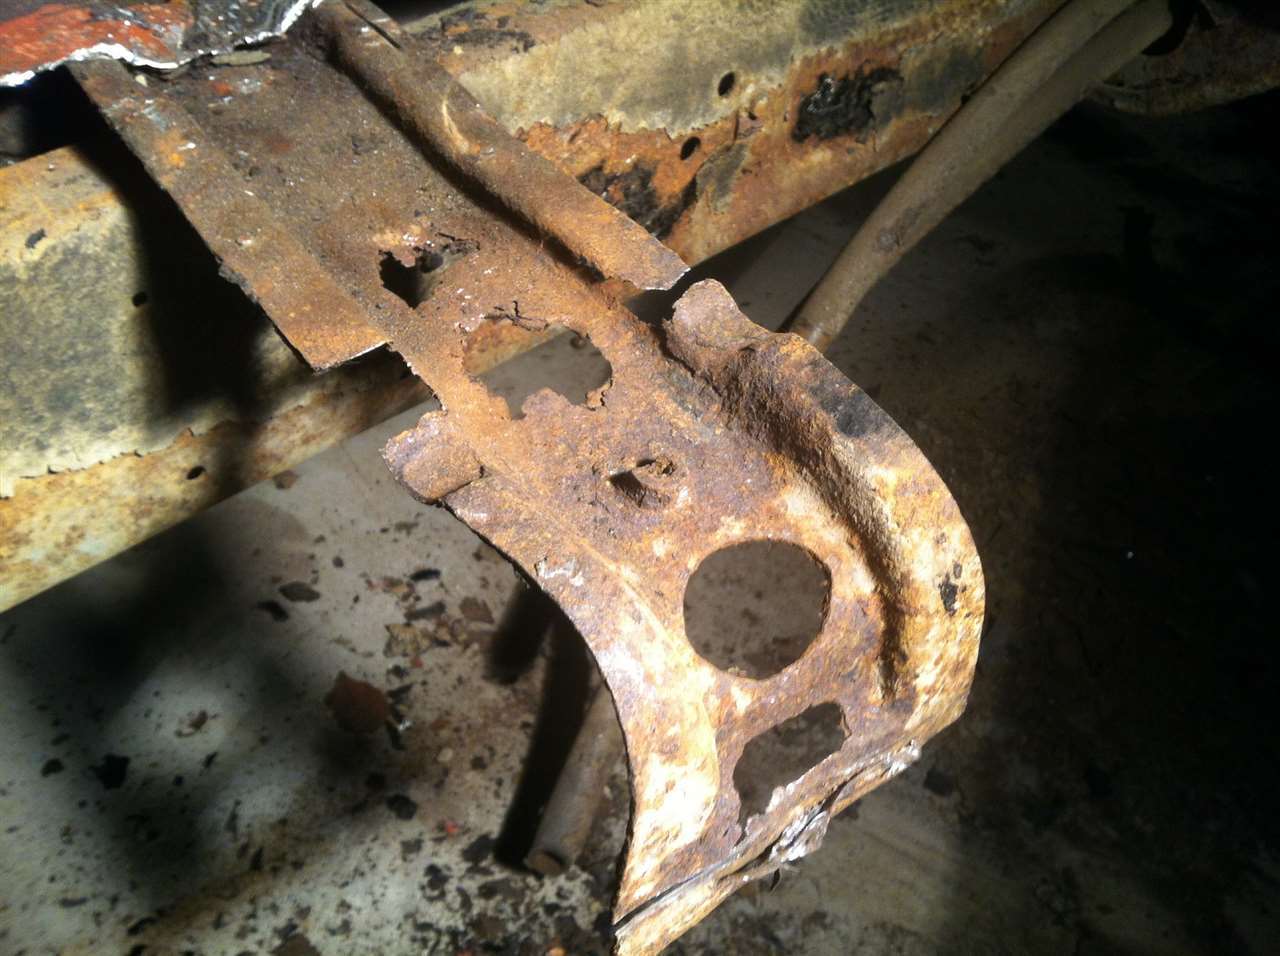 (132.31 KB) (132.31 KB) (156.06 KB) (156.06 KB)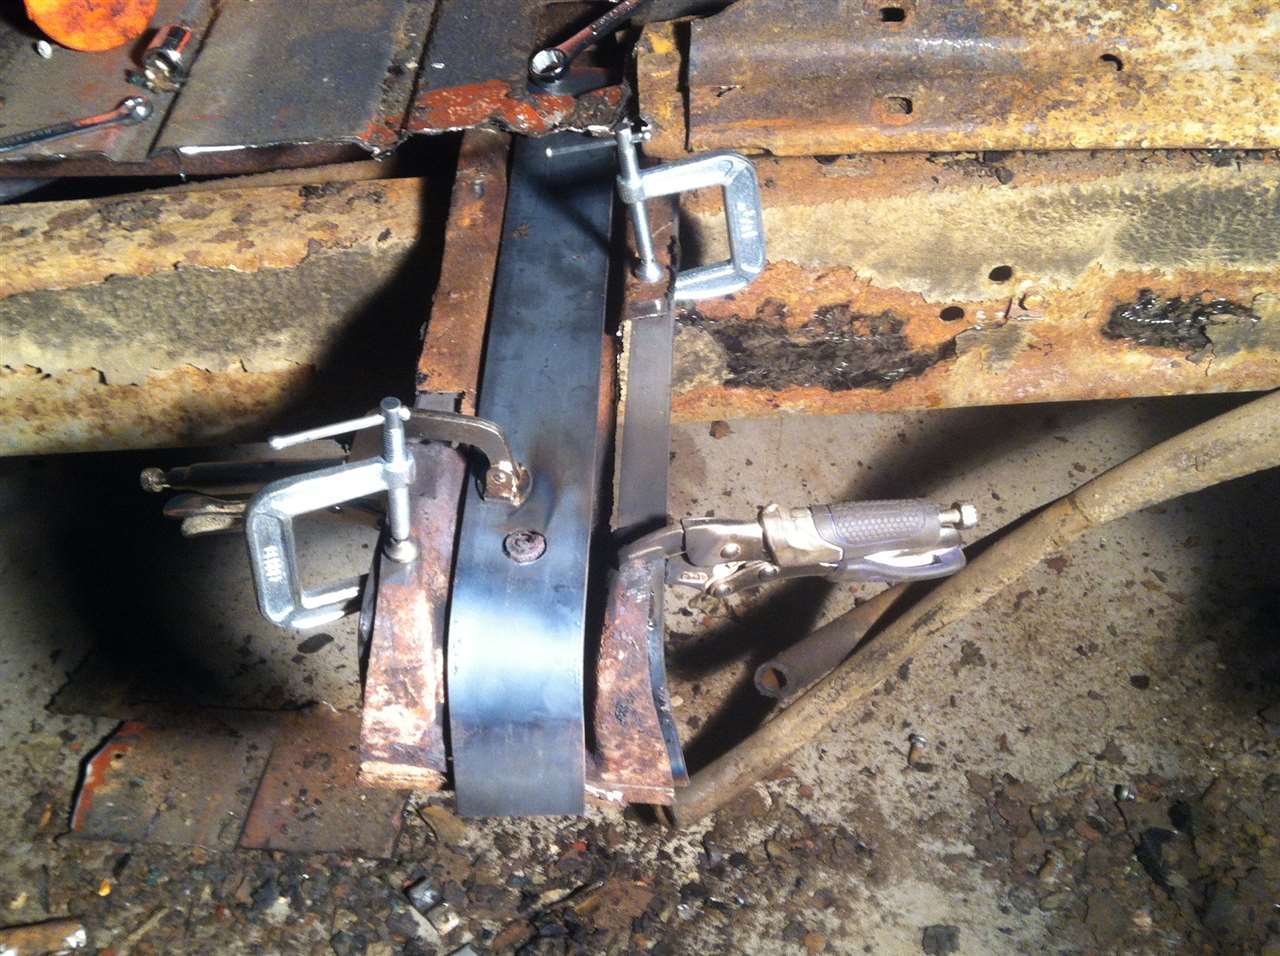 (108.03 KB) (108.03 KB)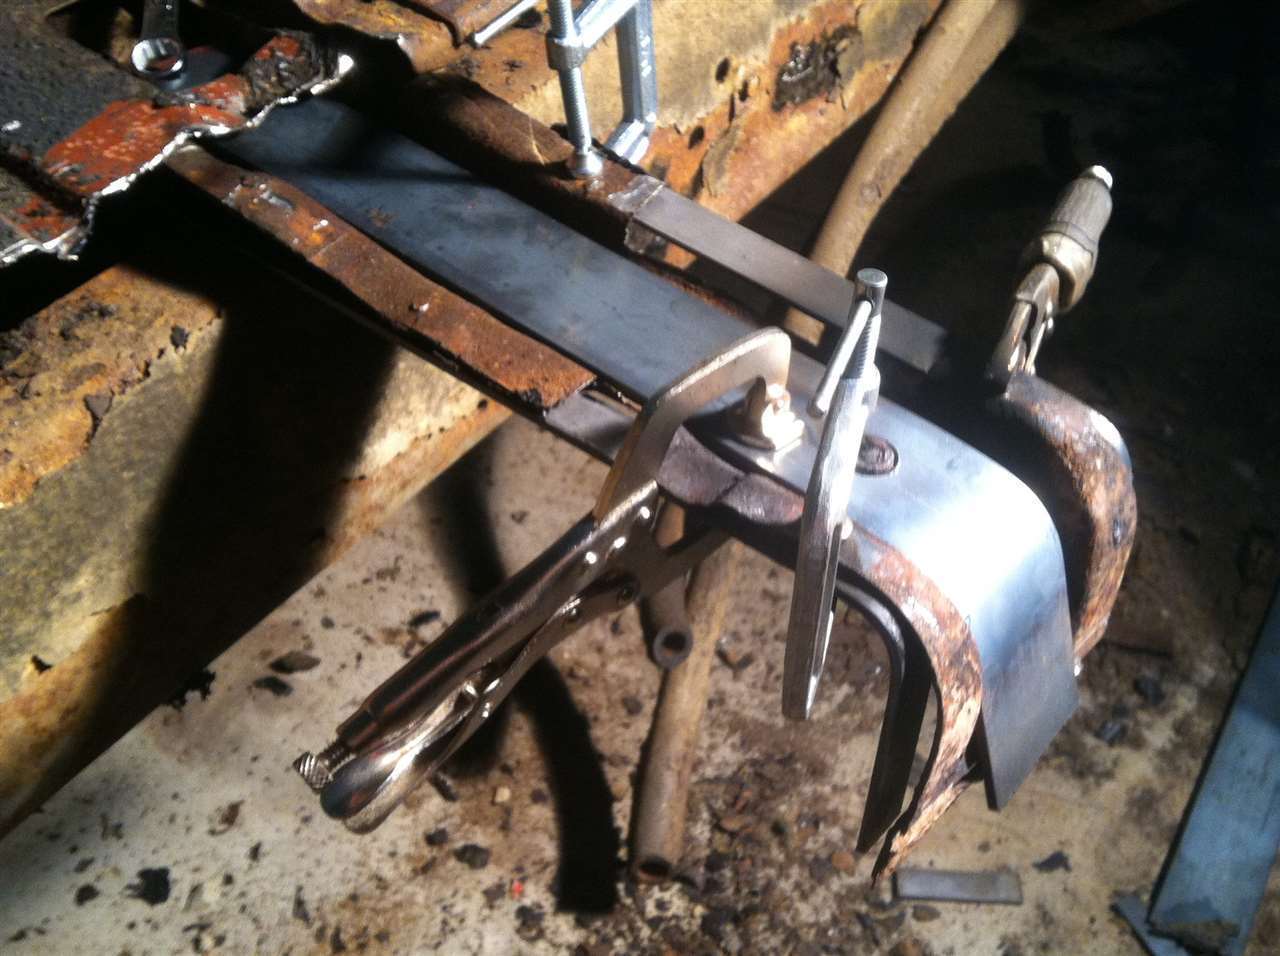
Posted on: 2013/11/19 21:22
|
|||
|
[url=https://packardinfo.com/xoops/html/modules/
|
||||
|
||||
|
Re: 1956 Packard Patrician Rebuild Project
|
||||
|---|---|---|---|---|
|
Quite a regular
|
You are really doing a great job! I guess I'm glad I was crazy about cars at 17 but it sure is a different world from 1967. It's hard to compare my world with his but I hope Packards make an impression on him, soon.
Posted on: 2013/11/19 21:31
|
|||
|
||||
|
Re: 1956 Packard Patrician Rebuild Project
|
||||
|---|---|---|---|---|
|
Home away from home
|
I got the momentum going now....
Attach file: (106.71 KB)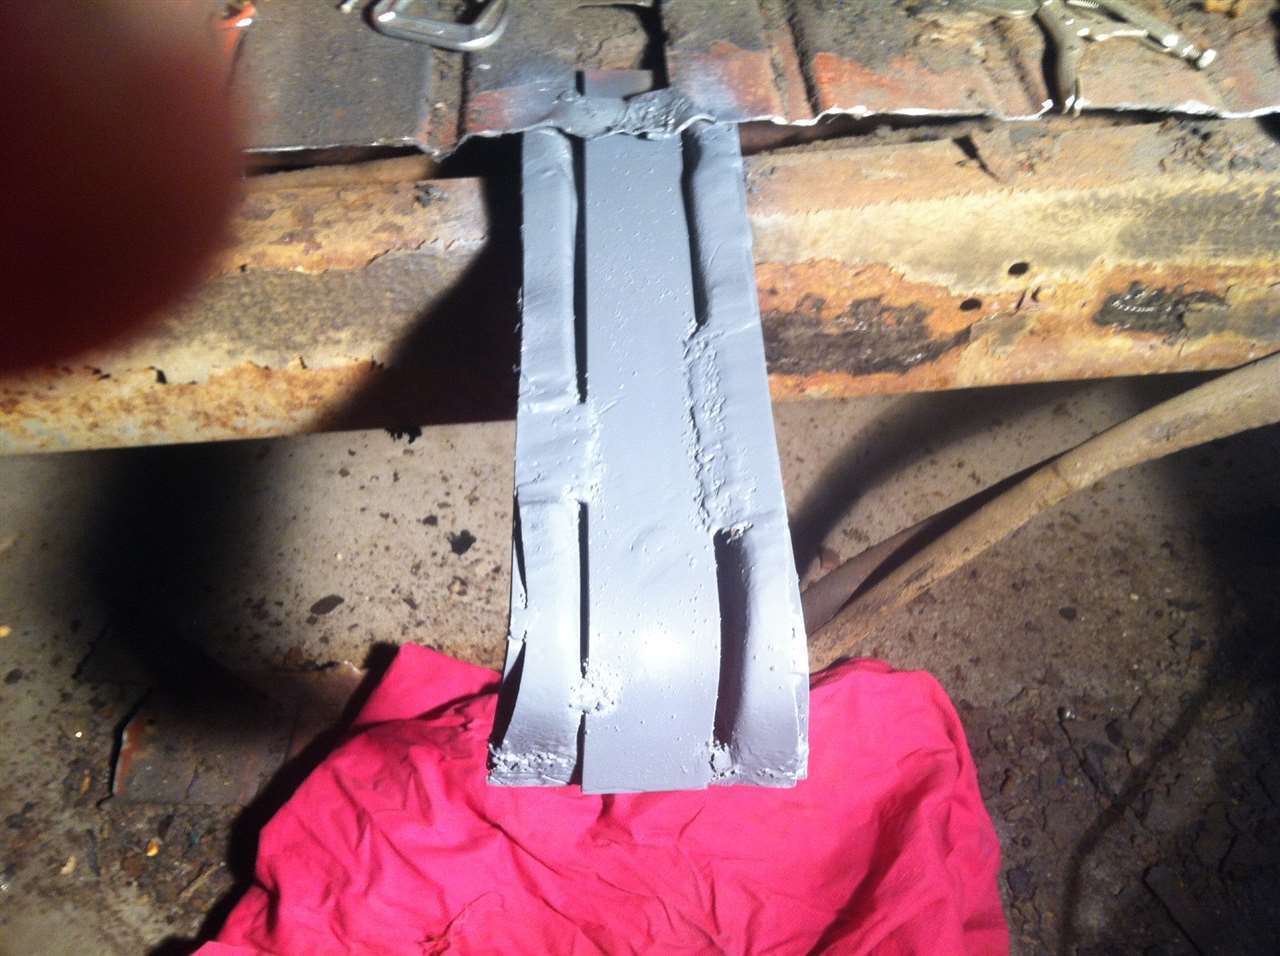 (100.85 KB) (100.85 KB)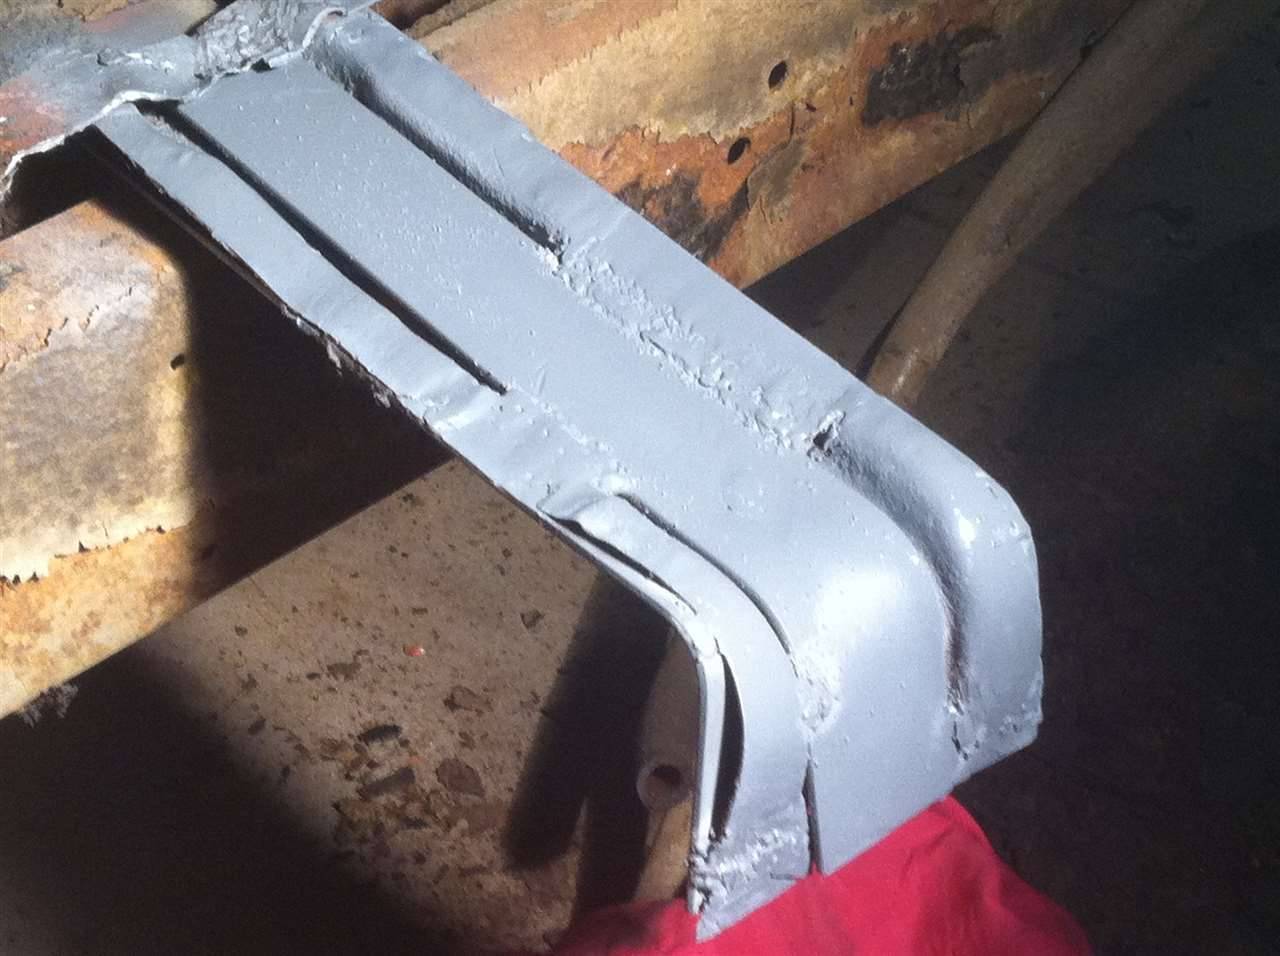 (92.43 KB) (92.43 KB)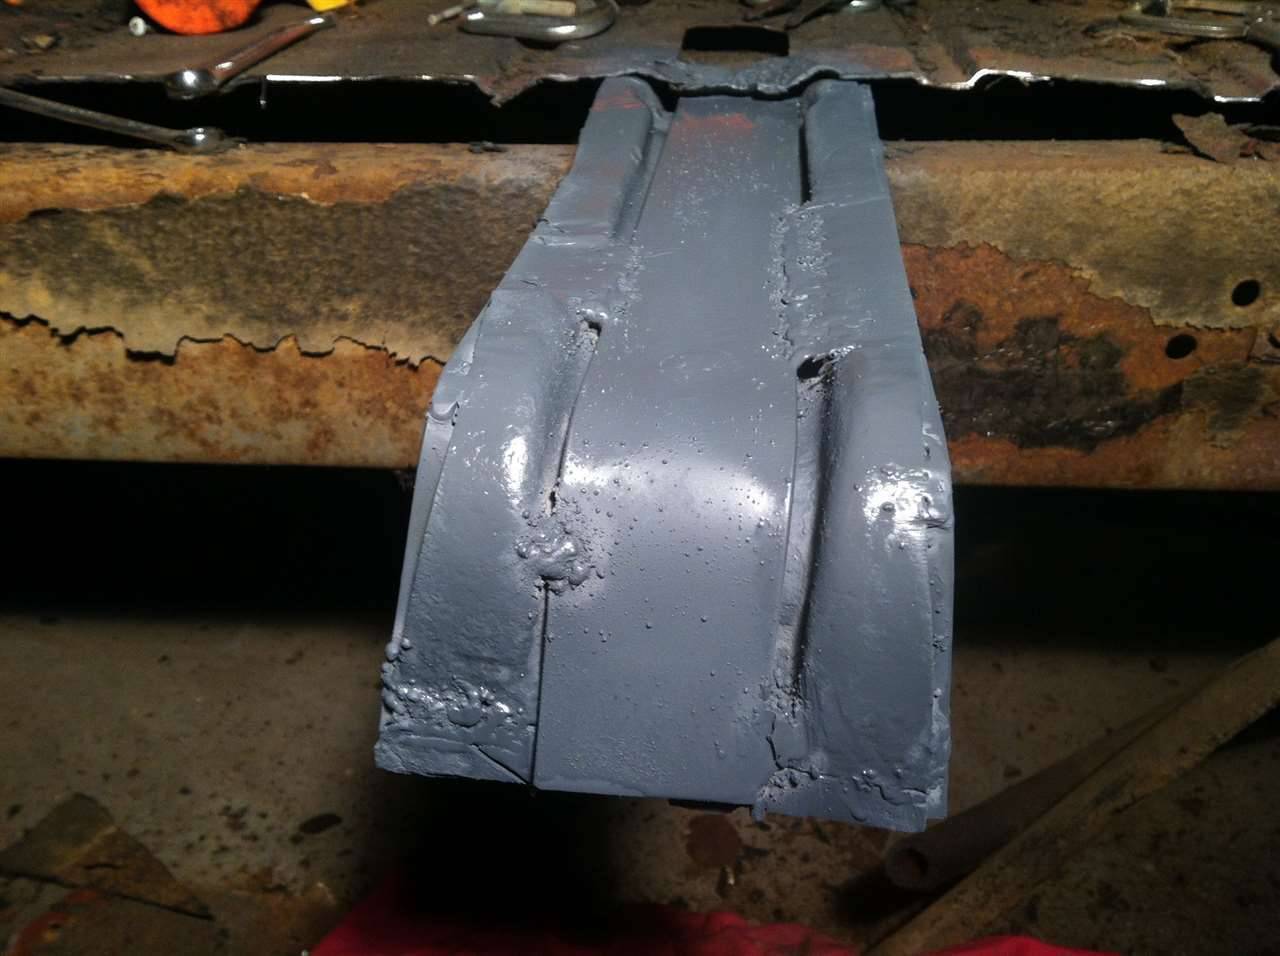
Posted on: 2013/11/21 21:59
|
|||
|
[url=https://packardinfo.com/xoops/html/modules/
|
||||
|
||||
|
Re: 1956 Packard Patrician Rebuild Project
|
||||
|---|---|---|---|---|
|
Forum Ambassador

|
Facing similar problems, down the road, with the floors and rockers on two 56 Pats, I'm following your progress with great interest.
While I understand your approach, in lieu of roll-forming, I'm not sure if I'd use such thick stock down the center. That's gotta be tough drilling through that stuff for any body mount bolts. I suspect that the rocker panels, when welded up to form a box, are pretty stiff and when welded to the body, make for a pretty stiff door opening. My gut feeling, then, is that these channels/braces are only there to minimize flexing of the floor pan and prevent the bottom of the rockers from twisting in or out. I've been thinking about bending a short piece of sheet metal of same thickness to scab into what's left of the original channel. As I'm sure you know, each bend affords a surprising amount of strength to sheet metal. I hope to then use a hole saw in an attempt to replicate the original relief opening in the center of the channel that would allow me to form the turn down to vertical.
Posted on: 2013/11/21 22:25
|
|||
|
||||
|
Re: 1956 Packard Patrician Rebuild Project
|
||||
|---|---|---|---|---|
|
Home away from home
|
I am using 1/8" stock which is slightly heavier than the side to side floor brace but is the same thickness as the vertical brace that the seats mount to. I have those soaking in nox-rust and will be working on those this weekend. What I didn't take a pic of is where after I braced up the sides, I cut out rusted center. I considered scabbing in 18ga sheet but with the seat mounting to these as well, I wanted to make sure that I had some integrity with as much as I had to cut out.
Posted on: 2013/11/21 22:44
|
|||
|
[url=https://packardinfo.com/xoops/html/modules/
|
||||
|
||||
|
Re: 1956 Packard Patrician Rebuild Project
|
||||
|---|---|---|---|---|
|
Home away from home
|
Working on the "A" pillar today in 19 degree weather, got to get a heater for the garage. Cut out the rust on the bottom of the "A" pillar sheet metal. There is a block of rubber that holds the bottom shape which mad it really easy to form to. I hand formed some sheet and made an end cap and a small patch panel. I did not have to make a back to the cap as I will tie this into the Inner rocker to complete the cap. This will give you an idea of where I'm going. After I coat the area with Rust Mort and neutralize the rust, I will weld in place.
Attach file: (107.30 KB)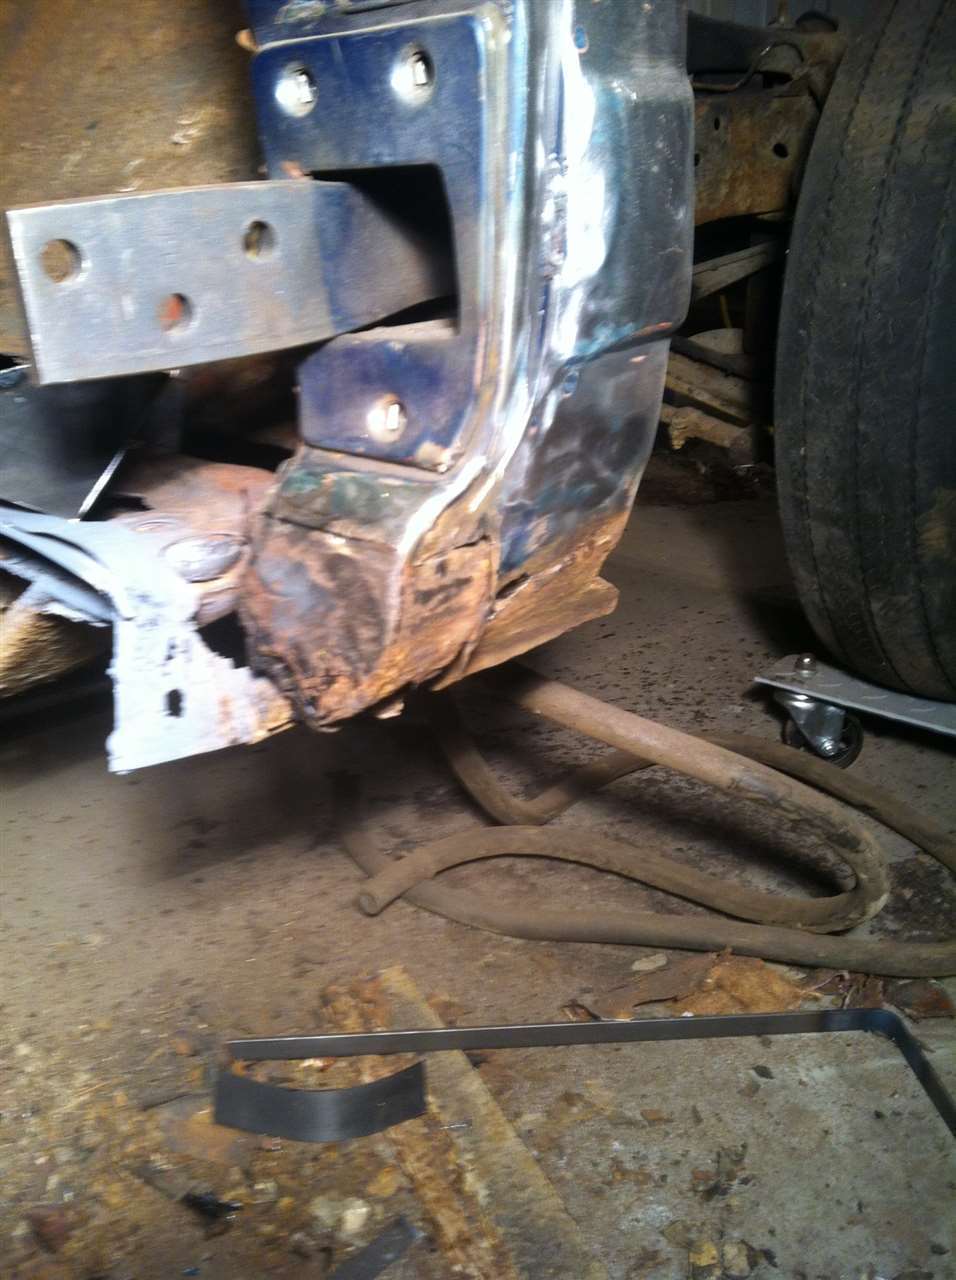 (101.97 KB) (101.97 KB)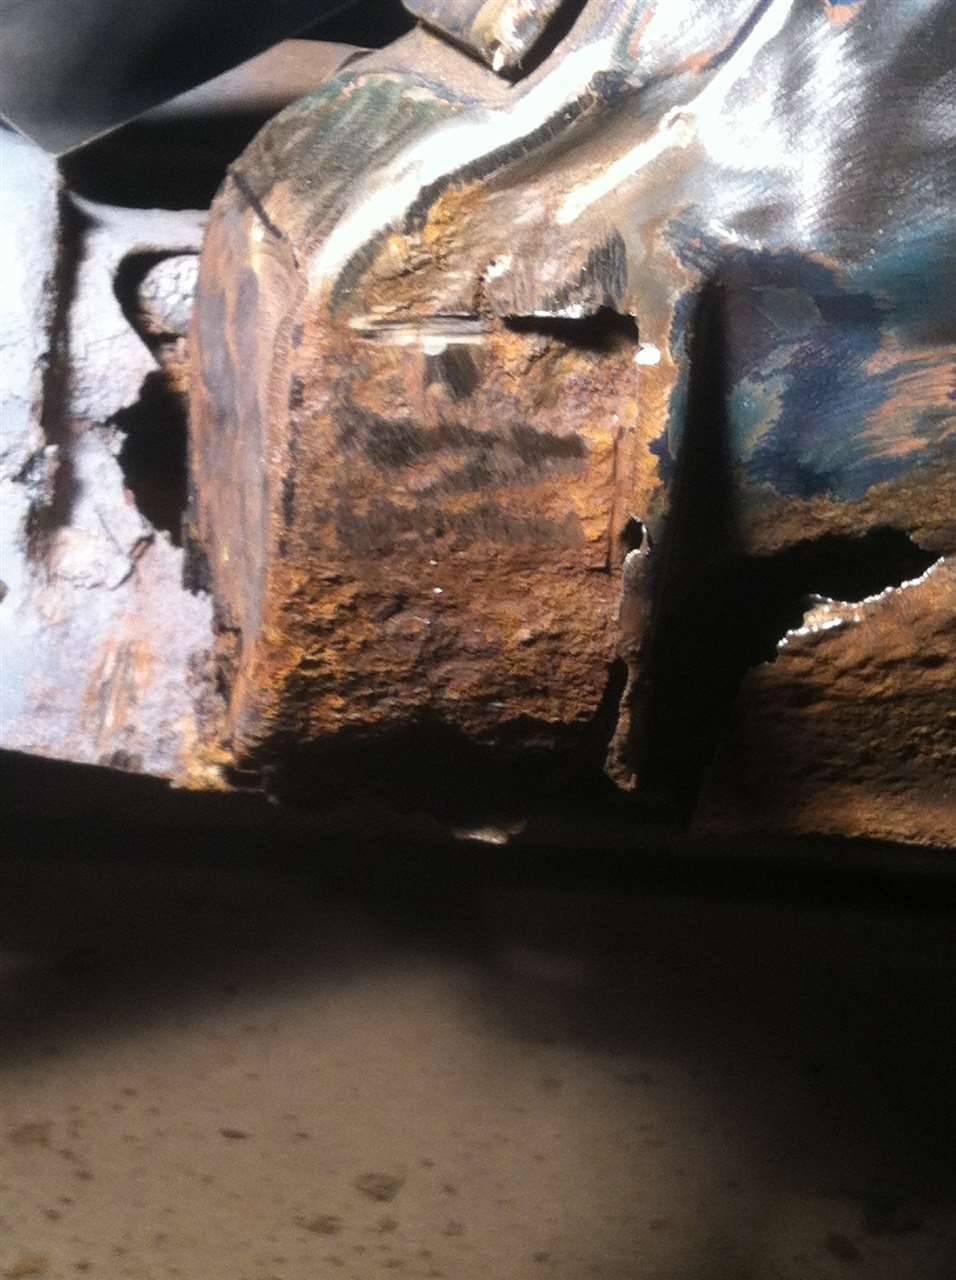 (91.37 KB) (91.37 KB)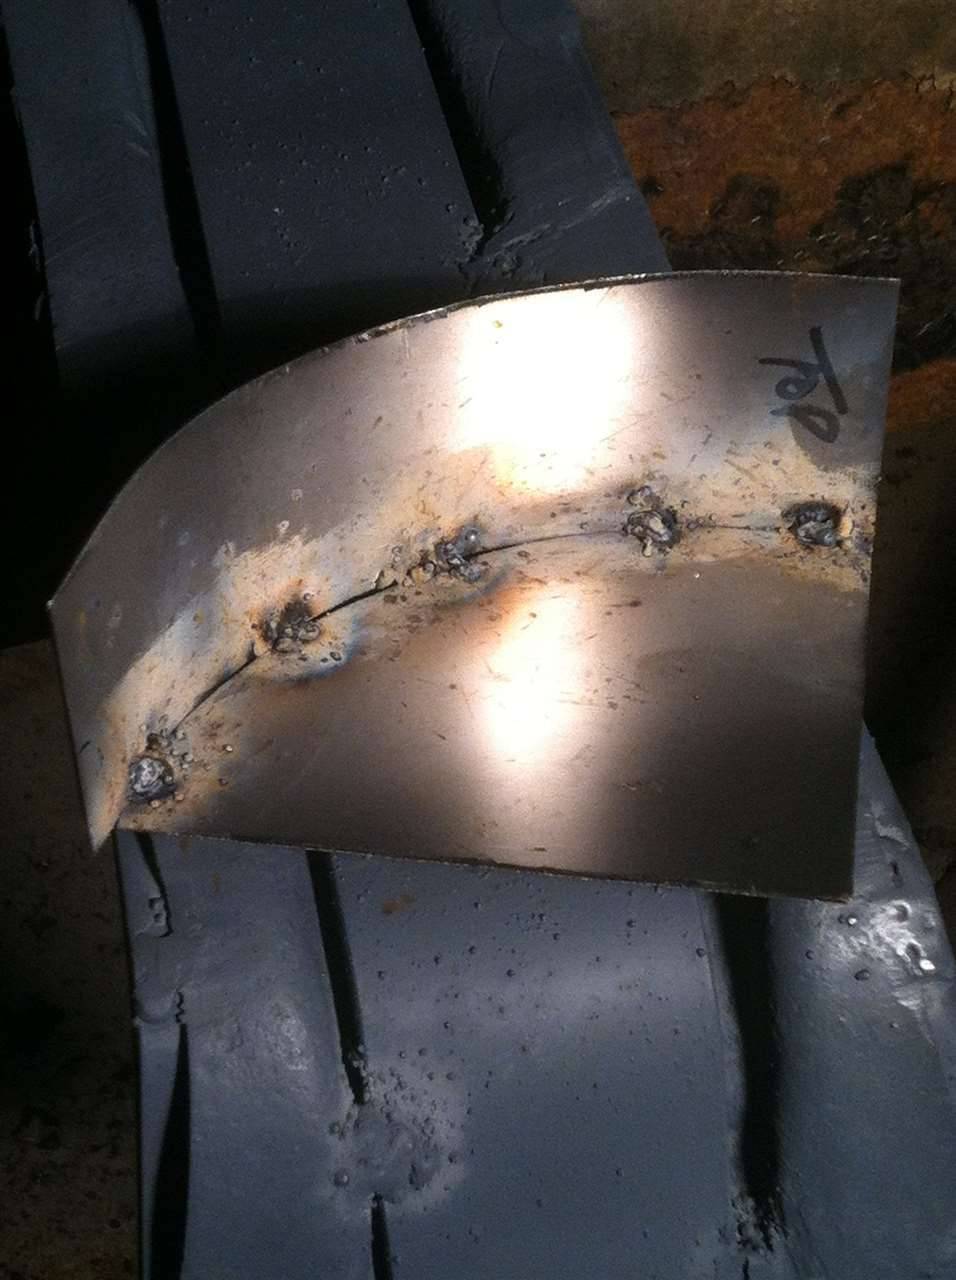 (85.77 KB) (85.77 KB)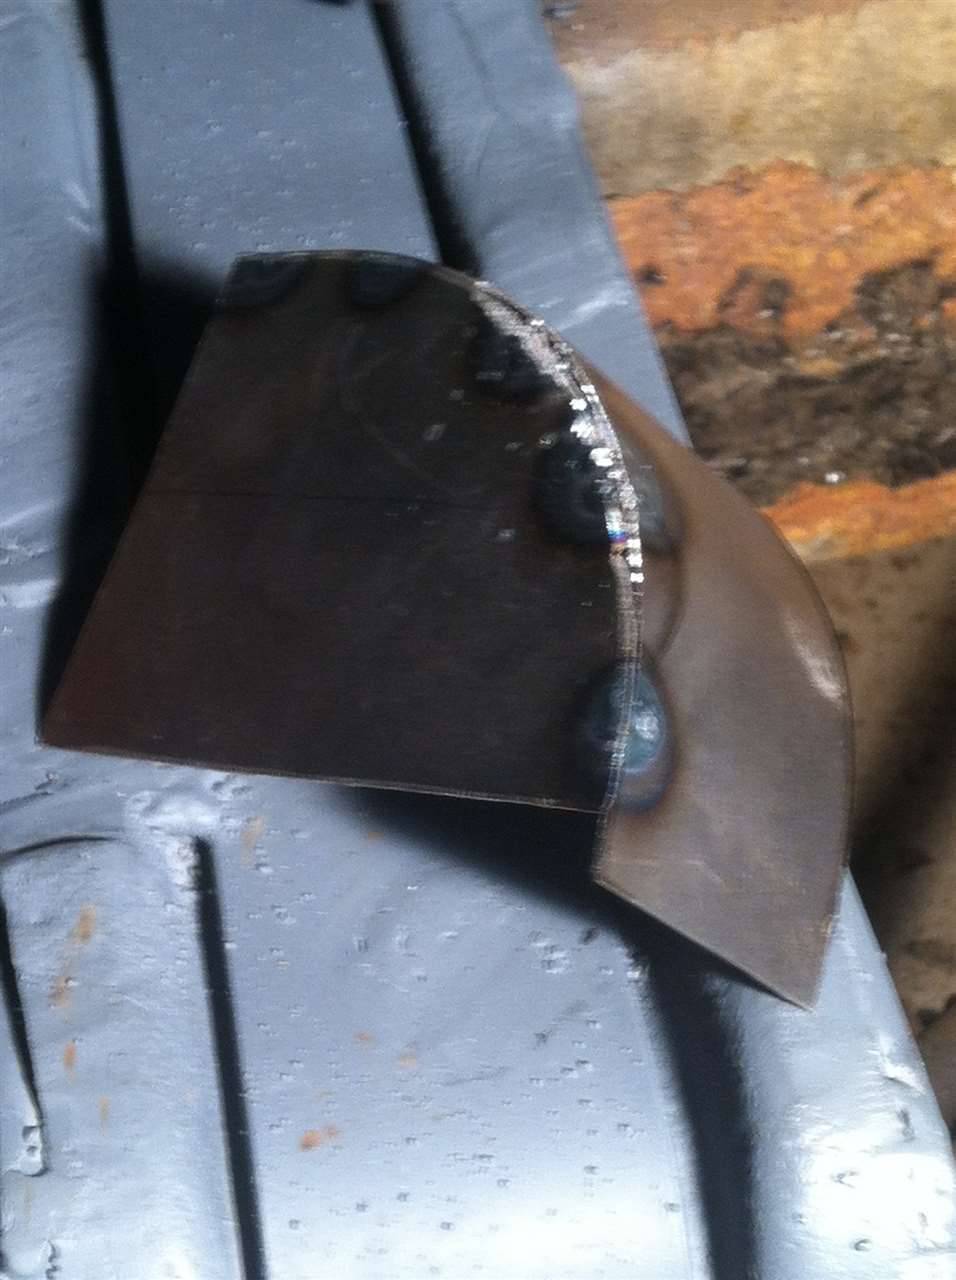 (80.28 KB) (80.28 KB) (84.95 KB) (84.95 KB)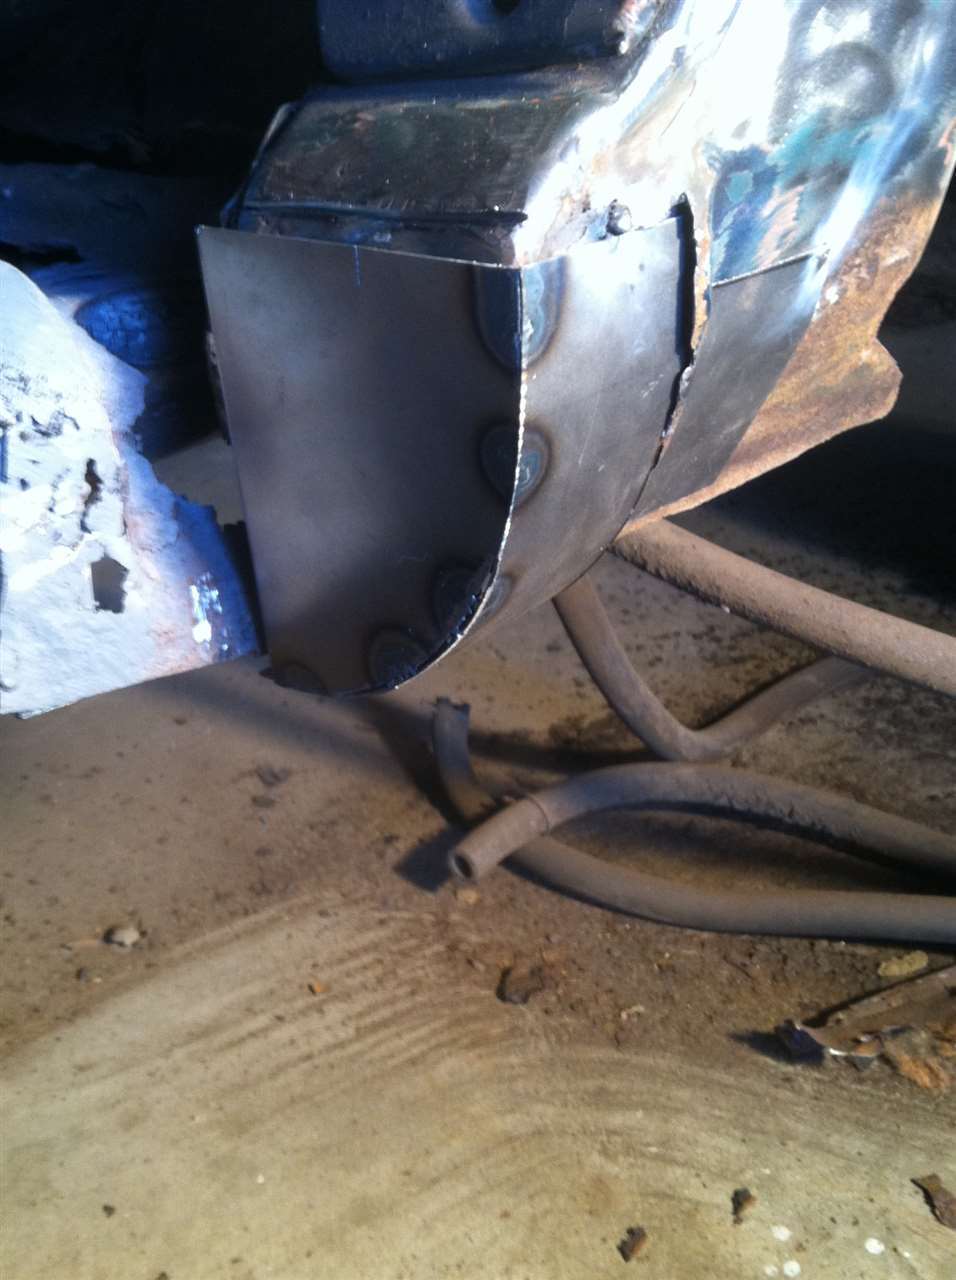
Posted on: 2013/11/24 14:44
|
|||
|
[url=https://packardinfo.com/xoops/html/modules/
|
||||
|
||||


.jpg")


