
|
Re: The Duchess Project: 1940 Super 8 Convertible Sedan
|
||||
|---|---|---|---|---|
|
Home away from home

|
8. Remove the seal guard and its gasket. Remove the oil seal retainer with embedded oil seal and its gasket.
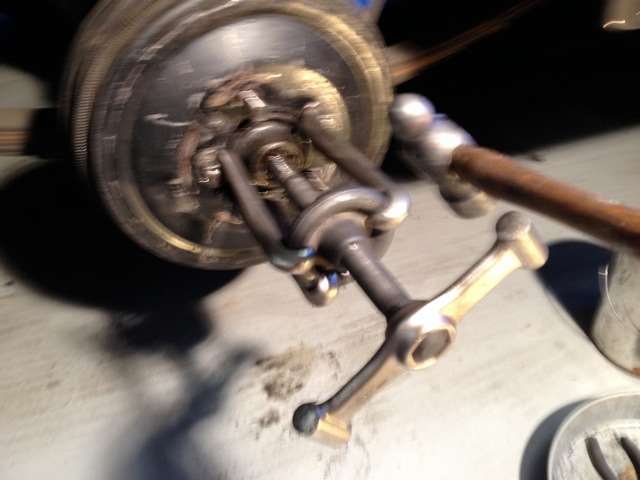
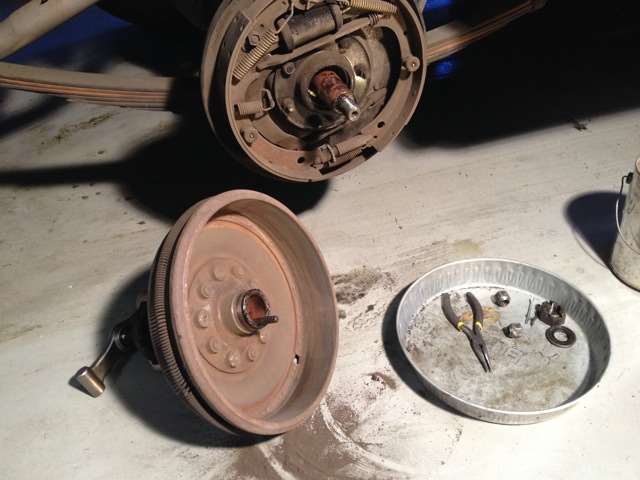
9. Carefully pull the brake support plate rearward without scraping the axle threads, and remove the axle shaft bearing shims, if any. 10. Remove the axle shaft and bearing, using Puller J-25 52, as shown in figure 2. Since I didn't have an axel puller, I put the nut and washer back on and tapped on extremity of the washer with a flat rod, a no-no, but it's only held by the race/cup and it eased out a little with each tap. Attach file:  (41.24 KB) (41.24 KB)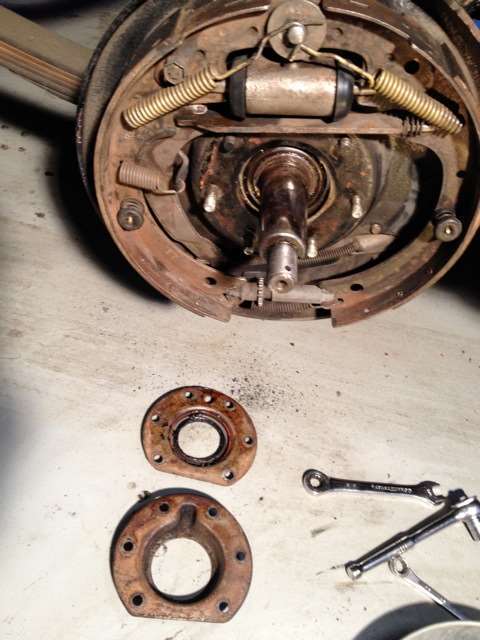 (47.72 KB) (47.72 KB)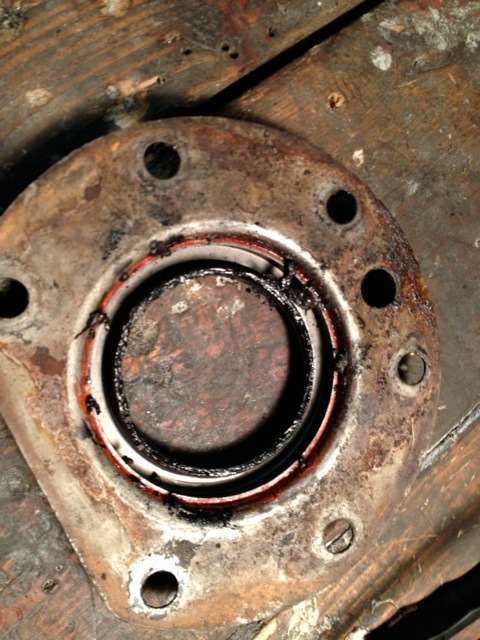 (46.00 KB) (46.00 KB)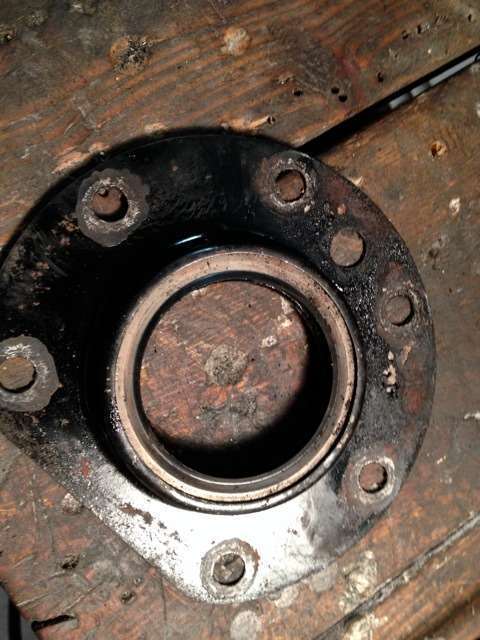 (35.29 KB) (35.29 KB)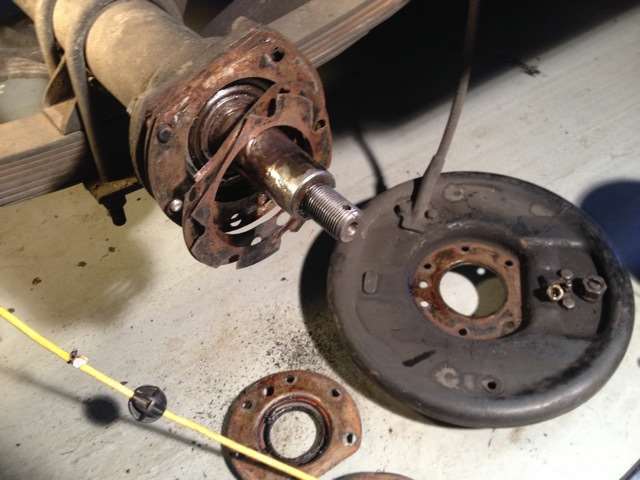 (35.40 KB) (35.40 KB)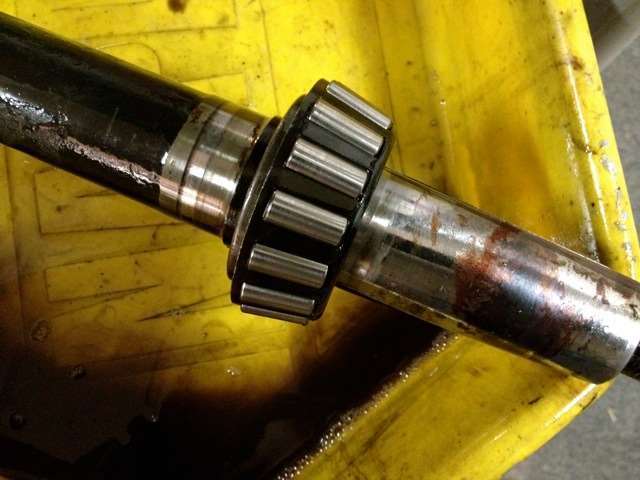 (32.58 KB) (32.58 KB)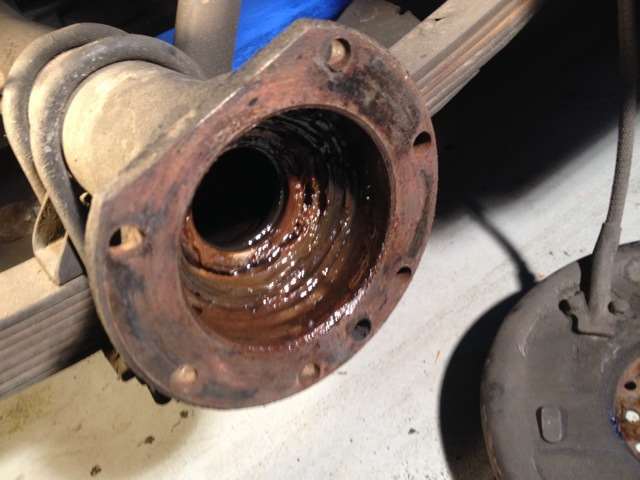
Posted on: 2014/2/1 0:31
|
|||
|
||||
|
Re: The Duchess Project: 1940 Super 8 Convertible Sedan
|
||||
|---|---|---|---|---|
|
Home away from home
|
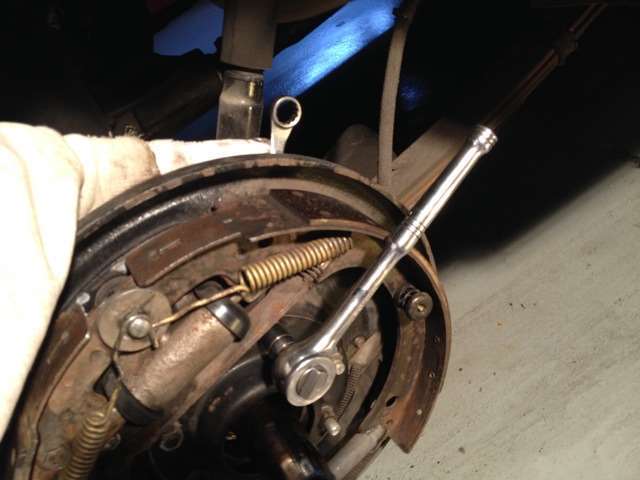
In the event that the inner axle shaft seal was renewed recently, and if it is not the intention to renew the oil seal at this reconditioning, care must be exercised to prevent damaging the seal. The axle shaft must be slid out completely by lifting slightly while removing, as shown in Egure 3. Be careful not to damage the seal by pulling the rough shaft across the seal.
Do not allow the shaft to remain partially pulled out of the housing as the weight of the shaft on the lower part of the seal will stretch and deform the seal. This will result in oil leaks occurring when the shaft is installed. Always completely remove axle shafts. 11. Remove the inner axle shaft oil seal, using tool J-943-B, as shown in figure 4. The only tool that worked for me was my framing hammer with a super-long, straight claw. Three bumps and the seal was out. See front and back of seal after removal. Attach file: (32.34 KB)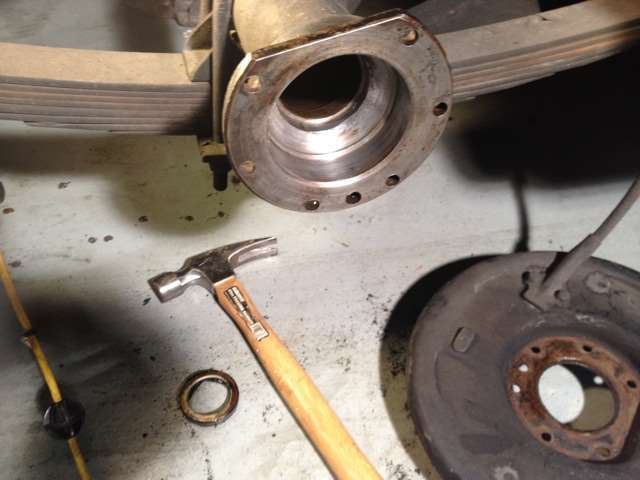 (42.05 KB) (42.05 KB)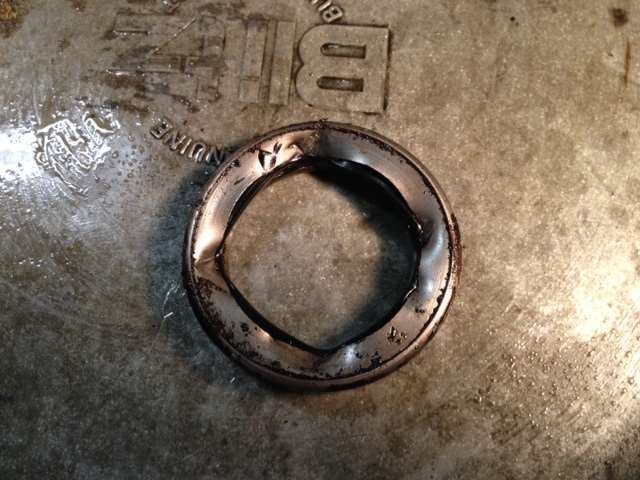
Posted on: 2014/2/1 0:33
|
|||
|
||||
|
Re: The Duchess Project: 1940 Super 8 Convertible Sedan
|
||||
|---|---|---|---|---|
|
Home away from home
|
12. Clean everything that is not being replaced. This included wire brushing, washing in kerosene and brake cleaner (be sure to wear a respirator), sanding, sealing, priming and painting. I hope that your parts aren't as dirty and rusty as mine.
13. Make new gaskets if needed. Mine were all missing. 14. Perform previously described operations on opposite side of the rear axle. Attach file: (28.27 KB)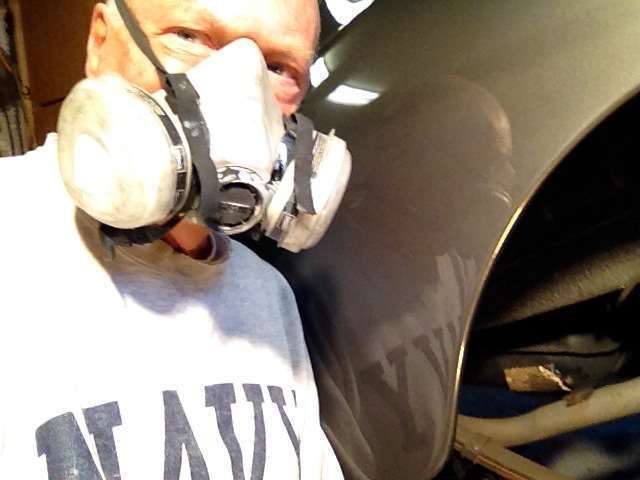 (31.62 KB) (31.62 KB)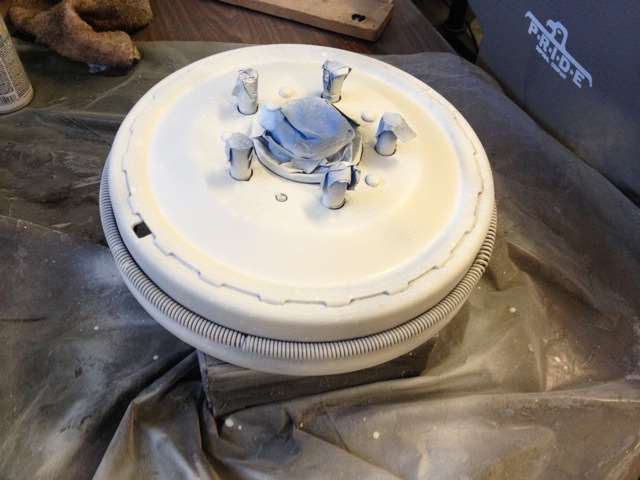 (29.78 KB) (29.78 KB)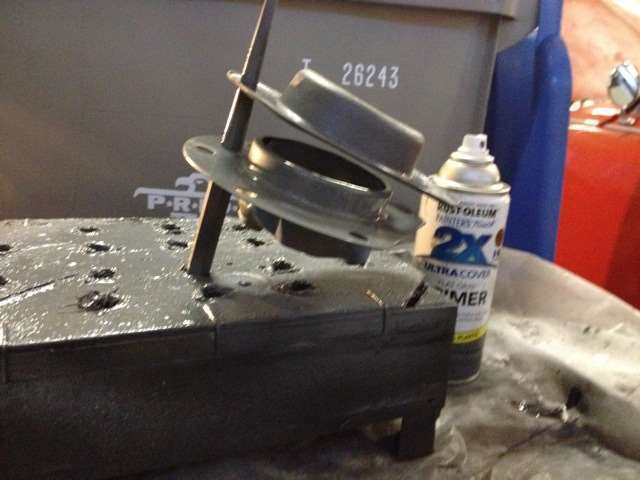 (27.49 KB) (27.49 KB)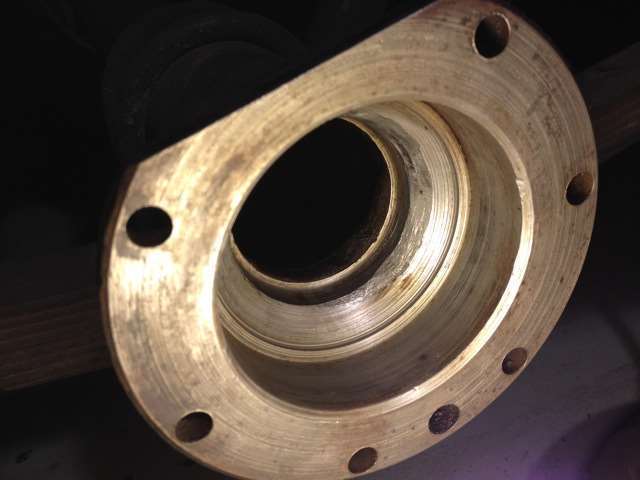 (37.96 KB) (37.96 KB)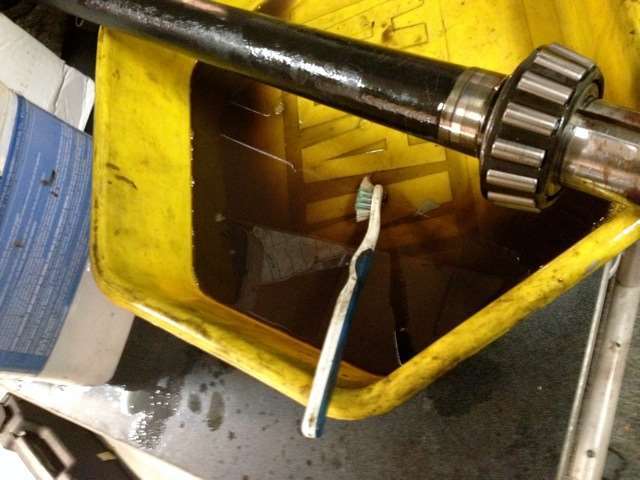 (47.73 KB) (47.73 KB)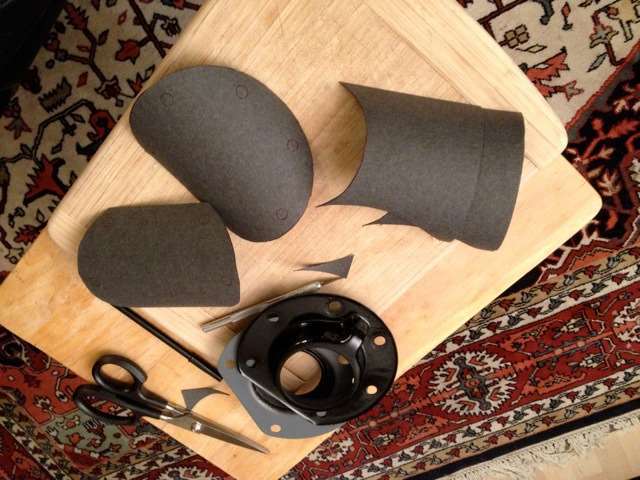
Posted on: 2014/2/1 0:36
|
|||
|
||||
|
Re: The Duchess Project: 1940 Super 8 Convertible Sedan
|
||||
|---|---|---|---|---|
|
Home away from home
|
INSTALLING REAR AXLE SHAFTS
1. Wipe the axle housing axle shaft bearing flange and the brake support plate free of road dirt to prevent any dirt from contacting the axle shaft bearing during installation. 2. Install a new axle shaft inner oil seal using tool J-2554 by placing the. seal on the pilot end of driver (figure 33) and driving into position. I have a bearing driver set, but it only goes to 2.55" diameter. I inquired at O'Reilly's Auto Supply and was told they rent them for 48 hours for free. You pay a deposit of $62 for a set that goes over 3" and your deposit is refunded when you return it. They have quite a few tools on the same program. http://www.oreillyauto.com/site/c/RentalTools.oap?icid=stkToolRentalV2 The outer bearing is 2.99". Attach file: (63.49 KB)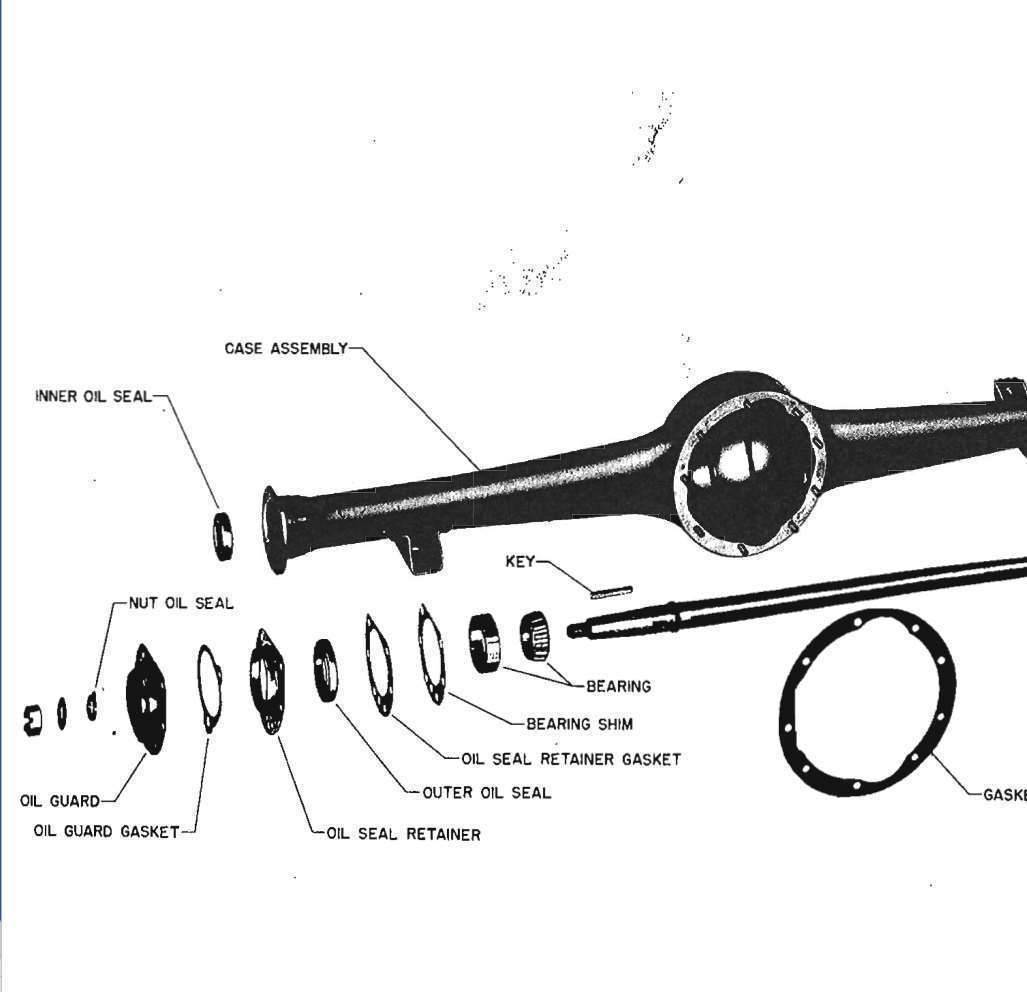 (18.05 KB) (18.05 KB)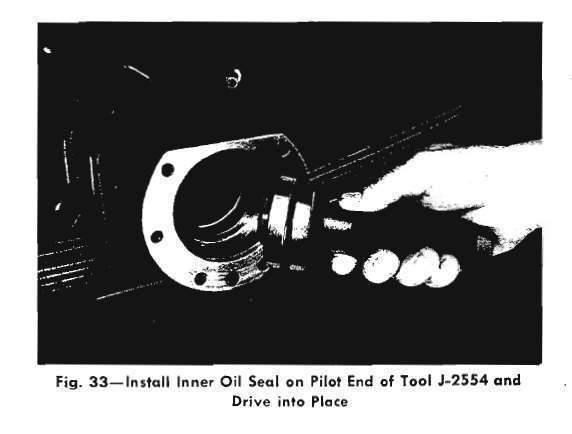 (40.86 KB) (40.86 KB)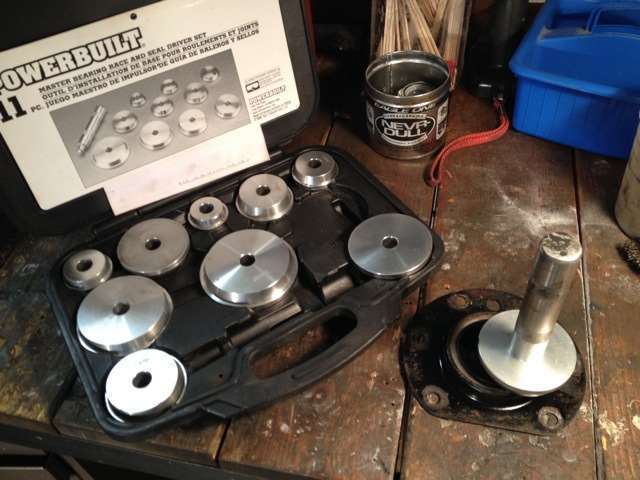 (24.36 KB) (24.36 KB)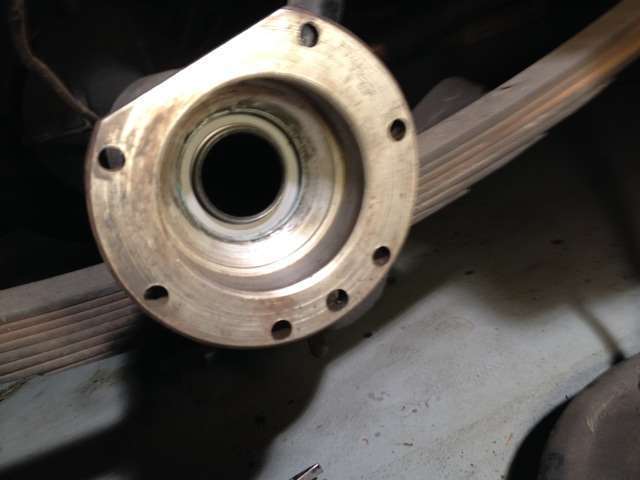
Posted on: 2014/2/1 0:38
|
|||
|
||||
|
Re: The Duchess Project: 1940 Super 8 Convertible Sedan
|
||||
|---|---|---|---|---|
|
Home away from home
|
3. Pack the axle shaft bearing with 2 ounces of No. 3 fiber grease. Work the grease thoroughly under the roller cone and around the rollers performing the operation the same as on front wheel bearings. (See figure 34.) Do not apply extra grease on the axle shaft or in the housing when installing the shaft.
4. Install the axle shaft in the axle housing and mesh the end splines in the differential gear. Slide the shaft into place. (See figure 35.) Be careful during the axle Installation not to drag the shaft across the oil seal. 5. Install the axle shaft bearing cup and shims, having previously wiped the shims free of dirt. Make sure cup does not cock or wedge itself in the housing, or backing plate will become bent when tightened, I tapped it in with an upholstery hammer and small block of wood. Attach file: (110.74 KB)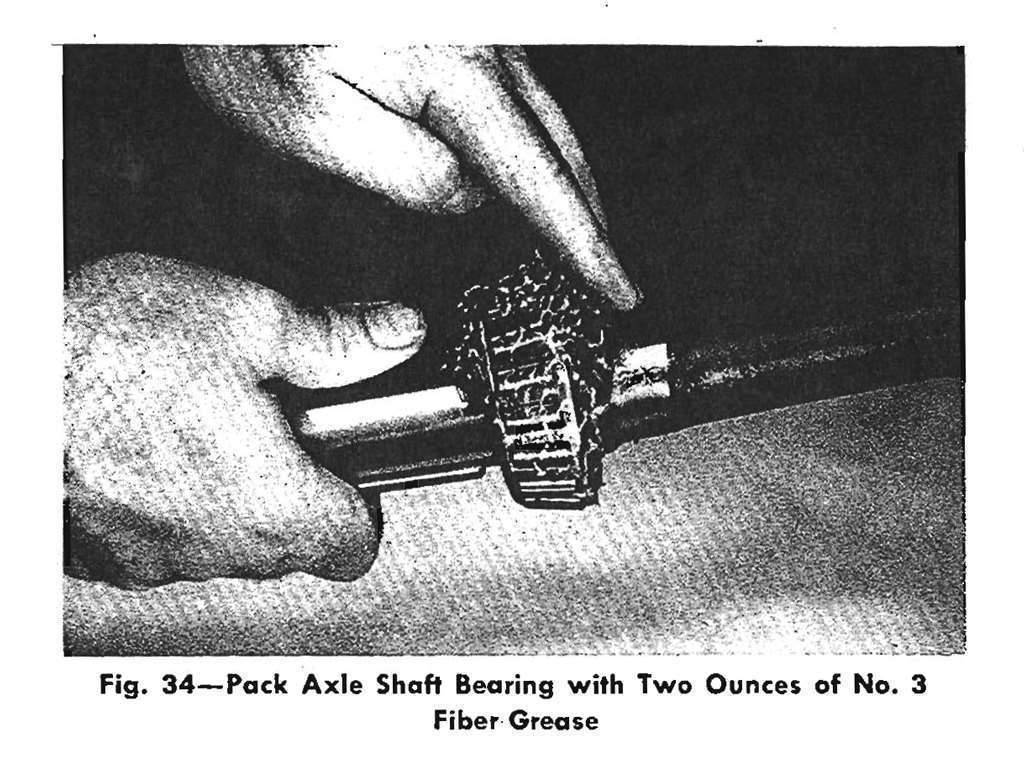 (32.73 KB) (32.73 KB) (67.36 KB) (67.36 KB)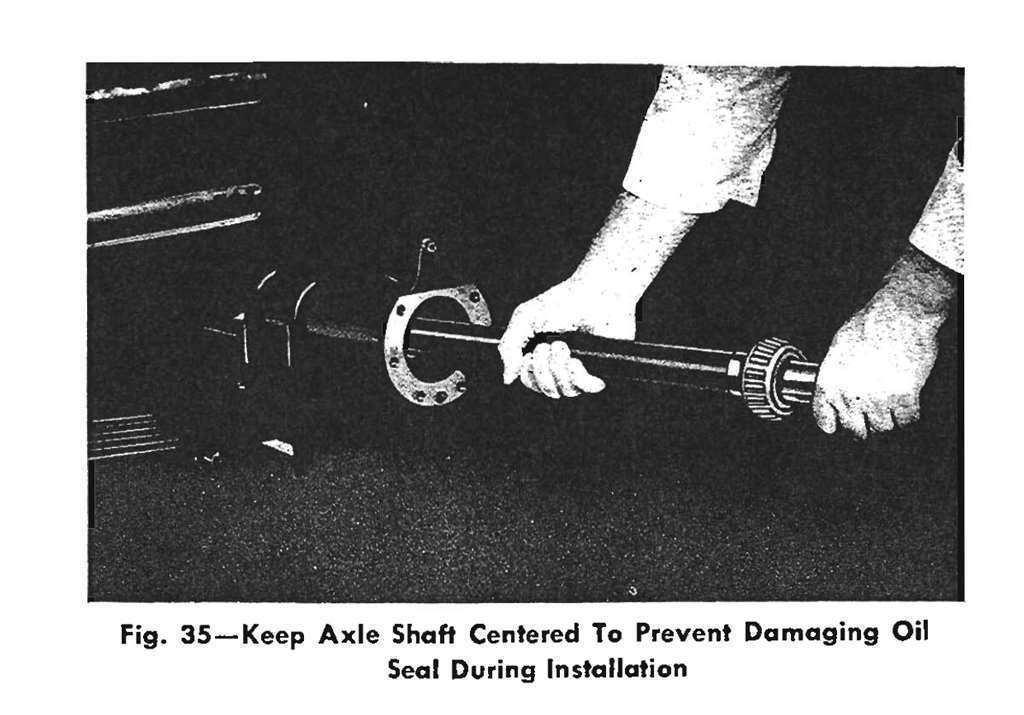 (32.65 KB) (32.65 KB)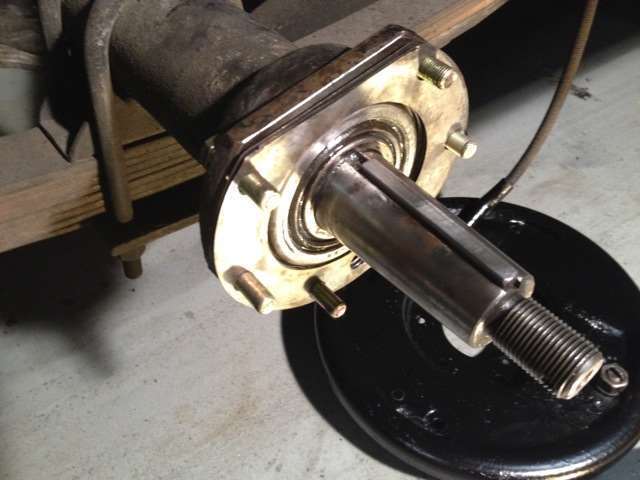
Posted on: 2014/2/1 0:41
|
|||
|
||||
|
Re: The Duchess Project: 1940 Super 8 Convertible Sedan
|
||||
|---|---|---|---|---|
|
Home away from home
|
6. Install the brake support plate screws, support plate, new oil seal retainer gasket, new oil seal, oil seal retainer, new seal guard gasket, and the seal guard. Install the nuts and lock washers, and gradually snug up all nuts before final tightening. Torque to 35 to 40 foot pounds.
I did not perform the axle end play because the axles have not been making noise and there were quite a few shims already installed, including one made out of a tin can. I know this doesn't make sense, but I don't have the new bearings yet and I thought I would do that procedure when I do. Here's what I will have to do: Due to the possibility of the axle shaft thrust block rotating out of proper position in the differential, make frequent checks during the support blade tightening by pulling the axle shaft in and out to see that the axle shaft has sufficient end play. Attach file: (35.08 KB)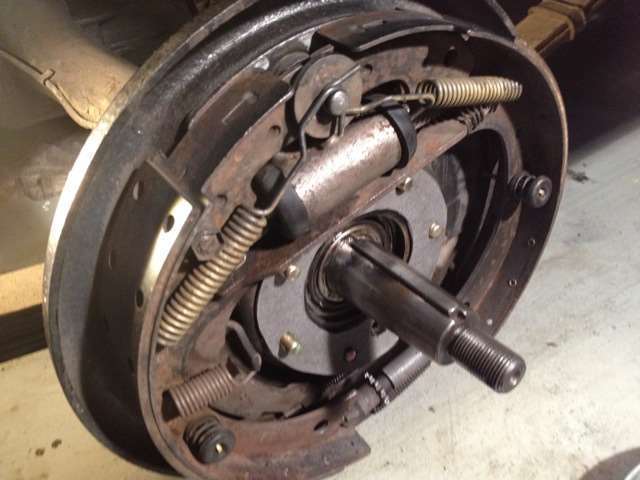 (35.72 KB) (35.72 KB)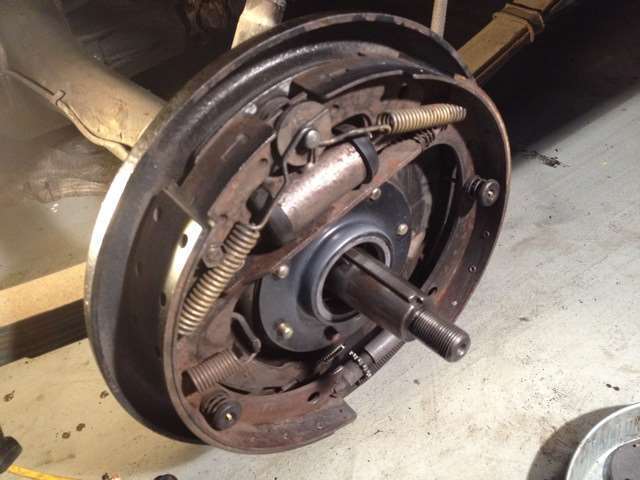 (40.00 KB) (40.00 KB)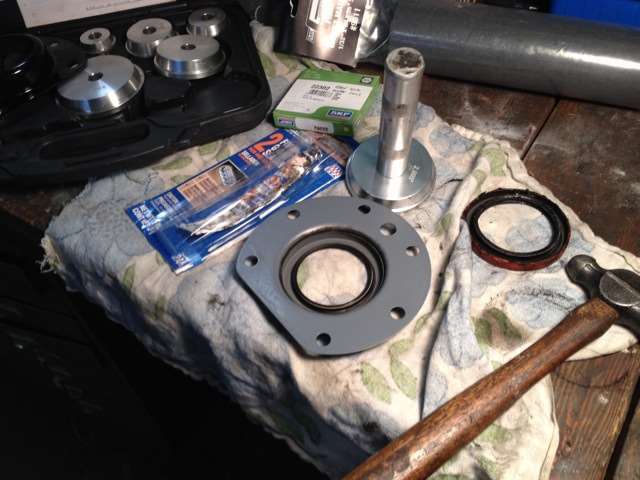 (30.45 KB) (30.45 KB)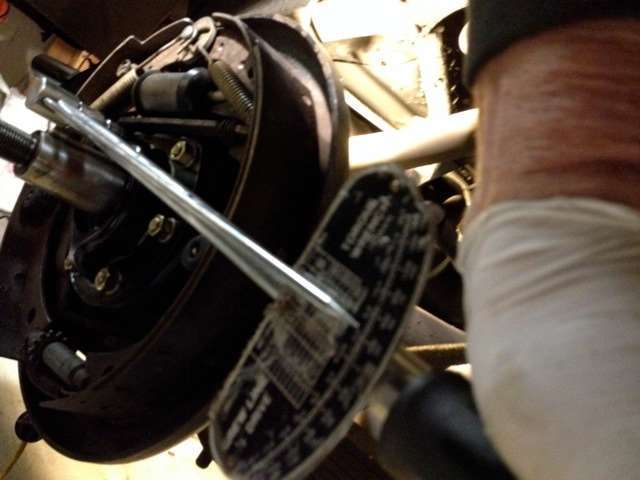 (30.69 KB) (30.69 KB) (34.93 KB) (34.93 KB)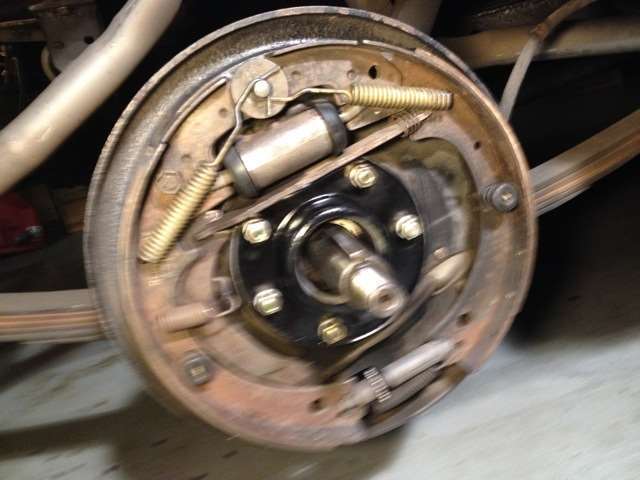
Posted on: 2014/2/1 0:43
|
|||
|
||||
|
Re: The Duchess Project: 1940 Super 8 Convertible Sedan
|
||||
|---|---|---|---|---|
|
Home away from home
|
7. Attach the Axle Shaft Remover J-2 5 5 2 and bump the shaft back and forth several times to seat the shaft and bearings in place. Remove the bumping tool and install Checking Gauge J-2 560.
8. With the axle shaft forced in towards the differential, turn the long adjusting screw to bear against the backing plate, then pull the shaft outward. Check with feeler gauge to determine the clearance, which should be .004 inch to .007 inch (See figure 36.) Shims for this adjustment are available in .005 inch, .007 inch, and .020 inch thickness. Add or remove shims at the backing plate, to obtain the specified clearance. End play of less than .050 inch can be adujsted at one side only. Remove shims from both sides if end play exceeds .050 inch in order to keep the thrust block centralized. Attach file: (30.52 KB)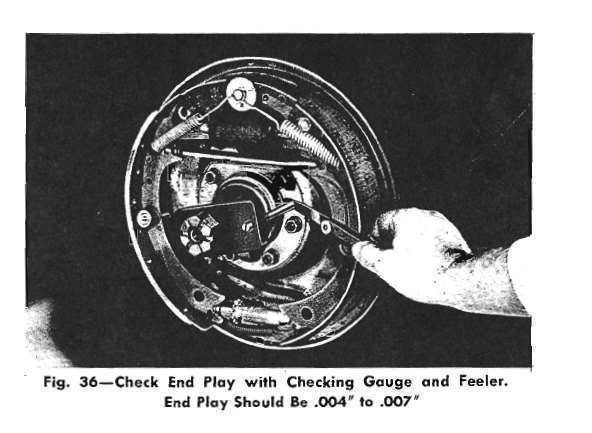
Posted on: 2014/2/1 0:44
|
|||
|
||||
|
Re: The Duchess Project: 1940 Super 8 Convertible Sedan
|
||||
|---|---|---|---|---|
|
Home away from home
|
9. Connect the brake hydraulic line to the brake cylinder. Thoroughly wipe all oil and grease from the tapered portion of the axle shaft and bore in the wheel hub; then install the brake drum and hub assembly. On rubber parts that are rubbed, I apply Plumbers Grease. I believe it's the only lubricant that should be applied to rubber.
10. *Install the axle shaft nut washer and nut and tighten securely. Install and bend the cotter pin. 11. Perform previously described operations 10 and 11 on opposite side of rear axle. 12. Bleed both the rear brake cylinders and fill the master cylinder. 13. Mount the wheels and remove the car from the stands. After completion of the road testing for differential performance, reinspect the differential for possible oil leaks and correct if necessary. THE END, FOR NOW Attach file: (33.95 KB)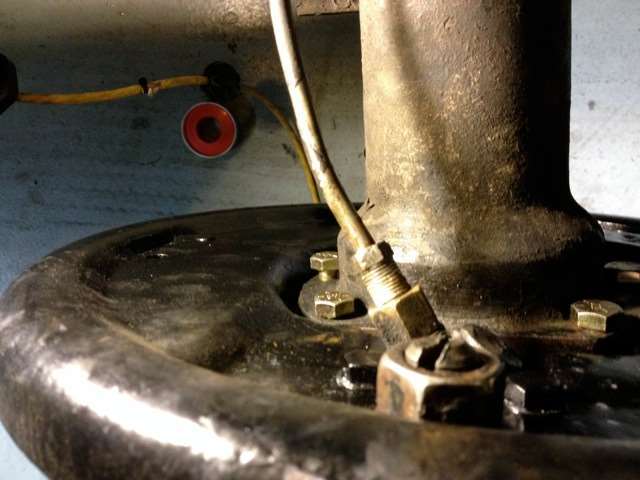 (18.41 KB) (18.41 KB)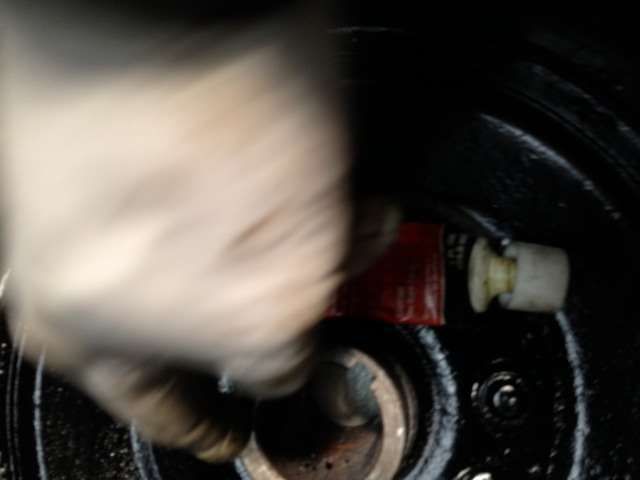 (28.59 KB) (28.59 KB)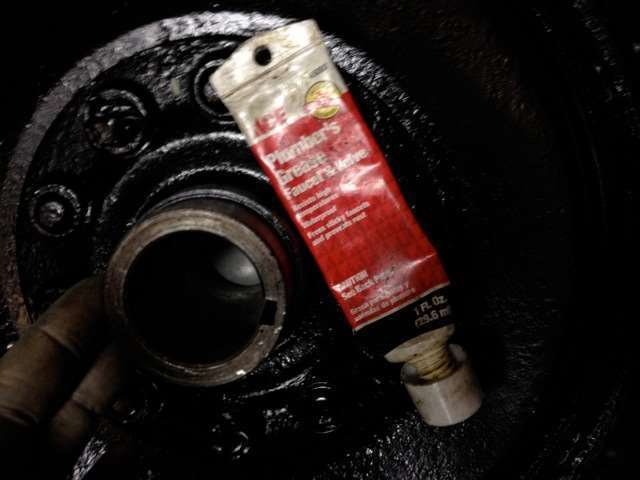 (33.32 KB) (33.32 KB)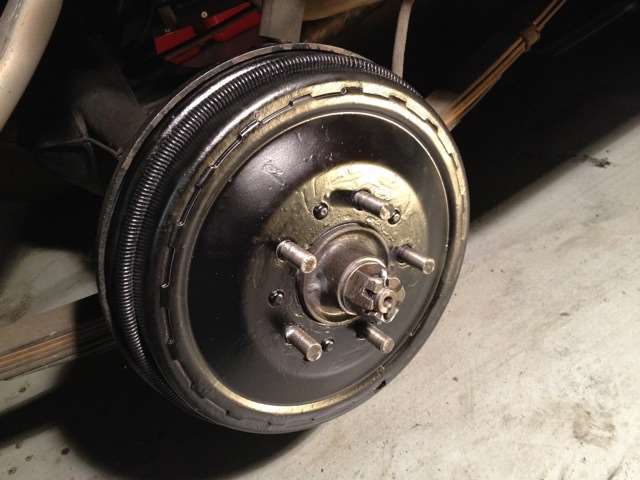
Posted on: 2014/2/1 0:47
|
|||
|
||||
|
Re: The Duchess Project: 1940 Super 8 Convertible Sedan
|
||||
|---|---|---|---|---|
|
Home away from home
|
CLUTCH ISSUE
Well I think the clutch finally gave out. It wasn't working as good as it should, so I thought adjusting the pedal might help. Of course the linkage needed cleaning, so removed it and replaced it. I adjusted the pedal to 1-1/2" free play, and it seemed to be better. I drive her to work every Friday, but on the way it stuck in 1st, so I turned around and drove home in first, going slowly through neighborhood cross streets. Now, even when adjusted above and below 1-1/2" free play, it won't go into gear. Could I have displaced the clutch fork somehow? I can shift into all gears when the engine is off. Before and after photos. I realize that the nut is in a different position, but I have had it in all positions, from all the way tight to all the way loose. If I remove the clutch cover, what would I look for to k now the clutch was gone? I bought a refurbished clutch plate from Gary Brinton. My next question will be if you think I could install it, or if special tools or skills are needed. Attach file: (100.48 KB)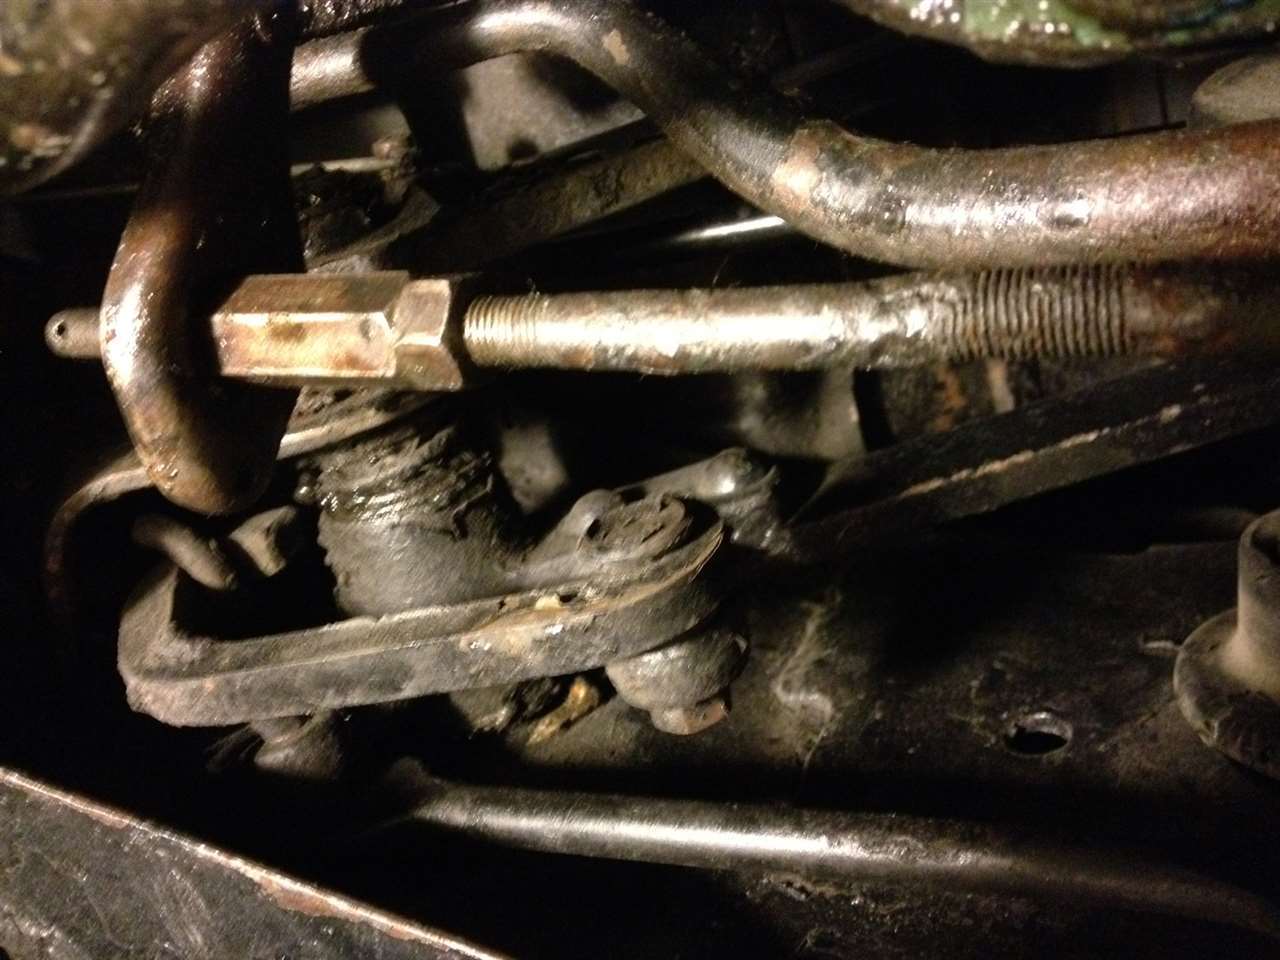 (95.99 KB) (95.99 KB)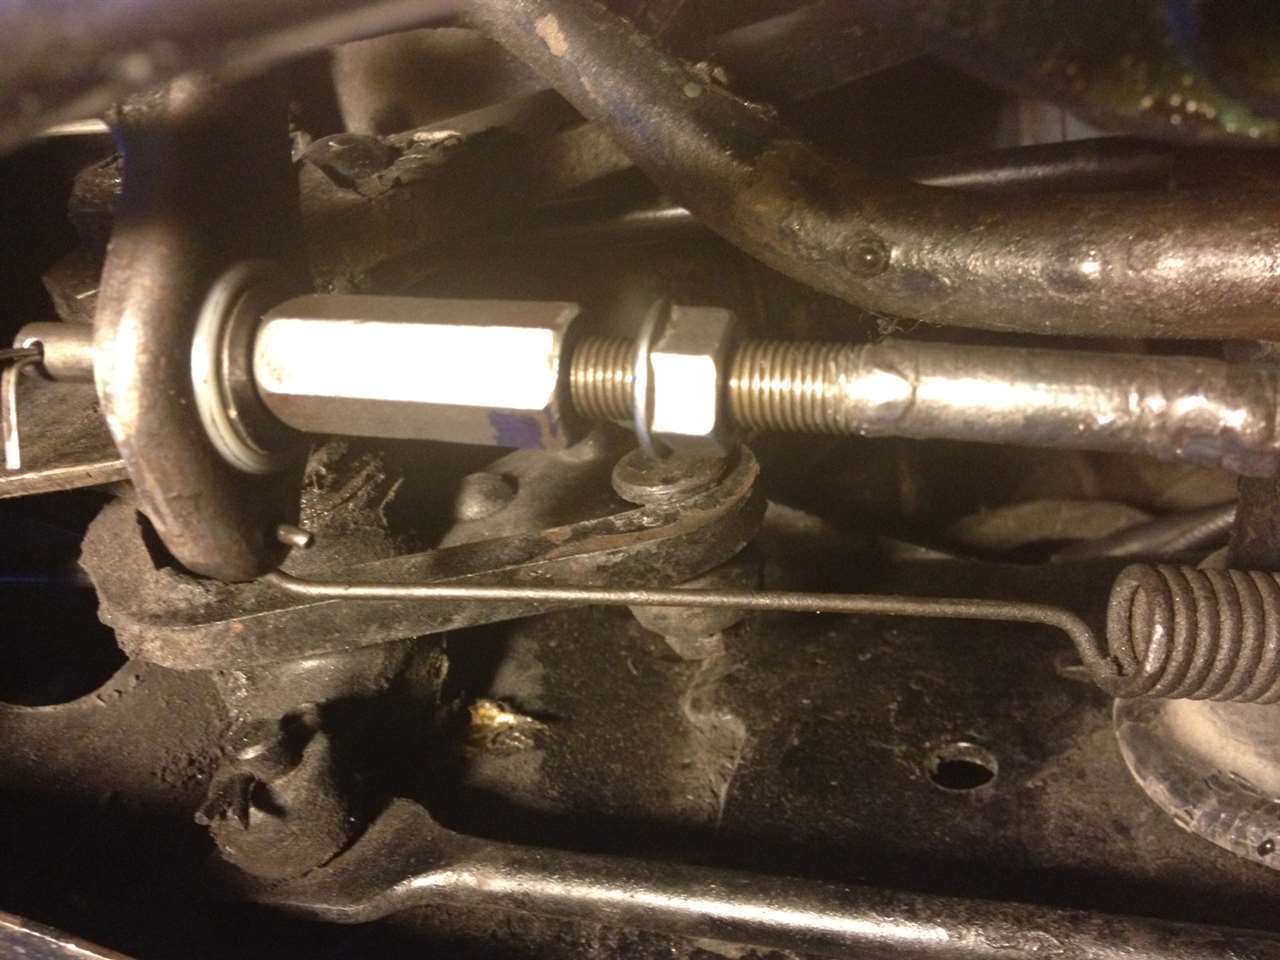 (85.64 KB) (85.64 KB)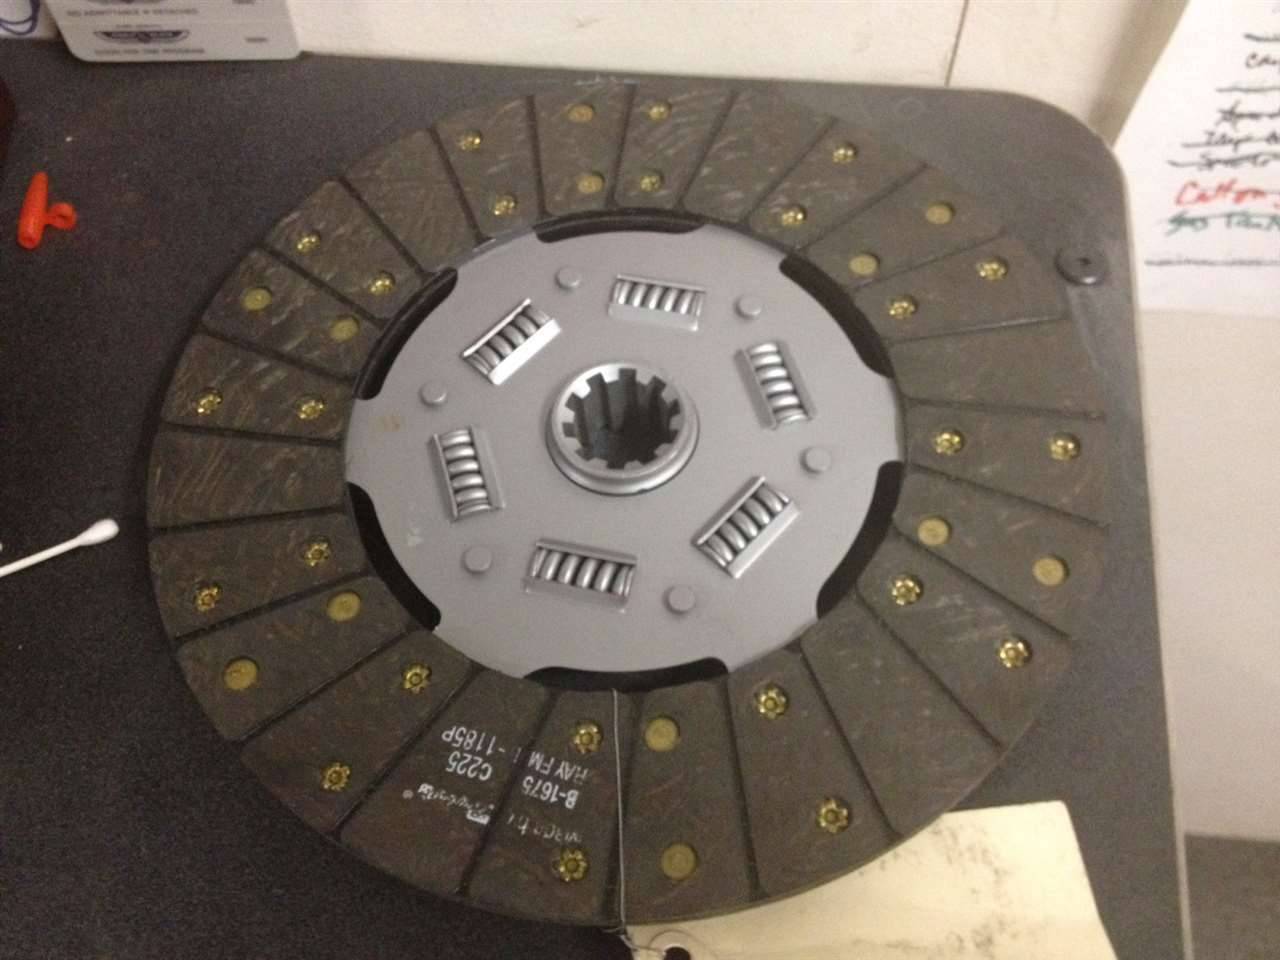
Posted on: 2014/2/1 20:33
|
|||
|
||||


