|
Re: Howard's 47 Custom project
|
||||
|---|---|---|---|---|
|
Home away from home

|
Clever idea. Something to keep in mind for variuos future projects.
Note that some of the 80's and later 4 cylinder cars used a vacuum pump (IIRC electric) for vacuum power including brakes. So maybe a vacuum pump might fit into the picture too but only for 12v. Not sure how well it work on 6v.
Posted on: 2015/4/27 13:08
|
|||
|
VAPOR LOCK demystified: See paragraph SEVEN of PMCC documentaion as listed in post #11 of the following thread:f
https://packardinfo.com/xoops/html/modules/newbb/viewtopic.php?topic_id=7245 |
||||
|
||||
|
Re: Howard's 47 Custom project
|
||||
|---|---|---|---|---|
|
Webmaster

|
Have you thought about using a RC Servo? They run on 5v volts. You can build a simple circuit using a Pot switch which then controls the position of the servo. Then all you have is a couple of simple wires running to the back.
You can use a LM7805 5v regulator to power the circuit and servos. http://www.amazon.com/Elec-10pcs-LM7805-Voltage-Regulator/dp/B00UI3QCNS/ref=sr_1_9?ie=UTF8&qid=1430158993&sr=8-9&keywords=7805+5v+regulator Along those same lines, you can hookup a temp sensor as well that will control the servo's as well. You can build all of this either as an analog circuit (using resistors and caps as need to tune the servo signals), or have a $10 Arduino based microcontroller which you can program via a PC do everything with software and add can add some interesting capabilities to it. Just an idea. The fact most of these Microcontrollers run natively at 5 volts and some at 3.3 volts lets them fit perfects in 6v cars and even 12v cars with a LM7805 to smooth everything out. If you want to look at this route, I can help you with the controller programming.
Posted on: 2015/4/27 13:31
|
|||
|
-BigKev
1954 Packard Clipper Deluxe Touring Sedan -> Registry | Project Blog 1937 Packard 115-C Convertible Coupe -> Registry | Project Blog |
||||
|
||||
|
Re: Howard's 47 Custom project
|
||||
|---|---|---|---|---|
|
Forum Ambassador

|
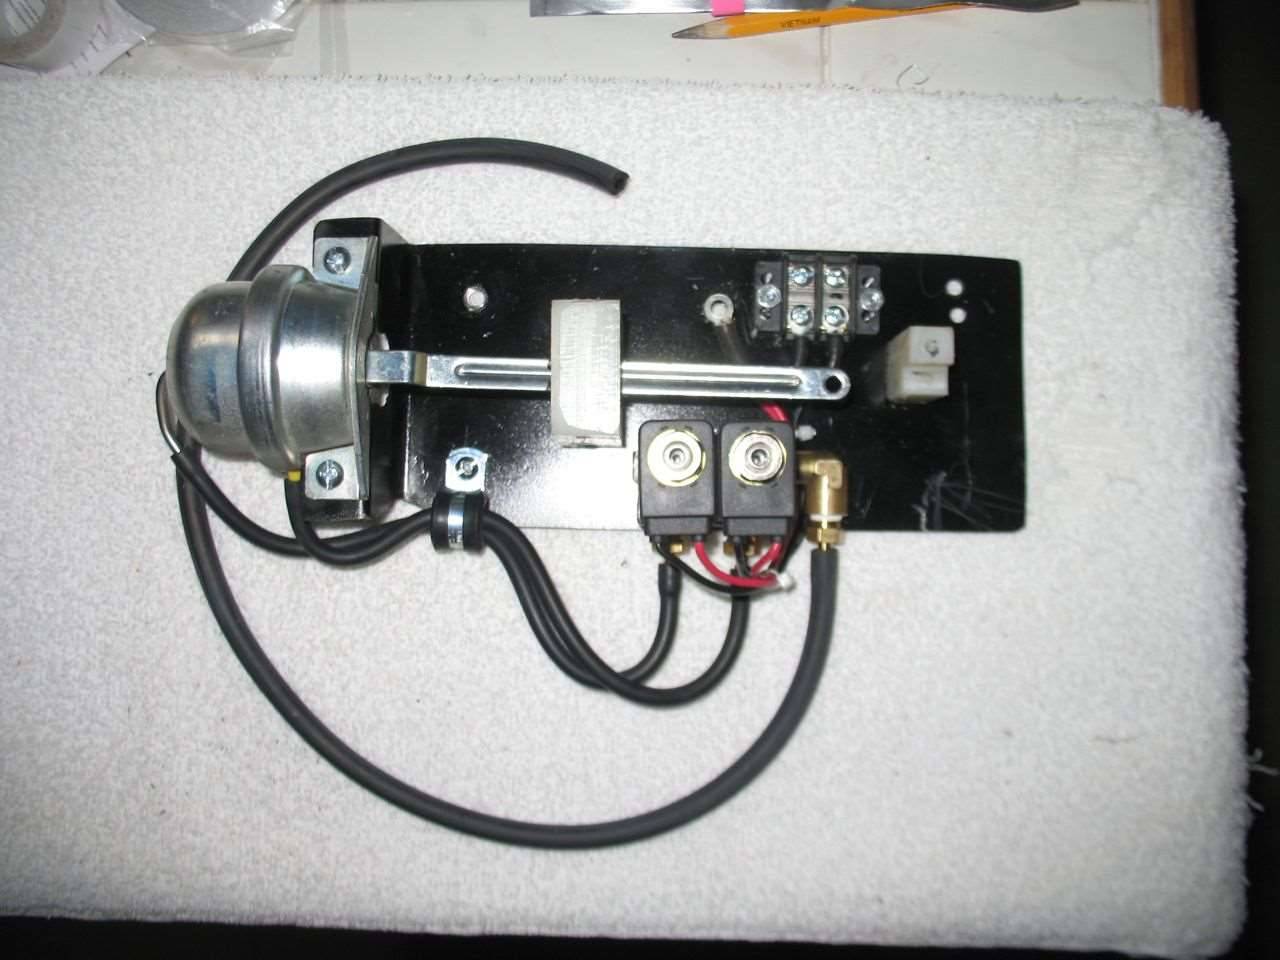
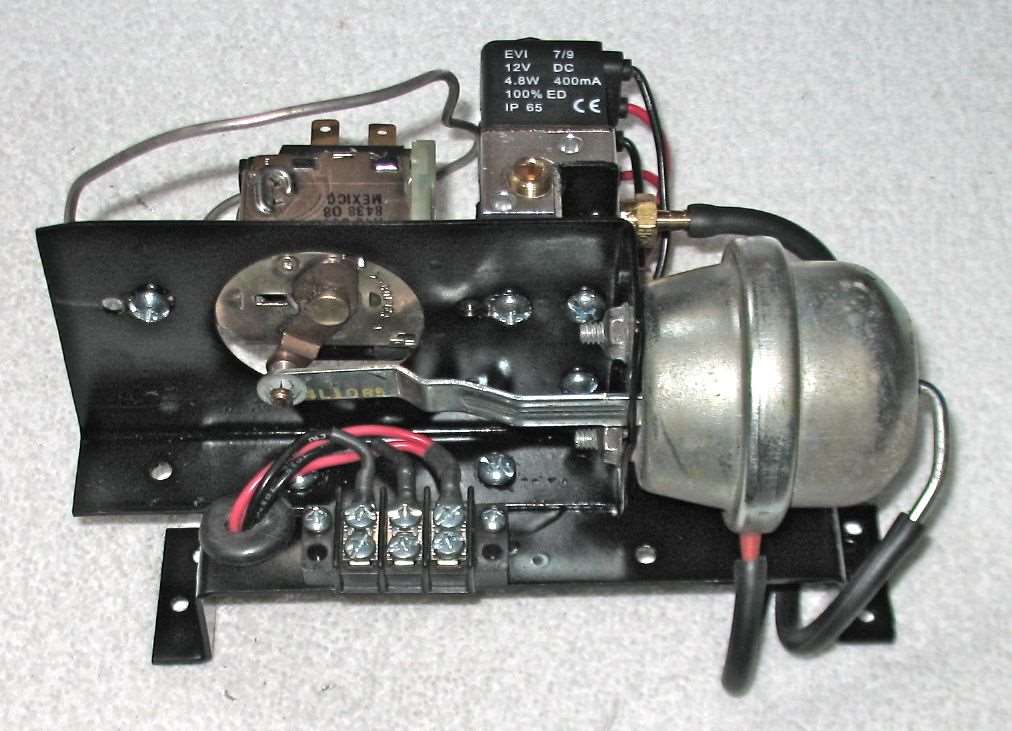
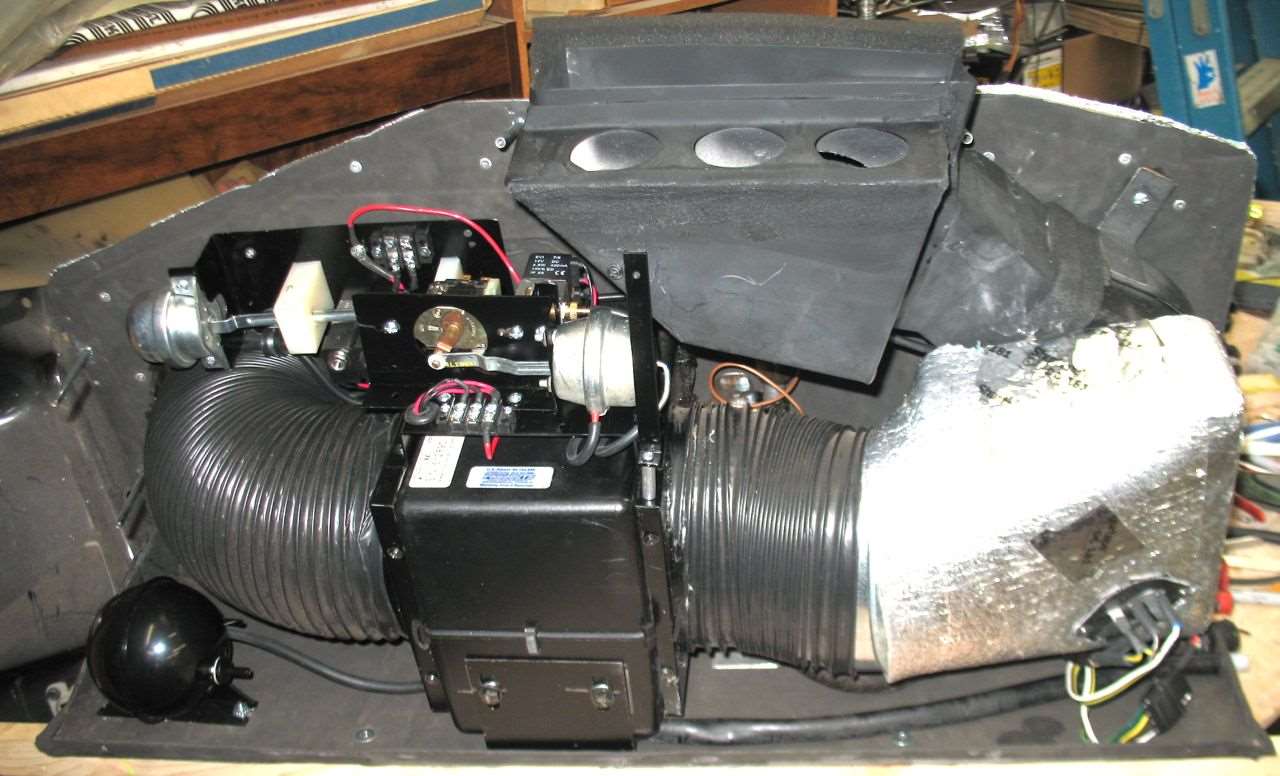
I did think of servos. I thought they might work and was the first consideration. Looked at a few of the model car and plane types available here at one of the hobby shops but thought they seemed a little small for the job. I'm not very familiar with them and didn't have specs for what torque I thought was needed. The guy behind the counter couldn't tell me much on their requirements or operation other than what motions they had and that those he had in stock all needed a receiver package to work. I let the idea pass and went with the vacuum.
The air diverter works well with vacuum and might even be able to use the direct valve instead of solenoids but the thermostat could possibly benefit from the finer touch a servo would offer. That is one of those things time will tell. Aside from evaporator freeze prevention, the car volume is so large the thermostat may never cycle due to interior temp requirements anyway. If it does actually cycle and a finer control is needed, a servo operated by a pot leaves open some intriguing mounting options. I could envision a small pot on the end of the main switch operated independently by a thumbwheel or lever on a common shaft for a combo temp and fan speed location.
Posted on: 2015/4/27 14:39
|
|||
|
Howard
|
||||
|
||||
|
Re: Howard's 47 Custom project
|
||||
|---|---|---|---|---|
|
Forum Ambassador
|
Made the first of my zinc AC knobs today and it turned out better than I had expected for the attempt. Even raw and rough it looks presentable. Nice thing about zinc is it can be remelted. Will redo this one to raise the letters and change the sprue pattern slightly because there was a bit of air trapped in one spot. All in all though, this one is usable as the defect is on the unseen end that stays in the dash. The new letters worked well and the wax was able to fill completely and make a good pattern impression. Now hopefully the zinc will smooth and polish up reasonably well and then off to the chrome shop.
Once the knobs are done, the vent is next. Found an adjust knob that looks a lot like the original so just waiting to get some good dimensions before tackling that little project. Attach file:  (35.89 KB) (35.89 KB)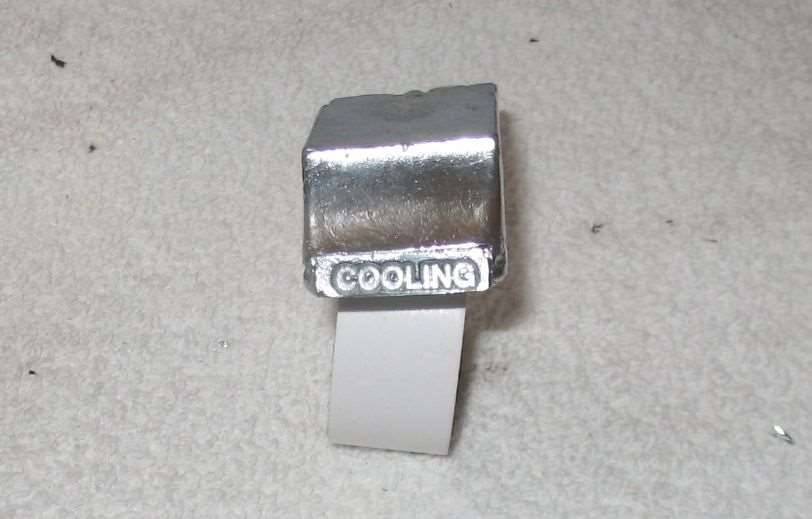 (111.47 KB) (111.47 KB)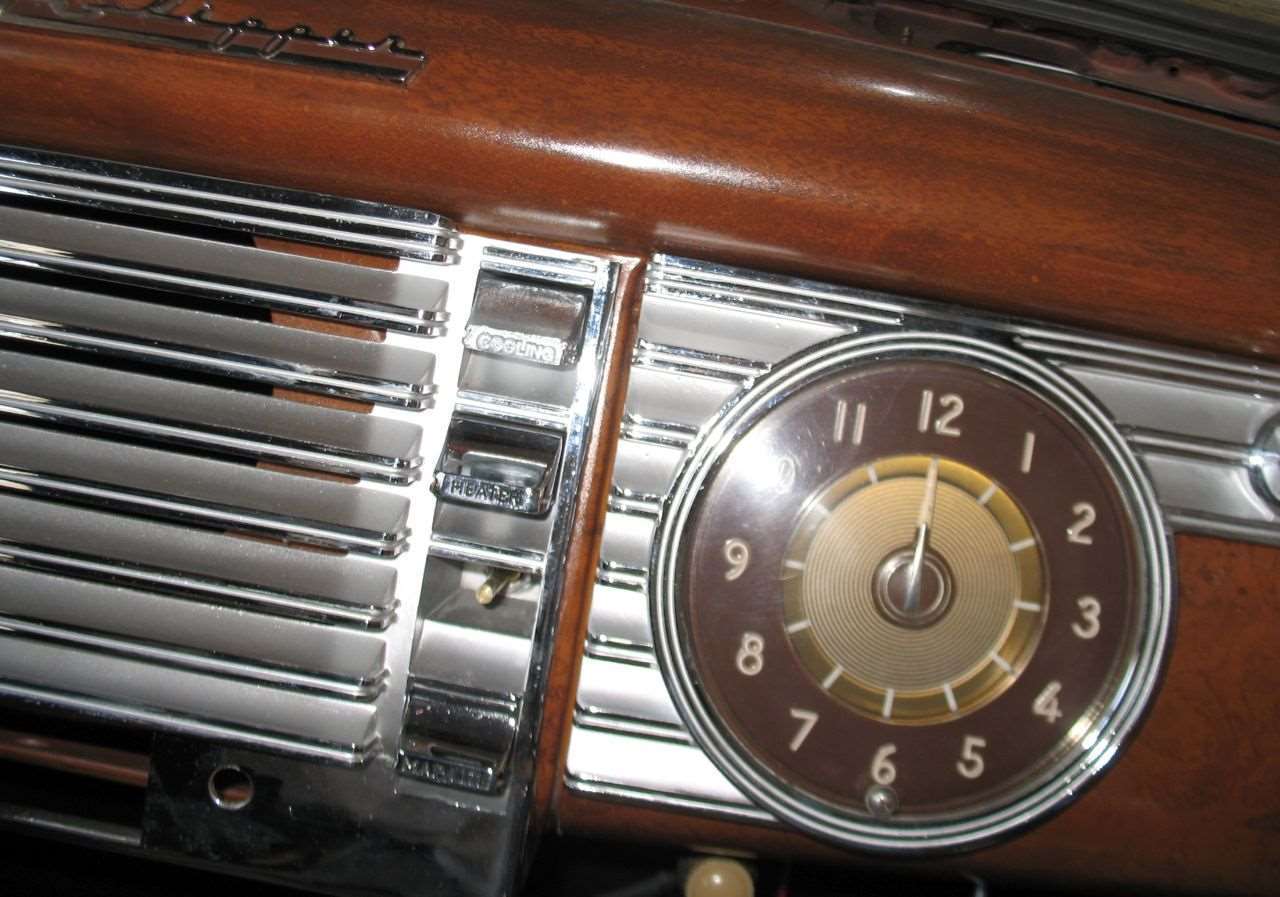 (34.88 KB) (34.88 KB)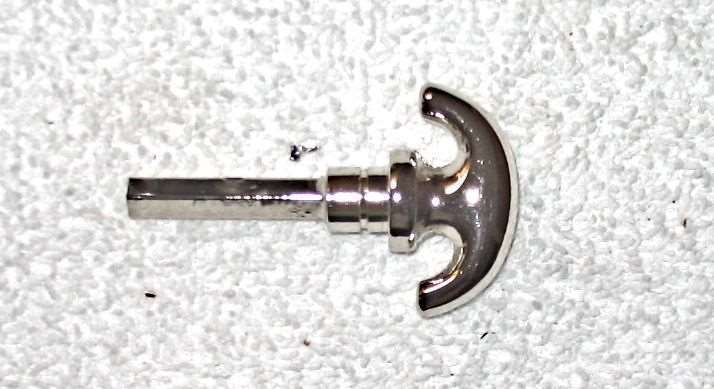 (23.62 KB) (23.62 KB)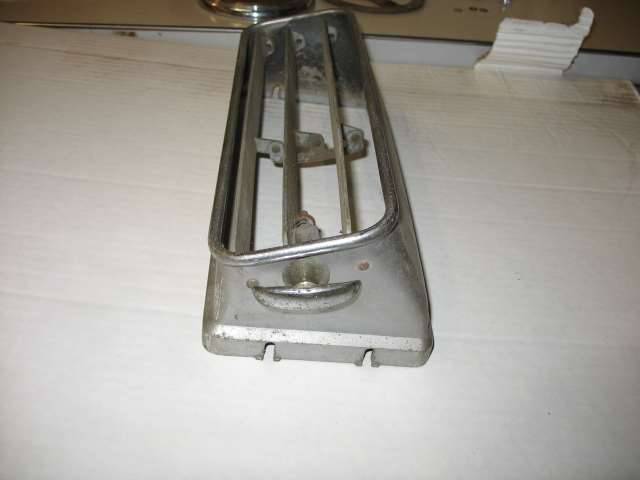
Posted on: 2015/5/9 15:56
|
|||
|
Howard
|
||||
|
||||
|
Re: Howard's 47 Custom project
|
||||
|---|---|---|---|---|
|
Home away from home
|
The Zinc mite polish on a buffing wheel very nicely.
Posted on: 2015/5/9 16:34
|
|||
|
VAPOR LOCK demystified: See paragraph SEVEN of PMCC documentaion as listed in post #11 of the following thread:f
https://packardinfo.com/xoops/html/modules/newbb/viewtopic.php?topic_id=7245 |
||||
|
||||
|
Re: Howard's 47 Custom project
|
||||
|---|---|---|---|---|
|
Forum Ambassador
|
Picked up the rear seat etc from the upholsterer today. Very pleased with the job although I believe what it cost probably took care of his mortgage, car payment and shop lease for this month and maybe next month too. At least the tan piping against the blue fabric is growing on me.
Was never able to get any good info on how or how much Packard raised the seat bottom for for the AC return so decided to raise just a tiny bit and also add some small unobtrusive grills to the seat front. He installed those grills and moved the bottom chrome strip down just slightly so they would fit between. Leaving the black grills will probably be the way to go as painting to blend in might result in paint flaking or being kicked off and look worse. The strips are just sitting in position now waiting for me to polish them and do the permanent install. When the rear door panels are made will probably space their bottom strips down to match the seat. Have been working on the package shelf AC vent. Got the basic dimensions I was looking for from Joe and started a mockup. So far so good. Pictures are good but unfortunately without being able to see and hold one to get a feel for the fine details on how much curvature on the top lip and back there are still lots of gray areas. Without that close up inspection anything I make is not likely to be a repro but more something that will suit the purpose.. Attach file: (86.63 KB)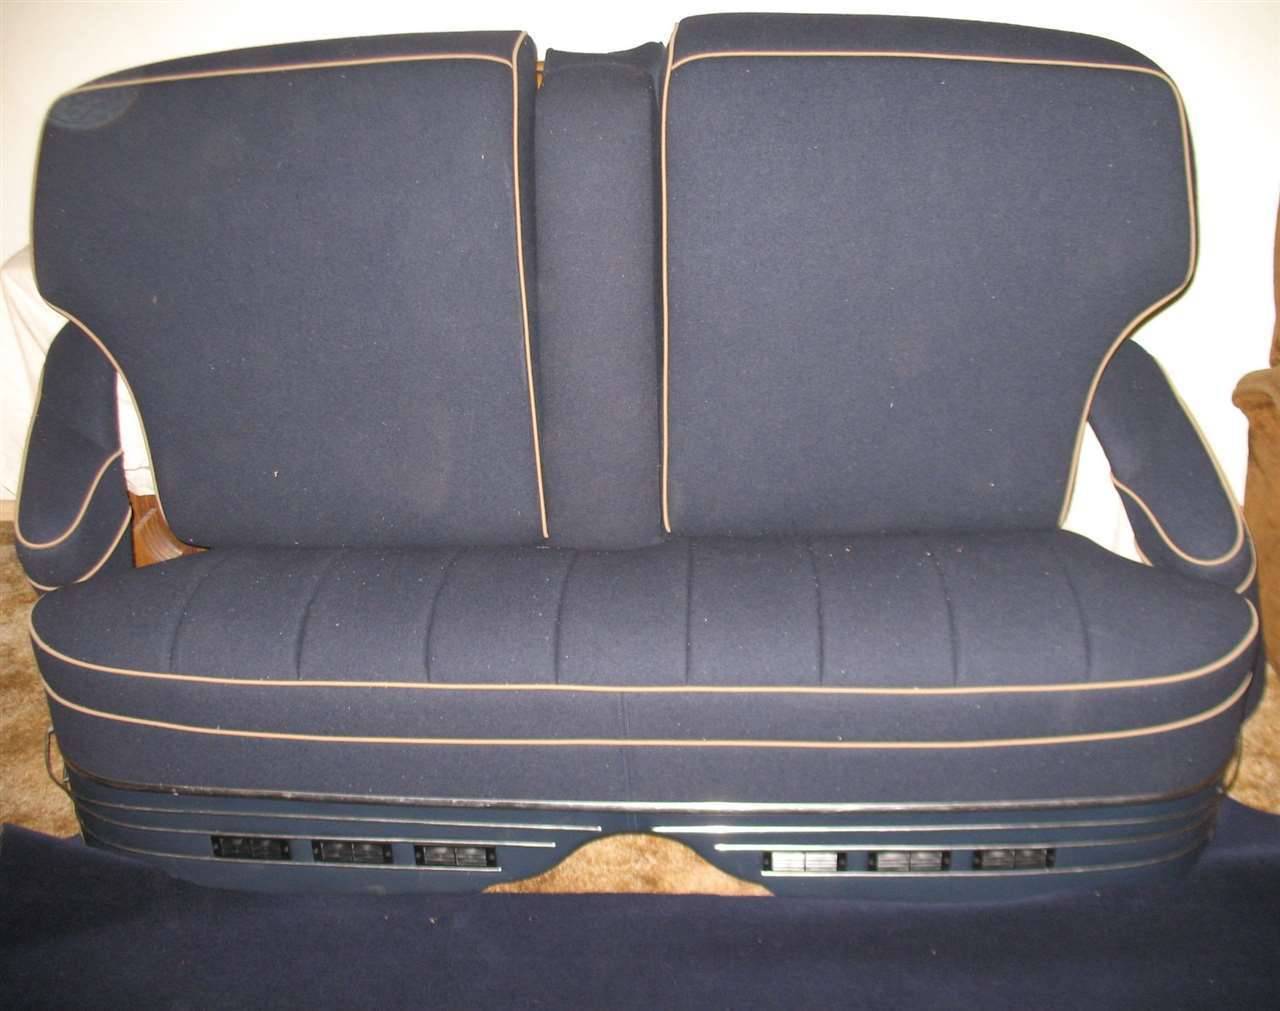 (29.80 KB) (29.80 KB)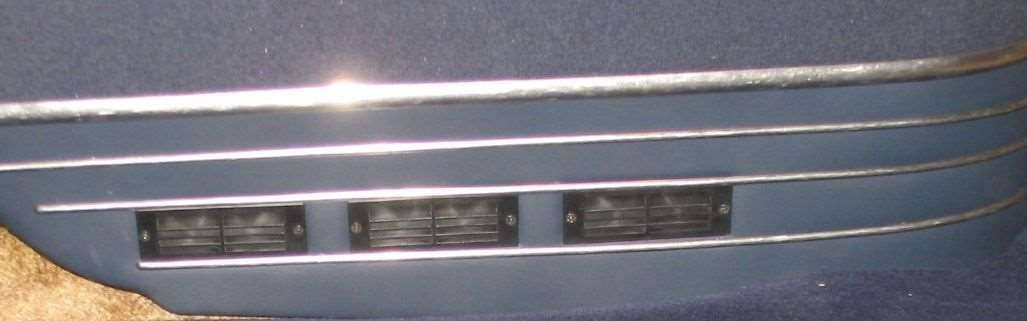
Posted on: 2015/5/19 14:47
|
|||
|
Howard
|
||||
|
||||
|
Re: Howard's 47 Custom project
|
||||
|---|---|---|---|---|
|
Forum Ambassador

|
Howard,
Seat looks great, with the grills in the lower edge looking the part. You've certainly come a fair way with the '47 since I saw it "in the metal" a couple of years back. Attach file: (25.29 KB)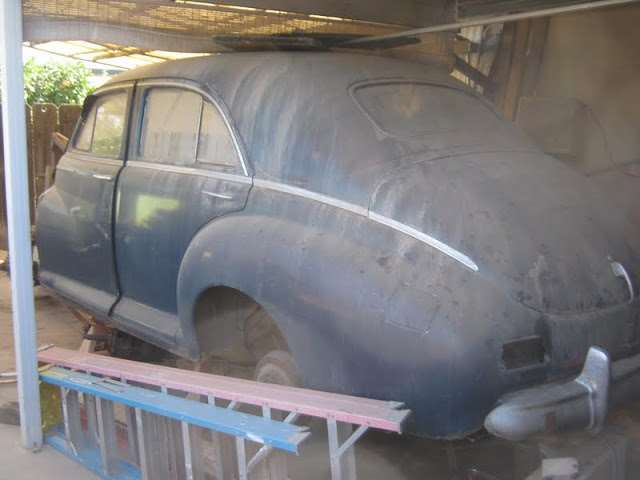
Posted on: 2015/5/19 16:10
|
|||
|
Mal
/o[]o\ ====  Bowral, Southern Highlands of NSW, Australia "Out of chaos comes order" - Nietzsche. 1938 Eight Touring Sedan - SOLD 1941 One-Twenty Club Coupe - SOLD 1948 Super Eight Limo, chassis RHD - SOLD 1950 Eight Touring Sedan - SOLD What's this?  Put your Packard in the Packard Vehicle Registry! Here's how! Any questions - PM or email me at ozstatman@gmail.com |
||||
|
||||
|
Re: Howard's 47 Custom project
|
||||
|---|---|---|---|---|
|
Forum Ambassador
|
Mal, At least the dust is different since your visit and the trim is all off but except for the ladders being moved about 15' to the rear and the car elevated an additional 6" you would still find it just about in the same spot.
The upholsterer said he doesn't do house calls and wants it in his shop if he does the door panels. That means one of these days I have to think about how I got it in that spot and how to move it out and then where to put it afterwards.
Posted on: 2015/5/19 16:23
|
|||
|
Howard
|
||||
|
||||
|
Re: Howard's 47 Custom project
|
||||
|---|---|---|---|---|
|
Home away from home
|
The seat looks great Howard, and the vents will probably be hard to spot once the seat is installed. Very nice job all around.
I know what you mean about the blue & tan. I remember one morning as a kid when I put on blue socks with brown shoes. My mother took one look at me and said brown and blue do NOT go together. That is about what I'm looking at in my '51 Patrician and while I'll probably stick with the color scheme, it wouldn't be what I would have specified had I been in the market for a new Patrician in 1951. If it weren't for the fact that the blue panels in the doors and in the front seat back are in good condition I'd go with the Taupe interior. I thought about dying them but as I'd be going from a darker color to a lighter one I am doubtful that it would work very well and I'd have ruined the panels in the process. I'm fascinated by your work on the the A/C indeed on the whole car. It will be lovely when you've finished. As for A/C and originality, I can't help but think that if a valued customer came in on a day in 1947 and said he'd buy a new Custom IF it could have A/C I'm sure someone would at least have made a call to the company that was the pre-war supplier of the units for Packard and if one was available, they'd order and install it to make the sale. The price might be over the moon, but I bet it could have happened. Beautiful job and inspirational for my own blue Packard.
Posted on: 2015/5/19 16:30
|
|||
|
1951 200 Deluxe Touring Sedan
1951 200 Deluxe Touring Sedan (parts ?) 1951 Patrician Touring Sedan 1955 Patrician Touring Sedan |
||||
|
||||


.jpg")


