|
Re: HA's 52 200 Grey Ghost
|
||||
|---|---|---|---|---|
|
Home away from home

|
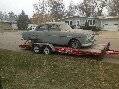
Engine is looking very tidy Hans. They are not very noisy to run without an exhaust, and I reckon you will not be able to resist giving it a start very soon.
Good idea placing the block of wood under the upper wishbone . . . . I should have done that before I ruined my new upper bumper rubbers!
Posted on: 2014/7/6 17:46
|
|||
|
1951 Packard Club Sedan | [url=ht
|
||||
|
||||
|
Re: HA's 52 200 Grey Ghost
|
||||
|---|---|---|---|---|
|
Home away from home
|
I was tinkering around with getting the engine ready to run and I couldn't get any spark at the plugs. I had run some paper through the points when I rebuilt the distributor, since the points were basically new (45 years ago anyway) I thought that would be enough. But tonight I touched them up with a file and reset all the point gaps and timing again, and tada it sparks when I crank now. Last step is to run some fuel to the carb, depending on how long work goes I might get to that tomorrow. Still don't have the new exhaust but a short run can't hurt, right?
I have the battery hooked up and the coil and a momentary starter switch mickey-moused together, I just want to be able to run it so it's not the finished product of course. Before I run the new wiring I need to finish sanding and priming the interior of the car so one step at a time. After I achieved sparks, I disassembled the rear brakes and pulled the rear axle shafts out, everything looks pretty clean. I need to lube and free up the emergency brake cables, and bead blast and repaint stuff and once I get the new seals that can all go back together. I got new brake shoes at NAPA, they are exact fits except the web is just a bit thicker - the pins from the wheel cylinders have wide enough slots to fit the new shoes, but the adjusters on the bottom needed to be opened up just a smidge and then they're good too. The front brakes are all together, new brake lines and master cylinder, so pretty quick I'll have brakes too. Only other thing I'm worried about is the e-brake hookup to the rearmost shoes, will the pin be long enough with these new shoes?
Posted on: 2014/7/9 0:09
|
|||
|
1952 Model 200 Deluxe Touring Sedan
HA's 52 Grey Ghost "The problem with quotes on the internet is you never know if they're true" - Abraham Lincoln |
||||
|
||||
|
Re: HA's 52 200 Grey Ghost
|
||||
|---|---|---|---|---|
|
Home away from home
|
I'm looking at the rear axle seals, and trying to decide how the outer seal is removed from the carrier plate - the seal is staked in there, looks like I need to punch out the 3 crimps to remove the seal? I found a picture of the seal and gasket set on the MM website, although that may be a generic picture. That shows normal seals so I'd need to get the old one out of the carrier.
In this picture you can see one of the crimps that stake the seal in place, there are 3 total. Am I on the right track? Attach file:  (39.56 KB) (39.56 KB)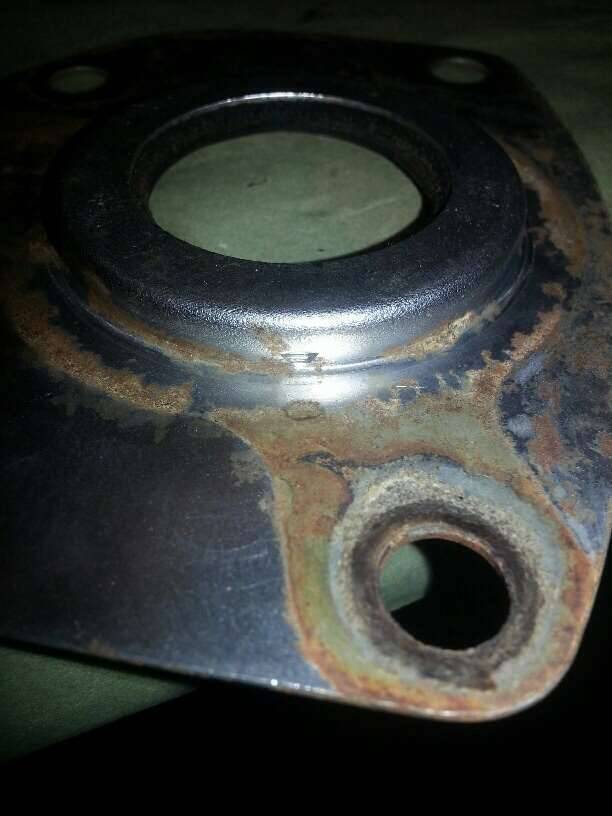
Posted on: 2014/7/9 23:14
|
|||
|
1952 Model 200 Deluxe Touring Sedan
HA's 52 Grey Ghost "The problem with quotes on the internet is you never know if they're true" - Abraham Lincoln |
||||
|
||||
|
Re: HA's 52 200 Grey Ghost
|
||||
|---|---|---|---|---|
|
Home away from home
|
I don't see how that would work on these, it's like the seal is almost integral to the carrier plate on mine, so no way to press it out. The plate is sheet metal and bulbed out which forms the outer face of the seal, then the seal itself looks to be placed in that well and staked in place. Here's a picture from the inside, that faces the bearing.
Attach file: (49.30 KB)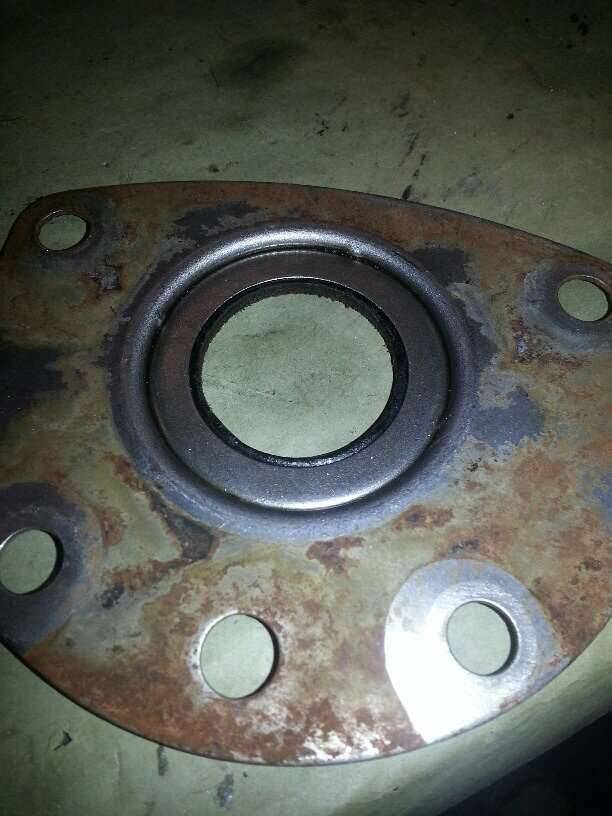
Posted on: 2014/7/9 23:43
|
|||
|
1952 Model 200 Deluxe Touring Sedan
HA's 52 Grey Ghost "The problem with quotes on the internet is you never know if they're true" - Abraham Lincoln |
||||
|
||||
|
Re: HA's 52 200 Grey Ghost
|
||||
|---|---|---|---|---|
|
Forum Ambassador

|
It's hard to see in the first photo you posted and mine was a senior so may be different than yours but the same guard as yours was on the 46-54 junior axles. I think the construction is the same -- just the size is different on seniors.
Isn't there a bit of space between the hole in the guard and lip on the other side where you can push against the lip to push the old seal out. When you put the new in you would be pushing against the back so as not to damage the new seal. If a socket wouldn't work how about a dull chisel at an angle from the hole side and gently hammer it out. Granted you destroy the seal either way but you are changing it anyway.
Posted on: 2014/7/10 8:46
|
|||
|
Howard
|
||||
|
||||
|
Re: HA's 52 200 Grey Ghost
|
||||
|---|---|---|---|---|
|
Home away from home
|
Howard, I popped the seal out of the guard using a screwdriver at an angle, all it is really is a piece of leather. Honestly, I was hoping to find a number that I could cross reference to get new seals, but no joy. Kanter has the seals and gaskets as a kit but I was hoping to avoid $75+ shipping. Guess it's time to bite that bullet and just order the kit.
I'll be on the road (well, high above it anyway) for the next week so by the time I get home again maybe all my parts will be here and I'll get some more things assembled. Attach file: (44.63 KB)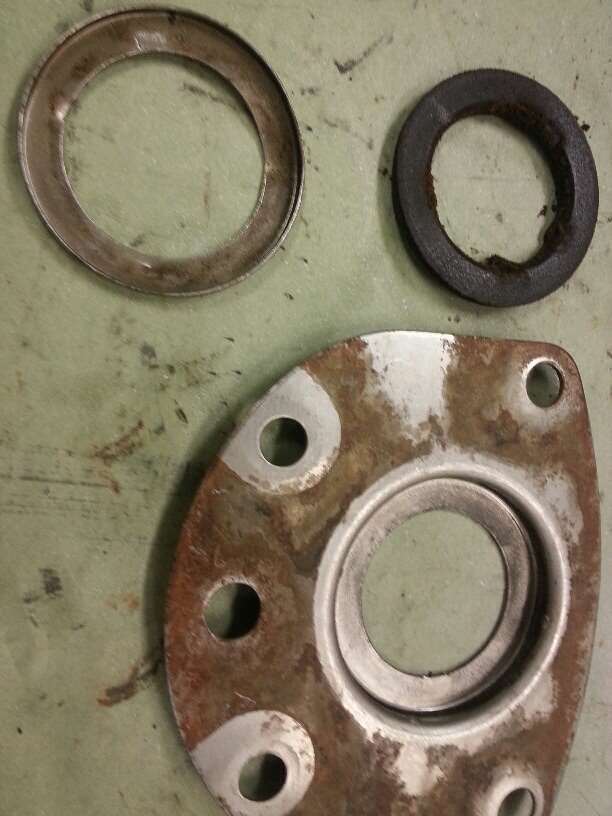
Posted on: 2014/7/10 17:32
|
|||
|
1952 Model 200 Deluxe Touring Sedan
HA's 52 Grey Ghost "The problem with quotes on the internet is you never know if they're true" - Abraham Lincoln |
||||
|
||||
|
Re: HA's 52 200 Grey Ghost
|
||||
|---|---|---|---|---|
|
Home away from home

|
I took my seal (which was possibly the same) to NAPA and they ordered one right up. Any bearing house should be able to do this. Happy hunting! (may be a National 13649)
Posted on: 2014/7/10 19:57
|
|||
|
||||
|
Re: HA's 52 200 Grey Ghost
|
||||
|---|---|---|---|---|
|
Home away from home
|
Had to work most of the weekend, after being gone most of the last 2 weeks. So I didn't get much done on the car, but I got to it this afternoon late for a bit. I got the inner seals out of the rear axle, they were really in there but a thorough beating with my slide hammer puller and they gave up. Too destroyed to try to measure for replacements though so I'll just order a set from K or MM with the gaskets too. Cleaned up the axle shafts and bearings, those and the races look great so I can just repack them when I put it all back together.
The front end is pretty well assembled, got my new tie rod ends (thanks Dwight!) so the steering is all together again. Question, should I install the hubs before testing and beginning to bleed the brakes? I thought I'd like to see the shoes move just for the satisfaction of it all, but maybe it's better to have the hubs for them to push against? I am including a pic of my cobbled-together battery setup for testing, I ran the starter enough today to get trans fluid circulating up to the cooler which is promising. Attach file: (30.27 KB)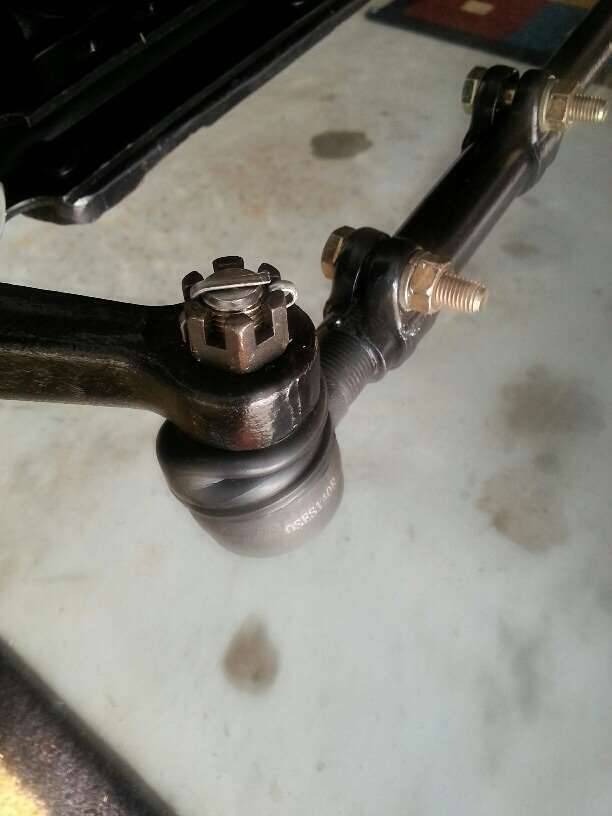 (49.04 KB) (49.04 KB) (56.56 KB) (56.56 KB)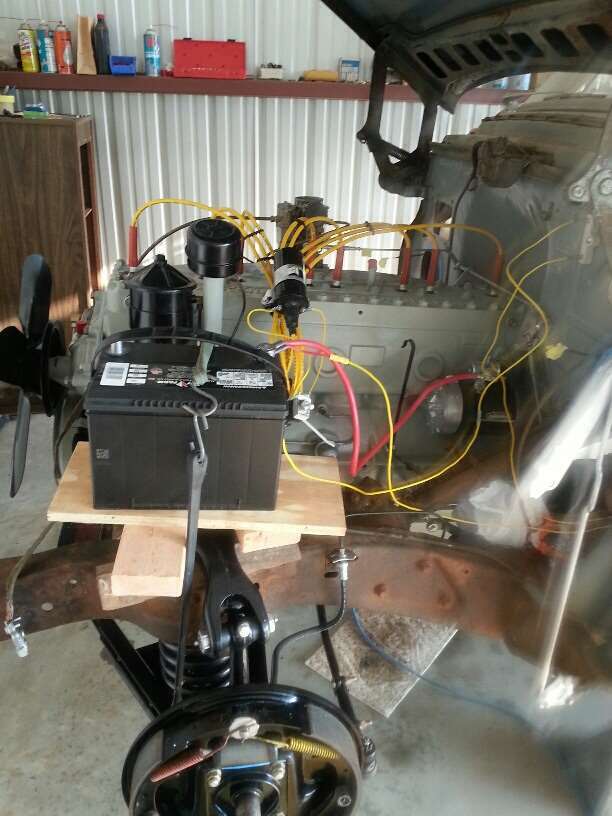
Posted on: 2014/7/20 22:19
|
|||
|
1952 Model 200 Deluxe Touring Sedan
HA's 52 Grey Ghost "The problem with quotes on the internet is you never know if they're true" - Abraham Lincoln |
||||
|
||||
|
Re: HA's 52 200 Grey Ghost
|
||||
|---|---|---|---|---|
|
Home away from home
|
All looking very good Hans.
I believe you will need to have the drums on for a couple of reasons. First, you could easily pop a piston out of the slave cylinders unless you are very careful, plus the distance the master cyl piston is supposed to move is limited. You don't want that piston to travel too far along the cylinder or it will go past its limit point. Just slip drums on and apply brake a little. If the travel is quite a lot you should first do a brake adjustment to bring the shoes reasonably close to the drums. That will reduce the pedal travel. Then when pedal is pressed you'll soon feel the drums lock up when turned. You'll need to do a major brake adjustment anyway, so may as well get it done early. Buy a brake adjusting tool . . . cheap, and so much easier to use on the star wheels than a screwdriver or anything else.
Posted on: 2014/7/21 18:36
|
|||
|
1951 Packard Club Sedan | [url=ht
|
||||
|
||||


.jpg")


