Hello and welcome to Packard Motor Car Information! If you're new here, please register for a free account.  
Login
Username:

Password:

Remember me


Lost Password?

Register now!
FAQ's
Main Menu
Recent Forum Topics
Who is Online
37 user(s) are online (26 user(s) are browsing Forums)

Members: 2
Guests: 35

charlieshot, 39Rollson, more...
Helping out...
PackardInfo is a free resource for Packard Owners that is completely supported by user donations. If you can help out, that would be great!

Donate via PayPal
Video Content
Visit PackardInfo.com YouTube Playlist

Donate via PayPal


Headliners & Windlace
#1
Just can't stay away

Ima48too
See User information
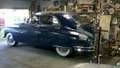
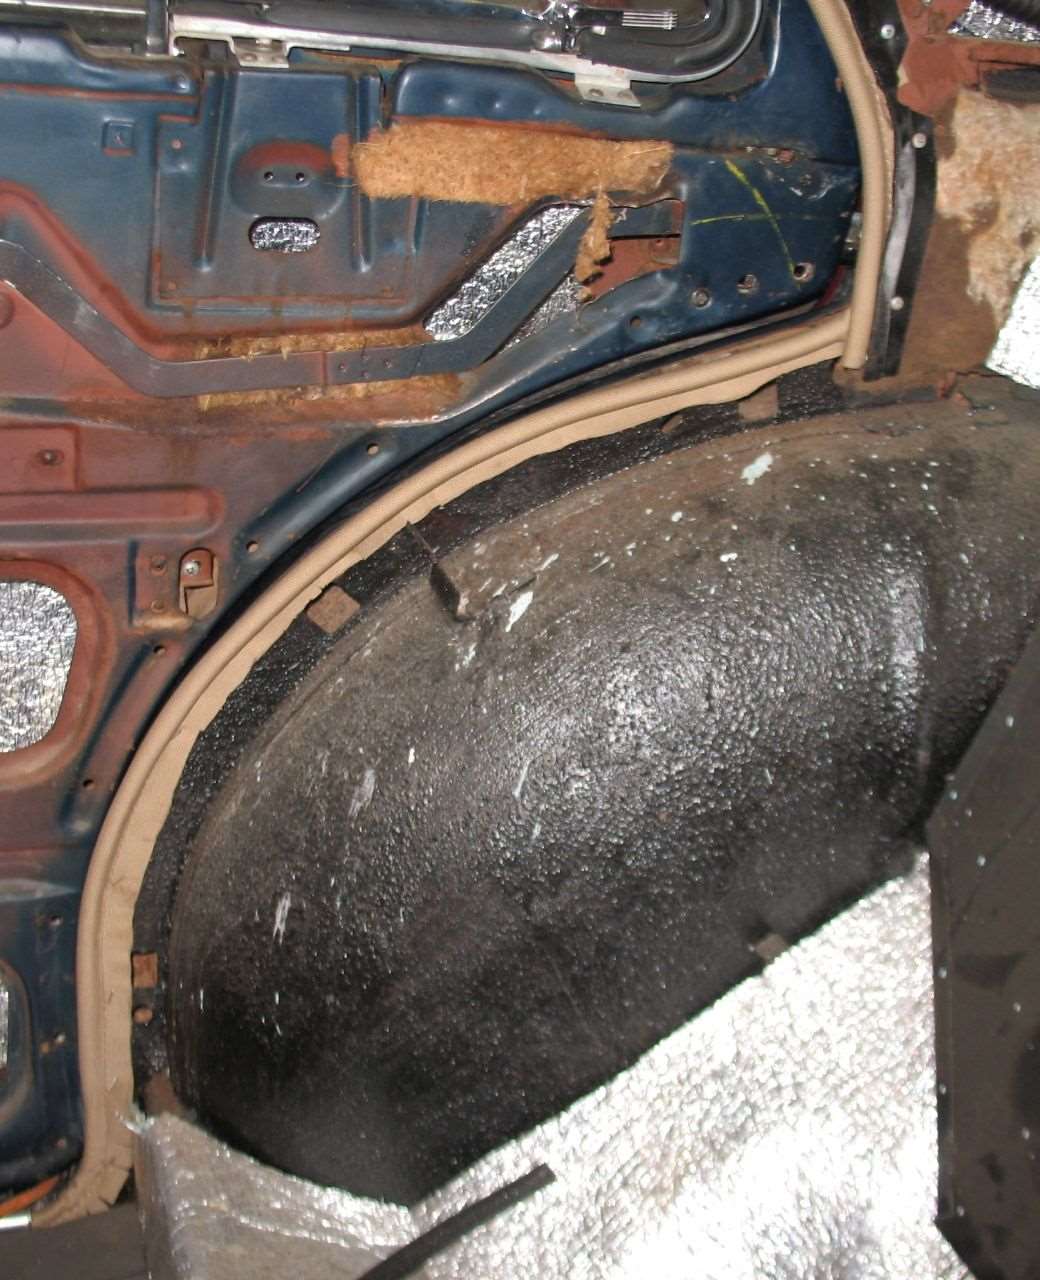
I need to replace the headliner in my 2262. It had a big sag over the driver's seat that had a heavy feel to it, like 40 years of mouse nest. Luckily, it appears that the insulation mat has de-laminated from the roof and weighing down on it. At least that is what it feels like. I still plan to dress for a hazmat job.
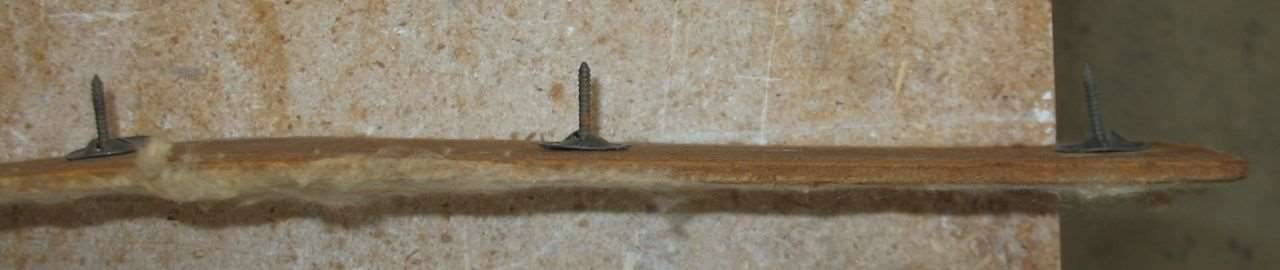
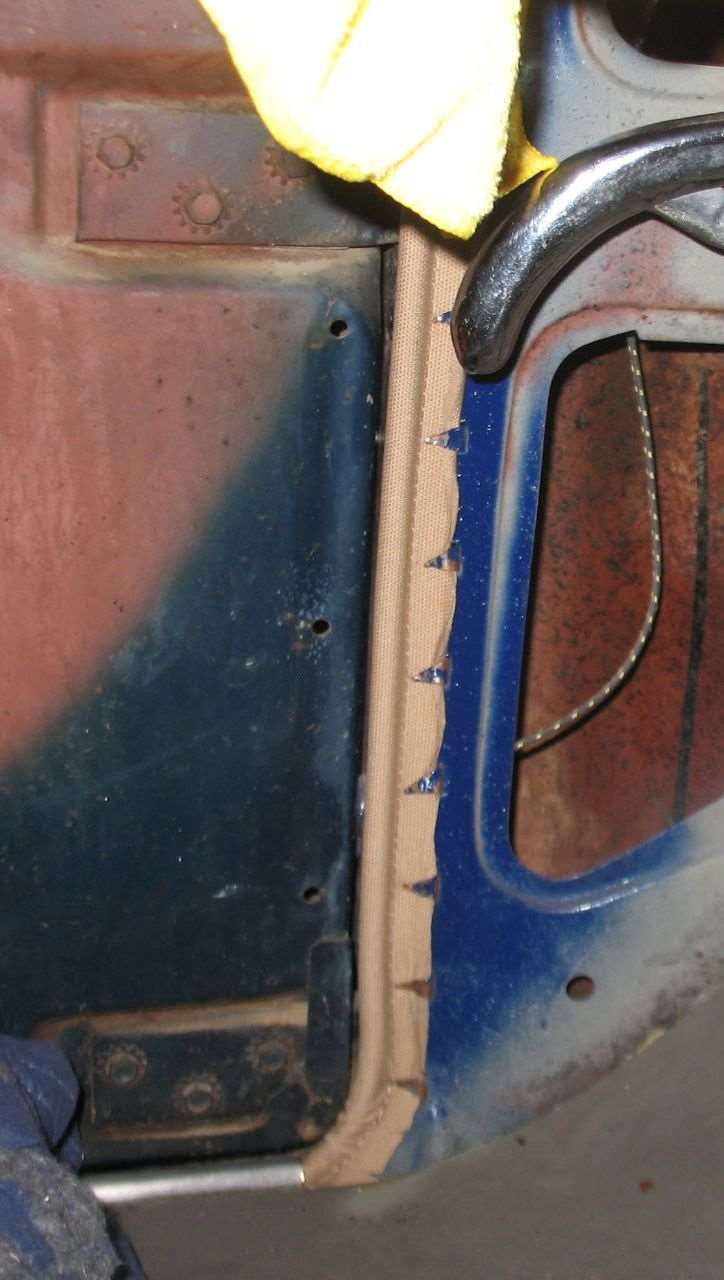
In preparation I was looking over the door windlace today trying to figure out if I would have to remove the dashboard.
Checking online, I came across this article that looks worth sharing; very well done and may be good to have:http://www.raylinrestoration.com/TechnicalPages/Windlace/Windlace.htm
Bernie

Posted on: 2014/12/14 16:03
 Top  Print   


Re: Headliners & Windlace
#2
Forum Ambassador
Forum Ambassador

HH56
See User information
This is a 47 but believe it is what you will find on yours.

The panels over the center pillars are held by what look like oversize roofing nails. They run right down the center of the panel and insert into retainers pressed into the body metal. They are a bit snug but using a wide stiff tool they will come out. The top of the panel at the horizontal seam where the headliner transitions is material which is under the headliner retainers so the entire panel will not remove unless the headliner is out of the retainers in that area so they can be unscrewed off the material. The fellow that wrote the article has it right that the masonite may break when removing so be careful and use gentle persuasion.

Once those are loose, the windlace can be seen but you will not be able to remove it without taking the headliner and retainers off. The headliner is held by sharp toothed retainers which screw into the body metal over the windlace. The headliner is draped on the bows and then edges pushed up between the windlace and retrainer strip so the teeth on the retainers can grab the material. It is glued to the header over the windshield and is under the rubber gasket at the rear window. There is also a strip of the same material tacked and cemented below the rear window down to the package shelf. If your orignal headliner was as fragile as mine, doubt seriously if you will be able to remove the old headliner off the retainer teeth without damage. On the rear glass area, others have replaced their headliner and did not remove the rear window. They cut the old material off flush with the gasket and then cemented the edge of new to the wide flange to the side of the rubber. The garnish molding should be wide enough to cover the cement if you keep the cemented area neat and make sure it is applied so cement will be under the molding.

Starting at the front bottom, the windlace is held to the front cowl kickpanel area and up under dash by a series of sharp pointed tabs which hammer over the windlace flange. Those extend from the floor up past the dash bottom. I believe there is one and possibly two of those tabs behind the dash edge. It then transitions to a tack strip starting just below the windshield and up the pillar to just above the windshield where it transistions to the bent over tabs across the door top. There is one nail thru the windlace and into body metal at the top corners of the door. It transitions back into a tack strip down the center pillar. You will want a good tack puller and try to keep the tack strip as undamaged as possible so it still has some decent grab for the new windlace if you are going to remove the old windlace. There are a multitude of tacks used. I used a staple gun when installing my new windlace.

The rear door has tack strips on each side with the bent over tabs above the door.

Attach file:


jpg  (95.71 KB)
209_548e04fc586d8.jpg 1280X960 px

jpg  (32.14 KB)
209_548e0503b3b97.jpg 1280X270 px

jpg  (68.64 KB)
209_548e050ed4abb.jpg 1280X720 px

jpg  (68.36 KB)
209_548e051c353dd.jpg 724X1280 px

jpg  (139.81 KB)
209_548e053920586.jpg 1040X1280 px

Posted on: 2014/12/14 16:46
Howard
 Top  Print   


Re: Headliners & Windlace
#3
Just can't stay away

Ima48too
See User information
Thank you for the detailed description and the pictures. The color of the car is even the same.

In your picture it looks like you had the dashboard out of the car when you did the job. I am figuring I will have to at least unbolt mine and move it around to get the windlace tight and straight.

Bernie

Posted on: 2014/12/15 9:32
 Top  Print   


Re: Headliners & Windlace
#4
Home away from home
Home away from home

1940-120
See User information
Nice photos, excellent presentation. Did you folks use a kit or fabricate the headliner from scratch?

Thanks
Fred D

Posted on: 2014/12/15 10:33
 Top  Print   


Search
Recent Photos
Photo of the Day
Recent Registry
Website Comments or Questions?? Click Here Copyright 2006-2024, PackardInfo.com All Rights Reserved