|
Re: Joe's '49 Club Sedan
|
||||
|---|---|---|---|---|
|
Home away from home
|
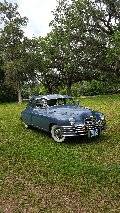
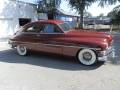
All the 12 volt re-wiring has been completed and everything that can be tested without the car running has been tested and checks OK. The new light switch allows the parking lights to be on with the headlights. The amber parking lights give the car a distinct different look. The taillights are using high output 1157 dual filament bulbs. They are 50/14 CP versus the original 6V 21/3 CP. Very bright and easy to see.
Attach file:  (92.23 KB) (92.23 KB)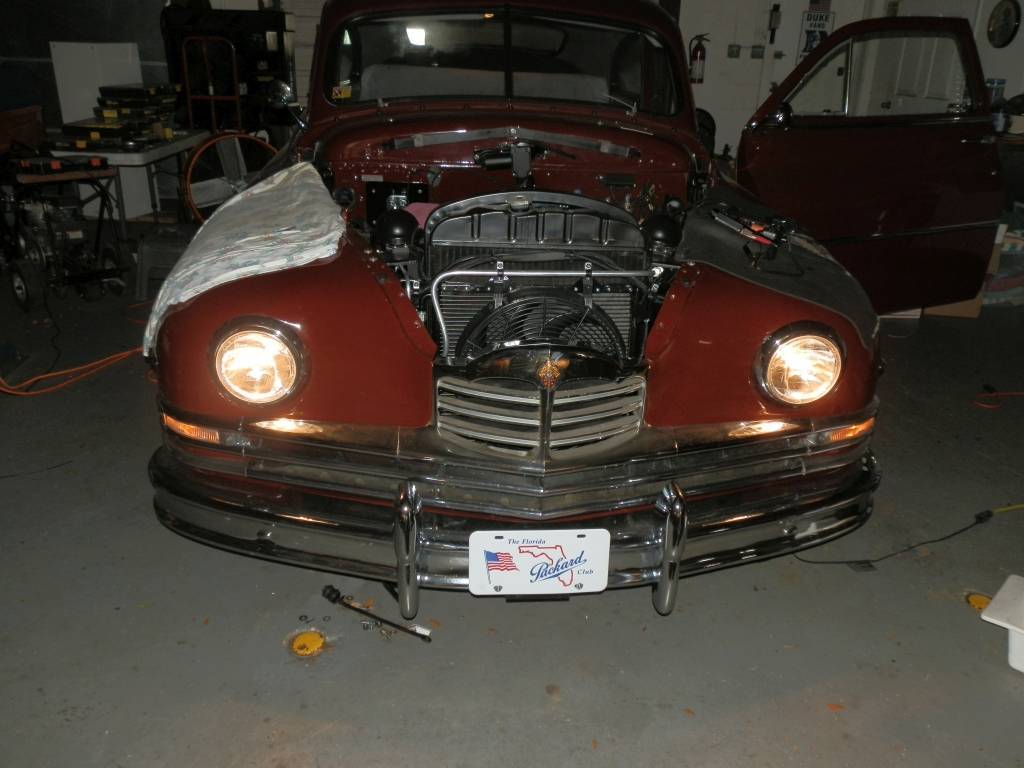 (88.79 KB) (88.79 KB) (76.90 KB) (76.90 KB)
Posted on: 2020/4/16 10:23
|
|||
|
||||
|
Re: Joe's '49 Club Sedan
|
||||
|---|---|---|---|---|
|
Home away from home
|
Dropped the gas tank to replace fuel level sender for the new 12V gauges. The original tank was rotted away and was replaced with modifications with new tank from a 1953/54 Chevy. It has provisions for an in-tank EFI pump. May be a fuel injection conversion project in the future?
Attach file: (101.00 KB) (74.14 KB) (74.14 KB)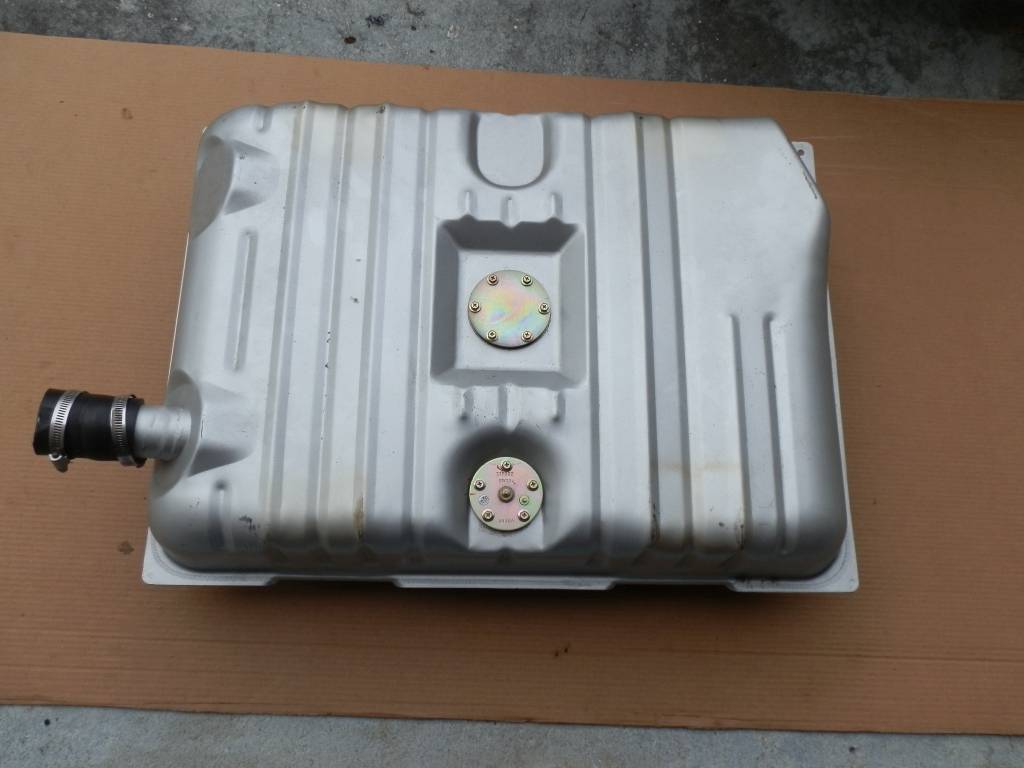
Posted on: 2020/4/17 13:25
|
|||
|
||||
|
Re: Joe's '49 Club Sedan
|
||||
|---|---|---|---|---|
|
Home away from home
|
After the quarantine and an extended vacation, I'm back working on the '49 Packard to complete the 12V conversion and AC addition. Had a problem with the new fuel gauge working and had to drain and remove the gas tank again. The sender and gauge work fine, turned out it was a poor ground at the sender. Fixed the ground and every thing works as it should. Ready to fire the engine and charge the AC.
Attach file: (95.16 KB)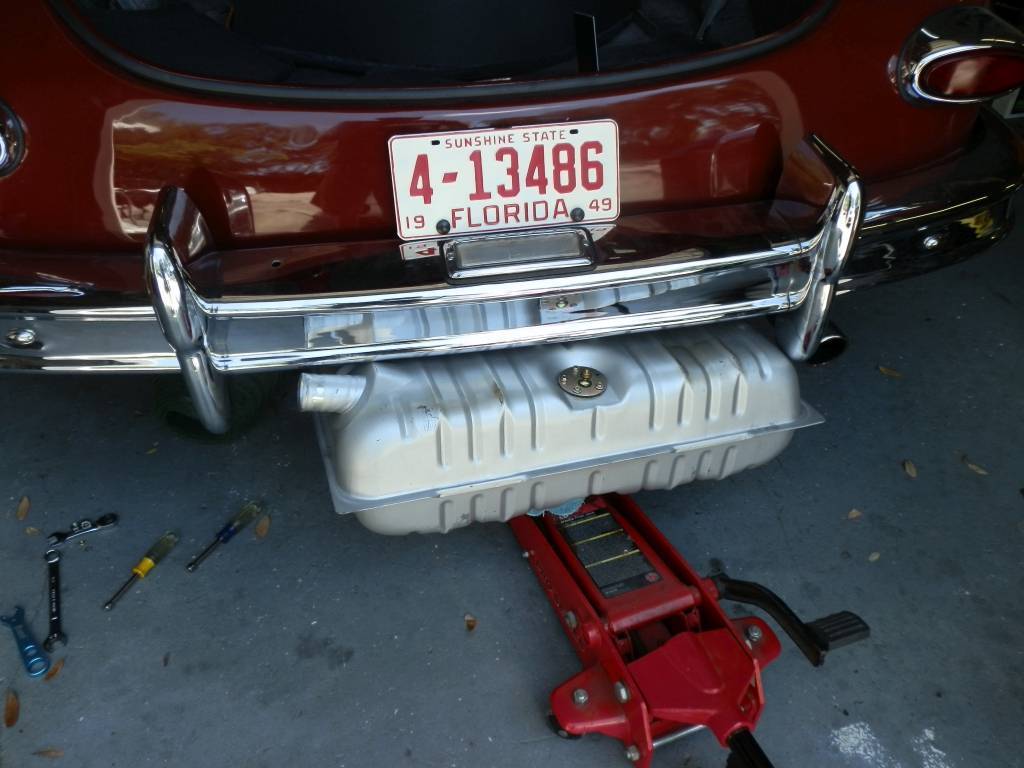 (93.51 KB) (93.51 KB)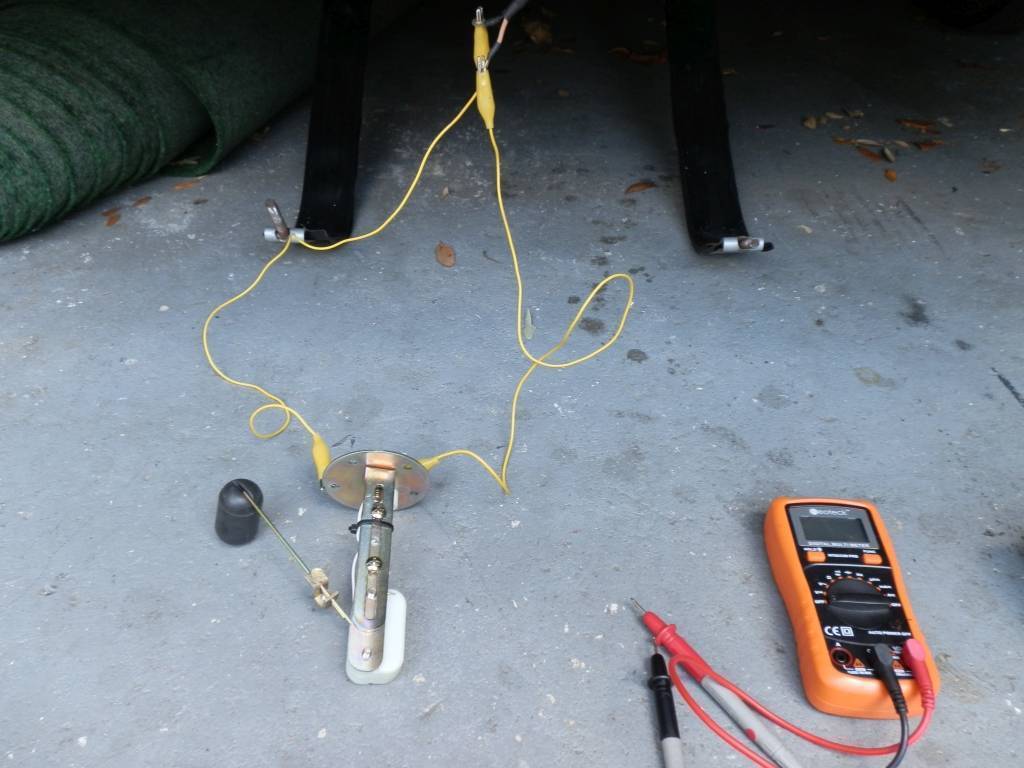
Posted on: 2020/6/17 14:33
|
|||
|
||||
|
Re: Joe's '49 Club Sedan
|
||||
|---|---|---|---|---|
|
Home away from home
|
After sitting for almost a year while the car was completely re-wired to convert to 12V and add AC, I turned on the new electric fuel pump to prime the carb, turned the key and pressed the starter, the engine fired right to life. The new 12V Pertronix ignition system works great. All the gauges work properly and actually have numbers rather than letters. The volt meter shows that the alternator has output at low engine speed.
Once the engine checked out, it was time to get the AC working. An AC gauge set was attached to the service ports on the compressor and a vacuum pump connected to the system to check for leaks and evacuate the system of air and moisture. After running the pump for about 10 minutes, the valves on the gauge set were closed and the suction-side gauge check for any drop in vacuum that would indicate a leak in the system. When no leaks were evident, the vacuum pump was turned back on and run for another 30 minutes to assure the system was clear of moisture. The valves were closed and the hose to the vacuum pump removed and attached to a 20 pound cylinder of R134a freon. The hose was purged than the cylinder was inverted to allow liquid freon to be drawn into the system. Once sufficient refrigerant was drawn into the system, the cylinder turned back over to allow freon gas to flow into the system. At that point, the engine was started and the AC turned on with a medium blower speed. Once the suction and pressure reading were at the desired levels, the gas was shutoff. The air temperature coming from the vents was checked and found to be 40 degrees, which is just about right! I'm by no means an auto AC expert but I have a good friend who is and he gave me the complete instructions on what to do and loaned me his gauge set. Working on a newly installed system is fairly simple, troubleshooting system problems is probably much more difficult! I'm running without a mechanical engine fan for now, only the electric fan. I have plans for adding an engine fan if cooling becomes a problem on the road. In the shop running the engine with the air on for extended periods, the temperature never got over 180 degrees. We'll see what happens on a hot Florida day. I need to finish lacing up all the under dash wires and add the AC and defrost hoses. The dash can be buttoned back up then it won't be long before the car is back on the road!
Posted on: 2020/6/19 13:19
|
|||
|
||||
|
Re: Joe's '49 Club Sedan
|
||||
|---|---|---|---|---|
|
Home away from home
|
All the under-hood work for the 12 volt conversion and AC addition to my '49 Club Sedan is completed. The engine is running fine and the AC is blowing cold. Just waiting for a replacement part before putting the dash back together, the front seat back in and steering wheel back on. Doesn't look too un-original! The 2 Optimal 6 volt batteries were re-jumpered for 12 volts, added a Newport electric wiper motor, 12 volt to 6 volt electronic overdrive relay, Pertronix 12 volt ignition, 3,000 CFM electric fan, 100 amp GM alternator and the Sanden AC compressor and hoses with a custom-made mounting bracket. Missing is the oil filter and the engine fan on the water pump, ran out of room. We'll see how it handles the Florida heat without the engine fan. The original heater box and blower were replaced by the heat/defrost section of the AC unit. Can't wait for the car shows to open back up!
Attach file: (304.63 KB)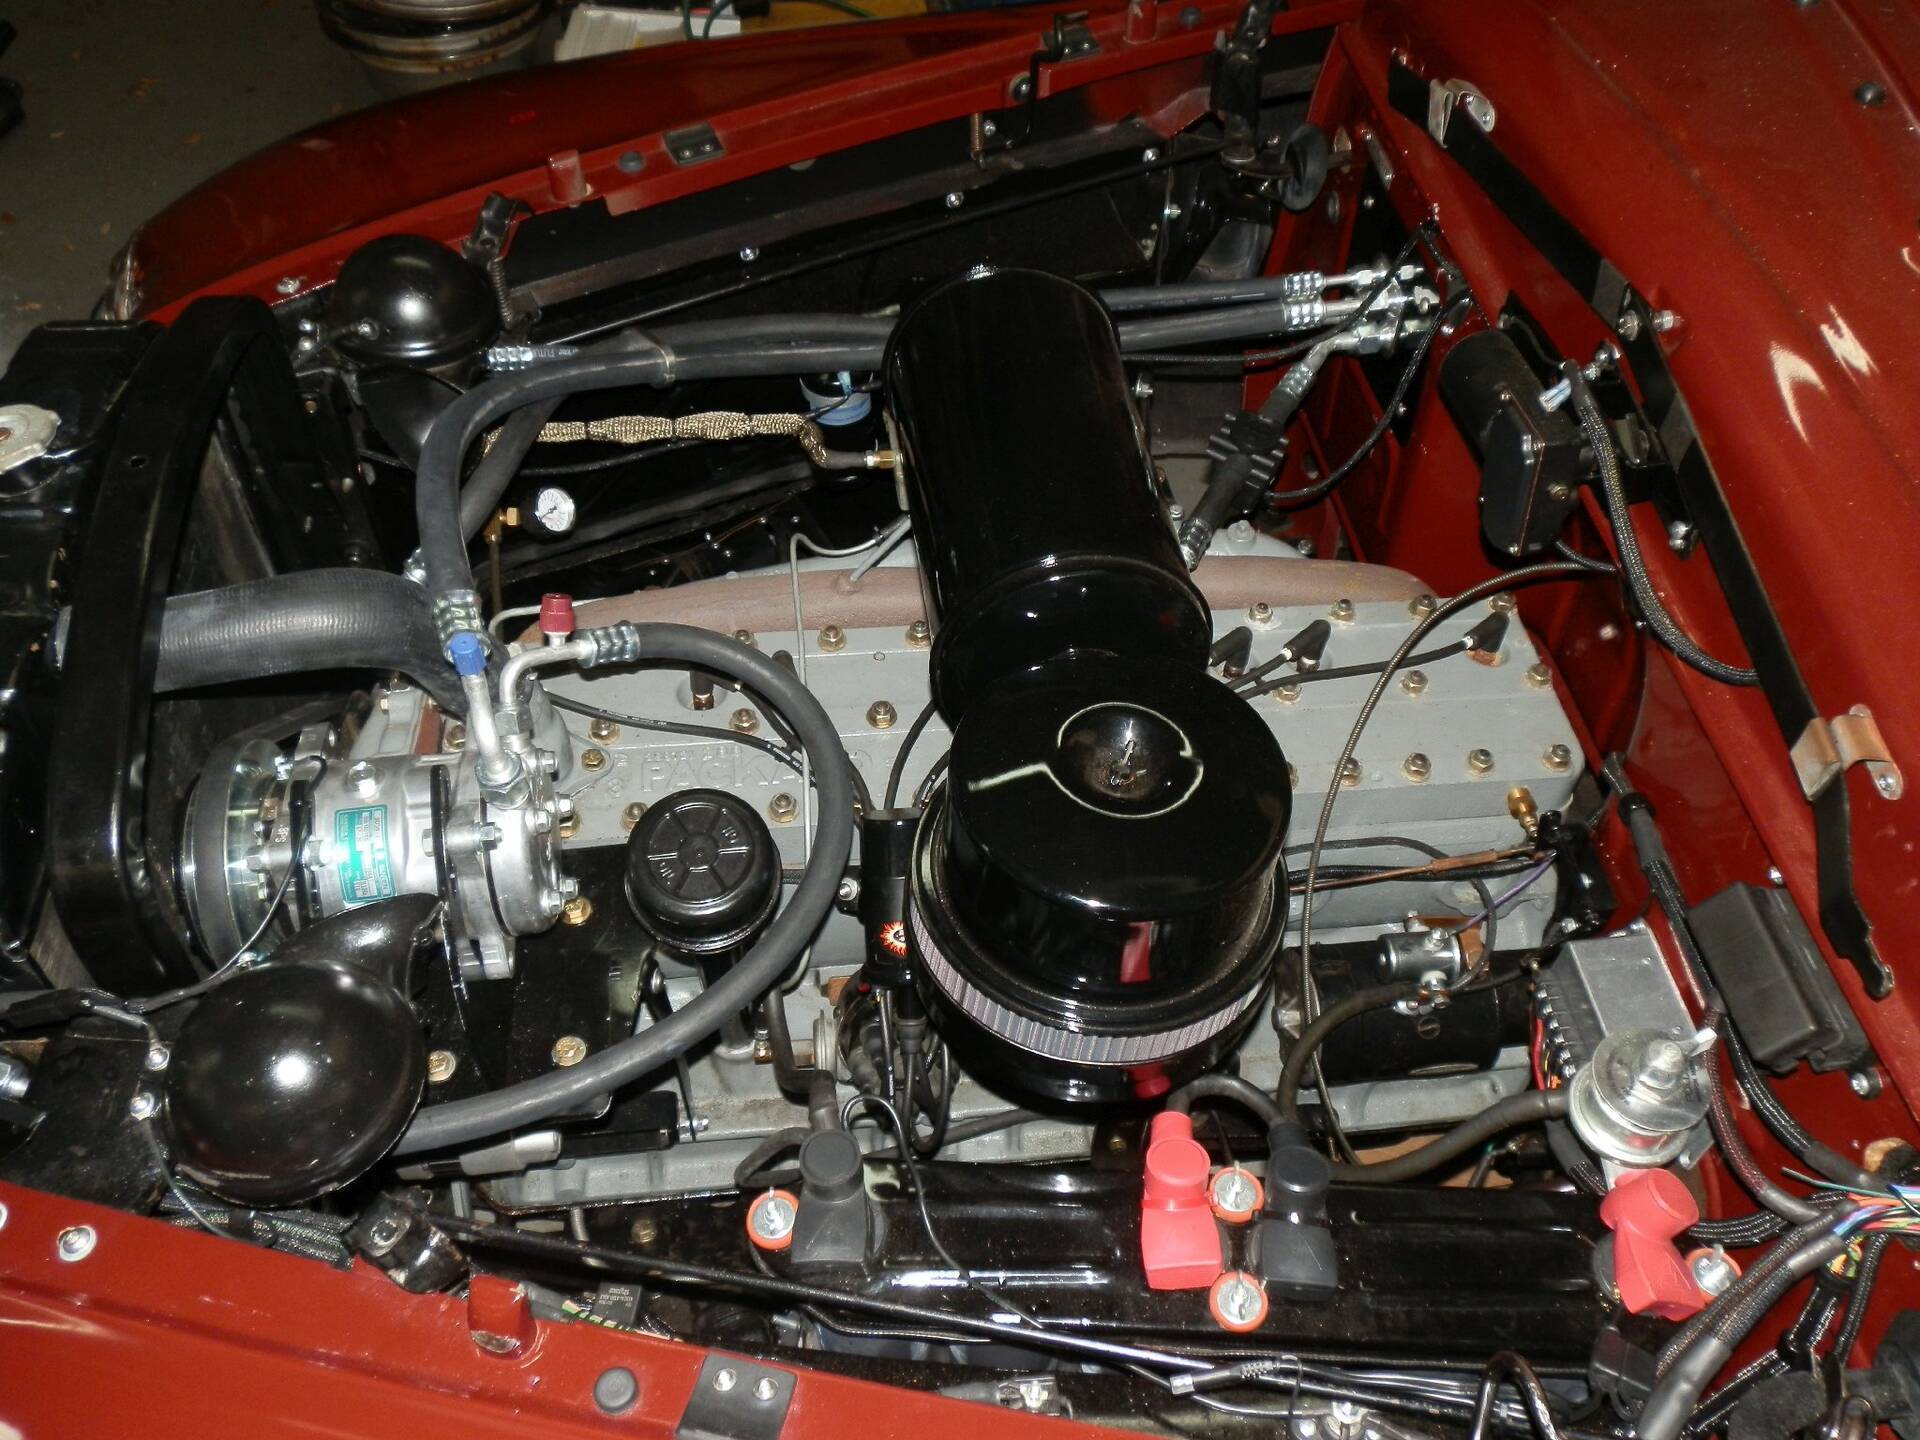
Posted on: 2020/7/3 10:01
|
|||
|
||||
|
Re: Joe's '49 Club Sedan
|
||||
|---|---|---|---|---|
|
Forum Ambassador

|
Looking good. Did you drive the compressor with a single long belt or add an extra pulley to the damper?
The compressor mount looks good but too bad the filter had to go. I see some prelim photos of the mount in progress at the PAC forum. Any final drawings or detail photos of the completed mount and how it bolts to the block that you can share so others won't need to reinvent the wheel? Is there a way some kind of bracket could be an option that would bolt to the mount and support the original filter in front of the oil fill tube or is that space too congested. PackardDon brought up a subject in his tale of two Patricians thread about the oil fill pipe being bent on some engines so the oil fill cap vent openings were moved to be in tne direct air flow and not blocked by the PS pump. This was also an issue on the 356 engine with the oil filter blocking air flow and the introduction of the forced ventilation horizontal vent tube. I wonder if the venting is going to become an issue with the compressor in front.
Posted on: 2020/7/3 11:01
|
|||
|
Howard
|
||||
|
||||
|
Re: Joe's '49 Club Sedan
|
||||
|---|---|---|---|---|
|
Home away from home

|
Beautiful work. Remotely mounted oil filters are available. They are the spin-on throw away cartridge type. Some have mounted them low on the LH side of the engine.
Posted on: 2020/7/3 12:19
|
|||
|
We move toward
And make happen What occupies our mind... (W. Scherer) |
||||
|
||||
|
Re: Joe's '49 Club Sedan
|
||||
|---|---|---|---|---|
|
Home away from home
|
Finished the under hood work now it's work on the dash to finish the AC add and 12 volt conversion. The wiring is completed and the wires are laced up with plastic ties. With the AC and the new gauges and switches there is a lot more wire. Had to add an additional fuse panel to support the AC and electric wipers. Added the defroster duct hose from the AC unit to the original defrost vents. The only problem was that the original vents were 2" but the defrost hoses are 2 1/2". Took a piece of heavy clear plastic 2" tube, heated it and slipped it over the end of the vent then put the duct hose over it for a snug fit. Cut and installed the AC dash vent hoses temporarily to check the routing and fit. It's very tight, behind the dash is stuffed! I need to come up with some support for the AC and defrost hoses then it will be ready to button up the dash.
Attach file: (134.84 KB)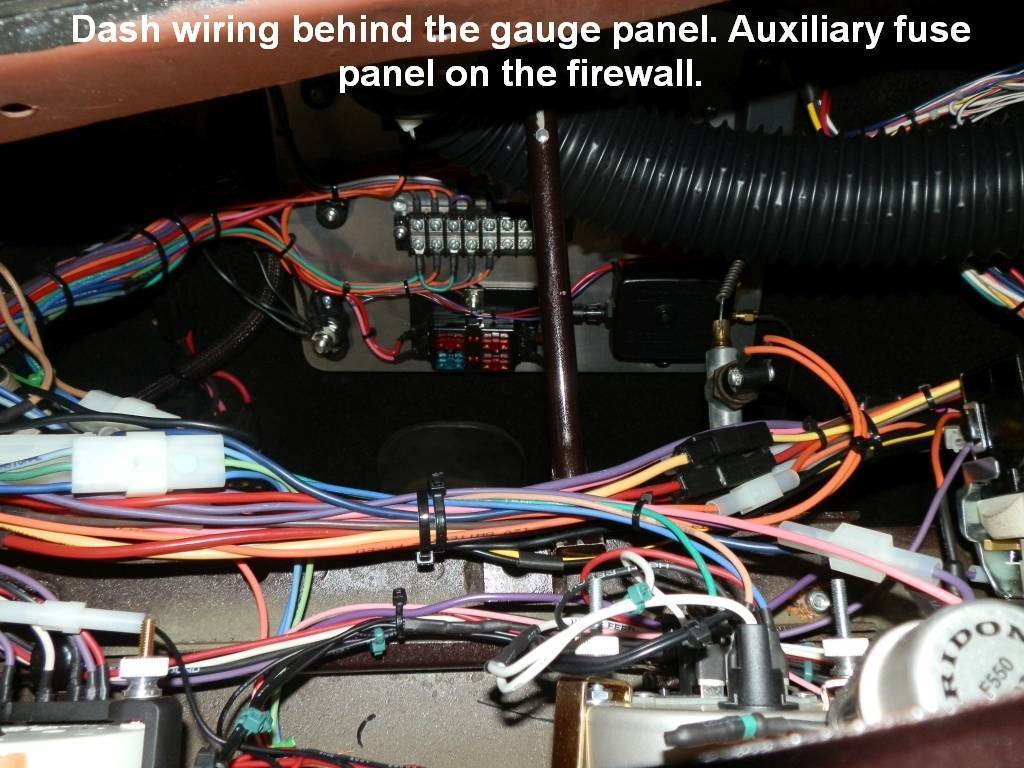 (136.98 KB) (136.98 KB)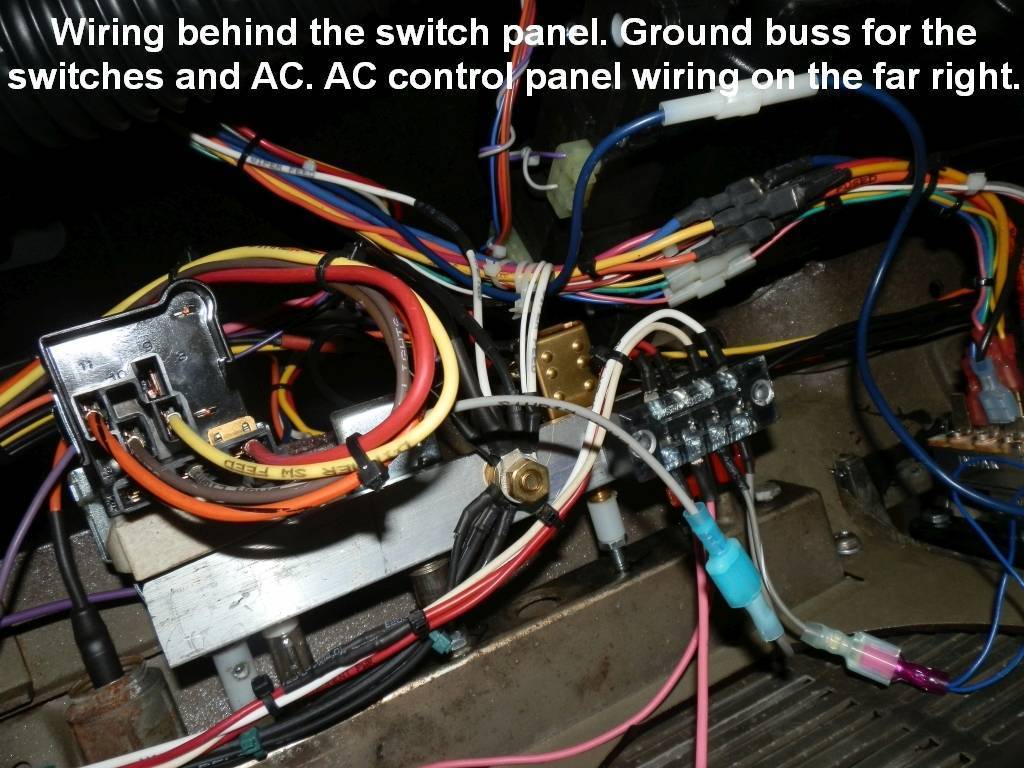 (115.09 KB) (115.09 KB)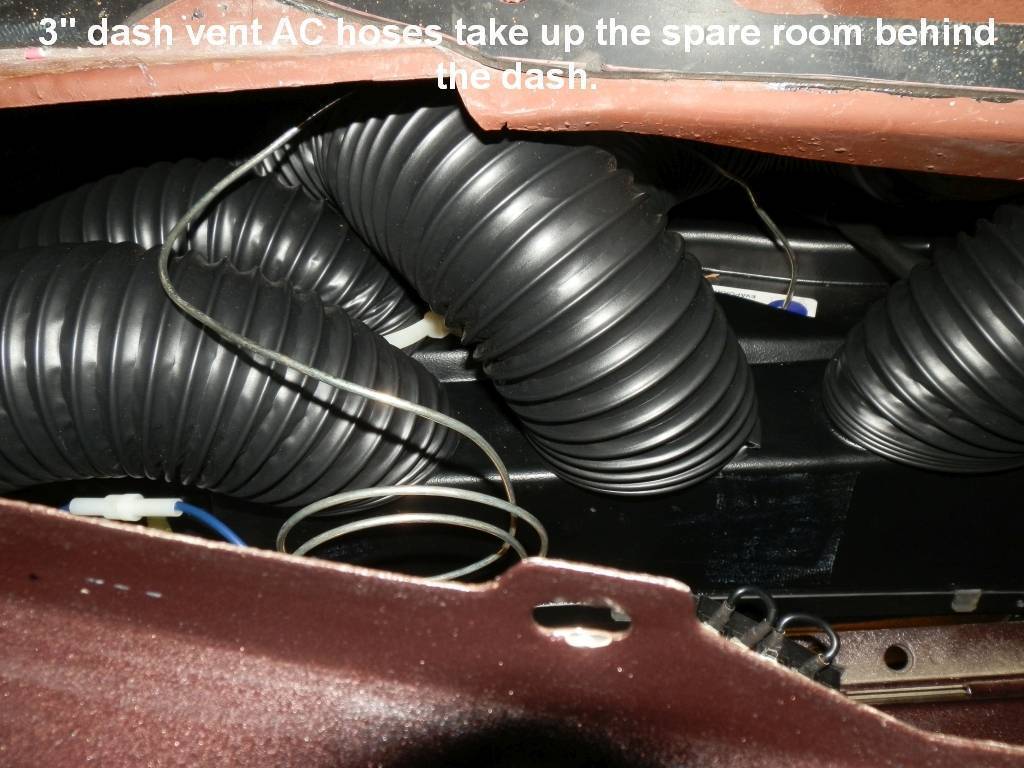
Posted on: 2020/7/4 8:47
|
|||
|
||||
|
Re: Joe's '49 Club Sedan
|
||||
|---|---|---|---|---|
|
Home away from home
|
Howard,
here's a picture of the AC bracket. It bolts to the head where the oil filter attached with a support brace between the bracket and the alternator mount. A strengthening gusset was also welded to the lower plate. The compressor is driven by a single wide belt with adjustment at the compressor and the alternator. The original filter is too big to mount anywhere. Could mount a small remote filter off the head just beyond the coil but would have to use a different air filter. Not concerned since the filtration is only partial and the fact that the engine is squeaky clean when I rebuilt it, no old sludge being dredged up. Also change oil frequently. The compressor and bracket will probably block more air flow than the original oil filter. The front-mounted electric fan runs full time. The engine has been run at fast idle while the air was being charged with no problem. We'll have to see how it does in the Florida heat with the air on. Adding AC to a Series 22/23 is not ideal, so much original stuff in the way. If I had planned this while the car was apart, I would have probably tried a 2-belt, right-mounted compressor. That would have required figuring out what parts to used from a later '51-'54 with power steering. I took a path I thought would be easier, NOT! Attach file: (91.38 KB)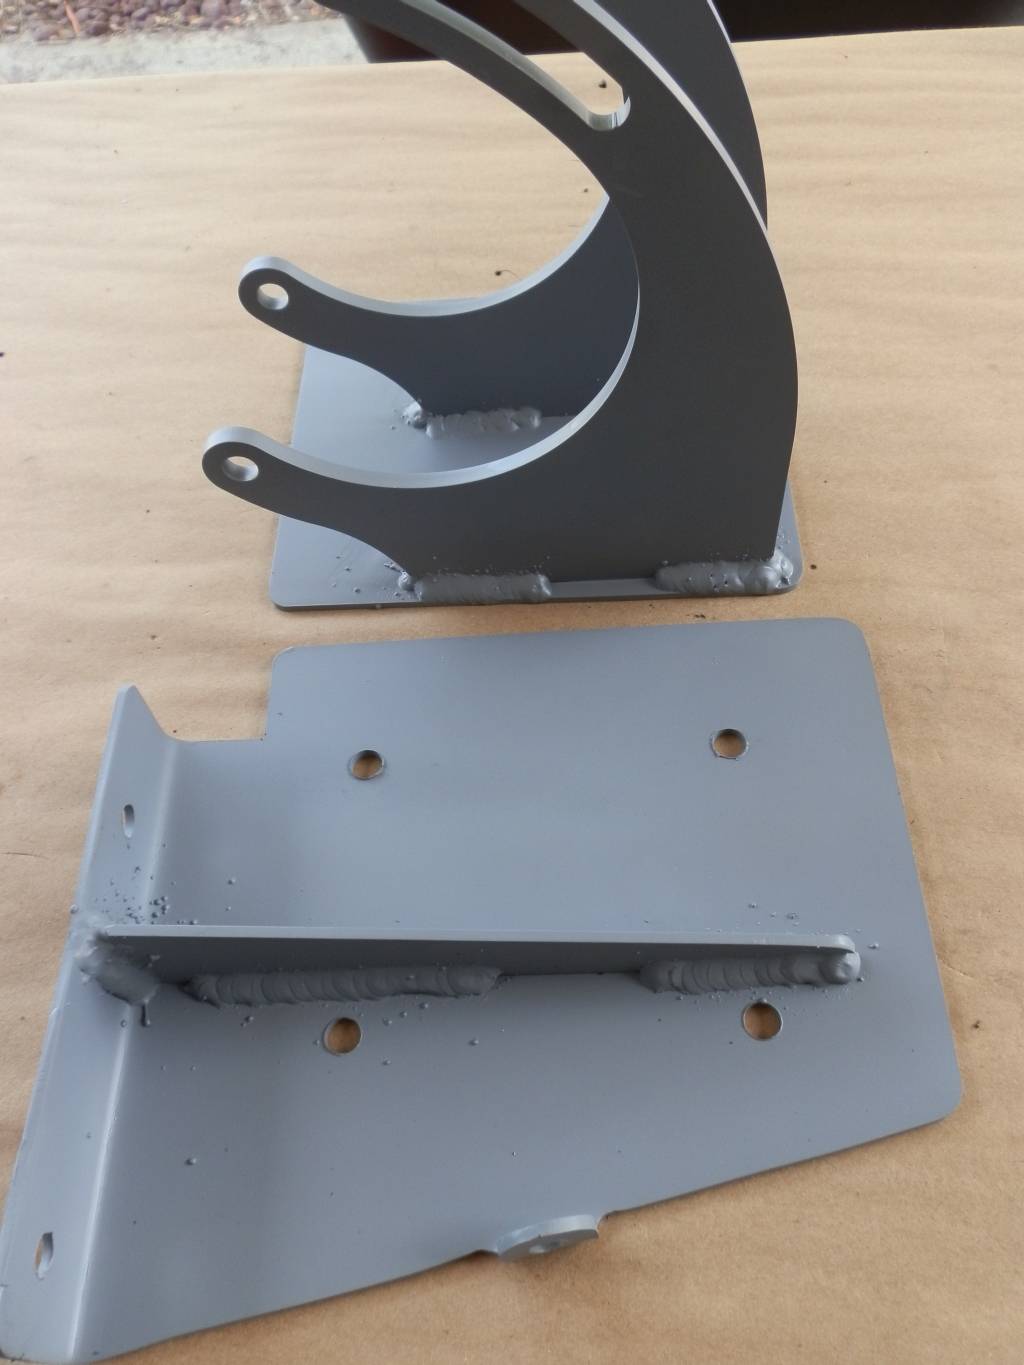
Posted on: 2020/7/4 10:02
|
|||
|
||||


.jpg")


