|
Re: 1948 288 Engine Head Refurbish
|
||||
|---|---|---|---|---|
|
Forum Ambassador

|
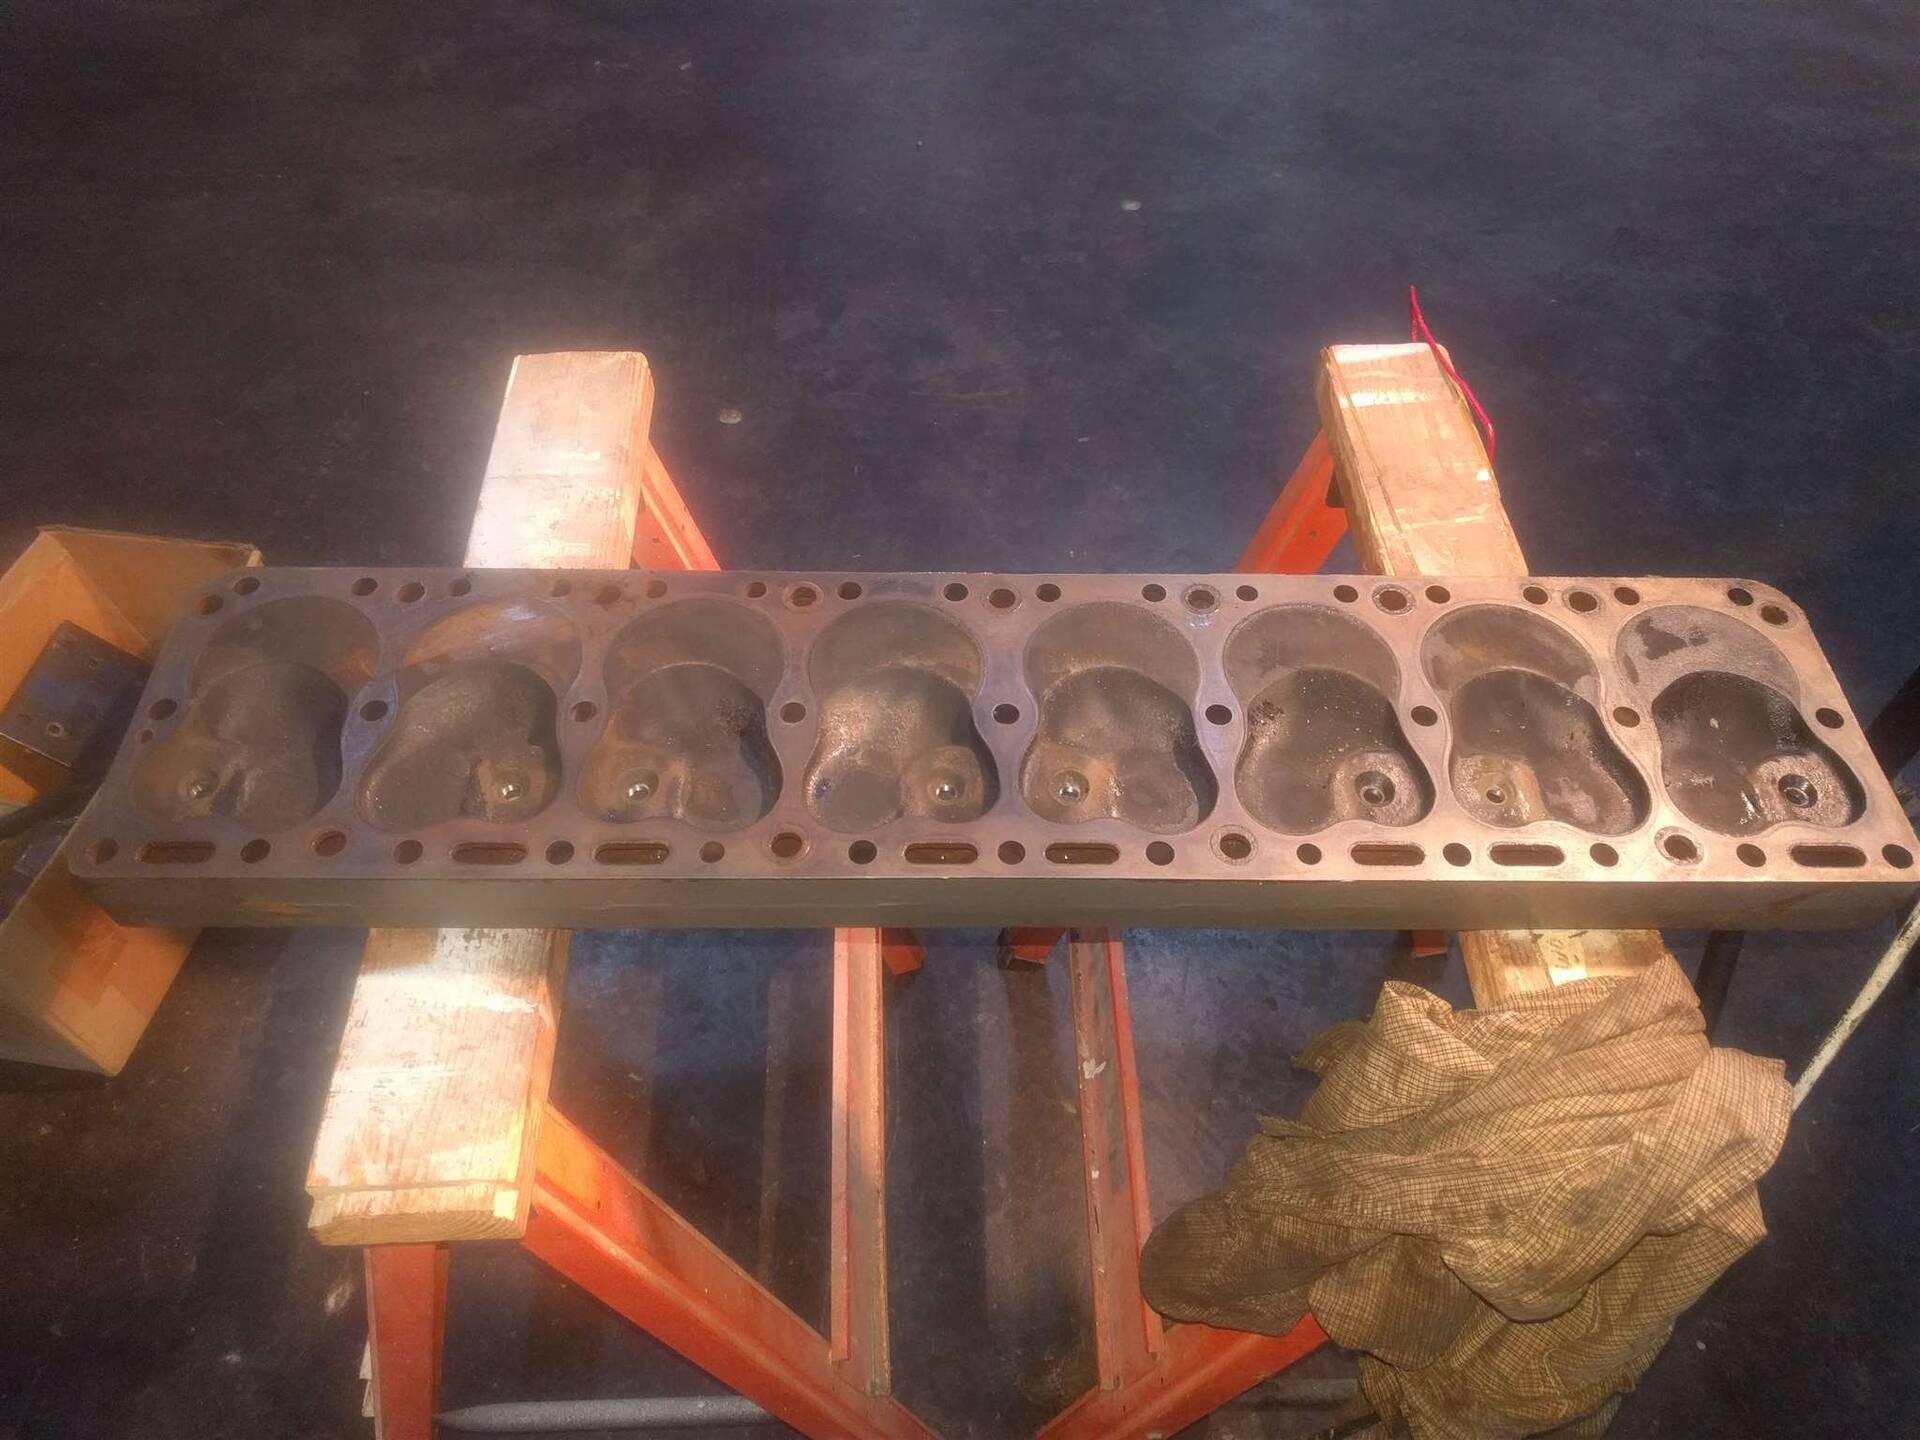
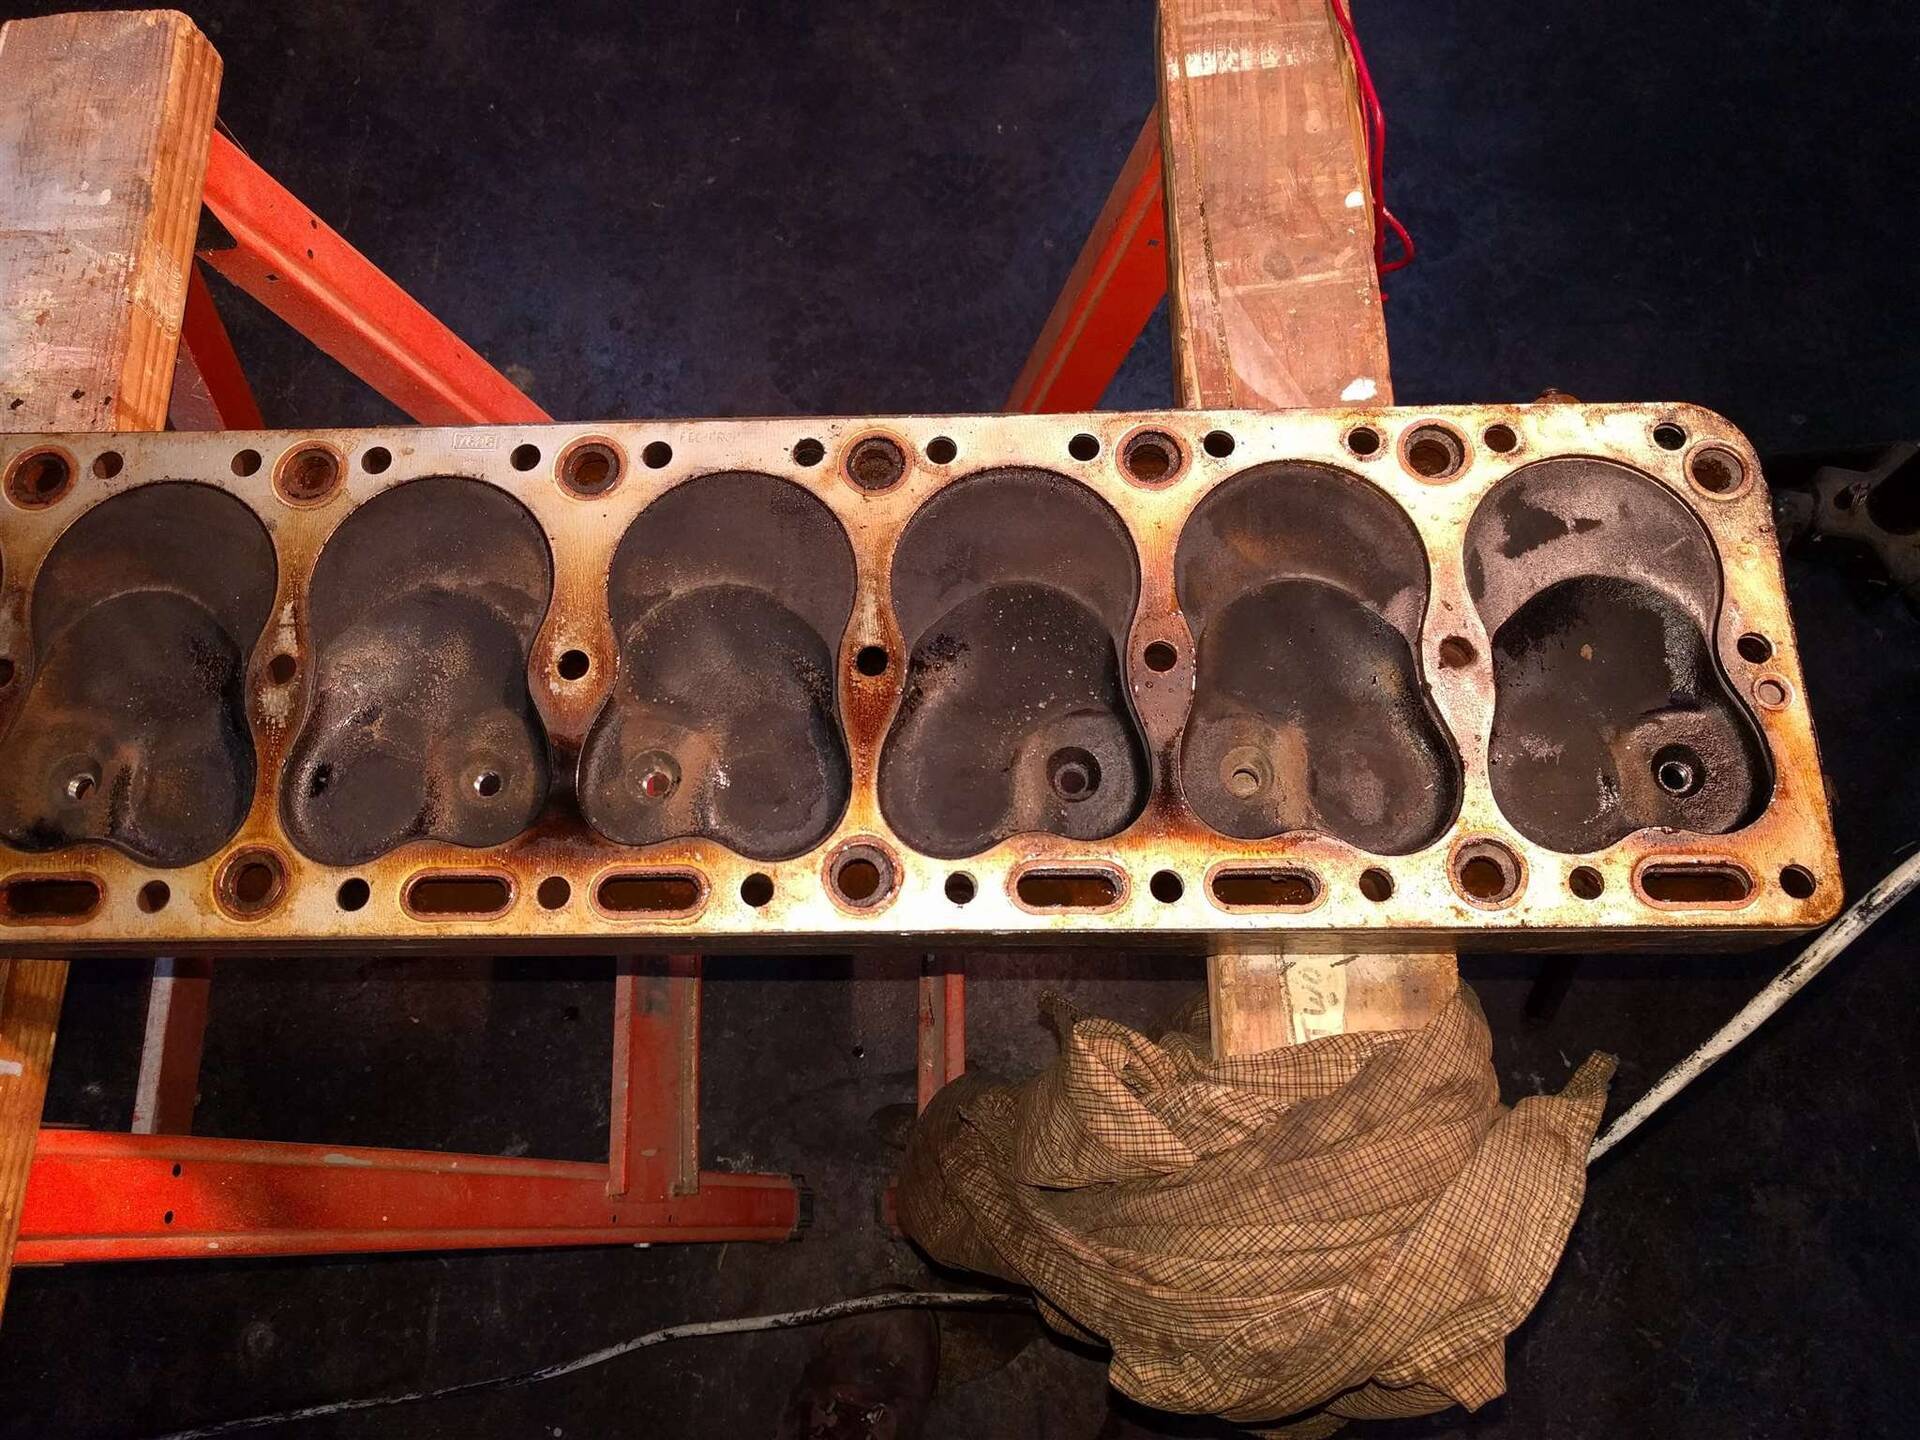
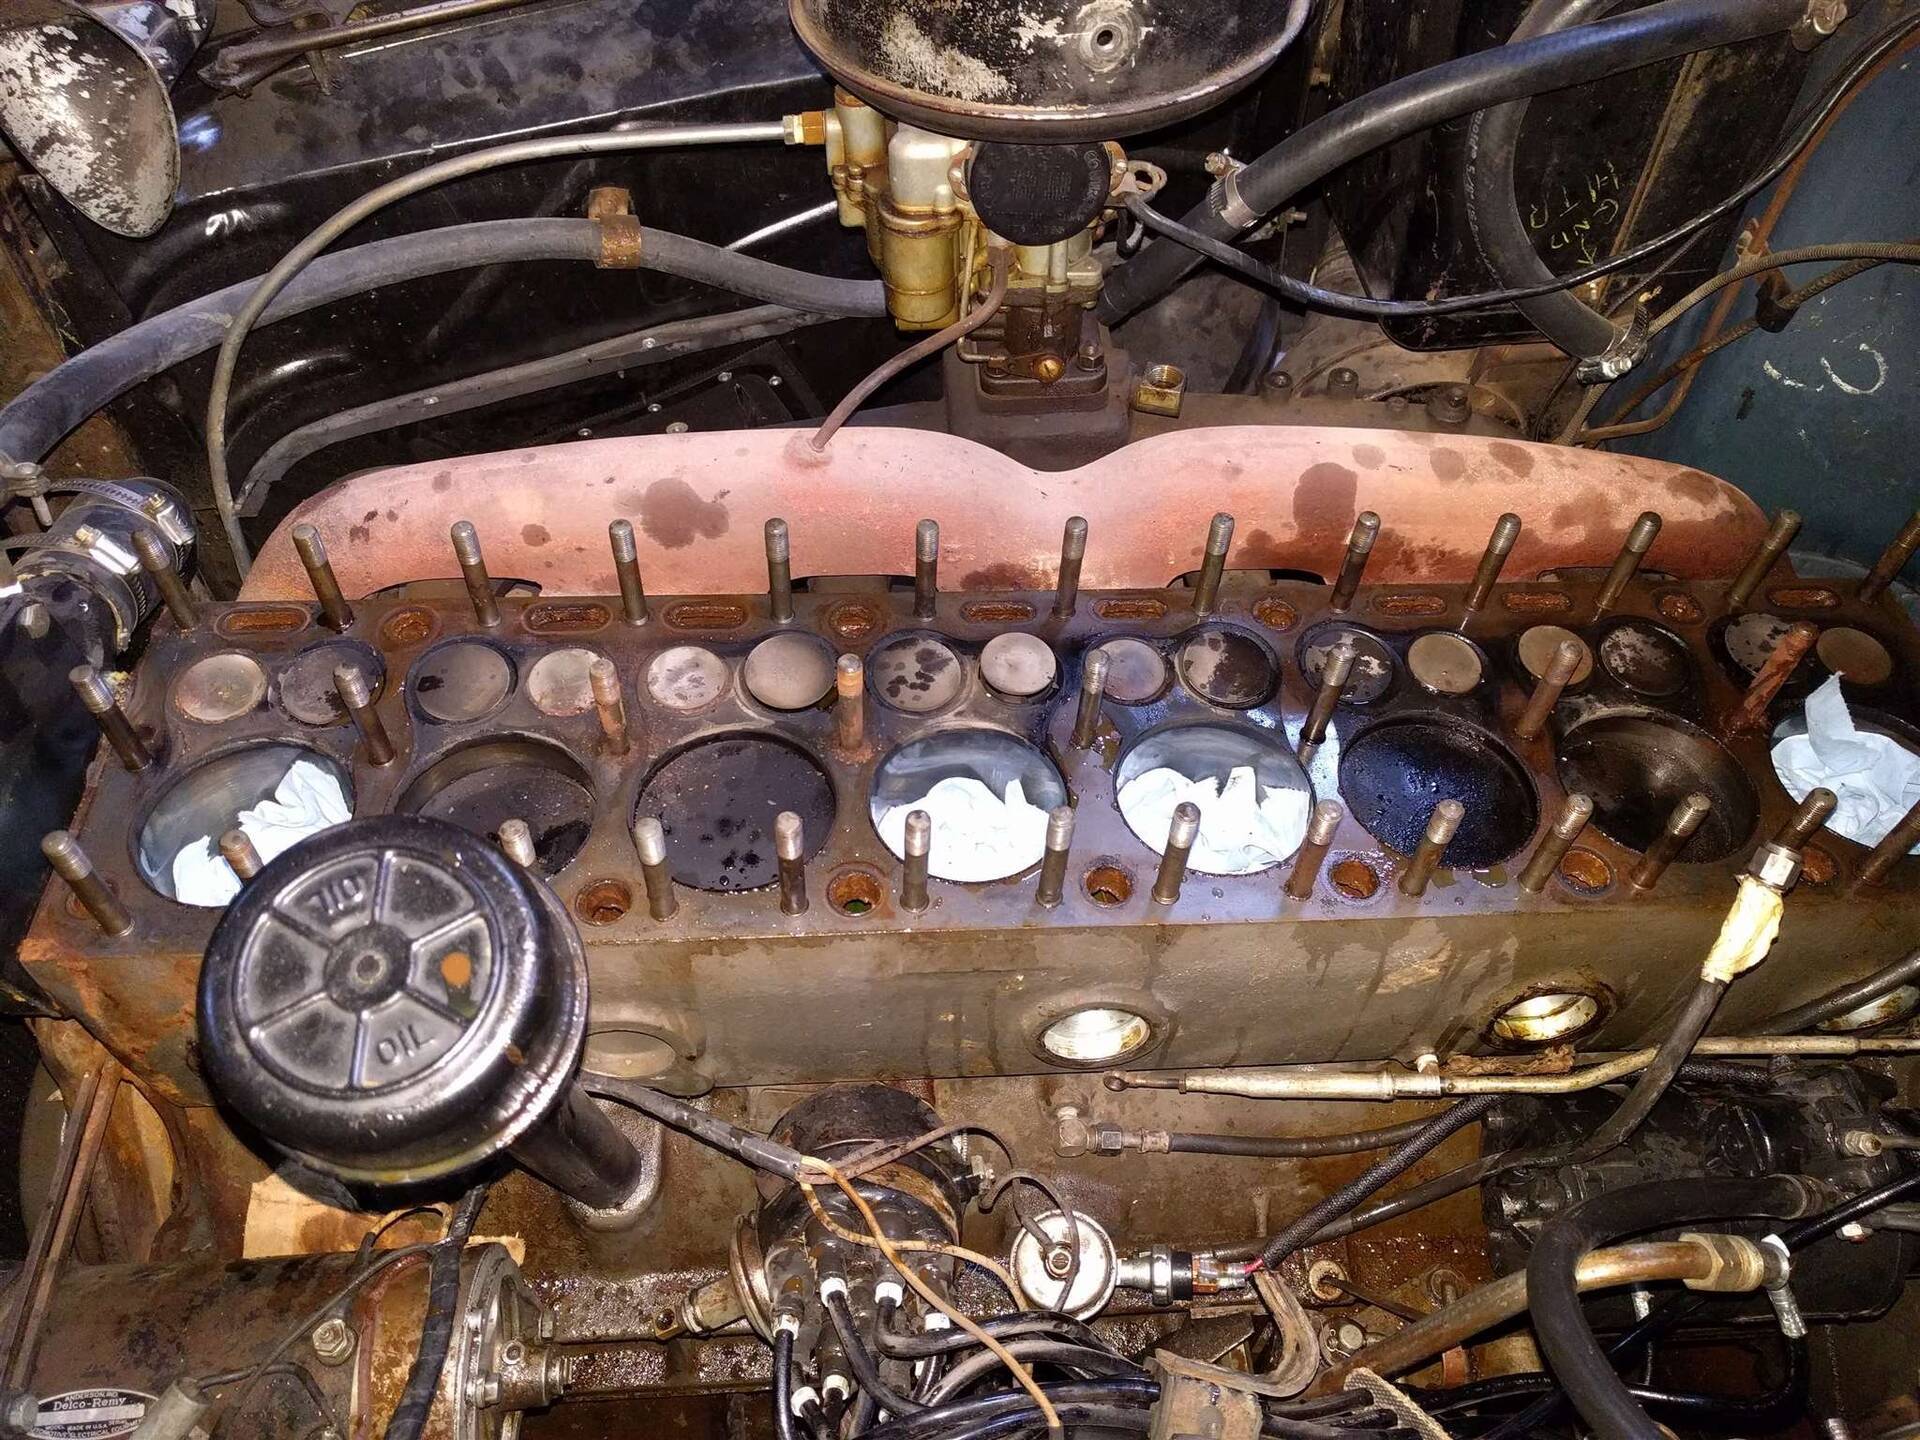
For what it's worth here is a photo of a block from the SM. To me it appears the studs were mostly threaded down to the end of the threads but doesn't look like they were concerned that much about all tops being the same height even coming from the factory.
From the parts manual, the length of the studs are given and the utility section has the specs for the washer and nut. There was a change in the threads on the studs which could affect your engine. The article is specific in stating the two threads are not interchangeable and from personal experience I can attest that threading the rolled type stud into a block with the cut threads can be very difficult. If someone has mixed them in the past there could be some issues in getting the height down to approximately the end of the threaded section. If the studs won't go down far enough McMaster has some extra thick washers that might work better than standards. Attach file:  (60.29 KB) (60.29 KB)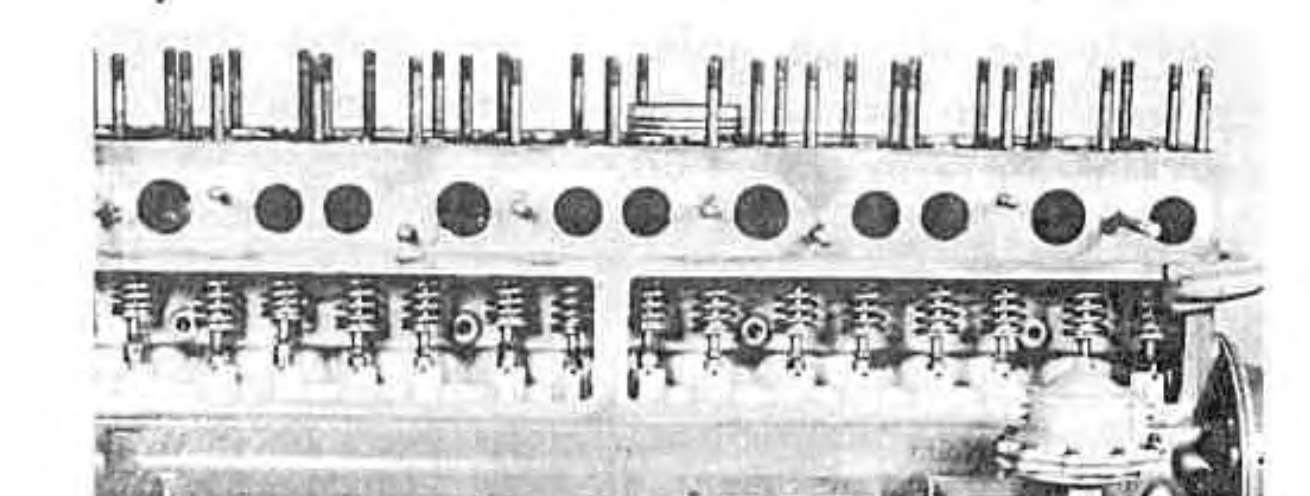 (86.25 KB) (86.25 KB)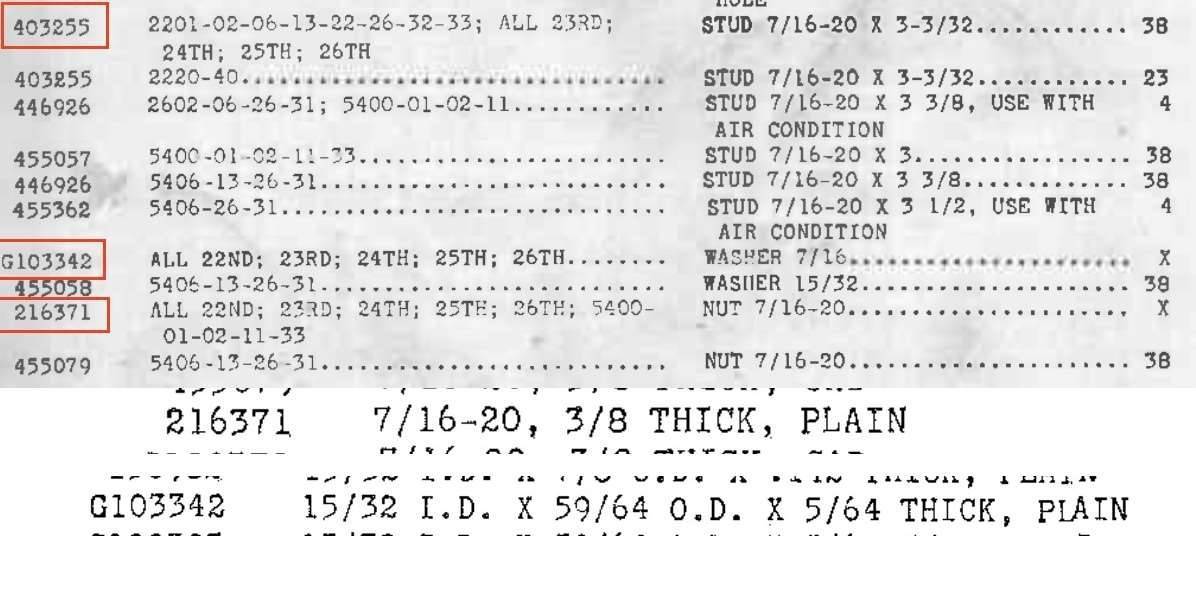 (84.22 KB) (84.22 KB)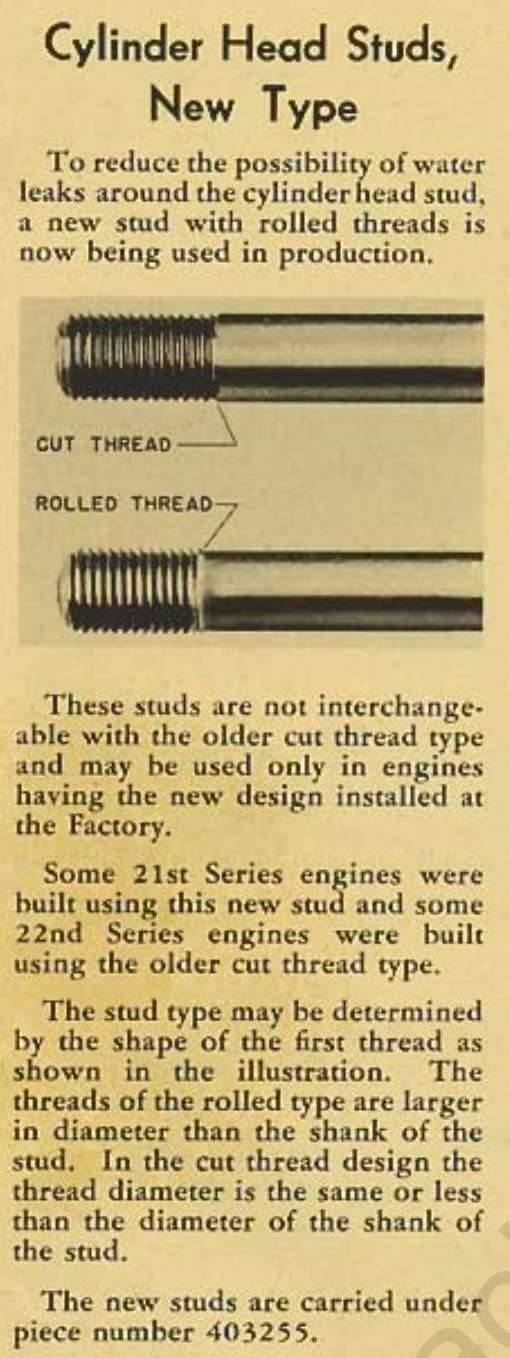
Posted on: 2017/9/22 16:39
|
|||
|
Howard
|
||||
|
||||
|
Re: 1948 288 Engine Head Refurbish
|
||||
|---|---|---|---|---|
|
Forum Ambassador

|
When I need new washers I buy aircraft quality with the faces ground flat and parallel to very tight tolerance; probably overkill but its only a few $. I get them from MSC Industrial Supply.
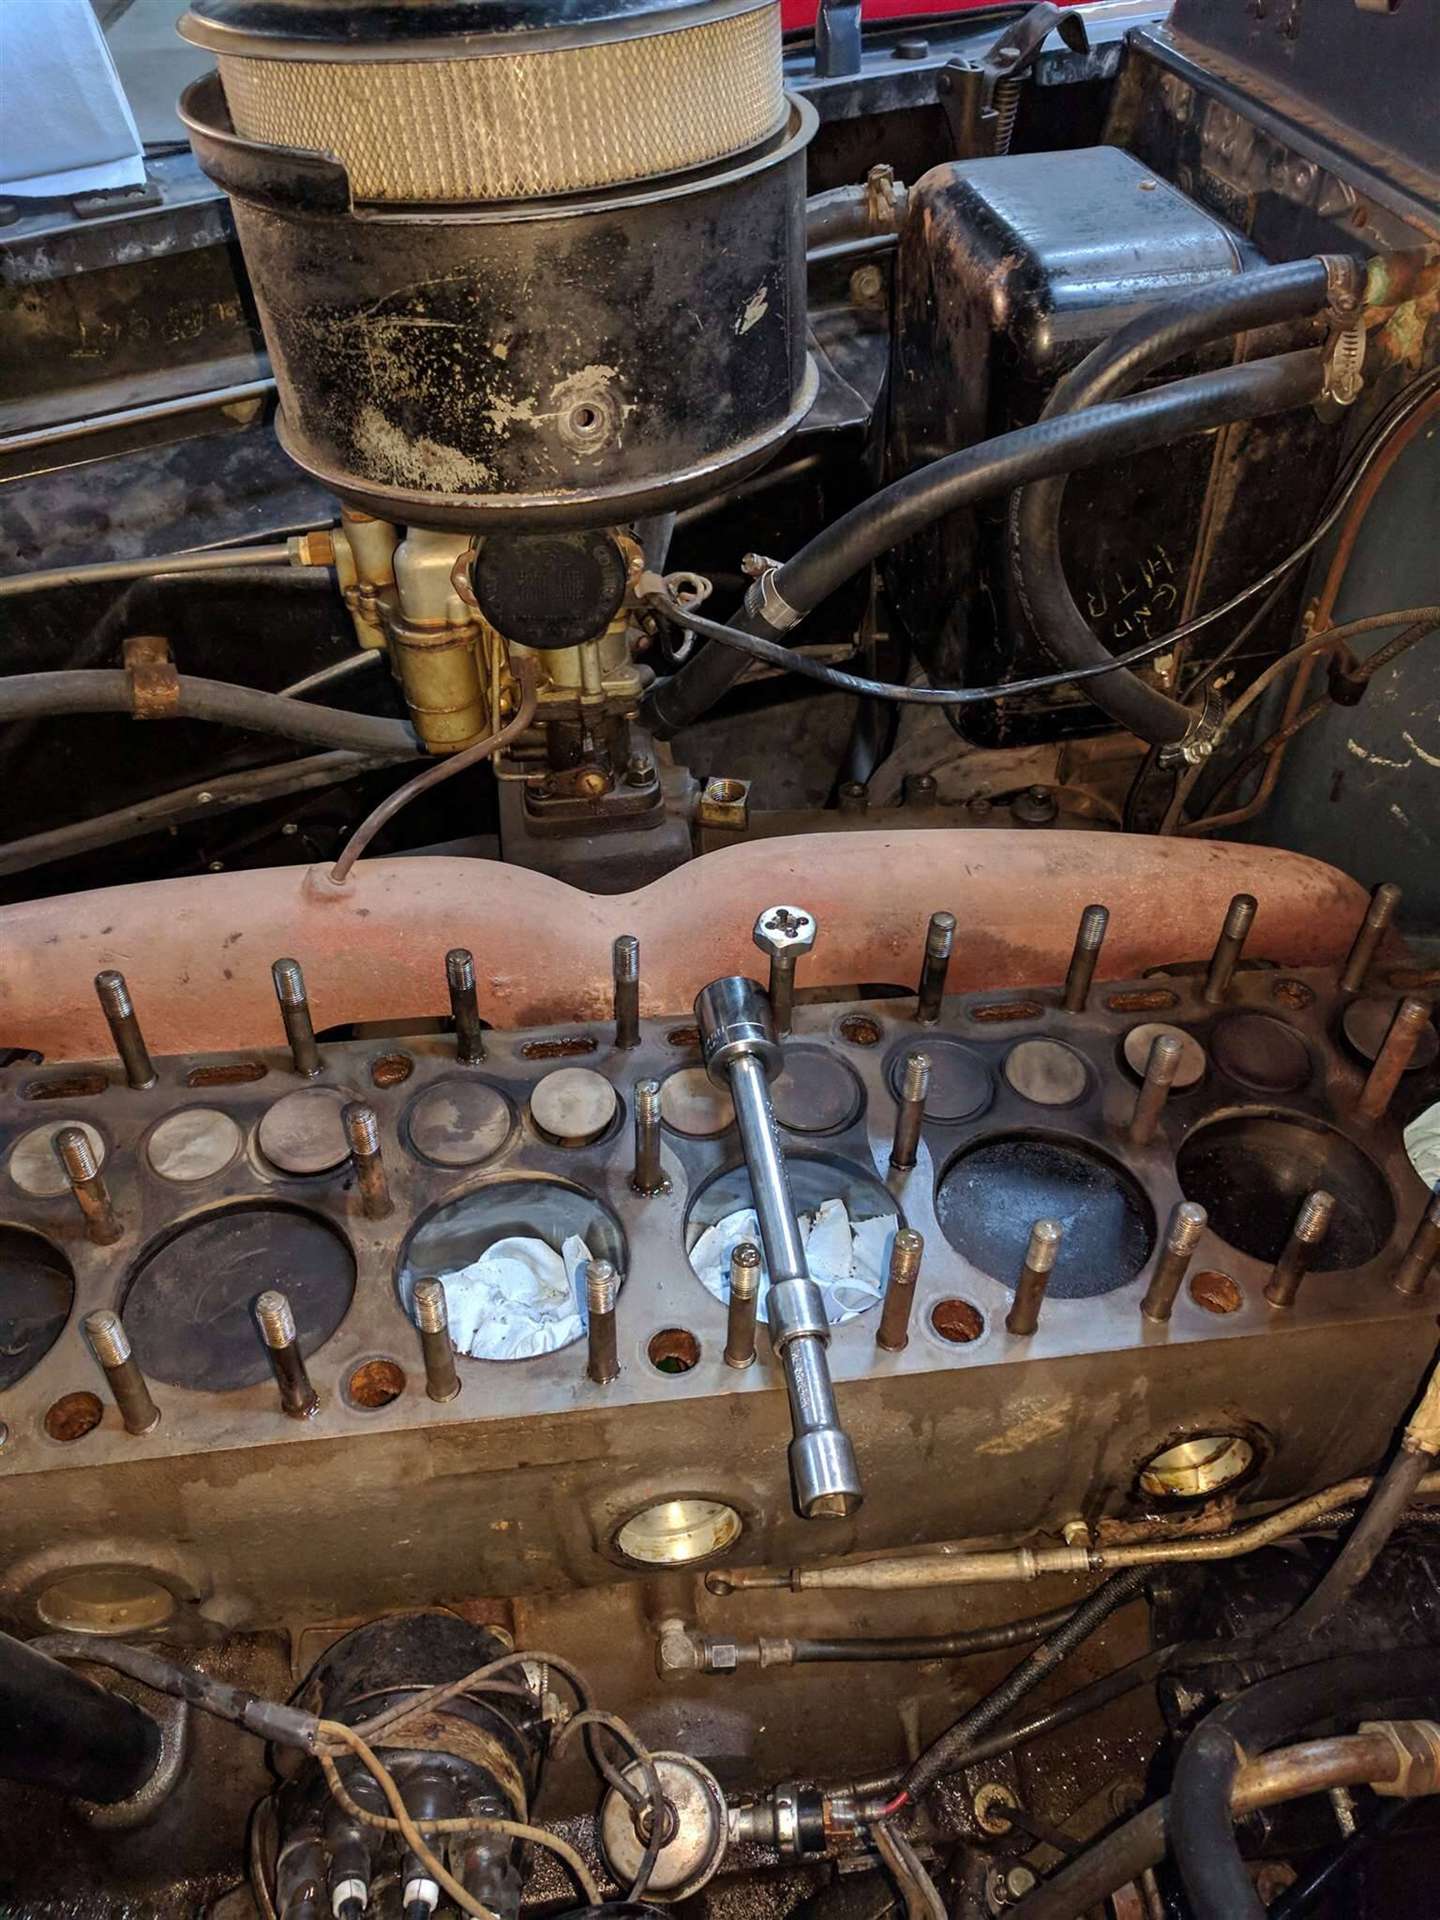
I see you using a die to clean the stud threads - if it's a nice new die, not the best practice. Yes, you want the threads CLEAN, butyou don't want to remove any metal as it decreases the load-bearing surface. Better to use a thread chaser, or an old, well worn die that just cuts the debris from the grooves.
Posted on: 2017/9/22 17:18
|
|||
|
||||
|
Re: 1948 288 Engine Head Refurbish
|
||||
|---|---|---|---|---|
|
Quite a regular

|
Thanks for all of the information. New washers are on the way!
The one stud that appears to be a real problem is screwed further into the block than the others. The corresponding nut was only about 3/4 threaded onto the stud. I plan to carefully try to back this stud out and get a length measurement. It may need to be replaced. The rolled versus cut thread info will be handy if replacement is needed. The stud threads were really crudded up. The die removed a lot of rust and dirt but it didn't appear to remove a whole lot of metal. At least that was noticeable. I will remember the advice about not using a new die for next time..... Come to think of it, I probably now have a somewhat worn die for next time. Many Thanks to all! Tom
Posted on: 2017/9/22 18:19
|
|||
|
||||
|
Re: 1948 288 Engine Head Refurbish
|
||||
|---|---|---|---|---|
|
Home away from home

|
Tom, I would carefully inspect the engine block for cracks while the head is off and you are doing work on it. Opinion differs on whether to use a copper gasket sealant when installing the new head gasket. Regardless, proper torquing of the nuts at assembly and following-up is most important.
JWL
Posted on: 2017/9/23 10:51
|
|||
|
We move toward
And make happen What occupies our mind... (W. Scherer) |
||||
|
||||
|
Re: 1948 288 Engine Head Refurbish
|
||||
|---|---|---|---|---|
|
Just can't stay away

|
Well, my 288 rebuild taught me a lot.
Use copper sealant if you use a copper gasket. I didn't the first time and when I filled the engine with coolant it immediately leaked into the cylinders and ruined my 1st rebuild. Copper sealant will fill the slight imperfections in the head and block. Make real sure you don't have a crack in the block. Use magnaflux or some other dye to check. My first block didn't reveal its ugly cracks until after my machine shop cleaned the block. We found a crack from an exhaust valve seat all the way into and down the adjoining cylinder. Garbage, so different block. If you have the engine out run it on a test stand before you install it. This will give you the opportunity to break in the rings and cam (if it is new) then you can tune it and adjust the valves hot. (no crawling under the car to make the adjustments with the engine running). Good luck!
Posted on: 2017/9/23 12:00
|
|||
|
||||
|
Re: 1948 288 Engine Head Refurbish
|
||||
|---|---|---|---|---|
|
Quite a regular
|
OK,thanks, have a dye kit on order. Will inspect carefully.
Tom
Posted on: 2017/9/23 13:04
|
|||
|
||||
|
Re: 1948 288 Engine Head Refurbish
|
||||
|---|---|---|---|---|
|
Home away from home

|
As I recall, the head washers were thicker than off the shelf hardware washers. Probably close to 1/8" and had a larger outside diameter. I have a jar of them at my shop but it's hundreds of miles away so not easy to check!
Posted on: 2017/9/23 13:52
|
|||
|
||||
|
Re: 1948 288 Engine Head Refurbish
|
||||
|---|---|---|---|---|
|
Home away from home

|
No one answered on the powder coating question, so if you do, use high temp powders, just for less possible discoloration over time.
I don't see a need with the modern engine paints, however. They are good to 500+F and seem to be easy to apply. I did the Cad with Eastwoods, only to get the color. Rattle cans are OK too for something like a head. You can ceramic coat also, and preserve an unpainted cast iron look, but neither of the thermals were factory finishes. They came out spray painted at the factory. Any thermal coating is going to require an oven bake before to devolatilize and after to cure. Cracks can grow from thermal cycles. So consider you're needs before your options. You don't want to do all that head work only to get a crack after/from appearance coating. ps: I'd opt for new studs. Cleaning rusty threads doesn't ensure integrity. If you snap one during torque, it's start over.
Posted on: 2017/9/25 9:02
|
|||
|
||||
|
Re: 1948 288 Engine Head Refurbish
|
||||
|---|---|---|---|---|
|
Quite a regular
|
Hi Folks,
Many thanks for all the great info. Couple of updates: 1. The head came back from the shop. It's not too bad with the worst warp at 0.007". It does have some gasket etching as well. See picture. The shop recommends taking off about 0.010" to flatten everything out. Before they do this, I plan to do the modeling clay trick (torque the head down on the old gasket with some modeling clay over the valves, turn the engine over x4, remove head & measure free clearance above the valves). Once valve to head clearances are known I'll talk to the shop about going forward (or not) with milling. 2. Crack penetrating dye kit is on order and I'll test the block once it arrives. Hopefully no issues. 3. After reviewing some of the posts and speaking with the head shop, I decided to go the paint route for the engine head. Have some high temp engine primer and engine gray on order. 4. At this point I plan to go with the existing studs. With the exception of the one low one they don't seem to be too bad and the threads cleaned up nicely. My worry is that the replacement process (risk of breaking a stud) may be worse than just going with what's there. Again, thanks for all of the help, suggestions and advice. Best Regards, Tom Attach file: (347.88 KB)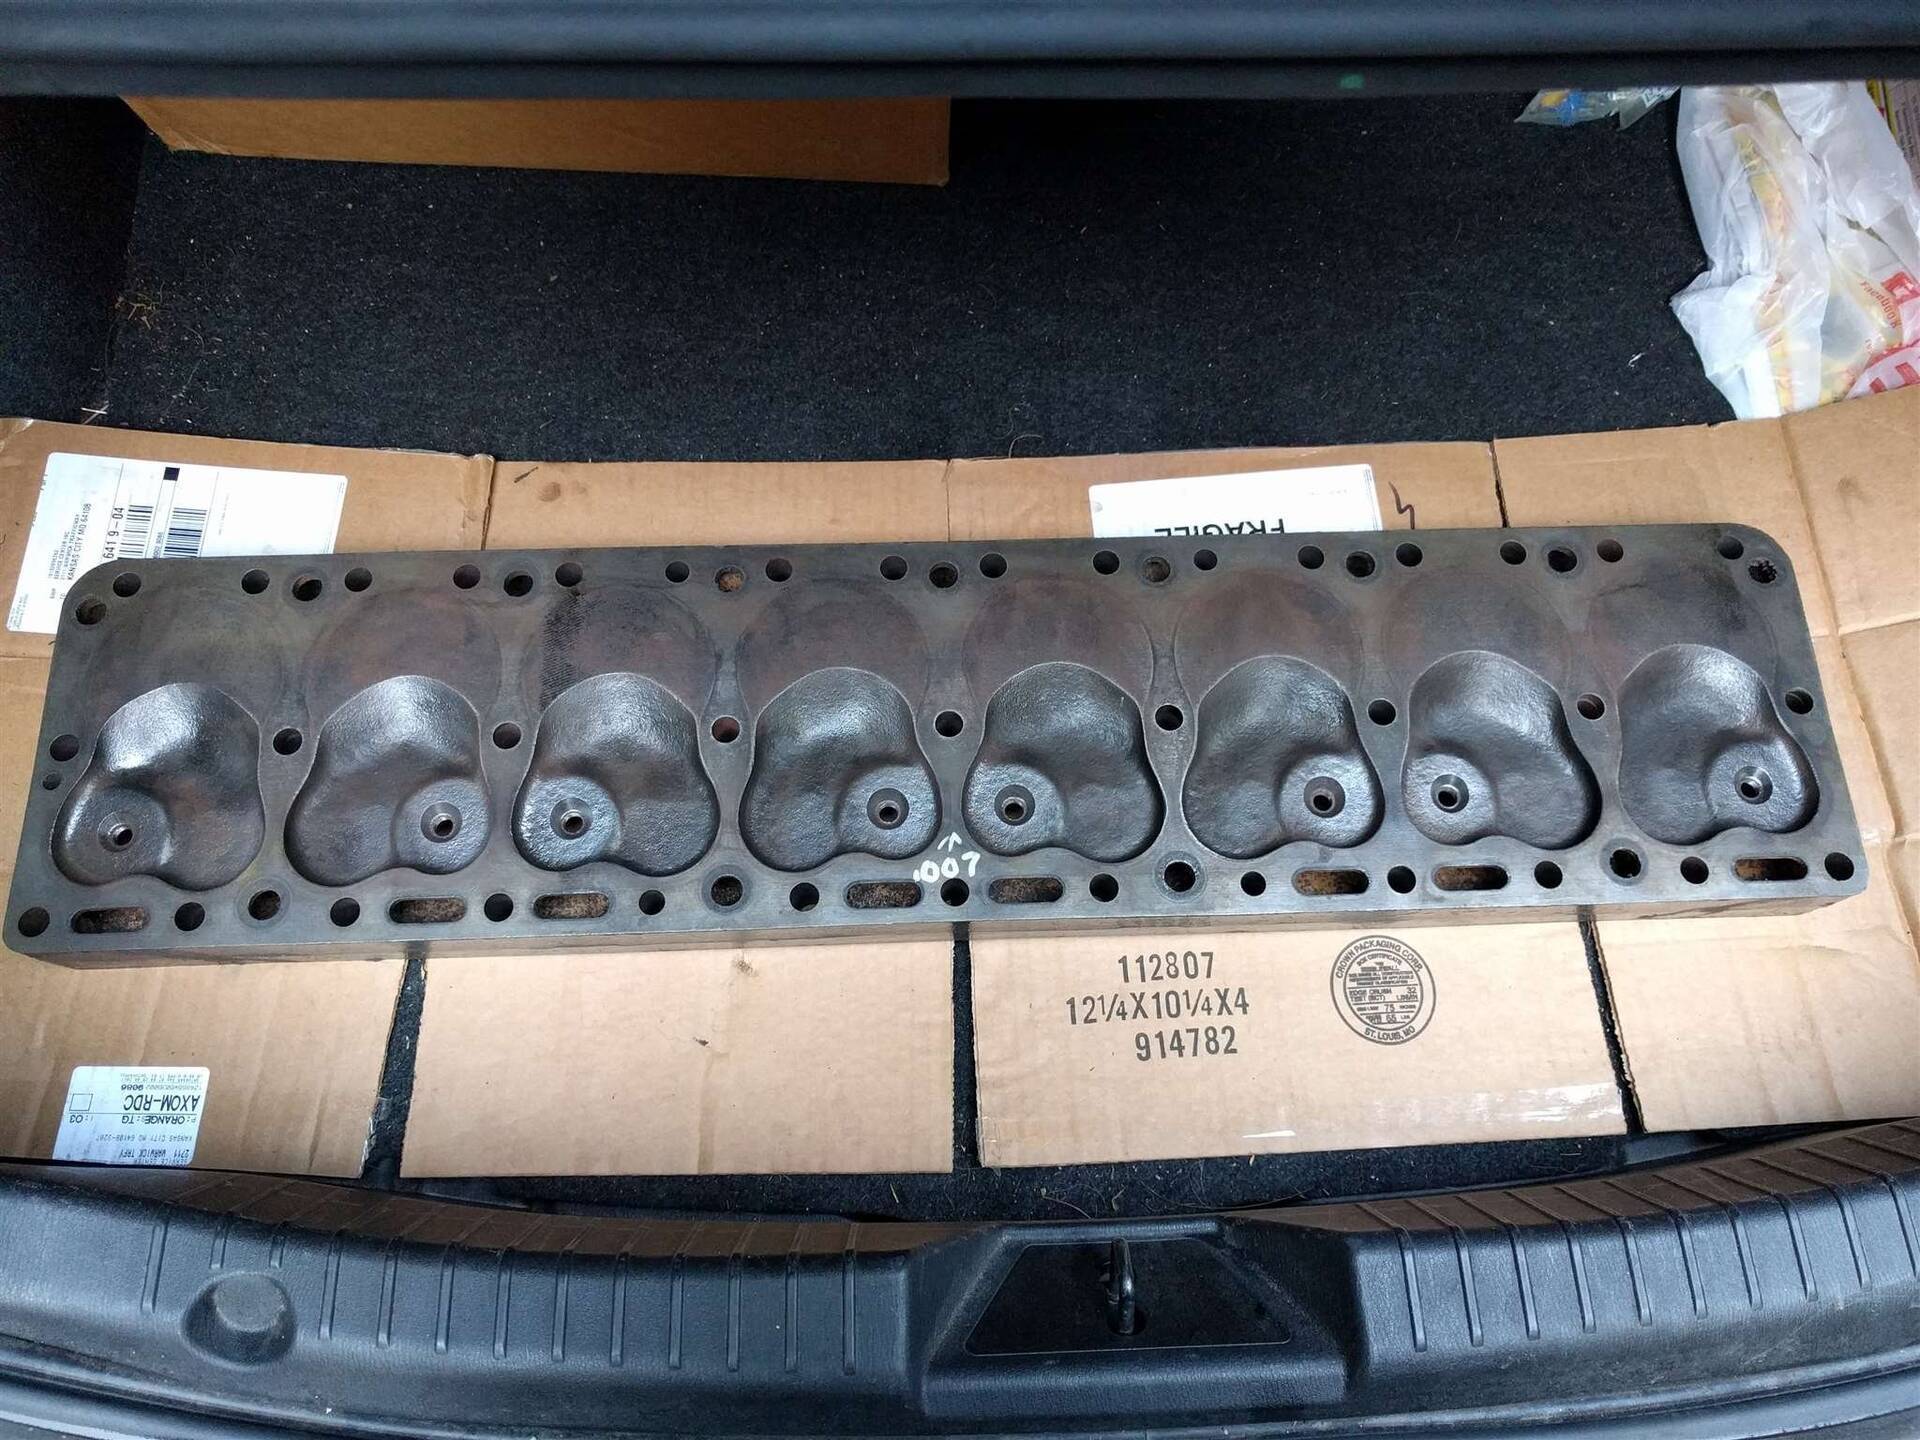 (392.69 KB) (392.69 KB)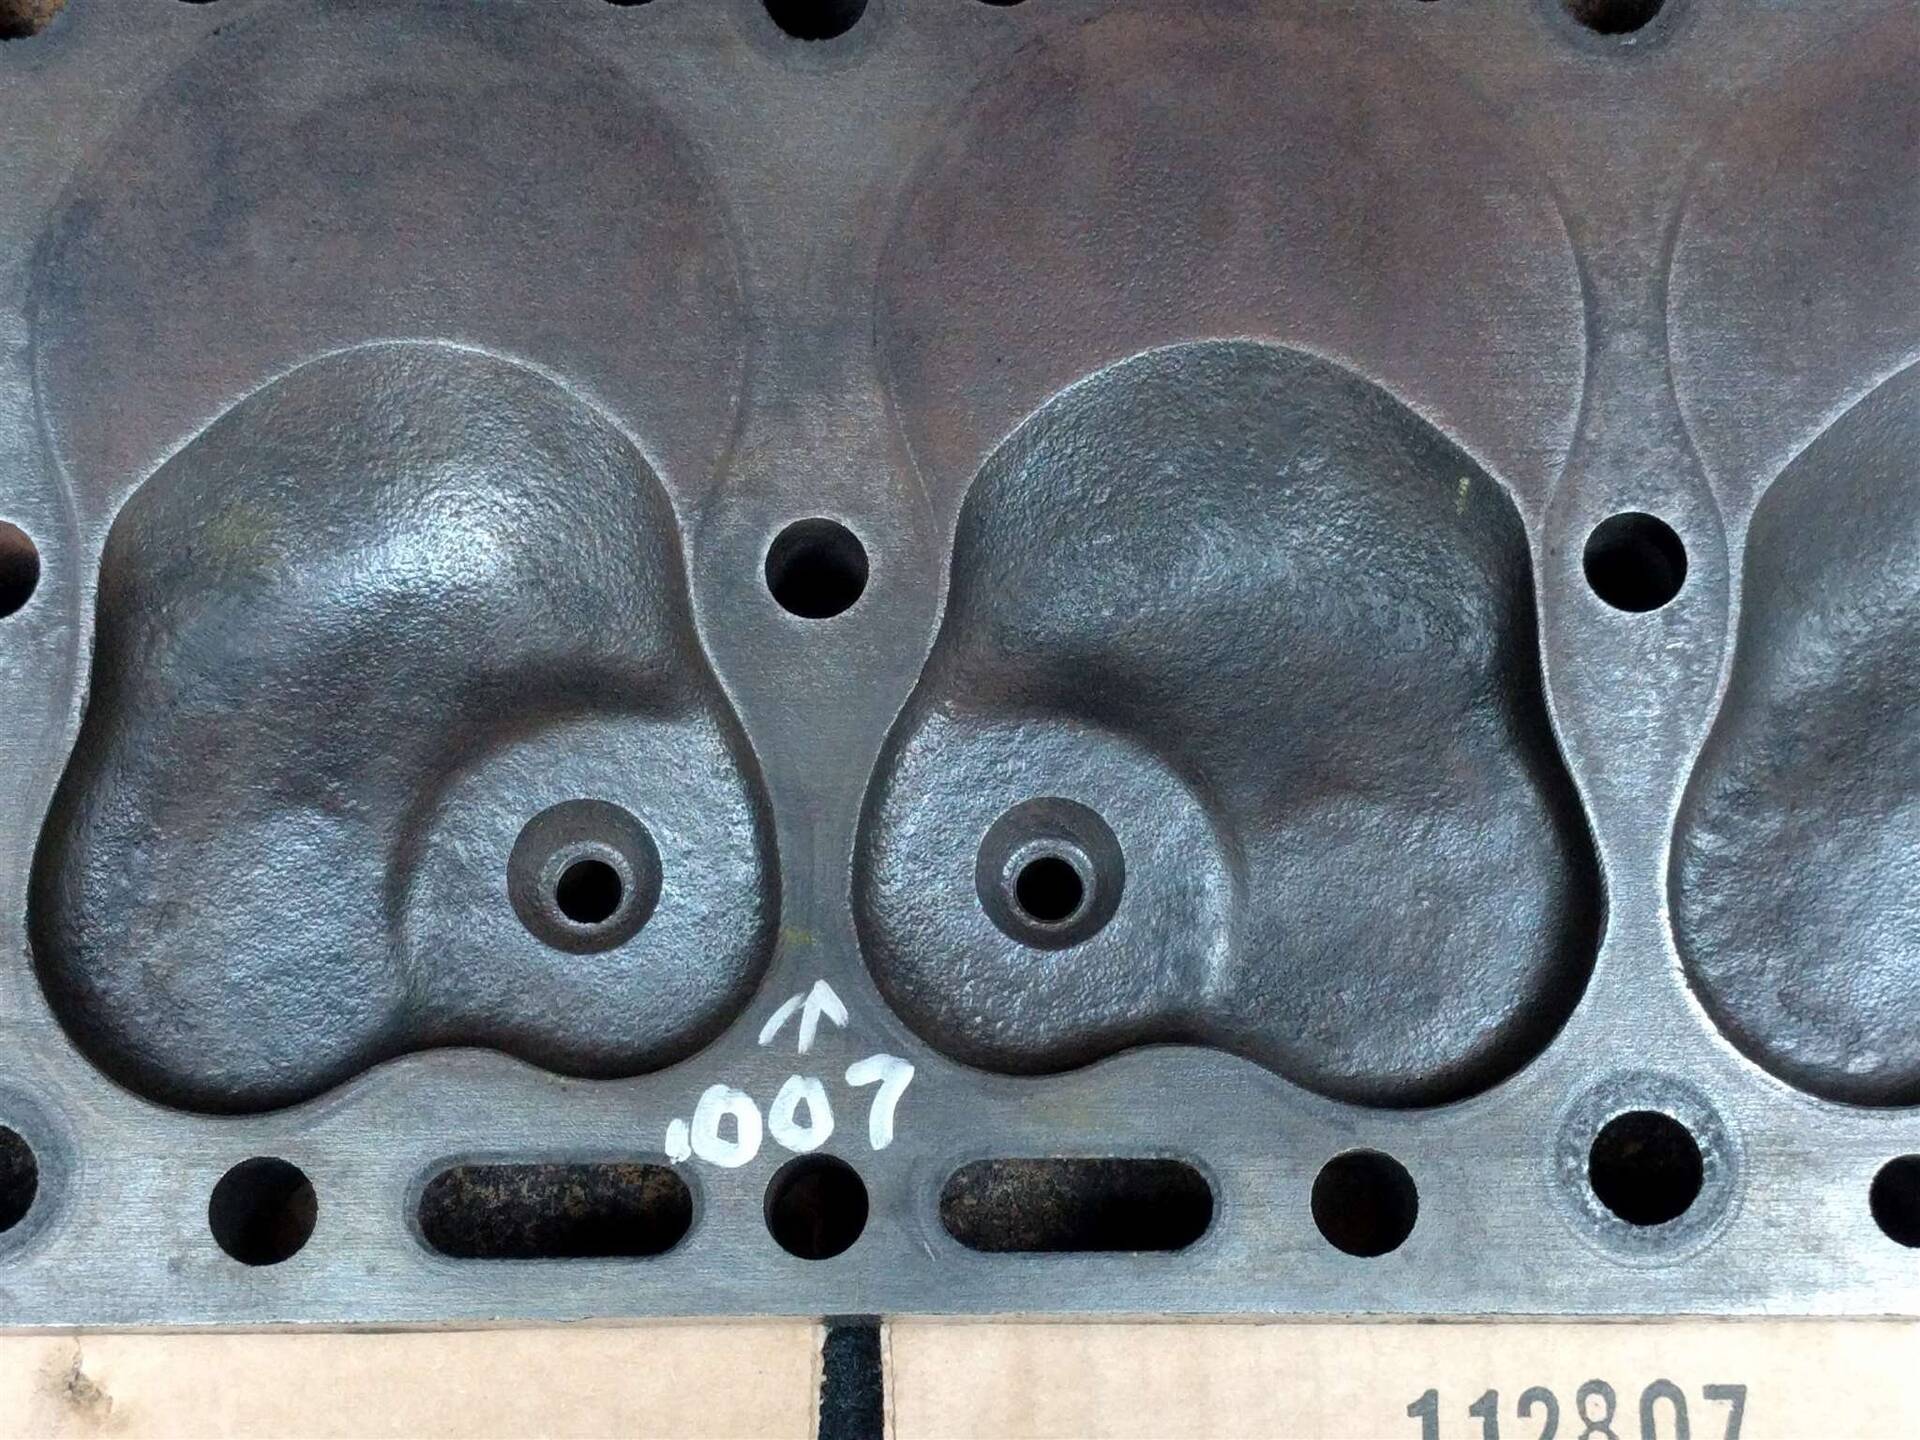
Posted on: 2017/9/26 10:21
|
|||
|
||||


