|
Re: KPack's 1954 Panama
|
||||
|---|---|---|---|---|
|
Forum Ambassador

|
Quote:
The rope you are talking about is still there (kind of) on the car. Some of it is missing. I left the remainder as is for now. I think it's purpose is to keep things from falling into the space between the wheel well and fender. It certainly isn't a seam sealer and I don't think it does much sound dampening. I have no idea where to get replacements. There is both a cotton and a fiberglass wick material that comes in various diameters which is used for Tiki torches and the like. It is a much coarser braid than normal cotton rope with an appearance I think is more like the original material Packard used. As I recall the fender stuff is somewhat near 1/2 inch in diameter. Amazon carries several offerings that are 5' or 6' long and from 1/8" to 3/4" in diameter. Here is a comparison photo of both the 1/2" cotton and the 1/2" fiberglass round wick offered on Amazon. Attach file:  (125.96 KB) (125.96 KB)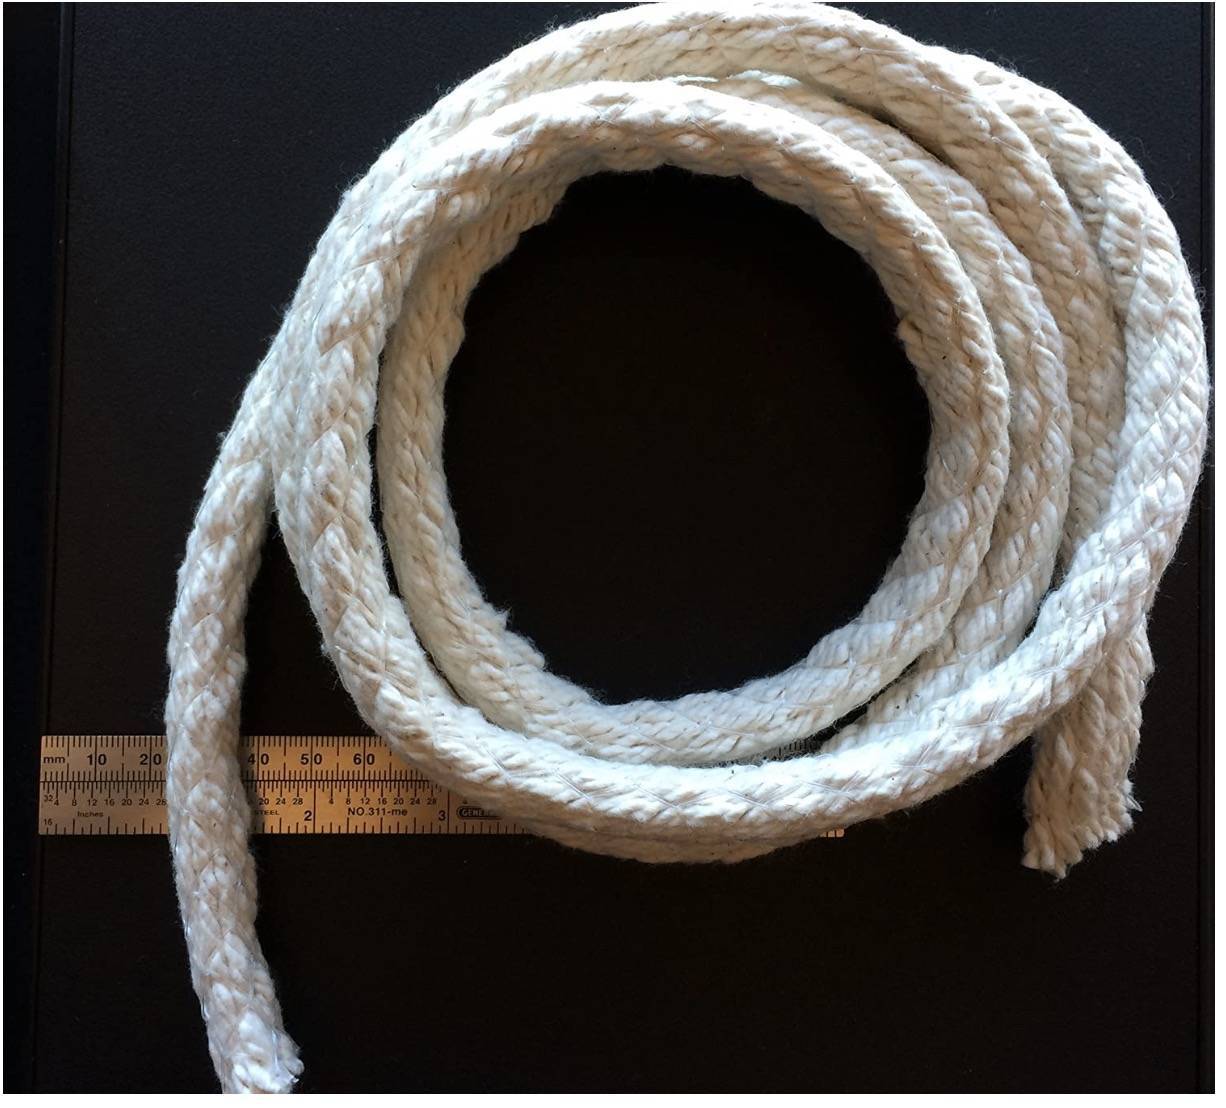 (127.73 KB) (127.73 KB)
Posted on: 2020/10/20 15:40
|
|||
|
Howard
|
||||
|
||||
|
Re: KPack's 1954 Panama
|
||||
|---|---|---|---|---|
|
Home away from home

|
Thanks Howard. I'll keep those as a reference in case I remove and replace the old stuff.
Anyone have experience with sound deadener mats? I've read a couple of comments from Ross regarding the Noico 80 mil mats, so I'm leaning towards those. Any issues with delamination on the roof? -Kevin
Posted on: 2020/10/24 16:37
|
|||
|
||||
|
Re: KPack's 1954 Panama
|
||||
|---|---|---|---|---|
|
Home away from home

|
I was picturing something much larger than that, maybe an inch if not more in diameter! Was it really so small?
Posted on: 2020/10/25 1:23
|
|||
|
||||
|
Re: KPack's 1954 Panama
|
||||
|---|---|---|---|---|
|
Home away from home
|
On my '51 the rope stuff is closer to an 1" in diameter.
Posted on: 2020/10/25 7:58
|
|||
|
||||
|
Re: KPack's 1954 Panama
|
||||
|---|---|---|---|---|
|
Forum Ambassador
|
Quote:
I was picturing something much larger than that, maybe an inch if not more in diameter! Was it really so small Been a long time since I did anything in that area that involved the rope but could be a larger size. Not sure of the function but probably something to do with added support for the fender panel center section to minimize any drumming. If that is the case I would imagine it needs to be fairly loose so able to be compressed slightly when stuffed into the narrower spaces toward the center of the wheelwell without bulging the fender. Largest wick I see on Amazon is 3/4" so for a 1" round wick choices appear more limited. One lamp store has a 1" cotton round but weave is finer and it looks more like an ordinary rope. Another has fiberglass which looks OK but they sell by the foot so to get enough for the car would be fairly expensive. There are some rope type gasket materials for wood stoves that look like the large weave and come in various sizes. The color is wrong probably because some are impregnated with graphite but if well hidden, perhaps one of those would work.
Posted on: 2020/10/25 9:07
|
|||
|
Howard
|
||||
|
||||
|
Re: KPack's 1954 Panama
|
||||
|---|---|---|---|---|
|
Home away from home
|
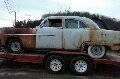
Didn't get a whole lot done on the Panama today. Spent a good portion of my day off helping to recover a Jeep that had become hopelessly stuck in the mountains. And spent the remainder of the day with my family.
Had an hour or so tonight, so opened up the rebuilt fuel pump I received from Kanter. Wow, looks so nice compared to mine that came off. Right off the bat I noticed that it is definitely different than what came off the car. Both are Carter's, though they are different models. I asked the guys at Kanter if they needed my model number, and they said it didn't matter. But I want to confirm that this replacement one will work. The In/Out ports on the fuel pump are opposite of what came off my car. The cam arm is a different style (longer) on the replacement, but it looks like the cam rider has the same placement/travel from the mounting face of the pump. Also, the cam rider itself is a not as deep. Thoughts? I also pulled the fuel bowl and filter since it darkened significantly from the oil. I'm not totally sure how to clean the ceramic element....some guys say lacquer thinner, some say acetone, one said vinegar. I have it soaking in acetone overnight, since that's what I had on hand. -Kevin Attach file: (108.71 KB) (110.40 KB) (110.40 KB) (112.33 KB) (112.33 KB)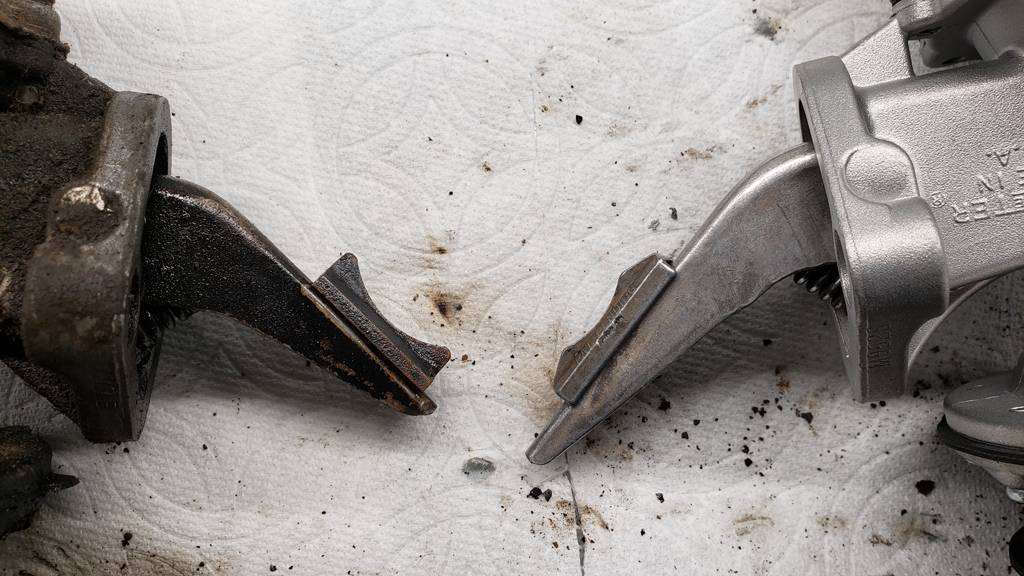 (78.44 KB) (78.44 KB)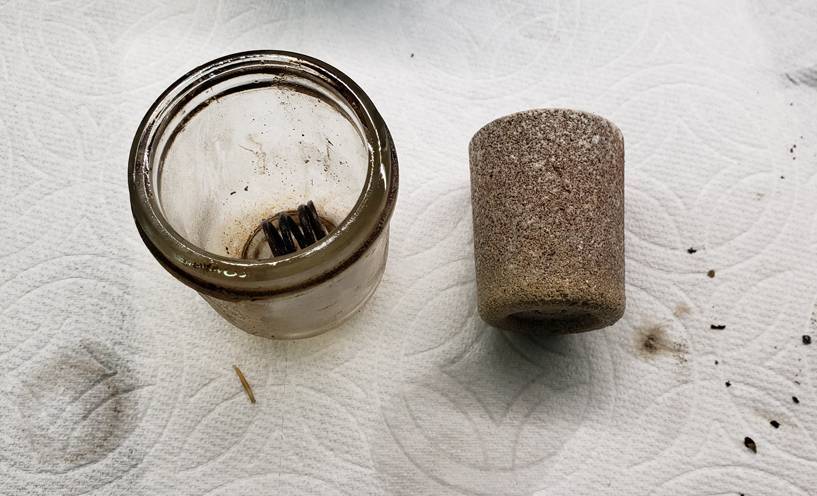
Posted on: 2020/10/26 23:42
|
|||
|
||||
|
Re: KPack's 1954 Panama
|
||||
|---|---|---|---|---|
|
Home away from home
|
The pad on your cam looks quite worn so, as long as it's in the same location and the angle is the same, it should be fine. However, the inlet on yours should be at the rear but if it isn't, you'll have to remove the housing and reverse it. It too difficult but best to look up ad follow the reassembly procedure as outlined in the shop manual.
The line from the pump to the filter should be a single piece of steel tubing and if it is, it can't be installed any other way. All 1951-1954 Packards had the front as the outlet so odd they would sell you one that is so wrong.
Posted on: 2020/10/27 2:15
|
|||
|
||||
|
Re: KPack's 1954 Panama
|
||||
|---|---|---|---|---|
|
Home away from home

|
Suction at the rear and pressure toward the front is correct. New pump looks good to me. Took me some time to find a picture showing the general plumbing scheme.
A piece of 5/16 x 30 premade tubing from the auto parts store is about perfect to bend up a new fuel tube to the carb. For $4 or so its a nice dressup. Attach file: (136.55 KB)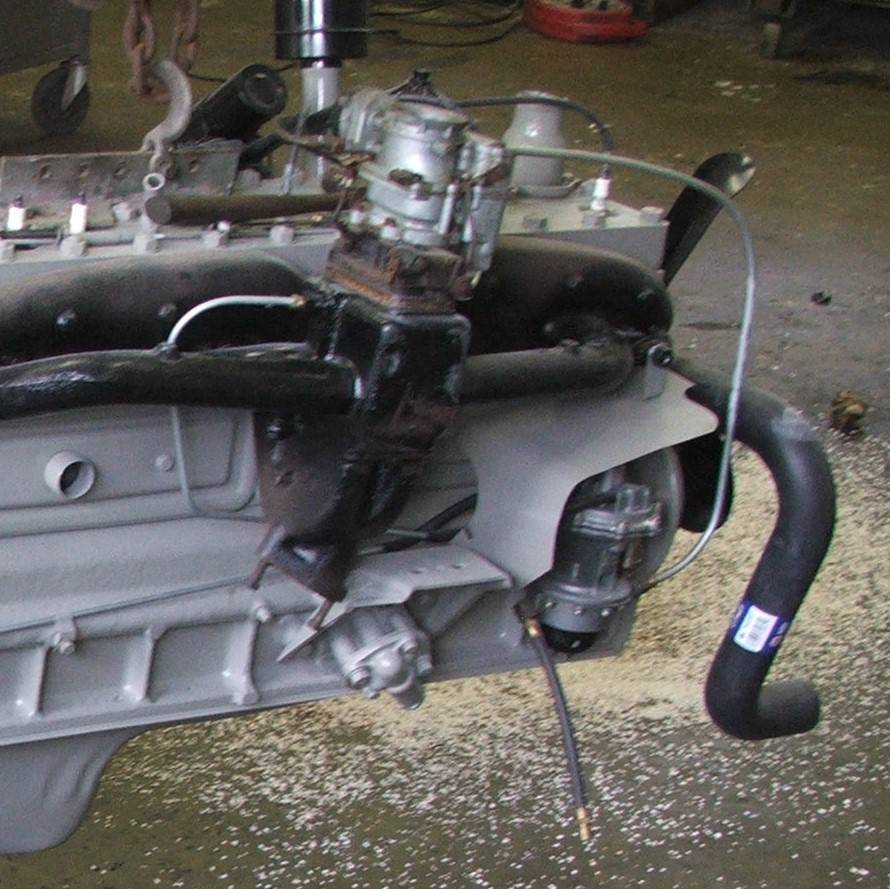
Posted on: 2020/10/27 5:03
|
|||
|
||||
|
Re: KPack's 1954 Panama
|
||||
|---|---|---|---|---|
|
Home away from home
|
Thanks Don and Ross. Don, to be clear, the replacement pump has the outlet on the front, so it appears that it is correct. I have no idea why my old pump was backwards. The fuel line from the pump to the carb has all sorts of bends in it, so it needs to be replaced anyways. Thanks for the sizing on replacement tube Ross.
My car doesn't have a heat shield. How necessary is it? Also, what material are the two vacuum lines supposed to be on the top of the pump? Rubber? Steel lines? Some pictures of routing would be nice too. I think I know where they are supposed to go, but no idea how they get there. -Kevin
Posted on: 2020/10/27 9:07
|
|||
|
||||


