|
Re: The Duchess Project: 1940 Super 8 Convertible Sedan
|
||||
|---|---|---|---|---|
|
Home away from home

|
REASSEMBLY IS A PLEASURE. It is so much fun to reassemble parts of the car where everything has been renewed, replacement fasteners and worn items at hand that have been waiting on the shelf threads repaired, rechromed pieces, freshly painted.
STEERING WHEEL COMPLETED. The new plastic didn't fit the same way as the old. I had to remove the retainers and file the slots to make it fit, but it looks great. I used a pair of shoe gels for the large spacer. The horn ring feel fab, but my horn needs to be repaired. RIGHT SIDE OF CONVERTIBLE TOP. A total pleasure. Everything clean. All the right screws and bolts. I'll be away for a week, so remaining items before going to the paint shop will have to wait. But still shooting for June 15 completion. The engine starting is still a problem. I will definitely need some help with it. Attach file:  (46.45 KB) (46.45 KB)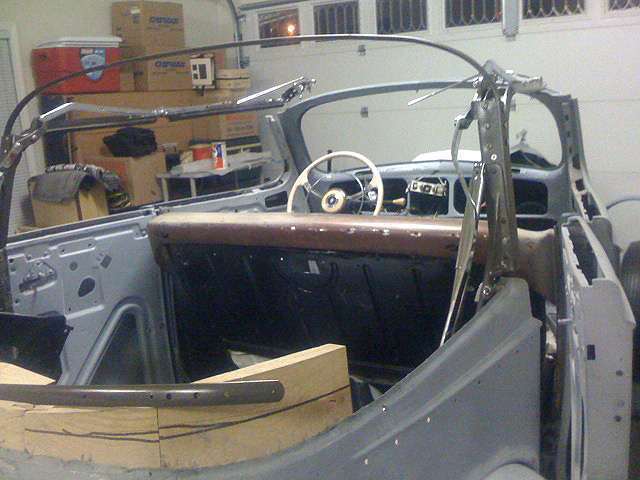 (47.27 KB) (47.27 KB)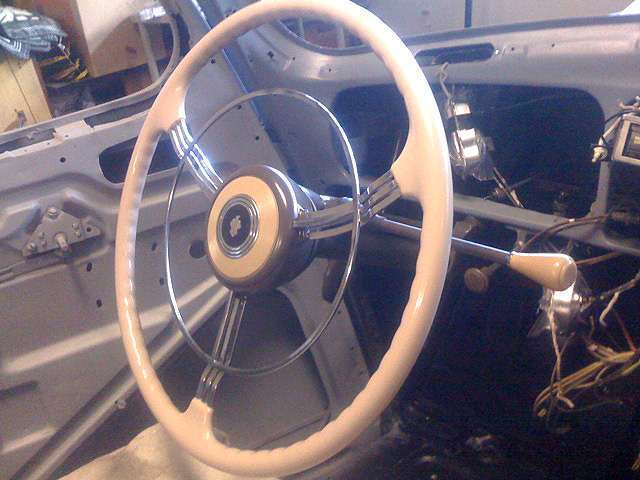
Posted on: 2011/2/18 13:09
|
|||
|
||||
|
Re: The Duchess Project: 1940 Super 8 Convertible Sedan
|
||||
|---|---|---|---|---|
|
Home away from home
|
Sounds wonderful! Will be watching for more!
Posted on: 2011/2/18 13:13
|
|||
|
1951 200 Deluxe Touring Sedan
1951 200 Deluxe Touring Sedan (parts ?) 1951 Patrician Touring Sedan 1955 Patrician Touring Sedan |
||||
|
||||
|
Re: The Duchess Project: 1940 Super 8 Convertible Sedan
|
||||
|---|---|---|---|---|
|
Home away from home
|
One possibility for the choke/starting problem:
On the choke make sure there is the proper gap between carb wall and the butterfly valve. If the choke valve closes the intake completely it will have a hard time starting. Also, is the float set at the correct level? Others with greater experience will have more ideas, I am sure. Tom
Posted on: 2011/2/20 12:03
|
|||
|
||||
|
Re: The Duchess Project: 1940 Super 8 Convertible Sedan
|
||||
|---|---|---|---|---|
|
Home away from home
|
Thanks for the reminder, Tom. When I get back I'll check those. They have not been checked recently, so I will do that. Gee, it just looks so nice, it ought to just start up and run like a top.
Posted on: 2011/2/20 14:35
|
|||
|
||||
|
Re: The Duchess Project: 1940 Super 8 Convertible Sedan
|
||||
|---|---|---|---|---|
|
Home away from home
|
Some progress after a week of vacation.
CONVERTIBLE TOP: Still not completely finished. The pins for the hooks of the hold-down clamps on the front cross bow need to be installed. I drilled out the rivets, threaded them, and added screws. There are adjustments to make, but the front bow does press down into the windshield frame. HOLD DOWN STRAPS: I searched for footman loops that were the right size. I finally found them at Restoration Supply Company. I also bought the fixin's for making hold-down straps. It always amazes me when I think about how many technologies are represented in an automobile. Leather straps to radios, cylinders to finishes. RADIO ANTENNA: I completed the connection to the under-the-runningboard antenna by covering the modern hypalon antenna extension cable with non-metallic loom from Harnesses Unlimited. I like the look no one but one of those tailpipe-peepers with dental mirrors will ever see. The upper connection is the shield wiring that gets grounded to the frame. The lower connection is the single strand antenna wire, isolated by the rubber parts. TURN SIGNAL: The turn-signal control I bought came chromed, with a stainless band, and a shiny black sheath over the wires. I masked it, painted it taupe, covered the wires with non-metallic loom and added a rubber protector under the band. It looks like it belongs there now, clunky as it is. I'll cut off the extra band length later to avoid any "gotchas's." Too many times, I've cut off something that later doesn't work or can't be reinstalled and I have to start over a gain. So I'll wait til the dash is done. I like the look now. I guess I'm showing my age referring to turn signals as "blinkers." I remember sitting on my daddy's lap behind the wheel of a brand new 1948 Buick convertible pulled into the barn at the family weekend retreat to show my uncles how the "blinkers" work. Attach file: (70.59 KB)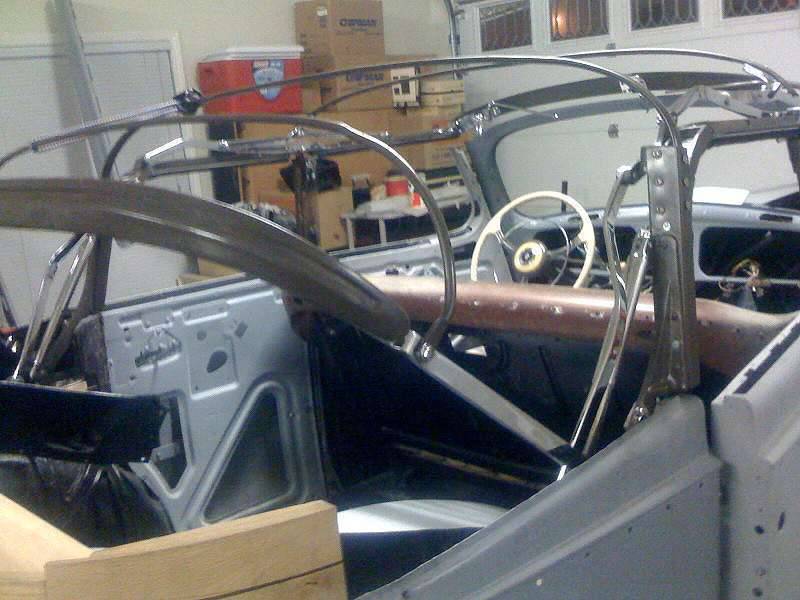 (52.13 KB) (52.13 KB)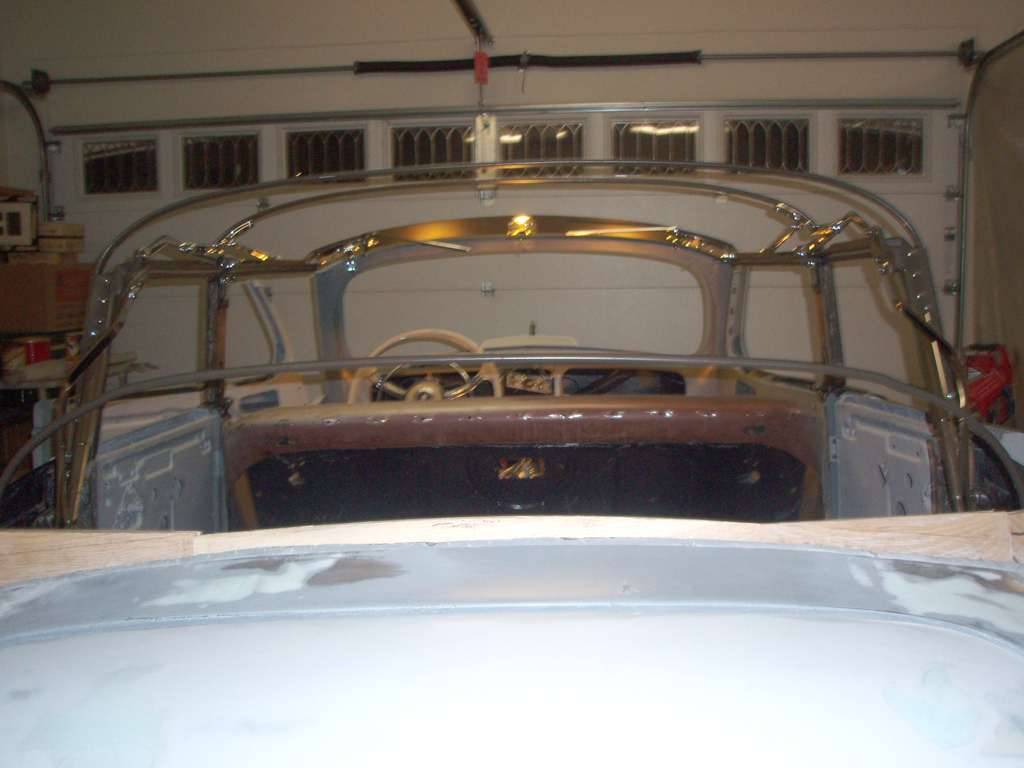 (61.70 KB) (61.70 KB)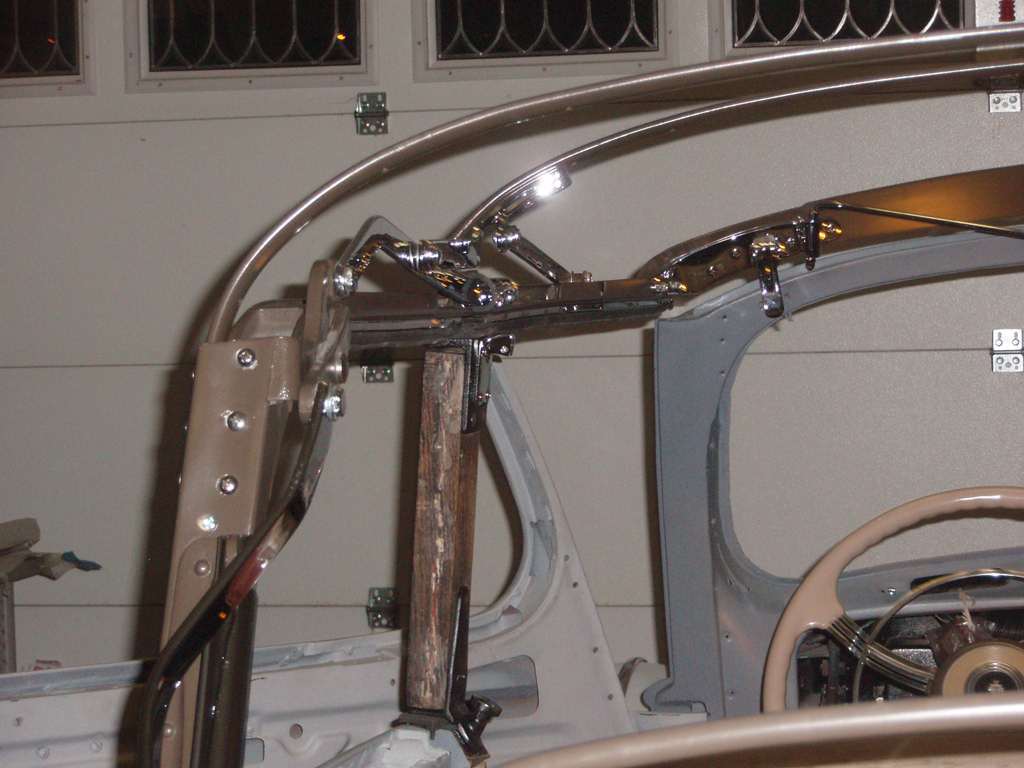 (182.36 KB) (182.36 KB) (57.45 KB) (57.45 KB)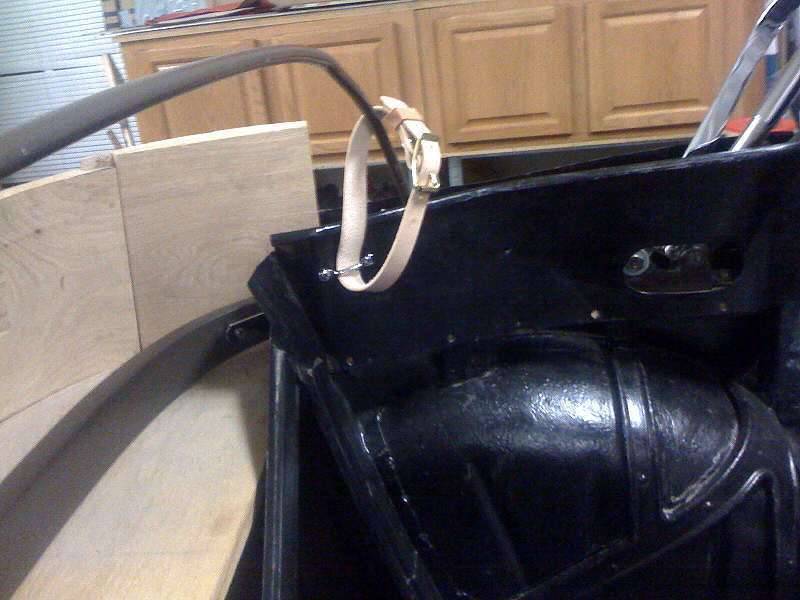 (58.20 KB) (58.20 KB)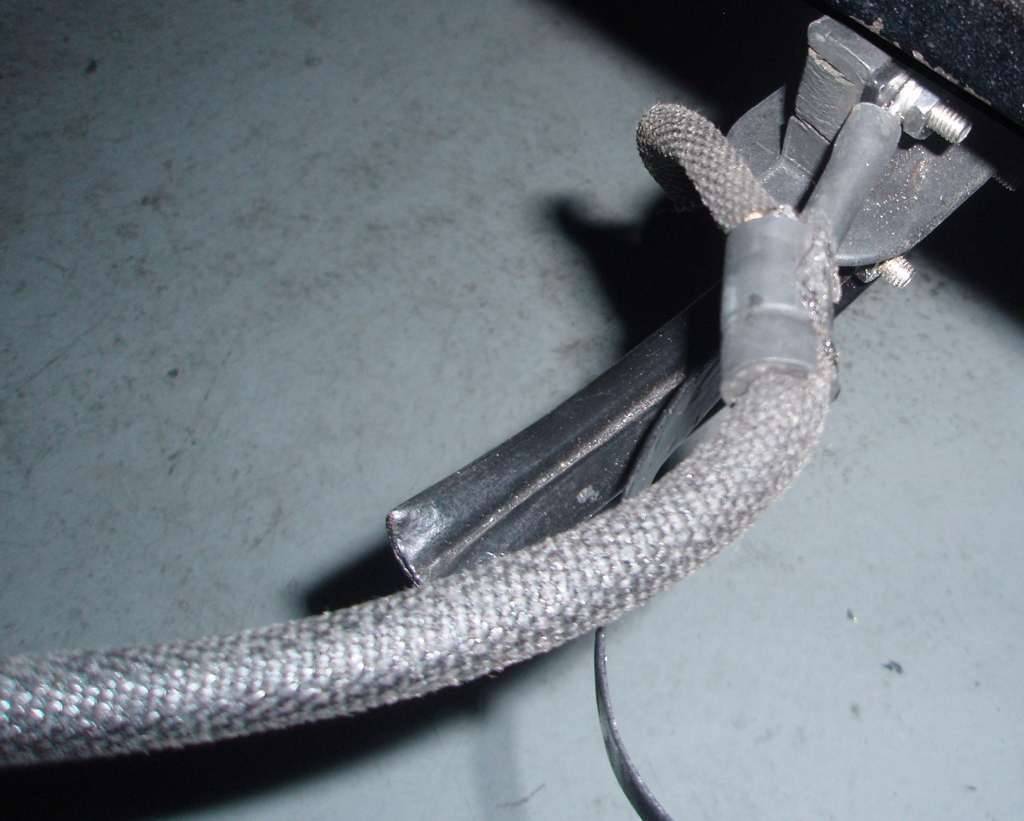 (24.13 KB) (24.13 KB)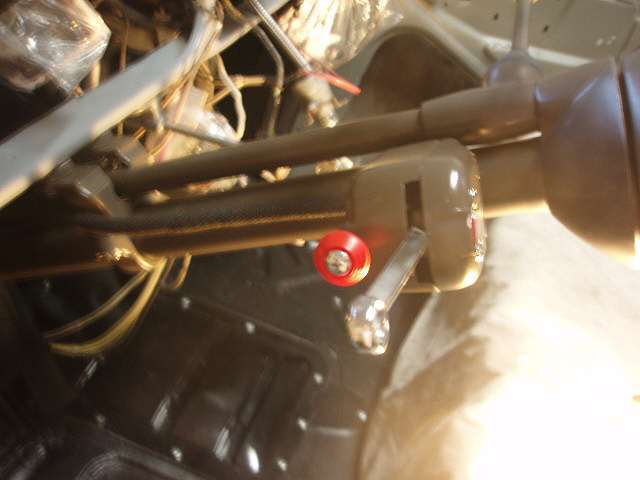 (36.39 KB) (36.39 KB)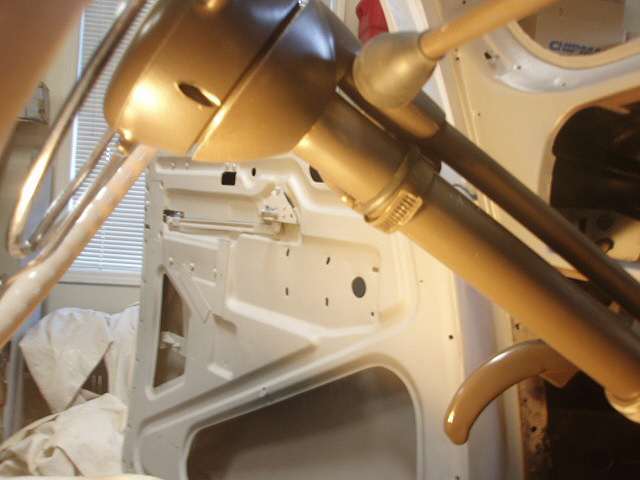 (38.11 KB) (38.11 KB)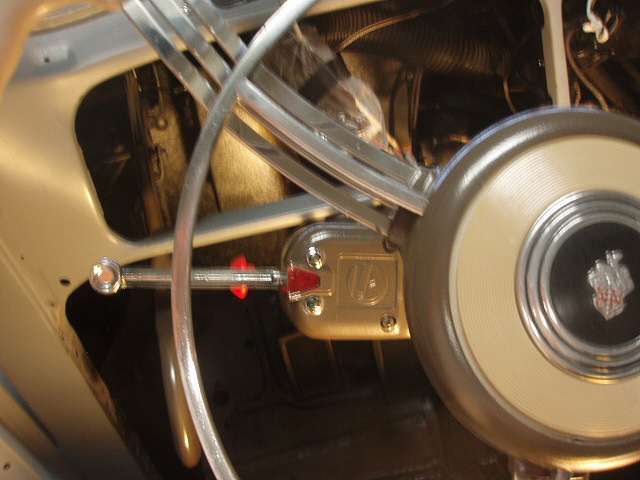
Posted on: 2011/3/4 13:51
|
|||
|
||||
|
Re: The Duchess Project: 1940 Super 8 Convertible Sedan
|
||||
|---|---|---|---|---|
|
Home away from home
|
TOTAL FRUSTRATION: I still can't get the engine to start properly after several attempts yesterday. I walked through some of the steps in the manual, but there's no avoiding opening the carburetor, which I will do tonight. It's probably the float height. The drawings are hard for me to understand. 3D modeling would help.
The eye-level plug is supposed to be at the surface of the fuel level. I opened it and cranked the engine. I was a little nervous about doing this with the ignition on, being alone with my left foot on the accelerator and chinning myself on the windshield frame to see over the cowl. I expected fuel to spill out, but none did. The manual warned to do this only with the engine idling, but I was concerned about doing that, and anyway, the thing would barely stay lit for more than a few seconds. So the float may be set too low. I'll also remove and clean the jets. WINDOW PINS: Just received those back and they are beautiful. No more slipping rear windows! Attach file: (17.82 KB)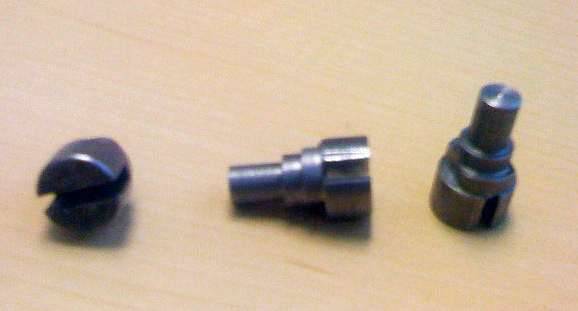
Posted on: 2011/3/7 18:01
|
|||
|
||||
|
Re: The Duchess Project: 1940 Super 8 Convertible Sedan
|
||||
|---|---|---|---|---|
|
Home away from home
|
CARBURETOR: I removed the horn. I really couldn't understand how to set the float level...with or without a tool. Everything inside is clean. I decided to remove it altogether, order kit 903 from The Carburetor Shop and take it to a local guy, Merle of Merles, who's been rebuilding carburetors for 50 years.
THE LITTLE STUFF: I broke a 4-40 tap in one of the holes for the screws that hold the chrome plate under the removable window divider posts. The drill bit doesn't want to drill a hole so I can get an easyout in there. BACKUP LIGHT: I mounted the switch on the steering column next to the shift levers.
Posted on: 2011/3/10 12:52
|
|||
|
||||
|
Re: The Duchess Project: 1940 Super 8 Convertible Sedan
|
||||
|---|---|---|---|---|
|
Forum Ambassador

|
Sorry about the tap. That is going to be a tough one because of the size. Don't know of any extraction tools small and strong enough to go between the flutes that is worth a darn--although McMaster-Carr has one for a 4 and might be worth a shot.
I have had some success with left handed drills. If you can get a Dremel with a carbide or diamond point to locate and start a center and then drill left handed, it might bite enough or catch on one of the flutes to start backing it out.
Posted on: 2011/3/10 13:02
|
|||
|
Howard
|
||||
|
||||
|
Re: The Duchess Project: 1940 Super 8 Convertible Sedan
|
||||
|---|---|---|---|---|
|
Home away from home
|
TAP REMOVAL: Picked up the smallest Grab-it easy out I could find, some new titanium drills and a new 4-40 tap. Will attempt removal tonight, which is Blues Night on the local jazz station, garage background music.
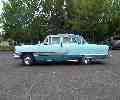
A MUSING ENTRY Most guys should stay out of interior design and paint color issues, except for cars. Choosing the paint color(s), interior materials, top color of a car is about the only territory men have the final say on color design. I think I'm switching from a warm gray, Niagara Gray, to Cuban Tan. Most of the years I drove the Duchess, she was tan, either 57 Chevy Metallic (1959-63) Root Beer or something close to Cuban Tan (71-86). But attached are other colors, which all have their merits. DAUGHTER MOLLY She always liked standing on cars and I'm proud to say the Packard is where she practiced first. Today she works in Hollywood and last week sent this pic from a job, note green screen, for a movie with a boxing theme standing on a hotrod. She's stood in for several famous female celebrities. Attach file: (46.59 KB)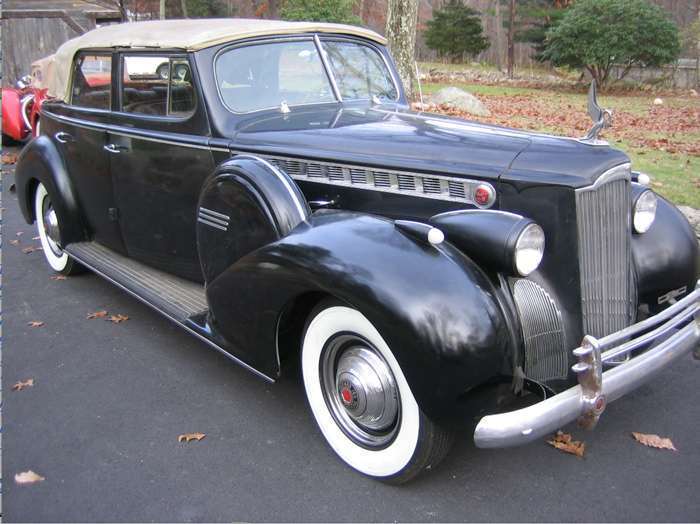 (14.67 KB) (14.67 KB)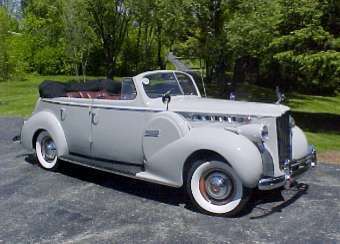 (49.67 KB) (49.67 KB)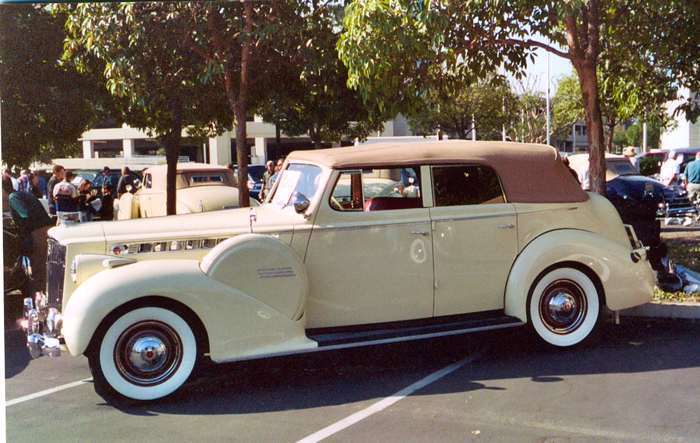  (128.88 KB) (128.88 KB) (29.49 KB) (29.49 KB)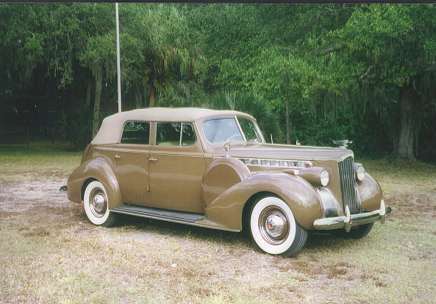 (24.65 KB) (24.65 KB)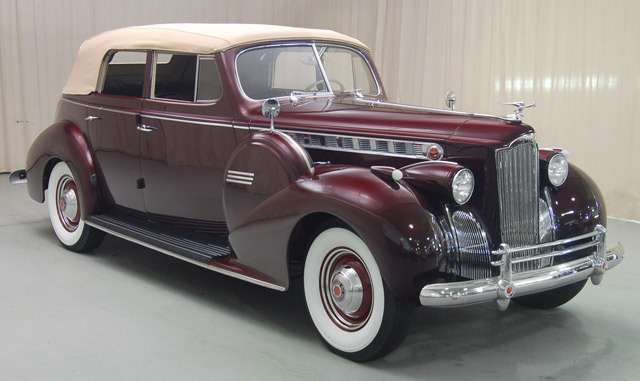 (72.69 KB) (72.69 KB) (32.01 KB) (32.01 KB)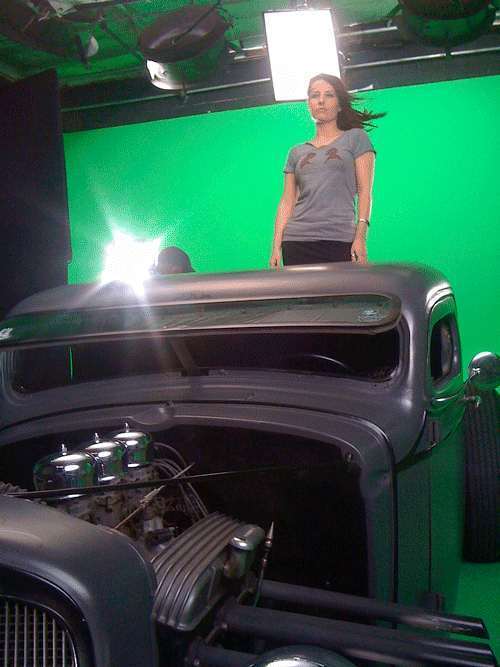
Posted on: 2011/3/11 13:50
|
|||
|
||||


.jpg")


