|
Re: Our 1932 901
|
||||
|---|---|---|---|---|
|
Home away from home

|
Received the wire and ran 12 gauge armor from the negative battery post on the inside frame along the frame rail to the rear of the car for the two cigar lighters in the back seat (Note of interest - any person smoking in the car will die a horrible, screaming death). I ran the wire back to where the shock absorber where I installed fuse and a junction was made to split the wire for both sides as there are lighters on the right and left arm rests.
The metal that goes around the back of the front seat, lower front seat frame, the driver's seat, the metal frames for the rear seat and the two metal panels that go over the right and left rear wheel wells were sent out for media blasting. These were painted with primer and then given a coat of semi-gloss. The stone shield that came with the car was repaired (see my call for help I posted). The chrome on shield was stripped by plater in order to silver solder the cracks. While silver soldering worked OK for repairing the cracks, metal expansion was an issue. Therefore, I switched to Muggy Weld Super Alloy 1 (Used for pot metal repairs). I did not use their flux since it cannot take direct flame, but instead used Nokorode Aqua Flux, which is used in plumbing applications. There were about a dozen areas that had cracked and were missing. These were also repaired by filling in with new pieces of brass. I rebuilt the ash tray assemblies that go in the rear. The chrome bezels were unsoldered and sent out for plating as were the metal parts for the cigar lighters. The metal ash buckets were soaked in Evapo Rust and then zinc plated. Once re-plated, the bezels were soldered to the ash buckets. The buckets were then painted with a semi-gloss paint. The main part of the assembly was cleaned up and painted. The same process was done on the dash ash tray. I've started work on restoring the steering wheel. Most of the hard rubber on the rim will need to be replaced. The spokes and hub are in good shape. I decided to use PC 7 (a two part epoxy) for the repair. I'm doing half of the rim at a time (starting with the worse half) so the other half can serve as an example. The process I'm using is to remove the bad rubber from the steel skeleton and then use a rotary sander to remove all of the rust. The epoxy will then be used to build up enough material so it can be filed and sanded into the correct shape. Then the other half will be processed as well as the spokes and hub. The final wheel will then be primed and painted with a semi-gloss epoxy paint. I'm assuming that semi-gloss will look more original, but I would welcome input from others. Attach file:  (116.95 KB) (116.95 KB)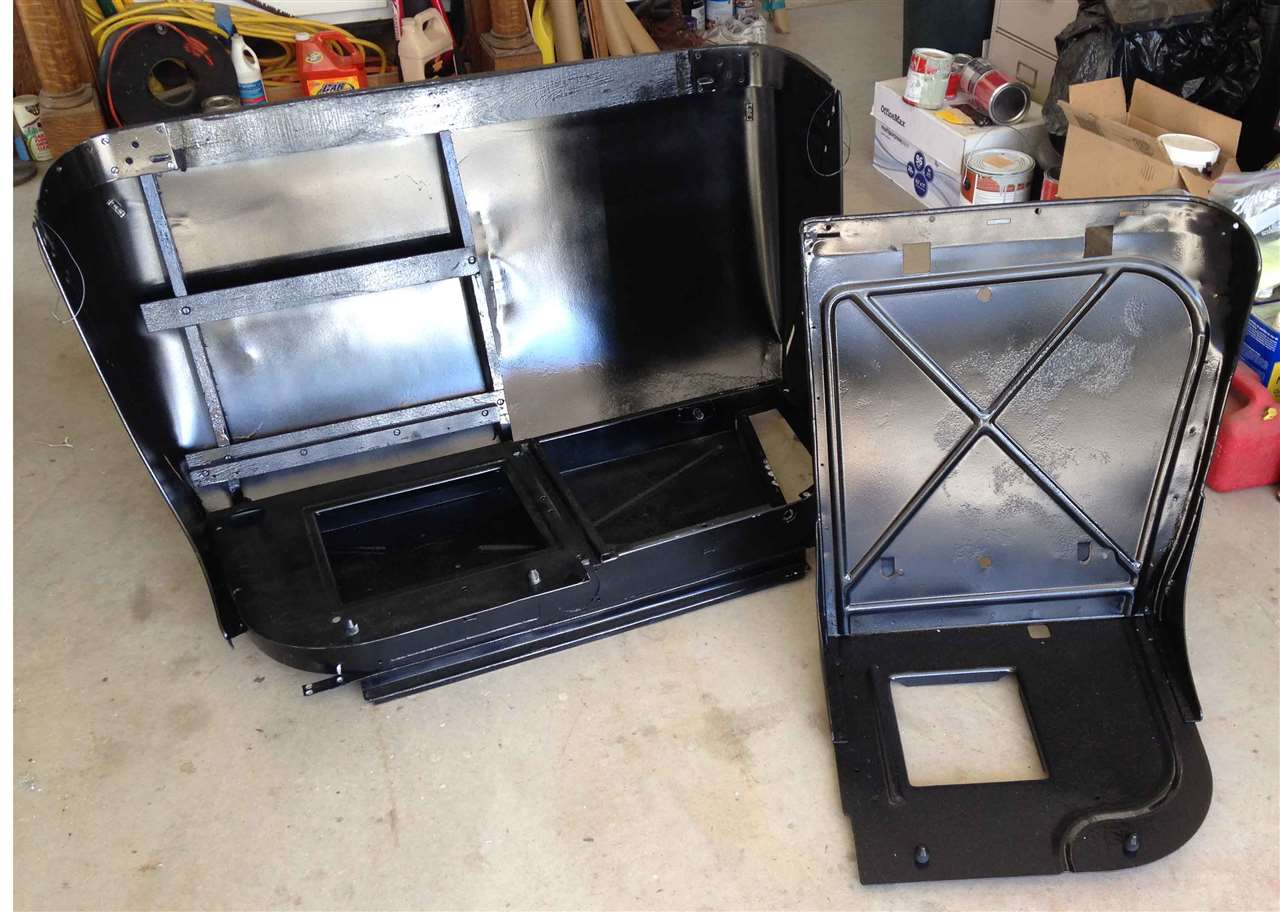 (91.17 KB) (91.17 KB)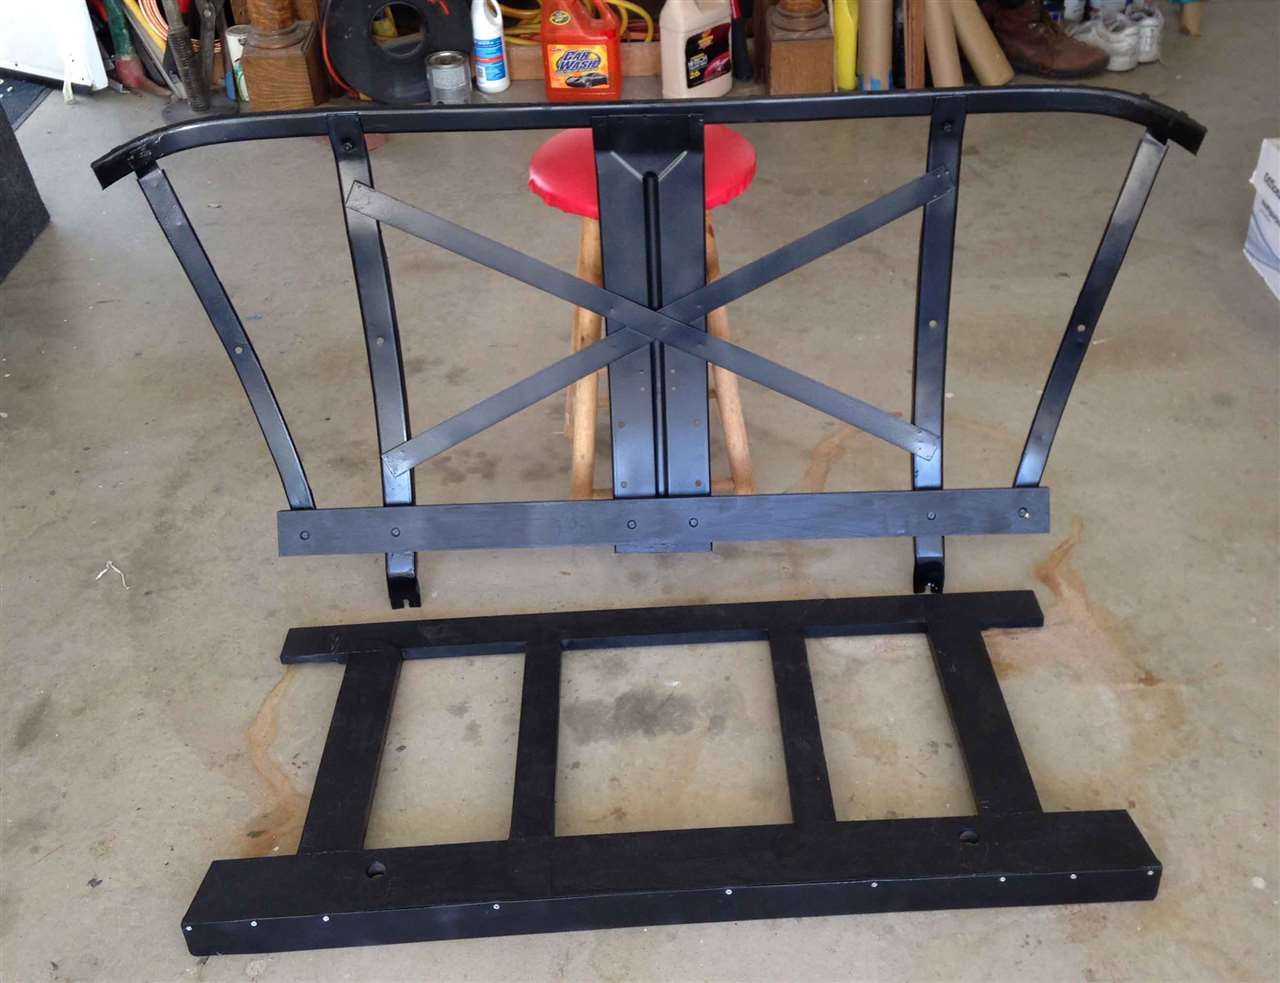 (135.43 KB) (135.43 KB)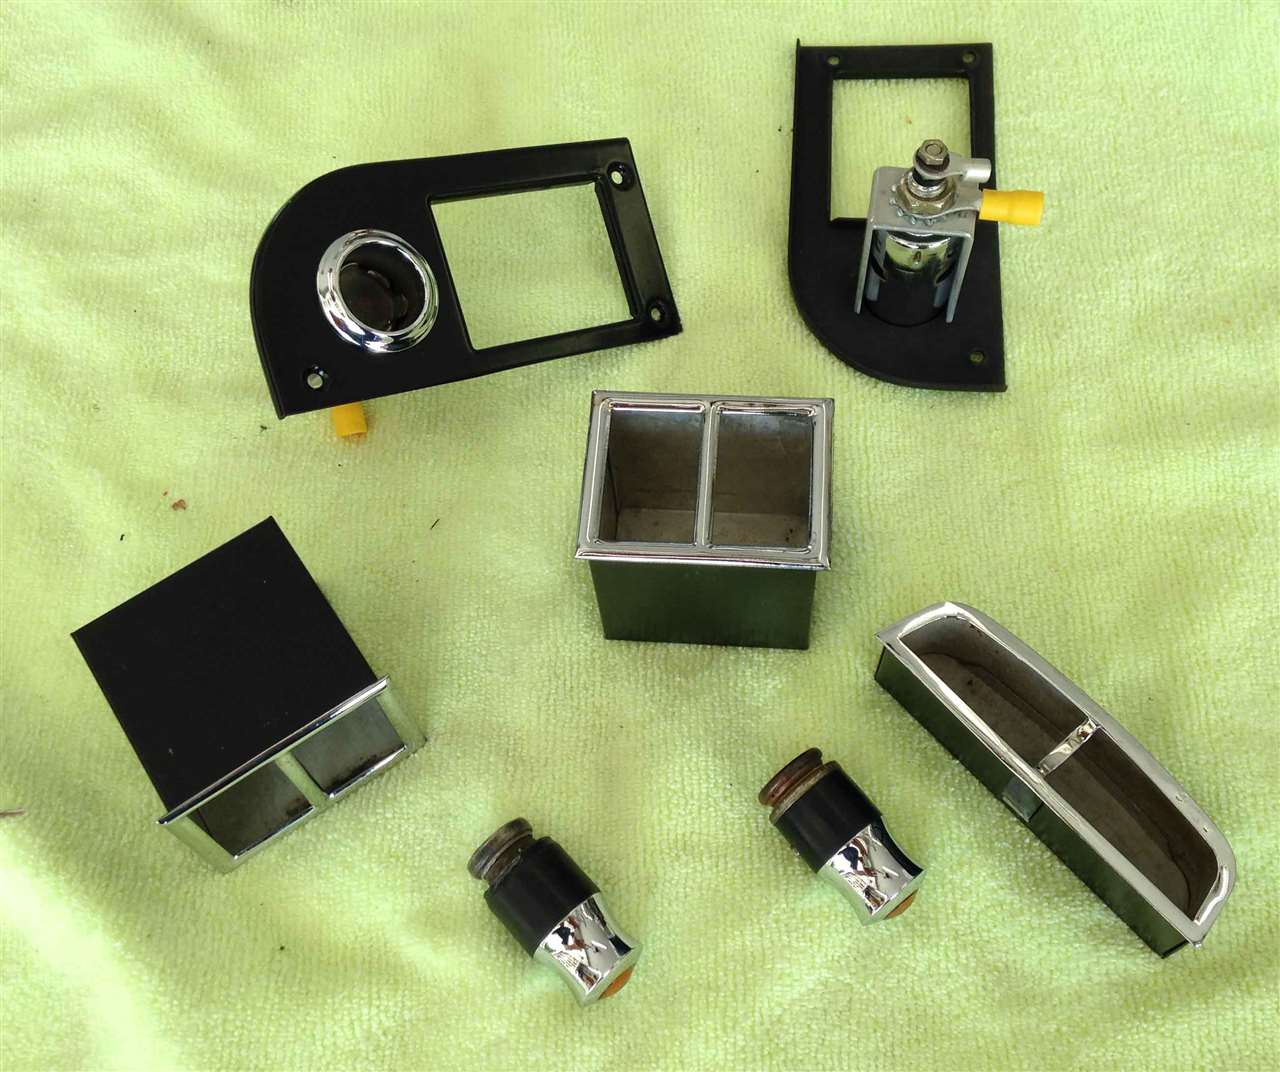
Posted on: 2016/4/3 18:02
|
|||
|
||||
|
Re: Our 1932 901
|
||||
|---|---|---|---|---|
|
Home away from home
|
David - Thanks for your input & the reminder about the nailing strip on the back of the seat.
Posted on: 2016/4/6 18:39
|
|||
|
||||
|
Re: Our 1932 901
|
||||
|---|---|---|---|---|
|
Home away from home
|
The electrical was finished and checked out. There is a problem with one of the horns, which I'll trouble shoot in between things. The Steering wheel was completed as described above. I use a single phase gloss black for the final coats when painting. The shine was toned down with a rubbing compound.
The driveshaft arrived from Driveshaft Specialists (San Antonio TX). It took longer than expected as they broke some of their tooling when making the flanges. I needed to return the flange that bolts to the rear end as the rear end's nut stuck out to far, but it is now installed. The repair on the left rear tail light made it through the horrors of plating and is now installed. I wasn't happy with the plating job on the stone shield and had them redo it (no cost as they agreed it wasn't the best of jobs). The shield is now installed (see photos to see how it was mounted). The bumpers were worked on and are now on their way to be plated. It seems to be getting closest to get in and start the beast. The wife has informed me that I better not start it without her being present as well as several friends and neighbors. This it would appear to be either be a time of glory or a crash and burn affair with some embarrassment for the writer/mechanic. Attach file: (133.95 KB) (259.76 KB) (259.76 KB)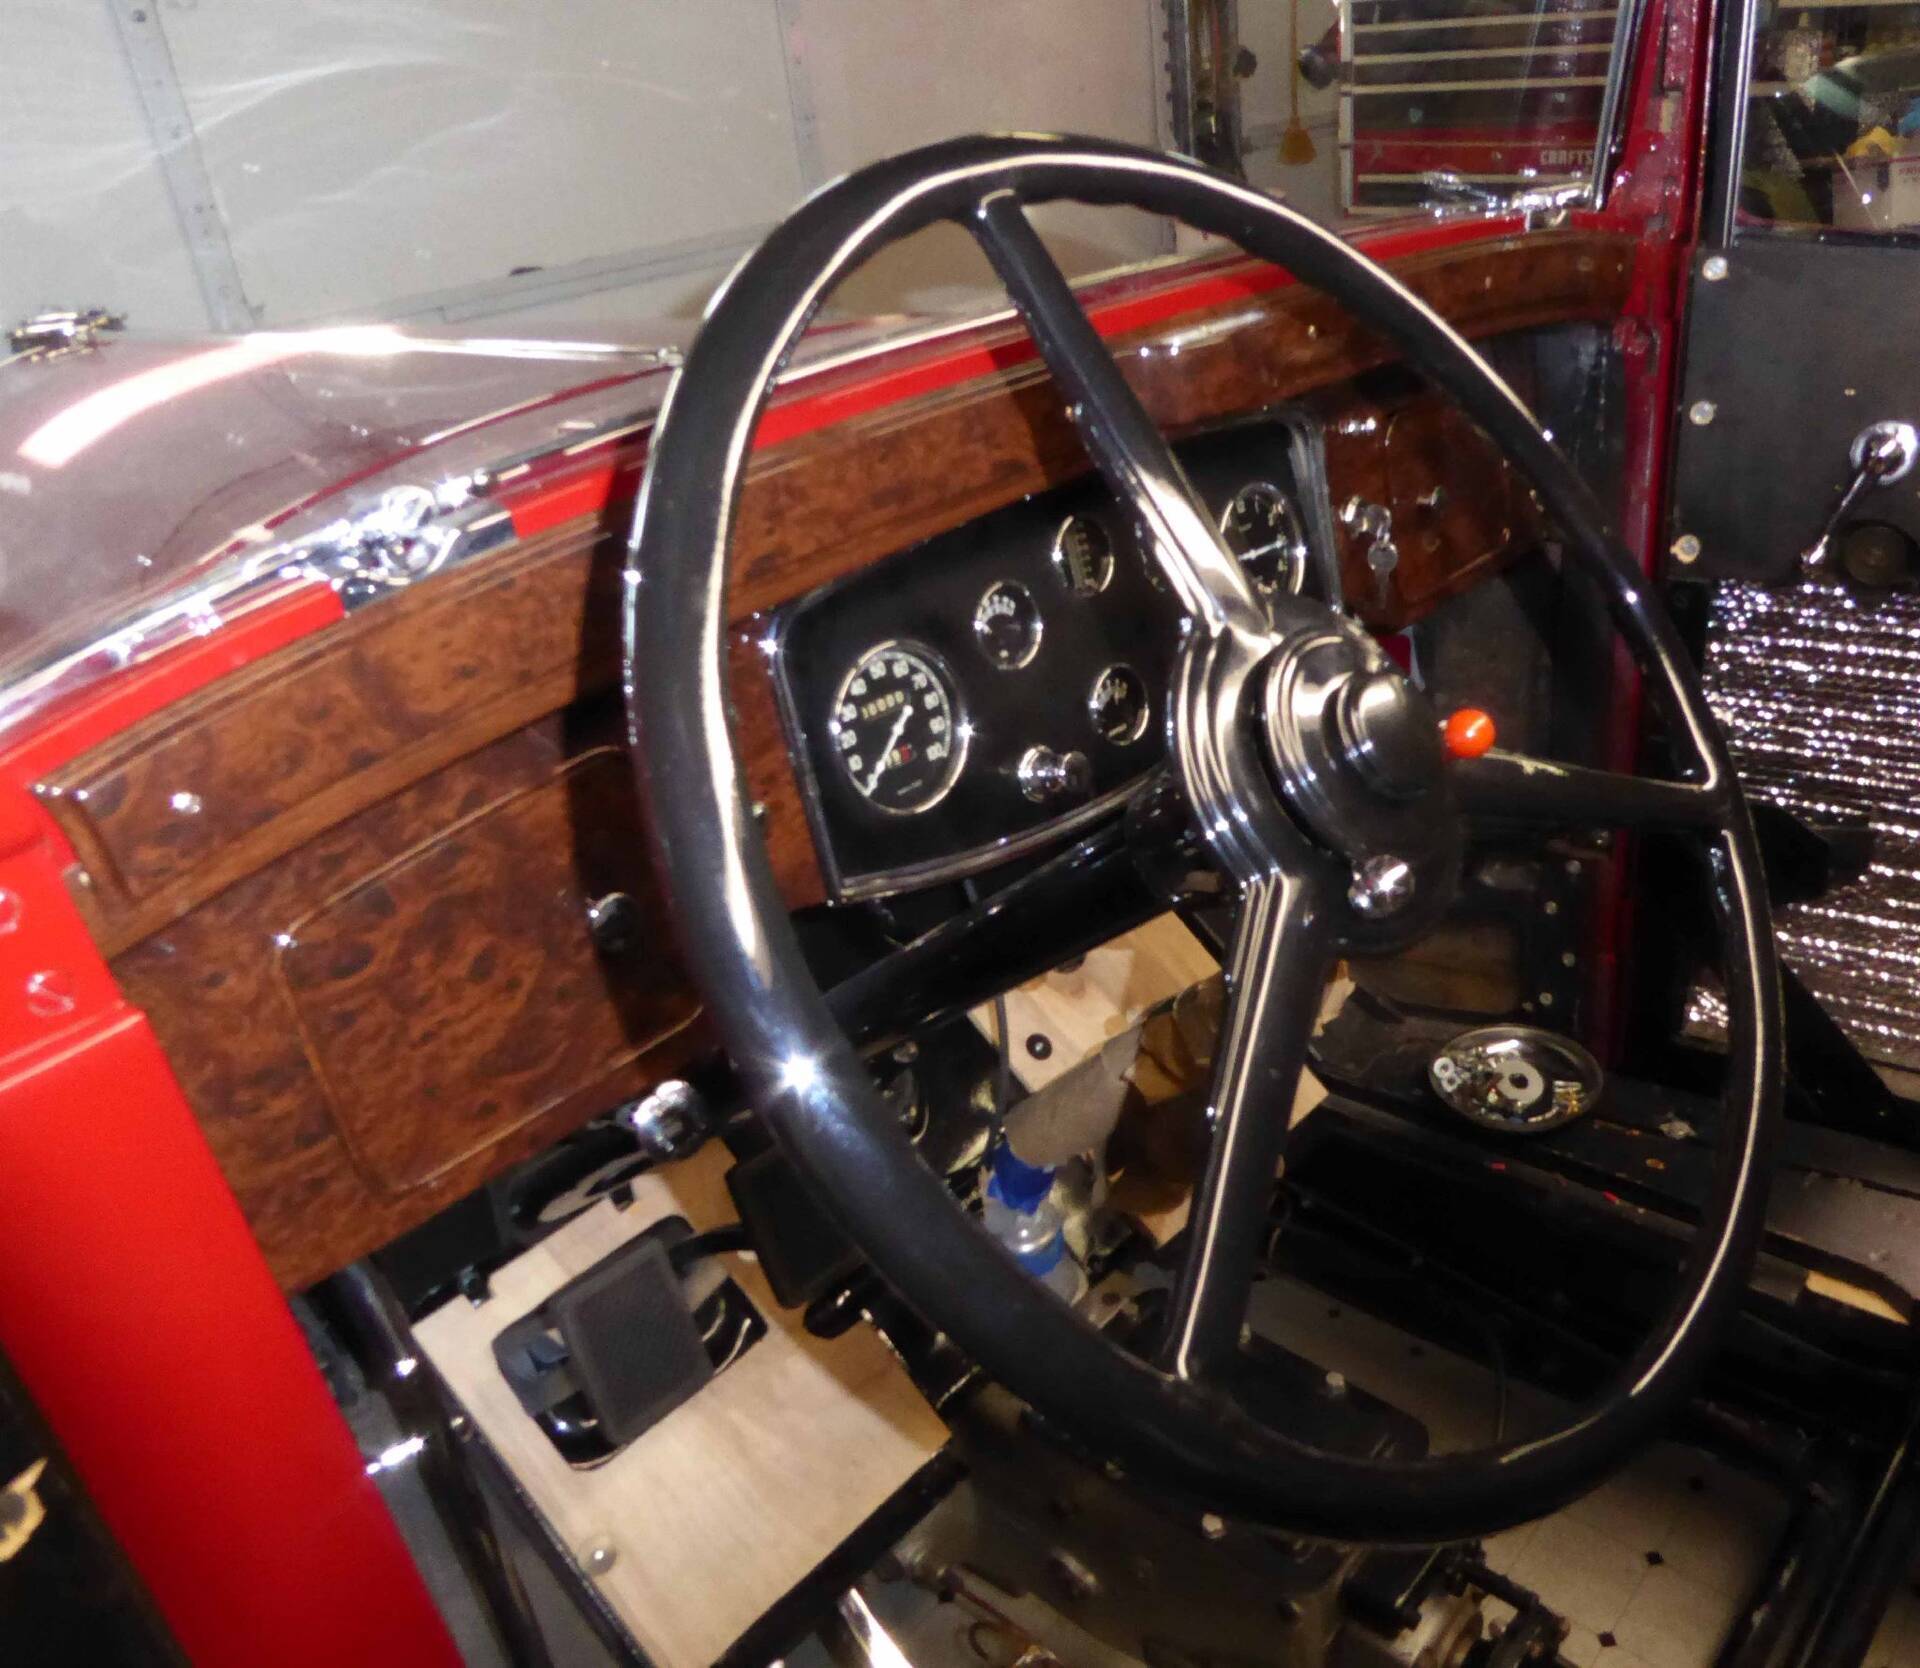 (253.43 KB) (253.43 KB)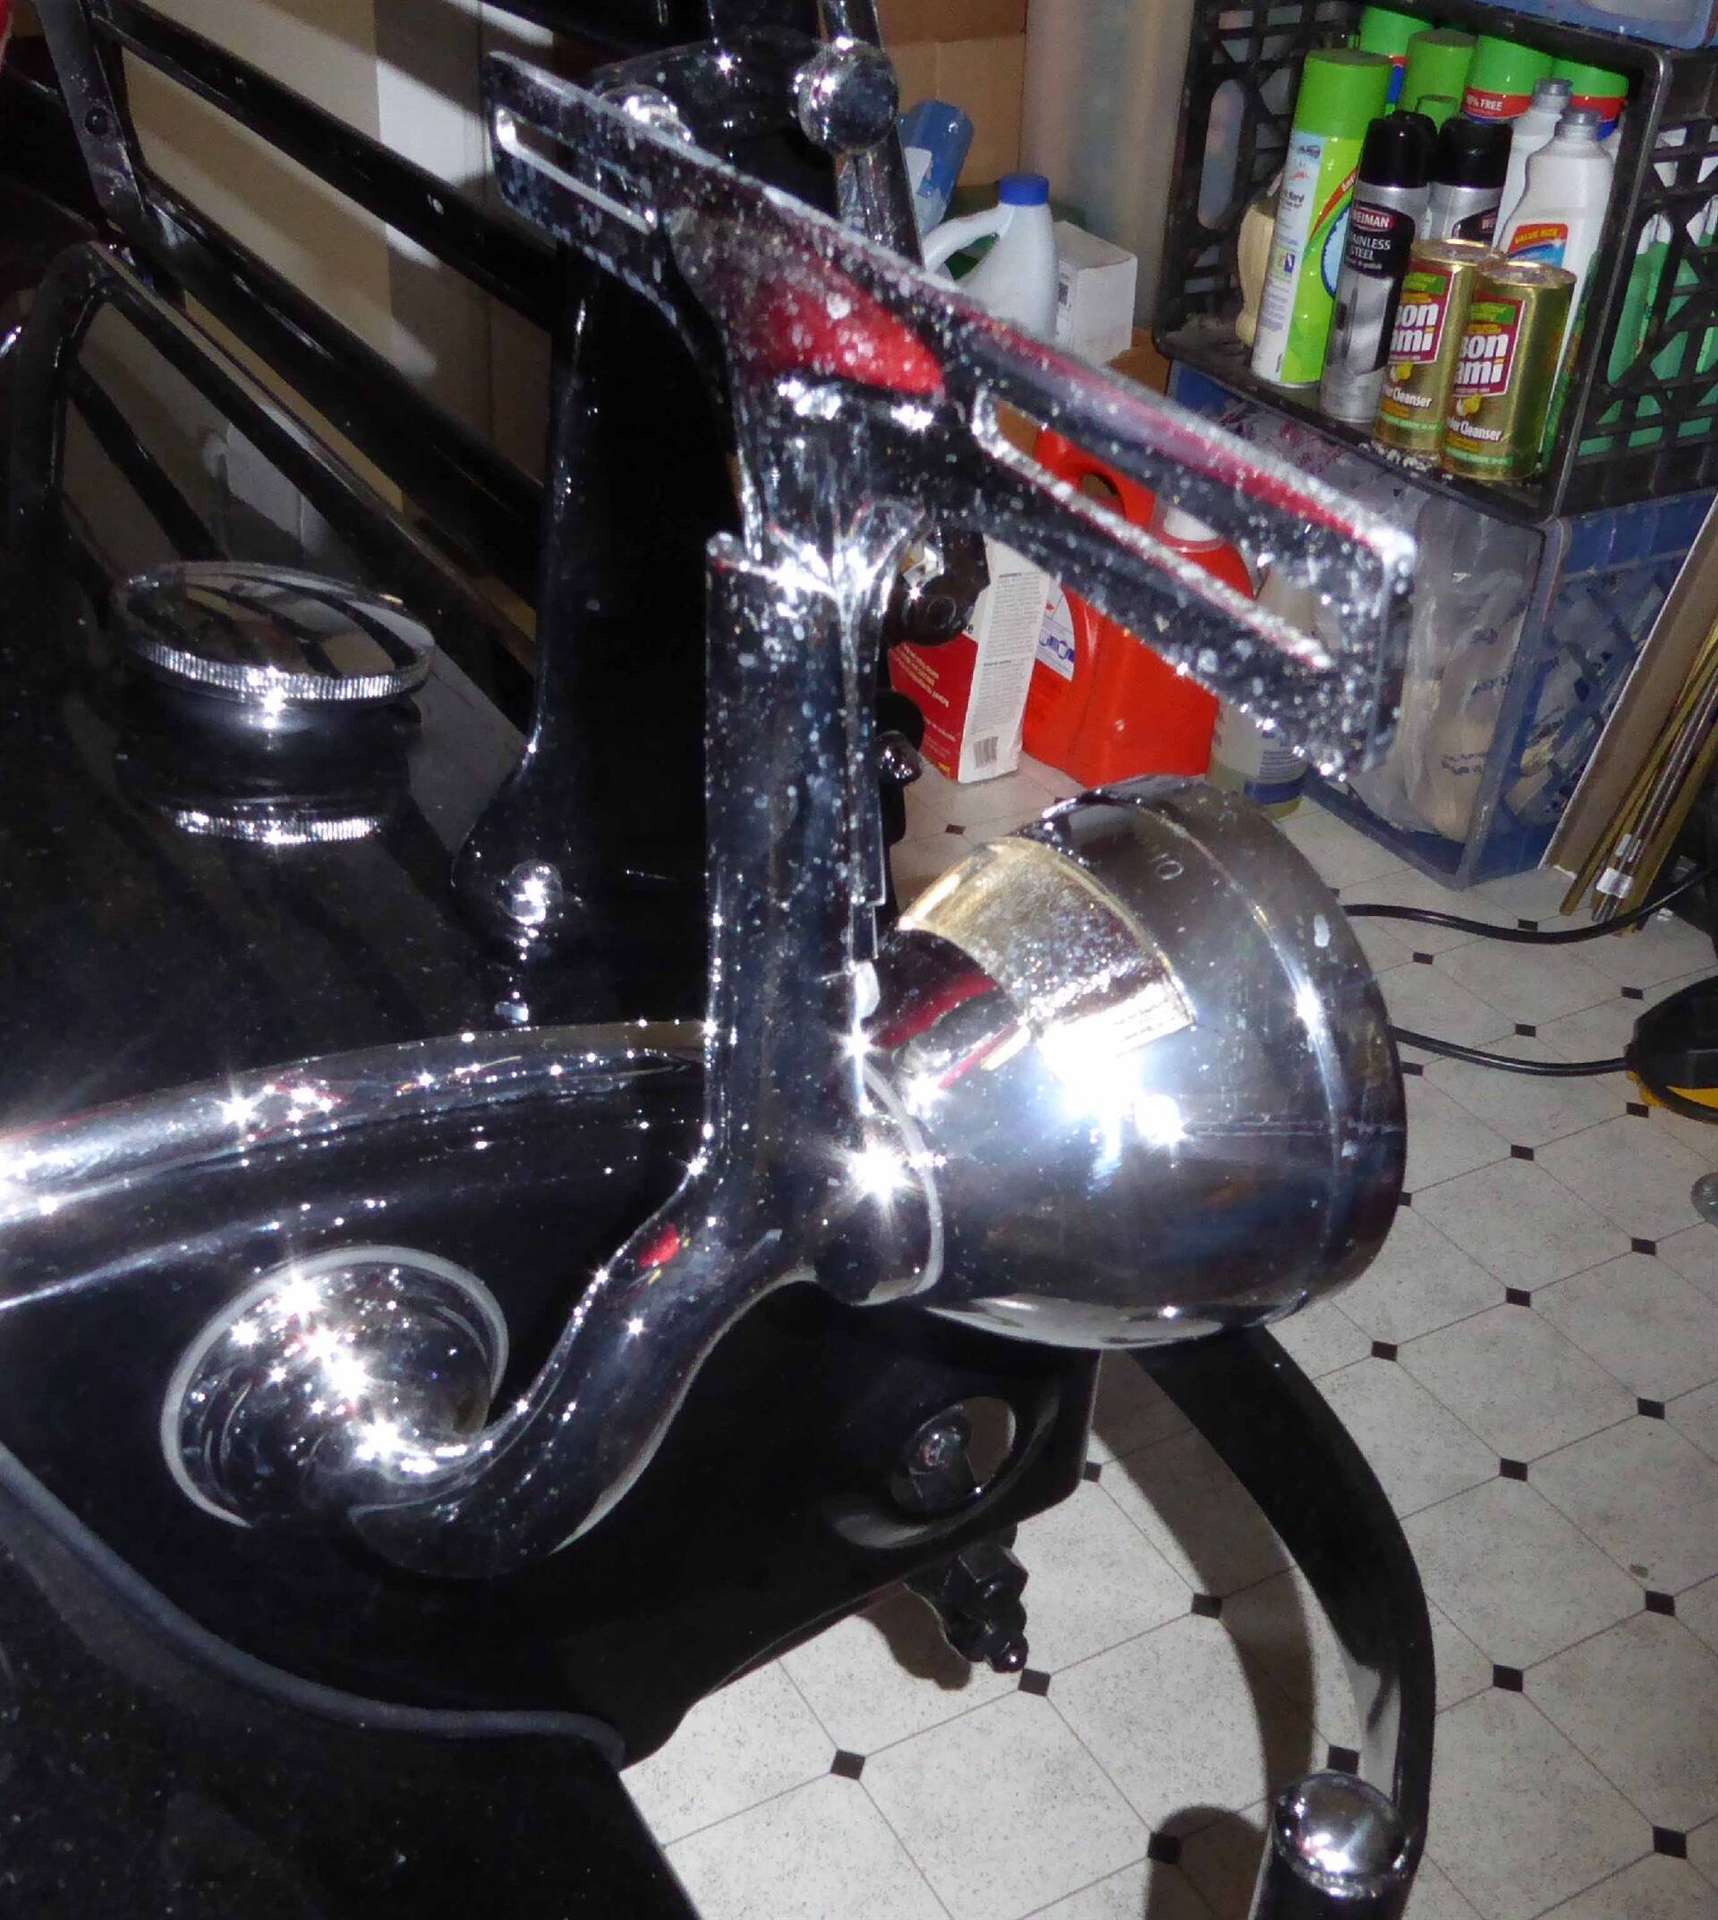 (365.36 KB) (365.36 KB)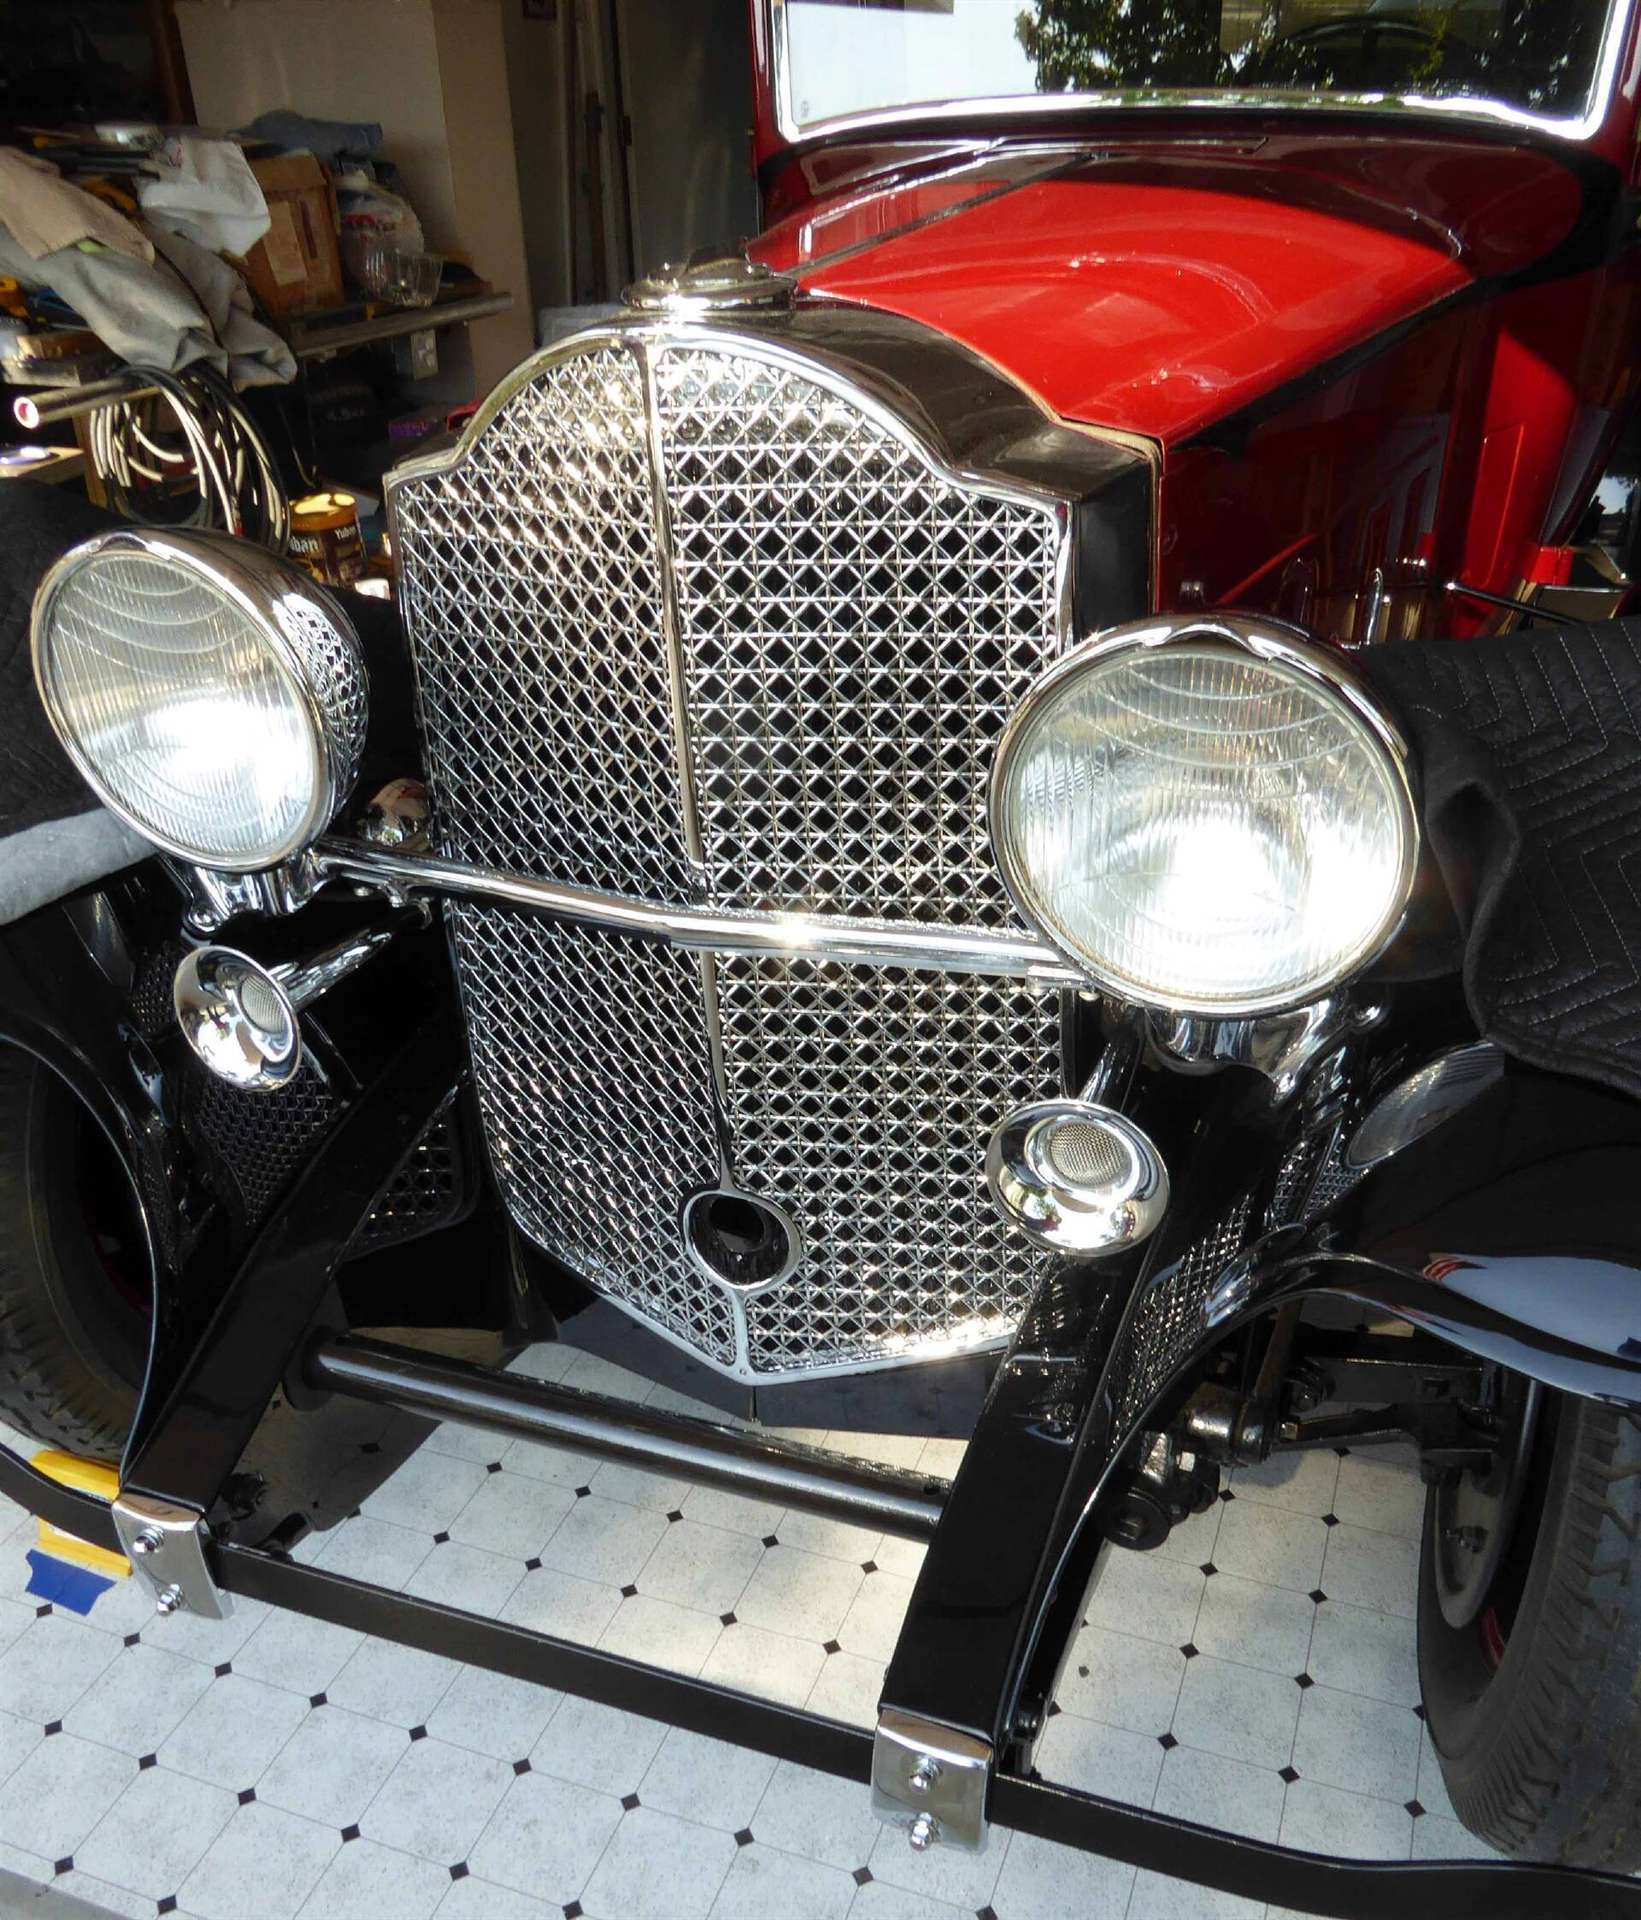 (194.91 KB) (194.91 KB)
Posted on: 2016/5/25 20:13
|
|||
|
||||
|
Re: Our 1932 901
|
||||
|---|---|---|---|---|
|
Home away from home
|
I posted a question in order to get some ideas as to what I should do before attempting to start the engine (See post).
I see no need to re-post what was written there, but let it suffice to say that the radiator was filled with No-Rosion and the engine started. Let engine run for about 15 to 20 minutes at an idle. The initial oil pressure at idle was around 45 PSI and once it was warm the pressure fell to 25 to 30 PSI. The engine idled smoothly without any missing or roughness. There is a carburetor issue in that the accelerator pump sticks when returning back to the idle position preventing the engine from going back to the correct idle speed. I took the top off of the carburetor and the pump insides look new (the pump looks like it is made of leather) and I can't seem to see any reason it should hang up unless the leather is a shade to large After the engine cooled the head nuts were re-torqued (45 ft/lbs). I noticed some soot around one of the studs around where cylinders 6 and 7 are located. The edges of the gasket lead me to believe that it is new. I'll restart the engine and hopefully it is gone. Otherwise I'll need to pull the head and take a look. The chrome plating in the bumpers turned out great looking and the front one was installed. Not enough room in the garage to install the rear bumper until I can turn the car around and head it in instead of backing it into the garage (the stuff under the wife's cabinets at the back of the garage get in the way). The rims for both side mount tires were prepared and painted, tires mounted and paint color sanded.. The covers for the side mounts are out for plating. I can't find the nuts that hold the covers on in any of the boxes of goodies that came with the car. I've tried several sources, but to no avail. If push comes to shove I'll make two. Not sure what they look like, but since they will be out of sight I'm not concerned about it as long as they are functional. Attach file: (342.84 KB)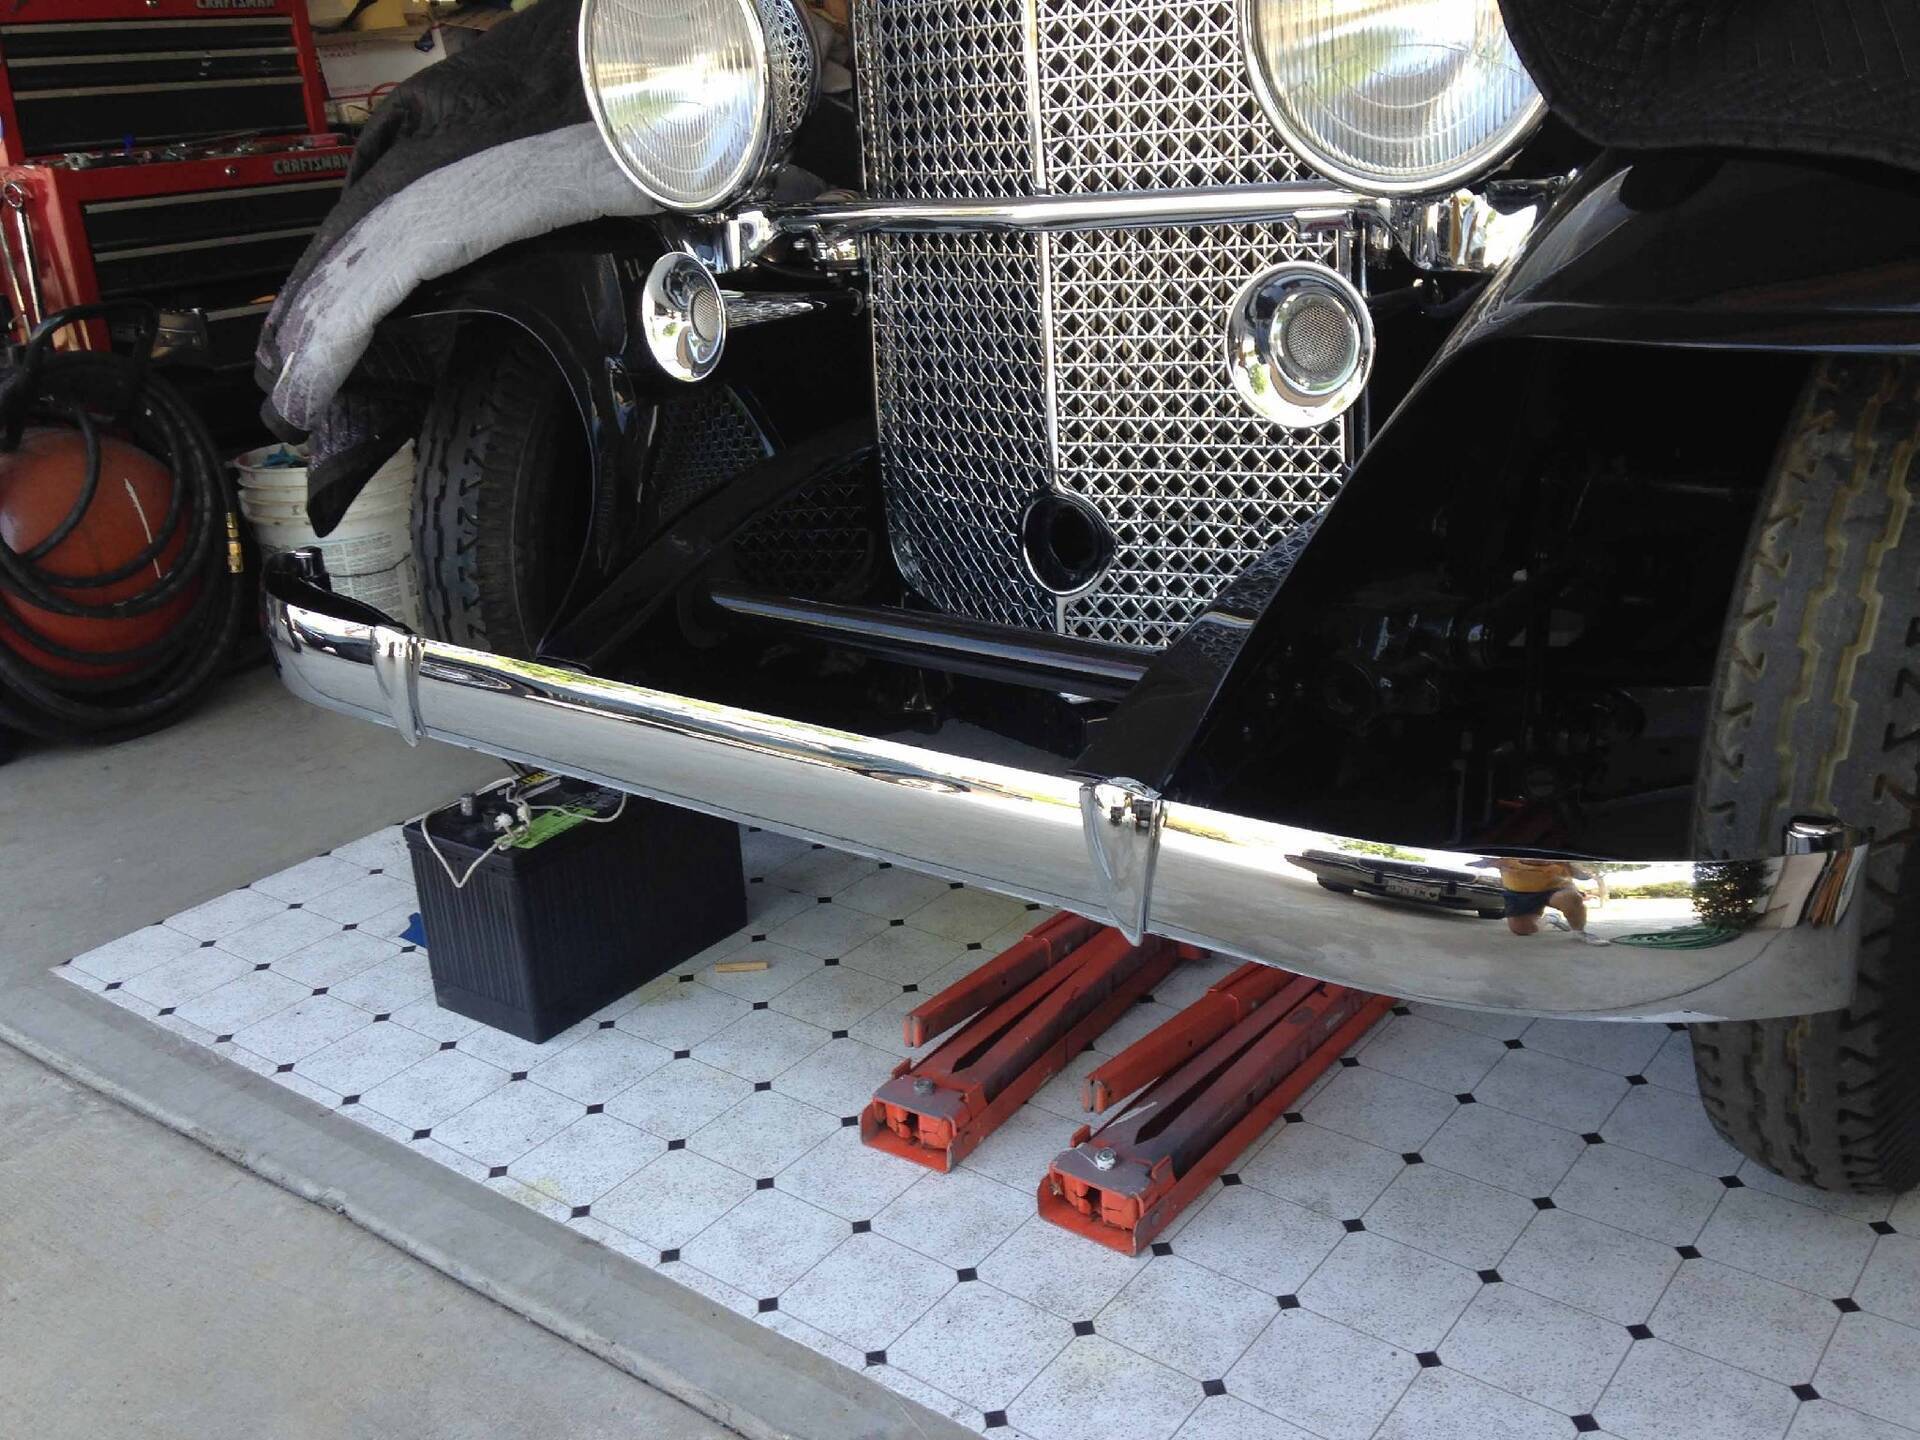 (273.06 KB) (273.06 KB)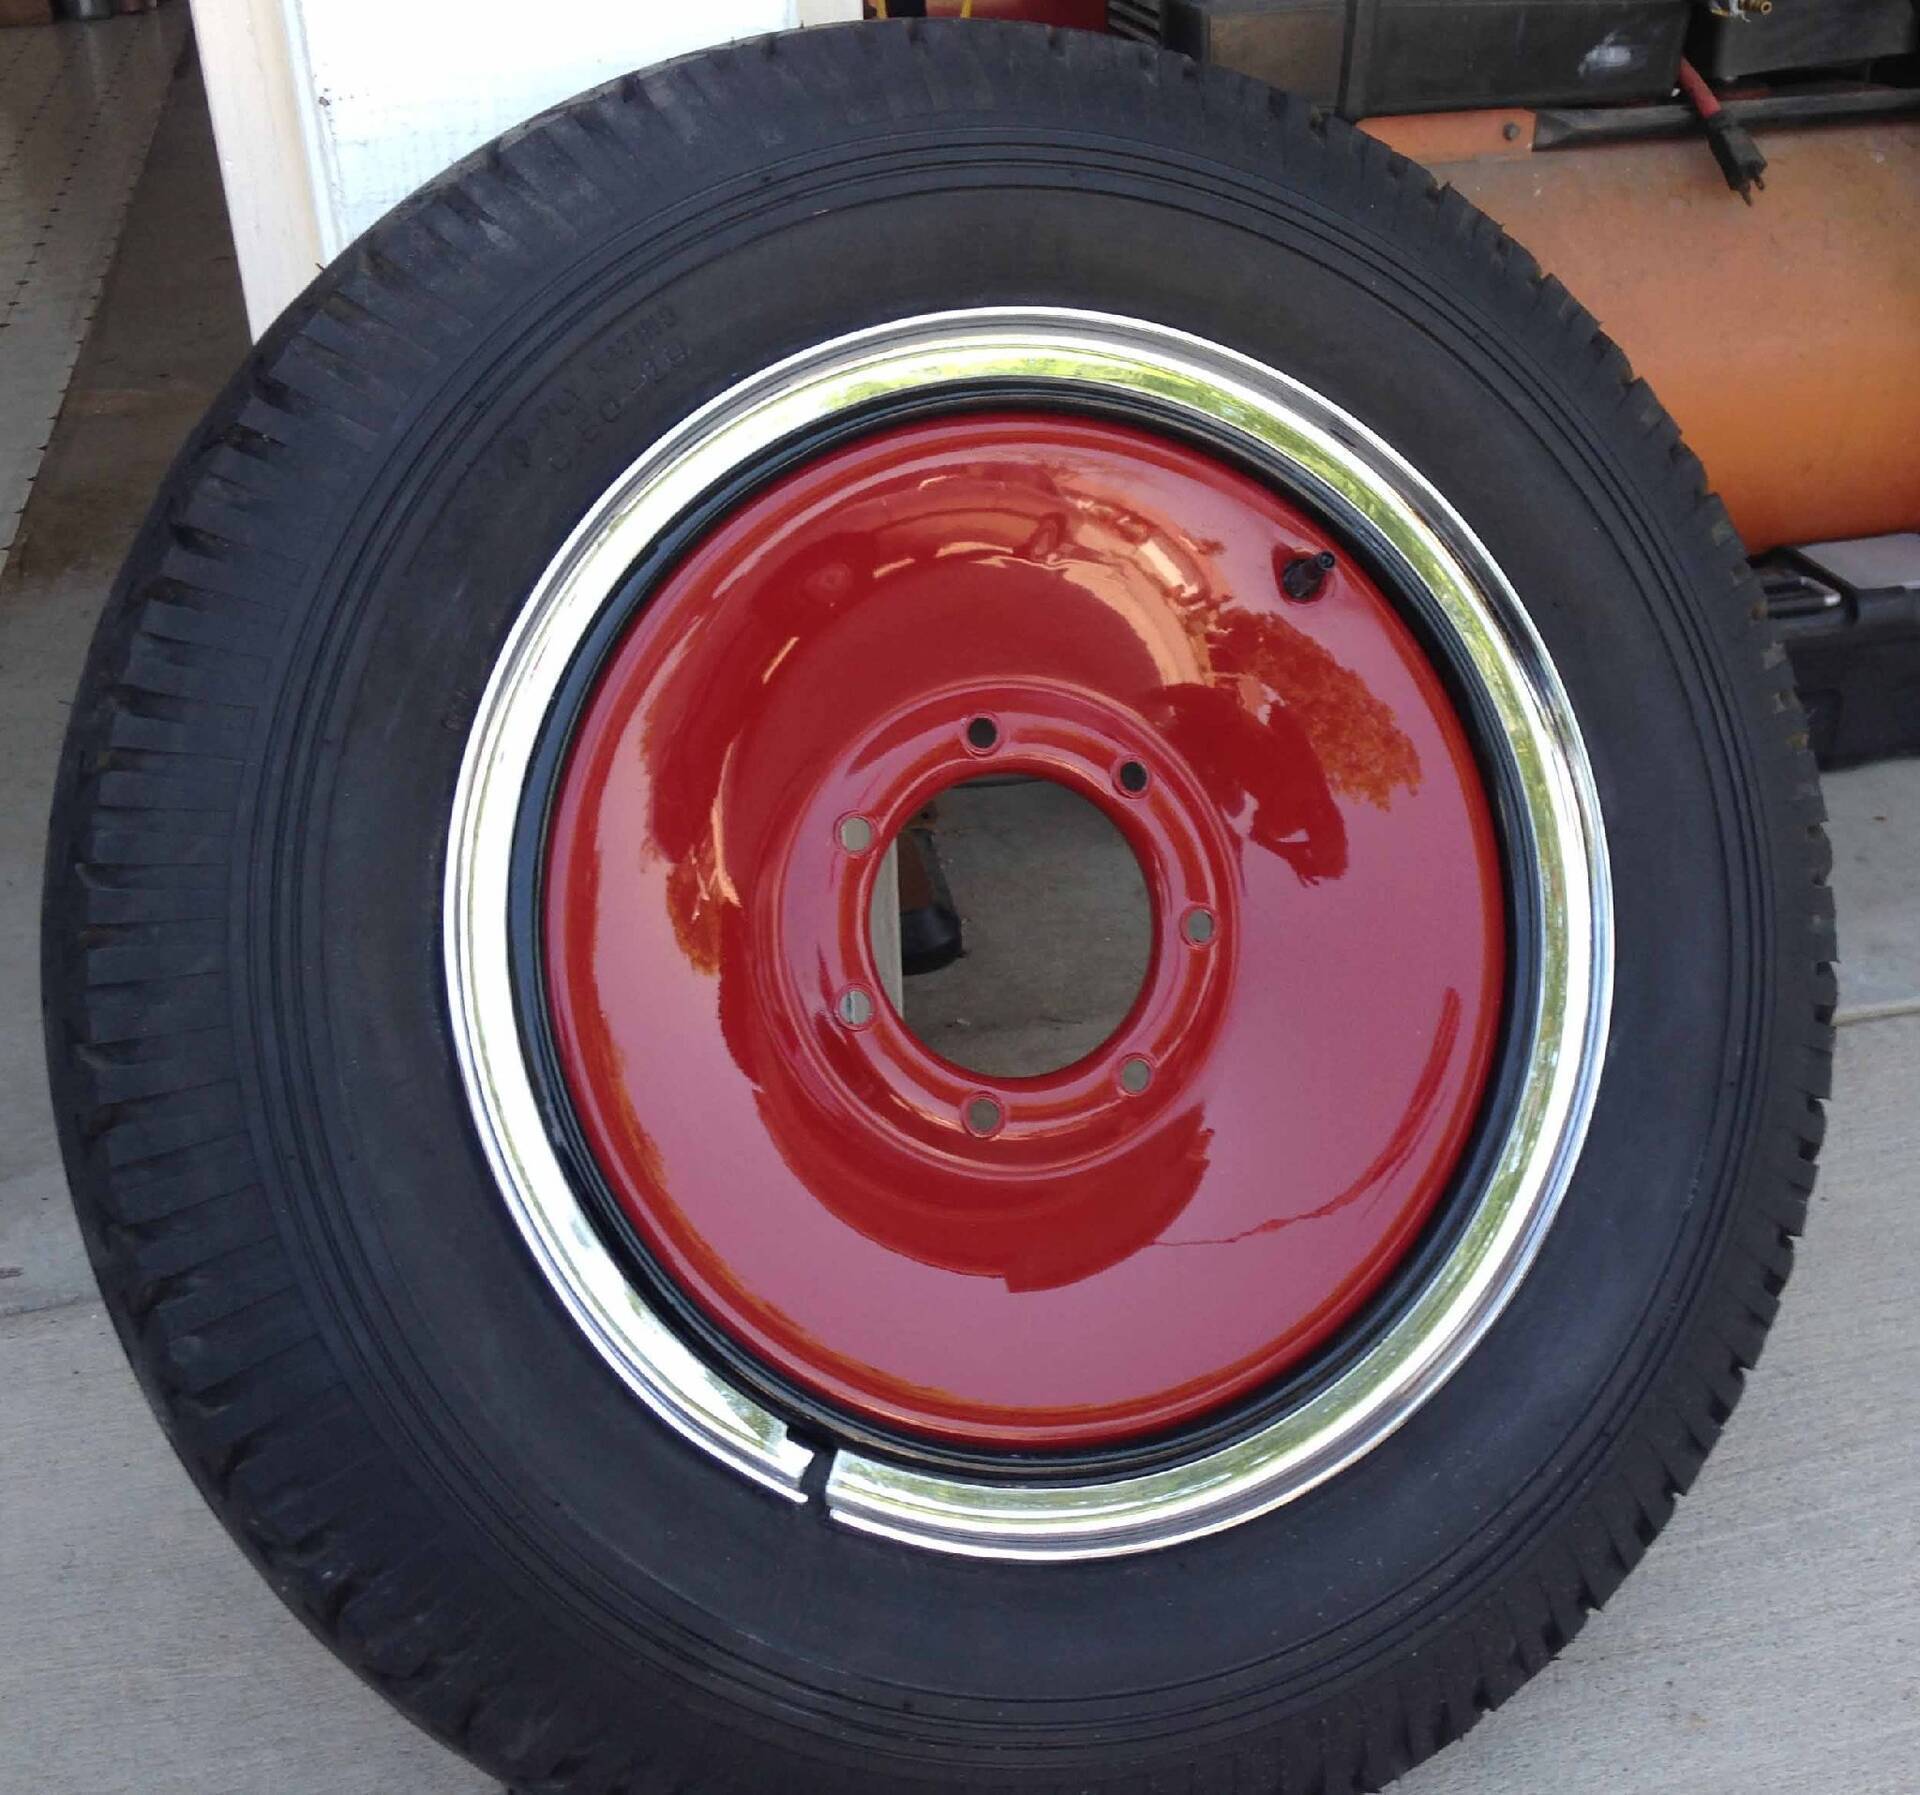
Posted on: 2016/6/26 13:03
|
|||
|
||||
|
Re: Our 1932 901
|
||||
|---|---|---|---|---|
|
Forum Ambassador

|
Isn't 45 ft-lbs for the cylinder head nut torque way low? Assuming they are 7/16-20 they should be about 62 ft-lbs.
It's accepted practice to soak leather accelerator pumps in gasoline for a few hours before installing to soften the leather. If yours was new and dry or had dried out over time it might explain the sticking and I'd think it will resolve itself as the leather gets wet and stays that way. Great-looking machine, you should be proud as a peacock!
Posted on: 2016/6/26 13:32
|
|||
|
||||
|
Re: Our 1932 901
|
||||
|---|---|---|---|---|
|
Home away from home
|
Dave,
Thanks for the info and compliment. I got the 45 from a table, but I don't recall from where. I went back and torqued to 62. I really have appreciated for various inputs over the past 5 years on this project. I must admit that it is taking longer than I thought it would, but I've enjoyed every bit of it.
Posted on: 2016/6/26 22:31
|
|||
|
||||
|
Re: Our 1932 901
|
||||
|---|---|---|---|---|
|
Forum Ambassador
|
I hope it wasn't too late for the retorquing, I doubt 45 ft-lbs provides enough clamping force to seal the gasket against the compression forces.
After the engine has run for a couple of hours, check the torque again, and yet again after a few months.
Posted on: 2016/6/27 8:09
|
|||
|
||||
|
Re: Our 1932 901
|
||||
|---|---|---|---|---|
|
Home away from home
|
The last 3 or so years the only thing that remained to be done on the car was the interior. We had looked every where for a material/color that would be somewhat period correct and a color that would highlight the car’s color without success. We decided on a fabric that we felt would be a good second choice at SMS.
We ordered 26 yards in January from SMS and waited about 8 weeks for it to show up. When it did while it was similar the color was slightly different with a greenish hue and was unacceptable. After a week of back and forth they agreed to take it back. We then decided to go with a ribbed light gray wool broadcloth. Waited another 6 weeks or so for it to show up. The bottom line is it is now finished (See Video) except for a few minor things that need fixing or re-doing. One of those things is the generator, which appears to have been rebuilt but doesn't charge.
Posted on: 2023/9/3 11:19
|
|||
|
||||
|
Re: Our 1932 901
|
||||
|---|---|---|---|---|
|
Forum Ambassador

|
I am not really up on third brush specifics on that vintage generator but there is apparently a fuse in the regulator or cut out box you might check.
Since it does have field coils and was rebuilt, it might also need to be polarized just as the later generators need done before they will start charging. You might research the need for polarizing on yours, and if so the proper procedure.
Posted on: 2023/9/3 12:05
|
|||
|
Howard
|
||||
|
||||


.jpg")


