
|
Re: Keegan's 55 Clipper Deluxe
|
||||
|---|---|---|---|---|
|
Home away from home
|
Hi Keegan!
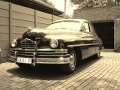
That interior looks great. I think we have the same philosophy regarding restoration or owning older cars. I will also keep mine running in order to at least enjoy it and do repairs on the go. This does not mean that it will not spend some time in the air without wheels however! Good luck with your project and keep on driving it!
Posted on: 2008/3/6 7:24
|
|||
|
||||
|
Re: Keegan's 55 Clipper Deluxe
|
||||
|---|---|---|---|---|
|
Home away from home

|
I'm starting with the suspension and steering systems. There's plenty of gunk and rotted rubber to tend to. I'm going to work front to back starting with the sway bar. It took some damage and bent one of the inner brackets and the driver's side bar end was completely out of the bushing. I decided to make some new brackets and use polyurethane bushings. I did a write-up and pics here...
https://packardinfo.com/xoops/html/modules/newbb/viewtopic.php?topic_id=788&forum=3&post_id=5660#forumpost5660 I used Energy Suspension PN# 9.5122G which are the 18mm universal sway bar bushings. Two sets ran $27.66. I used the 18mm because the sway bar spec'd out at 18.4mm and I was afraid of the bar being too loose with the 19mm bushings. Time will tell if I made the right choice, but it's pretty cheap to swap out replacements if need be. Next are the front wheel assemblies including Shocks upper and lower support arms and rubber grease boots.
Posted on: 2008/3/6 11:25
|
|||
|
||||
|
Re: Keegan's 55 Clipper Deluxe
|
||||
|---|---|---|---|---|
|
Home away from home
|
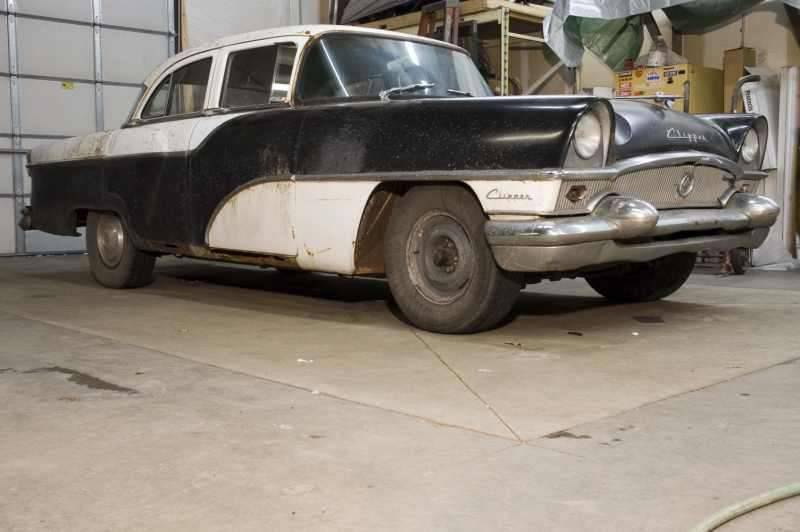
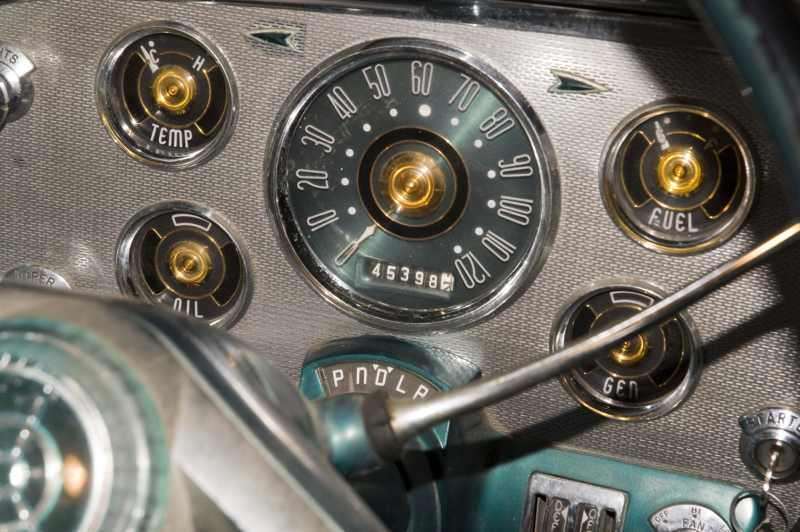
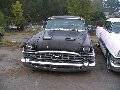
With spending 25 year behind a barn I would assume that the 45K mileage figure is not 145K
Posted on: 2008/3/7 10:44
|
|||
|
||||
|
Re: Keegan's 55 Clipper Deluxe
|
||||
|---|---|---|---|---|
|
Home away from home
|
Quote:
That's what I'm thinking as well. Just for my own curiosity I've thought about tracking down as many of the previous owners as possible to get a more accurate history of the car. I wonder if North Dakota DMV would have any records that they would release.
Posted on: 2008/3/7 17:22
|
|||
|
||||
|
Re: Keegan's 55 Clipper Deluxe
|
||||
|---|---|---|---|---|
|
Webmaster

|
Just check how worn down the rubber on pedals are. If it was 145k, then the pedals should be very worn.
Posted on: 2008/3/8 0:44
|
|||
|
-BigKev
1954 Packard Clipper Deluxe Touring Sedan -> Registry | Project Blog 1937 Packard 115-C Convertible Coupe -> Registry | Project Blog |
||||
|
||||
|
Re: Keegan's 55 Clipper Deluxe
|
||||
|---|---|---|---|---|
|
Home away from home
|
The old brake pedal lie detector is telling me that it hasn't been around the horn yet. Which means that I'm still replacing parts, just from neglect instead of being worn out.
Posted on: 2008/3/9 0:02
|
|||
|
||||
|
March 12th Update
|
||||
|---|---|---|---|---|
|
Home away from home
|
Update March 12, 2008.
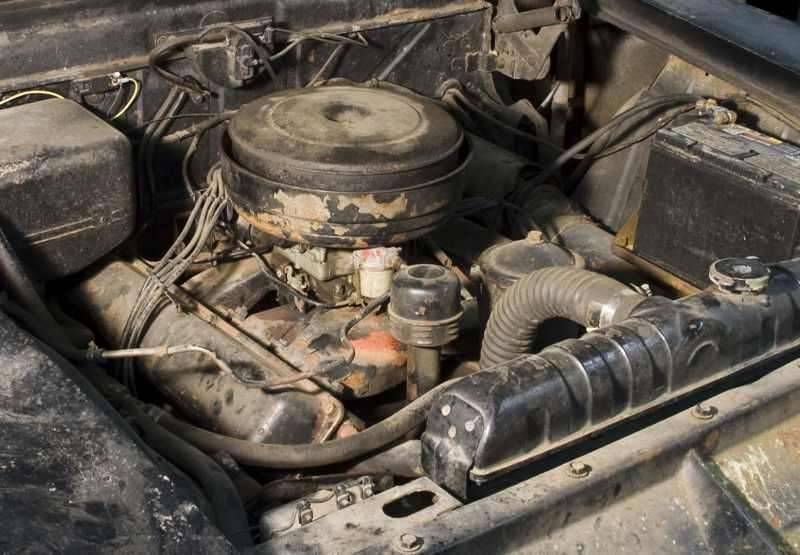
Well I'm elbow deep in the front wheel assemblies. I started with the driver's side by pulling the wheel and brake drum/hub off. The grease was dark brown but there didn't appear to be any water in it which I took as a good sign. I was pretty surprised by the vast amount of gunk that had formed around every grease boot and fitting. It took considerable time to chisel it away carefully so as not to damage any rubber bits that could be reused. Once cleaned, I checked for any play in the hub and support arms and found none. The brake drum was grooved up pretty good so it went out for turning at my local tire shop. When it came back it was as good as new, so I cleaned out the hub and checked the bearing races for the inner and outer bearings. The races checked out ok, but the bearings themselves were shot. My guess is flat spotted from sitting in the same place for a couple of decades. I was also in need of a new grease seal that installs in the hub on top of the inner bearing. I found the bearings and grease seal at my local NAPA store for a reasonable price. Inner Bearing (Timken 15123) $10.49, Outer Bearing (Timken 09067) $11.49 and the grease seal (NOS 17285) for $11.54. I purchased enough to do the passenger side as well. Next to come off was the shock absorber. It gave a little bit of a fight but finally relented on the top mount and the lower mounting plate was removed with the shock attached for removal on the bench. I ended up snapping the stud on the lower mount in my efforts to remove the hardware. The rubber isolators had rotted away and the shock itself had outlasted its life expectancy. I found replacements (Monroe 5751) at my local O'Reilly Store for 22.99 apiece. Because of all the crud I wanted to remove the knuckle support to clean out the bushings and rubber boots. The support came out pretty easily after removing the lower and upper support pins and I was able to clean it up to my satisfaction. With the jack supporting the lower control arm I decided that I would remove the coil spring and the lower control arm to clean them up and hit them with some paint. I lowered the control arm ever so slowly and allowed the spring to come to full extension. I was standing well out of the way of the spring, just in case it decided to come out on its own with authority. With the spring out of the way, the control arm was removed after more chiseling of crud on the fasteners. The control arm was pretty dirty, but otherwise in good shape. The movement on the pivot arm was smooth, so I just cleaned them up and squeezed some new grease in the fittings. After cleaning, a coat of oil based flat black rust-oleum was applied to the control arm and the freshly cleaned coil spring. After the paint dried (ok, it wasn't completely dry) I started reassembly. Everything went back in smoothly, but I found that I was missing a rubber o-ring that acts as a grease boot on the lower mounting pin for the knuckle support. I went ahead and put it back together anyway because it won't be on the road for a while and I need it to be able to roll around the shop. It was also missing the rubber coil spring dampeners that had rotted beyond repair. I don't think I'll spend much time searching for replacements. Now the passenger side: Everything started the same but when I got the brake drum/hub off (which also got turned at the tire shop) I noticed that the steering knuckle had some free play that seemed to be coming from the lower bushing area. After driving out the pins holding the knuckle to its support I could see the lower bushing was galled. The upper needle bearing still looks good though so I think I can get away with keeping that one in. Today, after doing a little searching, I ordered a pin rebuild kit from Kanter for about $100 ouch! It has new pins, bushings and bearings; enough to rebuild both knuckles. I guess that I'll have some spare parts on hand for any future repairs unless anyone out there needs to rebuild one of their own. I'll be stalled until the parts arrive sometime next week. In the meantime I'll try to resist the urge to begin on a different part of the car. I'm also not going to press out the current bushing until the parts arrive so I can compare them, just to make sure. Attach file:  (30.25 KB) (30.25 KB)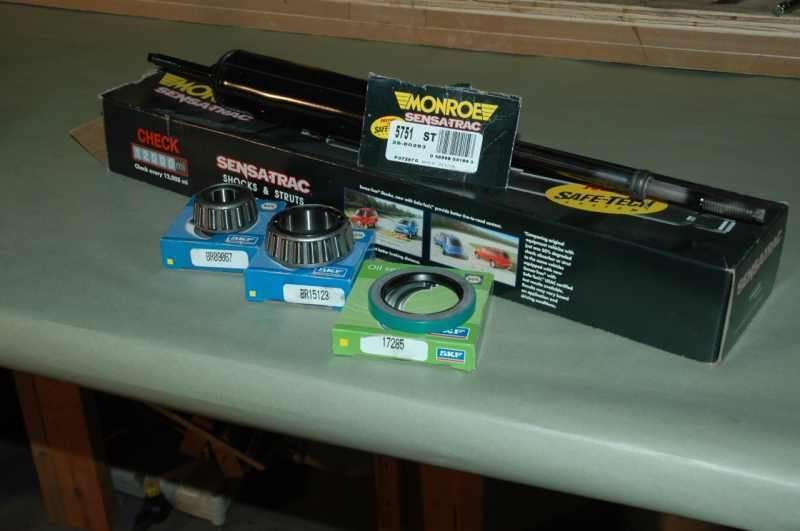 (11.65 KB) (11.65 KB)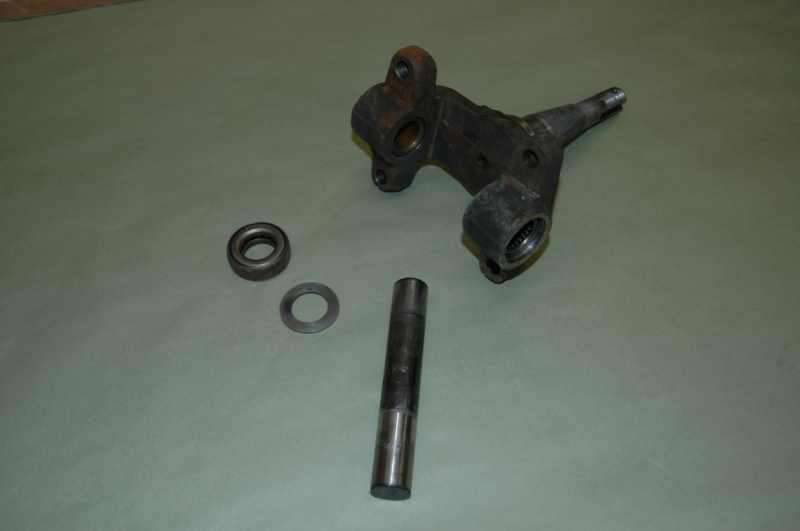 (22.98 KB) (22.98 KB)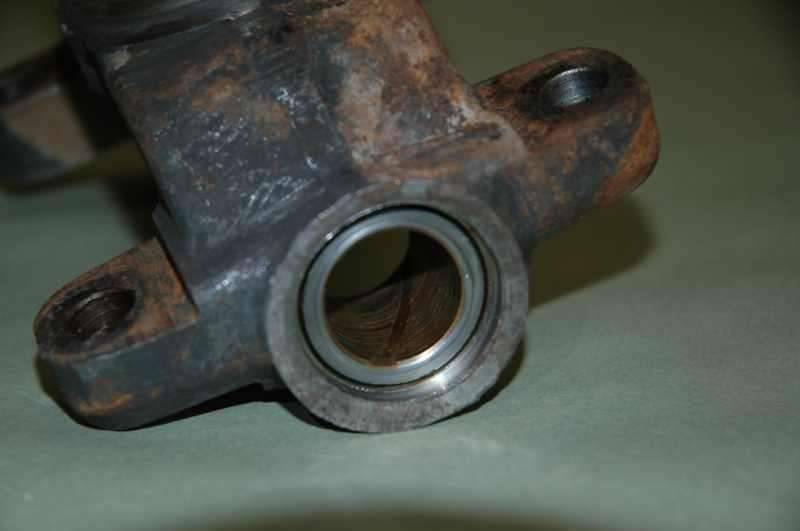 (21.69 KB) (21.69 KB)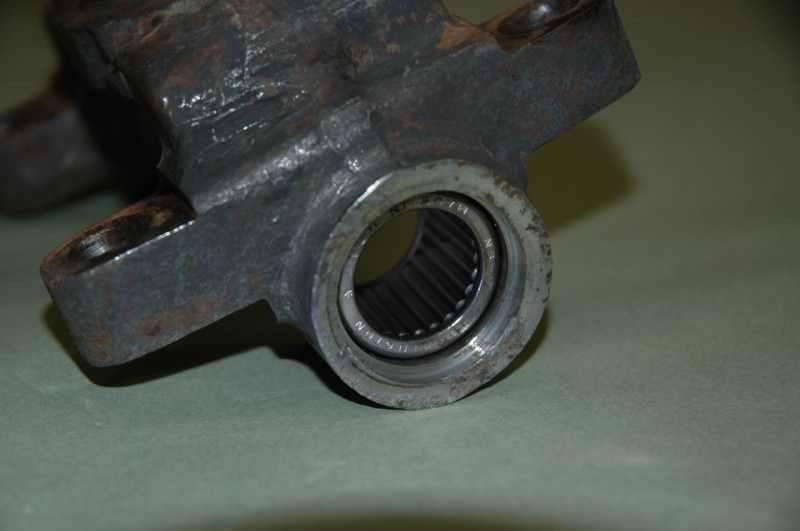 (21.02 KB) (21.02 KB)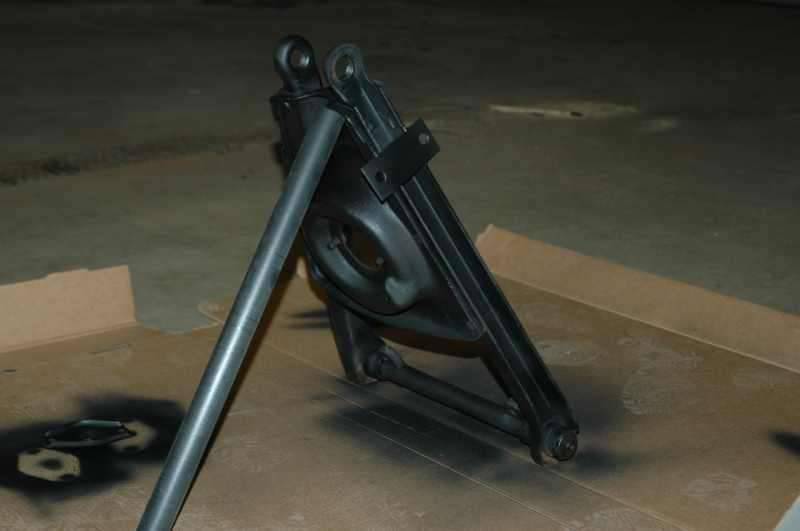
Posted on: 2008/3/12 23:07
|
|||
|
||||
|
Re: March 12th Update
|
||||
|---|---|---|---|---|
|
Forum Ambassador

|
Flat-spotting of the wheel bearing can also be caused by improper tightening. My father, who worked as a mechanic in a Packard dealership in the postwar years, taught me to spin the hub while tightening the castle nut. Having the wheel/tire installed beforehand actually helps that.
Posted on: 2008/3/13 8:28
|
|||
|
||||
|
Re: Keegan's 55 Clipper Deluxe
|
||||
|---|---|---|---|---|
|
Forum Ambassador

|
BH's note about overtightening wheel bearings is well-advised. Most old timers did it by feel, but if you don't have that, the process that Packard recommended in later years is a good one. Tighten the nut to about 20 ft-lbs (to make sure the bearings and cones are "set"). Back off until loose. Retighten to about 4 ft-lbs. Back off to the first available cotter pin hole.
Posted on: 2008/3/13 10:06
|
|||
|
||||


