Re: 1940 horn assembly
Posted by Buster On 2023/2/10 11:38:43
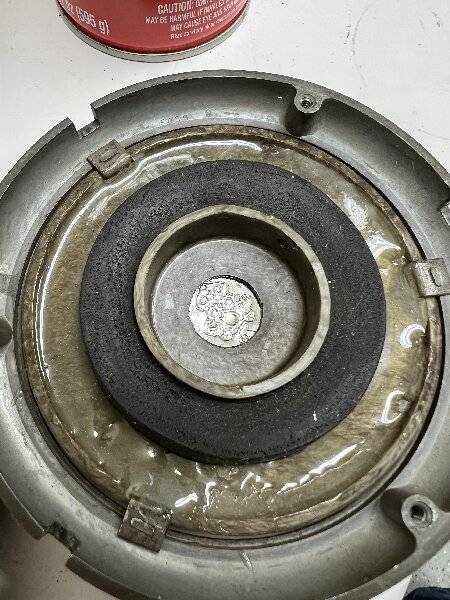
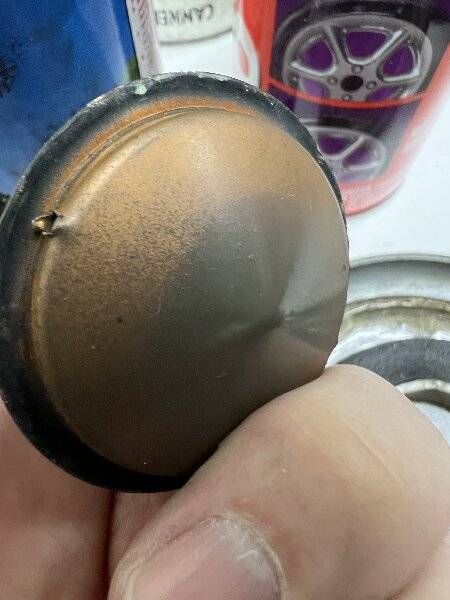
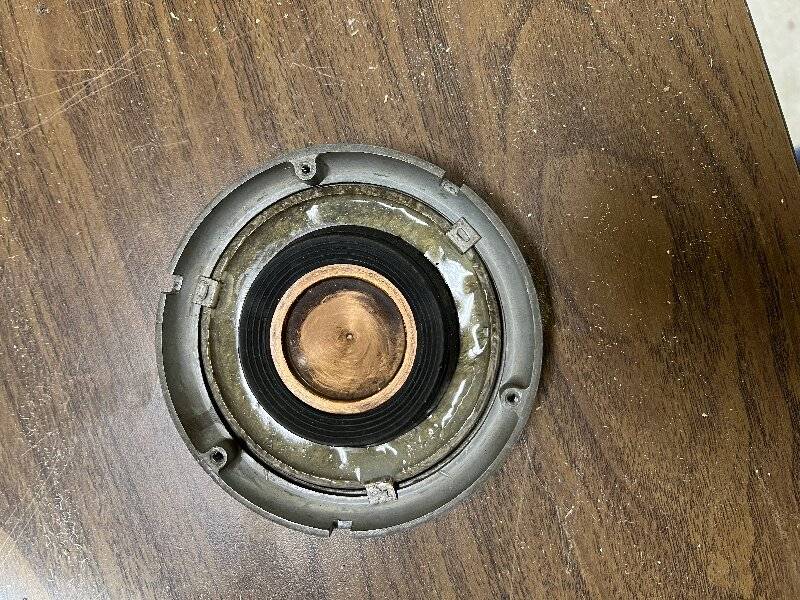
Lastly I removed the copper dish to show how it looks underneath. This is just held in place by friction. Mine actually had a small hole punched in the side that was flared out to help hold it in place. Note: I did fill the bottom of my cap with epoxy because it had a crack starting.
And finally at the last photos I tried the UPLOAD button and got multiple pictures in the same post. Sorry about that long journey and multiple posts folks!
Attach file:
 BD148D28-F717-4103-8577-1864B4D6367E.jpeg (286.78 KB)
8C76BD04-8739-446F-A02D-5735E3AC2DE2.jpeg (174.36 KB)
620FAB4D-80BE-48CE-A574-B12D21398243.jpeg (468.57 KB)
And finally at the last photos I tried the UPLOAD button and got multiple pictures in the same post. Sorry about that long journey and multiple posts folks!
Attach file:
BD148D28-F717-4103-8577-1864B4D6367E.jpeg (286.78 KB) 8C76BD04-8739-446F-A02D-5735E3AC2DE2.jpeg (174.36 KB)
 620FAB4D-80BE-48CE-A574-B12D21398243.jpeg (468.57 KB)
This Post was from: https://packardinfo.com/xoops/html/modules/newbb/viewtopic.php?post_id=253787