Re: Jeff's 48 Custom 8 Victoria Project
Posted by bigmoparjeff On 2013/10/26 2:40:43
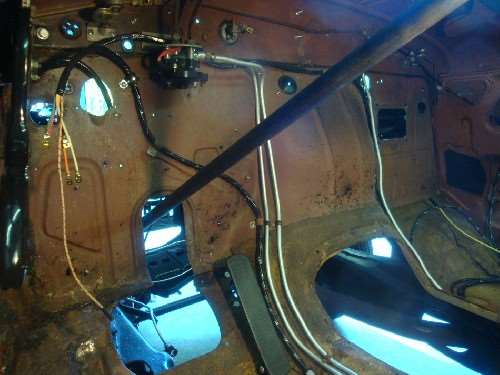
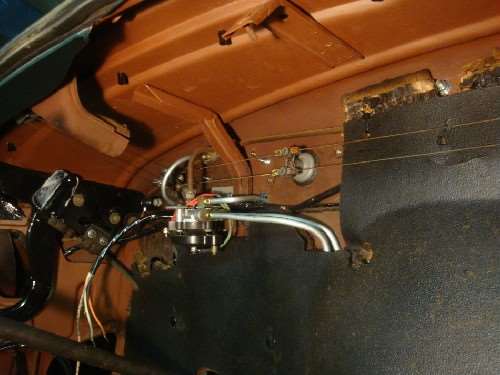
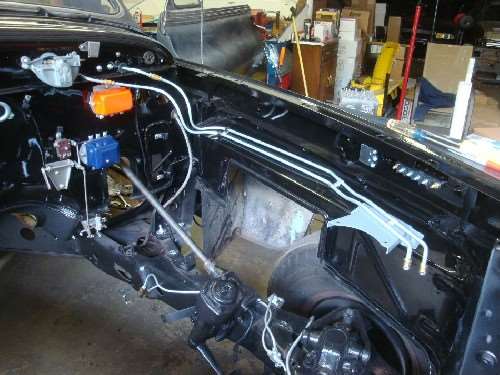
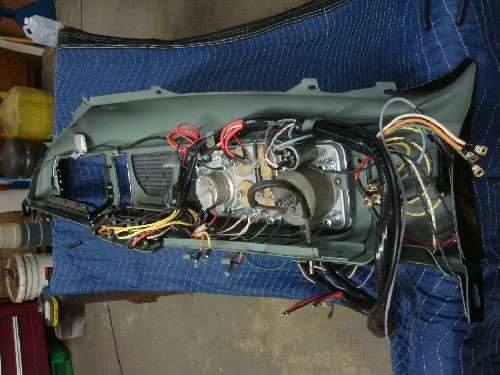
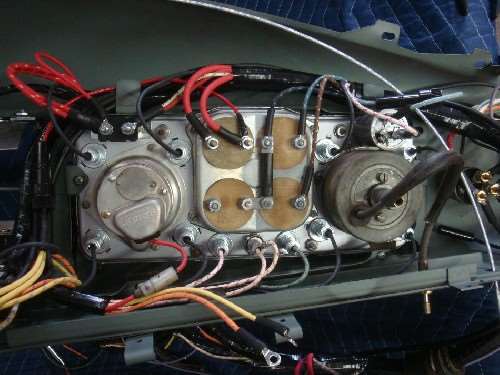
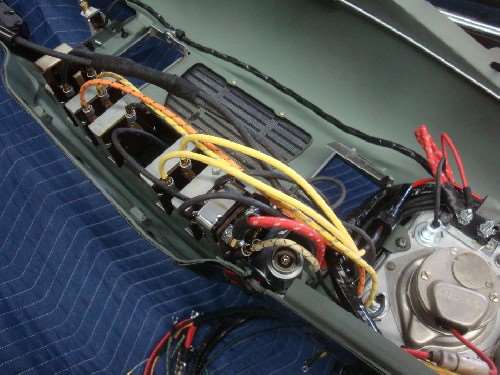
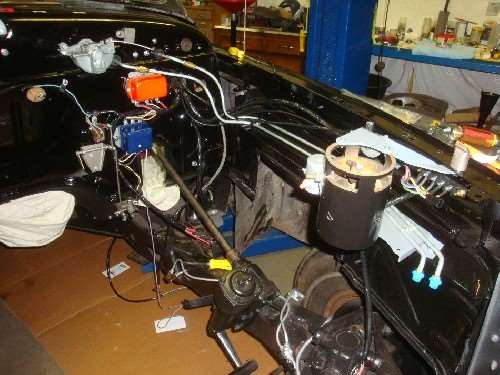
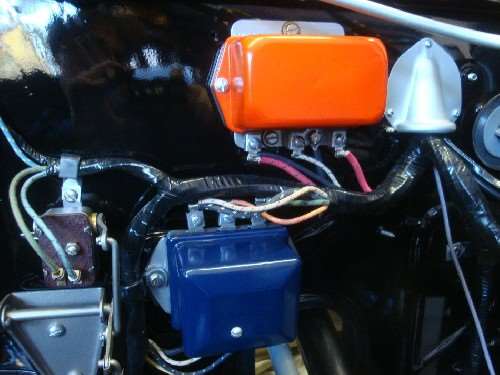
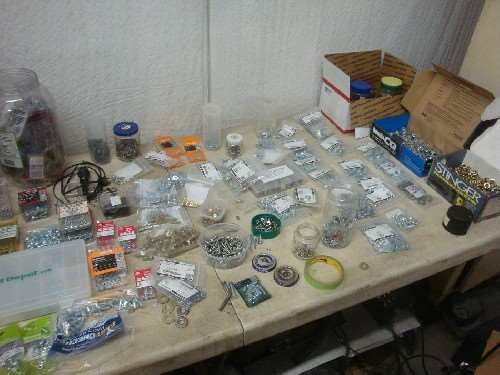
My thinking was that it's finally time for the fun part of the project: putting the car back together, but the fun was short lived. One of the first orders of business was to bend up some new hydraulic lines, and I hate bending lines! Dell suggested using flexible plastic lines, and I will recommend that to the owner for when the time comes to finish the job. There's a big mess of lines under the back seat that will need to be replaced. I just did the engine compartment, and the lines that run behind the firewall pad. Once that unpleasantness was out of the way, it was time to install a nice new wiring harnesses that the owner bought from Rhode Island Wiring. They did a very nice job making up the harnesses. There were only a few minor fitment issues that I plan to tell them about, so that they can make some improvements for the next 22nd series owner who needs new wiring. Attaching all the components to the firewall was basic nuts and bolts work. I installed stainless screws in the holes that the factory had plugged with wads of dum-dum. These holes would normally be for the upper row of firewall pad retaining pins, but due to the hydraulic lines being in the way, the pad sits too far out to install the pins. I used a bit of artistic license on the voltage regulator and overdrive relay: orange for Autolite and dark blue for Delco. The colors show much brighter in the pictures than in person, but I may have to redo the regulator in black or gray. I'll see how things look when the hood is on. I was just trying to add a little visual interest to an otherwise mostly black engine bay.
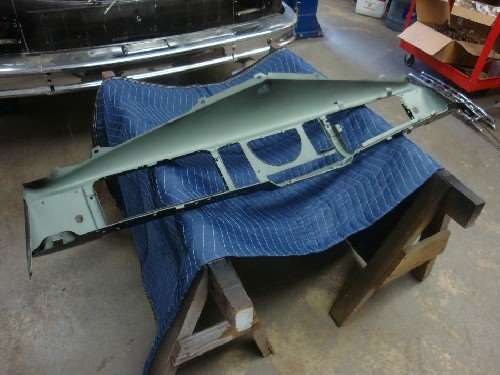
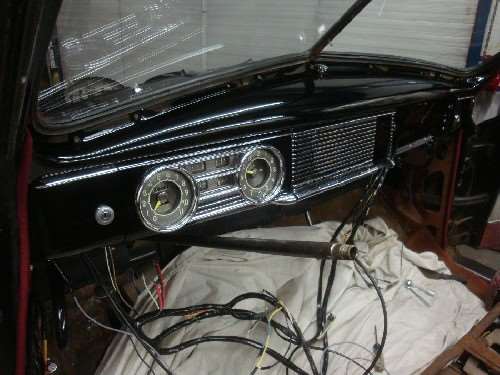
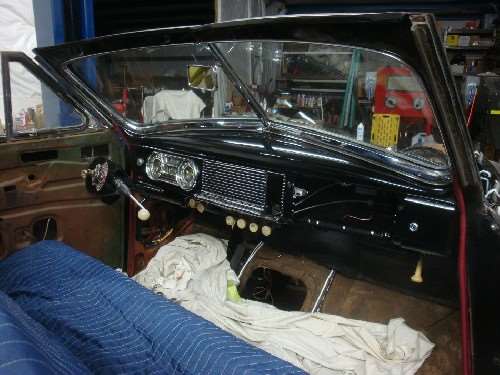
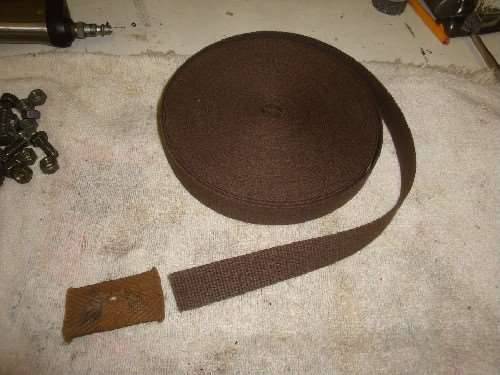
A big milestone was getting the dash back together and installed in the car. That went fairly smooth, though it's a tight fit to get it past the windlace. Also, I found that it's best not to install the wiper control until after the dash is in place. I bought a roll of anti-squeak padding from Dennis Carpenter to replace the ratty old stuff. It's a bit narrower than what Packard used, but worked out fine.
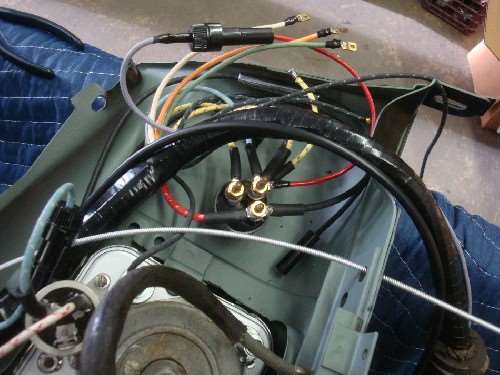
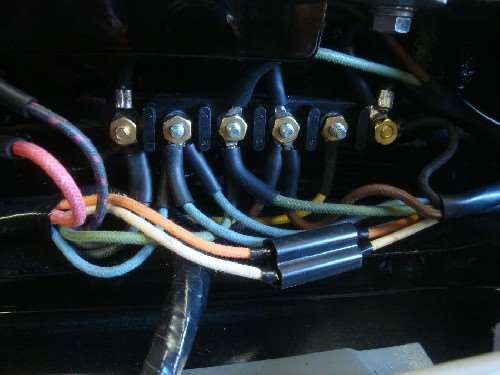
With the dash in place, I could feed the engine bay wiring through the firewall and get it hooked up. I replaced the original metal and cardboard terminal block with a modern plastic one made for semi-trailers. It has a fourth terminal that can be used for fog lamps if the owner desires to install them. I had an extra instrument lamp switch that I installed in the fog lamp position. To add fog lamps, wires will only need to be run from the terminal block to the lamps. One of the upper bumper halves was off of a car with fog lamps, so it has the mounting hole drilled in it.
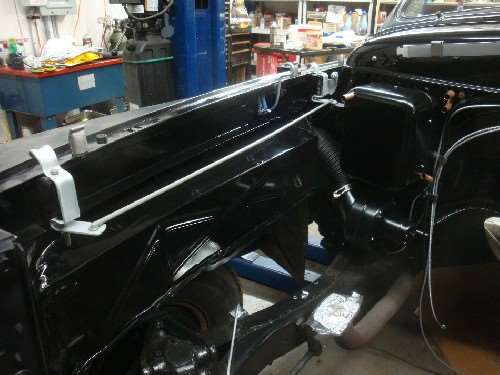
Next to go on were the hood latches and control rods. The springs on the latches were quite challenging to install, though I did manage to come up with a decent technique to get them in place.
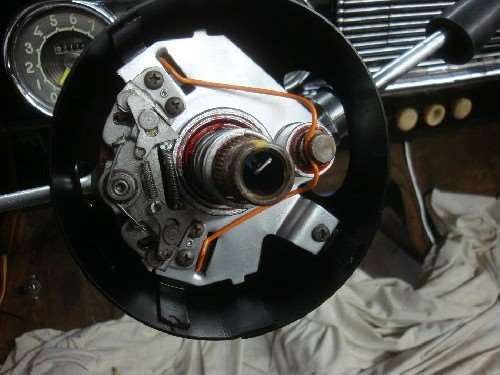
The steering column was also harder to get in than expected. I installed it in the car piece by piece, but I think it would have been better to assemble it first, then put it in. It's a real tight fit to get the long column tube through the upper jacket. The paint that I had applied to the tube got all scratched up from sliding it through. I tried to polish out the scratches, and ended up turning the satin black paint to gloss black.
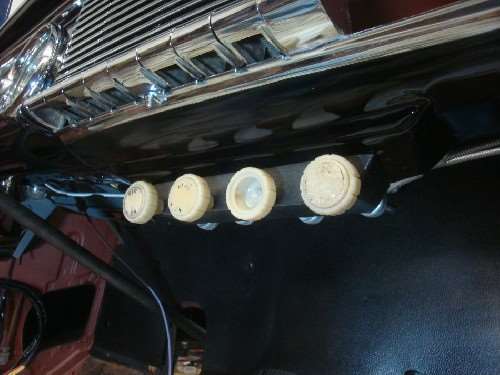
The last thing to go on was the front lights and related wiring. Somehow, I managed to misplace most of the screws for the parking lamp bezels. Hopefully they will turn up soon, or I'll have to buy new ones.
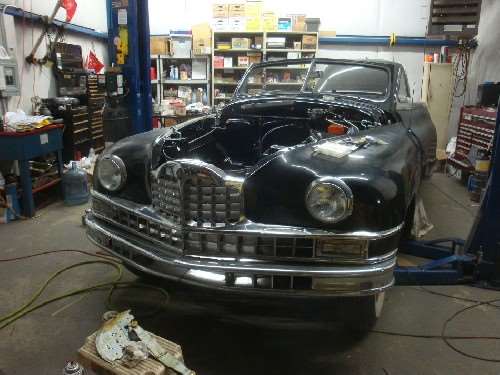
It's finally looking like I'm making some real progress. One would think that it won't be long before the engine is ready to go back in.
October 2013. Packard starts to go back together.
Attach file:
 (77.42 KB)
(85.34 KB)

(78.29 KB)
(106.91 KB)
(80.08 KB)
(100.56 KB)
(90.29 KB)
(85.36 KB)
(91.30 KB)
(88.80 KB)
(102.63 KB)
(77.04 KB)
(54.79 KB)

(83.69 KB)

(83.46 KB)
(82.16 KB)

(77.02 KB)

(72.63 KB)
(93.27 KB)
(101.75 KB)
(99.49 KB)
(78.31 KB)
(92.37 KB)
(64.76 KB)
(71.52 KB)
(95.33 KB)
(89.31 KB)
A big milestone was getting the dash back together and installed in the car. That went fairly smooth, though it's a tight fit to get it past the windlace. Also, I found that it's best not to install the wiper control until after the dash is in place. I bought a roll of anti-squeak padding from Dennis Carpenter to replace the ratty old stuff. It's a bit narrower than what Packard used, but worked out fine.
With the dash in place, I could feed the engine bay wiring through the firewall and get it hooked up. I replaced the original metal and cardboard terminal block with a modern plastic one made for semi-trailers. It has a fourth terminal that can be used for fog lamps if the owner desires to install them. I had an extra instrument lamp switch that I installed in the fog lamp position. To add fog lamps, wires will only need to be run from the terminal block to the lamps. One of the upper bumper halves was off of a car with fog lamps, so it has the mounting hole drilled in it.
Next to go on were the hood latches and control rods. The springs on the latches were quite challenging to install, though I did manage to come up with a decent technique to get them in place.
The steering column was also harder to get in than expected. I installed it in the car piece by piece, but I think it would have been better to assemble it first, then put it in. It's a real tight fit to get the long column tube through the upper jacket. The paint that I had applied to the tube got all scratched up from sliding it through. I tried to polish out the scratches, and ended up turning the satin black paint to gloss black.
The last thing to go on was the front lights and related wiring. Somehow, I managed to misplace most of the screws for the parking lamp bezels. Hopefully they will turn up soon, or I'll have to buy new ones.
It's finally looking like I'm making some real progress. One would think that it won't be long before the engine is ready to go back in.
October 2013. Packard starts to go back together.
Attach file:
(77.42 KB) (85.34 KB)
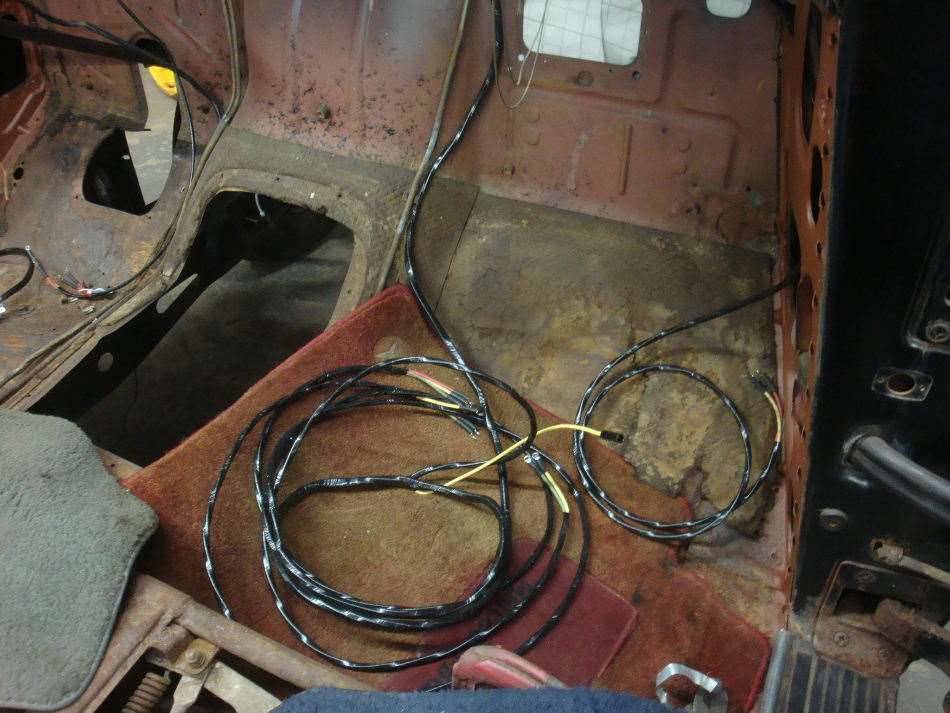 (78.29 KB)
 (106.91 KB)
 (80.08 KB)
 (100.56 KB)
 (90.29 KB)
 (85.36 KB)
 (91.30 KB)
 (88.80 KB)
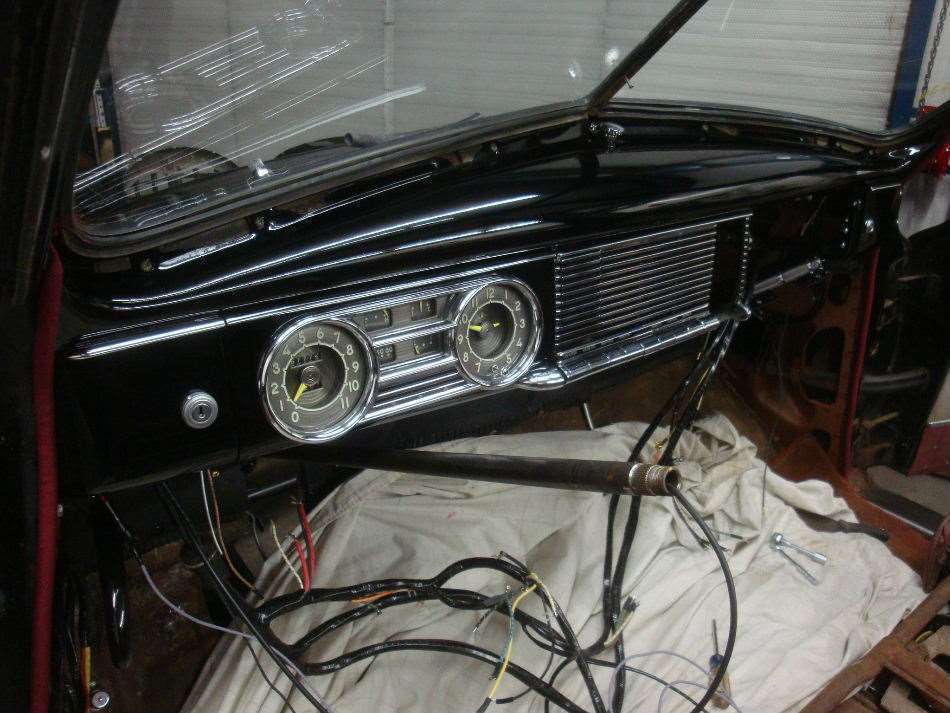 (102.63 KB)
 (77.04 KB)
 (54.79 KB)
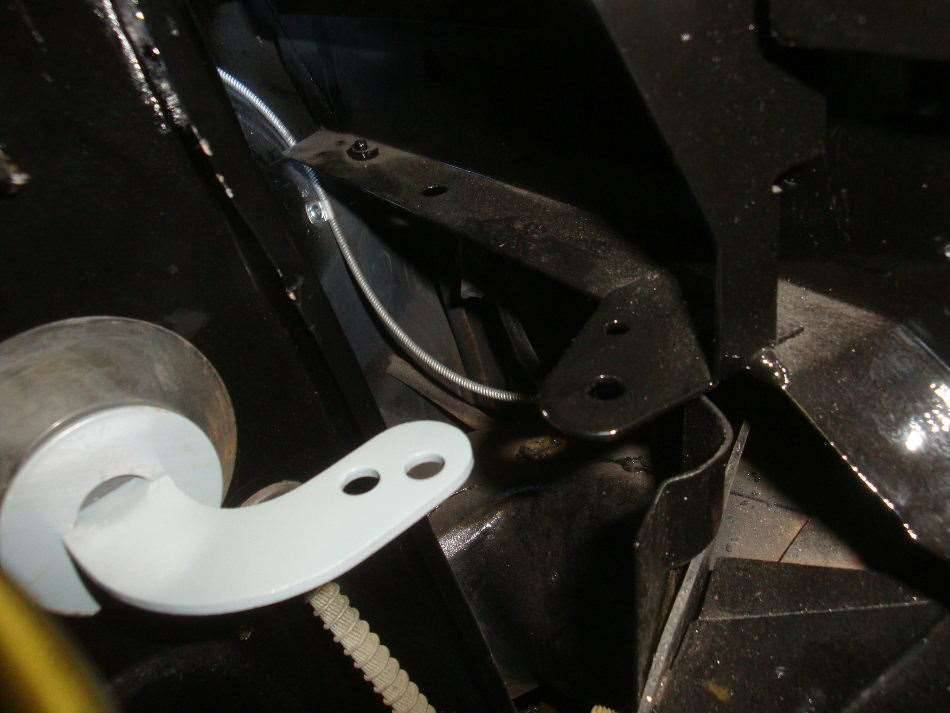 (83.69 KB)
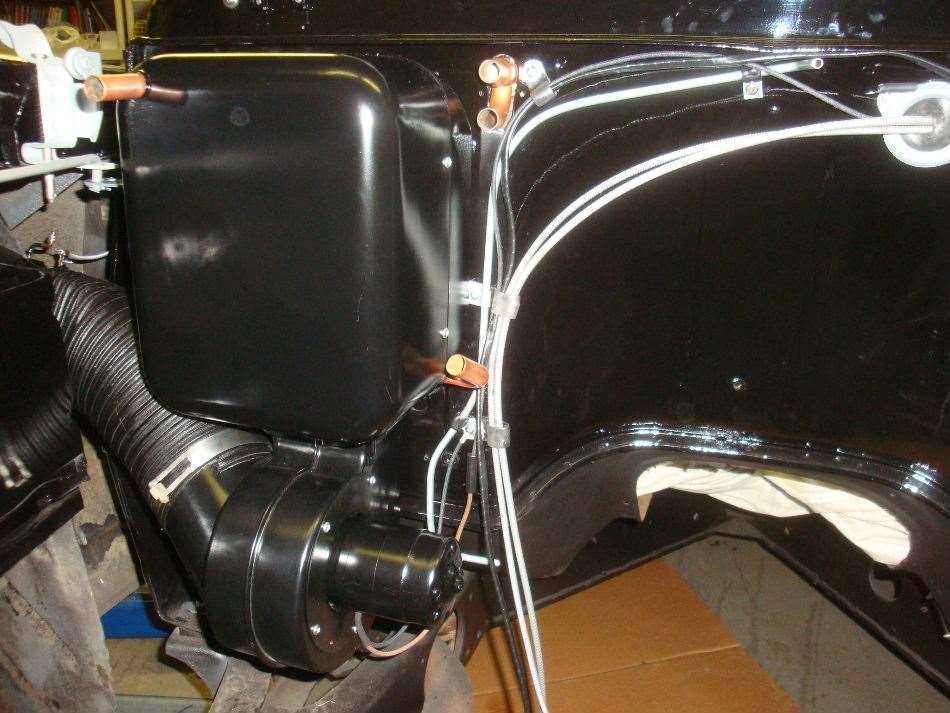 (83.46 KB)
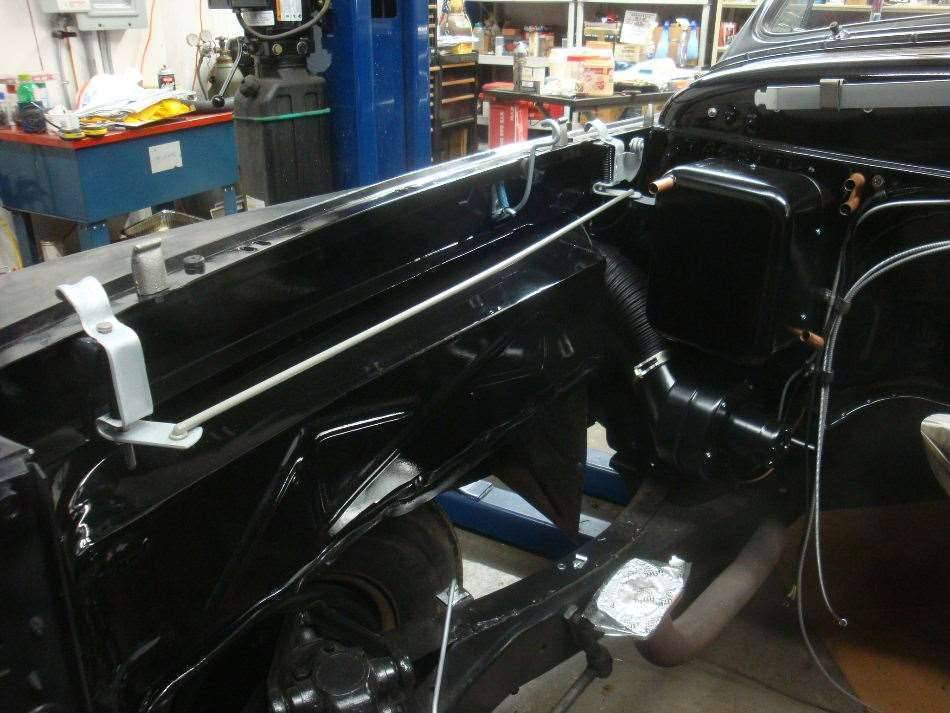 (82.16 KB)
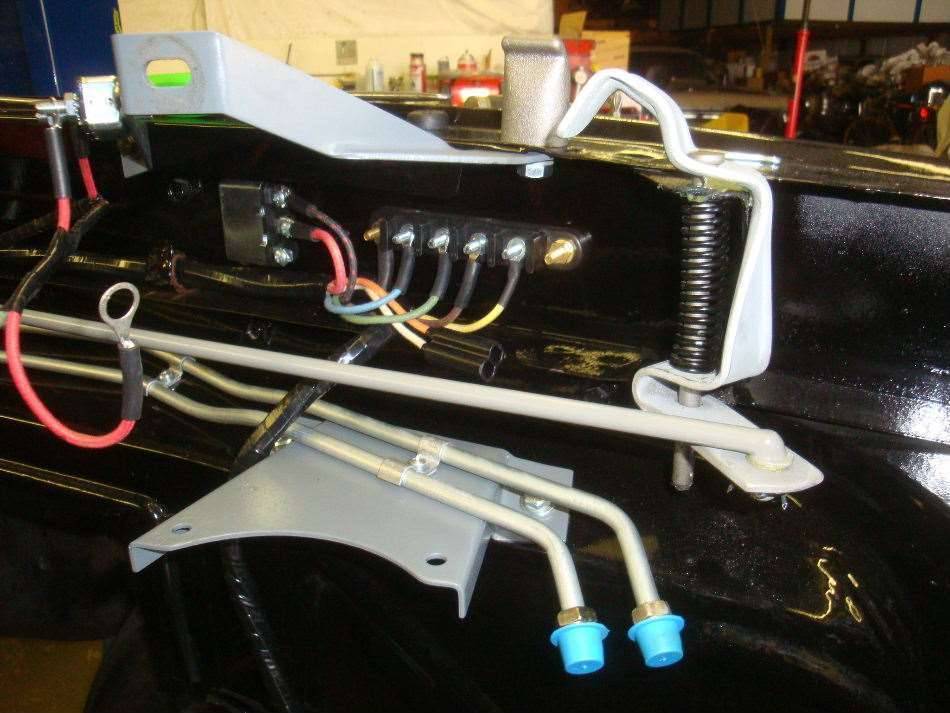 (77.02 KB)
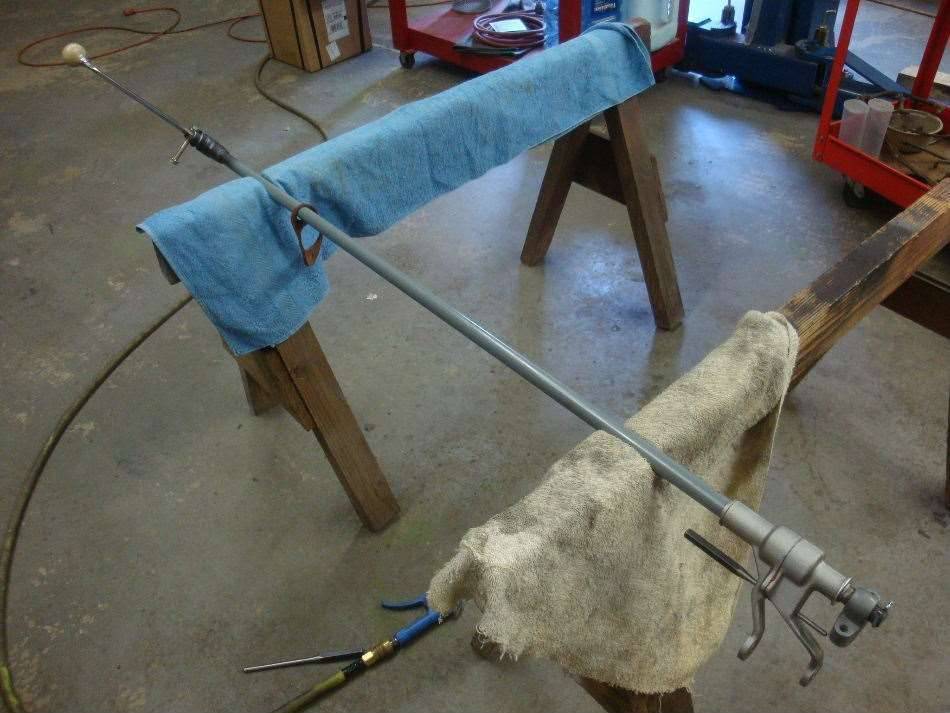 (72.63 KB)
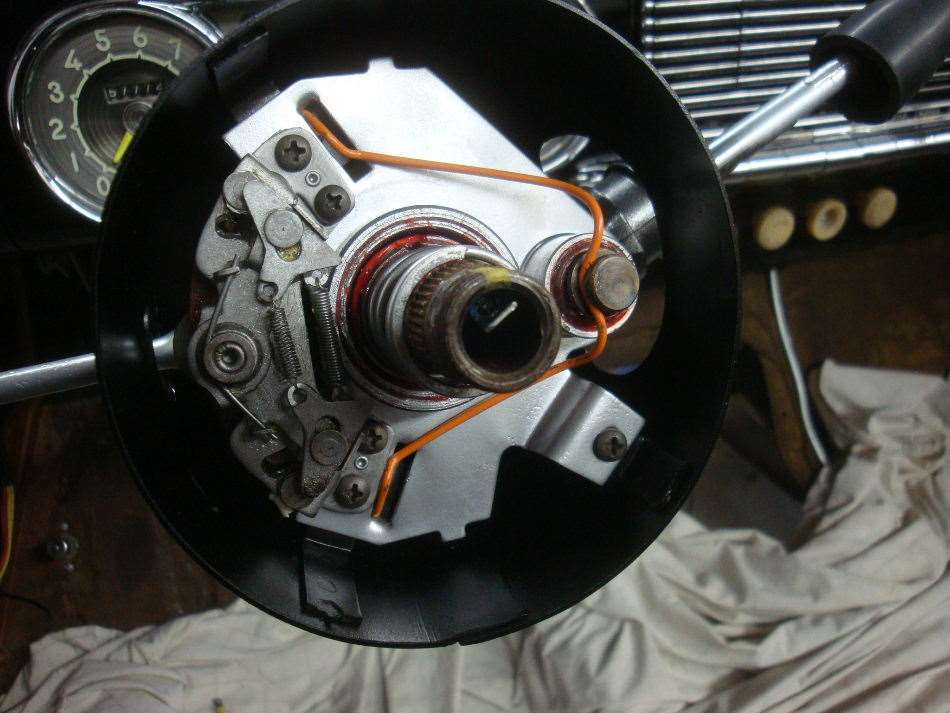 (93.27 KB)
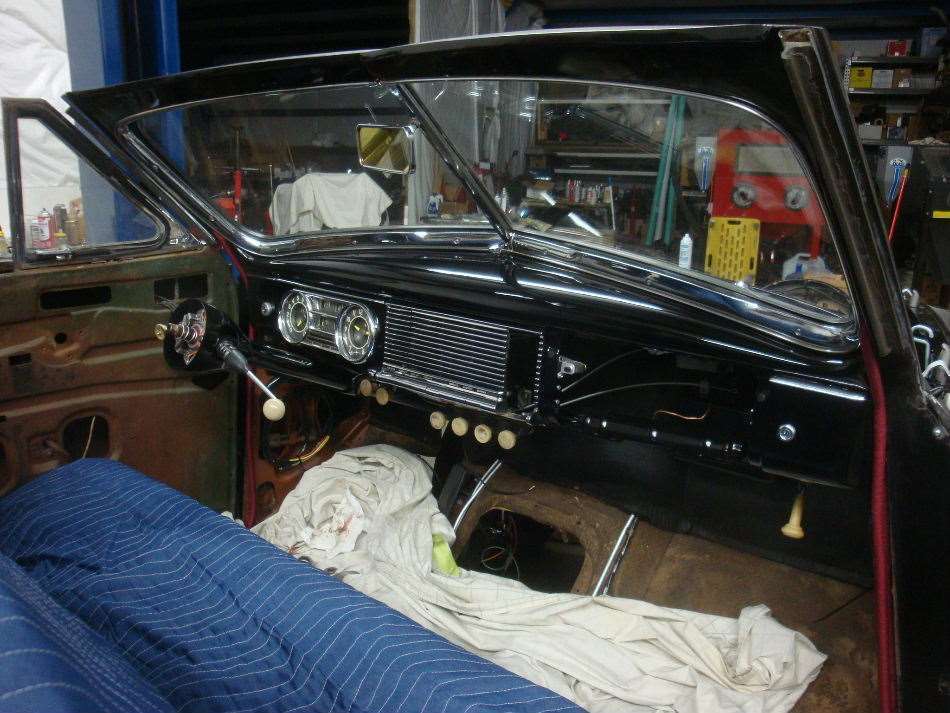 (101.75 KB)
 (99.49 KB)
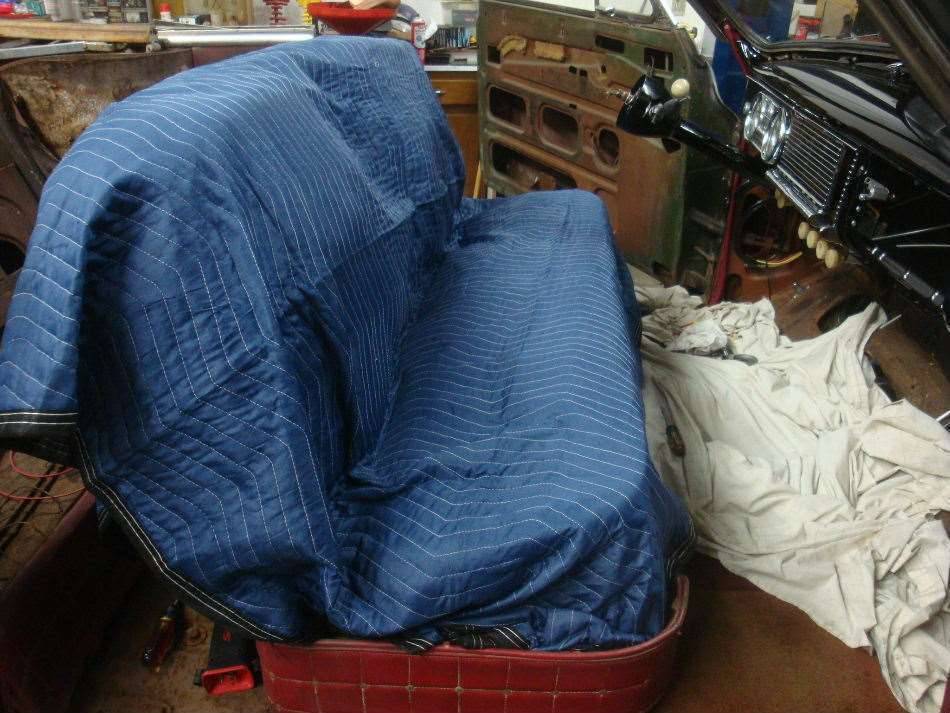 (78.31 KB)
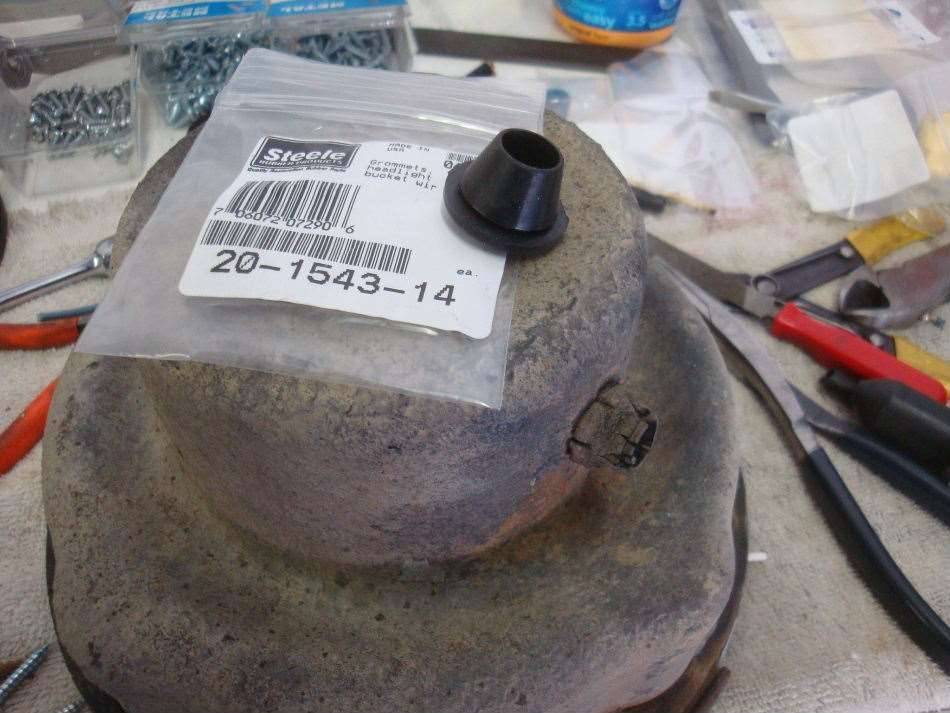 (92.37 KB)
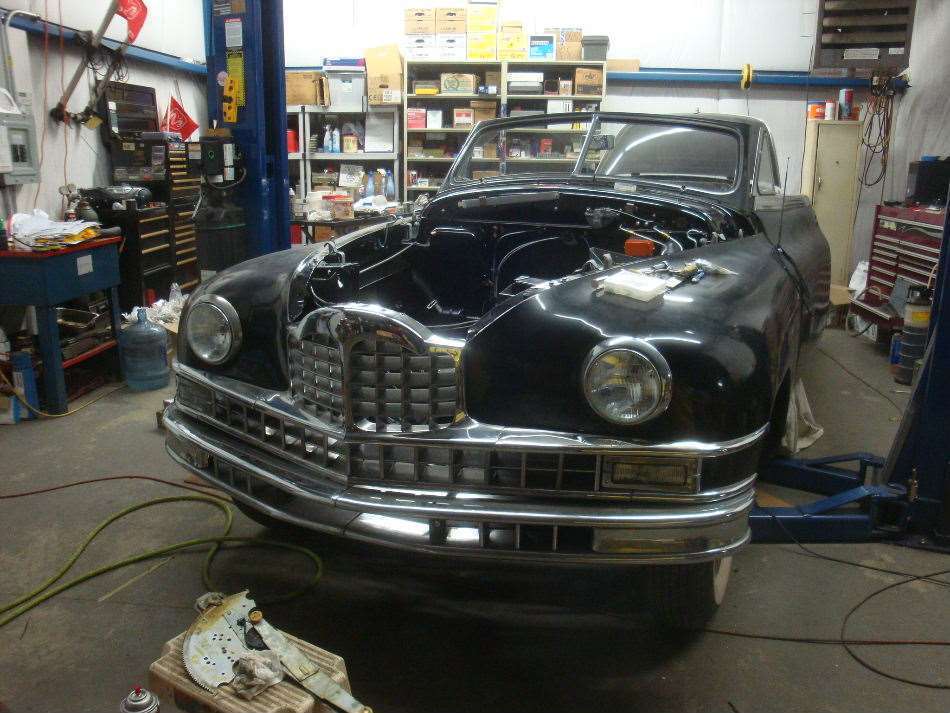 (64.76 KB)
 (71.52 KB)
 (95.33 KB)
 (89.31 KB)
This Post was from: https://packardinfo.com/xoops/html/modules/newbb/viewtopic.php?post_id=133794