Re: Our 1932 901
Posted by Marty or Marston On 2016/4/3 18:02:27
Received the wire and ran 12 gauge armor from the negative battery post on the inside frame along the frame rail to the rear of the car for the two cigar lighters in the back seat (Note of interest - any person smoking in the car will die a horrible, screaming death). I ran the wire back to where the shock absorber where I installed fuse and a junction was made to split the wire for both sides as there are lighters on the right and left arm rests.
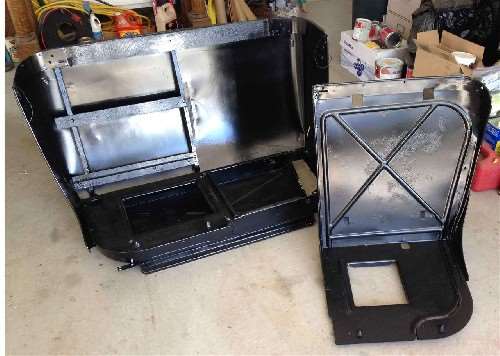
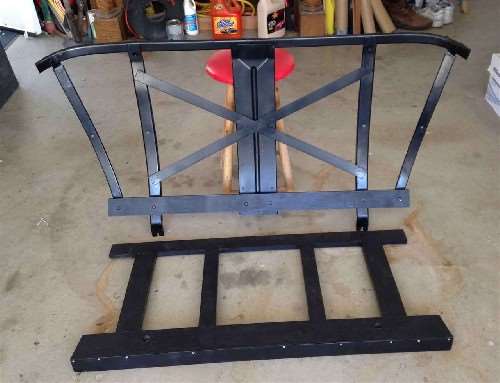
The metal that goes around the back of the front seat, lower front seat frame, the driver's seat, the metal frames for the rear seat and the two metal panels that go over the right and left rear wheel wells were sent out for media blasting. These were painted with primer and then given a coat of semi-gloss.
The stone shield that came with the car was repaired (see my call for help I posted). The chrome on shield was stripped by plater in order to silver solder the cracks. While silver soldering worked OK for repairing the cracks, metal expansion was an issue. Therefore, I switched to Muggy Weld Super Alloy 1 (Used for pot metal repairs). I did not use their flux since it cannot take direct flame, but instead used Nokorode Aqua Flux, which is used in plumbing applications. There were about a dozen areas that had cracked and were missing. These were also repaired by filling in with new pieces of brass.
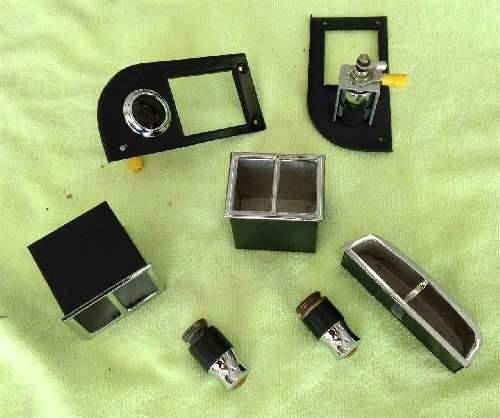
I rebuilt the ash tray assemblies that go in the rear. The chrome bezels were unsoldered and sent out for plating as were the metal parts for the cigar lighters. The metal ash buckets were soaked in Evapo Rust and then zinc plated. Once re-plated, the bezels were soldered to the ash buckets. The buckets were then painted with a semi-gloss paint. The main part of the assembly was cleaned up and painted. The same process was done on the dash ash tray.
I've started work on restoring the steering wheel. Most of the hard rubber on the rim will need to be replaced. The spokes and hub are in good shape. I decided to use PC 7 (a two part epoxy) for the repair. I'm doing half of the rim at a time (starting with the worse half) so the other half can serve as an example. The process I'm using is to remove the bad rubber from the steel skeleton and then use a rotary sander to remove all of the rust. The epoxy will then be used to build up enough material so it can be filed and sanded into the correct shape. Then the other half will be processed as well as the spokes and hub. The final wheel will then be primed and painted with a semi-gloss epoxy paint. I'm assuming that semi-gloss will look more original, but I would welcome input from others.
Attach file:
 (116.95 KB)
(91.17 KB)
(135.43 KB)
The metal that goes around the back of the front seat, lower front seat frame, the driver's seat, the metal frames for the rear seat and the two metal panels that go over the right and left rear wheel wells were sent out for media blasting. These were painted with primer and then given a coat of semi-gloss.
The stone shield that came with the car was repaired (see my call for help I posted). The chrome on shield was stripped by plater in order to silver solder the cracks. While silver soldering worked OK for repairing the cracks, metal expansion was an issue. Therefore, I switched to Muggy Weld Super Alloy 1 (Used for pot metal repairs). I did not use their flux since it cannot take direct flame, but instead used Nokorode Aqua Flux, which is used in plumbing applications. There were about a dozen areas that had cracked and were missing. These were also repaired by filling in with new pieces of brass.
I rebuilt the ash tray assemblies that go in the rear. The chrome bezels were unsoldered and sent out for plating as were the metal parts for the cigar lighters. The metal ash buckets were soaked in Evapo Rust and then zinc plated. Once re-plated, the bezels were soldered to the ash buckets. The buckets were then painted with a semi-gloss paint. The main part of the assembly was cleaned up and painted. The same process was done on the dash ash tray.
I've started work on restoring the steering wheel. Most of the hard rubber on the rim will need to be replaced. The spokes and hub are in good shape. I decided to use PC 7 (a two part epoxy) for the repair. I'm doing half of the rim at a time (starting with the worse half) so the other half can serve as an example. The process I'm using is to remove the bad rubber from the steel skeleton and then use a rotary sander to remove all of the rust. The epoxy will then be used to build up enough material so it can be filed and sanded into the correct shape. Then the other half will be processed as well as the spokes and hub. The final wheel will then be primed and painted with a semi-gloss epoxy paint. I'm assuming that semi-gloss will look more original, but I would welcome input from others.
Attach file:
(116.95 KB)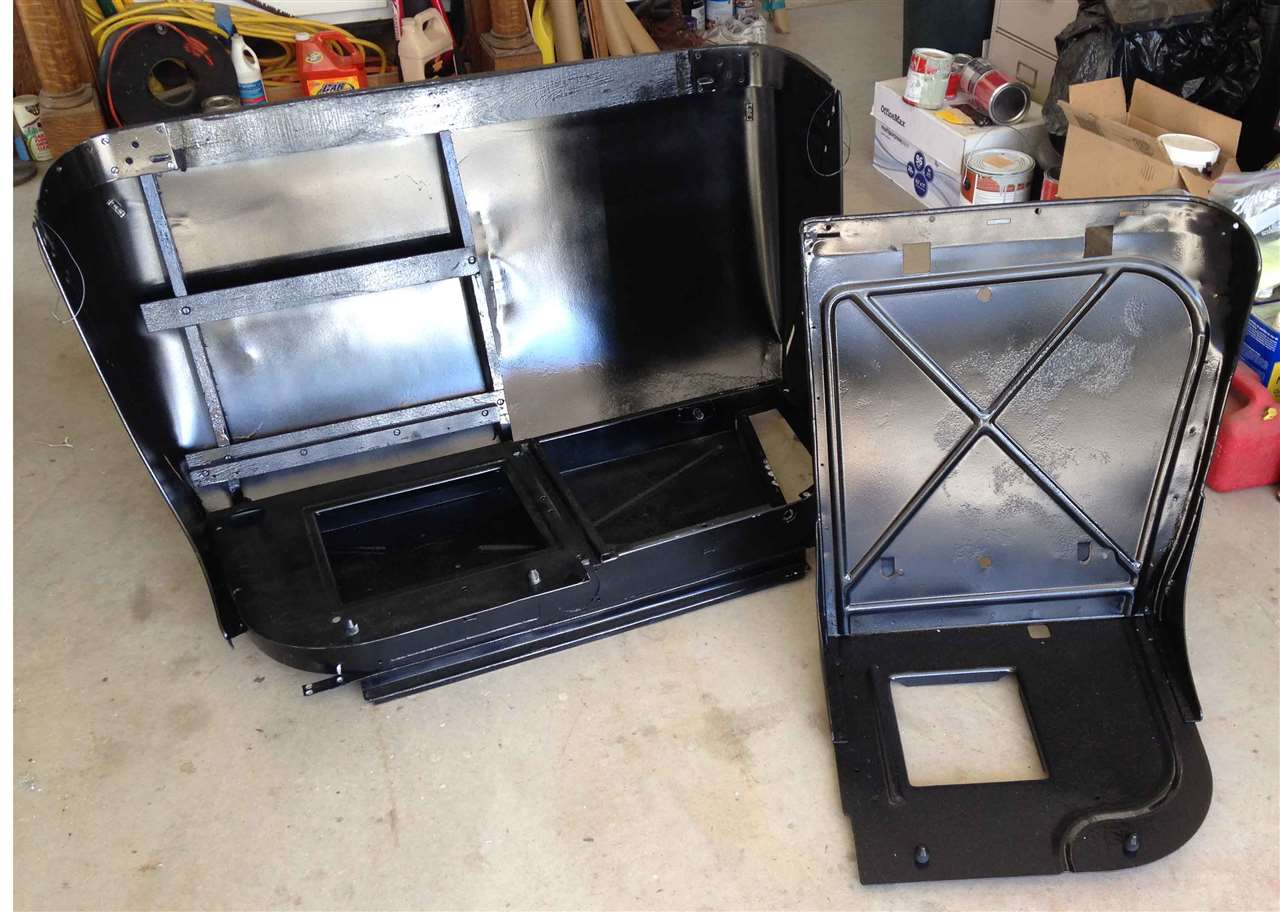 (91.17 KB)
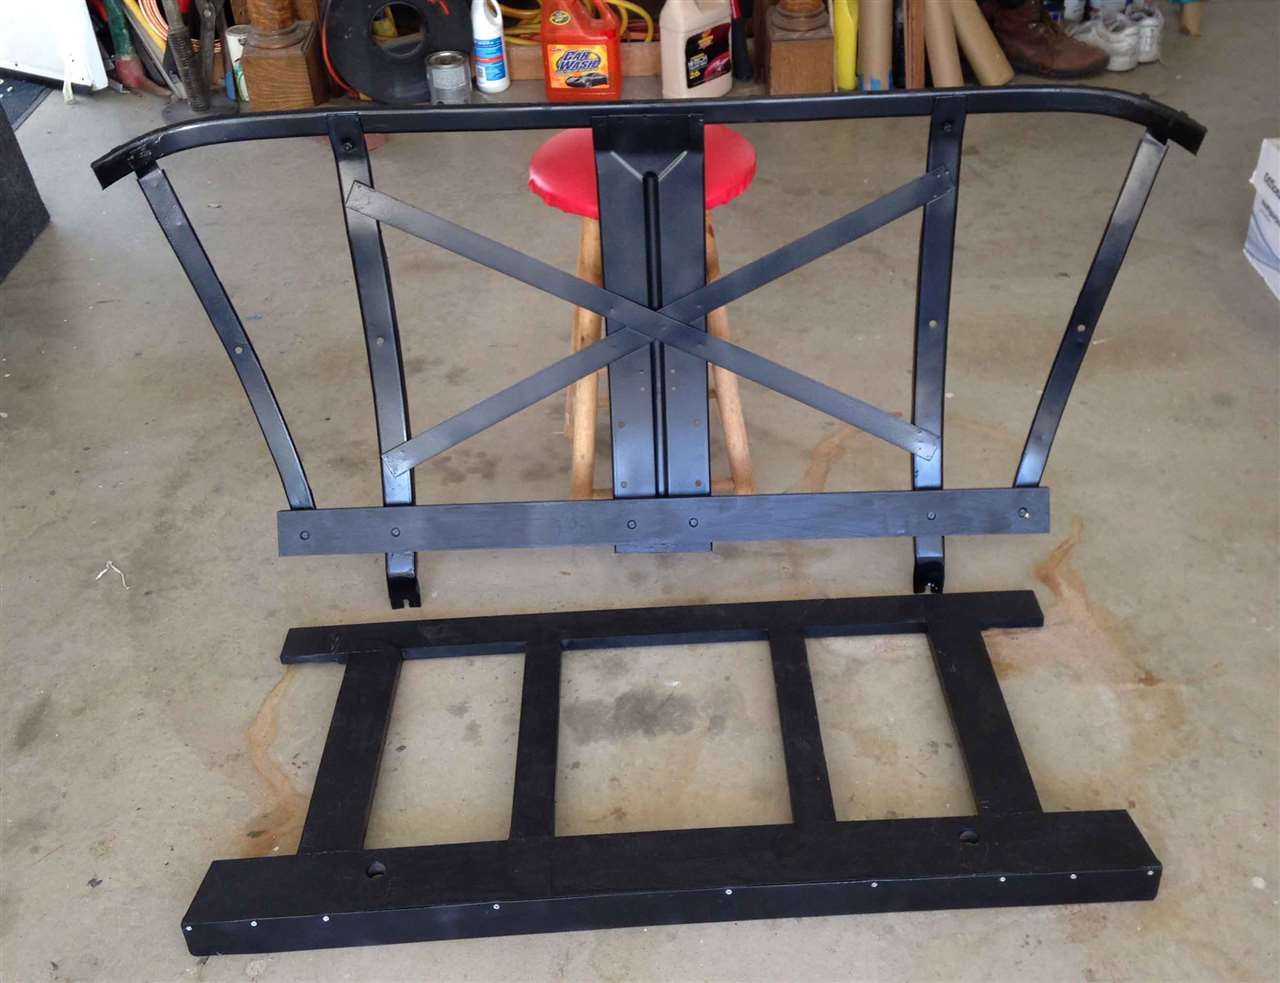 (135.43 KB)
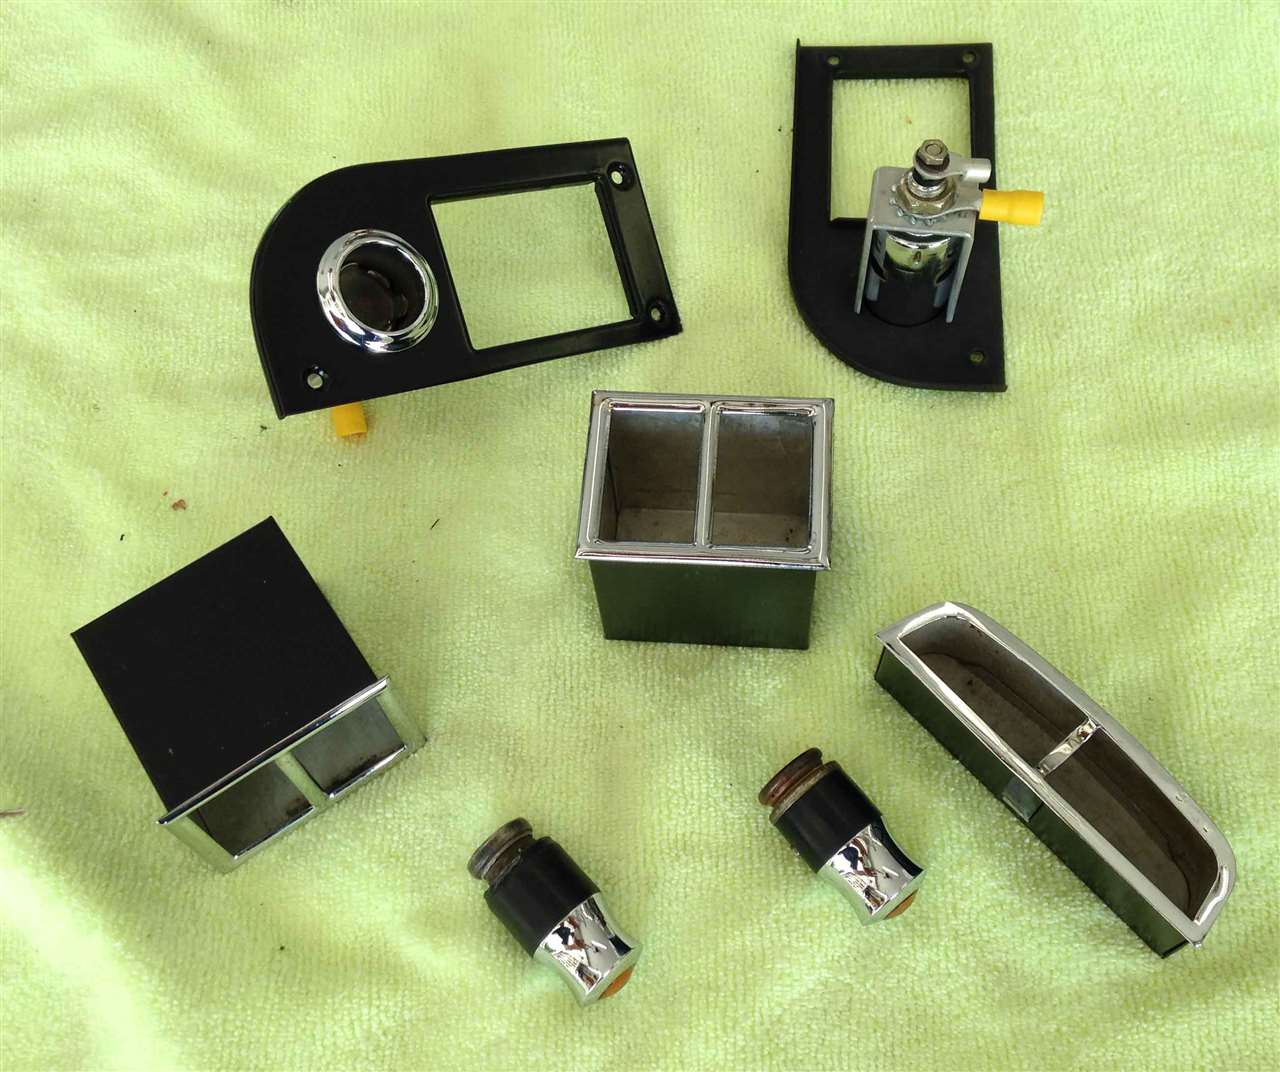
This Post was from: https://packardinfo.com/xoops/html/modules/newbb/viewtopic.php?post_id=174806