Re: Joe's '49 Club Sedan
Posted by Joe Wareham On 2020/7/15 9:58:48
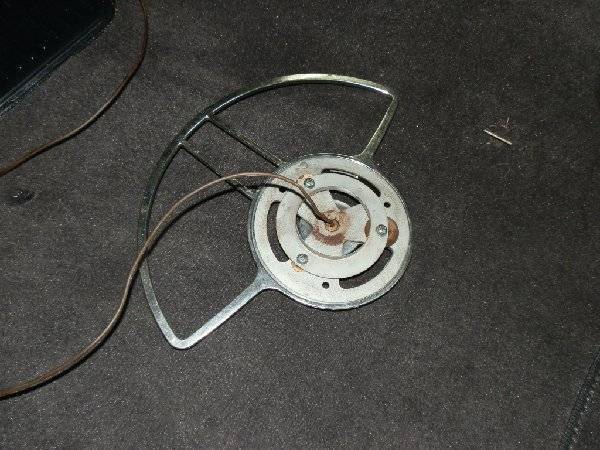
I had to remove the steering wheel to be able to work on the dash re-wiring. When I took it apart, I put all the many parts in a plastic bag and put it aside. I've put this back together several times, but it never fails that I have to stare at all the parts to try to figure out how it goes back together. Might even have to check a diagram Howard sent me a long time ago! It came back to me and I got all the insulators and the disk on the horn wire in the right place and the horn ring assembled.
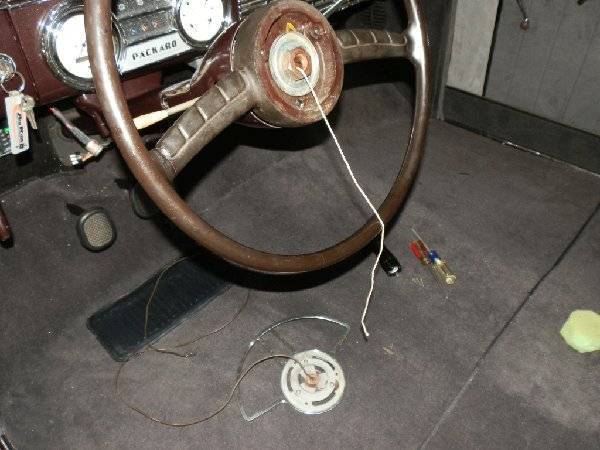
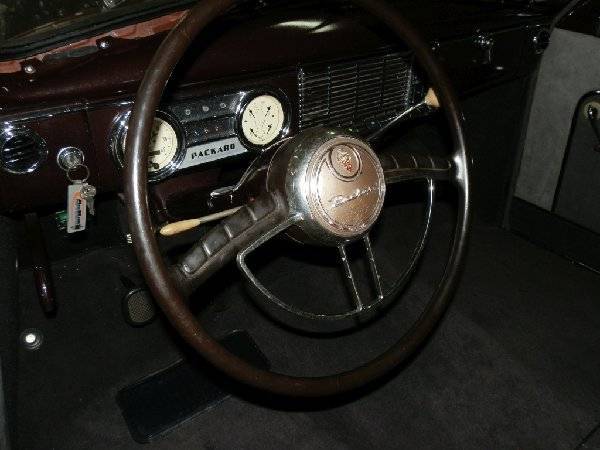
The biggest trick in re-assembly is getting the horn wire all the way down the steering shaft and out at the bottom of the steering box. Trying to push the wire down the shaft is like trying to push a snake up hill by the tail. The opening in the shaft narrows at the steering box and it seems no matter how hard you try, the horn wire will not go past that point. I've found that the easiest way to get the wire installed is to run something from the bottom up to and out of the steering wheel. I used a piece of safety wire, the stuff that is used to secure critical nuts and bolts from coming loose. It is very thin and very strong. It slides right up the column. Attached a piece of nylon cord to the wire and pulled the cord down the shaft. Attached the end of the horn wire to the cord and pulled the cord and wire down the shaft and out the steering box. There is no connector on the end of the horn wire, it was removed before disassembly. A new connector will be added to connect to the horn relay wire. The last 6 inches of the assembly gets tricky as the horn ring spring needs to be lined up with the horn ring and the steering wheel as the last part of the cable is pulled, easier with 2 people. The 3 screws then attach the ring plate to the steering wheel and the plastic cover is attached.
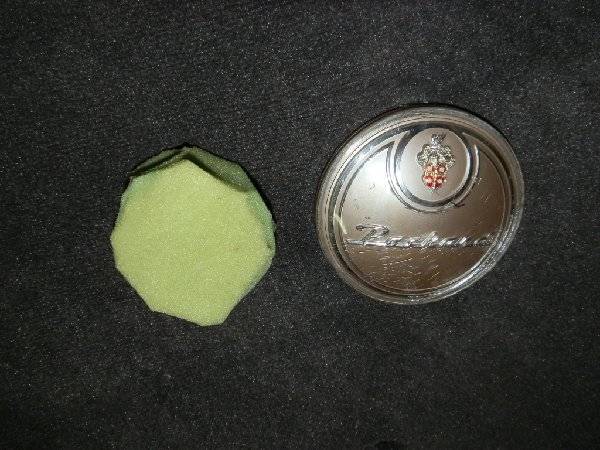
There needs to be something between the steering wheel and the plastic cover, I used a piece of 1 1/2" thick foam cut in a 3" circle. What Packard originally used had turned into a glob of goop!
Now need to install the interior windshield trim and the front seat and the car will be ready to drive.
Attach file:
 (131.95 KB)
(100.39 KB)
(127.05 KB)
(84.75 KB)
The biggest trick in re-assembly is getting the horn wire all the way down the steering shaft and out at the bottom of the steering box. Trying to push the wire down the shaft is like trying to push a snake up hill by the tail. The opening in the shaft narrows at the steering box and it seems no matter how hard you try, the horn wire will not go past that point. I've found that the easiest way to get the wire installed is to run something from the bottom up to and out of the steering wheel. I used a piece of safety wire, the stuff that is used to secure critical nuts and bolts from coming loose. It is very thin and very strong. It slides right up the column. Attached a piece of nylon cord to the wire and pulled the cord down the shaft. Attached the end of the horn wire to the cord and pulled the cord and wire down the shaft and out the steering box. There is no connector on the end of the horn wire, it was removed before disassembly. A new connector will be added to connect to the horn relay wire. The last 6 inches of the assembly gets tricky as the horn ring spring needs to be lined up with the horn ring and the steering wheel as the last part of the cable is pulled, easier with 2 people. The 3 screws then attach the ring plate to the steering wheel and the plastic cover is attached.
There needs to be something between the steering wheel and the plastic cover, I used a piece of 1 1/2" thick foam cut in a 3" circle. What Packard originally used had turned into a glob of goop!
Now need to install the interior windshield trim and the front seat and the car will be ready to drive.
Attach file:
(131.95 KB)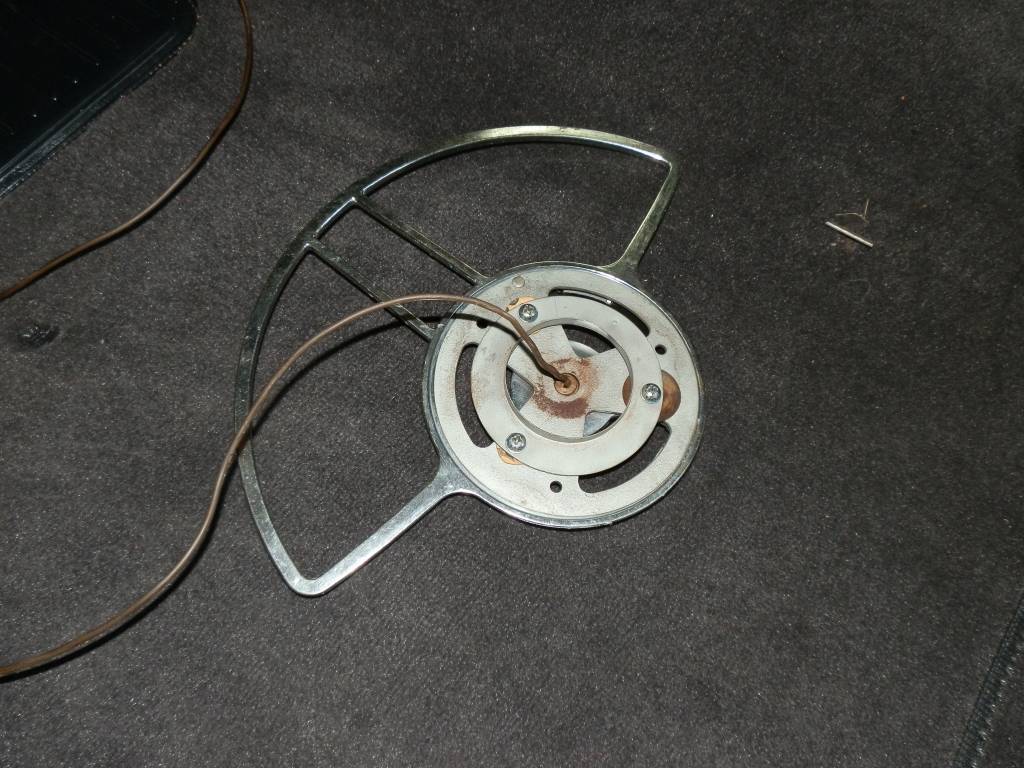 (100.39 KB)
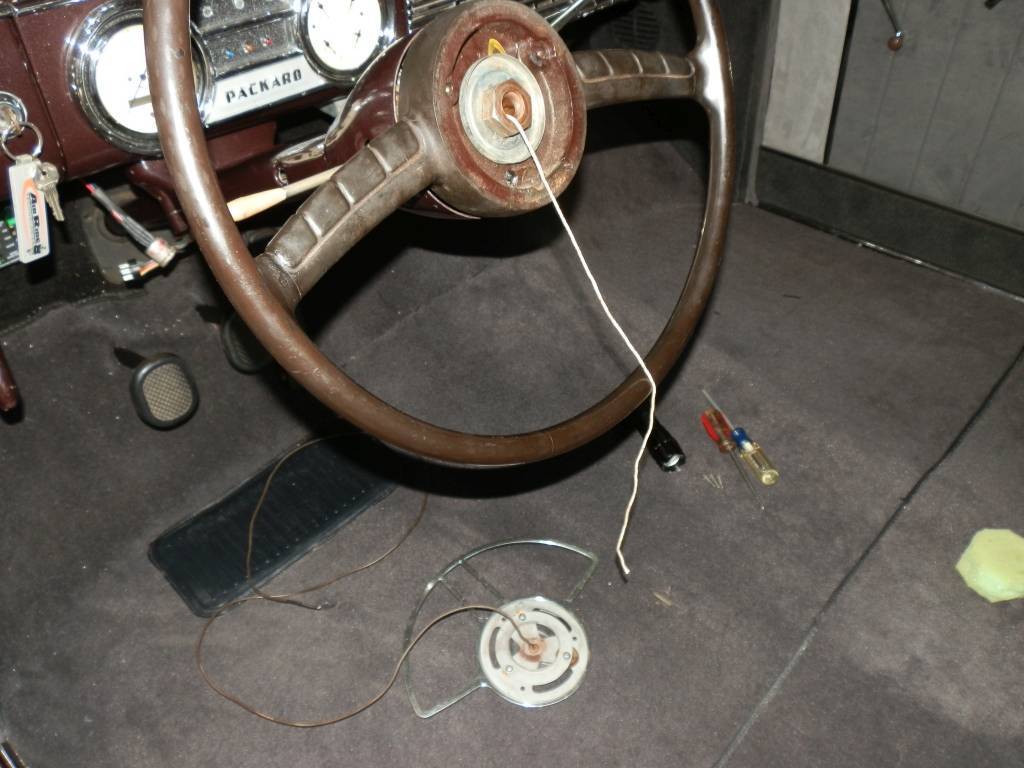 (127.05 KB)
 (84.75 KB)
This Post was from: https://packardinfo.com/xoops/html/modules/newbb/viewtopic.php?post_id=224695