Re: KPack
Posted by kevinpackard On 2023/4/9 14:45:02
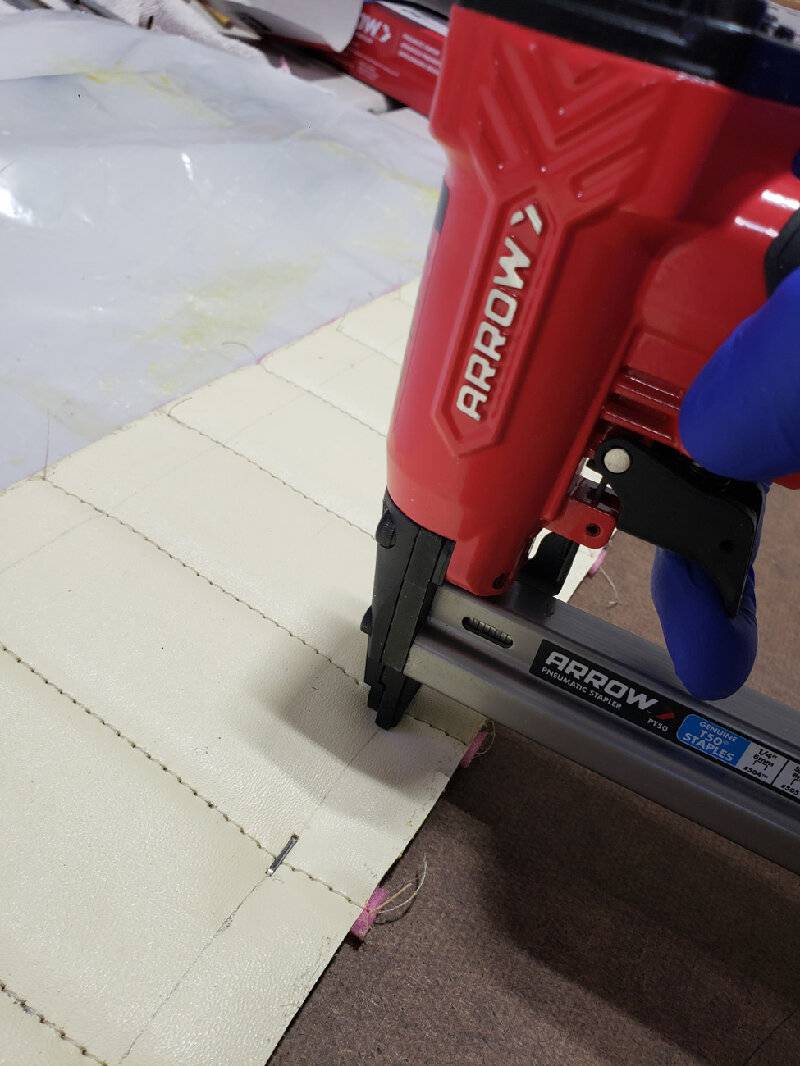
13.) With the center line marked, place staples on each sewn seam to hold the thread. I used a stapler from Arrow, with T50 1/4" staples. They will poke through the back a bit, but that's not a problem.
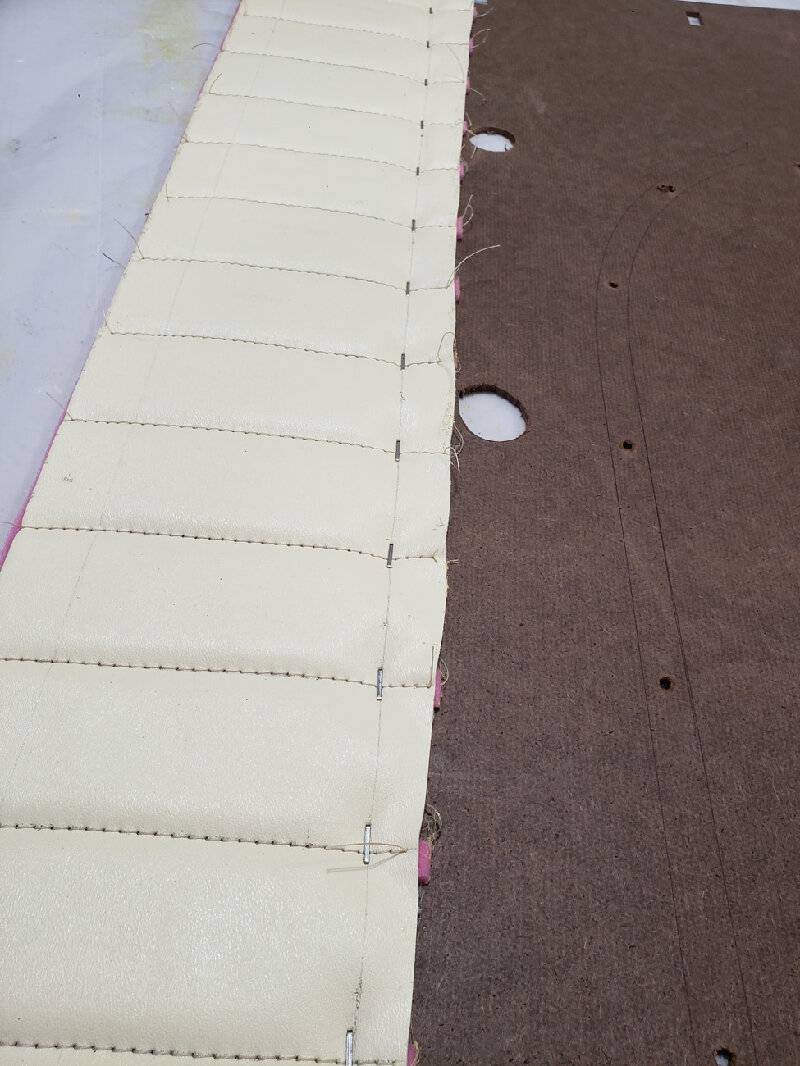
14.) Here you can see everything is stapled cleanly.
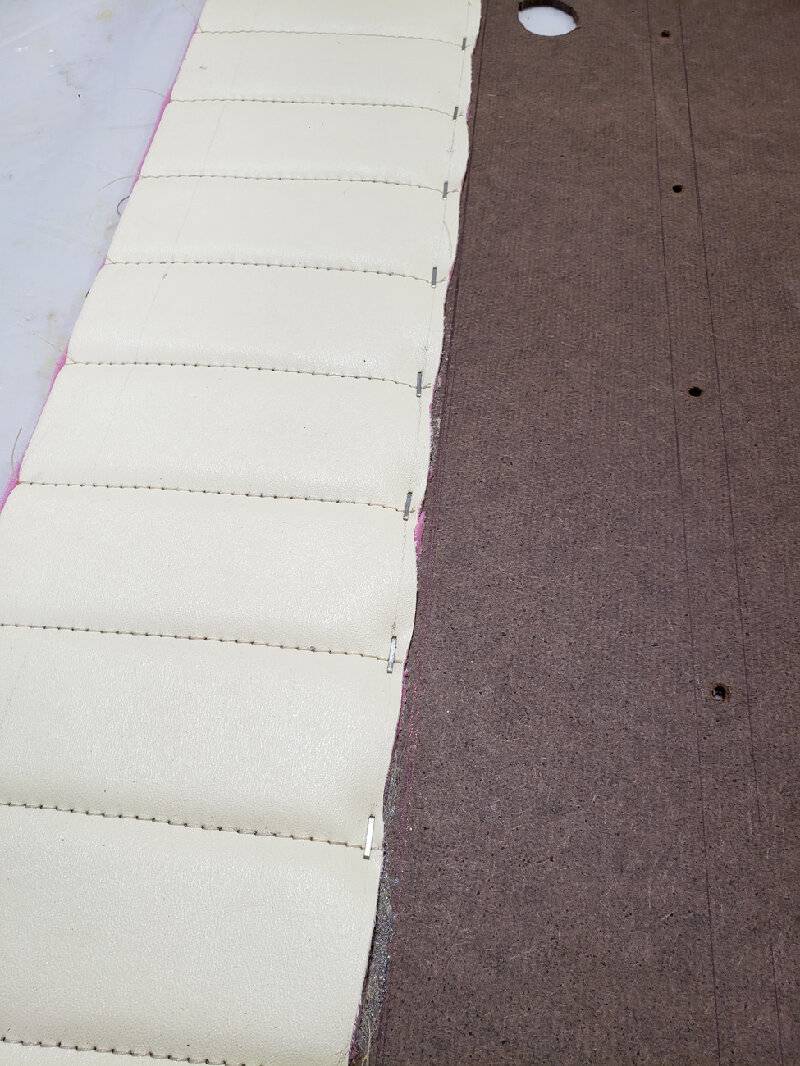
15.) Trim off the excess foam and vinyl. With the staples holding the threads we don't have to worry about the stiches unwinding.
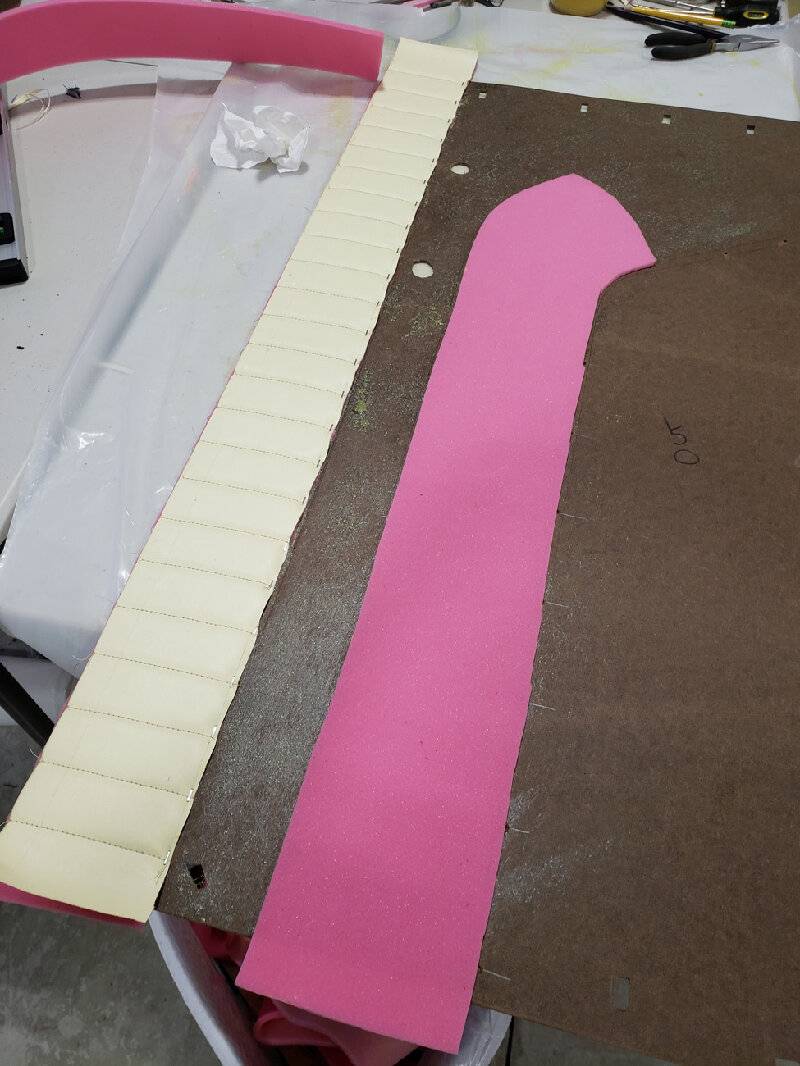
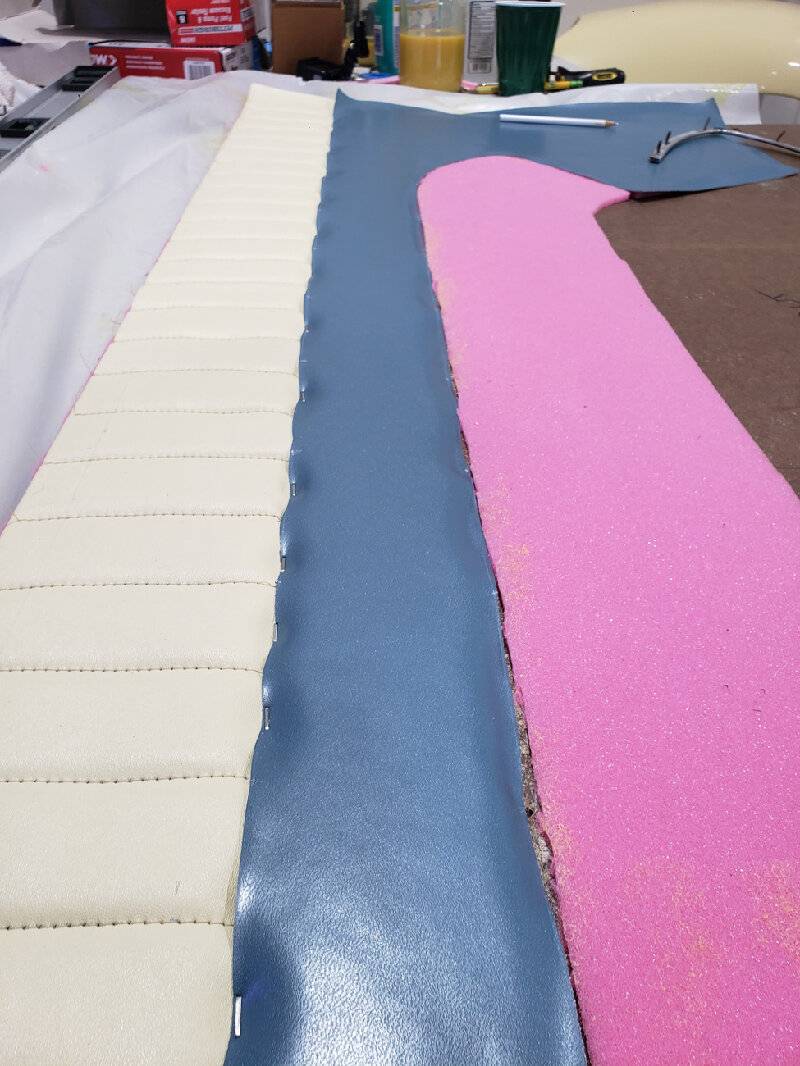
16.) Now we spray adhesive for the next two panels. Spray on the board as well as the backs of the foam. Let flash then attach. I cut my foam a bit large in all directions in order to allow me room to trim off.
17.) I carefully trimmed some of the foam away to expose the stainless mounting holes. It's okay if the foam is within the marks traced for the stainless trim. The trim will push the foam down some.
18.) I glued the next panel down as normal. The vinyl is cut large in all dimensions, again to give me room to trim.
19.) With the vinyl glued in place, flip the door panel back over to the rear, and punch all the trim mounting holes again. Flip it back to the front side, mark the center line.
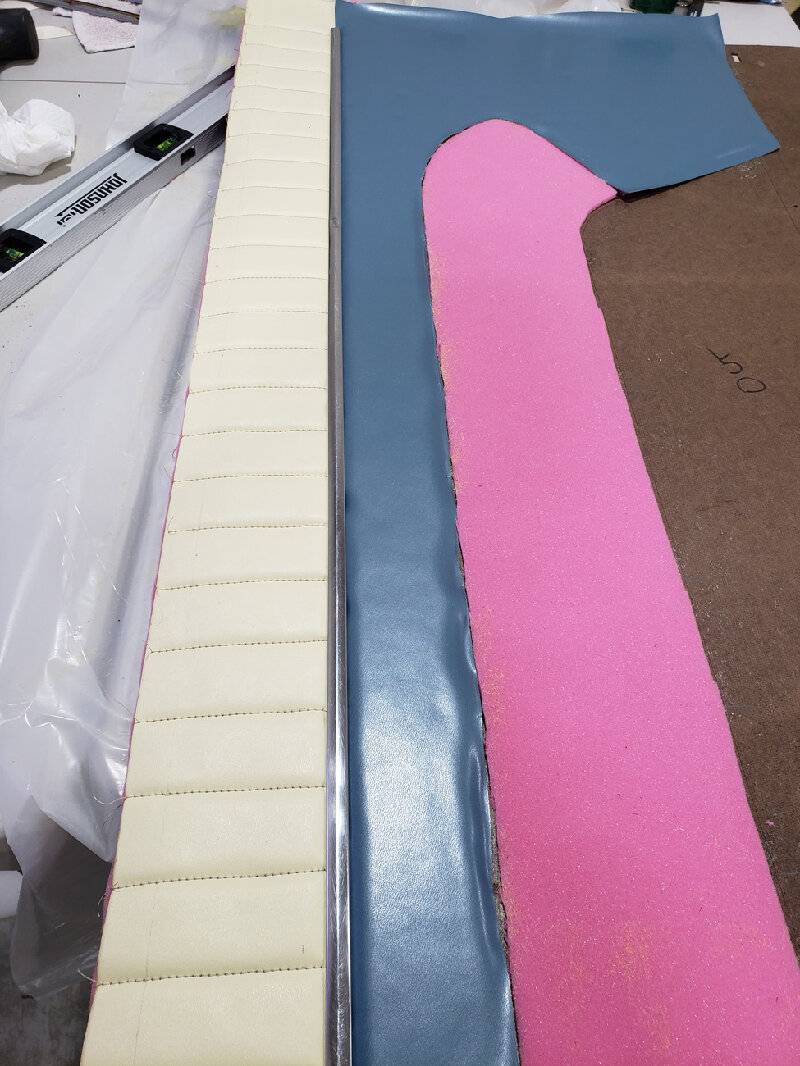
20.) Staple in a few spots along the center line and trim the excess vinyl. Note that I did not staple the lower border, since I still have the next panel that needs to go there. I will staple both at once.
21.) With the first two panels in place, stapled, and trimmed, the first piece of stainless can go on. Carefully guide the mounting tabs through the holes you punched. Then push hard with one hand on the stainless from the front, and bend the tabs with the other hand. The tighter you can get the tabs, the better the final look will be.
Part 3 next.....
Attach file:
 13 - Staples applied to each seam on centerline.jpg (117.50 KB)
14 - Staples completed.jpg (123.92 KB)
15 - Excess trimmed.jpg (157.25 KB)
16 - Gluing the foam for the next panels.jpg (122.81 KB)
17 - Removing excess foam.jpg (174.08 KB)

18 - Next panel glued in place.jpg (128.84 KB)

19 - Trim holes marked.jpg (156.30 KB)

20 - Trimmed and stapled.jpg (136.24 KB)
21 - First stainless trim installed.jpg (134.48 KB)
14.) Here you can see everything is stapled cleanly.
15.) Trim off the excess foam and vinyl. With the staples holding the threads we don't have to worry about the stiches unwinding.
16.) Now we spray adhesive for the next two panels. Spray on the board as well as the backs of the foam. Let flash then attach. I cut my foam a bit large in all directions in order to allow me room to trim off.
17.) I carefully trimmed some of the foam away to expose the stainless mounting holes. It's okay if the foam is within the marks traced for the stainless trim. The trim will push the foam down some.
18.) I glued the next panel down as normal. The vinyl is cut large in all dimensions, again to give me room to trim.
19.) With the vinyl glued in place, flip the door panel back over to the rear, and punch all the trim mounting holes again. Flip it back to the front side, mark the center line.
20.) Staple in a few spots along the center line and trim the excess vinyl. Note that I did not staple the lower border, since I still have the next panel that needs to go there. I will staple both at once.
21.) With the first two panels in place, stapled, and trimmed, the first piece of stainless can go on. Carefully guide the mounting tabs through the holes you punched. Then push hard with one hand on the stainless from the front, and bend the tabs with the other hand. The tighter you can get the tabs, the better the final look will be.
Part 3 next.....
Attach file:
13 - Staples applied to each seam on centerline.jpg (117.50 KB) 14 - Staples completed.jpg (123.92 KB)
 15 - Excess trimmed.jpg (157.25 KB)
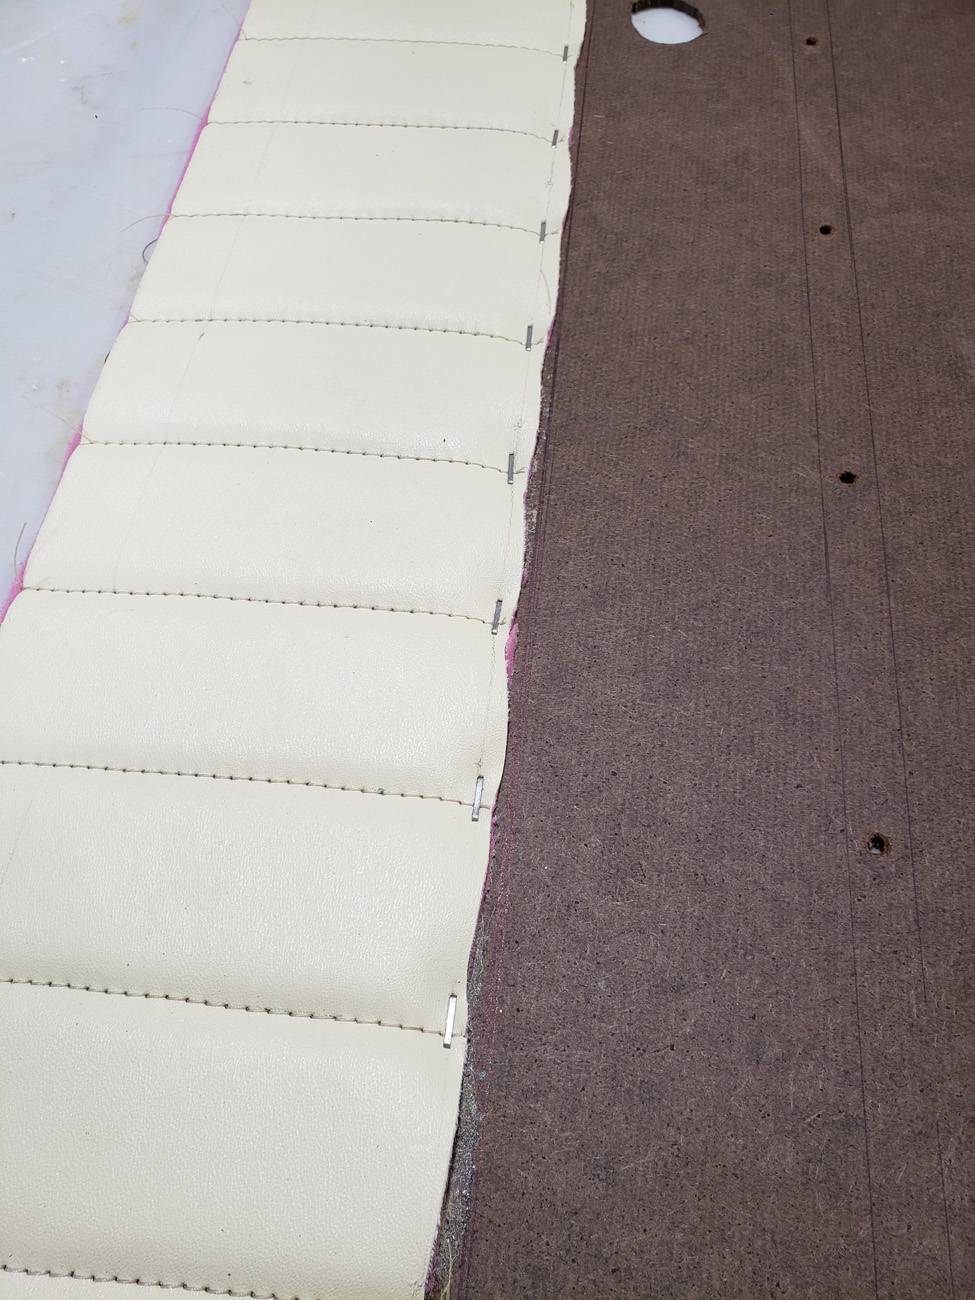 16 - Gluing the foam for the next panels.jpg (122.81 KB)
 17 - Removing excess foam.jpg (174.08 KB)
 18 - Next panel glued in place.jpg (128.84 KB)
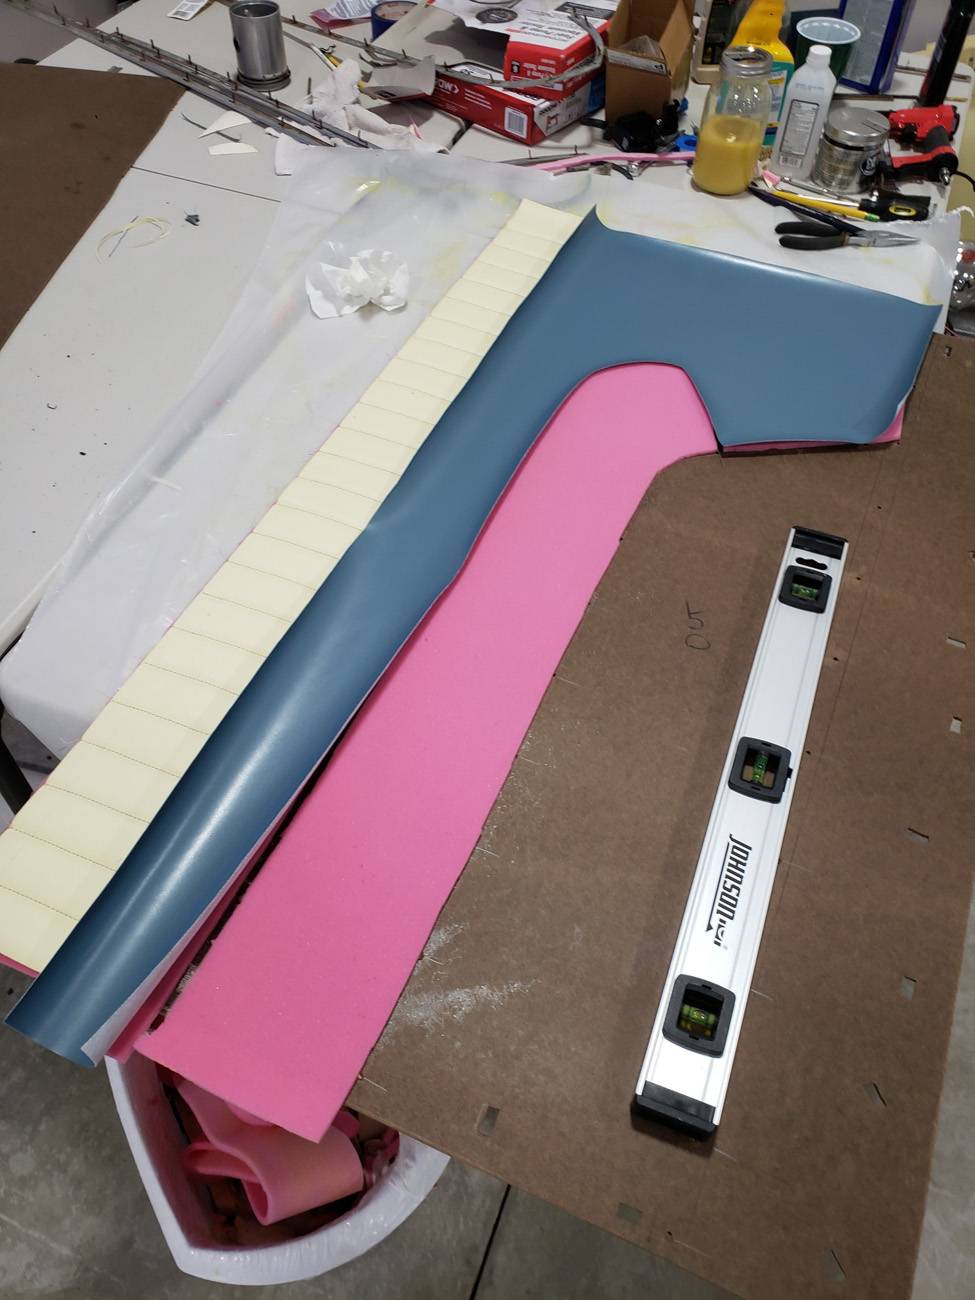 19 - Trim holes marked.jpg (156.30 KB)
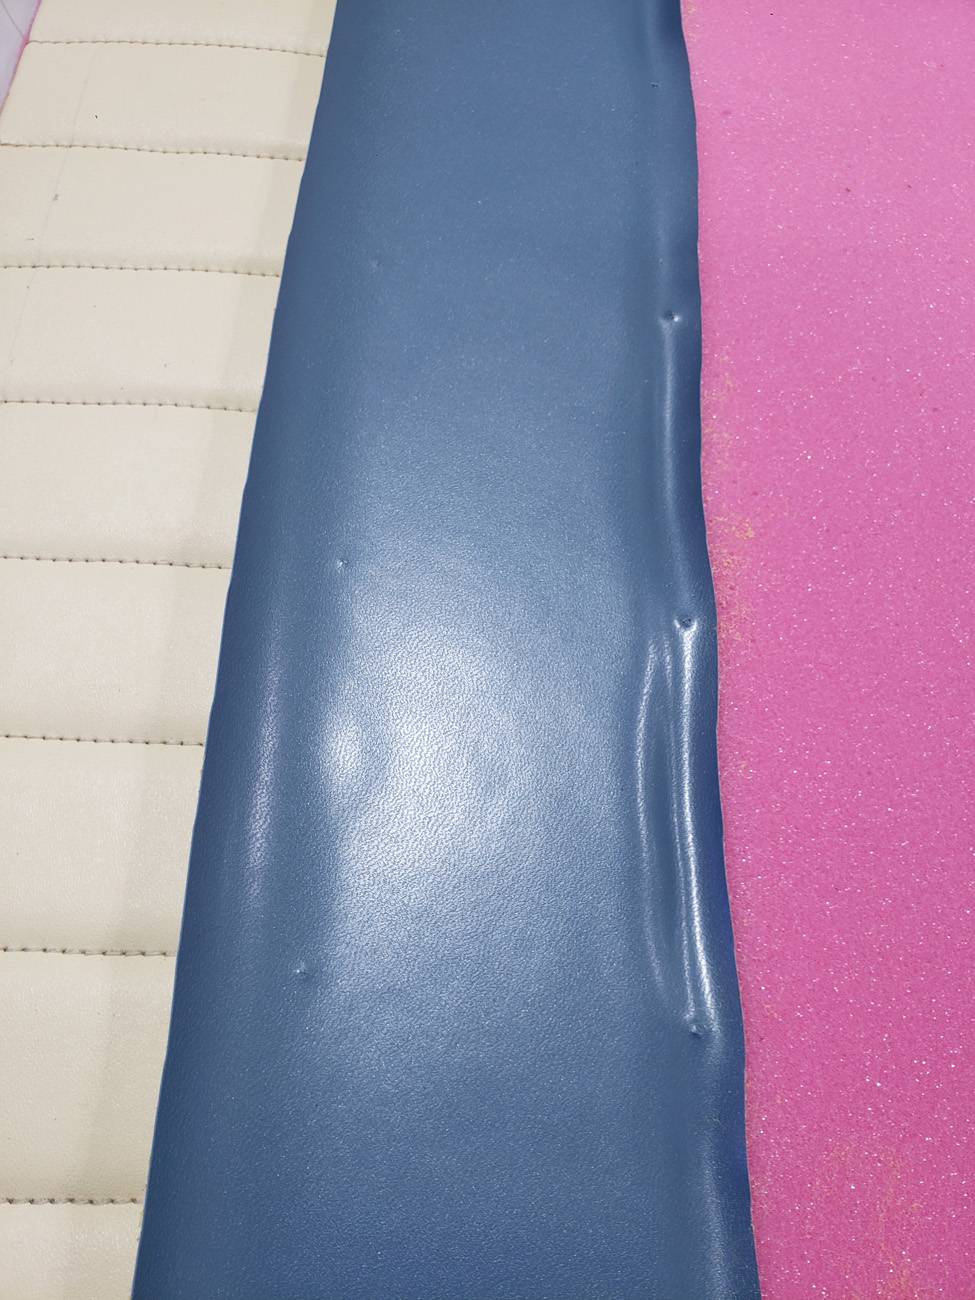 20 - Trimmed and stapled.jpg (136.24 KB)
 21 - First stainless trim installed.jpg (134.48 KB)
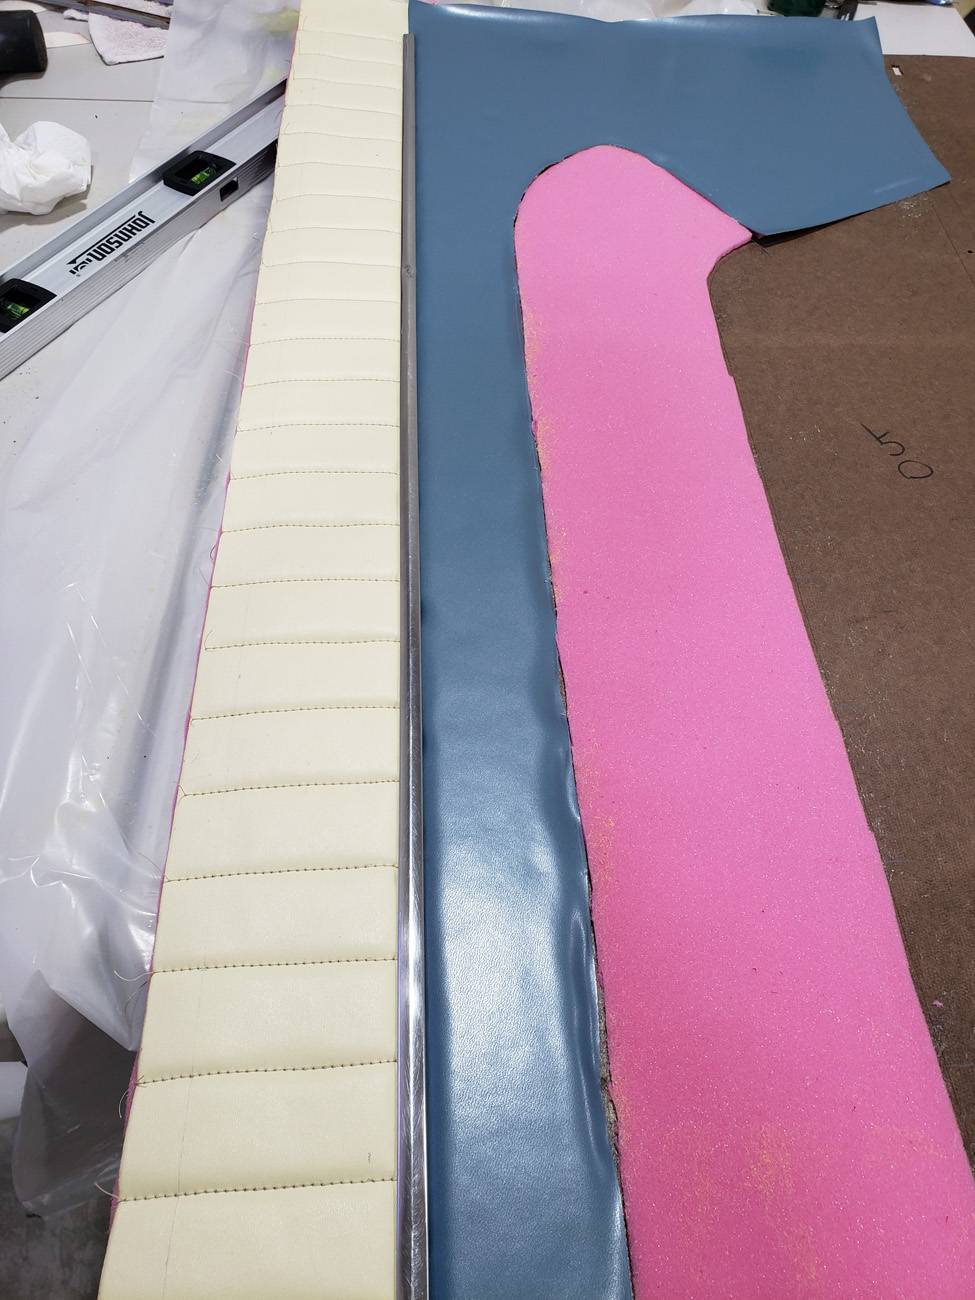
This Post was from: https://packardinfo.com/xoops/html/modules/newbb/viewtopic.php?post_id=255728