Re: The Duchess Project: 1940 Super 8 Convertible Sedan
Posted by Joe Santana On 2023/5/25 9:25:16
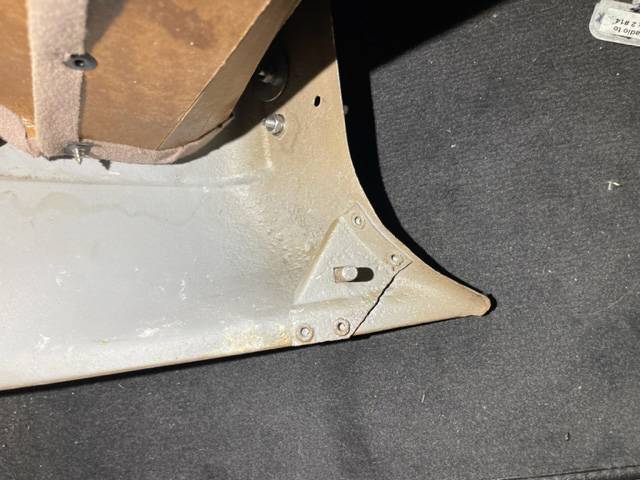
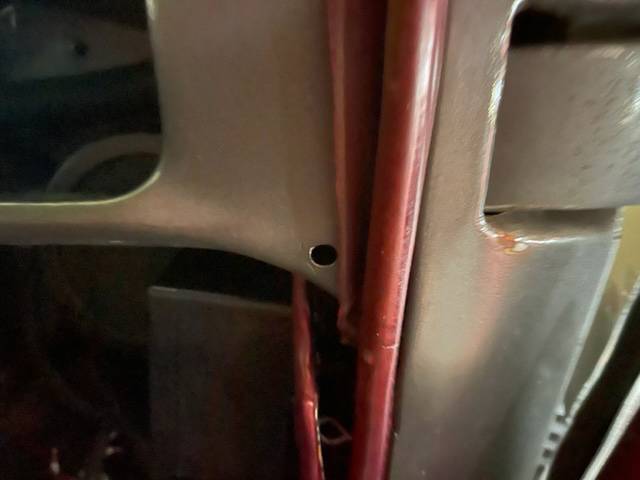
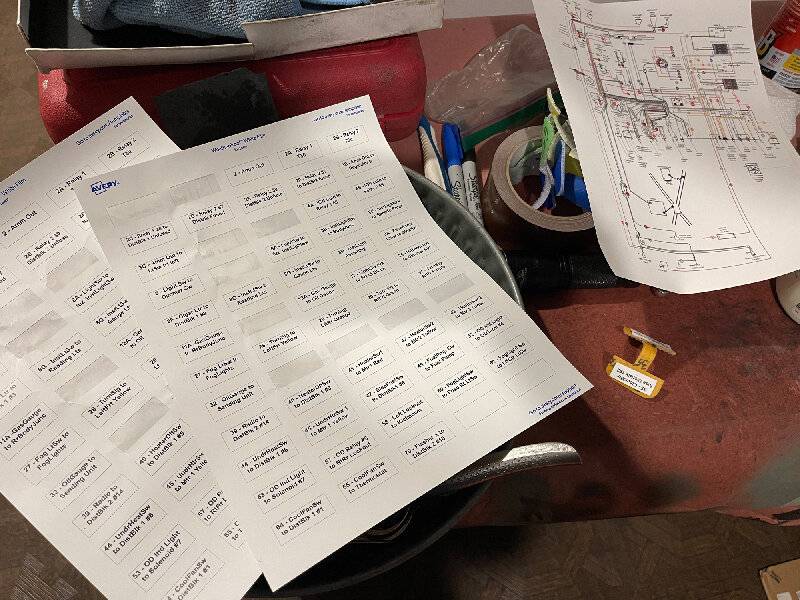
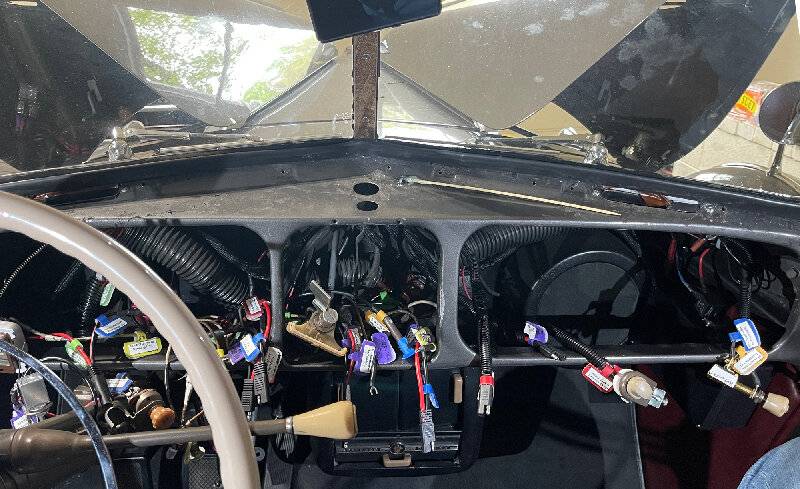
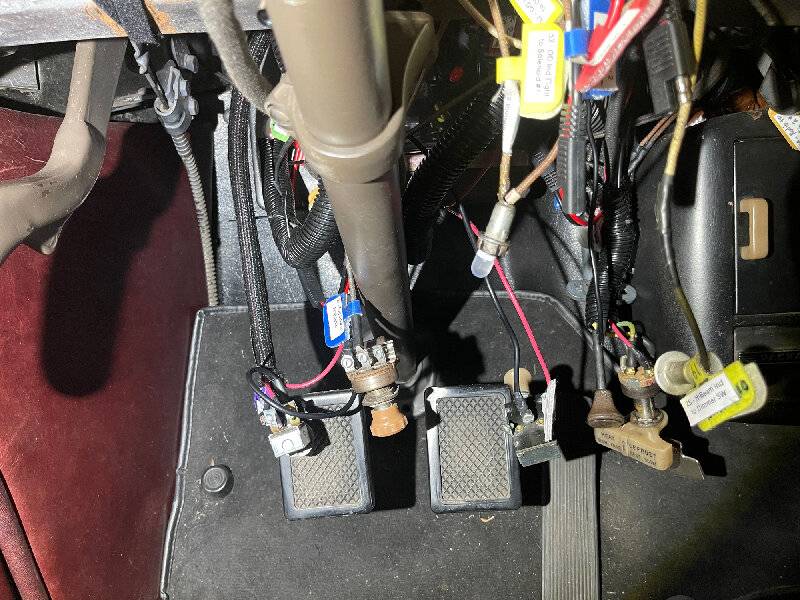
I removed the window trim, the two nuts at the bottom left and right of the back side of the dash, and the screws across the top edge of the dash. I disconnected the radio cables, the accessory switches, overdrive lockout cable, two hex screws holding the steering column, and popped out the dash. Only the Temperature/Oil gauge was left in the car. I removed wires from the back side of the dash, I used Velcro labels on each wire I disconnected. I moved the dash and instruments to the basement and took everything off the dash. My big idea was to use disconnects on the dash itself with matching sets for wires from the wiring harness. Thus I could ensure that all terminals had eyelet wire ends instead of sliders that sometimes work their way out if the terminal screw vibrates a little loose. These could be fastened up tight with new nuts and lock washers; then, when it was time to reinstall, I’d just push the mating disconnects togethers. I’m a concept guy and that was the concept. Easy peasy. Haha. (See previous posts for photos of some of these items.)
I ordered new 160 plastic from LaVine. It took a while, but the result was worth it, and I was fully occupied in the meantime because things got confusing with all these wires. I also read some posts about using electronic relays and decided they could be a good addition for reliability. I didn’t understand anything about them. Before I set out to modify the wiring, I thought I better get a thorough understanding of the original wiring scheme.
The wiring schematic in the 1940 160 180 Owner’s Manual is so tiny, I scanned it, scaled it up to be readable without a magnifying glass and proceeded to redraw it using Adobe Illustrator. I numbered each wire per the manual, and if no number, I used Harnesses Unlimited numbers (They had changed all the original wire numbers, but I stayed with the original numbers unless they were missing. Then I added new numbers for items like my cooling fan which were not included in either source. I changed the location of some of the accessory switches, then prepped them in the car since they would be the last items added to the dash.
Attach file:
 12NottomCornerBolt.jpg (41.70 KB)
13HoleInDashUnderstructure.jpg (22.25 KB)
14LabelsAndTags.jpg (278.06 KB)
15PreppedSwitches.jpg (246.49 KB)
15SwitchPrepping.jpg (293.47 KB)
I ordered new 160 plastic from LaVine. It took a while, but the result was worth it, and I was fully occupied in the meantime because things got confusing with all these wires. I also read some posts about using electronic relays and decided they could be a good addition for reliability. I didn’t understand anything about them. Before I set out to modify the wiring, I thought I better get a thorough understanding of the original wiring scheme.
The wiring schematic in the 1940 160 180 Owner’s Manual is so tiny, I scanned it, scaled it up to be readable without a magnifying glass and proceeded to redraw it using Adobe Illustrator. I numbered each wire per the manual, and if no number, I used Harnesses Unlimited numbers (They had changed all the original wire numbers, but I stayed with the original numbers unless they were missing. Then I added new numbers for items like my cooling fan which were not included in either source. I changed the location of some of the accessory switches, then prepped them in the car since they would be the last items added to the dash.
Attach file:
12NottomCornerBolt.jpg (41.70 KB) 13HoleInDashUnderstructure.jpg (22.25 KB) 14LabelsAndTags.jpg (278.06 KB)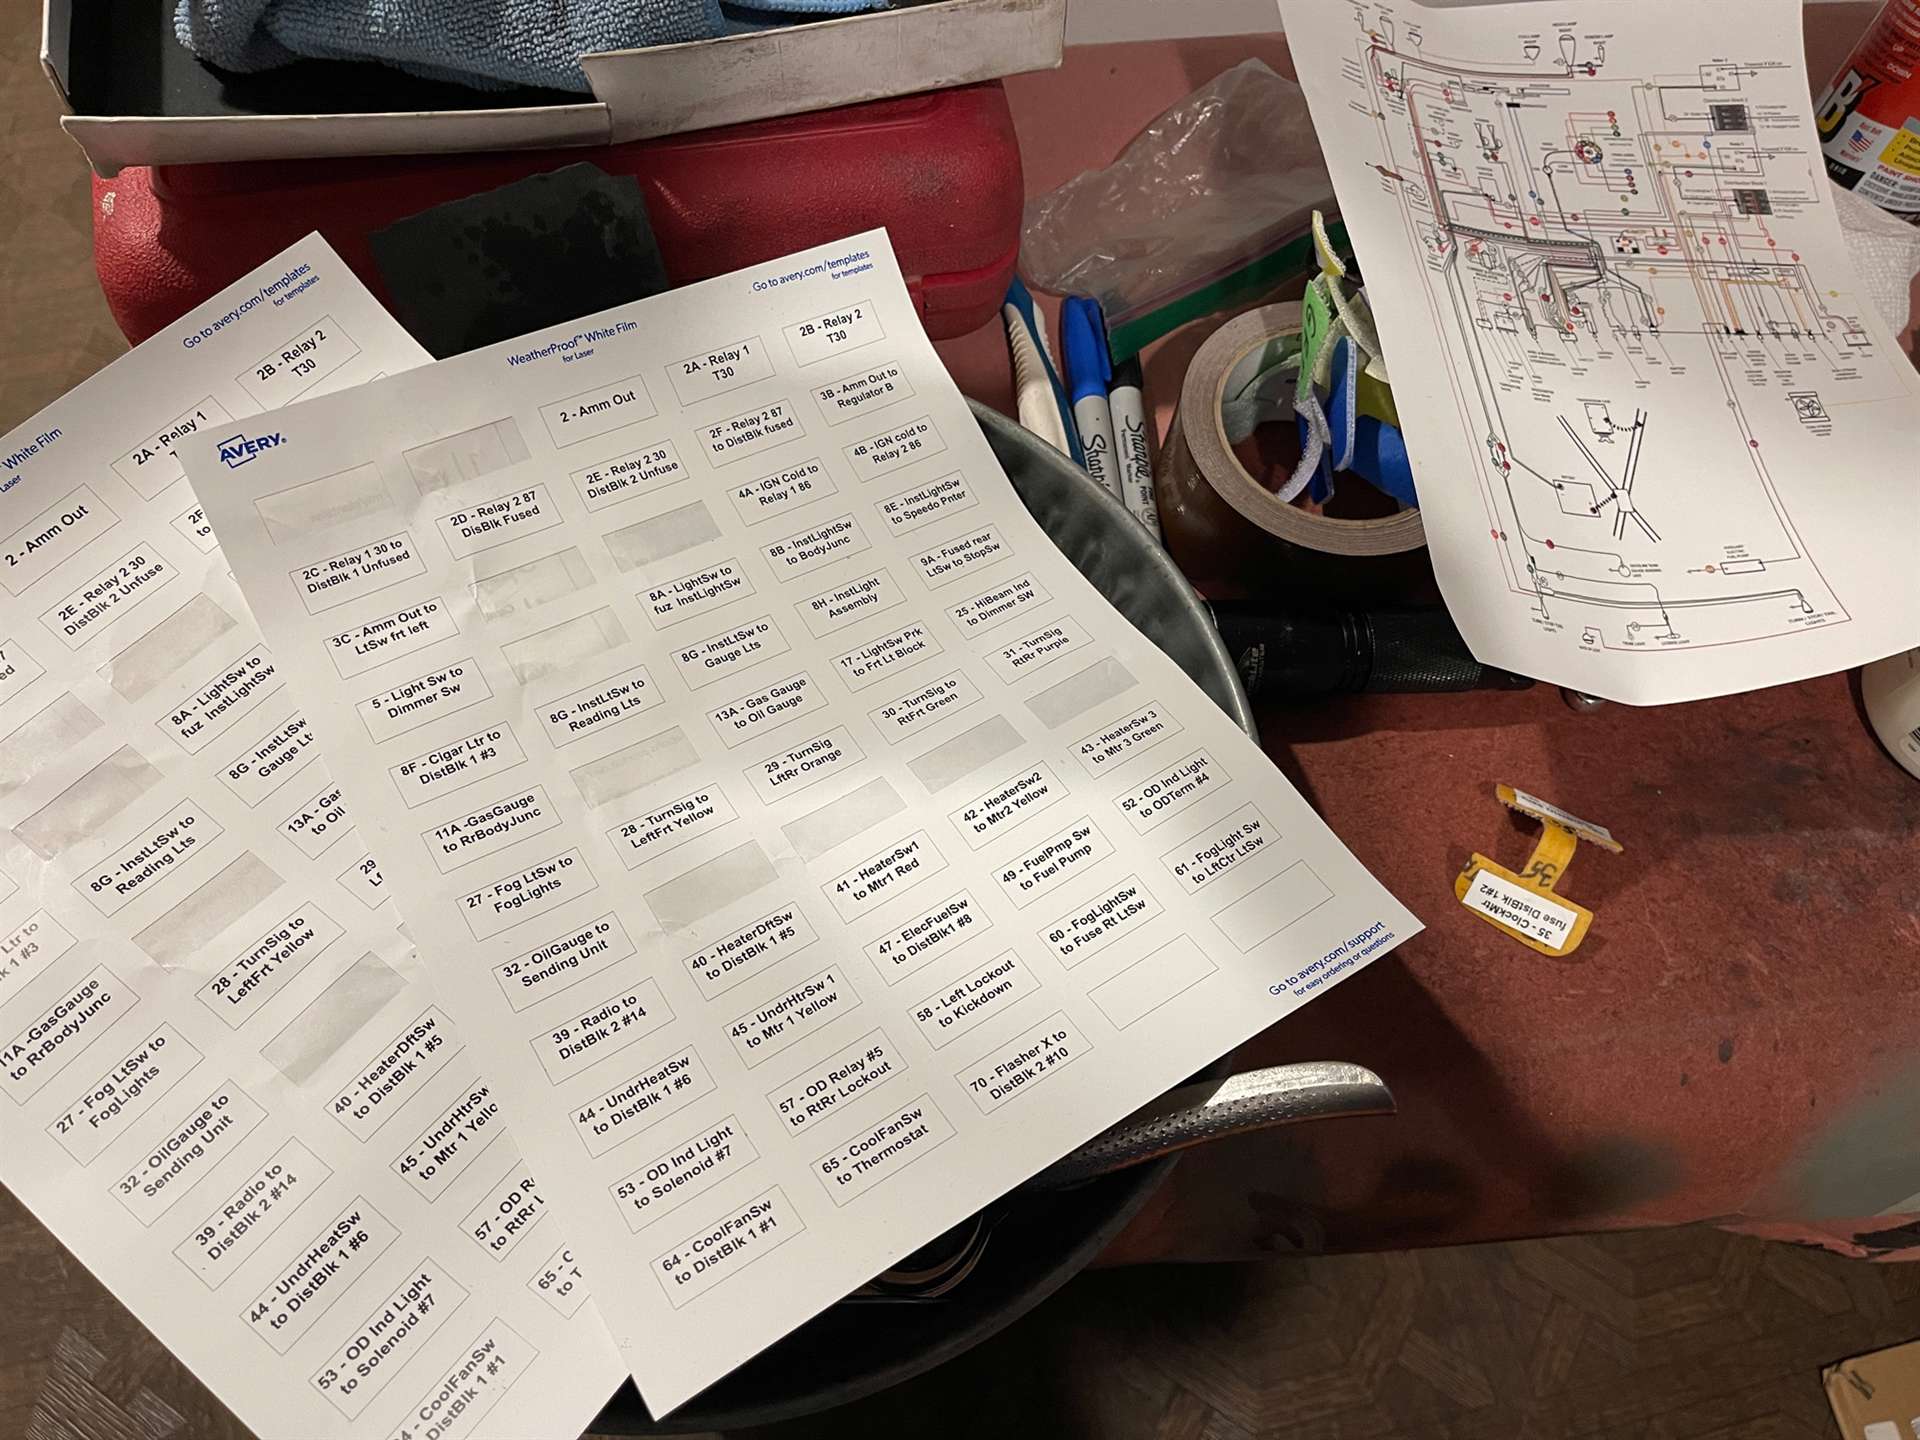 15PreppedSwitches.jpg (246.49 KB)
 15SwitchPrepping.jpg (293.47 KB)
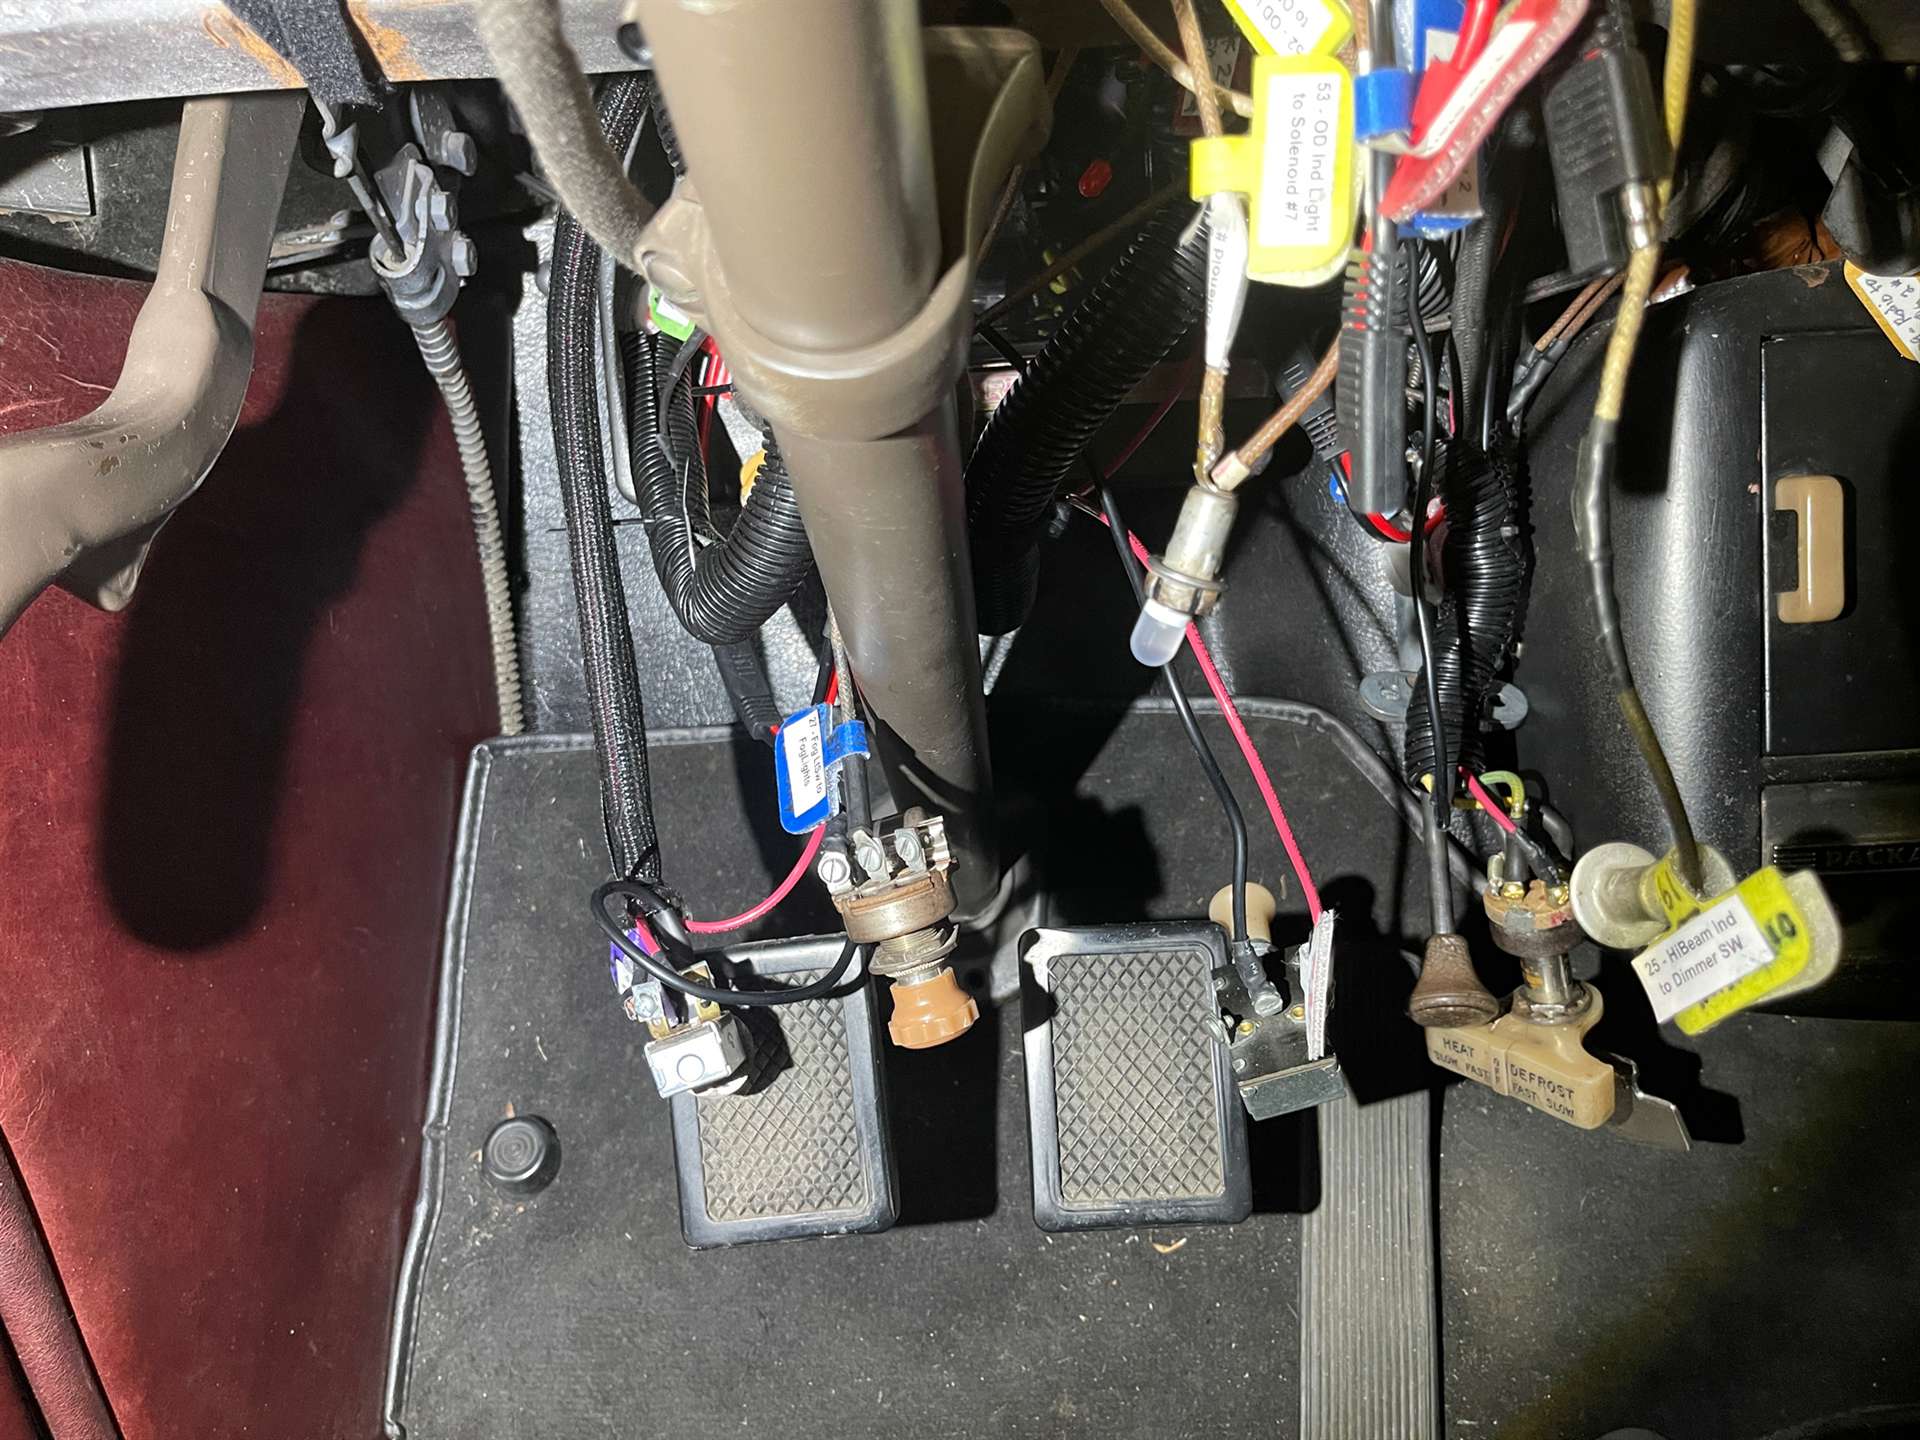
This Post was from: https://packardinfo.com/xoops/html/modules/newbb/viewtopic.php?post_id=257277