Re: BigKev's 1954 Packard Clipper Deluxe Sedan
Posted by BigKev On 2010/9/18 17:17:59
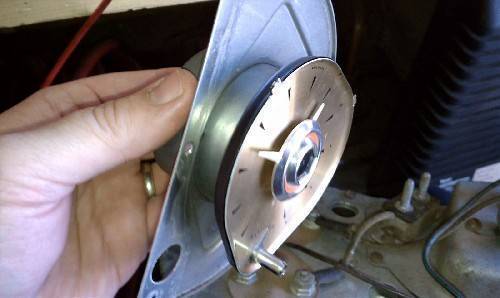
More progress this morning. I got the clock working and running. I started by fixing the two clocks on the the two spare dash clusters I have. They both had the same issue, fried contacts and they needed lubrication. I wired the two 1 ohm, 10 watt wire-wound resistors together in series and then shrink wrapped them together to form a little brick, and attached one lead with a ring terminal to the post on the back of the clock and the other lead to my 13.8v power source. When checked with an amp meter, the clock pulls about 2.5 amps with the contact points stuck together. So that is the worst case scenario. Plus I am not worries about the resistors getting hot as the winding load is only a fraction of a second every couple of minutes.
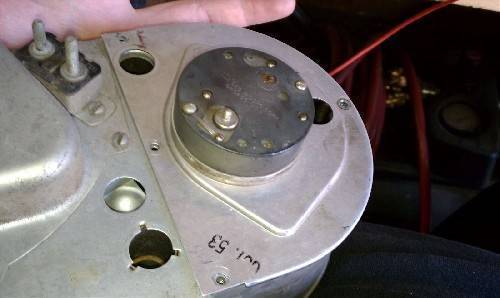
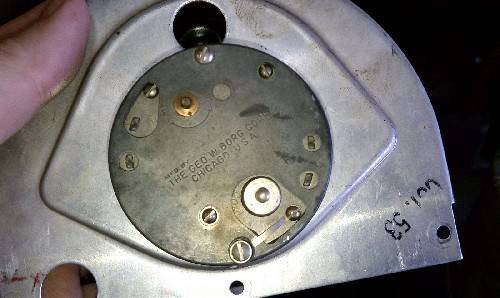
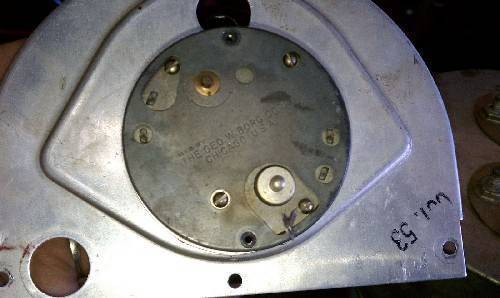
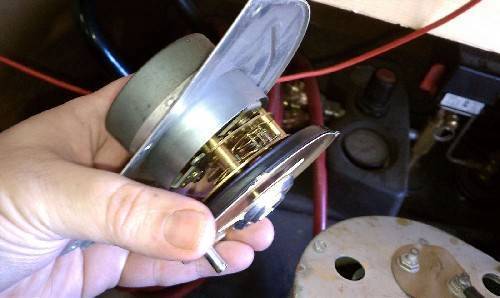
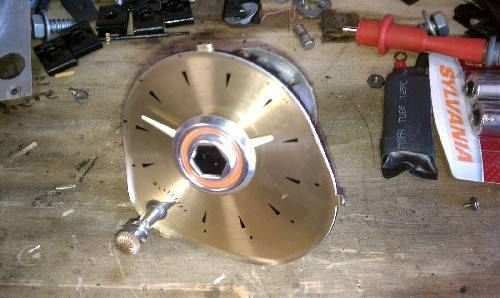
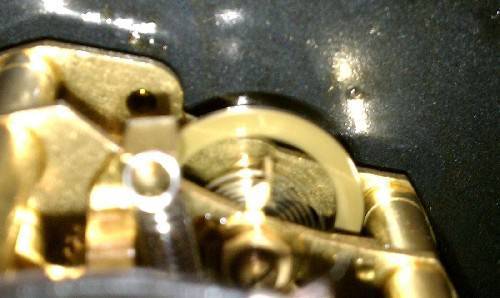
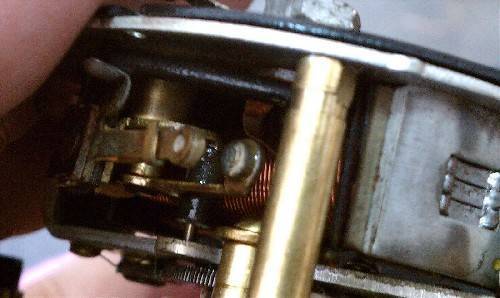
Before trying to get the electrical winder on the clock working, with I wanted to get the actual clock mechanism working itself. You can manual wind it moving counter weight lever on with either side. Once wound, neither clock started ticking. So the first clock I saturated all the gear work with PB Blaster, and then moved the time adjusted to get gears moving a bit so the lubricant could work in. I set that clock down and didn't the same think with my second clock. The second clock started to tick with the first shot of PB. The first clock I needed to run manual start the little pendulum gear a couple of times, and then it started ticking on it own. I guess it just needed longer for the PB to work in. I blotted up an of the extra PB-Blaster from both clocks, and let them run, rewinding them as needed. After about 15 minutes, with them both running and keeping time, I figured the clock mechanisms were sound and working. So I moved onto the electrical. Both only needed the contact points dressed. This was done with a thin metal file (point file). Then I hooked up the resistor block to the clock, and bingo, it wound the clock, and I let it go for about 30 mins. Each time it wound the clock without an issue. The winding happens in a split second, it it pulls anywhere between 30-70 milliamps during that operation according to my multimeter. But it could pull more, and my multimeter may not be able to sample that fast. When the clocks are not being wound, they pull no current at all.
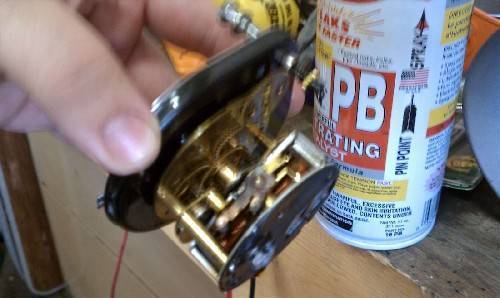
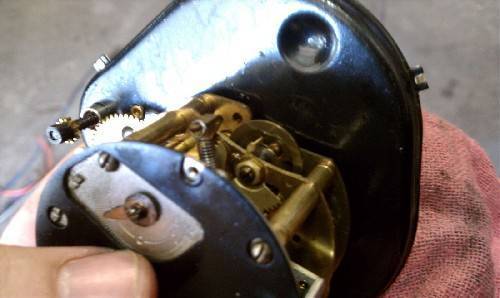
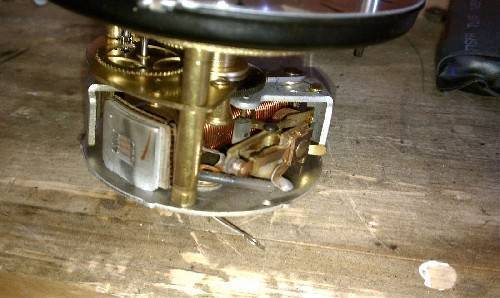
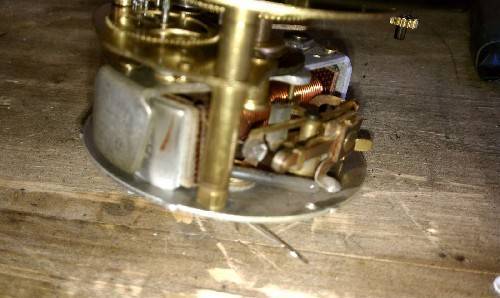
So feeling good about getting the two spare clocks running, I moved on to the clock that is actually in my car. It was by far the worst. Not sure if it was because of the amount of moisture it was exposed to over the years or what, but it took a couple rounds of PB to get the mechanism running once wound. The points on this one were also stuck together. I hooked up resistor and electrical to it, and nothing, no amp load registered. Upon further inspection there are two thin metal tabs that are soldered together mid run right above the coil and under the points. I think this is a fail safe that is part of the clock in the event the points short and the fuse doesn't blow. On my clock the soldered melted and the tabs separated. If you remember when I took the cluster out of the car, someone had used foil bypass a blown fuse in the clock. Also when I found the car, it has a 12v battery in it. So I think the points stuck together, and with the fuse bypassed, it simply heated up the coil in the clock until the solder failed. I re-soldered the tabs back together, and bingo, clock now works again.
Then I reinstalled the clock back in the cluster, and the cluster back in the dash. Hooked the battery back up, there was an initial 50 milliamp spike as it wound, then zero load. Then about 2-3 minutes later, another 50 milliamp spike as it wound again (rinse and repeat). It's now been ticking away in the dash for a couple of hours, and keeping good time.
Attach file:
 (93.56 KB)
(107.69 KB)

(138.07 KB)
(126.40 KB)
(84.68 KB)
(103.16 KB)
(132.51 KB)
(128.16 KB)

(106.71 KB)
(94.81 KB)
(111.73 KB)
(148.14 KB)
(131.02 KB)
(118.23 KB)
(110.20 KB)

Before trying to get the electrical winder on the clock working, with I wanted to get the actual clock mechanism working itself. You can manual wind it moving counter weight lever on with either side. Once wound, neither clock started ticking. So the first clock I saturated all the gear work with PB Blaster, and then moved the time adjusted to get gears moving a bit so the lubricant could work in. I set that clock down and didn't the same think with my second clock. The second clock started to tick with the first shot of PB. The first clock I needed to run manual start the little pendulum gear a couple of times, and then it started ticking on it own. I guess it just needed longer for the PB to work in. I blotted up an of the extra PB-Blaster from both clocks, and let them run, rewinding them as needed. After about 15 minutes, with them both running and keeping time, I figured the clock mechanisms were sound and working. So I moved onto the electrical. Both only needed the contact points dressed. This was done with a thin metal file (point file). Then I hooked up the resistor block to the clock, and bingo, it wound the clock, and I let it go for about 30 mins. Each time it wound the clock without an issue. The winding happens in a split second, it it pulls anywhere between 30-70 milliamps during that operation according to my multimeter. But it could pull more, and my multimeter may not be able to sample that fast. When the clocks are not being wound, they pull no current at all.
So feeling good about getting the two spare clocks running, I moved on to the clock that is actually in my car. It was by far the worst. Not sure if it was because of the amount of moisture it was exposed to over the years or what, but it took a couple rounds of PB to get the mechanism running once wound. The points on this one were also stuck together. I hooked up resistor and electrical to it, and nothing, no amp load registered. Upon further inspection there are two thin metal tabs that are soldered together mid run right above the coil and under the points. I think this is a fail safe that is part of the clock in the event the points short and the fuse doesn't blow. On my clock the soldered melted and the tabs separated. If you remember when I took the cluster out of the car, someone had used foil bypass a blown fuse in the clock. Also when I found the car, it has a 12v battery in it. So I think the points stuck together, and with the fuse bypassed, it simply heated up the coil in the clock until the solder failed. I re-soldered the tabs back together, and bingo, clock now works again.
Then I reinstalled the clock back in the cluster, and the cluster back in the dash. Hooked the battery back up, there was an initial 50 milliamp spike as it wound, then zero load. Then about 2-3 minutes later, another 50 milliamp spike as it wound again (rinse and repeat). It's now been ticking away in the dash for a couple of hours, and keeping good time.
Attach file:
(93.56 KB) (107.69 KB)
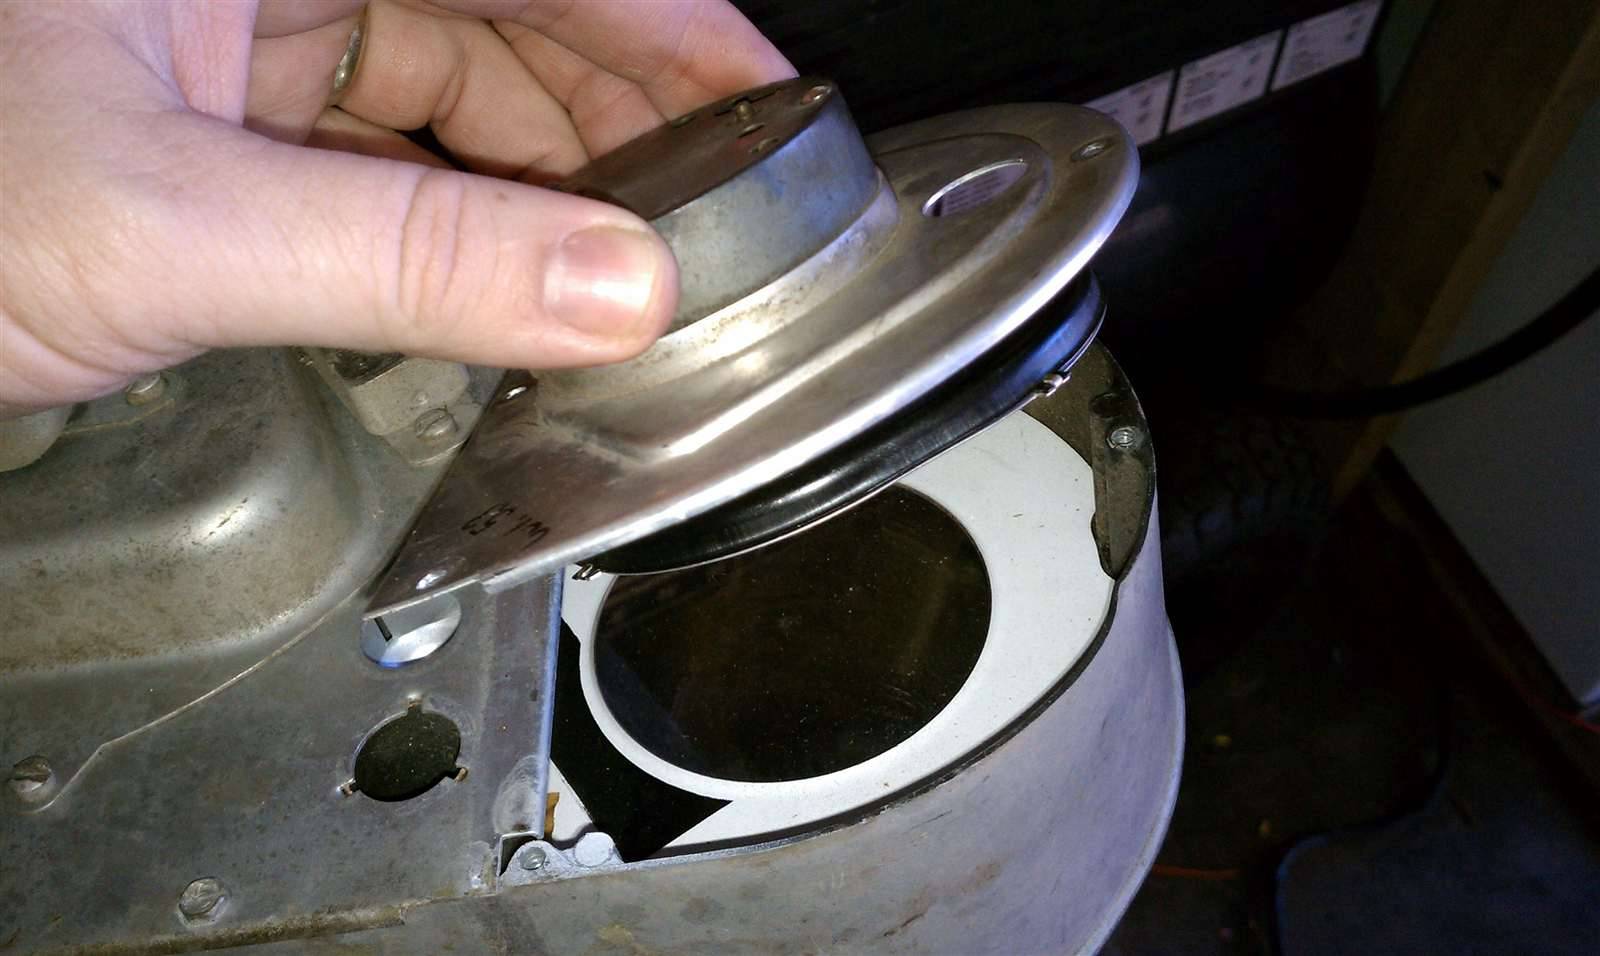 (138.07 KB)
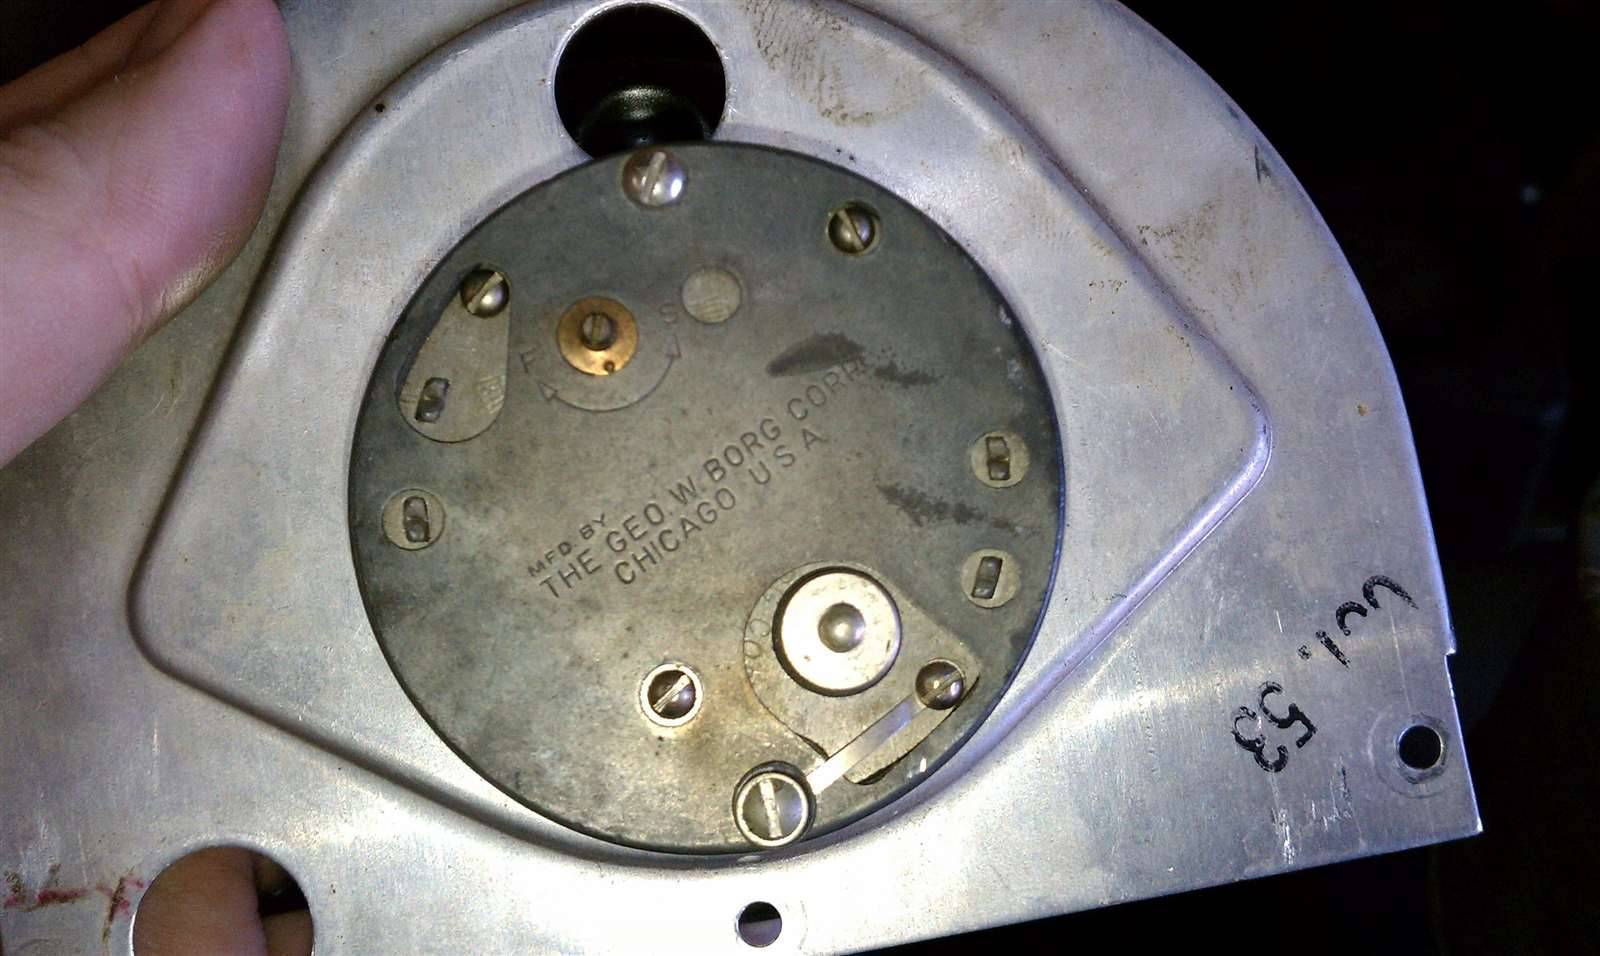 (126.40 KB)
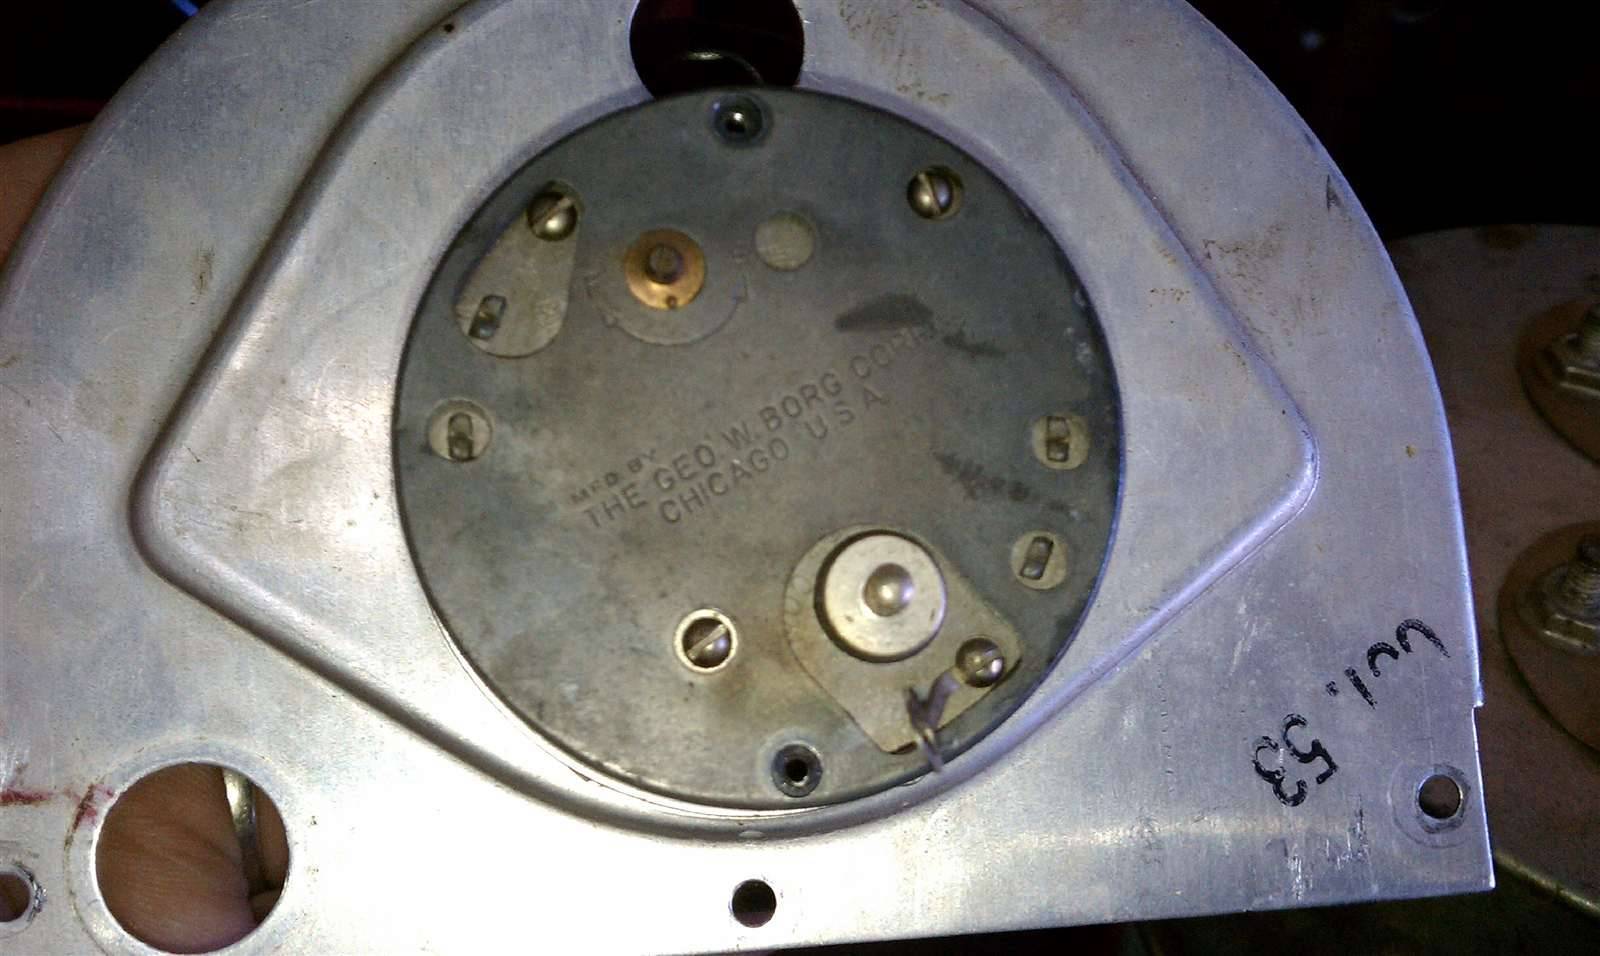 (84.68 KB)
 (103.16 KB)
 (132.51 KB)
 (128.16 KB)
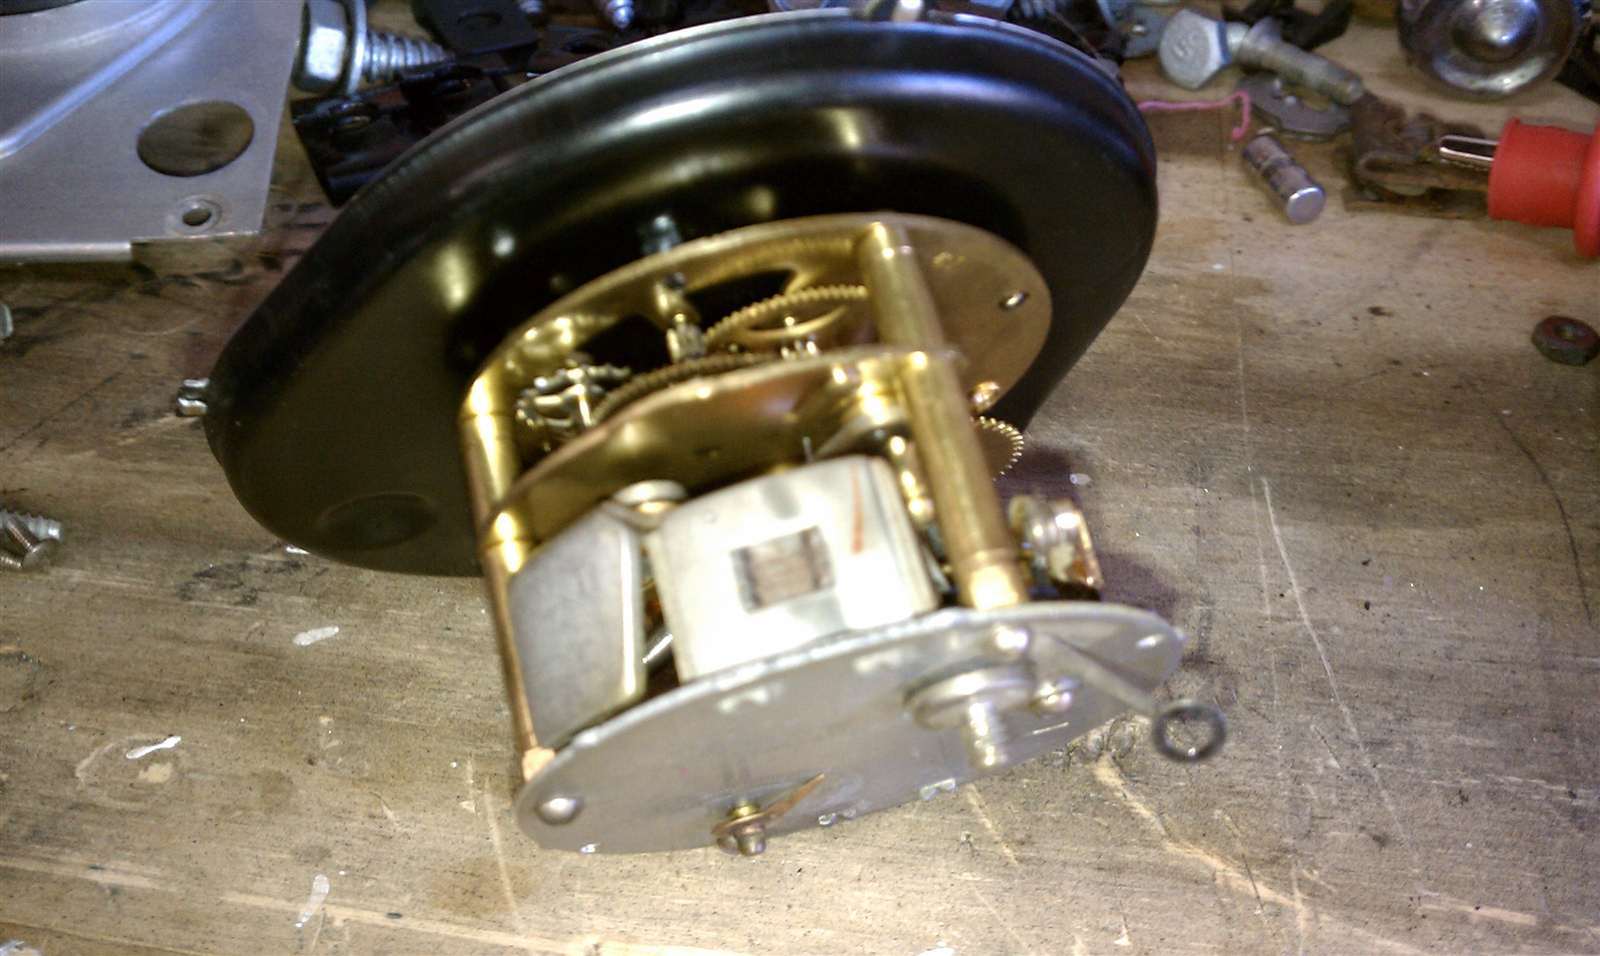 (106.71 KB)
 (94.81 KB)
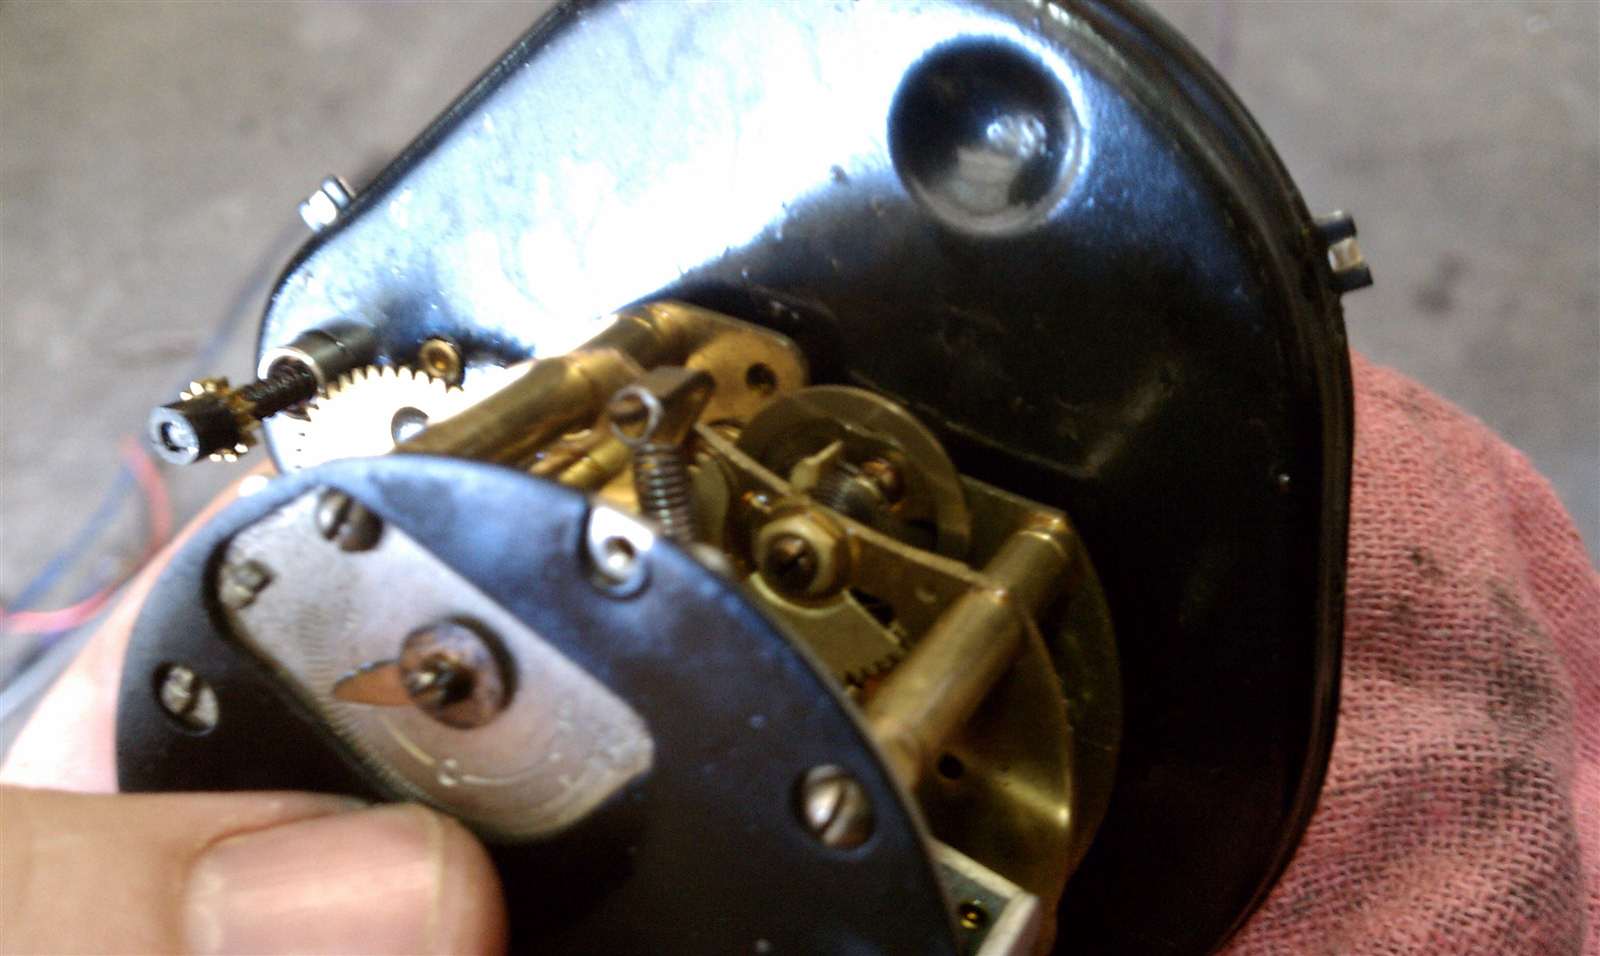 (111.73 KB)
 (148.14 KB)
 (131.02 KB)
 (118.23 KB)
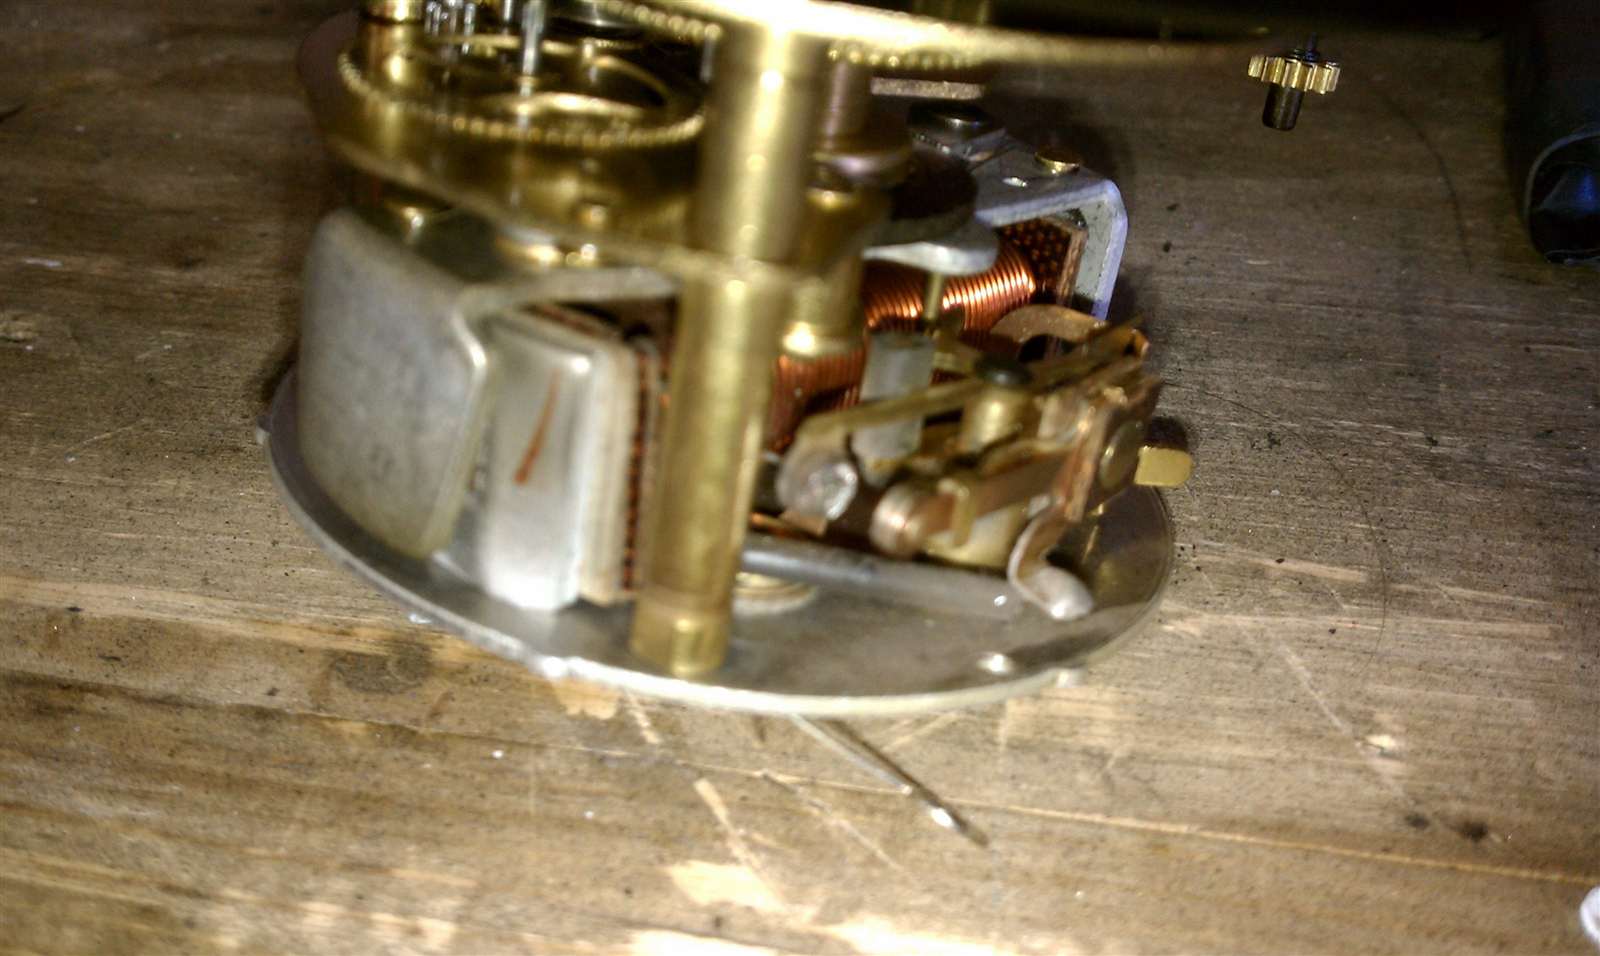 (110.20 KB)
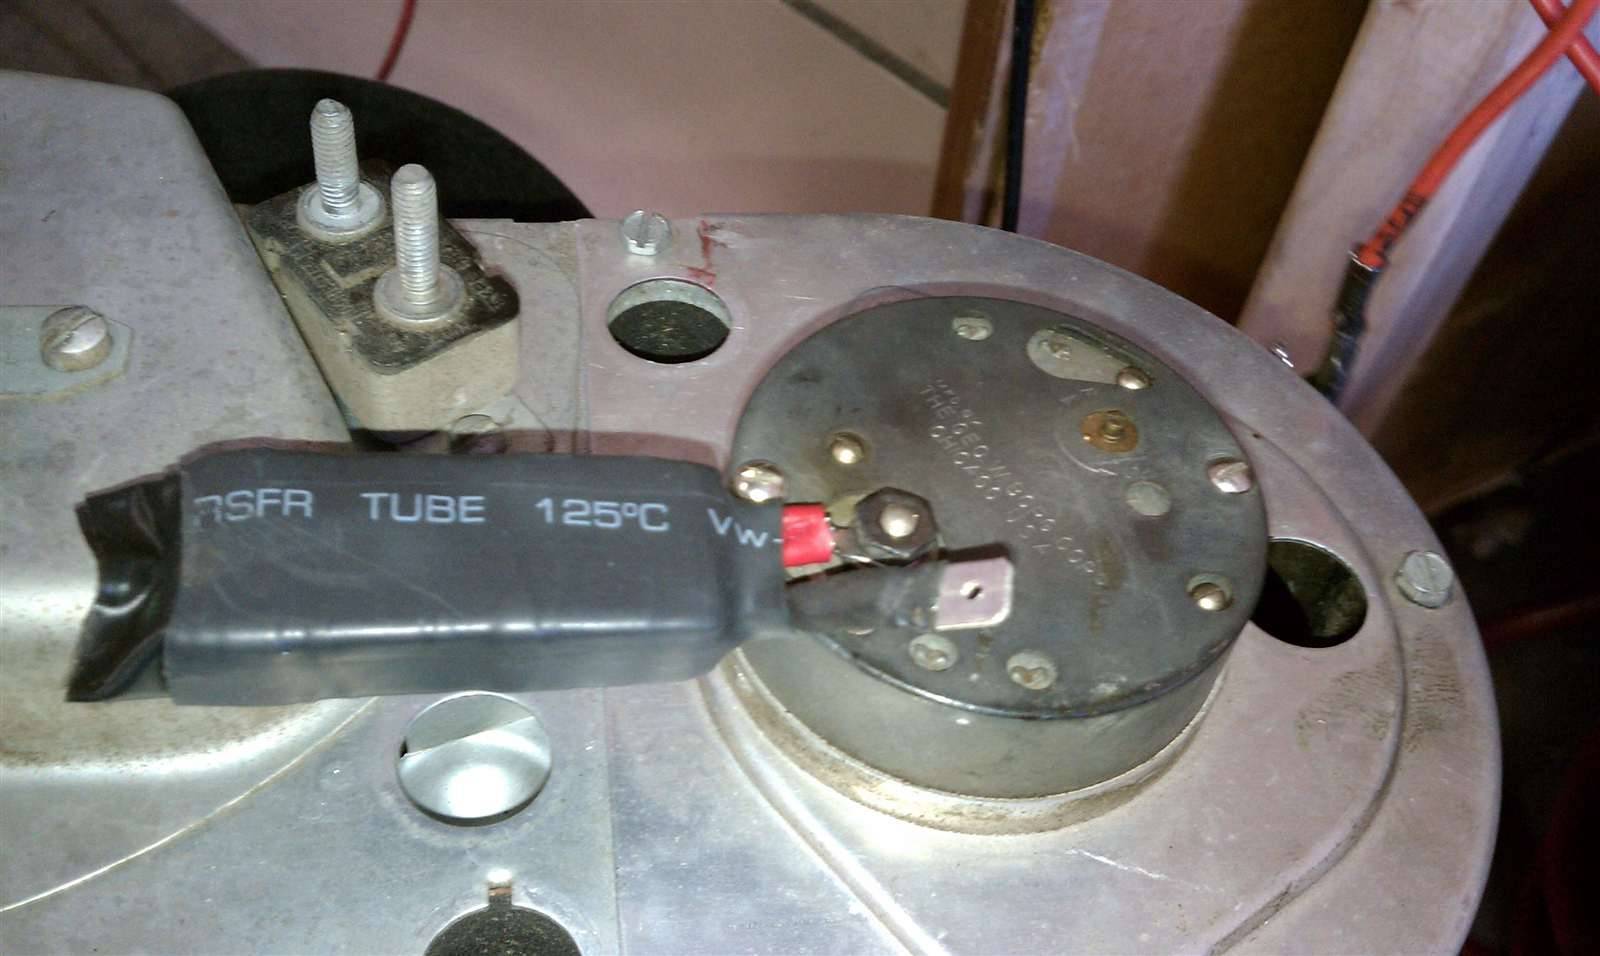
This Post was from: https://packardinfo.com/xoops/html/modules/newbb/viewtopic.php?post_id=60242