Re: The Duchess Project: 1940 Super 8 Convertible Sedan
Posted by Joe Santana On 2011/4/11 0:43:29
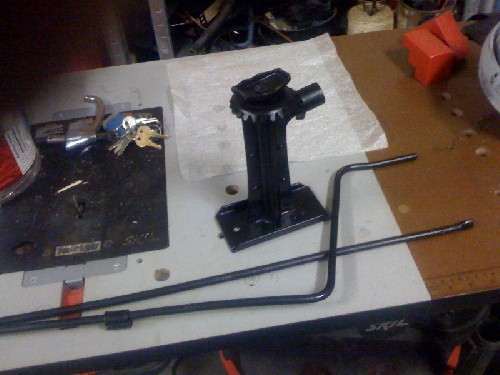
SWAP MEET: I went last week and picked up a few small items from David Moe, Seattle-Packard. I found the jack I was looking for at a Portland booth that specializes or has a lot of tools.
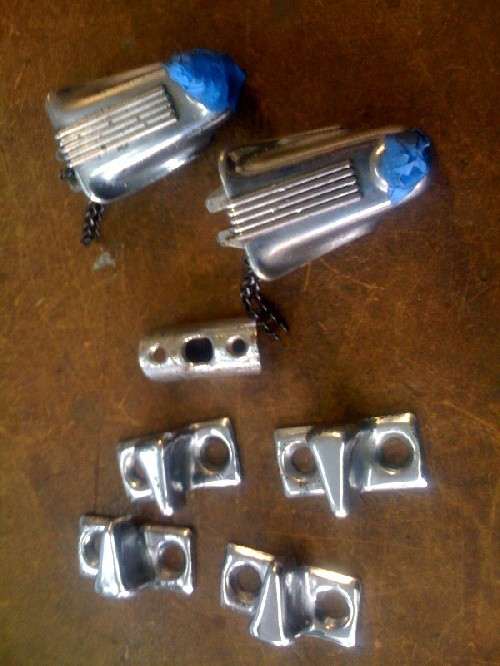
I was also looking for hold-down clamps for the removable center posts. Hard to find because only used on convertible sedans. At David's suggestion I visited the Wescott booth. They're from Damascus, Oregon, pretty much hot rods and Fords. They make the hold-down hooks and brackets for the front bow of 1940 Ford convertibles, but but the hooks themselves are identical to 1940 Packard convertible hooks. They don't make the side clamps, but would if I had a sample.
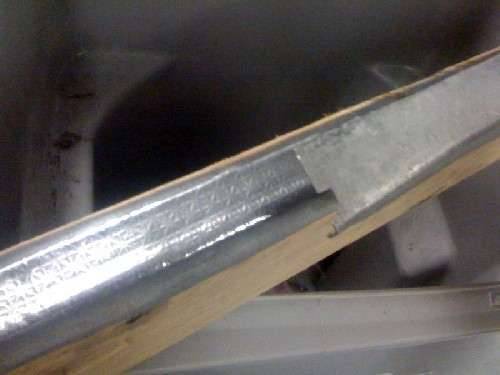
DOOR SILLS. I was looking for these. I had enough for the front, 43 inches each side, but they look awful. I made a few minor repairs and polished them. They look fabulous. David is looking for the a couple of 22" ones for the back.
CHROME ITEMS. I started the debate with myself over the wipers. I have vacuum, and with a double action fuel pump, they will work fine, I decided. I have electric ones unrestored that look very ill. Sent the wiper mounts in and the seat adjustment collar which I got from David, mine long gone.
DOORS: I started with the rear door stop "strap". These looked really bad, rusted from moisture inside the door. I worked on them quite a bit. At the show I found out David makes them new. I made a leather and canvas cushion for the strap to ride on and added new bumper rubber to stop the back door from swinging forward into the front door.
I went through the bags and boxes of door hardware. All the handles had been rechromed. I had done some of the filing myself which gave me a real appreciation for what Oregon Plating does. I added the new plastic from Yesterday's Radio to the escutcheons and made new shafts to hold the new plastic knobs. I used a #5 metric roll-pin 1-1/8 long (all that was available). Set it in my hand drill and put the drill in the vise. Set it in motion and used my dremel tool with a cutting disk to make a slit very close around one end. This is to hold a circular clip which sits inside the end of the handle. I ground off 1/8th in. from the other end, slipped on the teflon washer and dropped some super glue in the knob. Worked well.
John Ulrich has the hairpins that are broken on most cars. I thought mine were fine, but they are missing half the pin, so ordered those. His website shows what they should look like.
HOLD DOWN CLAMP I finally found the hold down clamp, sort of. Perko makes chrome deckware for boats and sells through marine stores. I bought one and removed the part you press on. They come with a hook, but it's different than the one on the car. And the bracket it's on likewise. I had my bracket and hook. I thought I could use the loop that came with it, but it was too short, so I made a longer one out of stainless rod and polished it. It came out great.
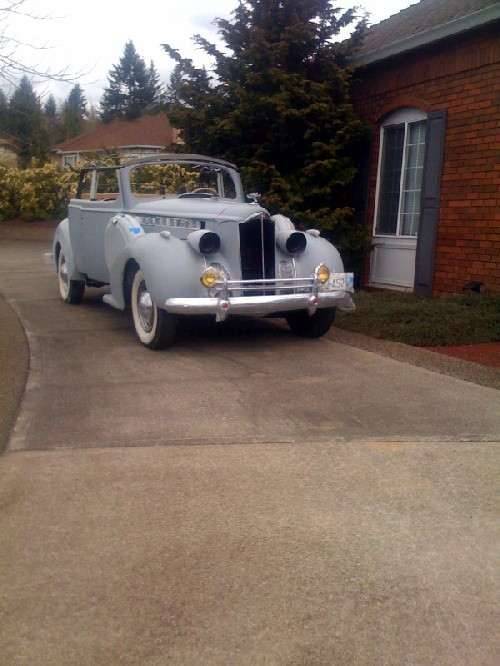
OUT IN THE AIR I took the car outside again, this time to the front of the house so I could vacuum out my Brand X. It got a nice airing.
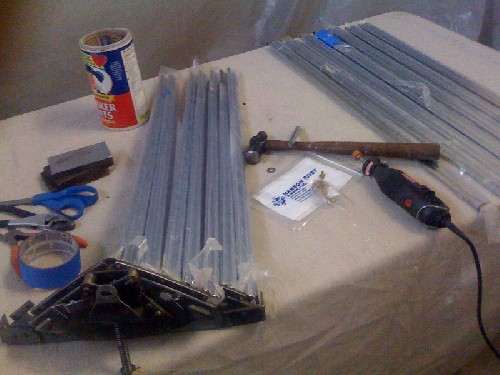
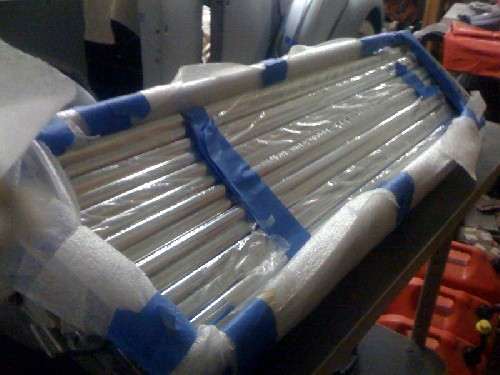
THE GRILL. I've been dreading this job, terrified I'd scratch the new chrome in the process of re-riveting each of the grill shutters or scratch the grill housing itself trying to get everything to fit. I wrapped up everything.
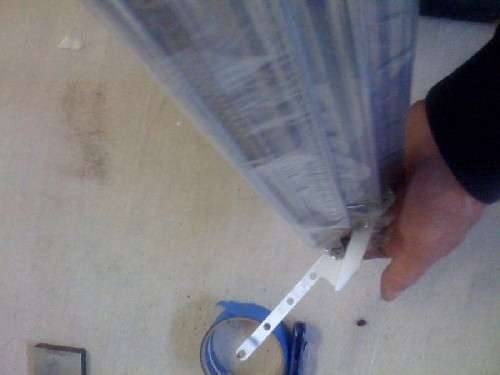
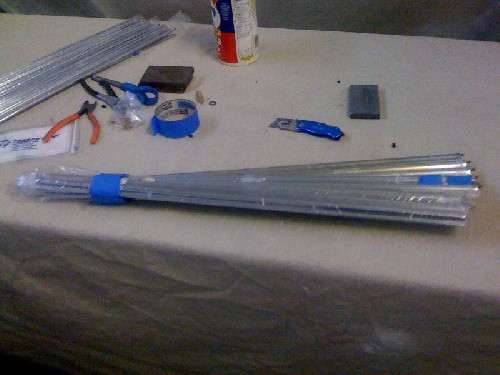
I didn't take it apart, Oregon Plating did, so it took me awhile to figure out where pieces go and which direction. I had bought a riveting tool from Hanson Rivet to use on my Bill Hirsch shoulder rivets and it worked beautifully. (My friends at the Ace Hardware said you can hit it with a punch to get it started, then with a flat punch) But I liked the way this thing worked and too much was at risk as far as I was concerned. As I added each shutter, I taped it to the one already done at the opposite end and held it like you hold a bass fiddle, resting against my shoulder. Once I got the knack of it, it wasn't bad. After I got a set done I attached it to the frame by taping all the shutters flat to a piece of masonite, then sliding the all the pokers in their holes.
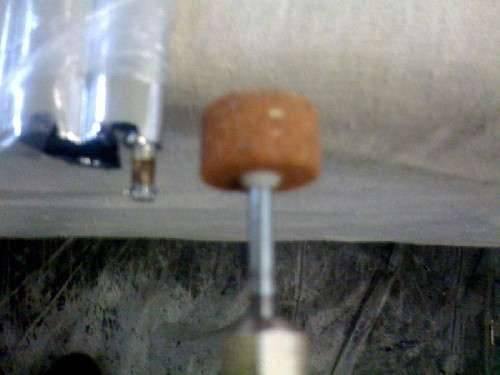
Even though there were rubber tips on the ends to prevent chroming them, some poked through and little chrome hairs protruded. I dremeled them off. I took more pictures but they are as bad as these. For me it was an all-day process BUT the patient came through it without a single scratch and is recovering nice.
PAINT. This week the Duchess goes to the beauty parlor ...like some women I've known, piece by piece. All the parts go in Wednesday, and the body and chassis after that.
I'm excited.
Attach file:
 (48.26 KB)
(40.10 KB)
(52.34 KB)
(56.21 KB)

(45.42 KB)

(45.88 KB)

(57.96 KB)
(52.93 KB)
(0.00 KB)
(47.78 KB)
(62.06 KB)
(72.28 KB)
I was also looking for hold-down clamps for the removable center posts. Hard to find because only used on convertible sedans. At David's suggestion I visited the Wescott booth. They're from Damascus, Oregon, pretty much hot rods and Fords. They make the hold-down hooks and brackets for the front bow of 1940 Ford convertibles, but but the hooks themselves are identical to 1940 Packard convertible hooks. They don't make the side clamps, but would if I had a sample.
DOOR SILLS. I was looking for these. I had enough for the front, 43 inches each side, but they look awful. I made a few minor repairs and polished them. They look fabulous. David is looking for the a couple of 22" ones for the back.
CHROME ITEMS. I started the debate with myself over the wipers. I have vacuum, and with a double action fuel pump, they will work fine, I decided. I have electric ones unrestored that look very ill. Sent the wiper mounts in and the seat adjustment collar which I got from David, mine long gone.
DOORS: I started with the rear door stop "strap". These looked really bad, rusted from moisture inside the door. I worked on them quite a bit. At the show I found out David makes them new. I made a leather and canvas cushion for the strap to ride on and added new bumper rubber to stop the back door from swinging forward into the front door.
I went through the bags and boxes of door hardware. All the handles had been rechromed. I had done some of the filing myself which gave me a real appreciation for what Oregon Plating does. I added the new plastic from Yesterday's Radio to the escutcheons and made new shafts to hold the new plastic knobs. I used a #5 metric roll-pin 1-1/8 long (all that was available). Set it in my hand drill and put the drill in the vise. Set it in motion and used my dremel tool with a cutting disk to make a slit very close around one end. This is to hold a circular clip which sits inside the end of the handle. I ground off 1/8th in. from the other end, slipped on the teflon washer and dropped some super glue in the knob. Worked well.
John Ulrich has the hairpins that are broken on most cars. I thought mine were fine, but they are missing half the pin, so ordered those. His website shows what they should look like.
HOLD DOWN CLAMP I finally found the hold down clamp, sort of. Perko makes chrome deckware for boats and sells through marine stores. I bought one and removed the part you press on. They come with a hook, but it's different than the one on the car. And the bracket it's on likewise. I had my bracket and hook. I thought I could use the loop that came with it, but it was too short, so I made a longer one out of stainless rod and polished it. It came out great.
OUT IN THE AIR I took the car outside again, this time to the front of the house so I could vacuum out my Brand X. It got a nice airing.
THE GRILL. I've been dreading this job, terrified I'd scratch the new chrome in the process of re-riveting each of the grill shutters or scratch the grill housing itself trying to get everything to fit. I wrapped up everything.
I didn't take it apart, Oregon Plating did, so it took me awhile to figure out where pieces go and which direction. I had bought a riveting tool from Hanson Rivet to use on my Bill Hirsch shoulder rivets and it worked beautifully. (My friends at the Ace Hardware said you can hit it with a punch to get it started, then with a flat punch) But I liked the way this thing worked and too much was at risk as far as I was concerned. As I added each shutter, I taped it to the one already done at the opposite end and held it like you hold a bass fiddle, resting against my shoulder. Once I got the knack of it, it wasn't bad. After I got a set done I attached it to the frame by taping all the shutters flat to a piece of masonite, then sliding the all the pokers in their holes.
Even though there were rubber tips on the ends to prevent chroming them, some poked through and little chrome hairs protruded. I dremeled them off. I took more pictures but they are as bad as these. For me it was an all-day process BUT the patient came through it without a single scratch and is recovering nice.
PAINT. This week the Duchess goes to the beauty parlor ...like some women I've known, piece by piece. All the parts go in Wednesday, and the body and chassis after that.
I'm excited.
Attach file:
(48.26 KB) (40.10 KB)
 (52.34 KB)
 (56.21 KB)
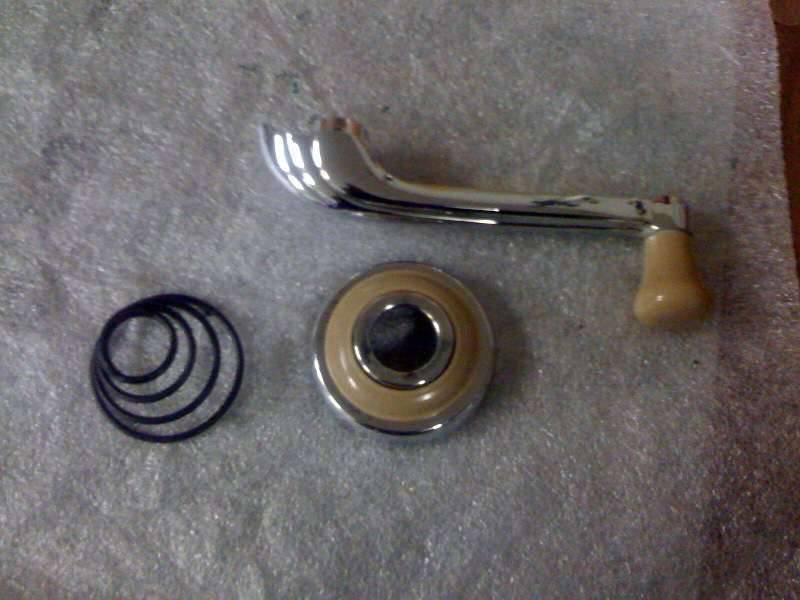 (45.42 KB)
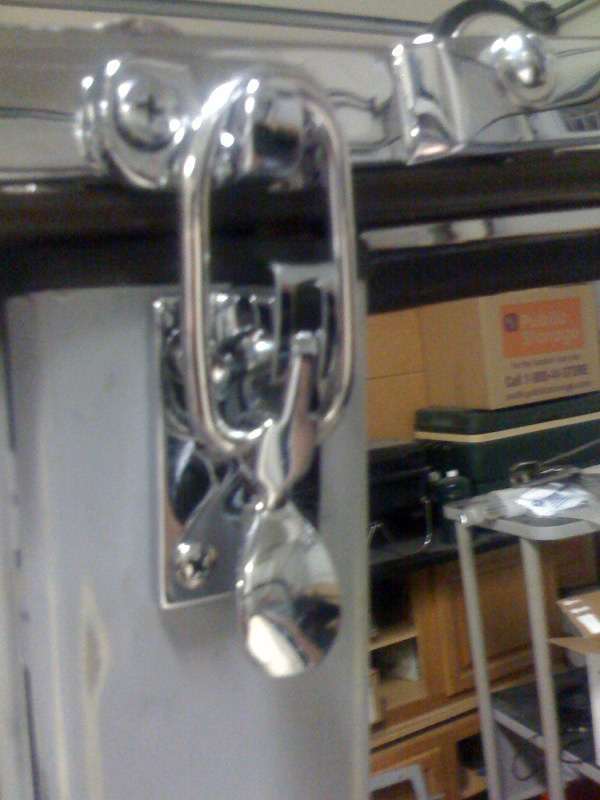 (45.88 KB)
 (57.96 KB)
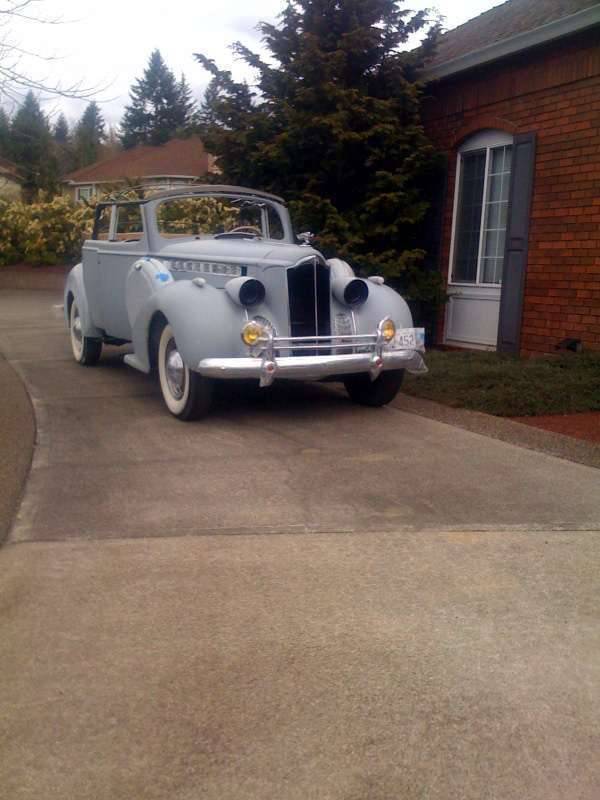 (52.93 KB)
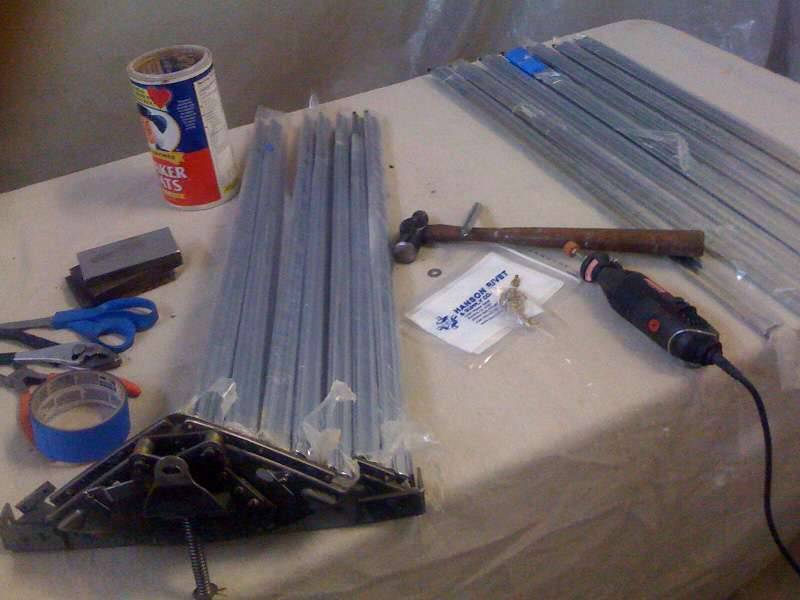 (0.00 KB)
 (47.78 KB)
 (62.06 KB)
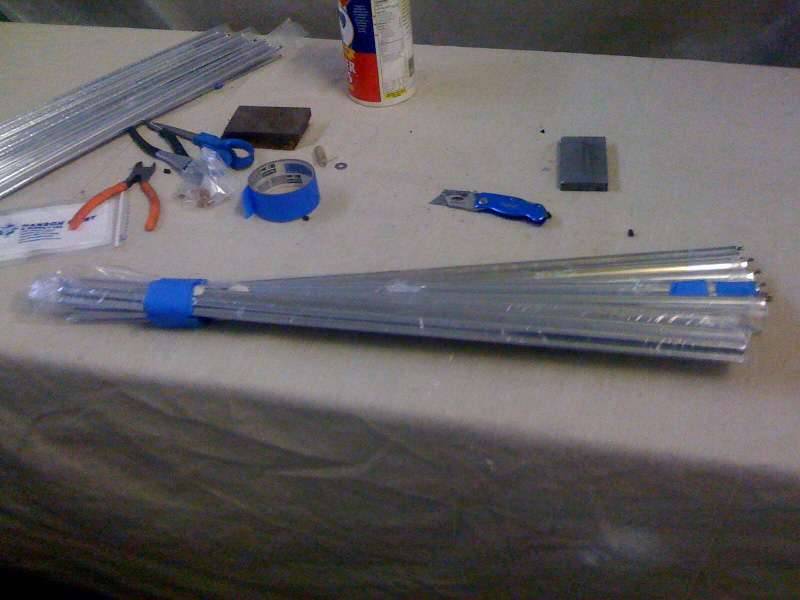 (72.28 KB)
This Post was from: https://packardinfo.com/xoops/html/modules/newbb/viewtopic.php?post_id=74331