Re: The Duchess Project: 1940 Super 8 Convertible Sedan
Posted by Joe Santana On 2011/4/25 23:14:37
Thanks, OD, that comes as a big compliment.
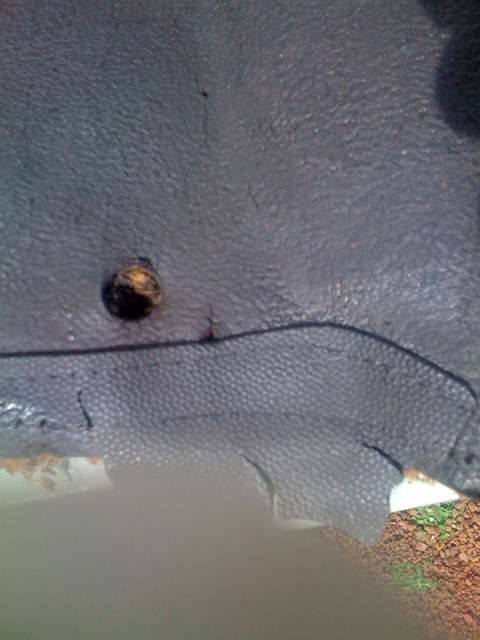
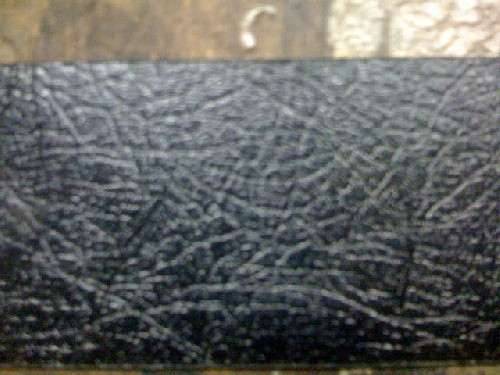
AUTHENTICITY, TEXTURE MATTERS: I don't want to sound ungrateful, because people who support the hobby with parts are a god-send, BUT... It seems a minor amount of research would yield a more authentic replacement product.
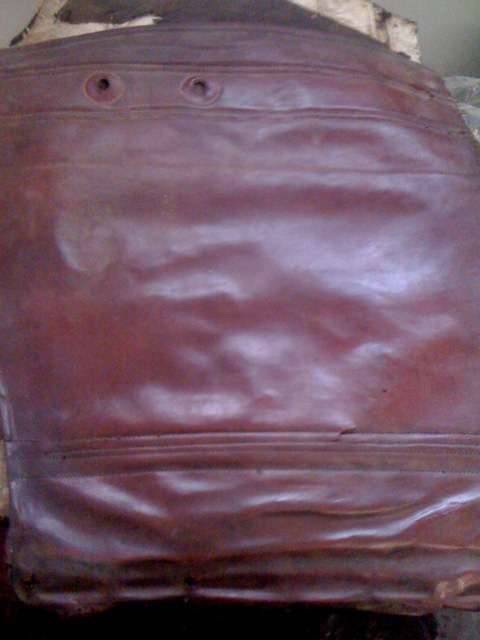
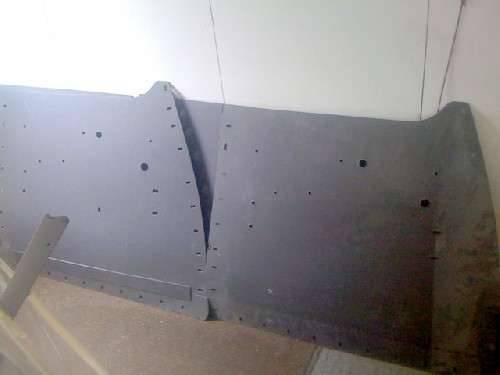
Case in point, the firewall from one vendor has a sort of vinyl leatherette pattern and the edging is plain. The original is bumpy like pigskin, like a football....and you know today's footballs only mimic pigskin, so the pattern is available. Of course, the replacement hides in the dark under the dash and looks far better than my beta up original. Just saying.
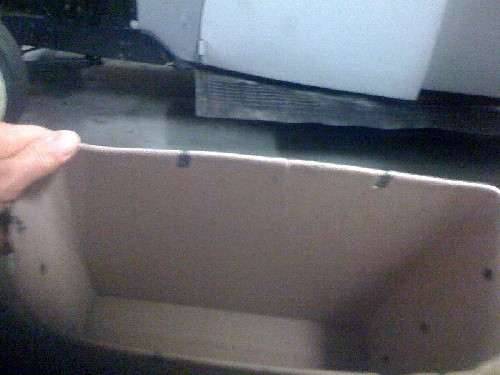
Likewise the glove compartment of a 1940 is that taupe brown with a leatherette texture. The replacement I bought is flocked. Flocked? Well, when I run out of things to do on the Duchess I'll use the replacement to cut a pattern for something more authentic. (And I have visions of using the back half of the glove box to ditch all the digital gear, not very authentic, either. )
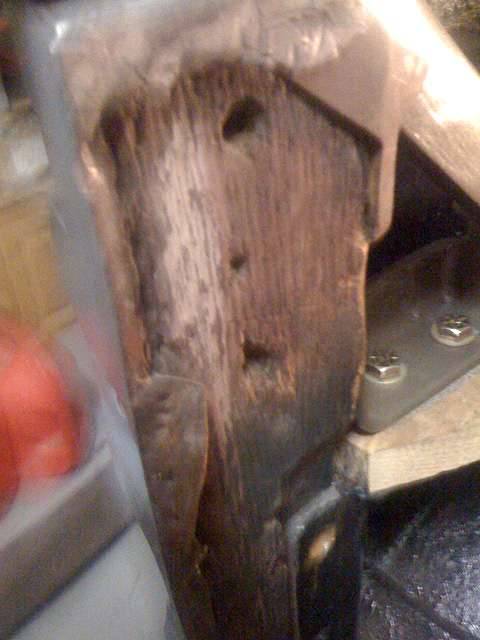
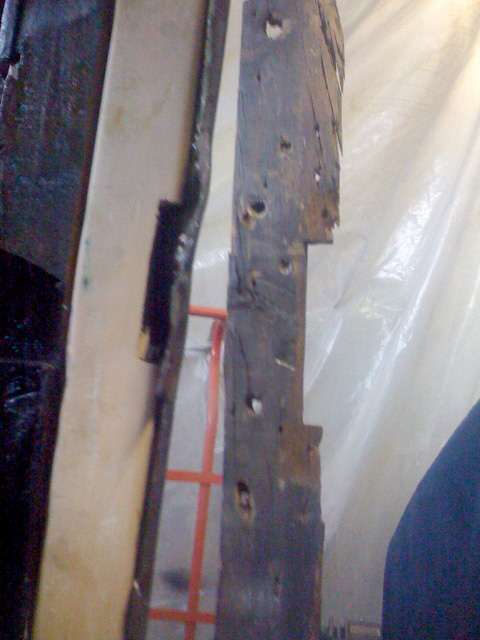
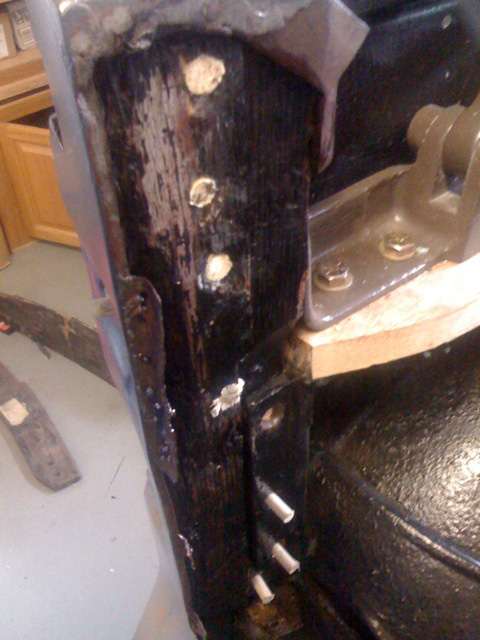
DOOR FRAME WOOD: The wood behind the rear doors was mostly solid. It appears to be laid in in 1/4 in. tongue in groove (vertically up the middle) layers. The right side screw holes were shot. The screws that hold the dove tail and strikers, totally shot. The big wood screws that hold the rear side metal panels alongside the rear seat rusted and did their share of damage. I read the thread here on drilling them out clean and filling them with dowel. I drilled holes with appropriate size bits and took the bits to Home depot for matching dowel.
The left side was too weak, but it was only the top 1/4-in. layer which pulled off easily. I cut a piece of plain floor moulding, because the profile from thick to slim matched the old piece. I notched it and used a dremel router attachment to make the 1/8" groove down the center. But that's all the wood I actually replaced. I also soaked everything in Minwax wood hardener. Maybe in another 70 years someone will still have something to work with.
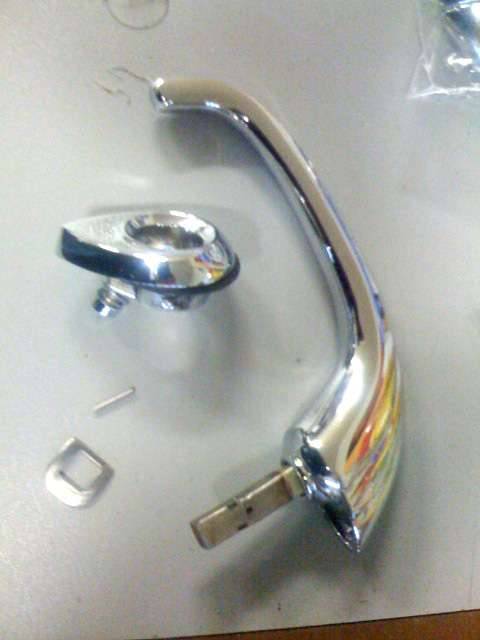
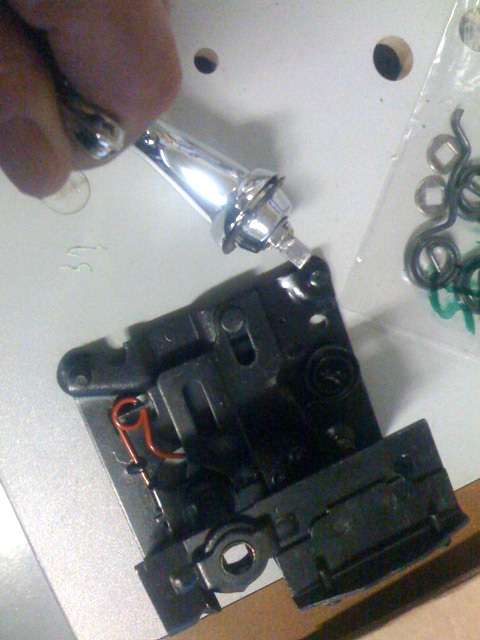
DOOR HANDLES: Again with help from a thread on this site, I bought some 1/6th pins [edit: 1/16th-in.] 3/8" long and took my handles to my son's, John. He used his drill press to drill those tiny holes and we re-assembled the handles which had been disassembled for chroming.
We also installed the bobby pins that John Ulrich's website explains are nearly always broken by the time a car is 25-30 years old. These help to the handle level. Mine are so used that they need to be reset. It was suggested that the shaft be heated and twisted, but I should have done that before it went for chrome. On the latch there is a disk that's pressed when the handles are set. If I can release it with my dremel, we'll reset it and tack it. So is our hope against droopy door handles.
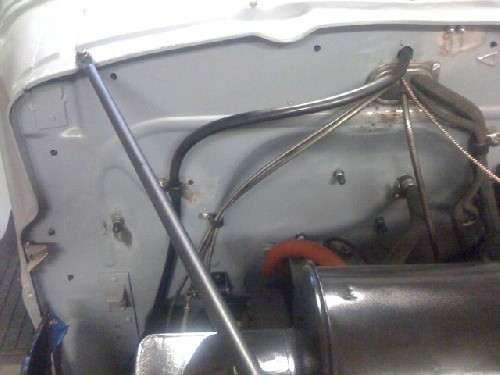
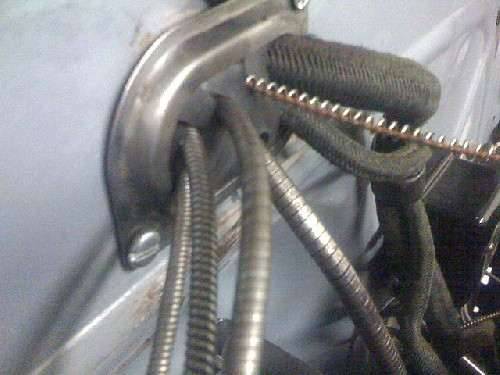
FIREWALL CABLING. I've been staring at and transferring that piece of rubber I bought from Steele Rubber from receptacle to receptacle designed to seal around the cables and wire conduit on the firewall. Finally tackled that and it came out well.
I also added the drain hose from the fresh air vent gutter. I couldn't find any black rubber hose the right size that had the ID matching the OD of the metal vent outlet tube and the OD to fit through the hole in the firewall, except for clear tubing. I bought that and sanded it a bit to dull the sheen, then painted it with black plastic lawn items paint.
PARTS TO PAINT SHOP At long last I took two loads of fenders and hood parts, misc items to begin their final stage of prep and painting. The shop uses water-based basecoat (Envirobase PPG) under urethane clear. The color is Blackhawk Gray Metallic, a dark warm (brownish) gray.
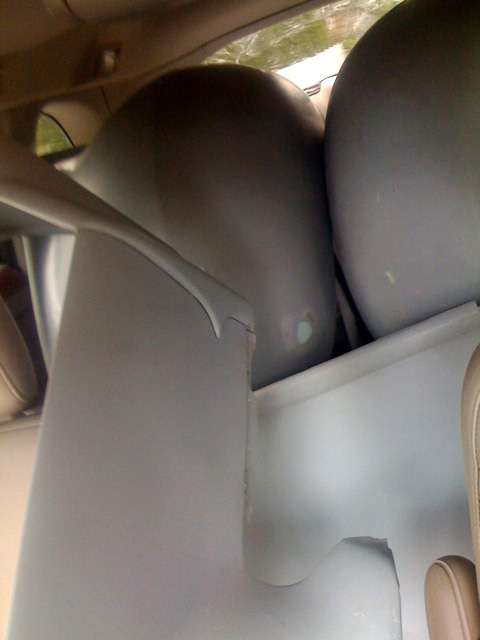
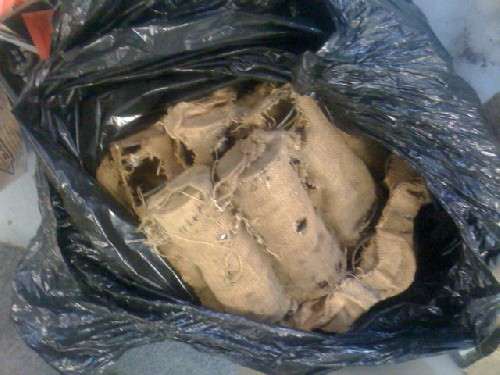
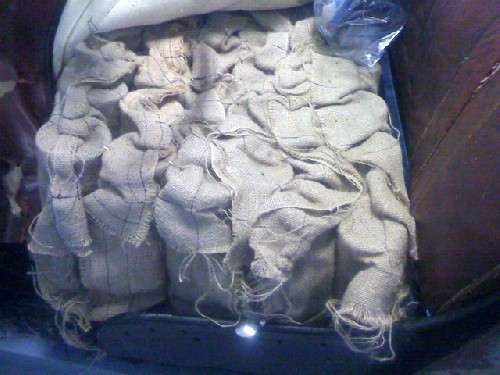
UPHOLSTERY I also have the upholstery job out to bid. The fellow who started it 5 years ago is too busy to start it right now. So hoping to have prices this week or next. Some of the work done was to make new panels for the front and rear doors, kick panels, rebundle the front seat springs. I don't know if I mentioned this earlier, but no points are taken off for replacing the springs with synthetic foam rubber, but new foam rubber isn't cheap either. And springs feel a lot different than foam because they travel with the weight of the sitter for a more comfortable, easy chair sensation. These seats were made like furniture. I think staying with the springs, even though re-bagging them is more labor.
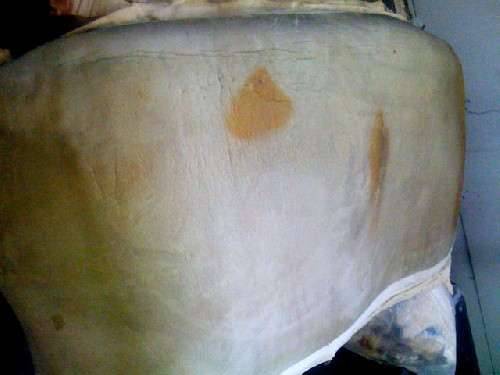
The original foam rubber on top of the springs is real rubber and is still resilient, so it's going back in.
I'm sending my vacuum wiper motor to the WiperMan.
Attach file:
 (49.49 KB)
(63.66 KB)
(220.90 KB)

(62.96 KB)
(53.51 KB)
(46.36 KB)
(54.67 KB)
(44.83 KB)
(50.75 KB)
(96.33 KB)

(48.74 KB)
(59.35 KB)
(36.65 KB)
(45.23 KB)
(65.30 KB)
(63.95 KB)
(46.09 KB)
(36.62 KB)

(35.97 KB)
AUTHENTICITY, TEXTURE MATTERS: I don't want to sound ungrateful, because people who support the hobby with parts are a god-send, BUT... It seems a minor amount of research would yield a more authentic replacement product.
Case in point, the firewall from one vendor has a sort of vinyl leatherette pattern and the edging is plain. The original is bumpy like pigskin, like a football....and you know today's footballs only mimic pigskin, so the pattern is available. Of course, the replacement hides in the dark under the dash and looks far better than my beta up original. Just saying.
Likewise the glove compartment of a 1940 is that taupe brown with a leatherette texture. The replacement I bought is flocked. Flocked? Well, when I run out of things to do on the Duchess I'll use the replacement to cut a pattern for something more authentic. (And I have visions of using the back half of the glove box to ditch all the digital gear, not very authentic, either. )
DOOR FRAME WOOD: The wood behind the rear doors was mostly solid. It appears to be laid in in 1/4 in. tongue in groove (vertically up the middle) layers. The right side screw holes were shot. The screws that hold the dove tail and strikers, totally shot. The big wood screws that hold the rear side metal panels alongside the rear seat rusted and did their share of damage. I read the thread here on drilling them out clean and filling them with dowel. I drilled holes with appropriate size bits and took the bits to Home depot for matching dowel.
The left side was too weak, but it was only the top 1/4-in. layer which pulled off easily. I cut a piece of plain floor moulding, because the profile from thick to slim matched the old piece. I notched it and used a dremel router attachment to make the 1/8" groove down the center. But that's all the wood I actually replaced. I also soaked everything in Minwax wood hardener. Maybe in another 70 years someone will still have something to work with.
DOOR HANDLES: Again with help from a thread on this site, I bought some 1/6th pins [edit: 1/16th-in.] 3/8" long and took my handles to my son's, John. He used his drill press to drill those tiny holes and we re-assembled the handles which had been disassembled for chroming.
We also installed the bobby pins that John Ulrich's website explains are nearly always broken by the time a car is 25-30 years old. These help to the handle level. Mine are so used that they need to be reset. It was suggested that the shaft be heated and twisted, but I should have done that before it went for chrome. On the latch there is a disk that's pressed when the handles are set. If I can release it with my dremel, we'll reset it and tack it. So is our hope against droopy door handles.
FIREWALL CABLING. I've been staring at and transferring that piece of rubber I bought from Steele Rubber from receptacle to receptacle designed to seal around the cables and wire conduit on the firewall. Finally tackled that and it came out well.
I also added the drain hose from the fresh air vent gutter. I couldn't find any black rubber hose the right size that had the ID matching the OD of the metal vent outlet tube and the OD to fit through the hole in the firewall, except for clear tubing. I bought that and sanded it a bit to dull the sheen, then painted it with black plastic lawn items paint.
PARTS TO PAINT SHOP At long last I took two loads of fenders and hood parts, misc items to begin their final stage of prep and painting. The shop uses water-based basecoat (Envirobase PPG) under urethane clear. The color is Blackhawk Gray Metallic, a dark warm (brownish) gray.
UPHOLSTERY I also have the upholstery job out to bid. The fellow who started it 5 years ago is too busy to start it right now. So hoping to have prices this week or next. Some of the work done was to make new panels for the front and rear doors, kick panels, rebundle the front seat springs. I don't know if I mentioned this earlier, but no points are taken off for replacing the springs with synthetic foam rubber, but new foam rubber isn't cheap either. And springs feel a lot different than foam because they travel with the weight of the sitter for a more comfortable, easy chair sensation. These seats were made like furniture. I think staying with the springs, even though re-bagging them is more labor.
The original foam rubber on top of the springs is real rubber and is still resilient, so it's going back in.
I'm sending my vacuum wiper motor to the WiperMan.
Attach file:
(49.49 KB) (63.66 KB)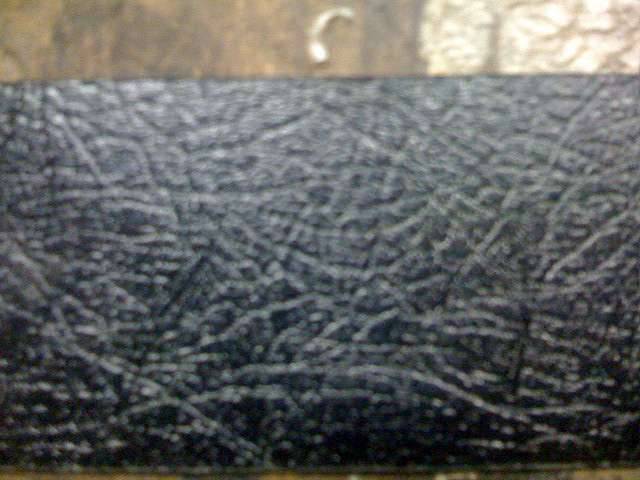 (220.90 KB)
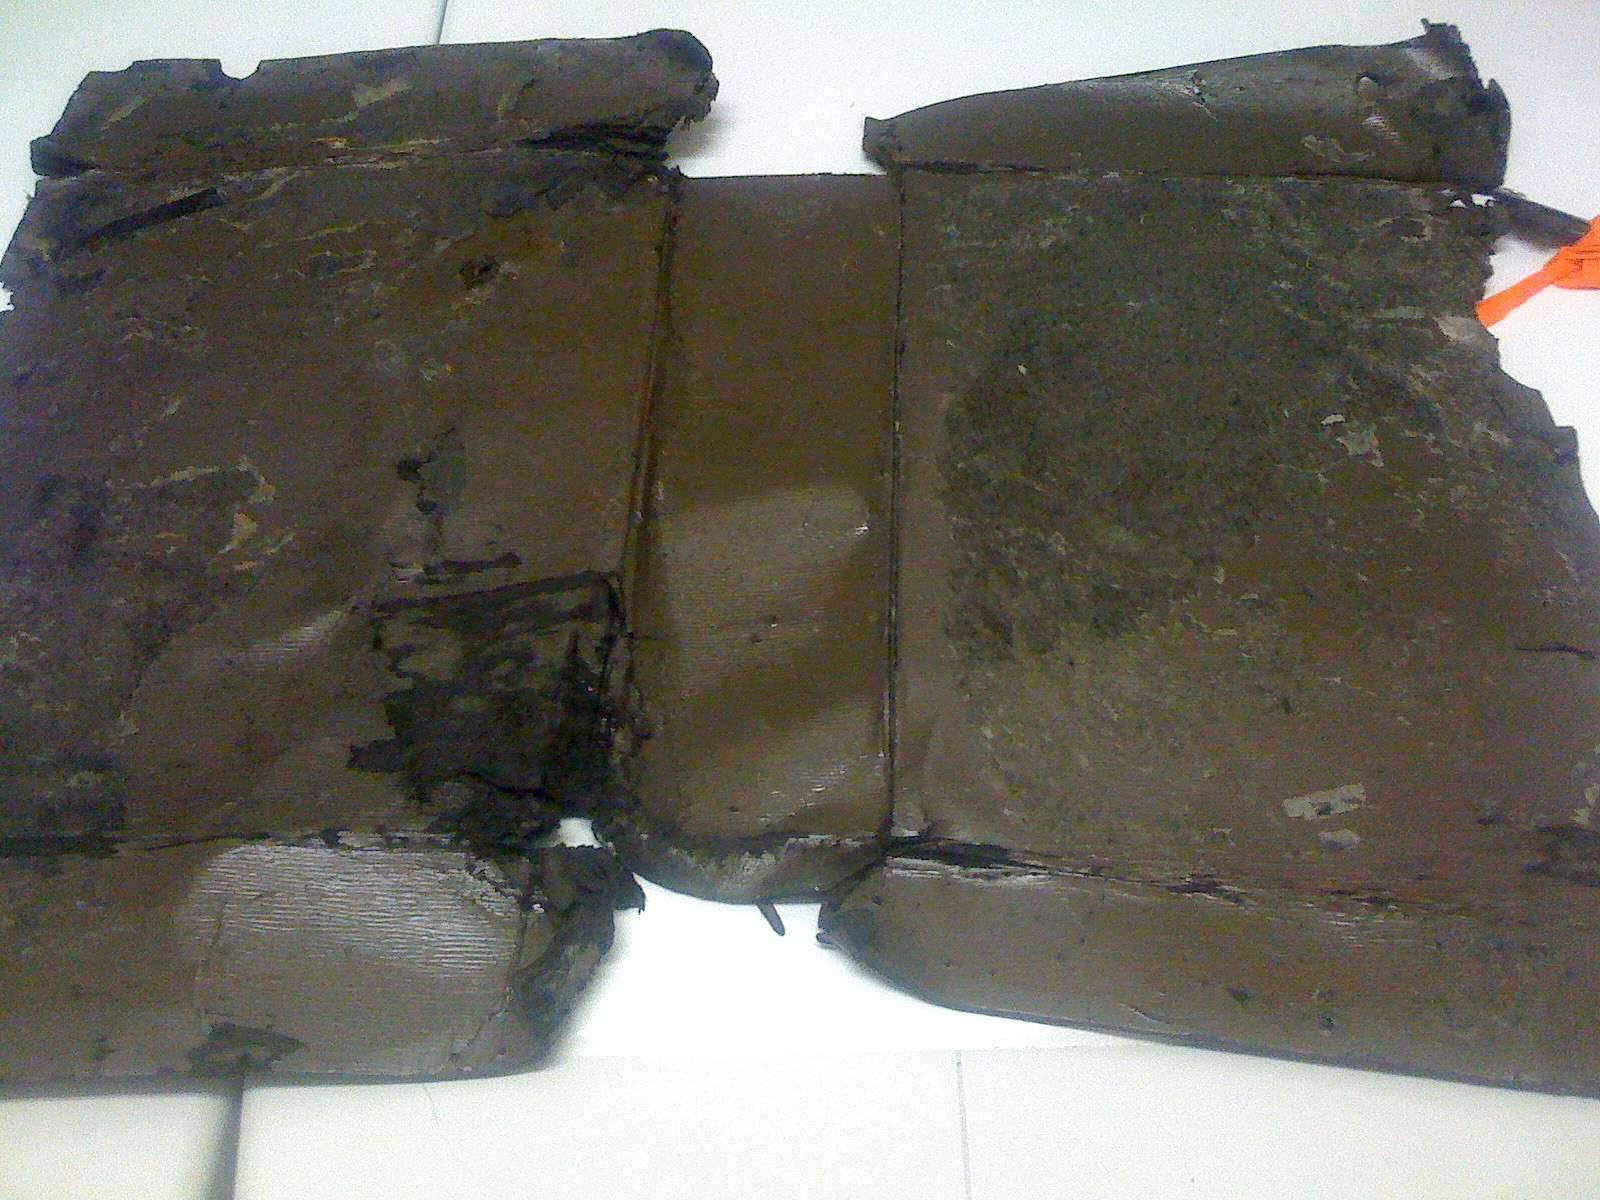 (62.96 KB)
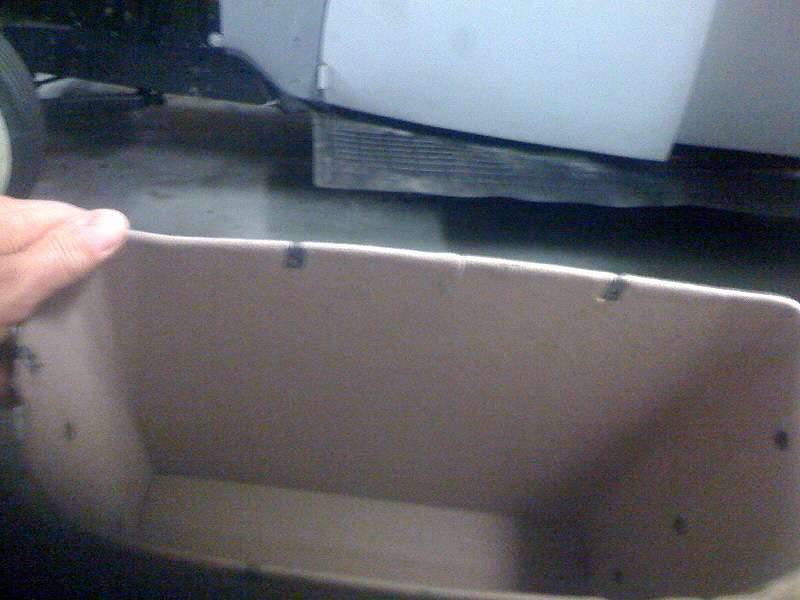 (53.51 KB) (46.36 KB) (54.67 KB) (44.83 KB) (50.75 KB) (96.33 KB)
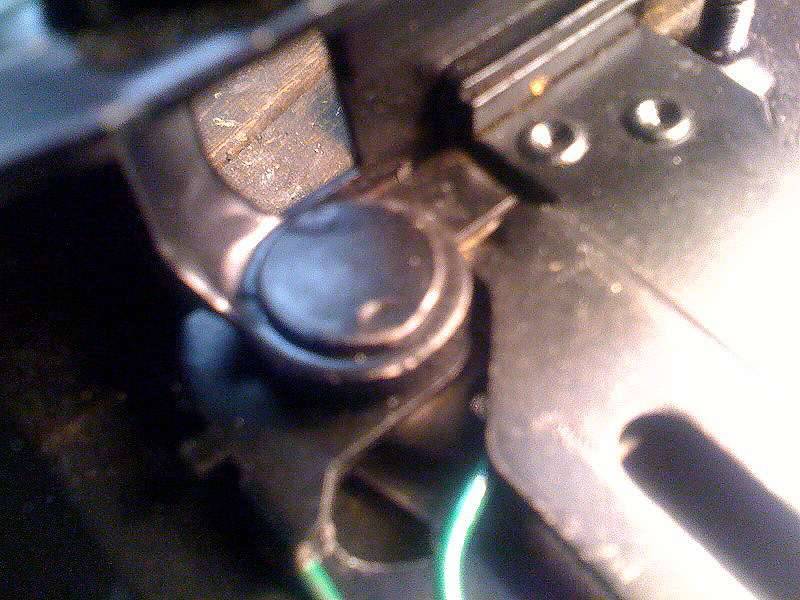 (48.74 KB)
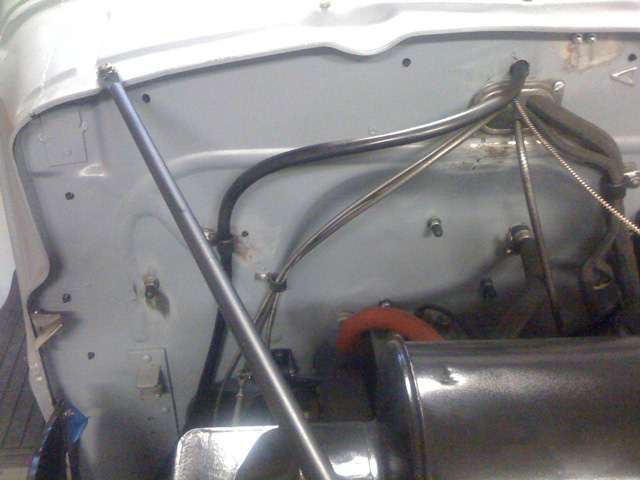 (59.35 KB)
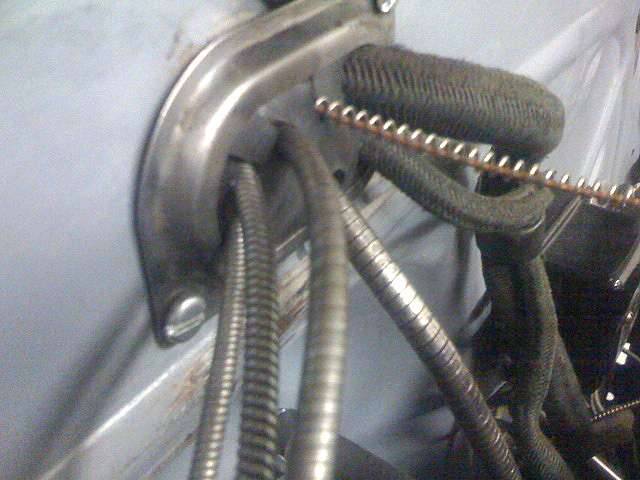 (36.65 KB) (45.23 KB) (65.30 KB)
 (63.95 KB)
 (46.09 KB)
 (36.62 KB)
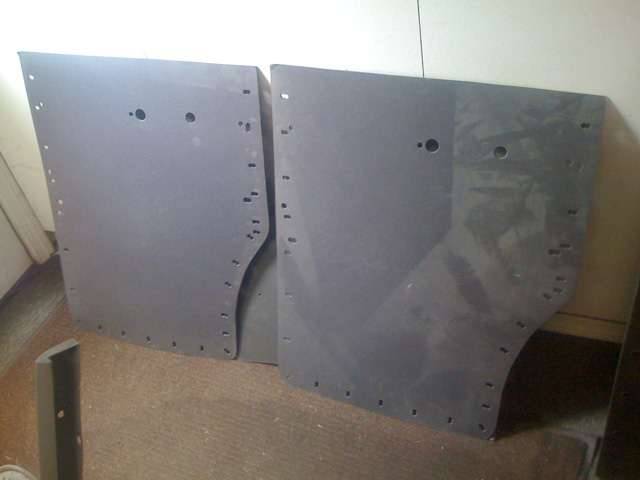 (35.97 KB)
This Post was from: https://packardinfo.com/xoops/html/modules/newbb/viewtopic.php?post_id=75580