Re: Adventures with a 1955 Clipper
Posted by JWL On 2011/8/6 16:39:55
Hello All,
Not much Packarding going on these days with family visits and constant extreme temperatures in the 105F or higher level.
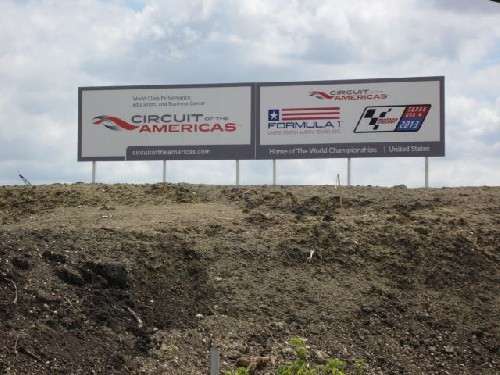
We visited the construction site of the Circuit of Americas during visit of son, grandson, and brother last week. This venue is to be the ten-year home of the US Formula One Grand Prix starting in 2012. Much work has been done in moving dirt for the track layout since I first visited the site in April. That visit was just prior to a big press conference where the facility's name was announced and much ballyhoo about sponsors and other events. It is also going to be the site of Moto GP motorcycle races starting in 2013, and the Australian Super Car series will race here too. Mal, are you reading this? The first photo is the sign that marked the site just before the naming. The second photo shows the current signs marking the property.
My efforts have been concentrated on the interior after success fashioning new mats and panels for the trunk. The interior work is a work in progress and more will be posted here (hopefully) soon.
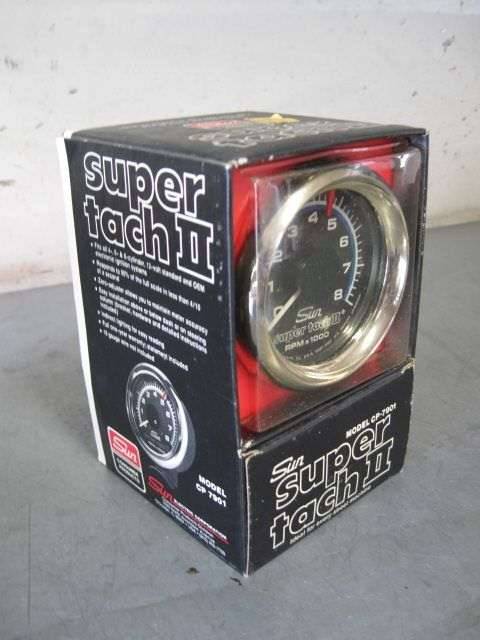
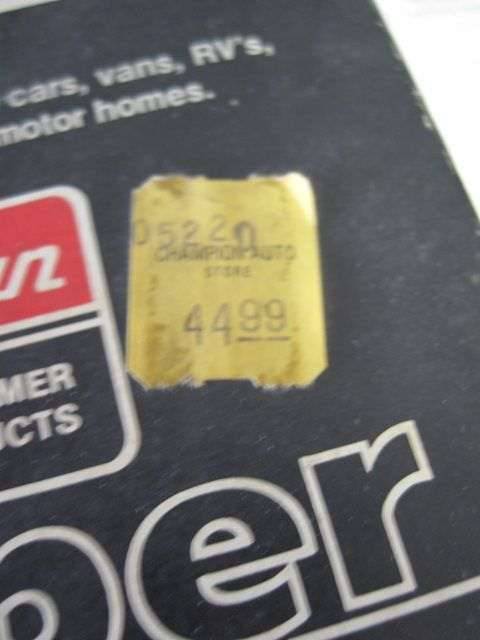
I did one job on the Fifty-five Clipper in a garage session before the trunk refurbishing. I installed a tachometer. Browsing eBay parts for sale I noticed a vintage Sun Tach being offered. It was NOS, in its box, and had never been installed. I guessed the tach was a late-1970s or early-1980s model. I opted for a Sun tach as this company had a reputation for making the best (and probably most expensive) automotive diagnostic and test equipment. Also, back in the day, a Sun tach perched on your instrument panel or mounted on the steering column was the mark of a discriminating driver. I thought the tach would go nicely with the Clipper, adding an aftermarket accessory that would have been installed when the car was newer. I won the bidding on the tach. Did you notice the price on the original tag? Needless to say, I paid a bit more than that amount.
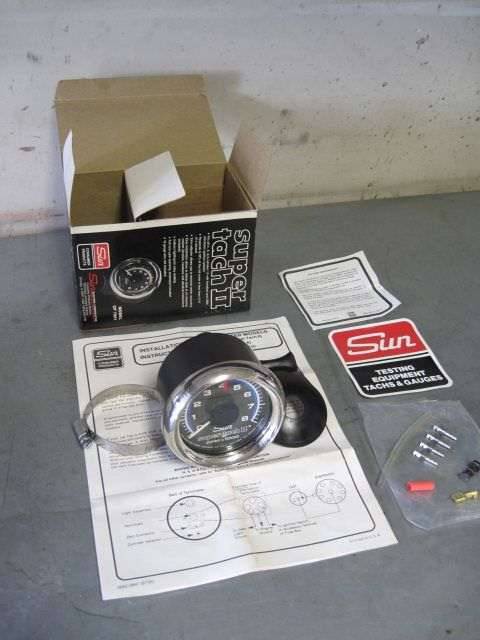
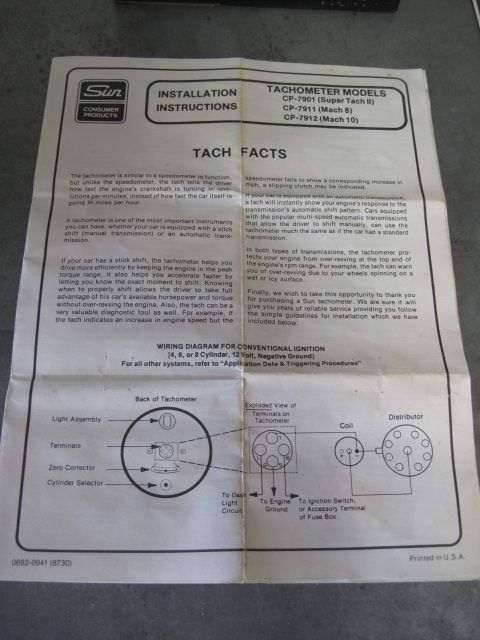
The installation was straightforward. I easily followed a nicely written instruction sheet detailing the installation of the well-designed and engineered instrument. All parts except for wire was furnished. The most difficult part was finding an instrument light wire to tap into. It is reassuring to know that I can still work under the instrument panel for long periods of time lying on my back. The problem is getting out from under the panel. One of these days I fear I will get down there and not be able to get out. This should make for an interesting situation.
I chose to mount the tach on the steering column using the bracket and clamp supplied with the kit. The clamp is a stainless steel aircraft type, which may be replaced when I can find a more attractive clamp. But then, this is what was used in the day. I positioned the tach so that no gauges are completely blocked. The tach can be removed at anytime in the future and leave no trace of it being on the car. But, right now I will enjoy watching the needle move as the engine speed varies.
Next time I hope to be posting more on the interior work. Thanks for taking time to read through this.
Take care
(o{}o)
Attach file:
 (137.35 KB)

(42.49 KB)
(36.09 KB)
(34.53 KB)
(35.05 KB)
(26.12 KB)
(36.93 KB)

Not much Packarding going on these days with family visits and constant extreme temperatures in the 105F or higher level.
We visited the construction site of the Circuit of Americas during visit of son, grandson, and brother last week. This venue is to be the ten-year home of the US Formula One Grand Prix starting in 2012. Much work has been done in moving dirt for the track layout since I first visited the site in April. That visit was just prior to a big press conference where the facility's name was announced and much ballyhoo about sponsors and other events. It is also going to be the site of Moto GP motorcycle races starting in 2013, and the Australian Super Car series will race here too. Mal, are you reading this? The first photo is the sign that marked the site just before the naming. The second photo shows the current signs marking the property.
My efforts have been concentrated on the interior after success fashioning new mats and panels for the trunk. The interior work is a work in progress and more will be posted here (hopefully) soon.
I did one job on the Fifty-five Clipper in a garage session before the trunk refurbishing. I installed a tachometer. Browsing eBay parts for sale I noticed a vintage Sun Tach being offered. It was NOS, in its box, and had never been installed. I guessed the tach was a late-1970s or early-1980s model. I opted for a Sun tach as this company had a reputation for making the best (and probably most expensive) automotive diagnostic and test equipment. Also, back in the day, a Sun tach perched on your instrument panel or mounted on the steering column was the mark of a discriminating driver. I thought the tach would go nicely with the Clipper, adding an aftermarket accessory that would have been installed when the car was newer. I won the bidding on the tach. Did you notice the price on the original tag? Needless to say, I paid a bit more than that amount.
The installation was straightforward. I easily followed a nicely written instruction sheet detailing the installation of the well-designed and engineered instrument. All parts except for wire was furnished. The most difficult part was finding an instrument light wire to tap into. It is reassuring to know that I can still work under the instrument panel for long periods of time lying on my back. The problem is getting out from under the panel. One of these days I fear I will get down there and not be able to get out. This should make for an interesting situation.
I chose to mount the tach on the steering column using the bracket and clamp supplied with the kit. The clamp is a stainless steel aircraft type, which may be replaced when I can find a more attractive clamp. But then, this is what was used in the day. I positioned the tach so that no gauges are completely blocked. The tach can be removed at anytime in the future and leave no trace of it being on the car. But, right now I will enjoy watching the needle move as the engine speed varies.
Next time I hope to be posting more on the interior work. Thanks for taking time to read through this.
Take care
(o{}o)
Attach file:
(137.35 KB) (42.49 KB)
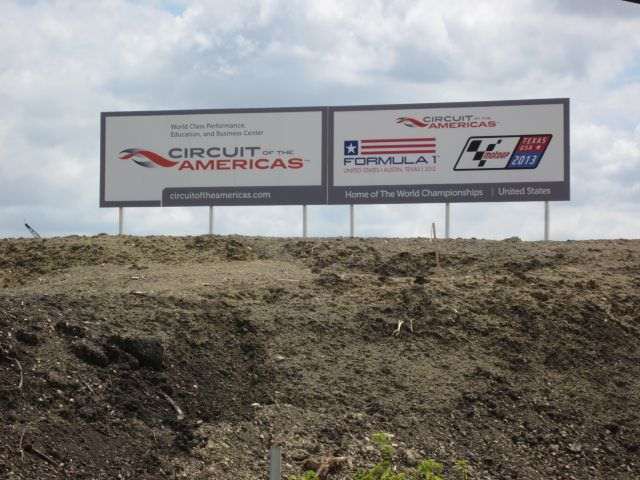 (36.09 KB) (34.53 KB) (35.05 KB) (26.12 KB) (36.93 KB)
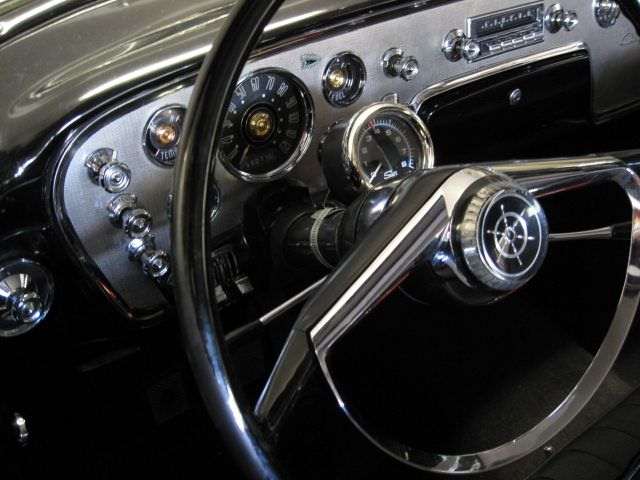
This Post was from: https://packardinfo.com/xoops/html/modules/newbb/viewtopic.php?post_id=83226