Re: Jeff's 48 Custom 8 Victoria Project
Posted by bigmoparjeff On 2013/10/11 3:01:22
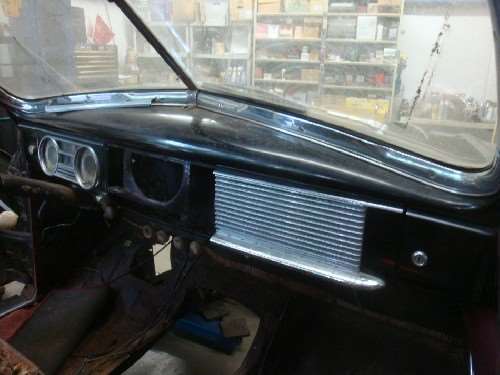
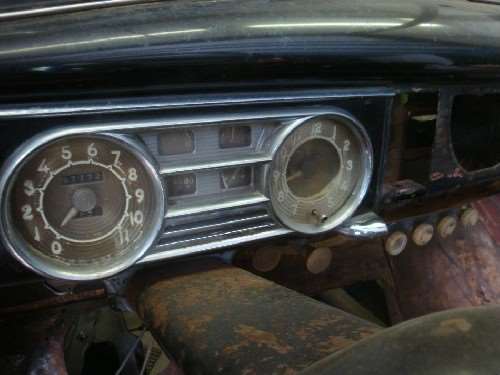
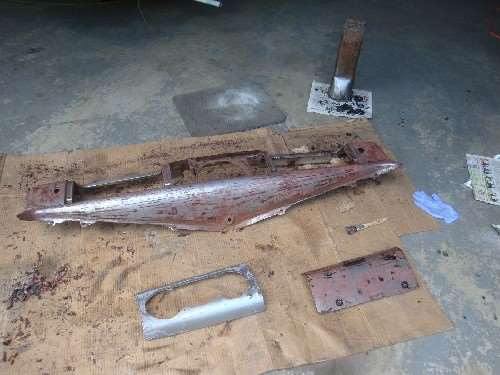
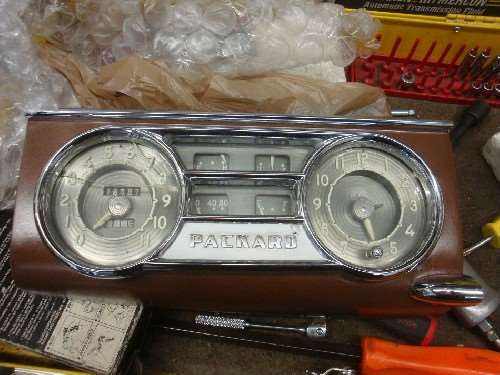
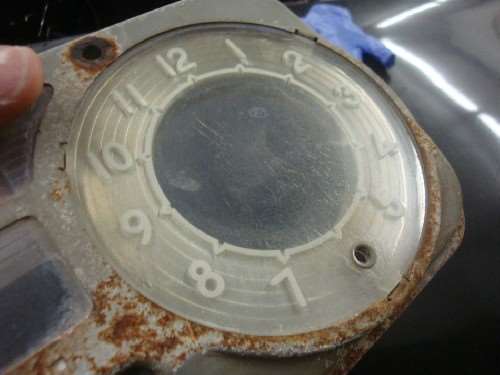
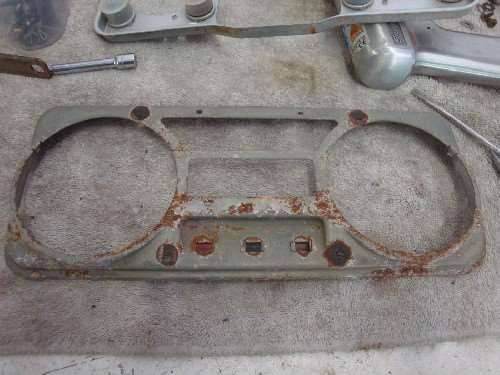
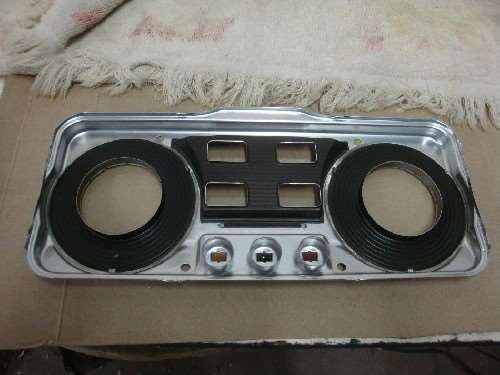
I think I'll title this chapter " Dash Disaster". I believe I mentioned that I'm convinced this car was used for years with no top on it, and exposure to the weather really took a toll on the dash. The paint was crazed, with rust forming in all the cracks. The gauge cluster was in really sad shape. The plastic dials were stress cracked and the finish on the gauge faces was faded and failing. Much of the chromed pot metal parts were pitted fairly bad. Due to time and budget restraints, my original intention was to leave the dash as is and just replace the wiring harness. After studying the tight working area up behind the cluster and then noticing that the power window harness ran behind the firewall insulation pad, I decided that it would be best to pull the dash. I then got news that the owner of the car had scored a real nice gauge cluster and center switch panel on ebay, so that sealed the deal that the dash was coming out for refurbishing.
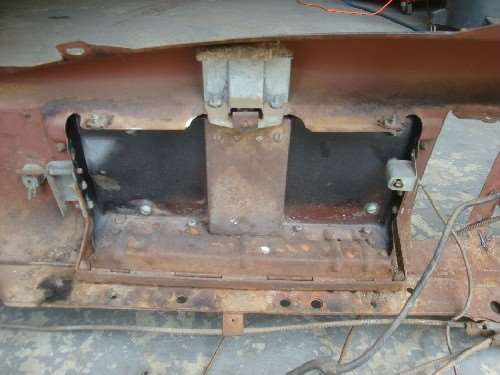
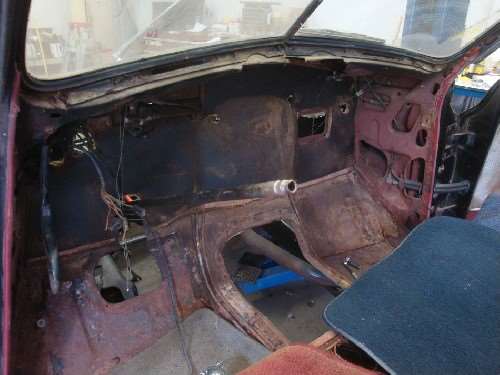
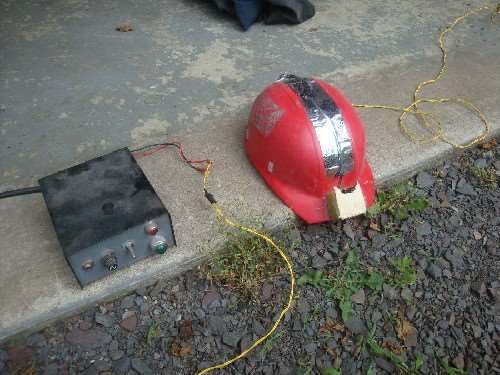
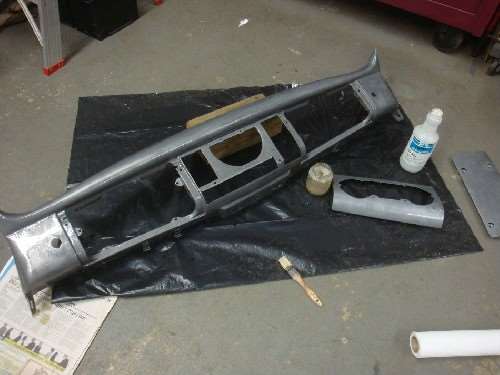
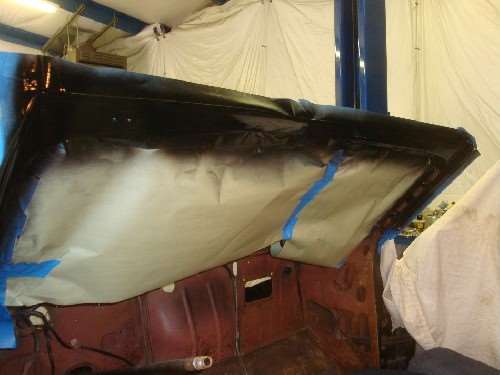
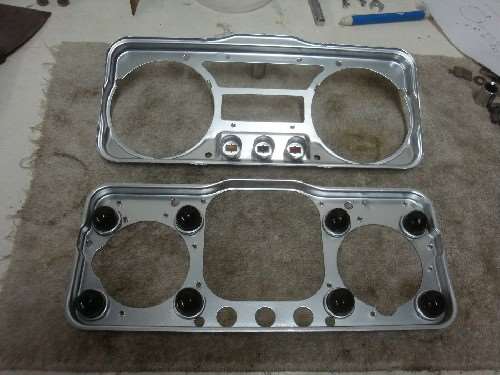
Removal of the steering column and dash was pretty straightforward. The hardest task was removing the screws for the cowl vent cables down behind the fenders. The wiring was so petrified, that I just cut it up into short sections for removal, since you could not bend it at all. The dash assy was disassembled and the paint removed with chemical stripper. Since the dash was too big for the blast cabinet, it got sandblasted outside. I included some pics of my custom, power ventilated sandblasting helmet that's part of my blasting hood. The fan does a great job of keeping my glasses from fogging up, and keeps my face fairly cool. After blasting, I treated the metal with phosphoric acid to kill any residual rust. Next came a coat of self etching primer and a finish coat of PPG black acrylic enamel paint that I had left over from another project.
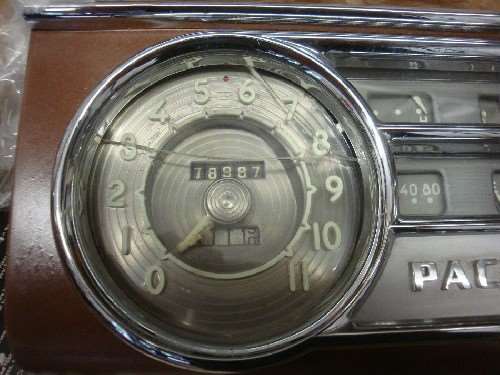
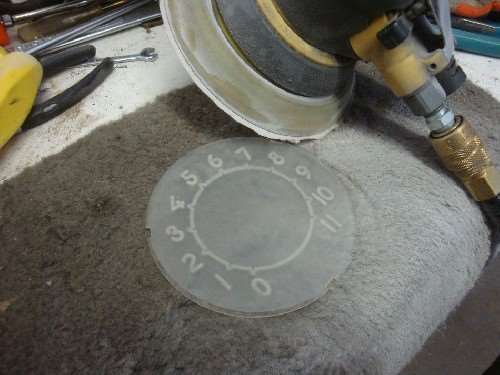
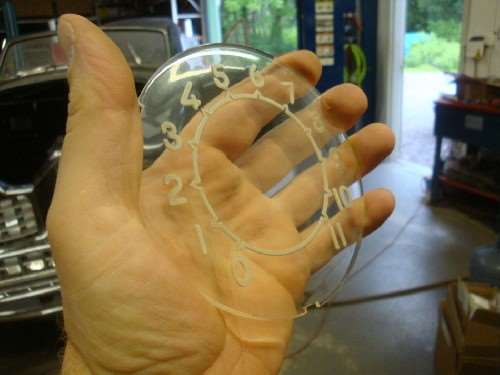
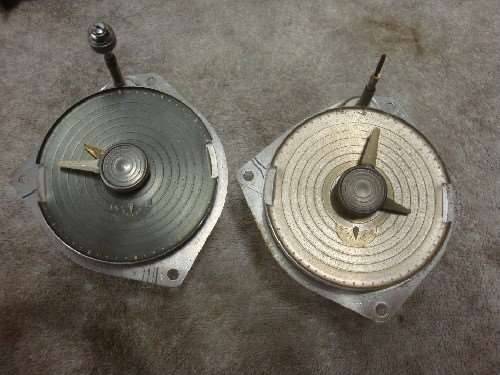
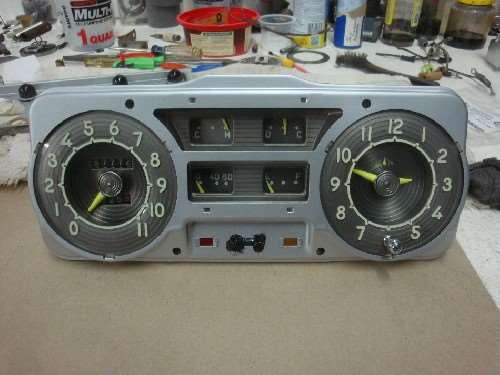
Other than the dash itself starting out as a disaster, the real disaster came when I opened up the box that the new cluster came in. Much of this cluster was as close to mint condition as you could ever hope for, especially the plastic dial lenses. I was horrified to find the speedometer lens got smashed during shipping. The seller had nicely wrapped the cluster and the switch panel separately in bubble wrap, but then packed them in the box with the switch housings pointed towards the dial faces. One of the switches punched right through the speedometer face. So hard, that it dented the outer aluminum ring behind the dial lens and scratched the inner face of the speedometer. This incident, that shouldn't have happened in the first place, turned an easy job into a nightmare. First off, I decided to see if I could salvage the original spedo lens. It had stress cracks in the surface, but not nearly as bad as the clock. I sanded the lens with my DA and 220 grit paper till the cracks were gone, then wet sanded in stages from 400 grit all the way to 2000. I then polished it with plastic polish. The lens looked like new again, though it was quite a bit thinner than it started. All I needed to do now was duplicate the paint inside the numbers, as the original paint had all flaked off. This part seemed like it would be fairly simple, but turned out to be a real problem. I bought glow-in-the-dark paint from United Nuclear. When first applied, it would look great, but as it dried it would shrink a lot and form holes in the bottoms of the numbers. No matter how many coats I applied, the holes would reappear in the same spots. The paint would also turn transparent as it dried. After 5 coats it did glow nice once charged up, but it did not react immediately to UV light like the factory markings did. I had the same issue with the gauge needles. I painted them white first, then applied a few coats of the glow-in-the-dark paint. They would glow after being charged up, but just looked white under direct UV light. It turns out that the paint that Packard used on the gauges isn't just phosphoric, but it's also fluorescent. After investing over 6 hours of labor into the speedometer lens, it was time to admit defeat. I called Max Merritt and ordered up an NOS spedo lens. Though the lens was hopeless, I was pretty sure that I could get the gauge needles to glow correctly. I bought a can of fluorescent yellow paint to paint the needles with. I scraped all the previous paint off the needles, then they got two coats of flat white, a coat of the yellow, and two thick coats of the glow-in-the dark-paint. The needles came out a brighter yellow than original, but they glow real nice under the UV light. I think they look kind of cool in the yellow.
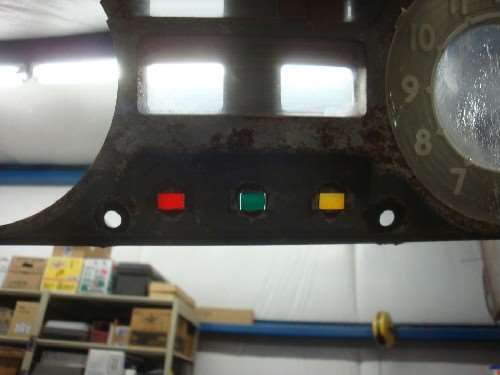
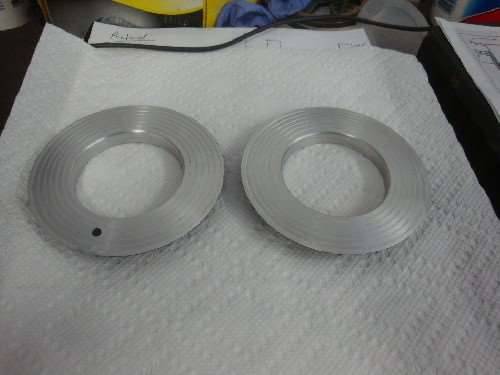
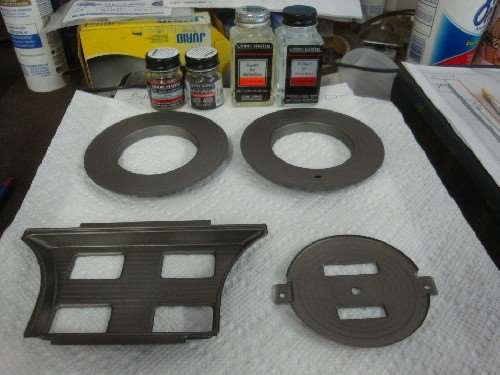
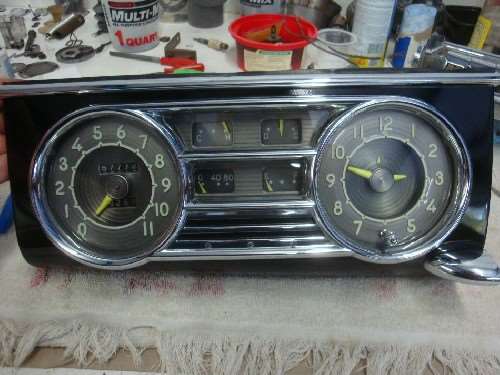
The next challenge would be to match the metallic-like look of the outer gauge rings. The new cluster is a 1950, and the gauge faces are a different color than the 1948 gauges. The 1950 spedo ring was damaged beyond repair, plus both 1950 rings had a small hole in the top for the high beam and turn signal indicators. The 1948 dash has the indicators in the chrome bezel, between the dials, therefore there are no holes in the rings. I needed to use the 1950 clock and secondary gauges, so I would have to make the 1948 rings match them. I mixed two different Testors "Metalizer" colors together to get the color that I needed. The color is almost dead-on, though not quite as shiny and transparent as the original finish. I was able to dust on a little paint to hide the scratch that was on the inner spedo face. I painted the entire 1948 spedo face as a backup, but didn't need to use it. I did end up using the 1948 speedometer head, since it was in better mechanical shape than the 1950 spedo.
Overall, it turned out to be a huge amount of work that really slowed down progress on the car, though I think all the aggravation was worthwhile. The dash was almost disgusting before, but now it looks great, and it's one less thing that will have to be done when the car reaches Sweden. Saved a lot of money too, having me do it instead of a professional shop.
June 2013 to present. Dash Disaster:
Attach file:
 (68.95 KB)
(66.49 KB)
(85.25 KB)

(98.64 KB)

(71.71 KB)
(77.92 KB)
(88.80 KB)

(79.40 KB)

(91.23 KB)
(114.16 KB)

(114.43 KB)
(60.77 KB)

(69.33 KB)
(133.56 KB)

(130.24 KB)

(62.18 KB)
(96.40 KB)
(93.10 KB)
(60.00 KB)
(79.93 KB)
(56.99 KB)
(49.89 KB)
(79.42 KB)
(98.38 KB)
(56.93 KB)
(73.53 KB)
(96.70 KB)
(87.78 KB)
(73.12 KB)
(78.90 KB)
(96.57 KB)
Removal of the steering column and dash was pretty straightforward. The hardest task was removing the screws for the cowl vent cables down behind the fenders. The wiring was so petrified, that I just cut it up into short sections for removal, since you could not bend it at all. The dash assy was disassembled and the paint removed with chemical stripper. Since the dash was too big for the blast cabinet, it got sandblasted outside. I included some pics of my custom, power ventilated sandblasting helmet that's part of my blasting hood. The fan does a great job of keeping my glasses from fogging up, and keeps my face fairly cool. After blasting, I treated the metal with phosphoric acid to kill any residual rust. Next came a coat of self etching primer and a finish coat of PPG black acrylic enamel paint that I had left over from another project.
Other than the dash itself starting out as a disaster, the real disaster came when I opened up the box that the new cluster came in. Much of this cluster was as close to mint condition as you could ever hope for, especially the plastic dial lenses. I was horrified to find the speedometer lens got smashed during shipping. The seller had nicely wrapped the cluster and the switch panel separately in bubble wrap, but then packed them in the box with the switch housings pointed towards the dial faces. One of the switches punched right through the speedometer face. So hard, that it dented the outer aluminum ring behind the dial lens and scratched the inner face of the speedometer. This incident, that shouldn't have happened in the first place, turned an easy job into a nightmare. First off, I decided to see if I could salvage the original spedo lens. It had stress cracks in the surface, but not nearly as bad as the clock. I sanded the lens with my DA and 220 grit paper till the cracks were gone, then wet sanded in stages from 400 grit all the way to 2000. I then polished it with plastic polish. The lens looked like new again, though it was quite a bit thinner than it started. All I needed to do now was duplicate the paint inside the numbers, as the original paint had all flaked off. This part seemed like it would be fairly simple, but turned out to be a real problem. I bought glow-in-the-dark paint from United Nuclear. When first applied, it would look great, but as it dried it would shrink a lot and form holes in the bottoms of the numbers. No matter how many coats I applied, the holes would reappear in the same spots. The paint would also turn transparent as it dried. After 5 coats it did glow nice once charged up, but it did not react immediately to UV light like the factory markings did. I had the same issue with the gauge needles. I painted them white first, then applied a few coats of the glow-in-the-dark paint. They would glow after being charged up, but just looked white under direct UV light. It turns out that the paint that Packard used on the gauges isn't just phosphoric, but it's also fluorescent. After investing over 6 hours of labor into the speedometer lens, it was time to admit defeat. I called Max Merritt and ordered up an NOS spedo lens. Though the lens was hopeless, I was pretty sure that I could get the gauge needles to glow correctly. I bought a can of fluorescent yellow paint to paint the needles with. I scraped all the previous paint off the needles, then they got two coats of flat white, a coat of the yellow, and two thick coats of the glow-in-the dark-paint. The needles came out a brighter yellow than original, but they glow real nice under the UV light. I think they look kind of cool in the yellow.
The next challenge would be to match the metallic-like look of the outer gauge rings. The new cluster is a 1950, and the gauge faces are a different color than the 1948 gauges. The 1950 spedo ring was damaged beyond repair, plus both 1950 rings had a small hole in the top for the high beam and turn signal indicators. The 1948 dash has the indicators in the chrome bezel, between the dials, therefore there are no holes in the rings. I needed to use the 1950 clock and secondary gauges, so I would have to make the 1948 rings match them. I mixed two different Testors "Metalizer" colors together to get the color that I needed. The color is almost dead-on, though not quite as shiny and transparent as the original finish. I was able to dust on a little paint to hide the scratch that was on the inner spedo face. I painted the entire 1948 spedo face as a backup, but didn't need to use it. I did end up using the 1948 speedometer head, since it was in better mechanical shape than the 1950 spedo.
Overall, it turned out to be a huge amount of work that really slowed down progress on the car, though I think all the aggravation was worthwhile. The dash was almost disgusting before, but now it looks great, and it's one less thing that will have to be done when the car reaches Sweden. Saved a lot of money too, having me do it instead of a professional shop.
June 2013 to present. Dash Disaster:
Attach file:
(68.95 KB)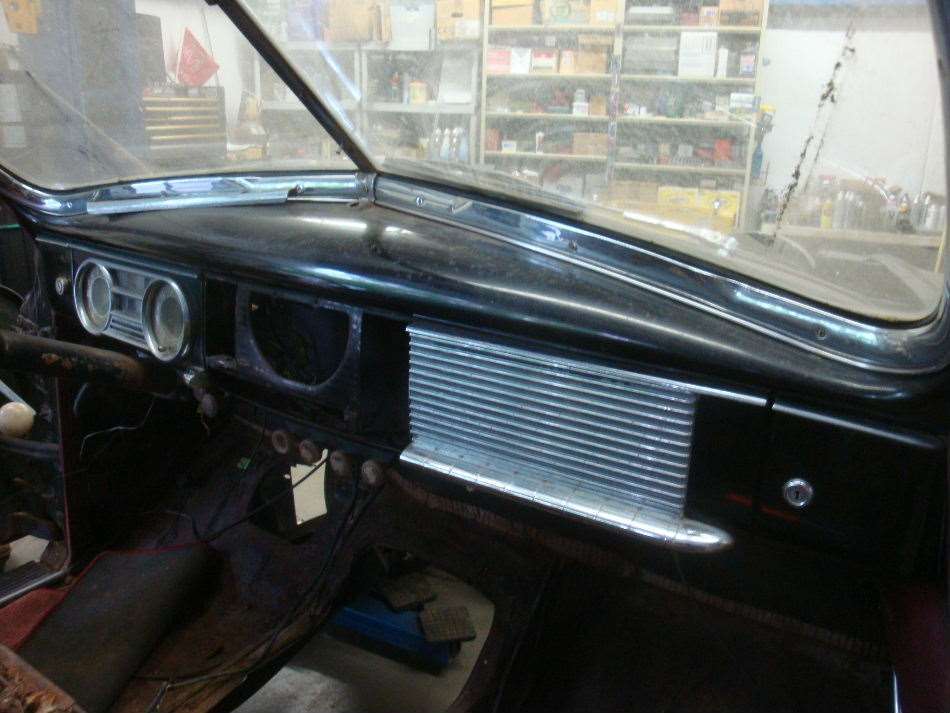 (66.49 KB)
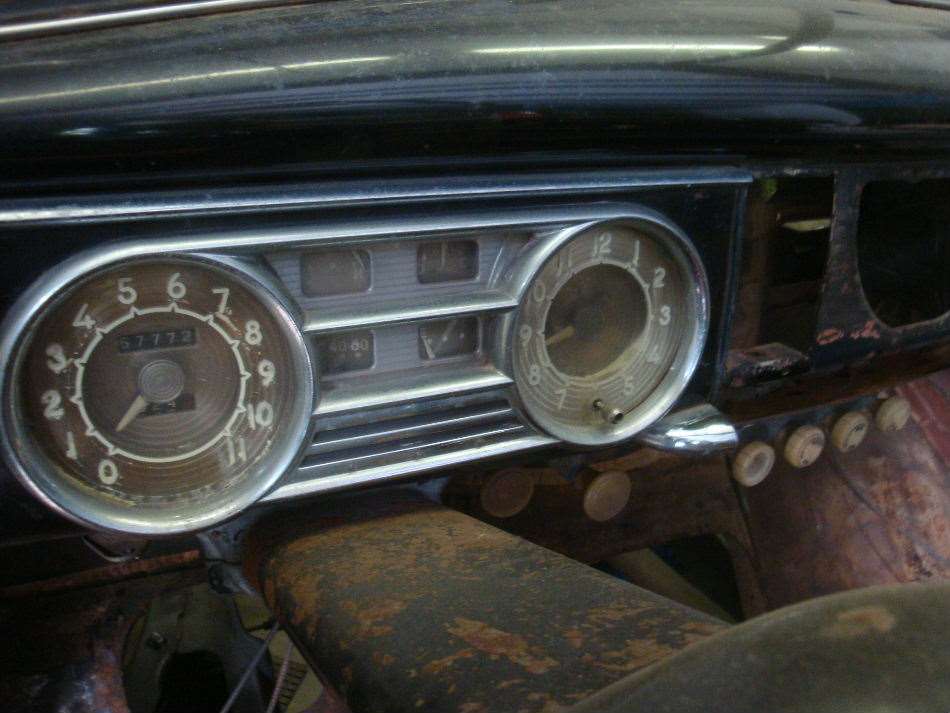 (85.25 KB)
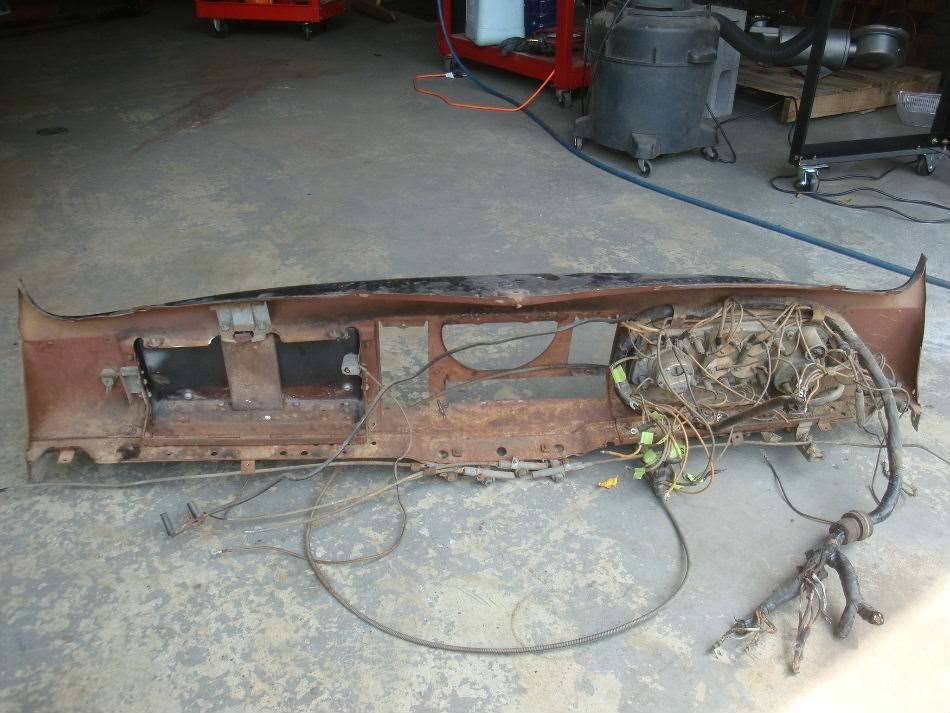 (98.64 KB)
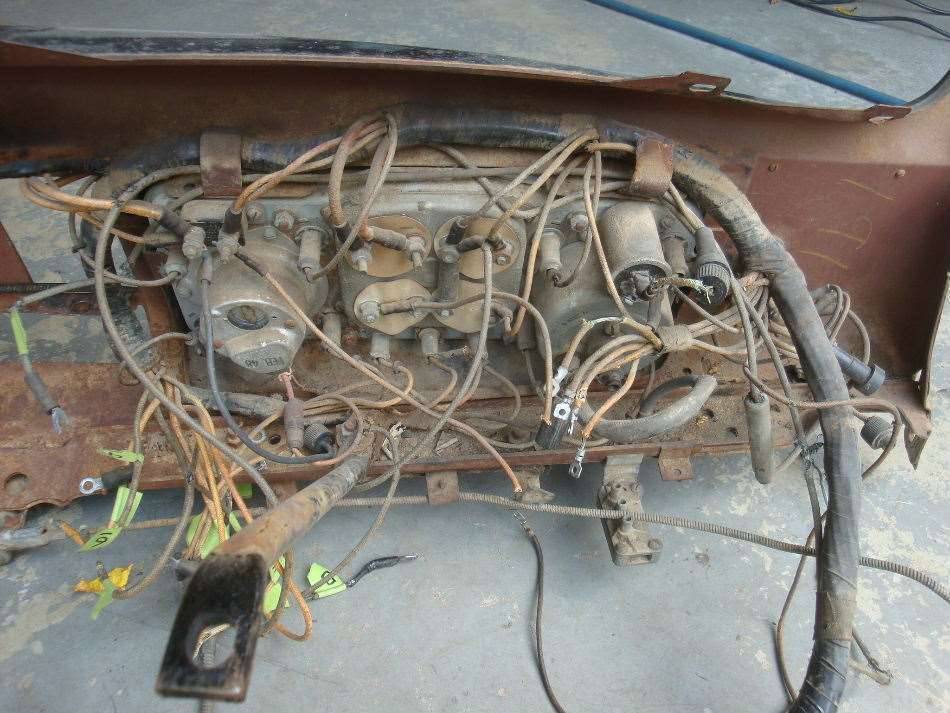 (71.71 KB)
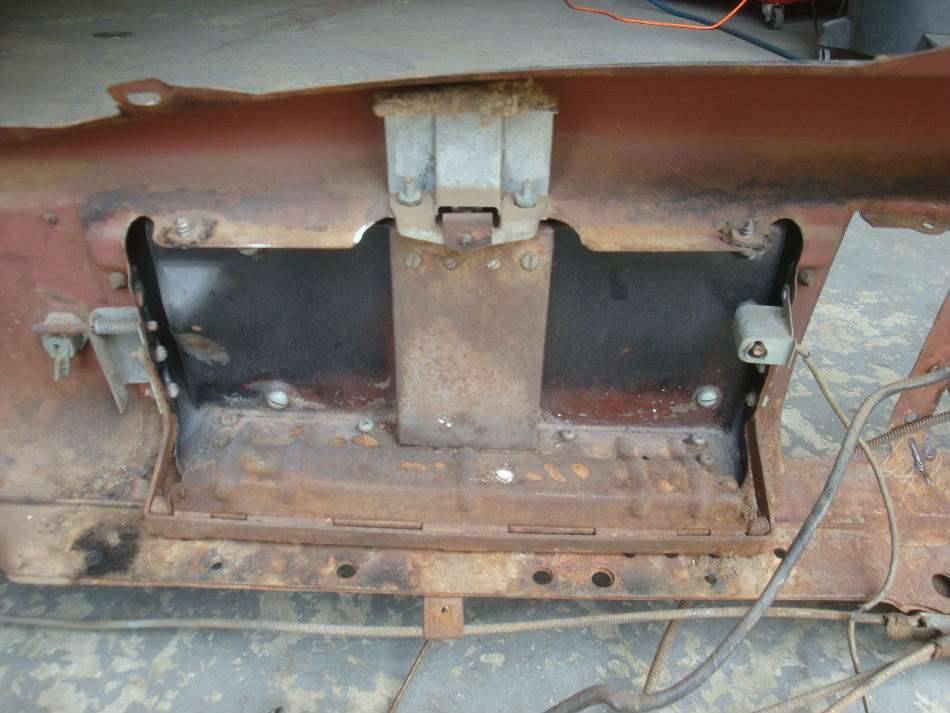 (77.92 KB)
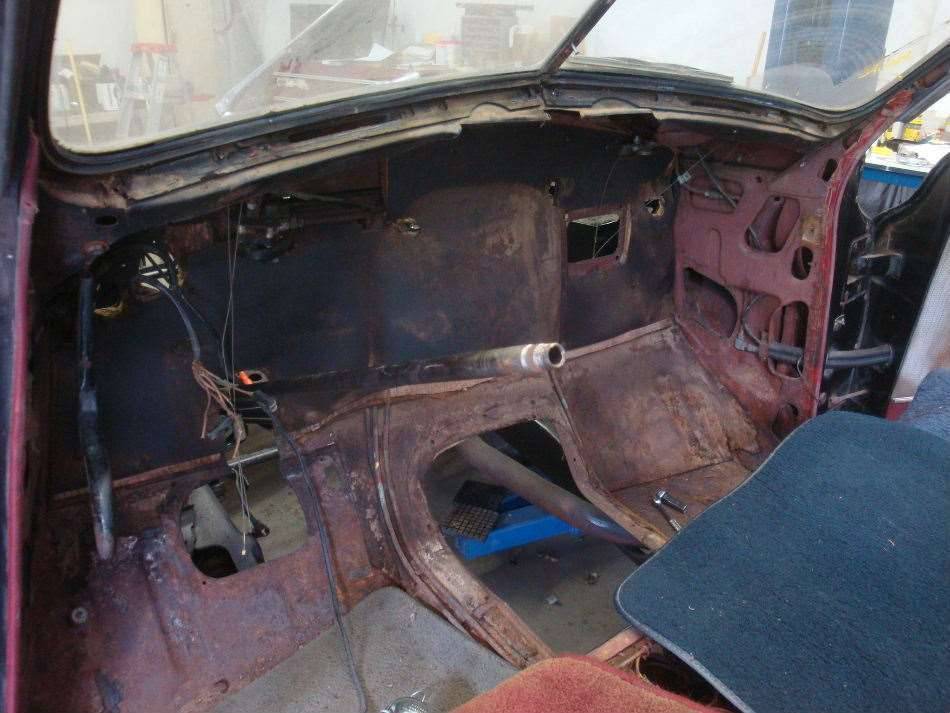 (88.80 KB)
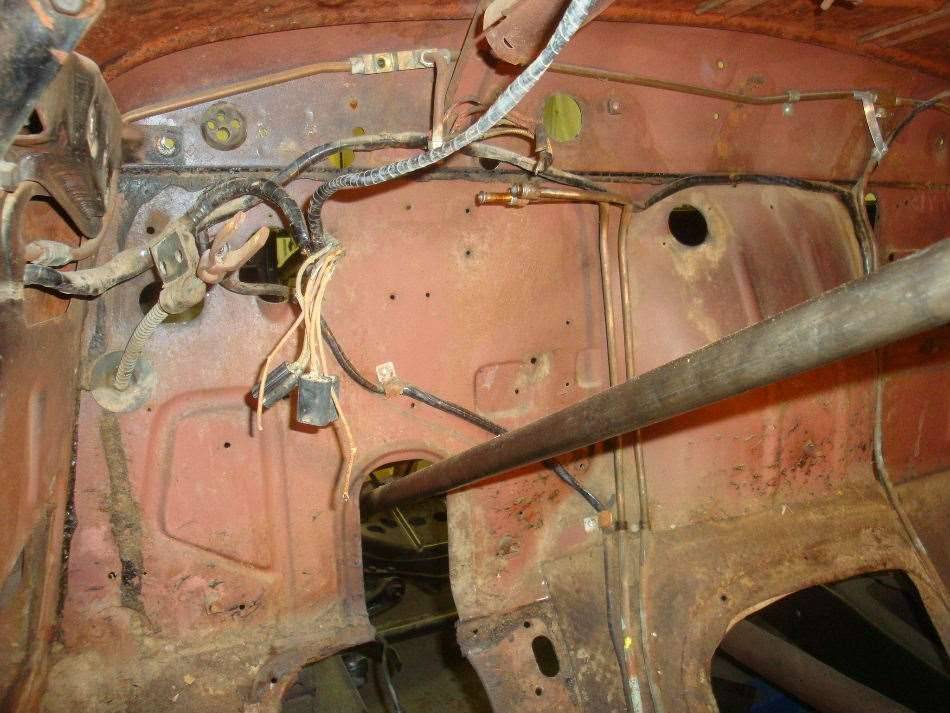 (79.40 KB)
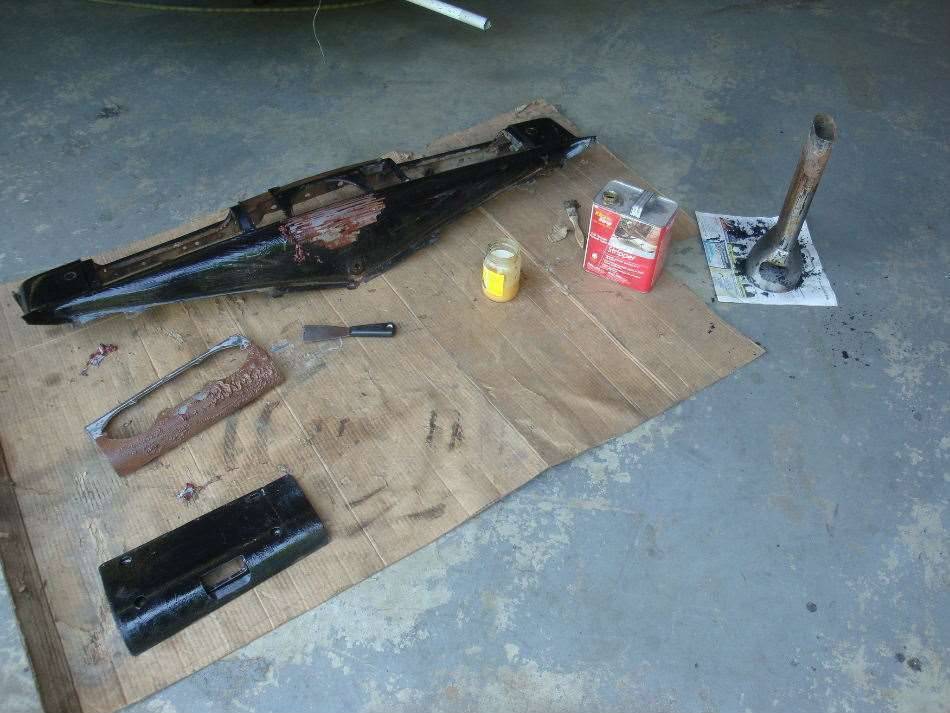 (91.23 KB)
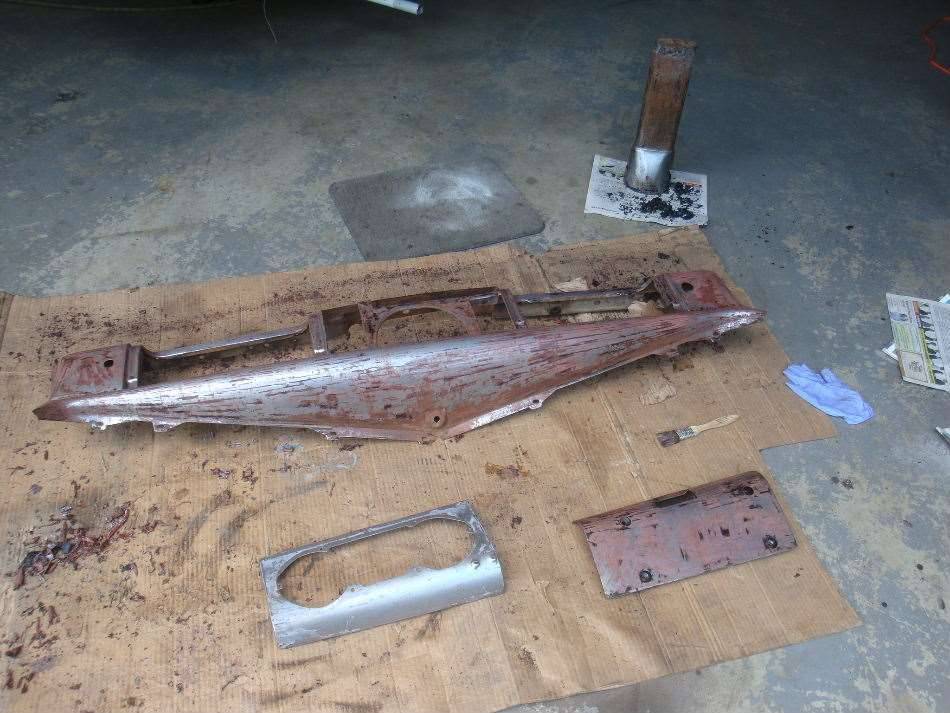 (114.16 KB)
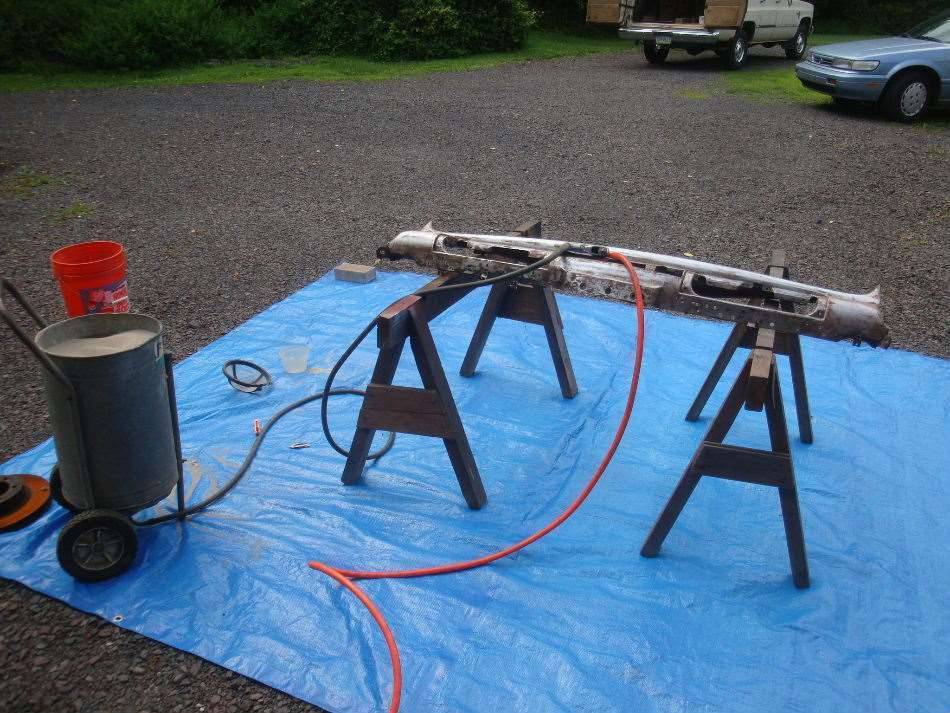 (114.43 KB)
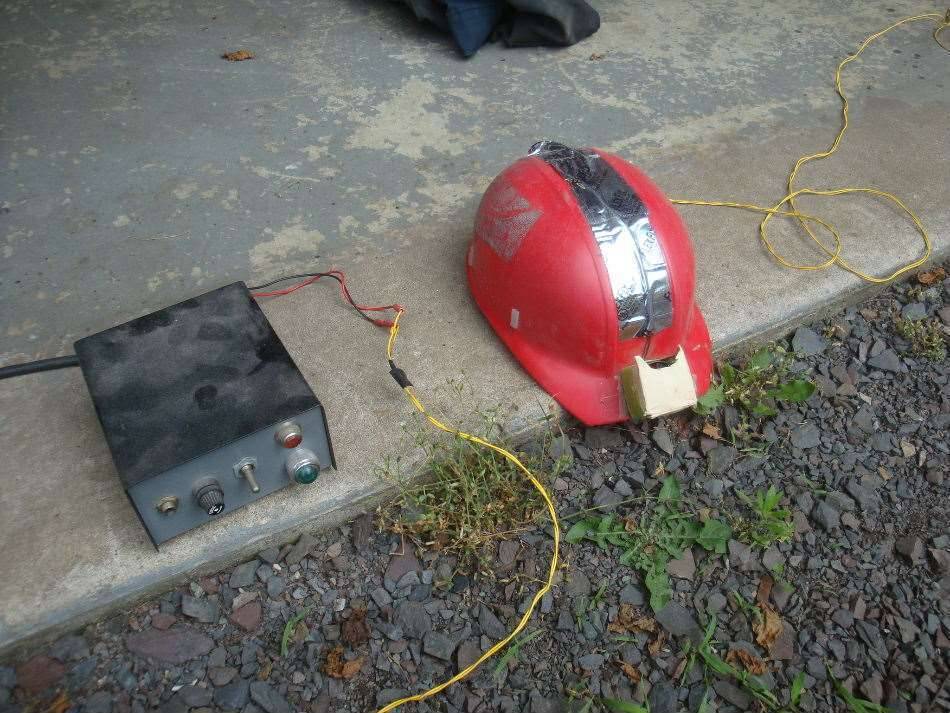 (60.77 KB)
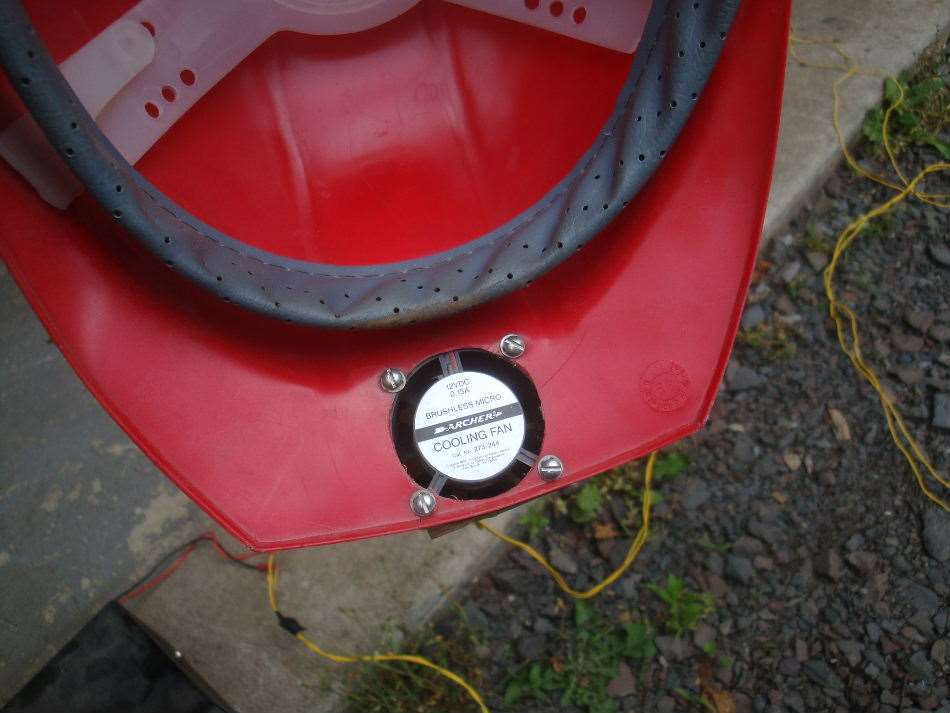 (69.33 KB)
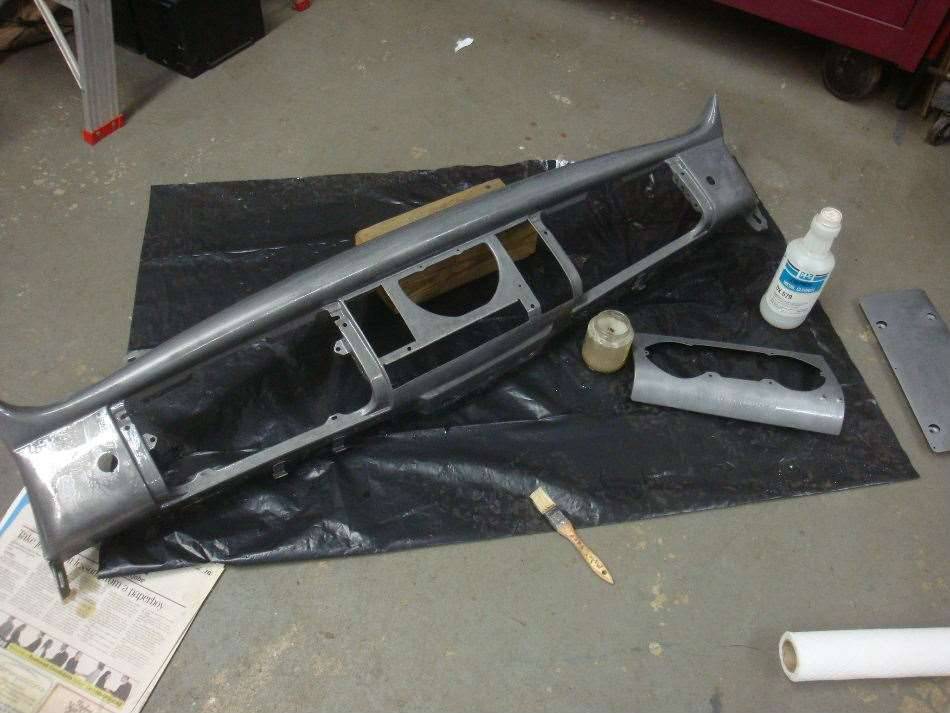 (133.56 KB)
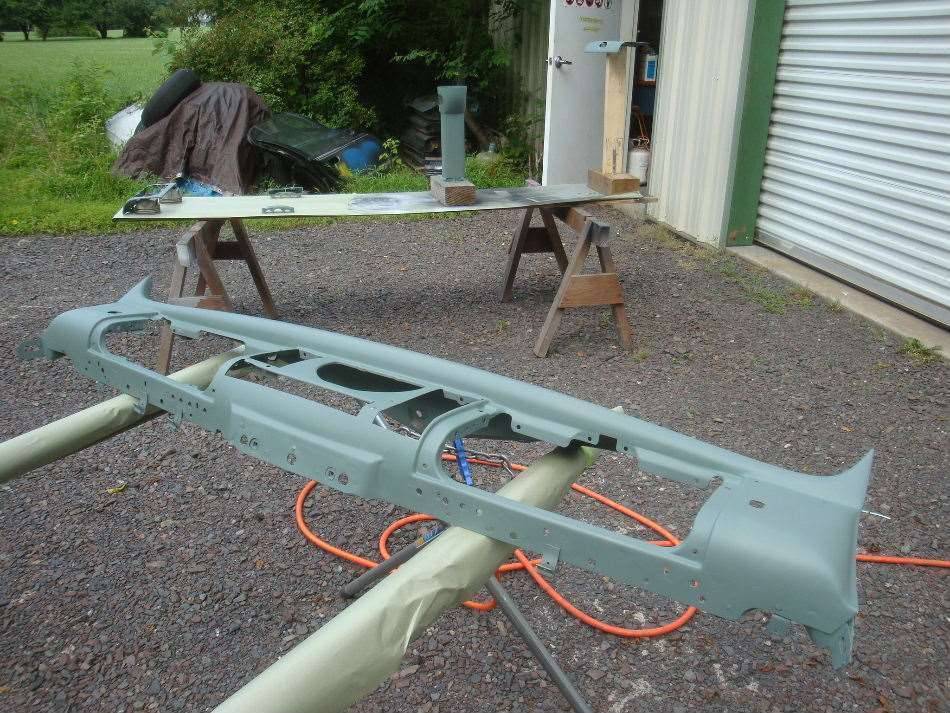 (130.24 KB)
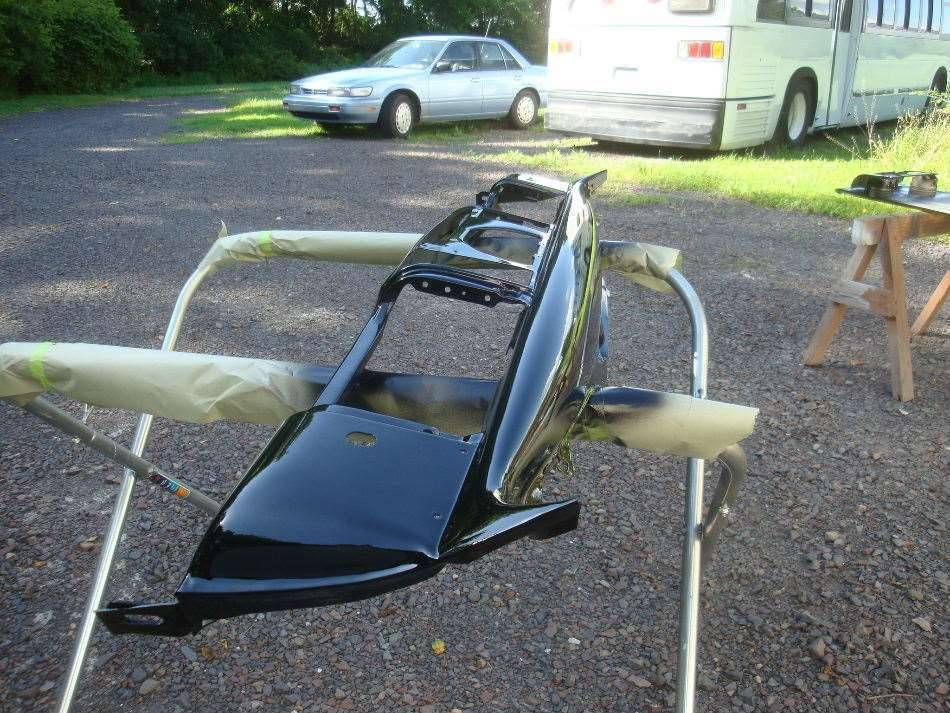 (62.18 KB)
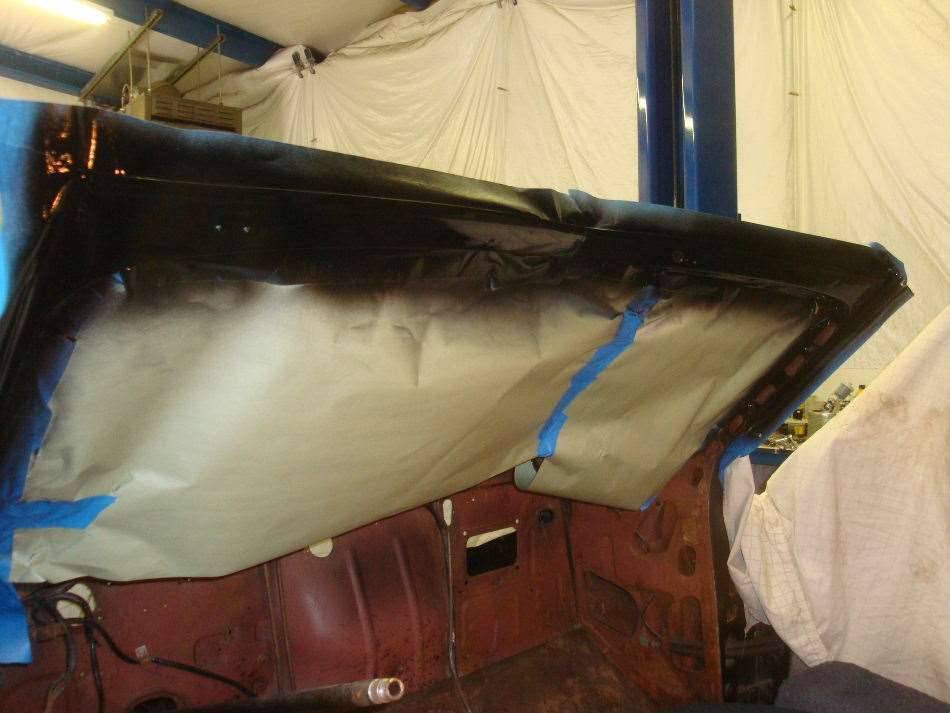 (96.40 KB)
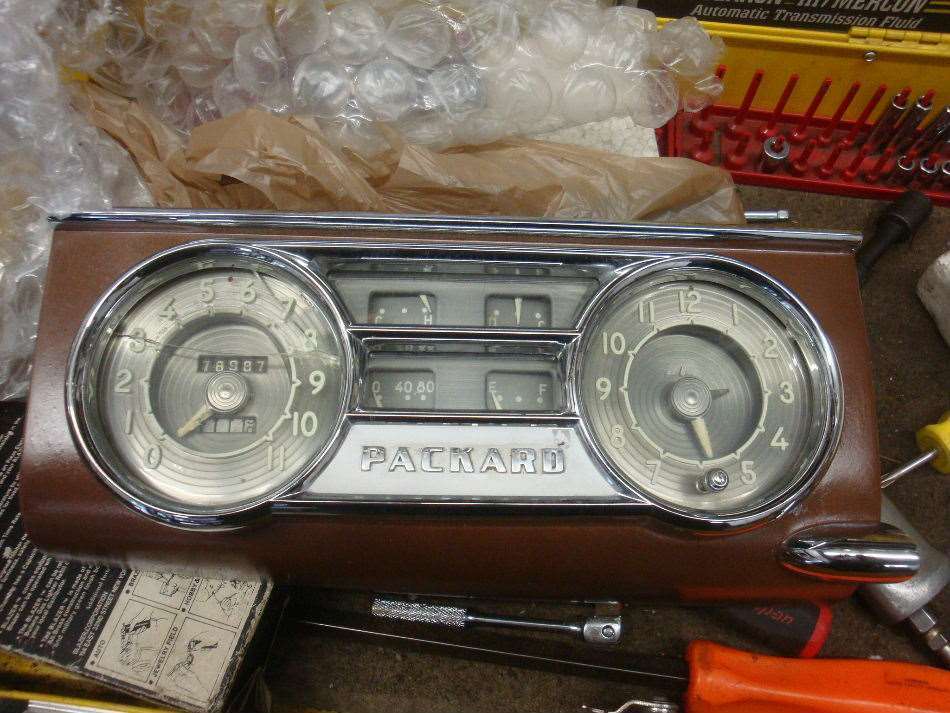 (93.10 KB)
 (60.00 KB)
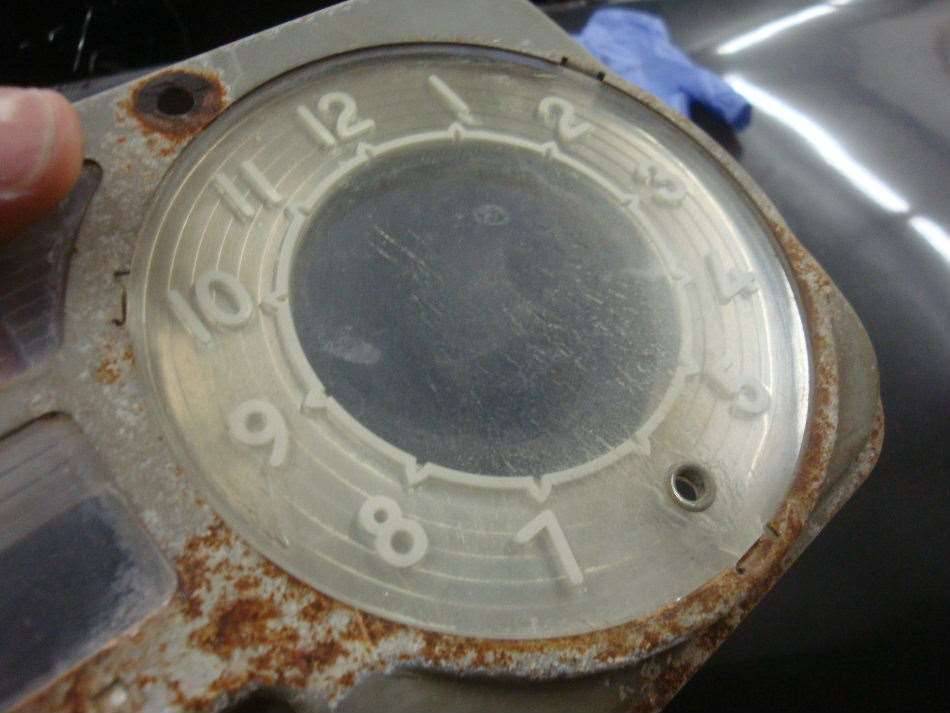 (79.93 KB)
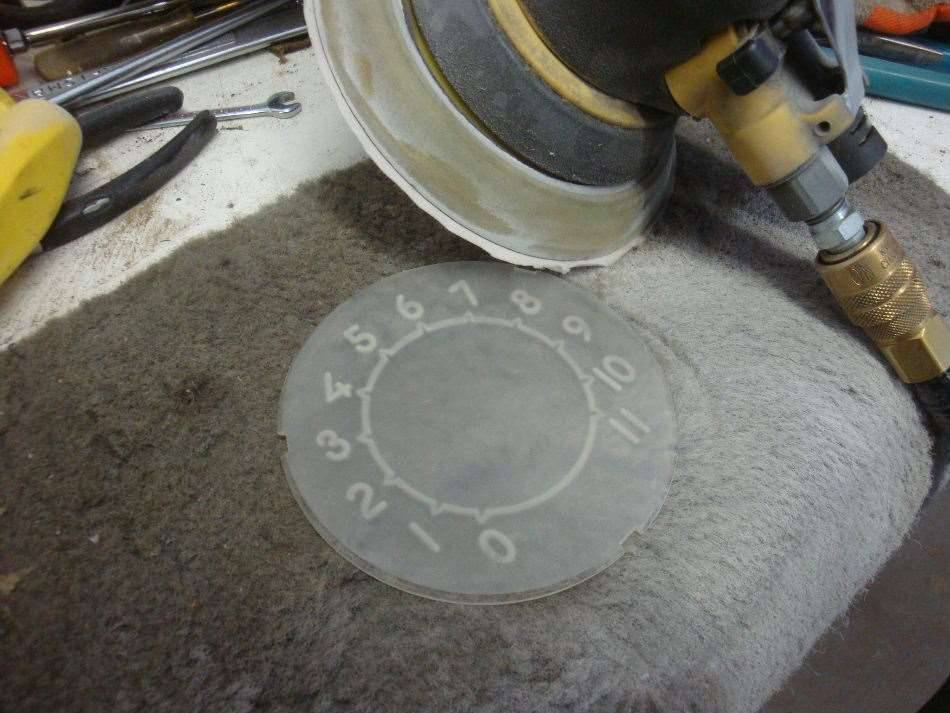 (56.99 KB)
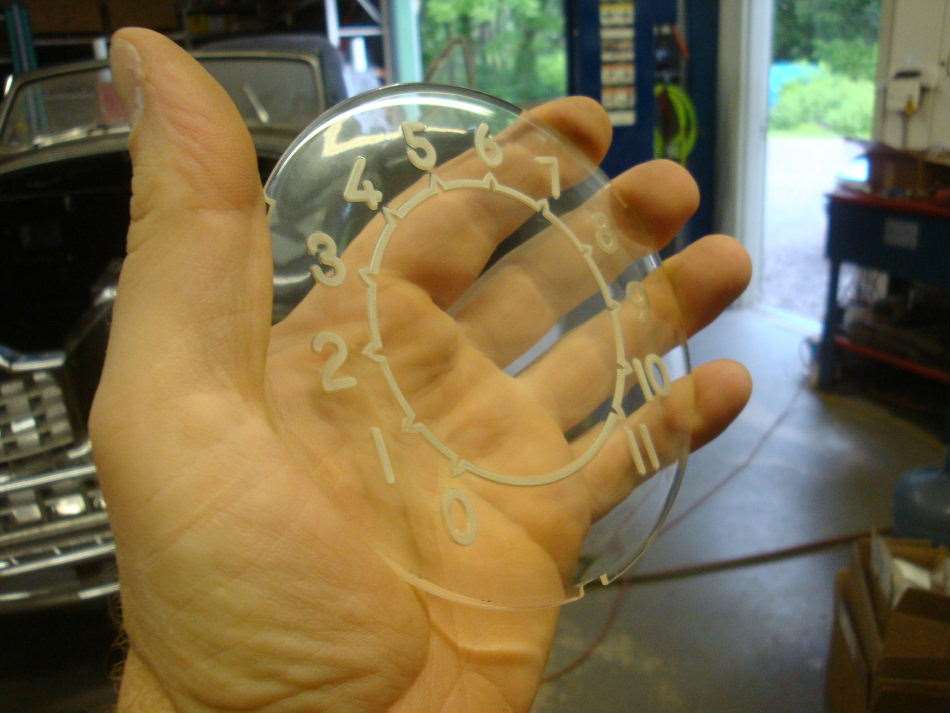 (49.89 KB)
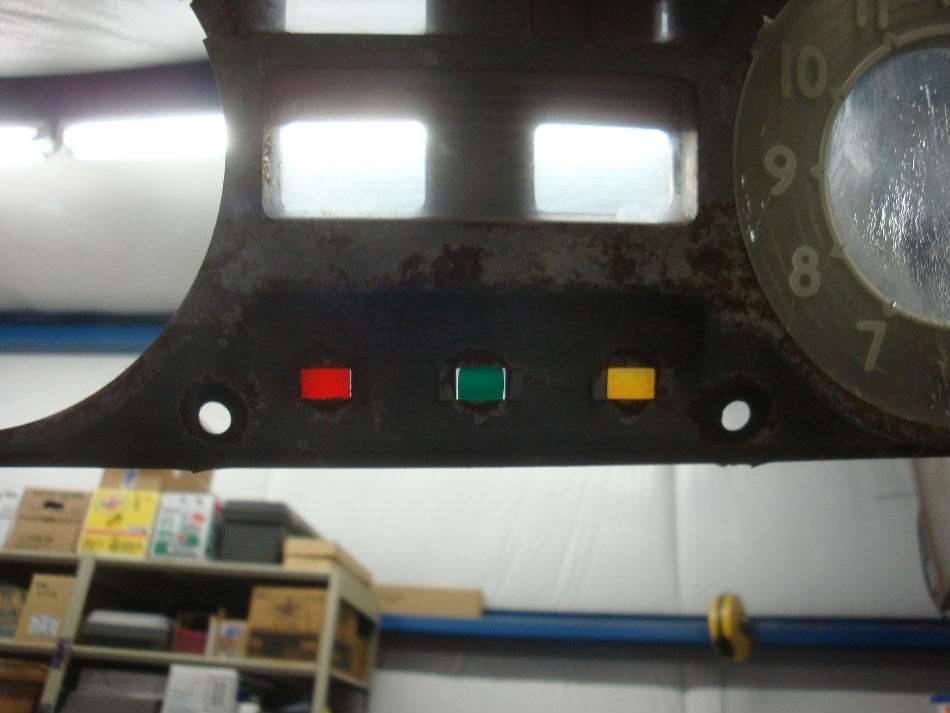 (79.42 KB)
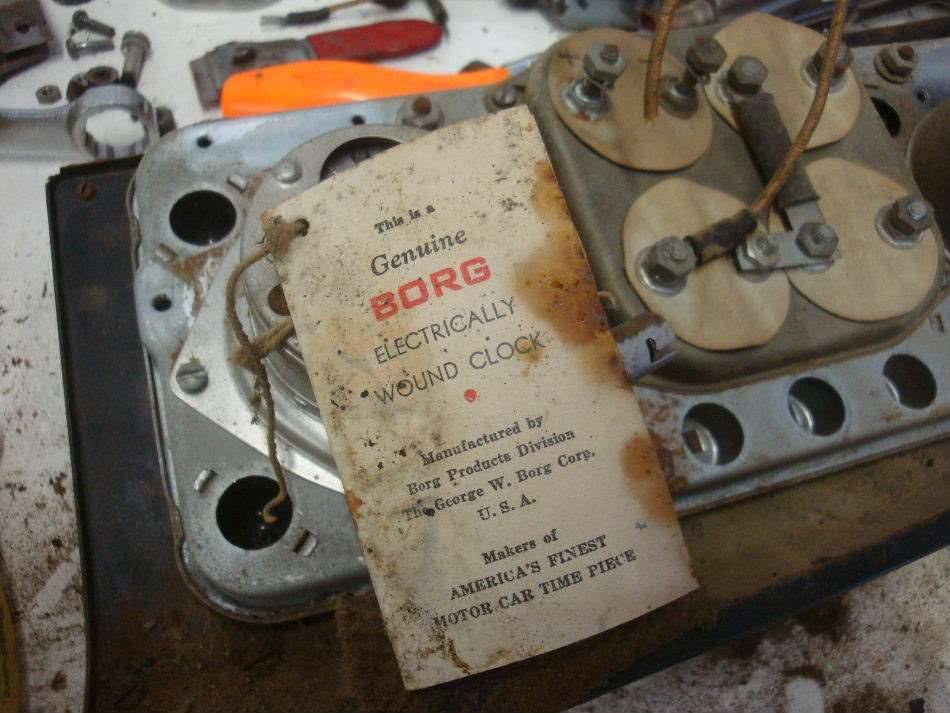 (98.38 KB)
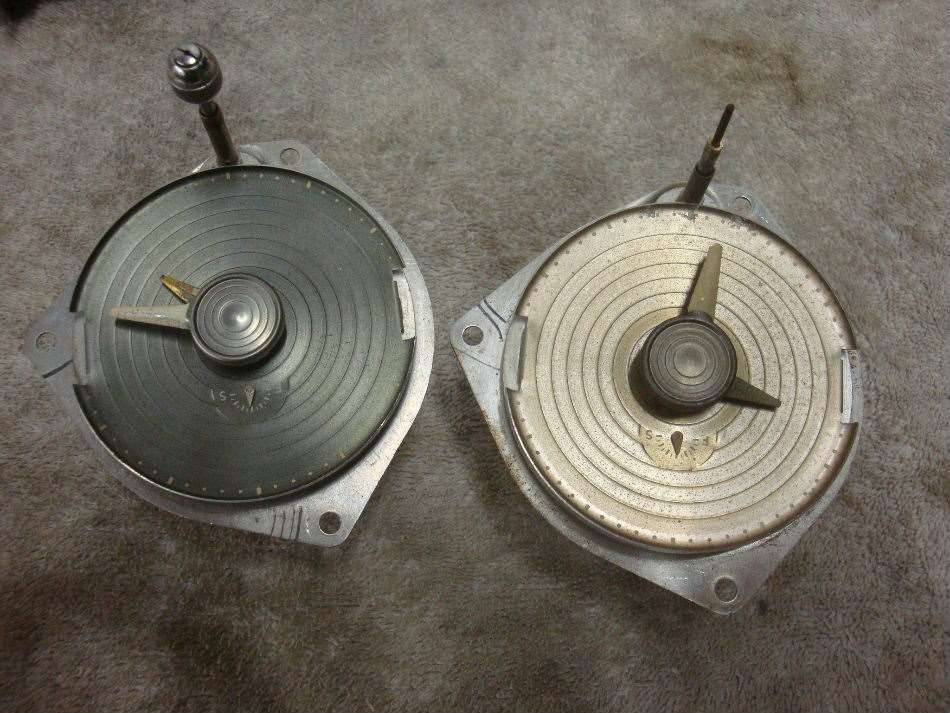 (56.93 KB)
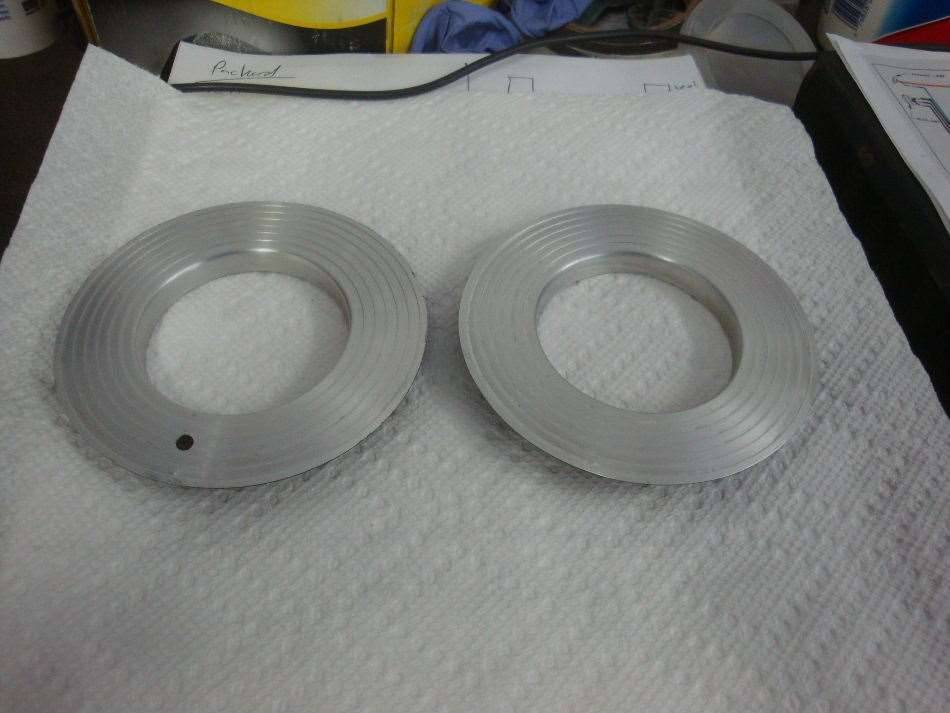 (73.53 KB)
 (96.70 KB)
 (87.78 KB)
 (73.12 KB)
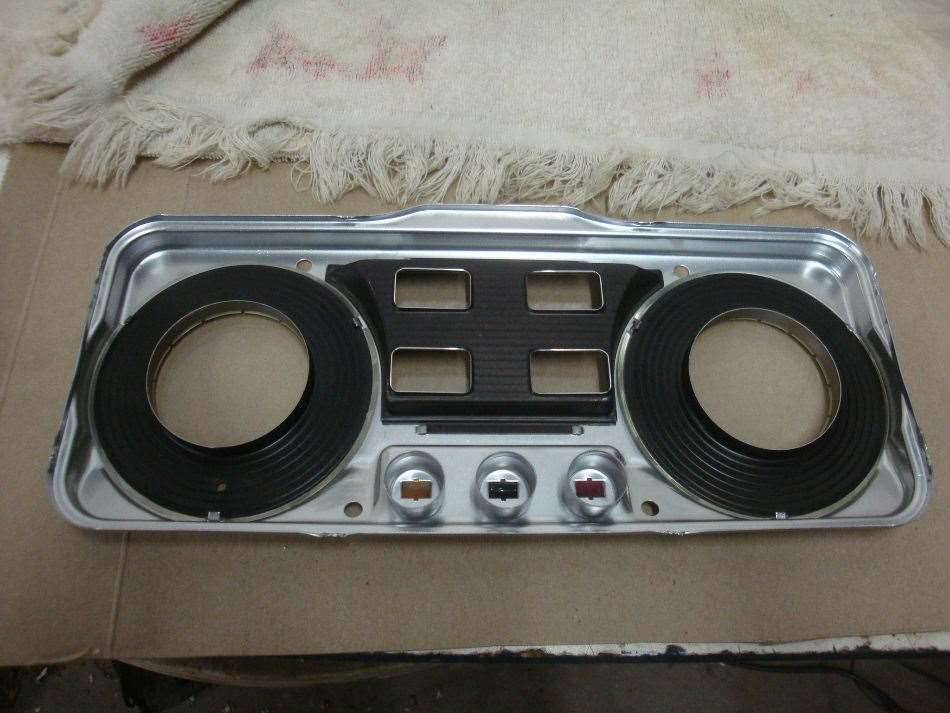 (78.90 KB)
 (96.57 KB)
This Post was from: https://packardinfo.com/xoops/html/modules/newbb/viewtopic.php?post_id=132873