Re: KPack's 1954 Panama
Posted by kevinpackard On 2020/10/19 21:55:56
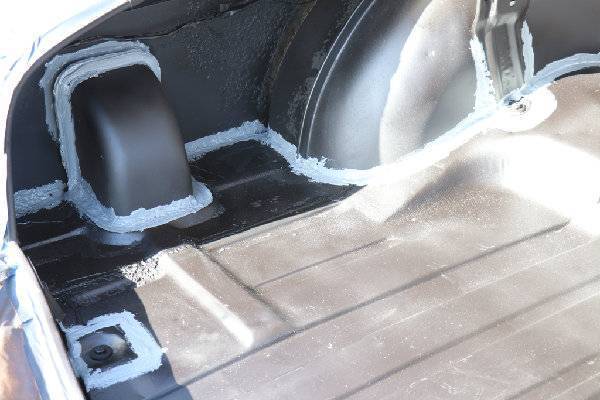
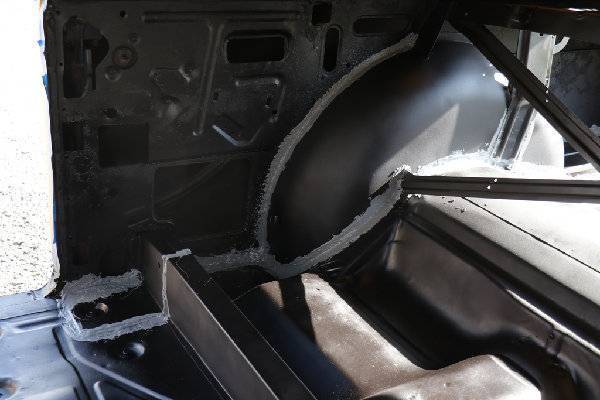
Had some time today and was able to pretty much wrap up the interior. The epoxy had cured pretty well, so I went ahead and did the seam sealer. I used two products from Eastwood: their Seam Sealer Cartridge, and their Brushable Seam Sealer.
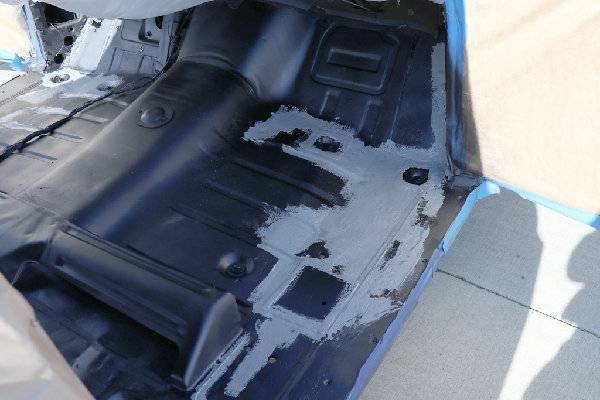
I used the brushable stuff on the areas that used to have really thick sealer. A pile of throw away 1" brushes made it pretty straightforward. I covered all the repairs I did as well as the really pitted areas of the floors just to be sure there were no issues.
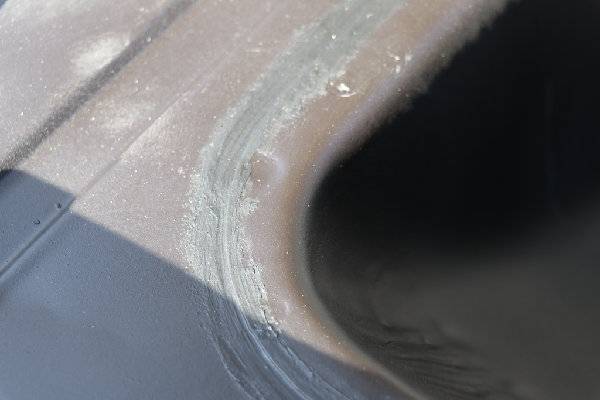
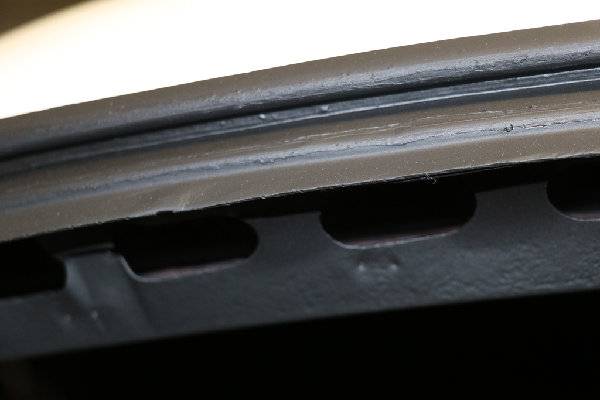
The sealer cartridge was great. It's super easy to use. I placed it on all of the smaller seams and it made it really clean. I also used it on the replacement header. The header attaches to the roof via a flange that is made up of the drip rail flange and roof flange. I sealed the inner part of the that junction, as well as the outer. I stripped and epoxied the front of the drip rail also, since the paint there was trash.
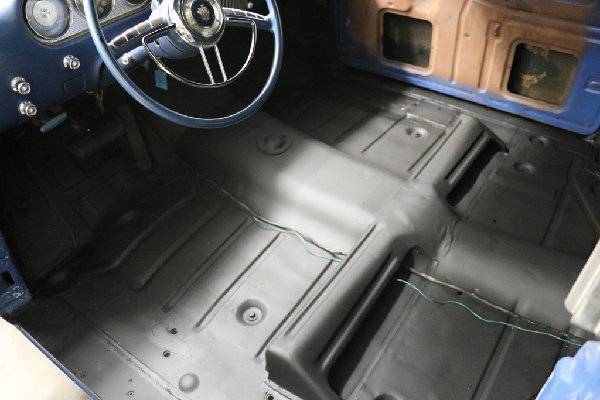
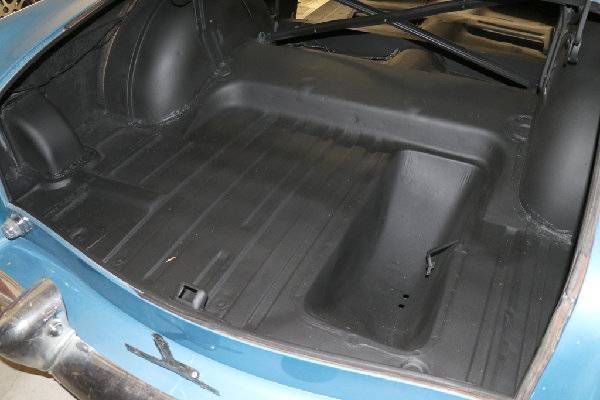
After the seam sealer dried I hit most of the epoxy primer with a topcoat of Eastwood Underhood Black. The epoxy primer needs to be topcoated if it is going to be exposed to UV. Nearly all of this will be covered up in the future, but to protect the epoxy until then I did a quick topcoat.
-Kevin
Attach file:
 (93.69 KB)
(83.30 KB)
(84.31 KB)
(58.33 KB)
(81.60 KB)
(77.62 KB)
(81.29 KB)

(54.10 KB)
I used the brushable stuff on the areas that used to have really thick sealer. A pile of throw away 1" brushes made it pretty straightforward. I covered all the repairs I did as well as the really pitted areas of the floors just to be sure there were no issues.
The sealer cartridge was great. It's super easy to use. I placed it on all of the smaller seams and it made it really clean. I also used it on the replacement header. The header attaches to the roof via a flange that is made up of the drip rail flange and roof flange. I sealed the inner part of the that junction, as well as the outer. I stripped and epoxied the front of the drip rail also, since the paint there was trash.
After the seam sealer dried I hit most of the epoxy primer with a topcoat of Eastwood Underhood Black. The epoxy primer needs to be topcoated if it is going to be exposed to UV. Nearly all of this will be covered up in the future, but to protect the epoxy until then I did a quick topcoat.
-Kevin
Attach file:
(93.69 KB) (83.30 KB)
 (84.31 KB)
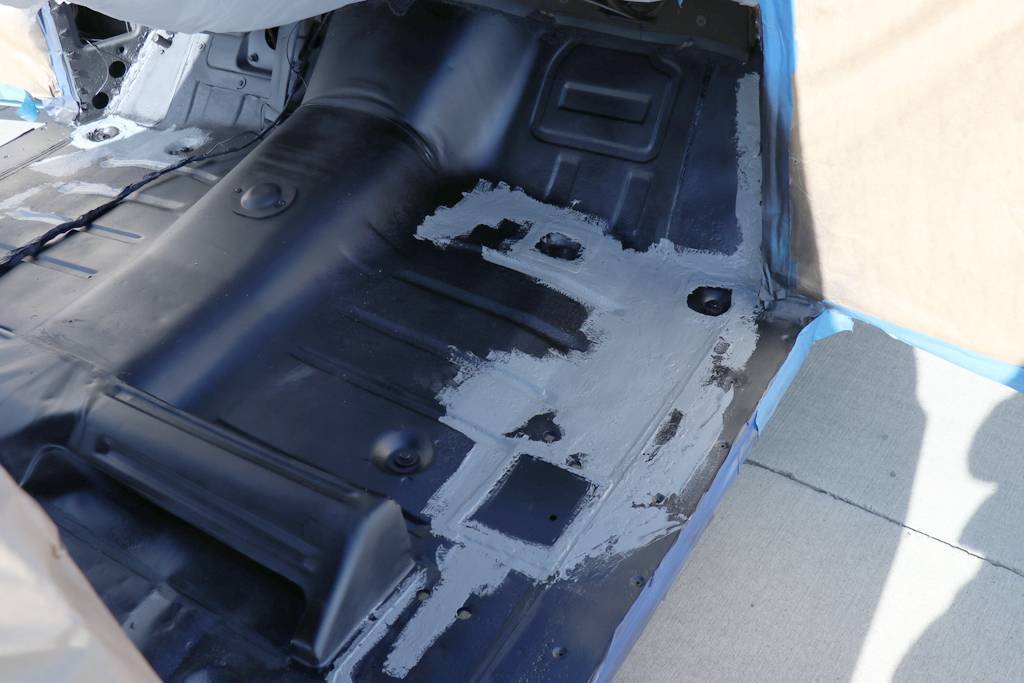 (58.33 KB)
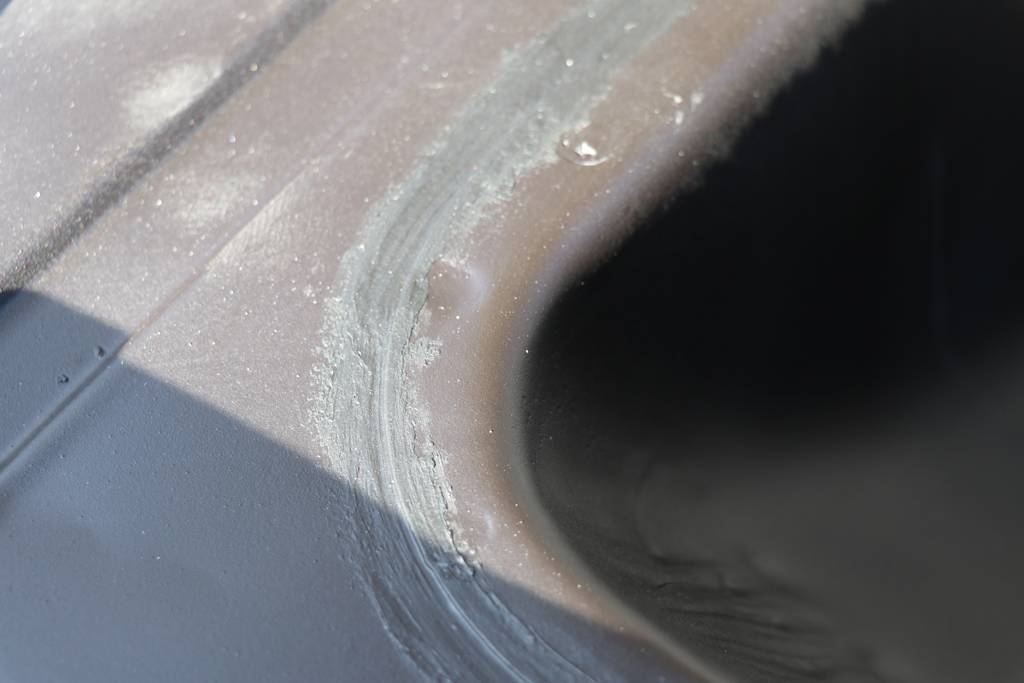 (81.60 KB)
 (77.62 KB)
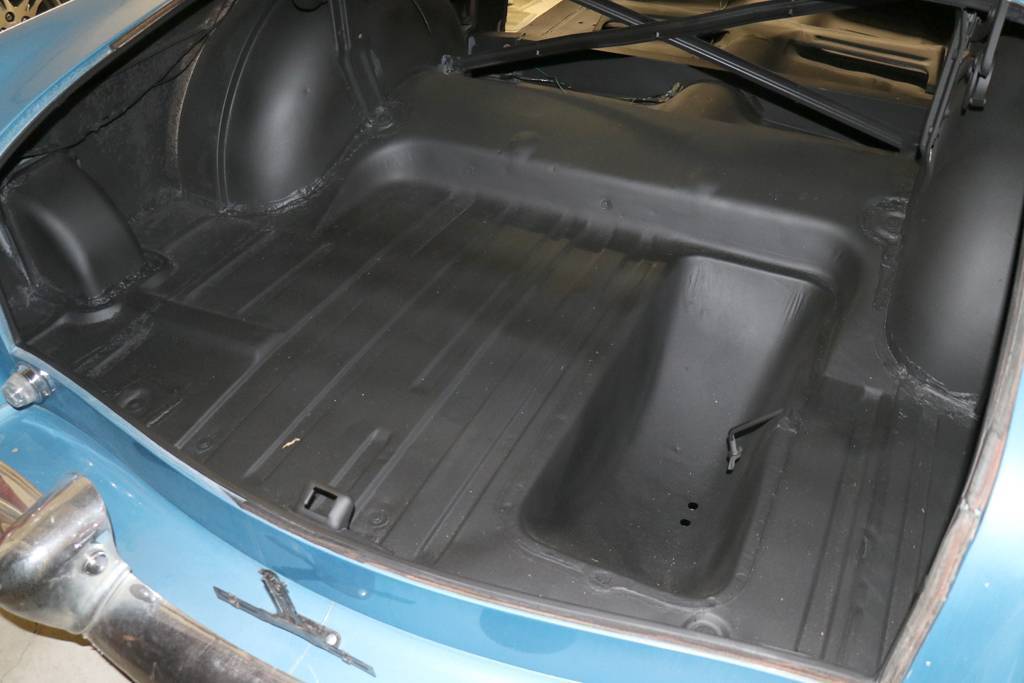 (81.29 KB)
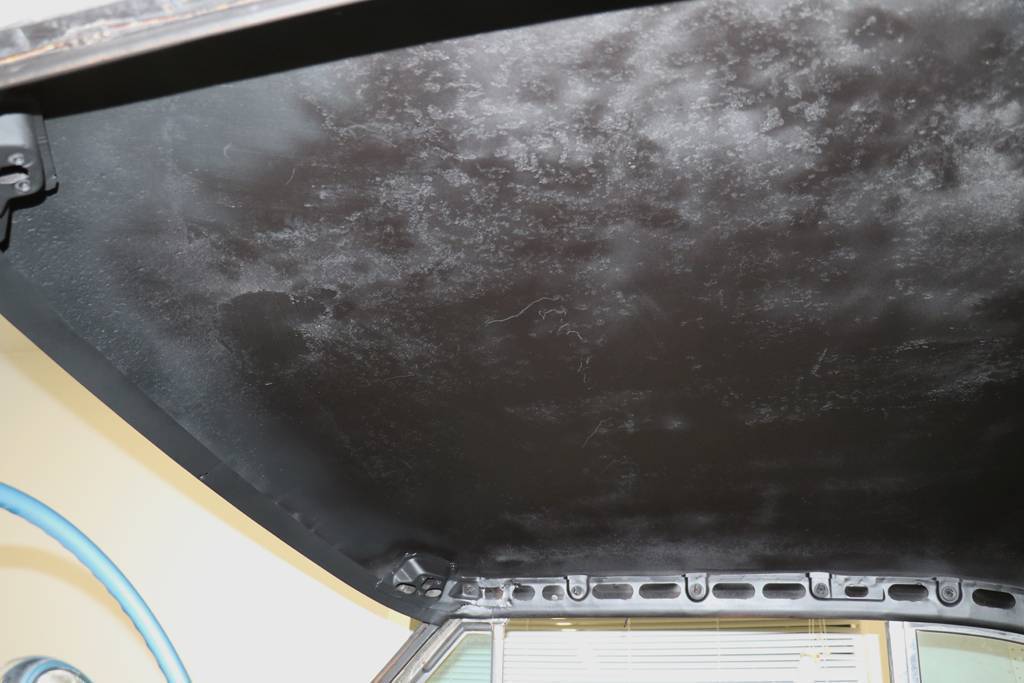 (54.10 KB)
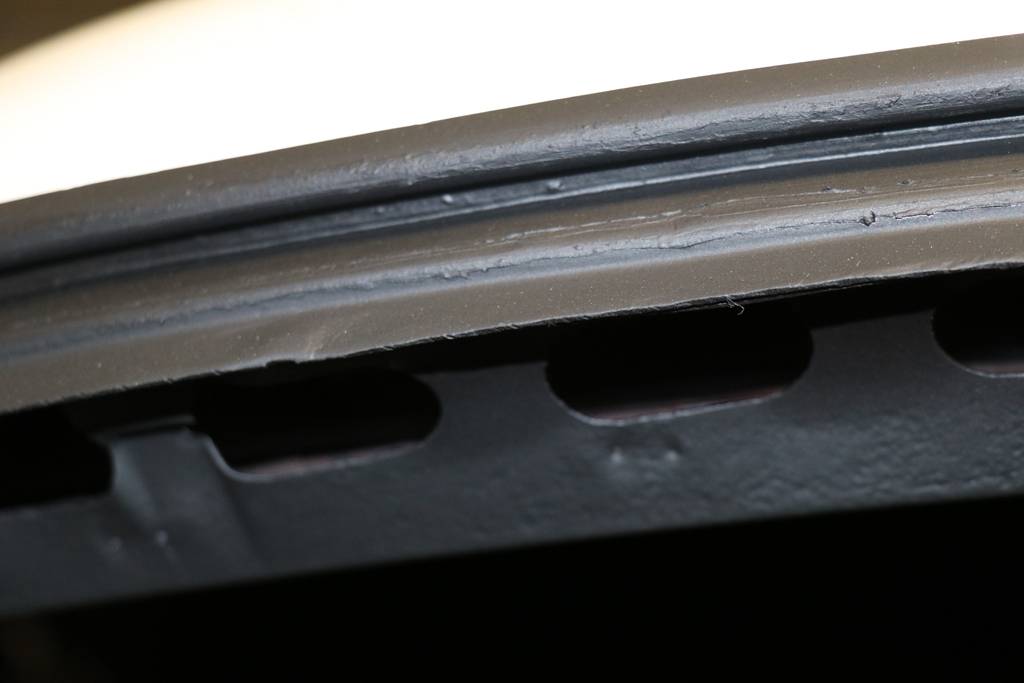
This Post was from: https://packardinfo.com/xoops/html/modules/newbb/viewtopic.php?post_id=227352