Re: KPack
Posted by kevinpackard On 2021/2/23 1:44:00
Still working out details of how I'm going to get down there. Hopefully I can do it in the next couple of weeks. In the meantime I have made some progress.
Project: Headliner Installation
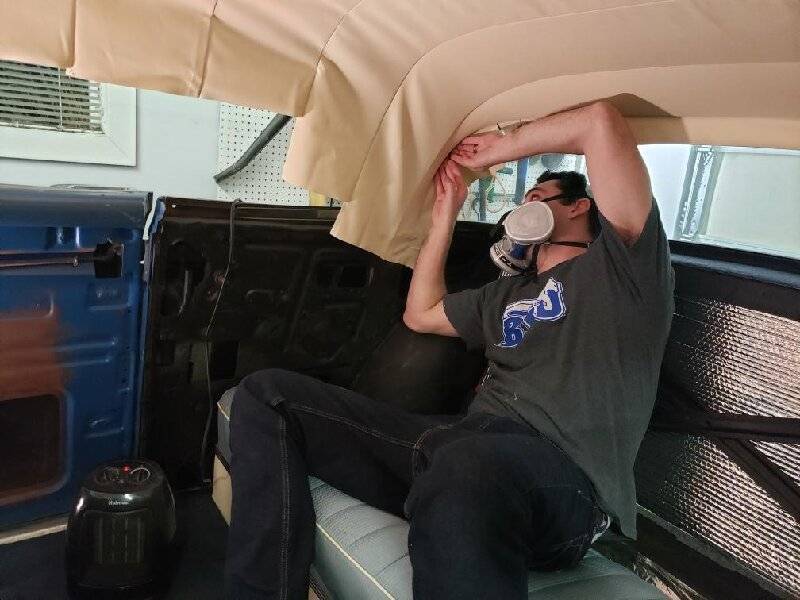
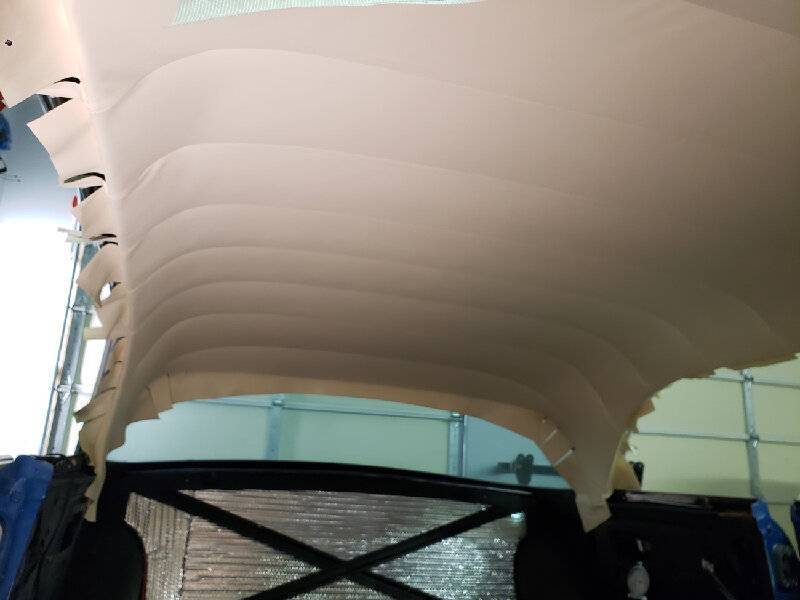
I got the urge to try the install today because it was the first day we've had in a while that hit 50 degrees, and I had some time at home. I was able to get my garage up to 70 degrees, which allowed the material to relax and make it easier to stretch and pull.
Here are the steps I took:
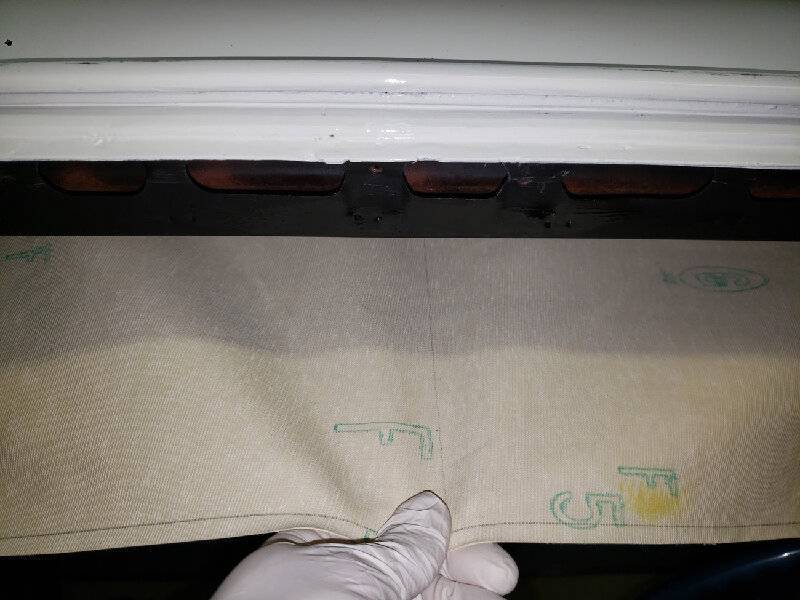
1.) Pull on the centerline to the front, pulling against the back (bow #8 is clipped in place). My windshield is out, but it can be done with the windshield in place.
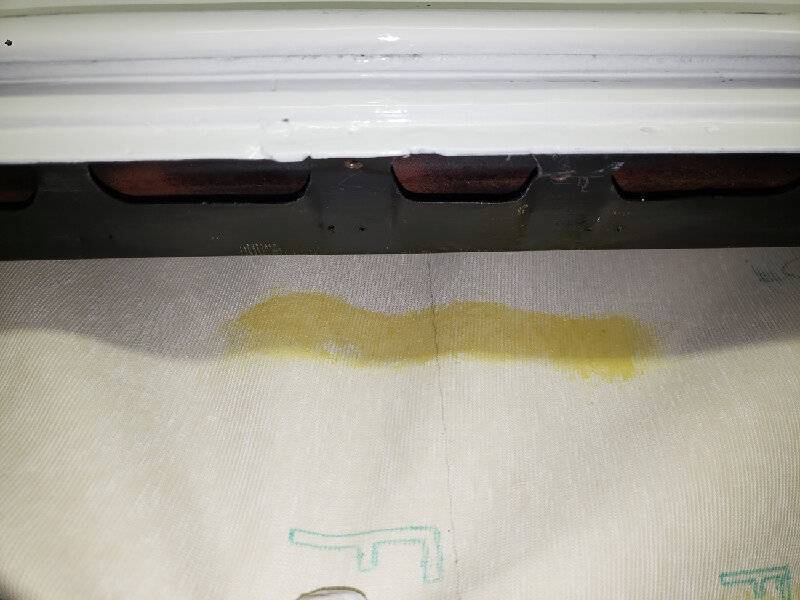
2.) Place contact cement on the metal, then pull the headliner and place it on the fresh cement....this will mark the general location for placement of contact cement on the headliner. Apply to both metal and headliner. Let tack up for a minute or two.
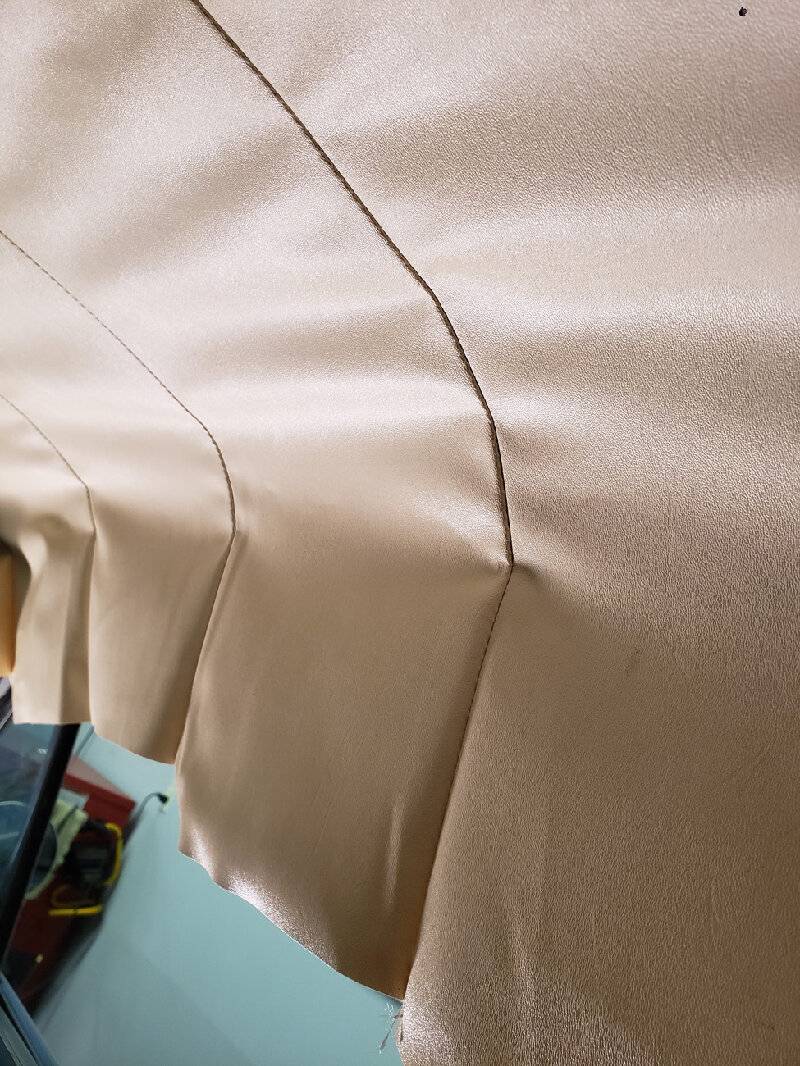
3.) Pull and stretch the centerline first, then start working out to the sides. Proper tightness can be measured by tapping a finger on the headliner panel closest to where you just stretched....it should by firm like a drum.
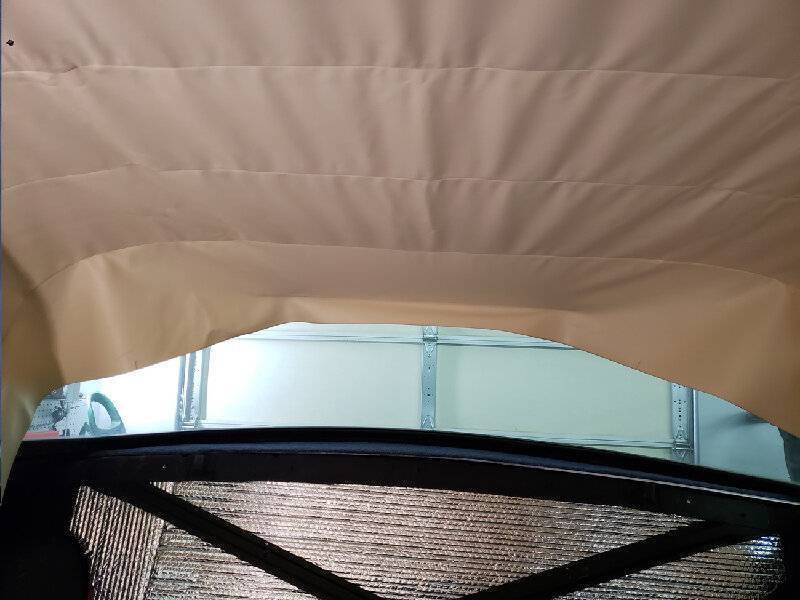
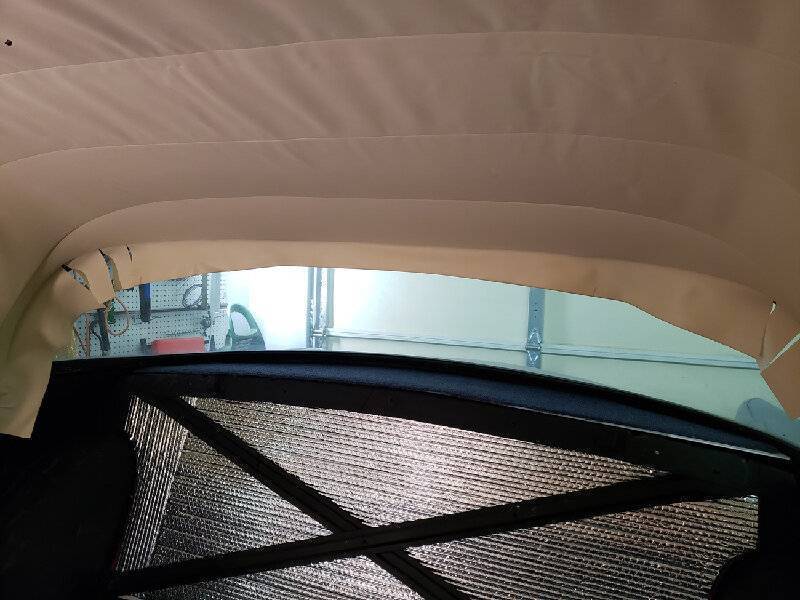
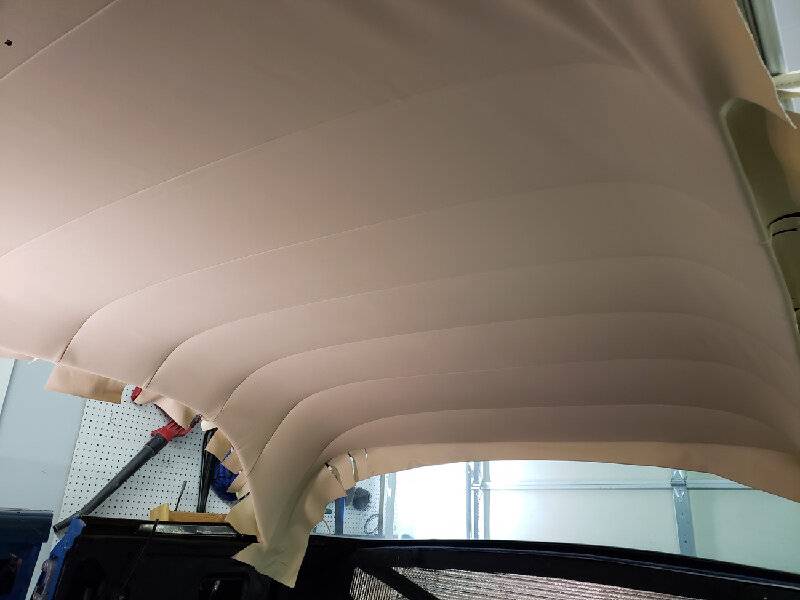
4.) Once the front is somewhat stretched, go to the back and stretch towards the rear at the centerline. Work outwards the same as the front.
5.) On the sail panel (hardtops), pull on the #8 seam and stretch it down. Glue in place, then go and finish the rear window side curvature. Make relief cuts as needed.
6.) Work seam by seam back towards the front, using a hair dryer to soften the material and make it easier to stretch. Pull and glue in the way that removes the wrinkles.
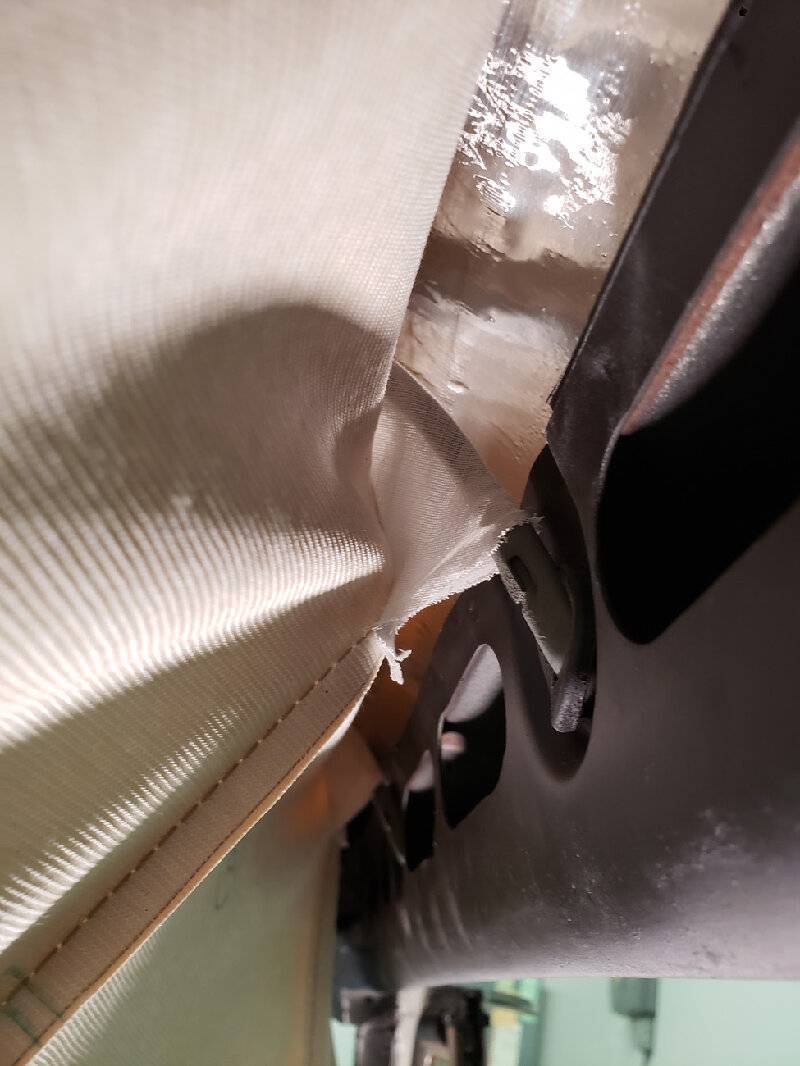
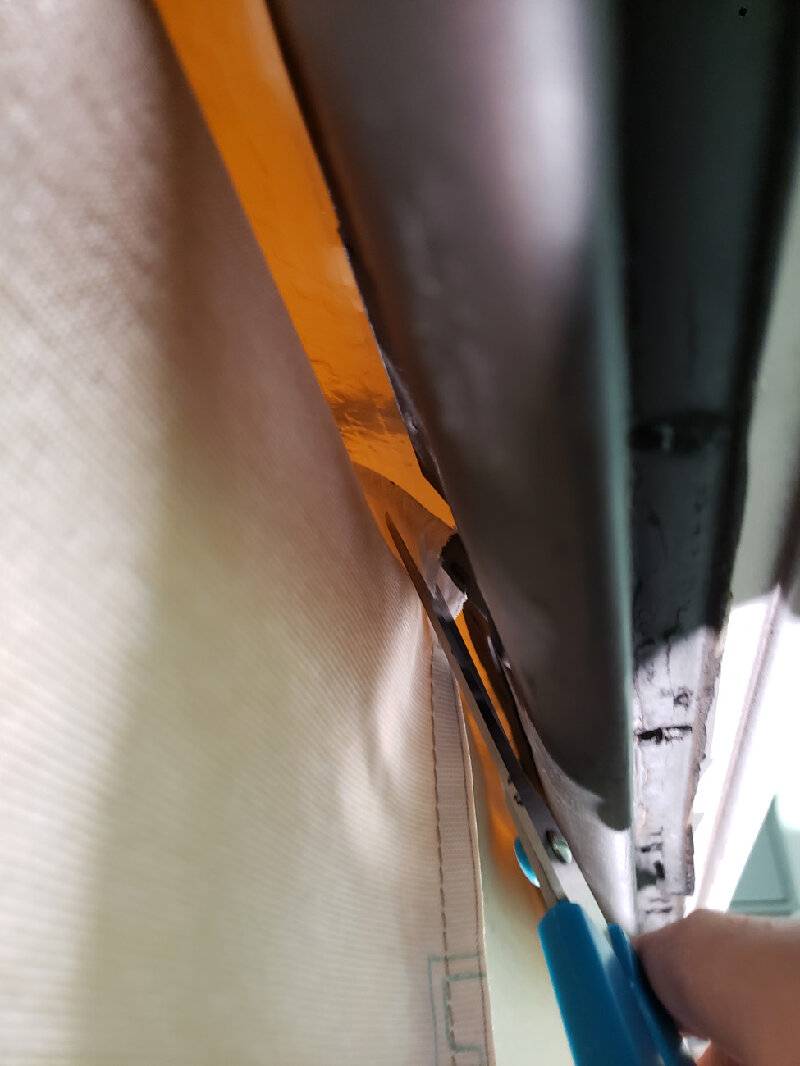
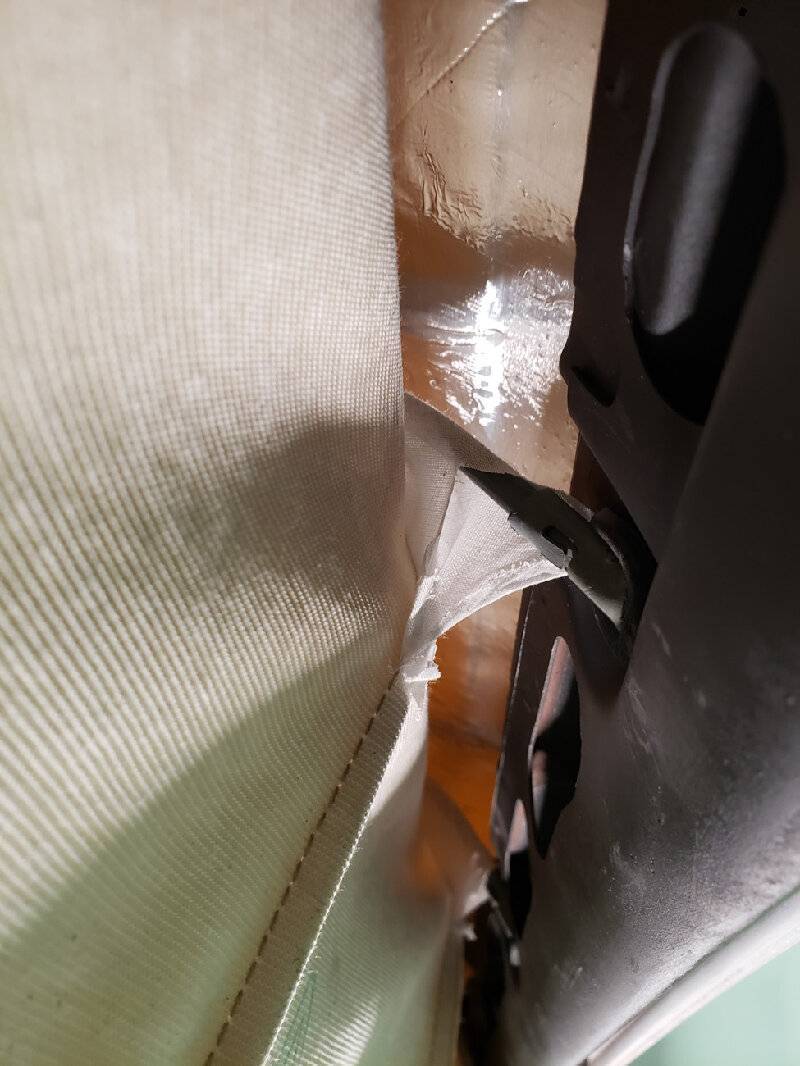
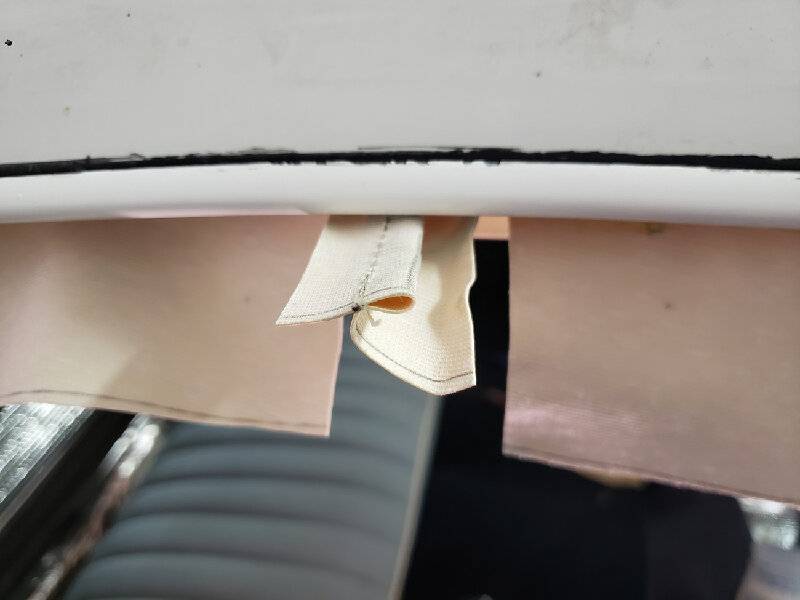
7.) When working on each seam, first check the listings on each of the bows (the cloth sleeve that bow sits in), and trim it back a bit with scissors. Typically they are too long and are too close to the ends of the bows. This will cause the headliner to bunch up at the curve. Trim the listing so it's at least an inch or two away from the end of the bow. This will allow the corners to pull smoothly.
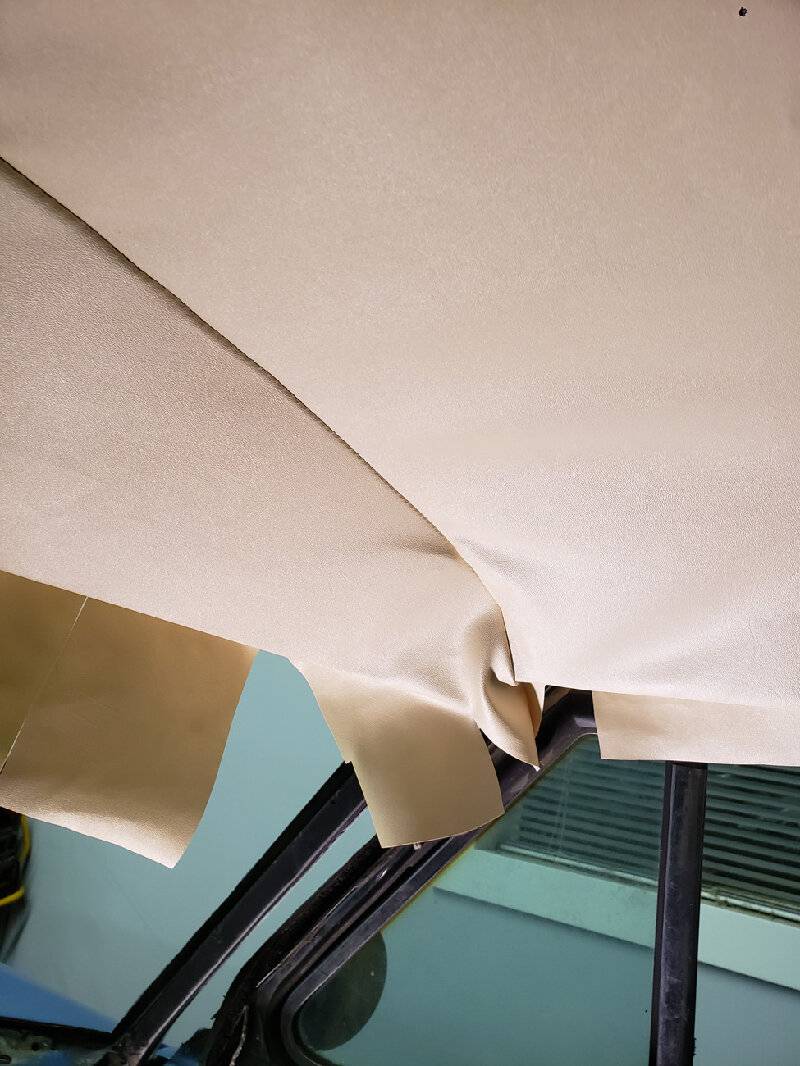
8.) I ended up with some wrinkles in the front around the visor area. I saw before all this that my front bow (#1) was misshapen, but I didn't do anything about it because that's how it came off the car. I wasn't sure if it was supposed to be that way or not. Getting those wrinkles out is proving to be a bit of a pain.
At this point I'm going to let it sit overnight and I'll take a look at it tomorrow. I'm going to try and do a bit more work along the front corners and smooth things out a bit more there.
I'm pleasantly surprised with how it turned out. It's definitely not perfect, but I'd give it a solid 8.5/10. Once I wrap this up I can start putting the trim back inside and clear off my shelf space.
-Kevin
Attach file:
 Step 1 pull the front on the centerline.jpg (125.75 KB)
Step 2 - put cement on metal and mark headliner.jpg (119.55 KB)
Step 3 - Work outward from center on front.jpg (56.71 KB)

Step 4 - Pull towards the rear on centerline.jpg (120.86 KB)
Step 5 - Stretch out to the sides and sail panels.jpg (144.31 KB)
Step 6 - work up the sides seam by seam.jpg (197.04 KB)
Listing too close to end, causing bunching.jpg (105.87 KB)
Trim listing using scissors.jpg (82.67 KB)
Listing trimmed.jpg (120.74 KB)
Step 7 - Continue working up the sides towards the front.jpg (84.09 KB)
Step 8 - Trim the excess.jpg (68.85 KB)
Wrinkles at the front.jpg (123.14 KB)
 Installing the headliner.jpeg (80.37 KB)
Headliner rear.jpg (79.23 KB)
Headliner front.jpg (124.13 KB)

Project: Headliner Installation
I got the urge to try the install today because it was the first day we've had in a while that hit 50 degrees, and I had some time at home. I was able to get my garage up to 70 degrees, which allowed the material to relax and make it easier to stretch and pull.
Here are the steps I took:
1.) Pull on the centerline to the front, pulling against the back (bow #8 is clipped in place). My windshield is out, but it can be done with the windshield in place.
2.) Place contact cement on the metal, then pull the headliner and place it on the fresh cement....this will mark the general location for placement of contact cement on the headliner. Apply to both metal and headliner. Let tack up for a minute or two.
3.) Pull and stretch the centerline first, then start working out to the sides. Proper tightness can be measured by tapping a finger on the headliner panel closest to where you just stretched....it should by firm like a drum.
4.) Once the front is somewhat stretched, go to the back and stretch towards the rear at the centerline. Work outwards the same as the front.
5.) On the sail panel (hardtops), pull on the #8 seam and stretch it down. Glue in place, then go and finish the rear window side curvature. Make relief cuts as needed.
6.) Work seam by seam back towards the front, using a hair dryer to soften the material and make it easier to stretch. Pull and glue in the way that removes the wrinkles.
7.) When working on each seam, first check the listings on each of the bows (the cloth sleeve that bow sits in), and trim it back a bit with scissors. Typically they are too long and are too close to the ends of the bows. This will cause the headliner to bunch up at the curve. Trim the listing so it's at least an inch or two away from the end of the bow. This will allow the corners to pull smoothly.
8.) I ended up with some wrinkles in the front around the visor area. I saw before all this that my front bow (#1) was misshapen, but I didn't do anything about it because that's how it came off the car. I wasn't sure if it was supposed to be that way or not. Getting those wrinkles out is proving to be a bit of a pain.
At this point I'm going to let it sit overnight and I'll take a look at it tomorrow. I'm going to try and do a bit more work along the front corners and smooth things out a bit more there.
I'm pleasantly surprised with how it turned out. It's definitely not perfect, but I'd give it a solid 8.5/10. Once I wrap this up I can start putting the trim back inside and clear off my shelf space.
-Kevin
Attach file:
Step 1 pull the front on the centerline.jpg (125.75 KB)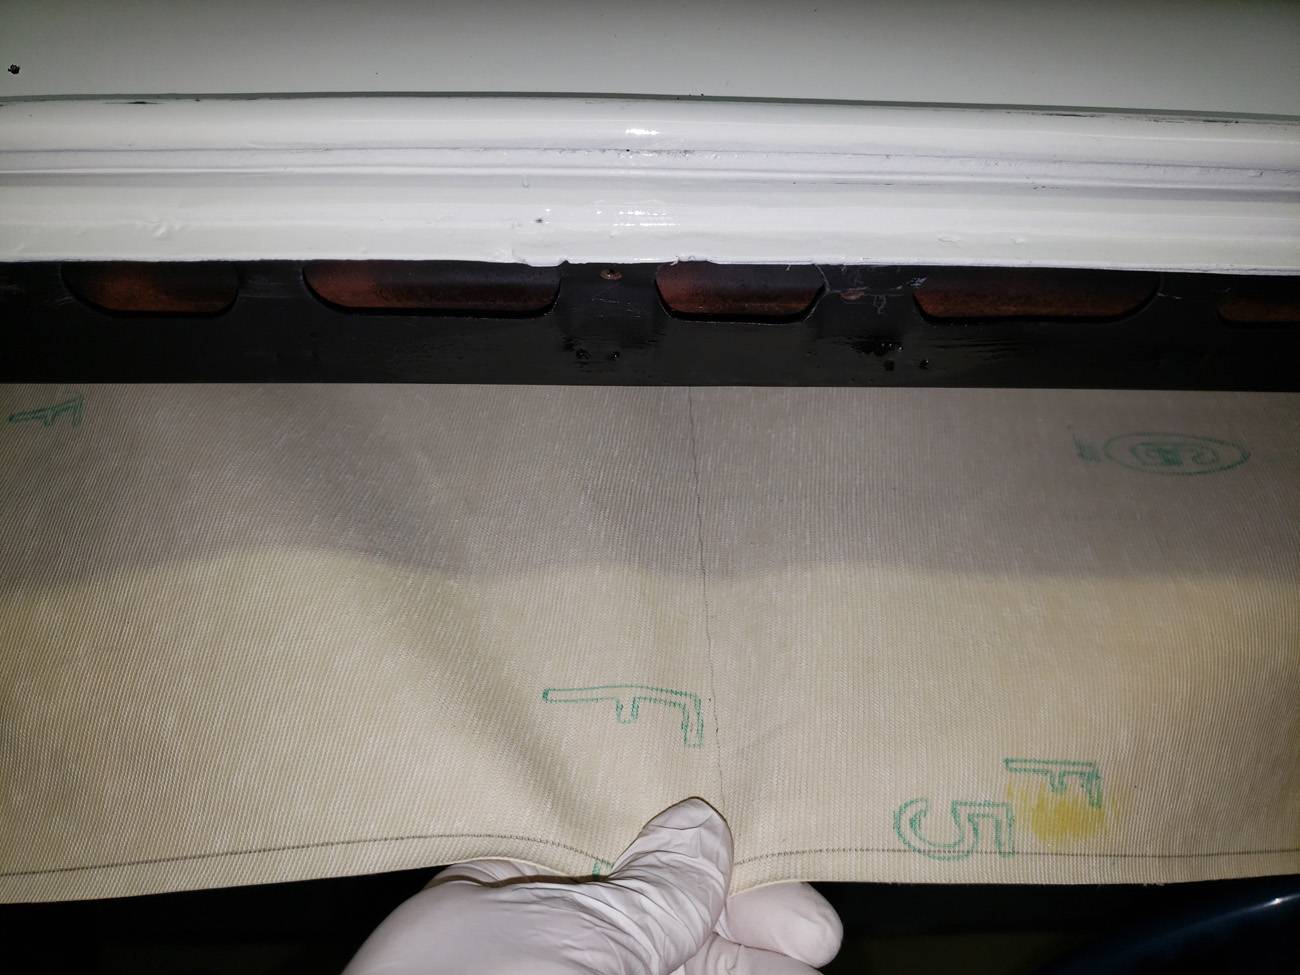 Step 2 - put cement on metal and mark headliner.jpg (119.55 KB)
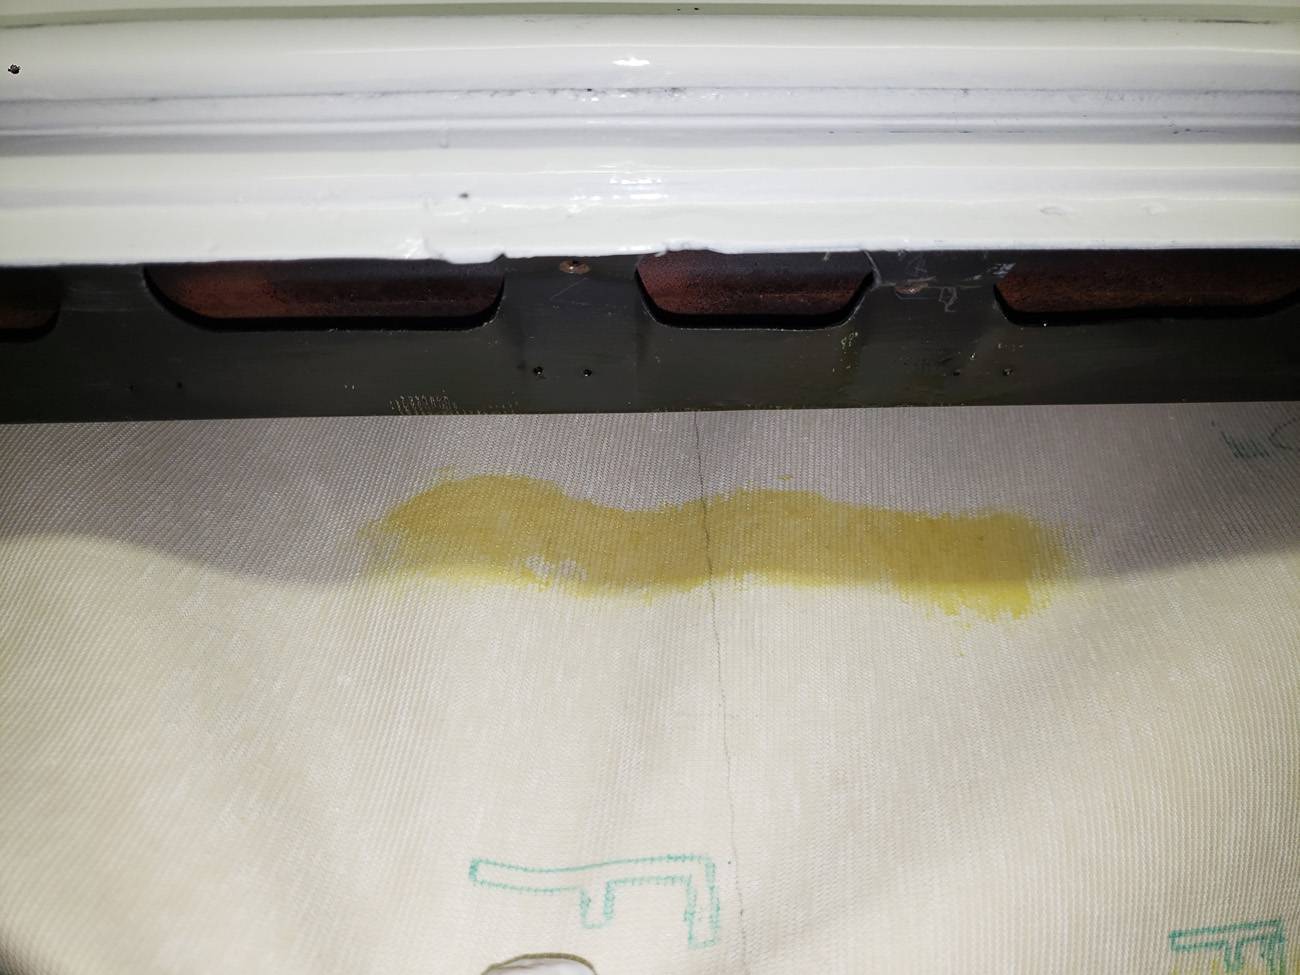 Step 3 - Work outward from center on front.jpg (56.71 KB)
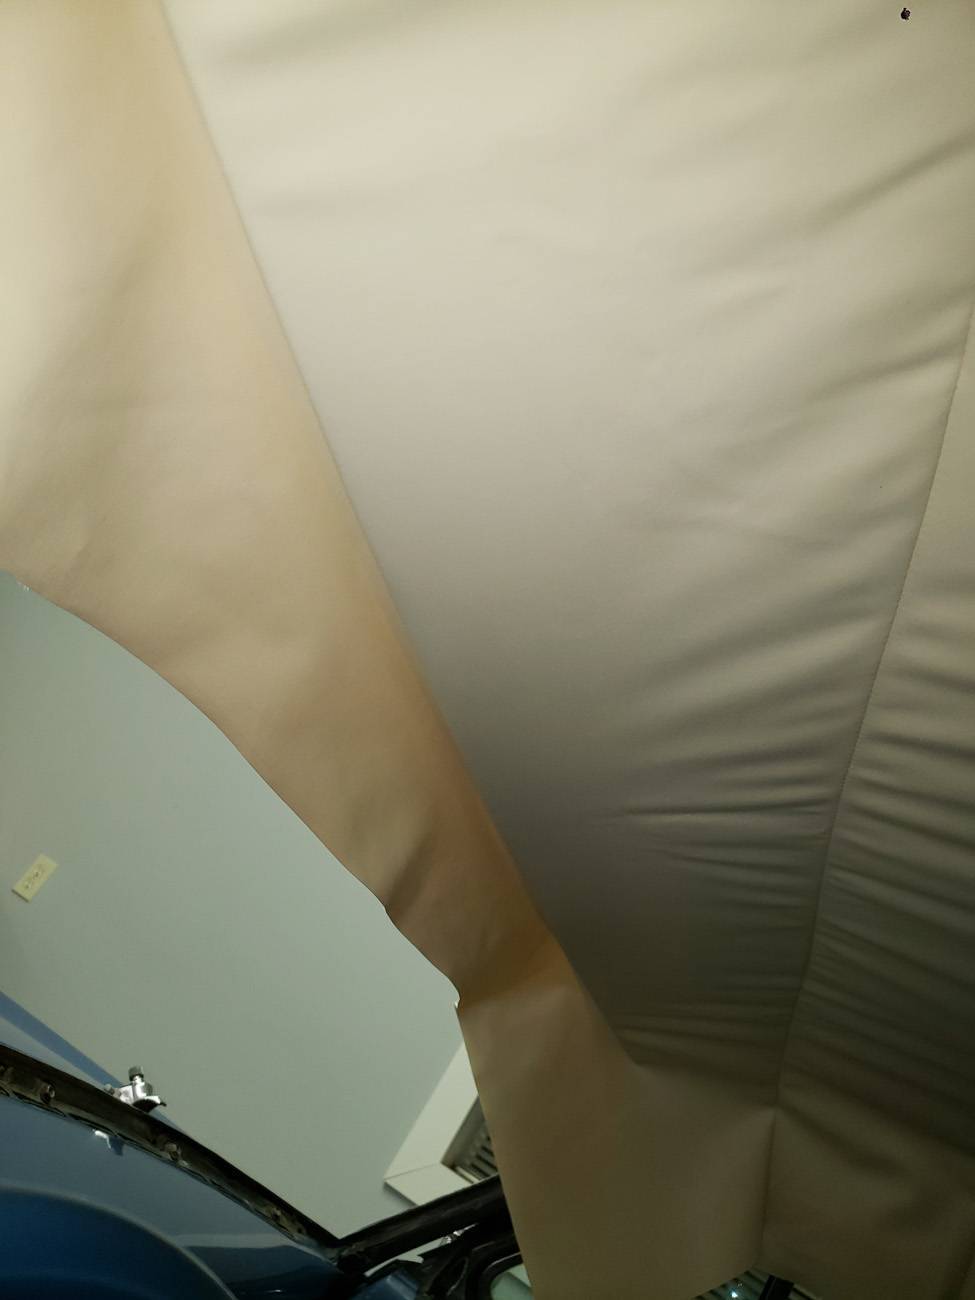 Step 4 - Pull towards the rear on centerline.jpg (120.86 KB)
 Step 5 - Stretch out to the sides and sail panels.jpg (144.31 KB)
 Step 6 - work up the sides seam by seam.jpg (197.04 KB)
 Listing too close to end, causing bunching.jpg (105.87 KB)
 Trim listing using scissors.jpg (82.67 KB)
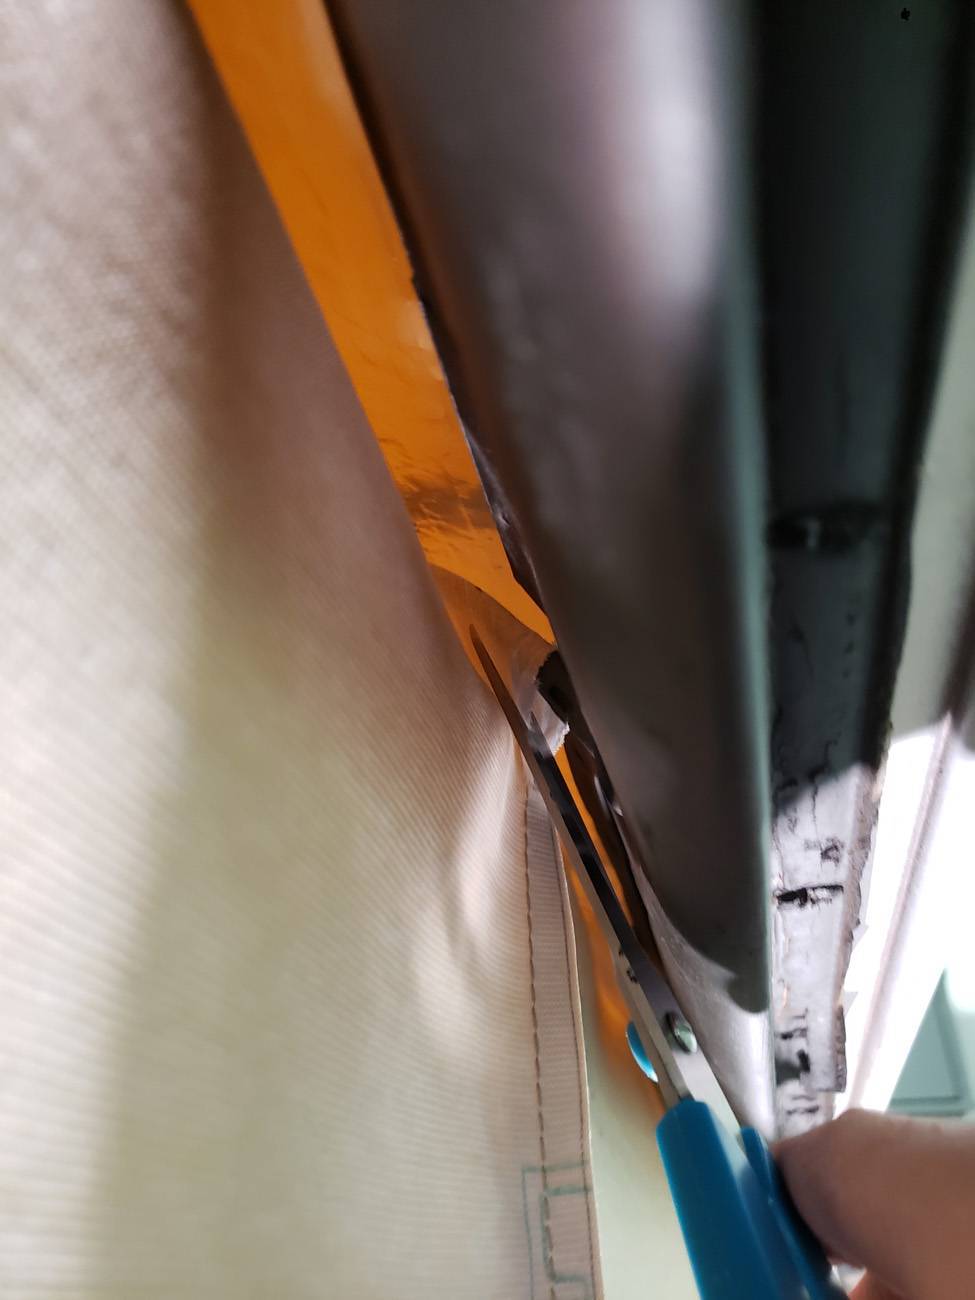 Listing trimmed.jpg (120.74 KB)
 Step 7 - Continue working up the sides towards the front.jpg (84.09 KB)
 Step 8 - Trim the excess.jpg (68.85 KB)
 Wrinkles at the front.jpg (123.14 KB)
 Installing the headliner.jpeg (80.37 KB)
 Headliner rear.jpg (79.23 KB)
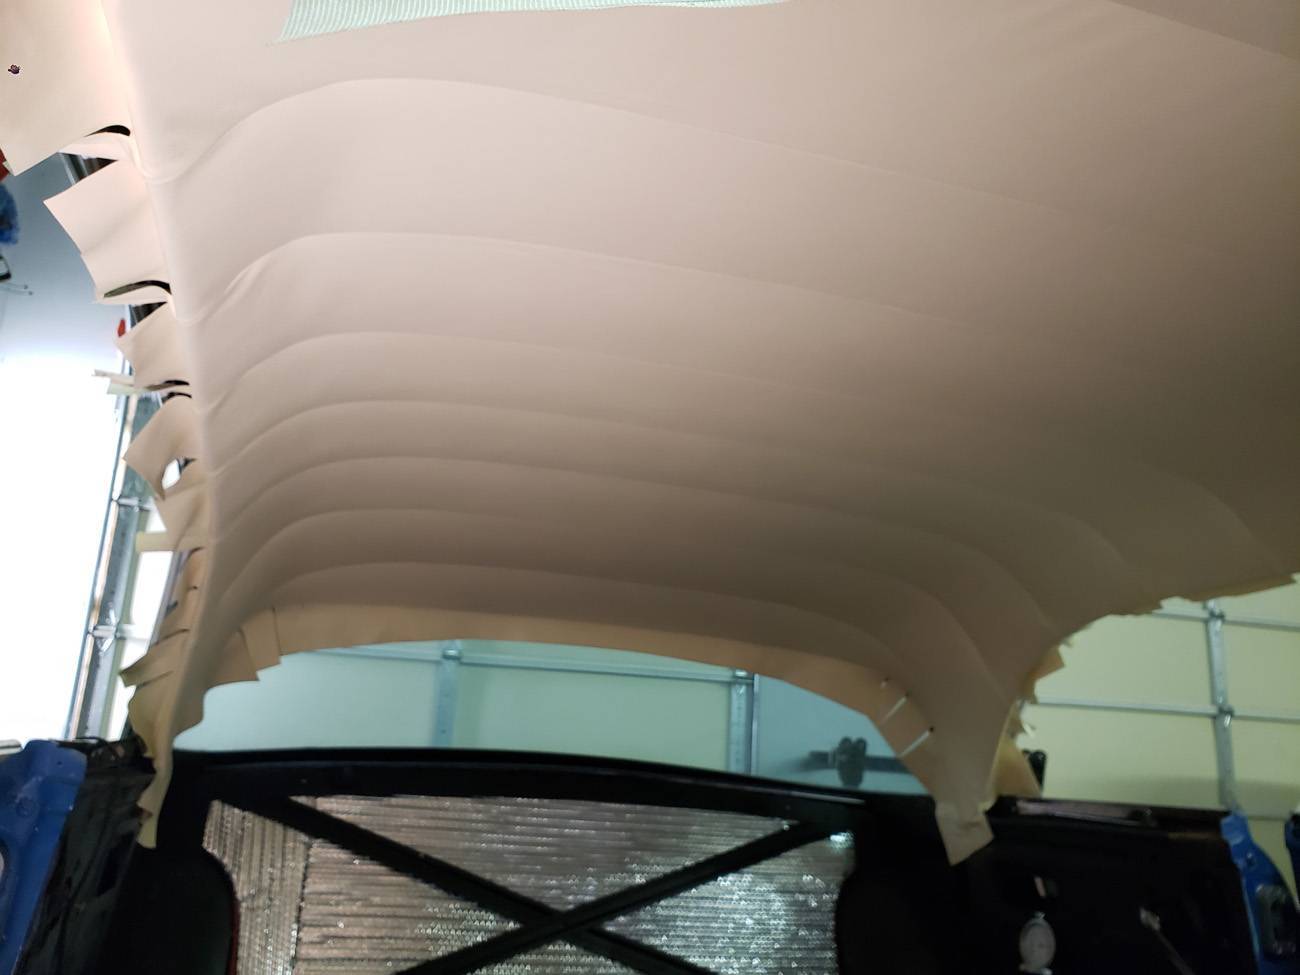 Headliner front.jpg (124.13 KB)
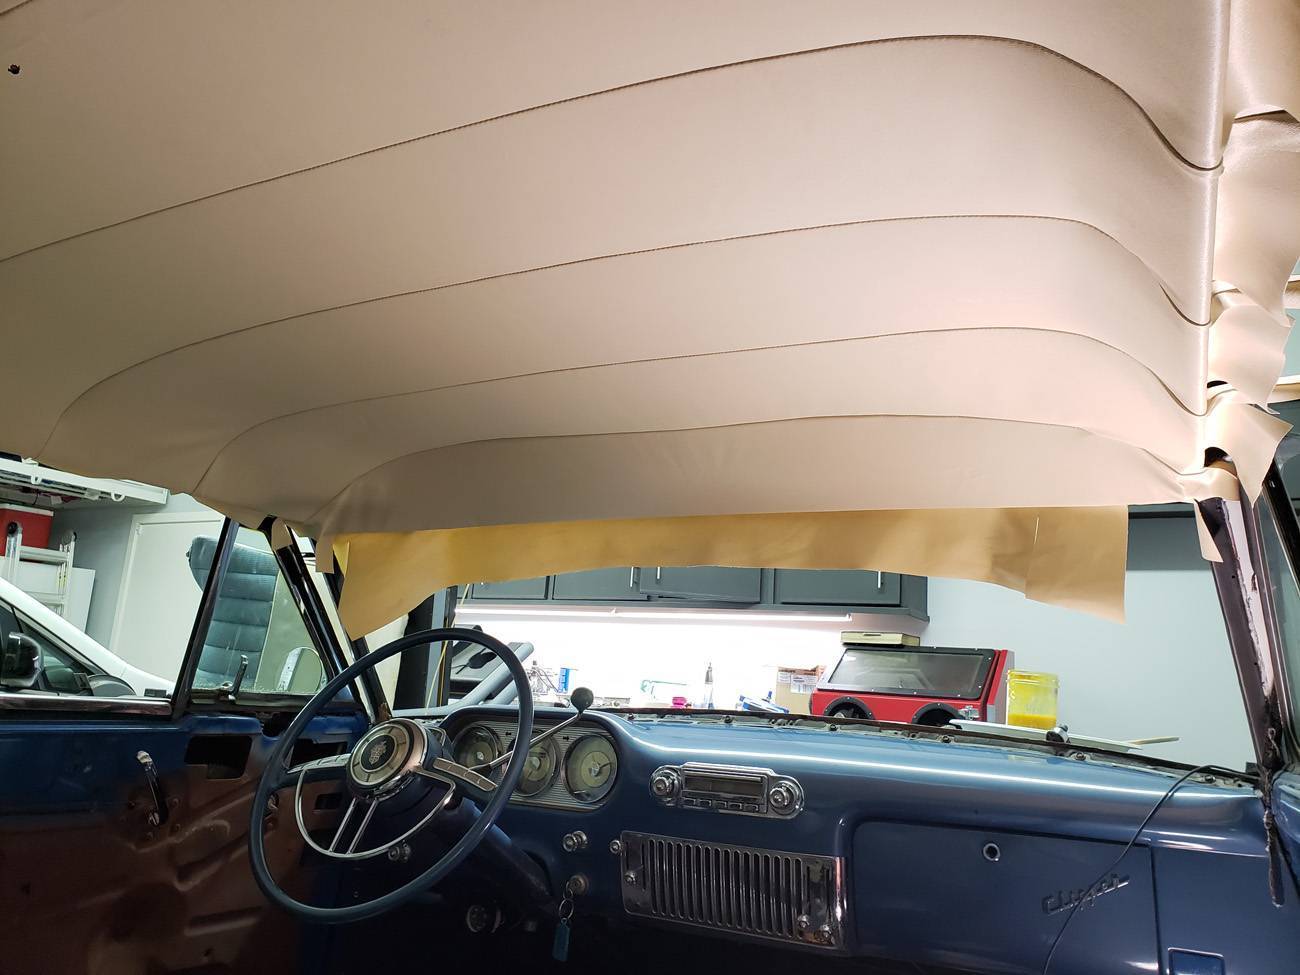
This Post was from: https://packardinfo.com/xoops/html/modules/newbb/viewtopic.php?post_id=230647