Re: BigKev's 1954 Packard Clipper Deluxe Sedan
Posted by BigKev On 2009/3/7 19:33:42
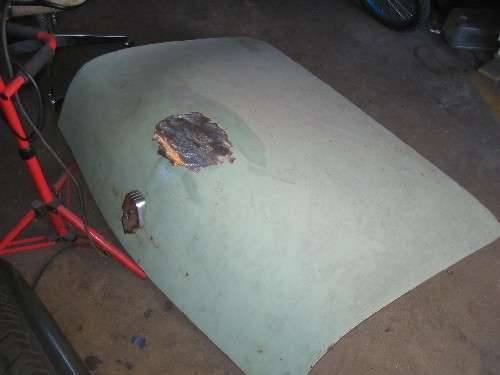
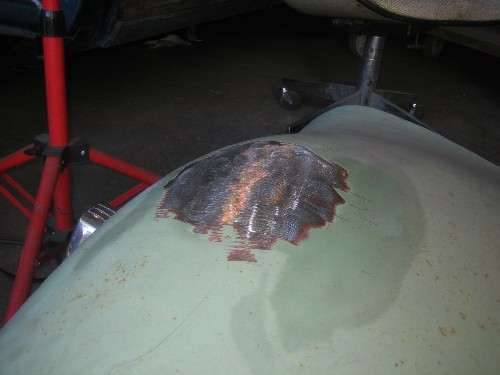
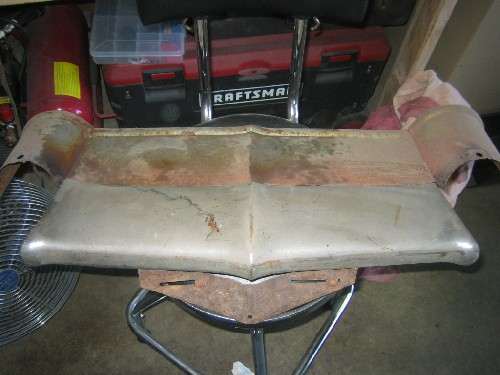
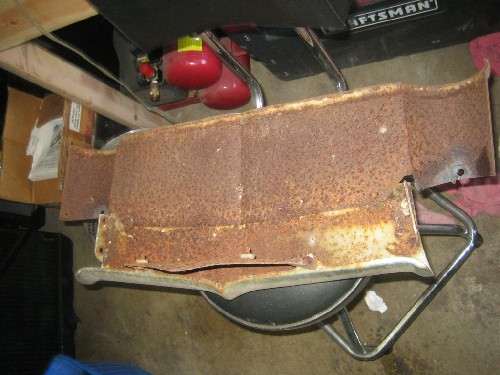
Well back in the garage for a little bit of work today. The first couple of pictures are of the truck lid that I fixed the dent in the "hump" portion. Had to use a uni-spotter to remove the dent as there was limited access to the rear of the lid because of the bracing. I little skim coat of filler should finish it off nicely.
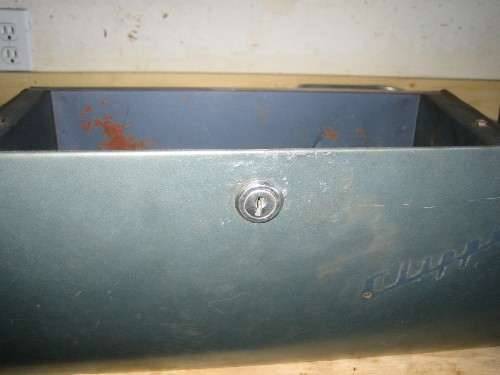
I also removed a dent that was in the glove box where someone had used a screwdriver to pry it open at some point in it's history.
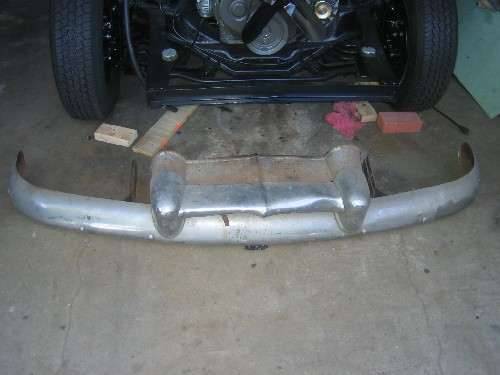
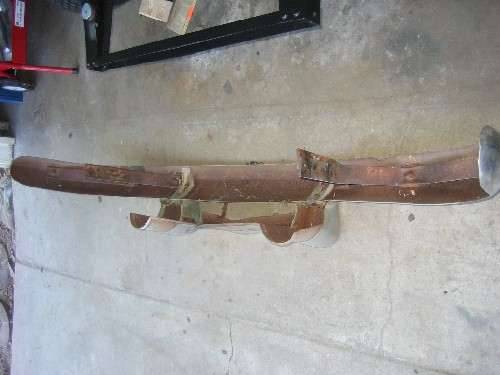
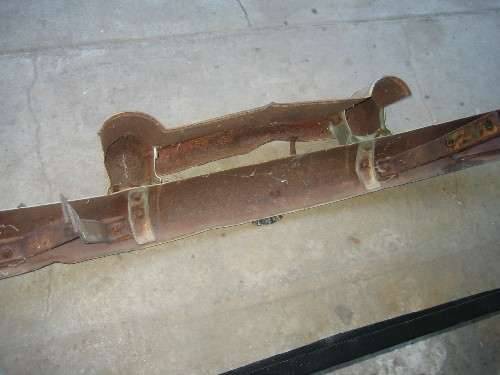
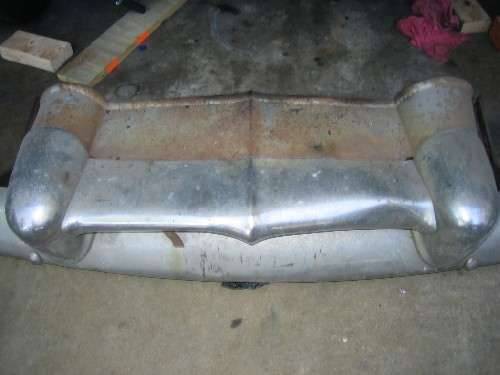
Next we have the front bumper. Time to pull it all apart and refinish all the braces and paint the back side. I will also attempt to straighten it as much as possible as there are dents from the use of a bumper jack over the years. I will polish up the chrome as good as I can, and leave it. Plating will come much later depending on budget. Also the "grille guard" the horizontal bar between the bumperettes on my car is dented, but the chrome is salvageable. But I do have another one that has no dents, but I need to see if I can clean up the chrome on it. Rust stains and major oxidation on it.
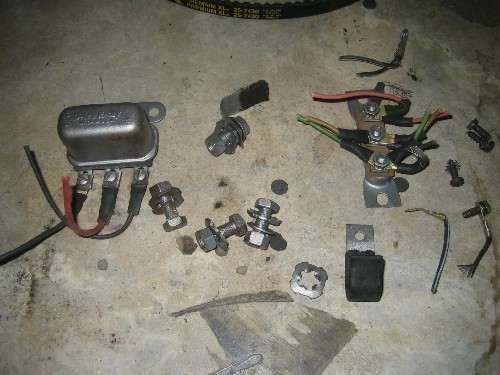
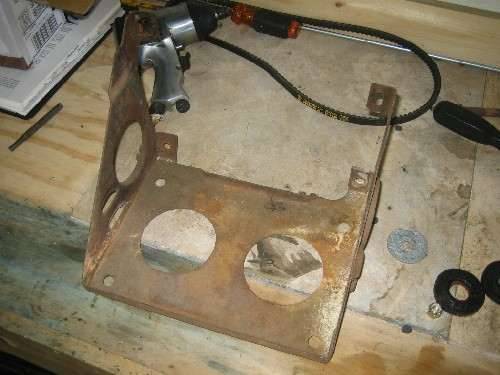
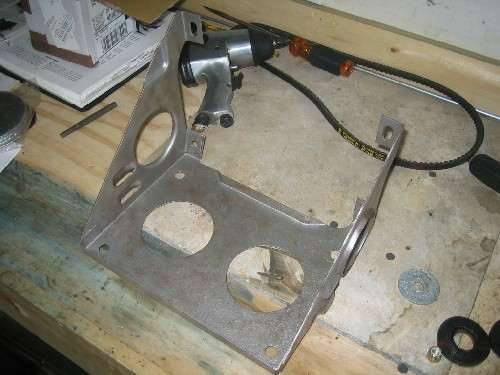
When I took the drivers side fender into school to massage the metal, I removed the battery tray, and all the terminal block and horn relay from the fender to keep them from getting damaged.
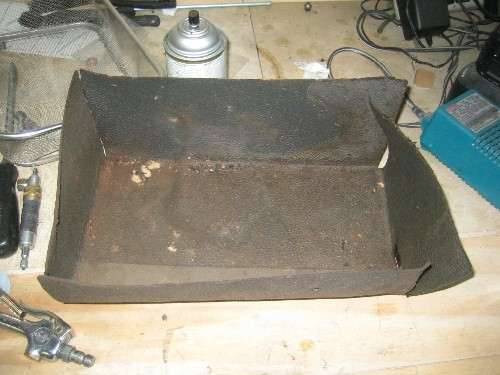
So everything needed to go into the media blaster. But I was having trouble with the blaster gun clogging. So it was time to screen the media and remove all the little bits of junk that came off previously blasted parts. So I just removed all the media from the cabinet with a shop vac. Remove the lid from the shop vac, and using a cup, pour the media back into the cabinet through a mesh screen. The removed a lot of debris, and I was back at work.
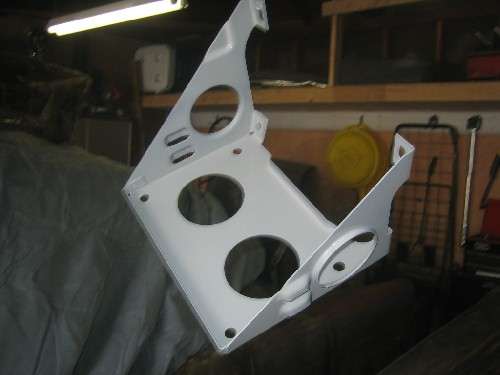
So the cleaned up all the terminals and the relays, and the battery tray. Some make ask why I simply cut all the wiring and left it attached to the terminal block and relay. Well as I am replacing the entire harness, this gives me a road map latter to match up all the colors to the right terminals.
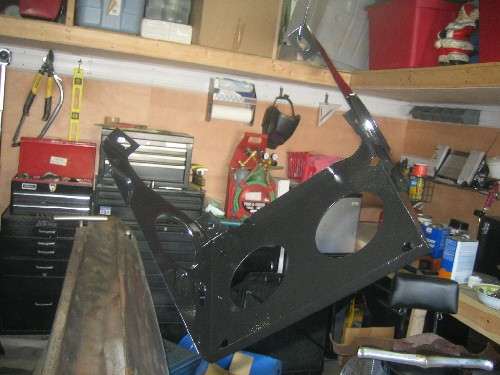
Lastly, I got the battery tray into primer, and then into paint.
Attach file:
 (41.05 KB)
(39.69 KB)
(82.09 KB)
(54.72 KB)

(38.81 KB)
(54.51 KB)
(62.47 KB)
(55.21 KB)
(49.91 KB)
(58.49 KB)
(71.13 KB)
(79.98 KB)
(77.37 KB)
(76.99 KB)
(38.35 KB)
(64.40 KB)
I also removed a dent that was in the glove box where someone had used a screwdriver to pry it open at some point in it's history.
Next we have the front bumper. Time to pull it all apart and refinish all the braces and paint the back side. I will also attempt to straighten it as much as possible as there are dents from the use of a bumper jack over the years. I will polish up the chrome as good as I can, and leave it. Plating will come much later depending on budget. Also the "grille guard" the horizontal bar between the bumperettes on my car is dented, but the chrome is salvageable. But I do have another one that has no dents, but I need to see if I can clean up the chrome on it. Rust stains and major oxidation on it.
When I took the drivers side fender into school to massage the metal, I removed the battery tray, and all the terminal block and horn relay from the fender to keep them from getting damaged.
So everything needed to go into the media blaster. But I was having trouble with the blaster gun clogging. So it was time to screen the media and remove all the little bits of junk that came off previously blasted parts. So I just removed all the media from the cabinet with a shop vac. Remove the lid from the shop vac, and using a cup, pour the media back into the cabinet through a mesh screen. The removed a lot of debris, and I was back at work.
So the cleaned up all the terminals and the relays, and the battery tray. Some make ask why I simply cut all the wiring and left it attached to the terminal block and relay. Well as I am replacing the entire harness, this gives me a road map latter to match up all the colors to the right terminals.
Lastly, I got the battery tray into primer, and then into paint.
Attach file:
(41.05 KB) (39.69 KB)
 (82.09 KB)
 (54.72 KB)
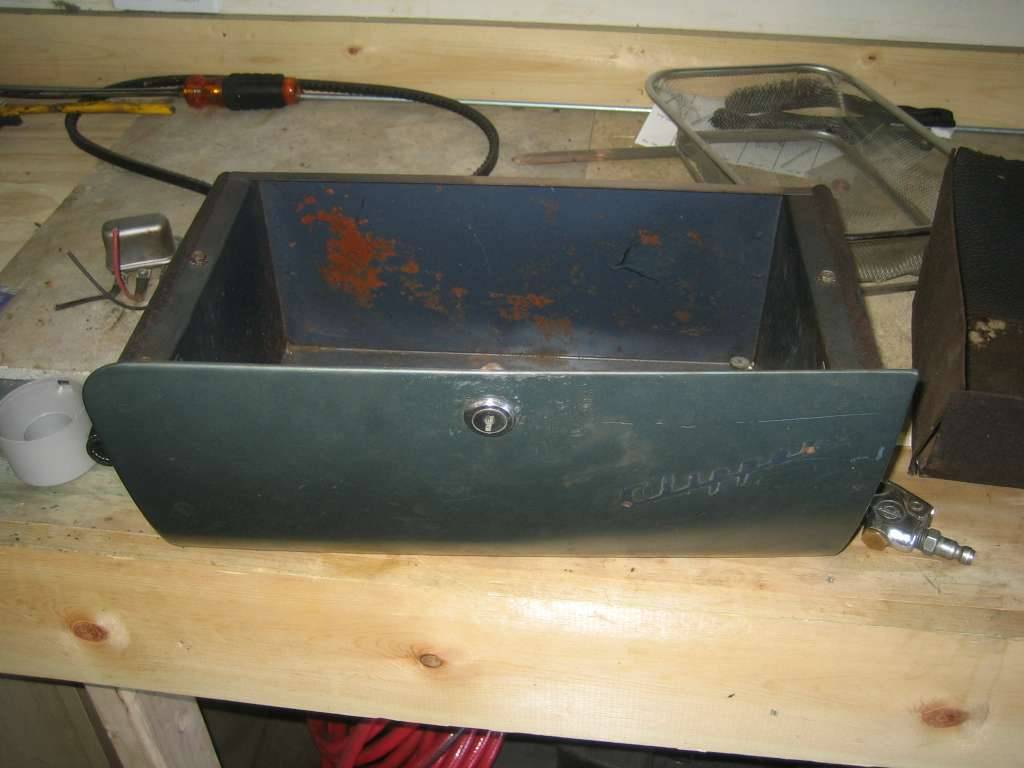 (38.81 KB)
 (54.51 KB)
 (62.47 KB)
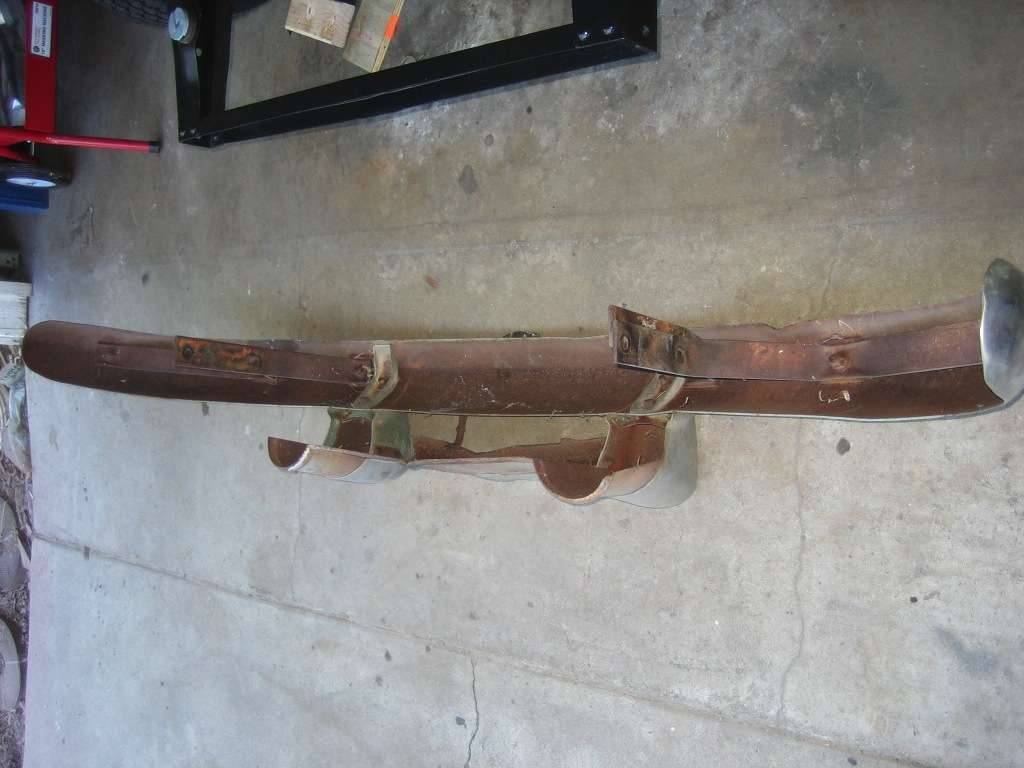 (55.21 KB)
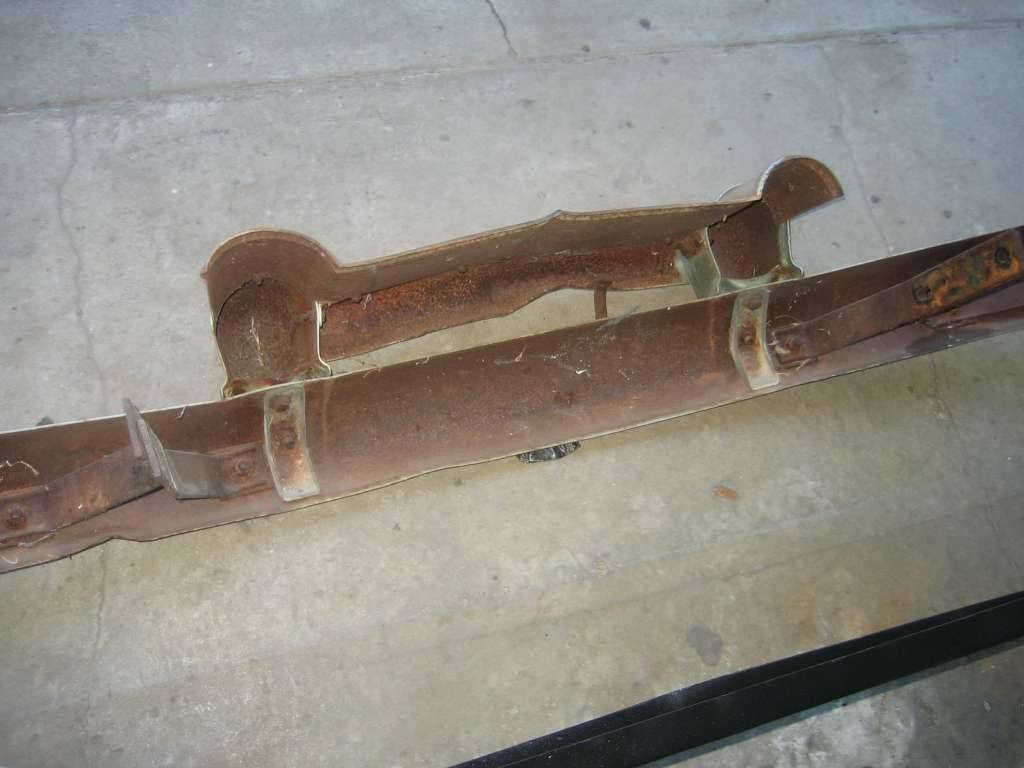 (49.91 KB)
 (58.49 KB)
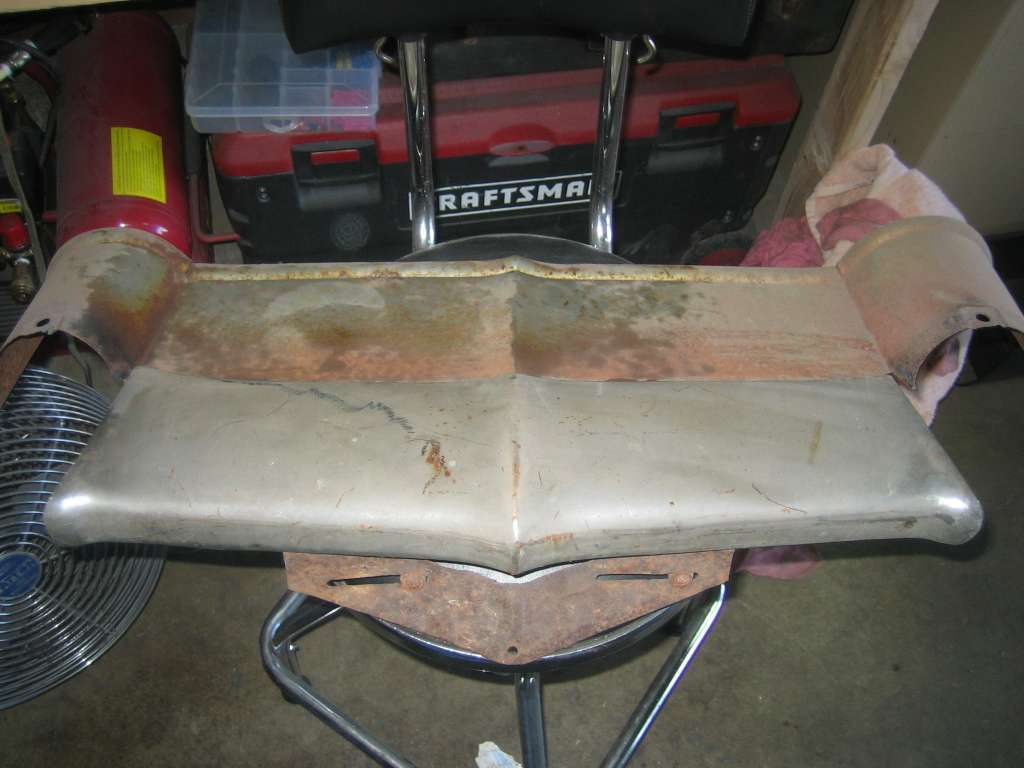 (71.13 KB)
 (79.98 KB)
 (77.37 KB)
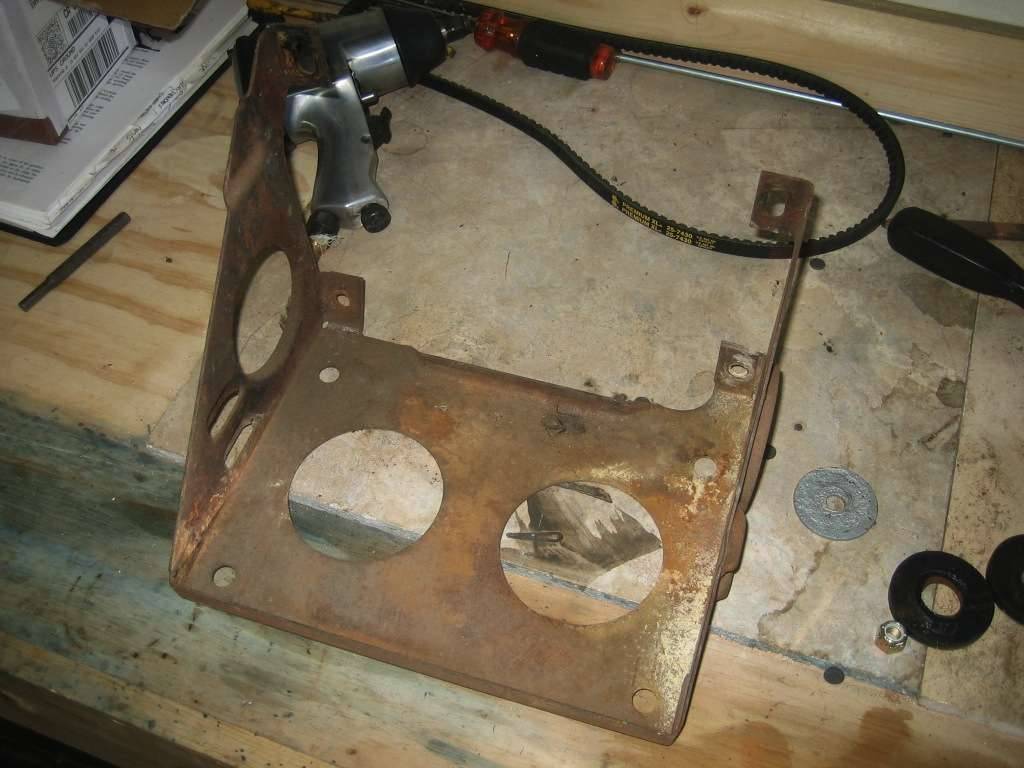 (76.99 KB)
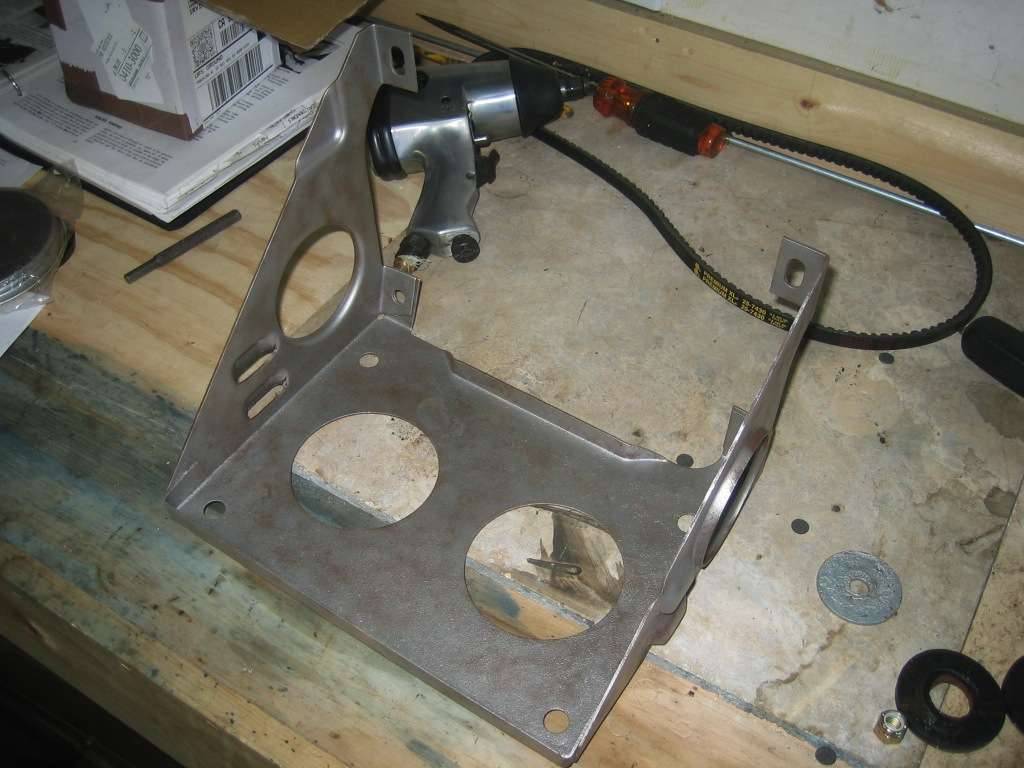 (38.35 KB)
 (64.40 KB)
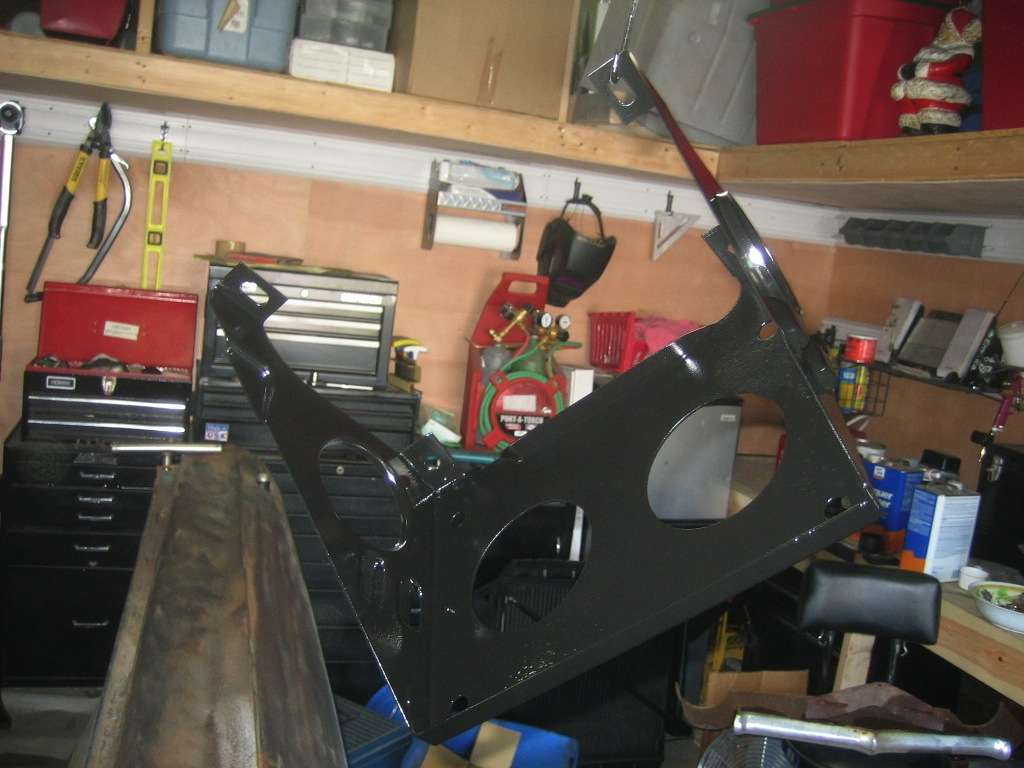
This Post was from: https://packardinfo.com/xoops/html/modules/newbb/viewtopic.php?post_id=23498