Re: BigKev's 1954 Packard Clipper Deluxe Sedan
Posted by BigKev On 2010/11/22 20:56:23
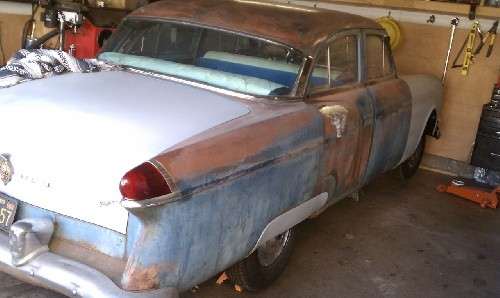
Well today was a prep day. I needed to get the car ready for the next phase in the rebuild. This involves getting the rest of the paint and rust stripped from the body. To do this I first have to remove the remaining trim. So with the door clips and handles off the car, I was able to remove the the remaining window trim.
Then the car went back up on jackstands. This is to make the bottom of the body easier to reach which doing the stripping, and body work. Also I have some items to take care of under the car.
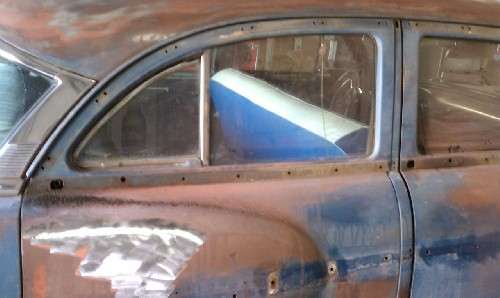
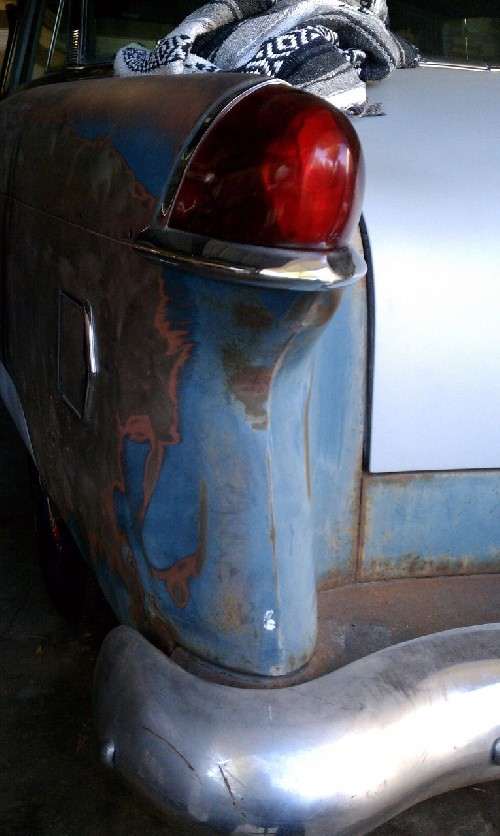
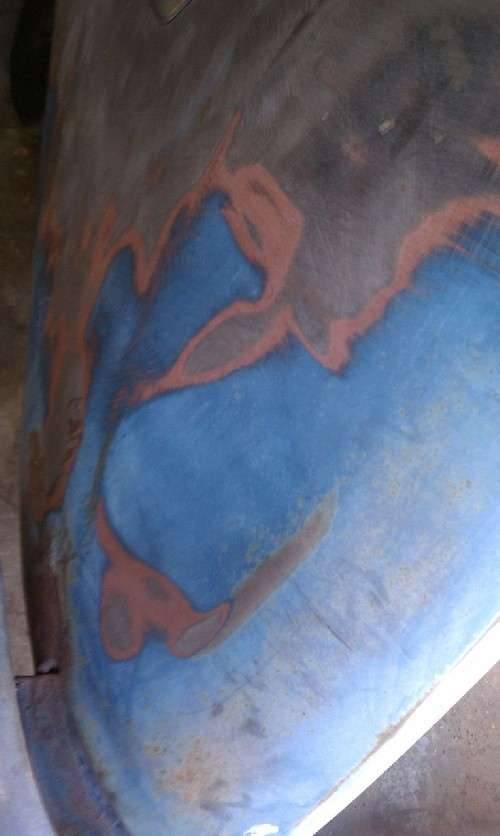
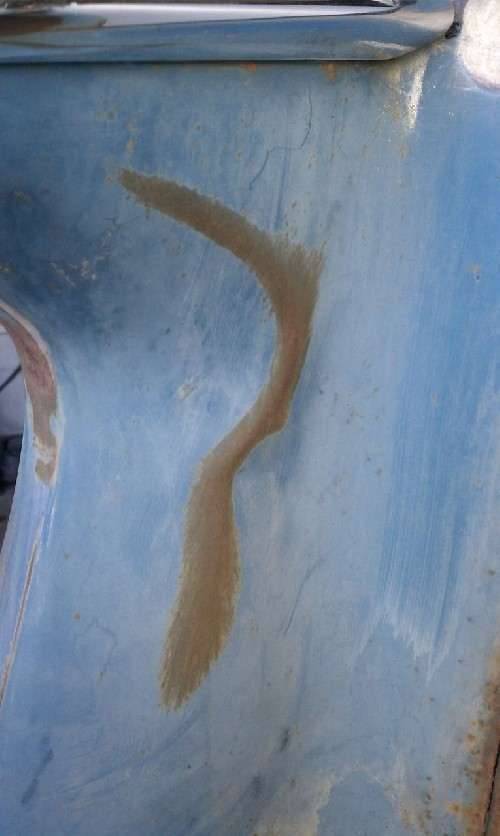
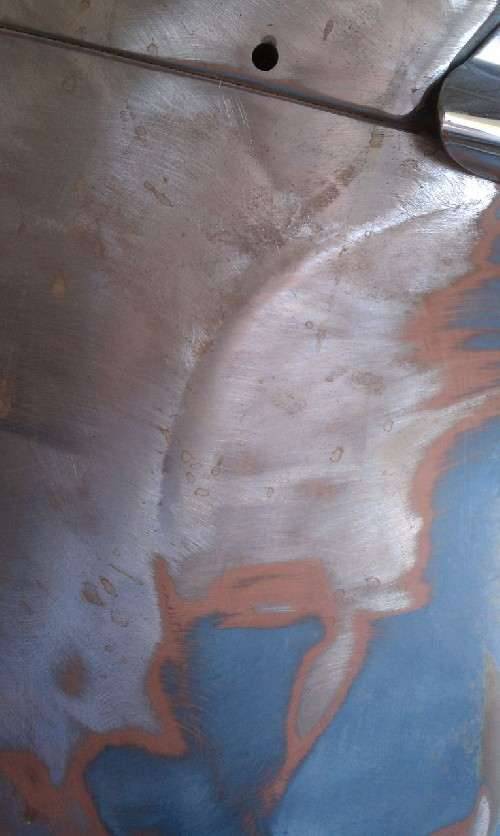
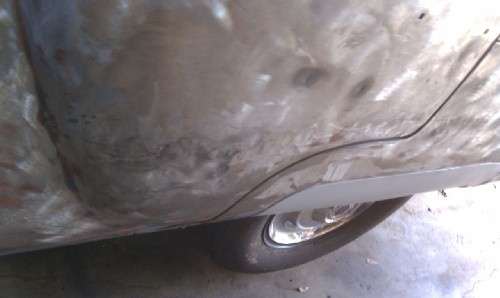
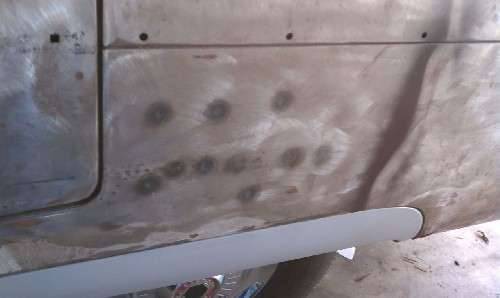
The first order of business was to survey all the visible body damage that needs to be addressed. There is a lot to be done. Someone once called me a sadist for buying this car. So here is the what has to be done (in order of photos)
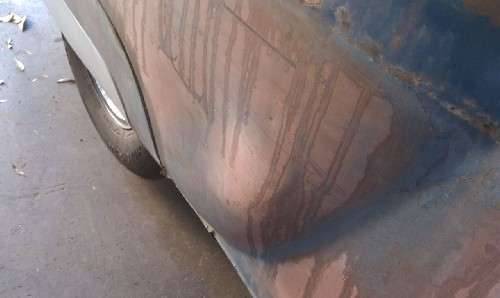
1) Rear Driver-Side corner of car: At some point the car was rear ended. This forced the bumper in the rear of the car. The trunk lid and main bumper was replaced at some point. But none of the body damage was repaired. So the driver-side rear corner under the tail light was pushed it, this caused two large ridges to be raised on each side of that corner. For every dent, there is a ridge formed. Metal has to go somewhere.
2) Rear Driver-Side Door: At some other time in the cars history, it was also side swiped on the driver-side. The raised "scallop" portion of the rear door was completely caved in. I have already roughed this back out, a lot of metal had to get moved to get this far. Need to go over it a few more time with a slapping file to get it level and ready for filler.
3) Rear Driver-Side Quarter: Part of the same side-swipe, there was a crease along the quarter from the door edge that extended back 3/4 of the panel. This crease was pulled out with a Uni-Spotter as it is double paneled and you cant reach the back side. Also I had to shrink the metal with a torch as it was pretty stretched from the impact. Those flat panels are a pain.
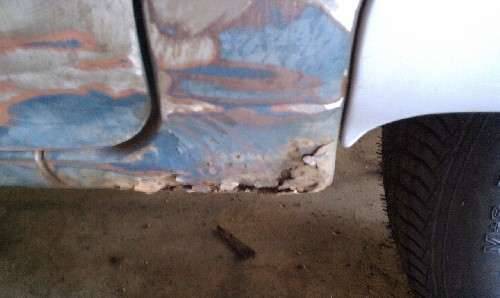
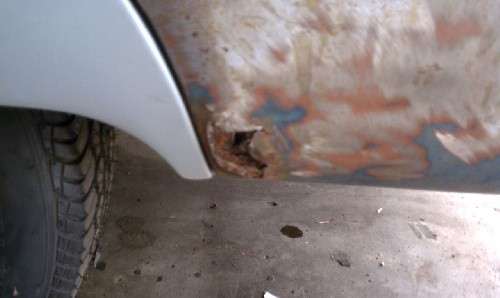
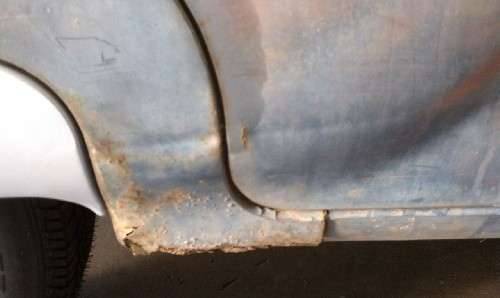
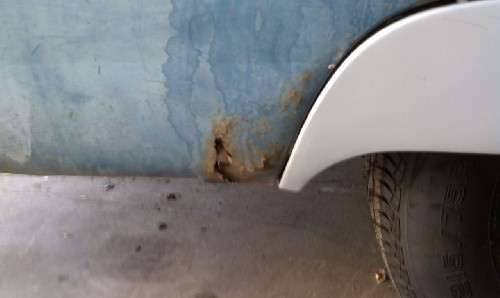
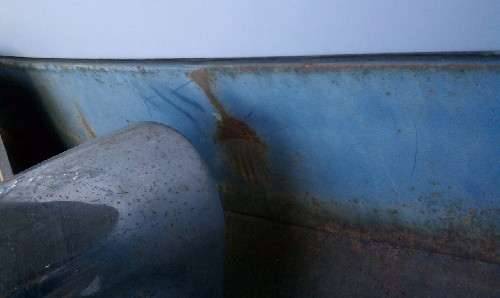
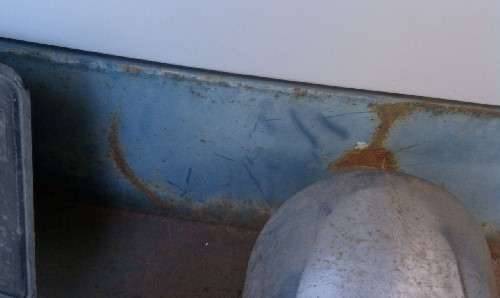
4) Rust-Outs: All four corners of the rear wheel arches are rusted out, and there is evidence of previous amateur attempts to repair it with fiberglass and filler. The holes wil have to be enlarged to better metal, and then have patches welded in. Also they will need to be properlly painted and sealed from the backside to prevent this from happening again. Mud collects in these corners and causes this rust out.
5) Rear Passenger Door: Not only is there a dent here, but there is evidence of an older, deeper dent that was filled with over 1/4" of filler. Grrrr.
6) Rear filler panel. This has a dent in it from the rear end accident that pushed the bumper guards into the panel. This will have to get straightened before I can locate and drill the holes for the backup lights I am adding.
7) Rear bumper. Even though this was replaced at some point, there is the usually bottom edge jack damage. Also the bumper guards will be replaced. This will be removed from the car soon to give me access to the filler panel.
On the inside of the car, both front floor pans will have to get replaced as well. The accelerator pedal is actually pulling loose from the floor where it is attached. Floors are completely rotten there.
Attach file:
 (90.16 KB)
 (84.39 KB)
 (91.23 KB)
 (67.80 KB)
 (69.52 KB)
 (88.80 KB)
 (58.58 KB)
 (63.66 KB)
 (92.74 KB)
 (64.32 KB)
 (68.91 KB)
 (66.96 KB)
 (54.76 KB)
 (75.07 KB)
 (64.00 KB)
Then the car went back up on jackstands. This is to make the bottom of the body easier to reach which doing the stripping, and body work. Also I have some items to take care of under the car.
The first order of business was to survey all the visible body damage that needs to be addressed. There is a lot to be done. Someone once called me a sadist for buying this car. So here is the what has to be done (in order of photos)
1) Rear Driver-Side corner of car: At some point the car was rear ended. This forced the bumper in the rear of the car. The trunk lid and main bumper was replaced at some point. But none of the body damage was repaired. So the driver-side rear corner under the tail light was pushed it, this caused two large ridges to be raised on each side of that corner. For every dent, there is a ridge formed. Metal has to go somewhere.
2) Rear Driver-Side Door: At some other time in the cars history, it was also side swiped on the driver-side. The raised "scallop" portion of the rear door was completely caved in. I have already roughed this back out, a lot of metal had to get moved to get this far. Need to go over it a few more time with a slapping file to get it level and ready for filler.
3) Rear Driver-Side Quarter: Part of the same side-swipe, there was a crease along the quarter from the door edge that extended back 3/4 of the panel. This crease was pulled out with a Uni-Spotter as it is double paneled and you cant reach the back side. Also I had to shrink the metal with a torch as it was pretty stretched from the impact. Those flat panels are a pain.
4) Rust-Outs: All four corners of the rear wheel arches are rusted out, and there is evidence of previous amateur attempts to repair it with fiberglass and filler. The holes wil have to be enlarged to better metal, and then have patches welded in. Also they will need to be properlly painted and sealed from the backside to prevent this from happening again. Mud collects in these corners and causes this rust out.
5) Rear Passenger Door: Not only is there a dent here, but there is evidence of an older, deeper dent that was filled with over 1/4" of filler. Grrrr.
6) Rear filler panel. This has a dent in it from the rear end accident that pushed the bumper guards into the panel. This will have to get straightened before I can locate and drill the holes for the backup lights I am adding.
7) Rear bumper. Even though this was replaced at some point, there is the usually bottom edge jack damage. Also the bumper guards will be replaced. This will be removed from the car soon to give me access to the filler panel.
On the inside of the car, both front floor pans will have to get replaced as well. The accelerator pedal is actually pulling loose from the floor where it is attached. Floors are completely rotten there.
Attach file:
 (90.16 KB)
 (84.39 KB)
 (91.23 KB)
 (67.80 KB)
 (69.52 KB)
 (88.80 KB)
 (58.58 KB)
 (63.66 KB)
 (92.74 KB)
 (64.32 KB)
 (68.91 KB)
 (66.96 KB)
 (54.76 KB)
 (75.07 KB)
 (64.00 KB)
This Post was from: https://packardinfo.com/xoops/html/modules/newbb/viewtopic.php?post_id=65017