Re: Henry's 55 Constellation
Posted by Cli55er On 2008/6/23 9:48:56
FINALLY i have done some more worthwhile work to the clipbee.
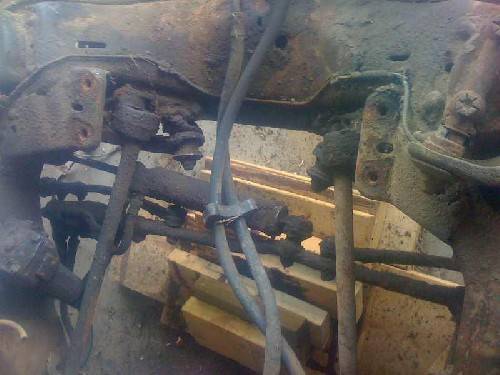
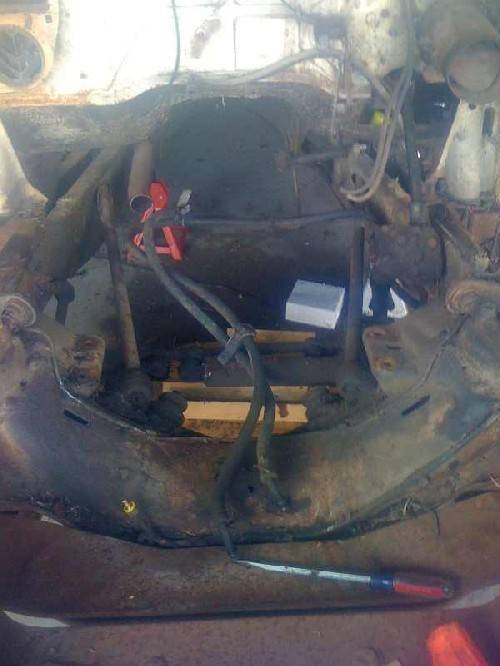
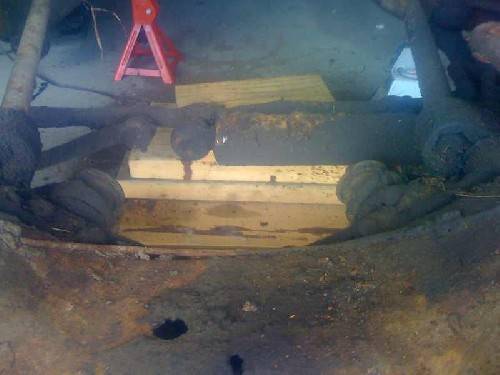
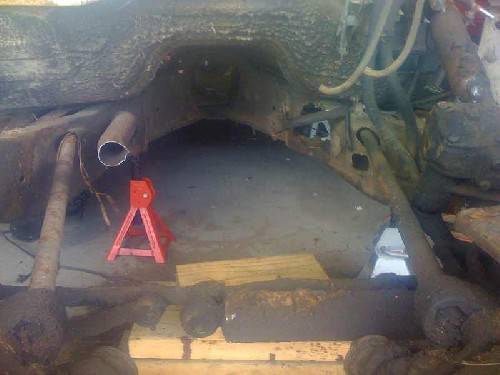
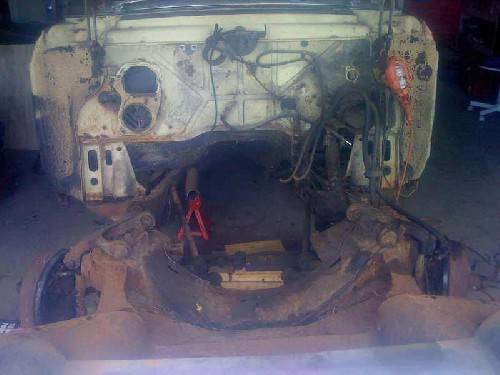
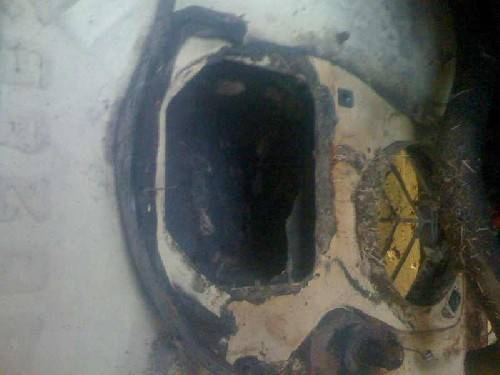
late on friday afternoon my uncle helped me remove the motor, which was no small task in itself. that thing weighs a ton i swear! I just ended up cutting the exhaust pipe, it wasn't reusable anyways. Had to remove the power stearing pump to get a good bolt hole to attach the chain too. Also had to unbolt the trans cooler, which by the pics you can see is wasted....rusted up good at the inlet and the outlet holes, othewise i couldn't get to the front engine mount bolt. for this car being so big, that engine seems to be cramed in there at times....especially the exhaust, what a weird way to do it.
does anyone know if there is an exhaust manifold for the driver's side that faces towards the back of the car instead of the one i have that faces forward for the single exhaust. i would like to do dual, custom exhaust, but i don't want to wrap forwards and under the motor first. the stearing box will be a challenge too.
my pressure washer sprung a leak and wont hold pressure, so i couldn't clean the motor off very well. it is one of those cheap electric ones. i need a good gas one, but i can't afford it right now.
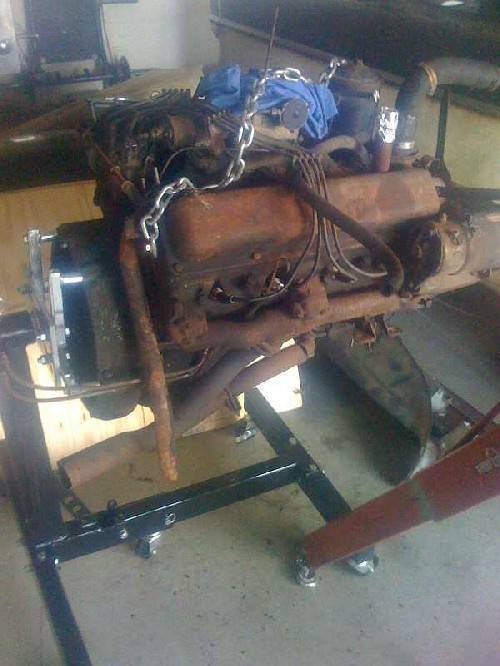
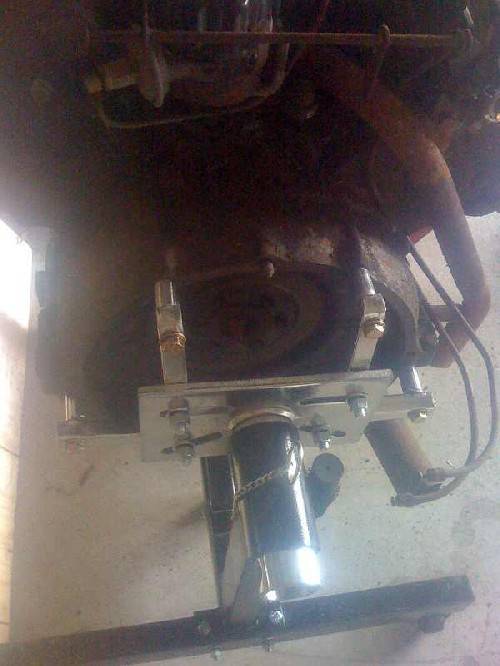
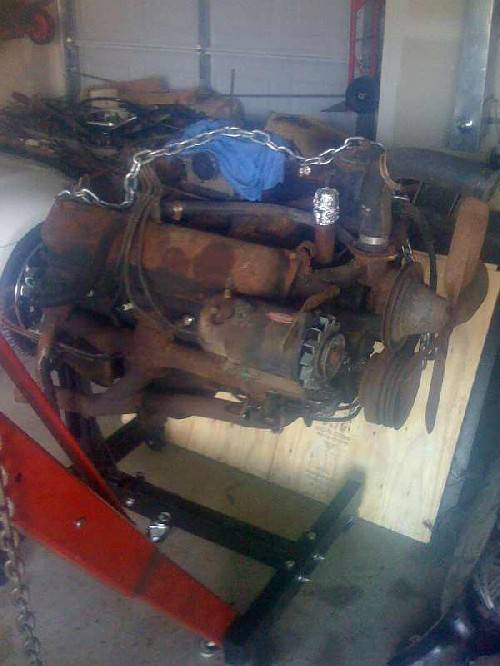
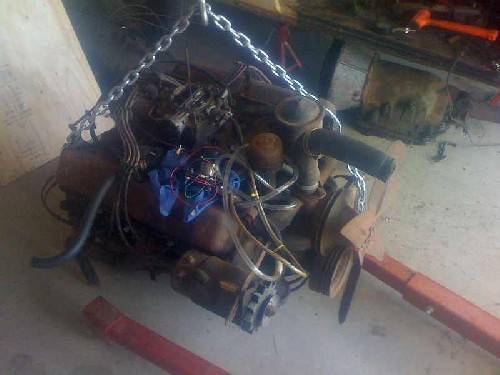
that engine stand is a 1500 lb stand, and you can see it is giving it a fit to hold it up....that is one mosterous motor for a 352 that's for sure. just to get it off the hoist and on the stand, i had to straddle the stand onto the hoist and then build up the back of the stand with blocks of wood.....it was sturdy suprisingly. then i had to position the motor just right to get it on the stand and bold it up. i used 2 1/2 or 3" grad 8 bolts to connect it. once i got it on i put a jack on the front of the stand to lift the weight off the hoist. then i pulled the hoist out and lowered the jack...this was scary.....then i lifted the back off the blocks of wood, moved then and lowered to the floor......i don't recommend this to anyone as it was very scary to do it this way, but i had no other choice unfortunately.
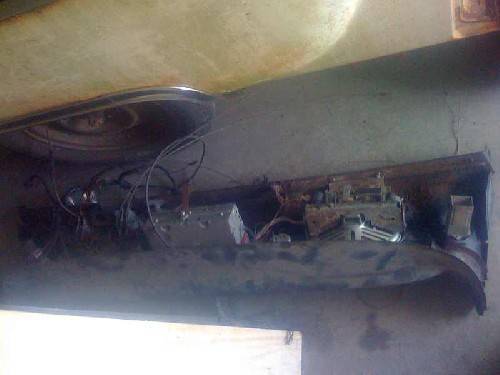
i also got the dash out....enough said.....what PIA!!!! i didn't like Packard that day i can tell you. i got it out with all the wires attached so i could take good pictures of where all the wires go too when i take it apart. i tried to take as many pics of where all the wiring hooks up to the motor too, but my camera phone sux.
i took the stearing wheel off and the shaft out too.....anyone know how to remove the long shaft that runs into the stearing box....it just stays there. or does it come out with the box as one unit?
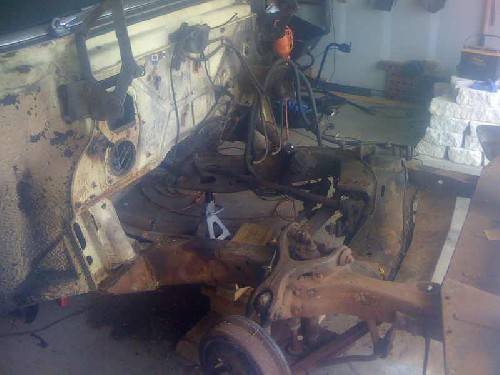
anyways.....almost done dismantling this thing. next up is removing the body.......do i really need to put in some door braces when i take the body off?????? it seems as though it would have been mated to the frame at the factory without brace.
anyways enjoy the pics.
Attach file:
 (42.62 KB)
(39.41 KB)
(33.69 KB)
(35.77 KB)
(32.53 KB)
(26.72 KB)
(32.63 KB)
(36.68 KB)
(31.67 KB)
(33.34 KB)
(37.04 KB)
(38.05 KB)

(31.42 KB)
(29.13 KB)

(28.89 KB)
(35.83 KB)

(27.70 KB)

late on friday afternoon my uncle helped me remove the motor, which was no small task in itself. that thing weighs a ton i swear! I just ended up cutting the exhaust pipe, it wasn't reusable anyways. Had to remove the power stearing pump to get a good bolt hole to attach the chain too. Also had to unbolt the trans cooler, which by the pics you can see is wasted....rusted up good at the inlet and the outlet holes, othewise i couldn't get to the front engine mount bolt. for this car being so big, that engine seems to be cramed in there at times....especially the exhaust, what a weird way to do it.
does anyone know if there is an exhaust manifold for the driver's side that faces towards the back of the car instead of the one i have that faces forward for the single exhaust. i would like to do dual, custom exhaust, but i don't want to wrap forwards and under the motor first. the stearing box will be a challenge too.
my pressure washer sprung a leak and wont hold pressure, so i couldn't clean the motor off very well. it is one of those cheap electric ones. i need a good gas one, but i can't afford it right now.
that engine stand is a 1500 lb stand, and you can see it is giving it a fit to hold it up....that is one mosterous motor for a 352 that's for sure. just to get it off the hoist and on the stand, i had to straddle the stand onto the hoist and then build up the back of the stand with blocks of wood.....it was sturdy suprisingly. then i had to position the motor just right to get it on the stand and bold it up. i used 2 1/2 or 3" grad 8 bolts to connect it. once i got it on i put a jack on the front of the stand to lift the weight off the hoist. then i pulled the hoist out and lowered the jack...this was scary.....then i lifted the back off the blocks of wood, moved then and lowered to the floor......i don't recommend this to anyone as it was very scary to do it this way, but i had no other choice unfortunately.
i also got the dash out....enough said.....what PIA!!!! i didn't like Packard that day i can tell you.
i got it out with all the wires attached so i could take good pictures of where all the wires go too when i take it apart. i tried to take as many pics of where all the wiring hooks up to the motor too, but my camera phone sux.i took the stearing wheel off and the shaft out too.....anyone know how to remove the long shaft that runs into the stearing box....it just stays there. or does it come out with the box as one unit?
anyways.....almost done dismantling this thing. next up is removing the body.......do i really need to put in some door braces when i take the body off??????
it seems as though it would have been mated to the frame at the factory without brace.anyways enjoy the pics.
Attach file:
(42.62 KB)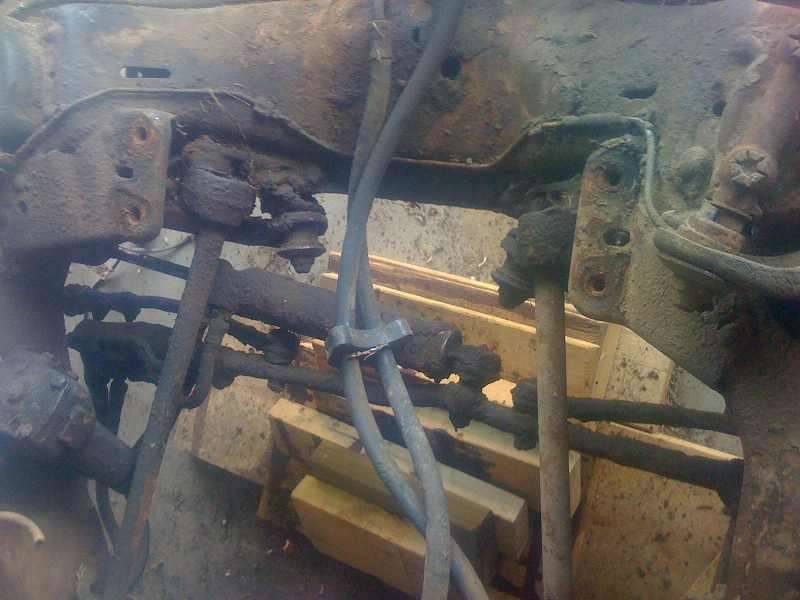 (39.41 KB)
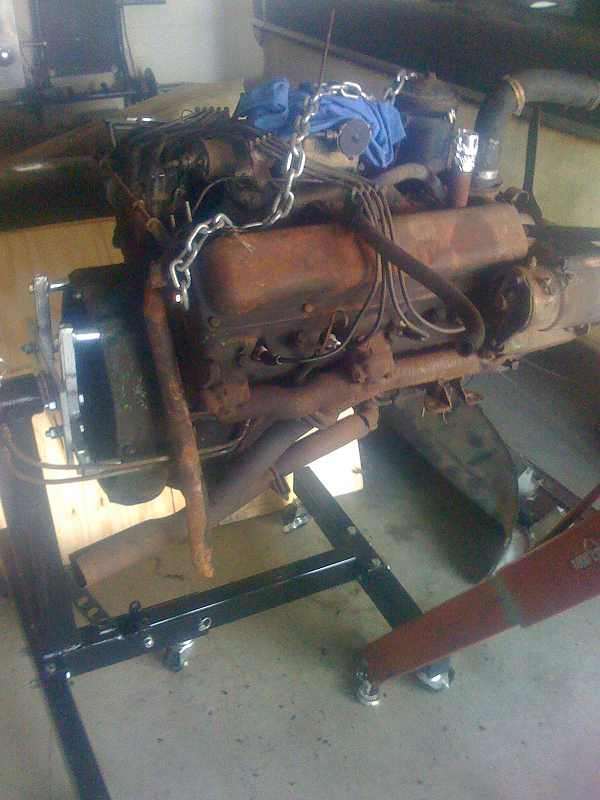 (33.69 KB)
 (35.77 KB)
 (32.53 KB)
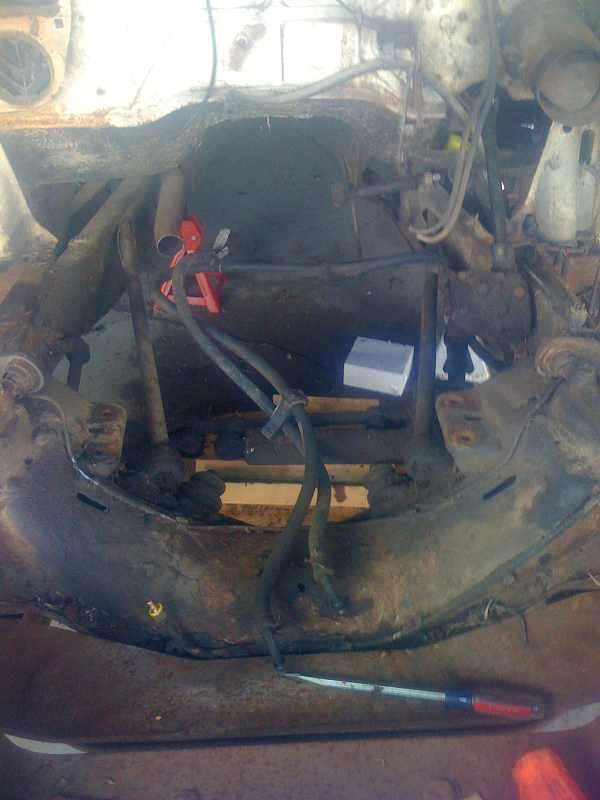 (26.72 KB)
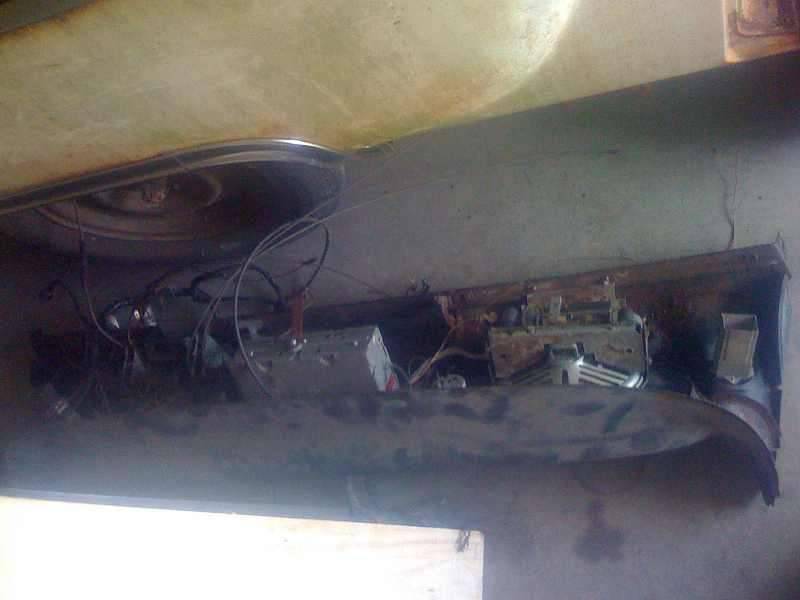 (32.63 KB)
 (36.68 KB)
 (31.67 KB)
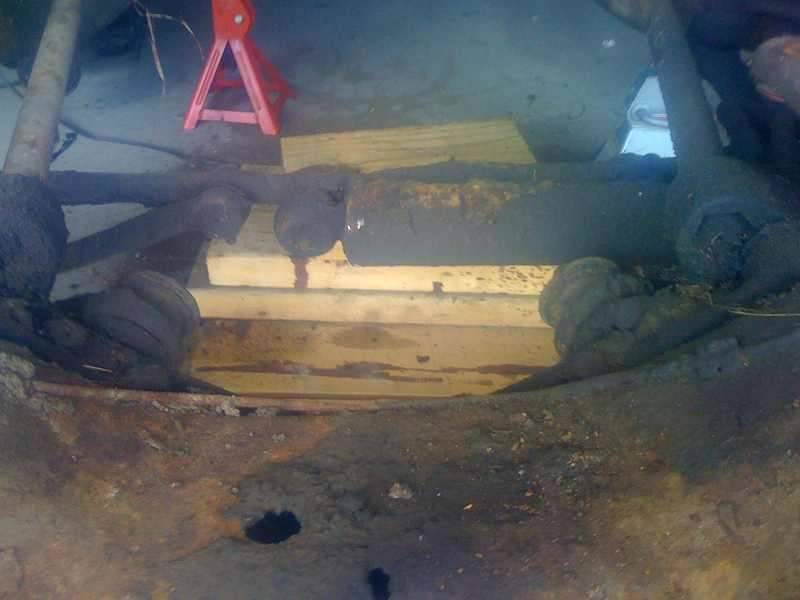 (33.34 KB)
 (37.04 KB)
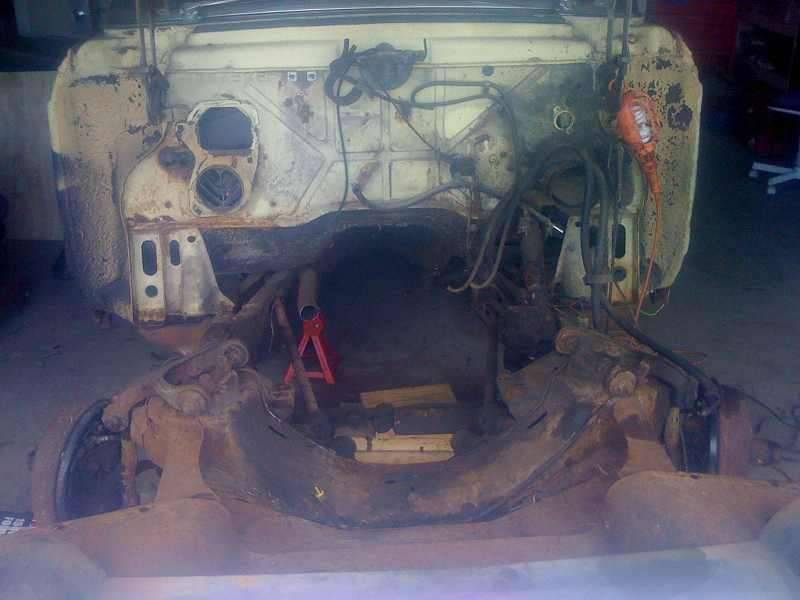 (38.05 KB)
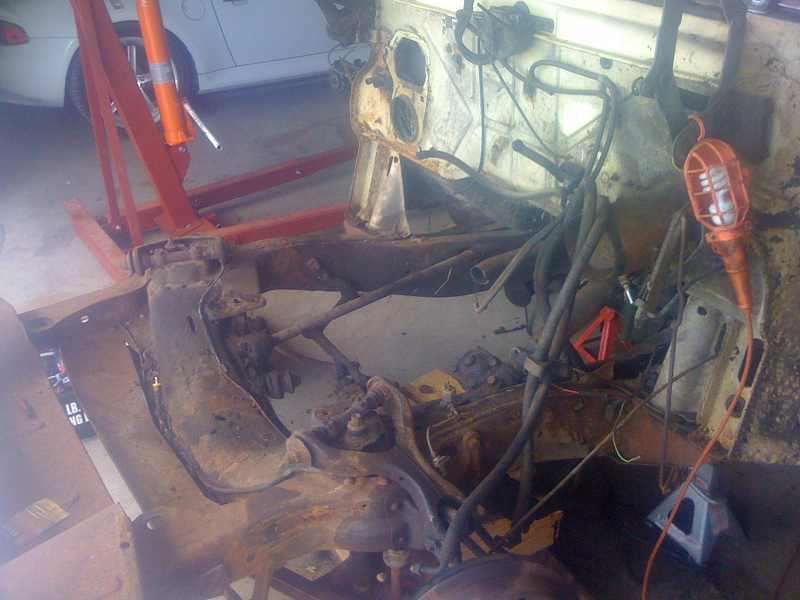 (31.42 KB)
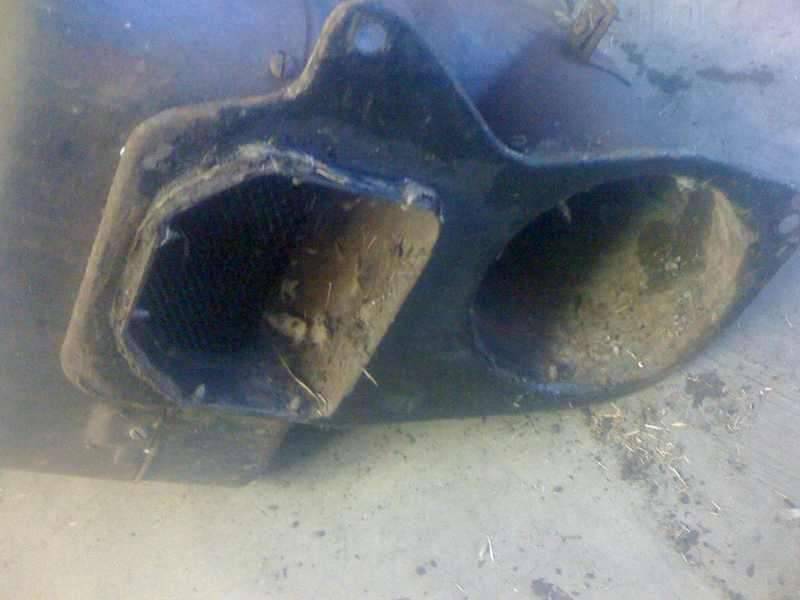 (29.13 KB)
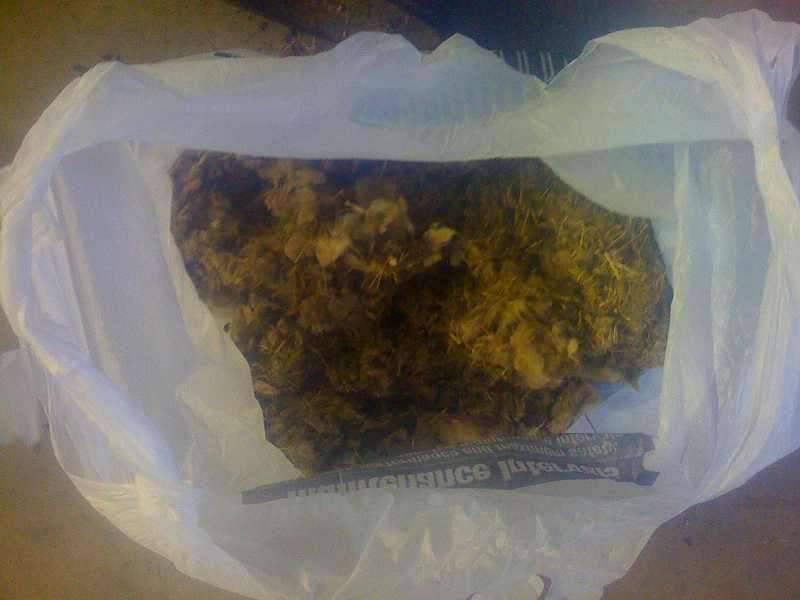 (28.89 KB)
 (35.83 KB)
 (27.70 KB)
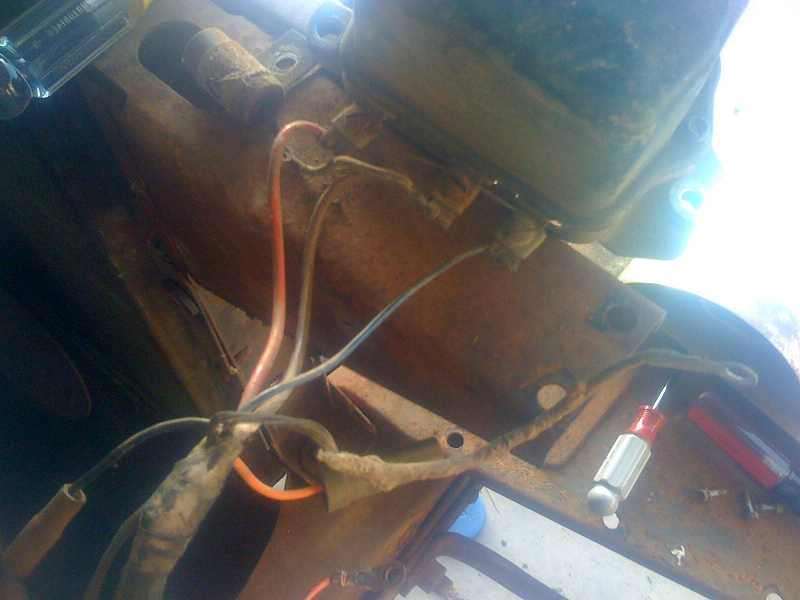
This Post was from: https://packardinfo.com/xoops/html/modules/newbb/viewtopic.php?post_id=8493