Re: Ken's 1937 115C Touring Sedan
Posted by Ken_P On 2015/7/12 8:18:34
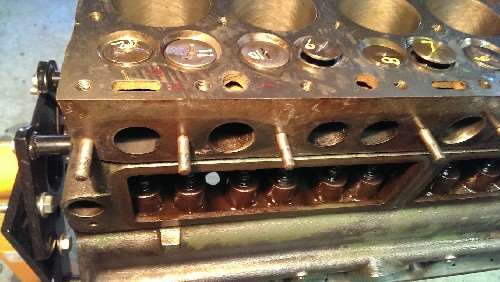
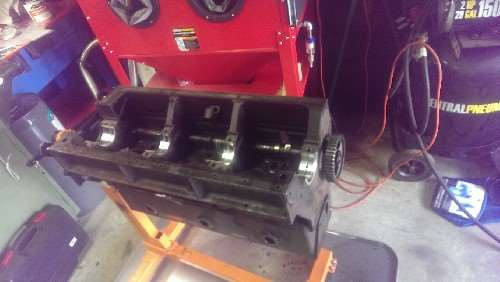
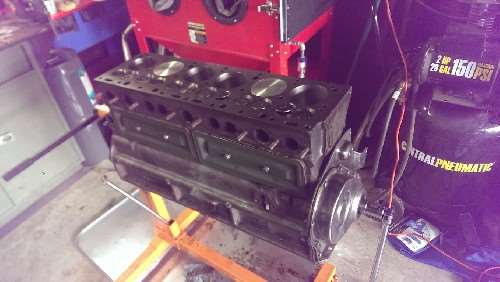
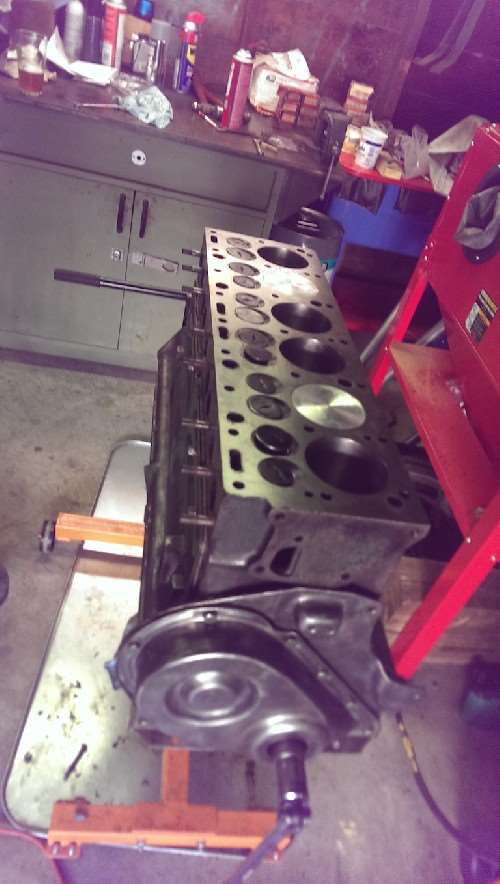
Ok, oil pump is in, valves adjusted, valve covers on. Bottom end is all assembled, but I will replace the two CR nuts on the #1 cylinder with castellated nuts once I get back from Reading next weekend. There are conventional nuts there now. I attempted to use a nut splitter to get the old nut off, but couldn't get a good angle. After denting the nut with the splitting tool a few times in my unsuccessful attempt to use it and a few good whacks with a cold chisel, I was able to unscrew the nut, in spite of the damaged threads. New stud, and conventional nuts for the moment. Also put in the wooden blocks on the rear main bearing cap.
- Putting in those blocks is a PITA. Any pro tips I should know for next time? I ended up filing the backs down, then driving in with a hammer using the block to peel it down to fit. One of the two broke, so I used the old wooden block on that side. Both blocks coated with gasket paste (I am using Permatex Aviation gasket sealer).
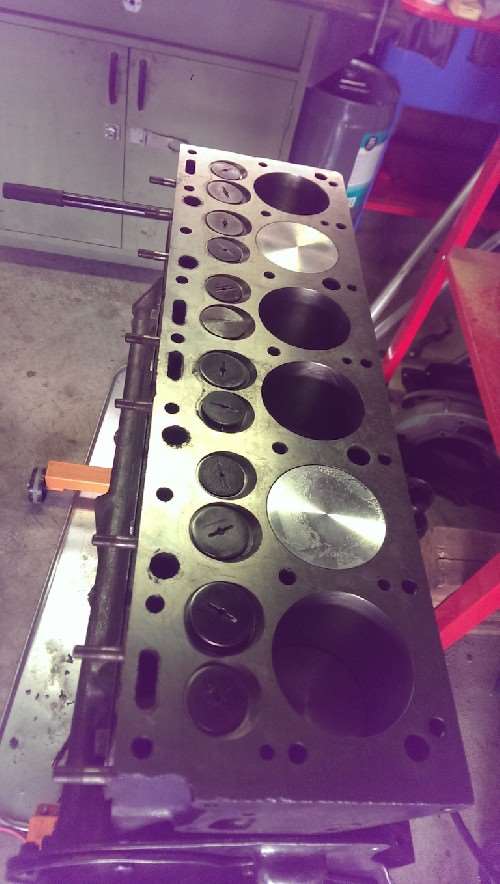
- The valves I set at 0.009 intake and 0.012 exhaust with the cyliner at TDC. The book calls for 0.007 intake, 0.010 exhaust with the engine warm and idling. Any experience with setting the valves cold? Did I do it right? I couldn't find anywhere on the forum or in my old Chiltons that actually tells you how to adjust valves!
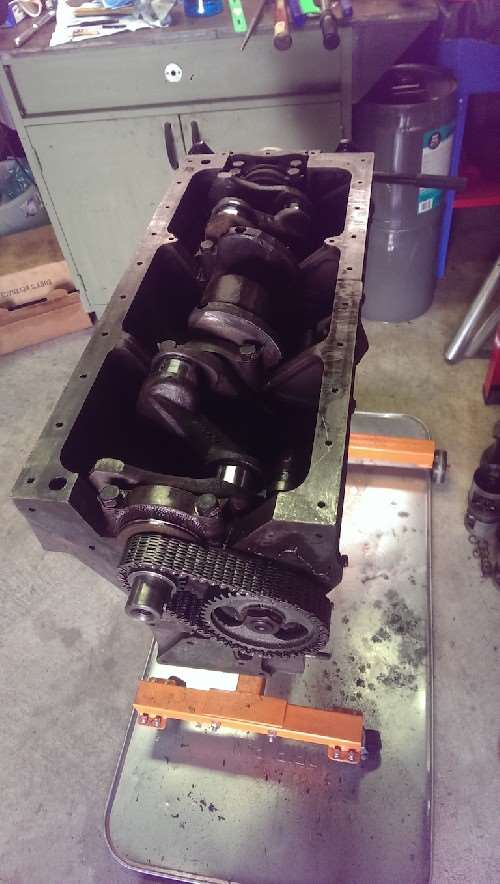
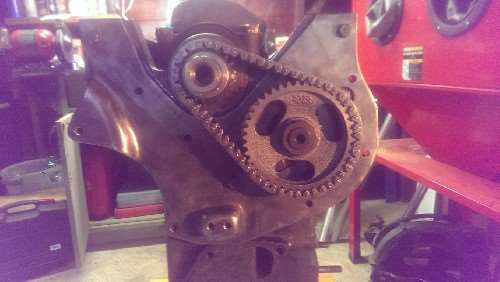
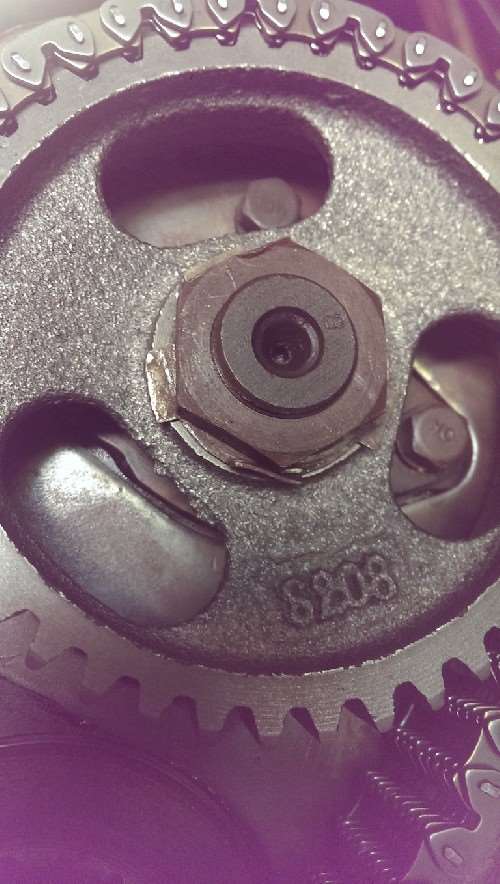
I also pulled the timing cover back off and re-installed it. Long sad story why: after I installed the timing chain and bent over the lock tab, I was using a crescent wrench on the cam nut to turn the cam and crank clockwise. After I installed the second piston, the nut actually spun (tightened) a little bit. I put a harmonic dampener bolt in the crank and started using that to spin the engine. Then, after I put the timing chain cover on, I realized I never went back and adjusted the tab. You'll see what I found- glad I caught it!
Finally, knocked some dents out of the valve covers before I put them on. There were outward dents all along the lower side of one valve cover- not sure what was in the valve gallery that may have come loose in the engines past.
As always, if you see anything wrong, please let me know. This engine project has been going since last September! If you read my blog from a few years ago, it turns out I was a lot more productive before I had kids. Wouldn't change it for the world though.
I will be at Reading for the show on Friday, looking forward to hopefully meeting some of you there!
Attach file:
 (101.76 KB)
(64.25 KB)
(83.87 KB)
(65.89 KB)
(92.85 KB)
(76.66 KB)
(71.60 KB)
(72.97 KB)
- Putting in those blocks is a PITA. Any pro tips I should know for next time? I ended up filing the backs down, then driving in with a hammer using the block to peel it down to fit. One of the two broke, so I used the old wooden block on that side. Both blocks coated with gasket paste (I am using Permatex Aviation gasket sealer).
- The valves I set at 0.009 intake and 0.012 exhaust with the cyliner at TDC. The book calls for 0.007 intake, 0.010 exhaust with the engine warm and idling. Any experience with setting the valves cold? Did I do it right? I couldn't find anywhere on the forum or in my old Chiltons that actually tells you how to adjust valves!
I also pulled the timing cover back off and re-installed it. Long sad story why: after I installed the timing chain and bent over the lock tab, I was using a crescent wrench on the cam nut to turn the cam and crank clockwise. After I installed the second piston, the nut actually spun (tightened) a little bit. I put a harmonic dampener bolt in the crank and started using that to spin the engine. Then, after I put the timing chain cover on, I realized I never went back and adjusted the tab. You'll see what I found- glad I caught it!
Finally, knocked some dents out of the valve covers before I put them on. There were outward dents all along the lower side of one valve cover- not sure what was in the valve gallery that may have come loose in the engines past.
As always, if you see anything wrong, please let me know. This engine project has been going since last September! If you read my blog from a few years ago, it turns out I was a lot more productive before I had kids. Wouldn't change it for the world though.
I will be at Reading for the show on Friday, looking forward to hopefully meeting some of you there!
Attach file:
(101.76 KB)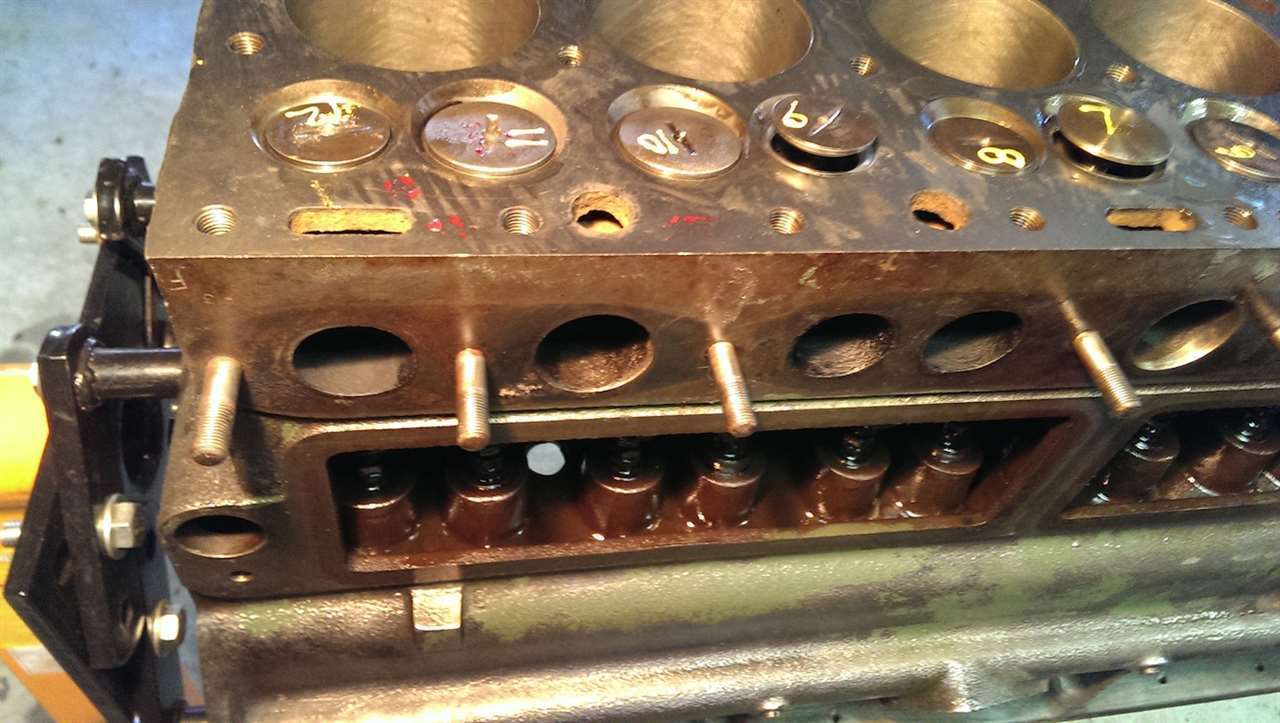 (64.25 KB)
 (83.87 KB)
 (65.89 KB)
 (92.85 KB)
 (76.66 KB)
 (71.60 KB)
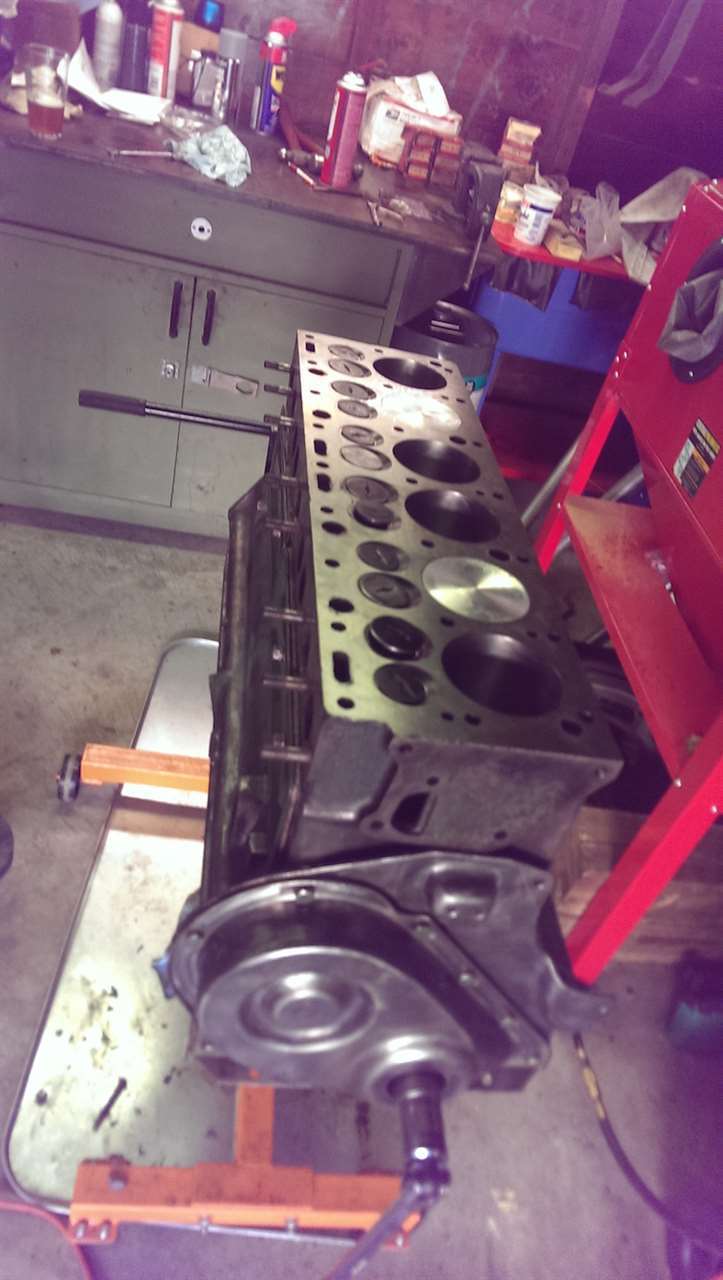 (72.97 KB)
This Post was from: https://packardinfo.com/xoops/html/modules/newbb/viewtopic.php?post_id=164124