46-50 trunk light -- episode two.
Posted by HH56 On 2017/2/19 14:59:15
For the few of you that saw yesterdays post and the first version of replacing the old mercury switch with the modern glass envelope switch, apologies. It worked well but the use of the silicone made the workmanship and appearance not to standard.
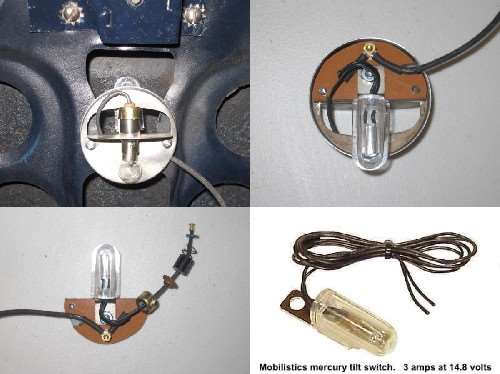
Decided to use the modern one piece alarm tilt switch available on ebay, Amazon and some local alarm shops. The one I bought locally was not the Mobilistics brand and was right at $10 with tax. It is a rolling ball but still rated about one amp so high enough for the 46-50. The #55 bulb used in 46-50 pulls approx 400ma, the #81 bulb for 51-4 is about 1.1 amps and the #89 for 55-6 is about 600ma. If you have the option, buy the higher capacity but at least make sure the switch you buy is rated appropriately for the bulb.
The 46-7 trunk lid has an opening in the lid above the light assy, 48-50 probably does too. I took advantage of that opening for the switch placement. Mounting was done with a piece of 1/4" phenolic board with an 8-32 screw and nut. Plexiglass would work too. I wanted something thick enough to be able to countersink the heads of the mounting and terminal screws so chose the 1/4" board. The terminal screw is 4-40 and head is countersunk well away from the metal lamp body but I still added a layer of tape on the bottom of the phenolic to cover the head. Don't know about 51-4 but 55-6 will need a different place and method to mount the switch as the lamp housing is long and in a confined space with no extra room above the assy. Possibly the switch could be mounted in the hollow space on the side of the light using one of the original mounting holes with a different screw and a nut and washer to hold the light and switch.
As the switch is made and mounted, the angle is such that when installed in the car the light turns on when lid is about 3/4 up and turns off when about 1/3 down. The bracket can be bent slightly to change those angles.
Wiring was a matter of removing the guts out of the original socket. Mine had been wet at some point so the cardboard tube and contact support piece were in bad shape. Made a nylon spacer to replace the mercury switch. It is the same diameter as the old cardboard sleeve and same length as the old mercury switch. Roughly 3/8 long and just under 7/16 in diameter. You could use other materials too. A terminal lug was soldered on one lead of the new switch and running the other lead thru the socket pieces and then soldering a contact button on the end completed the wiring. If it is in good shape, you can cut and add a terminal to the old supply wire to attach to the new terminal screw or just run a new wire..
Attach file:
 (92.36 KB)
Decided to use the modern one piece alarm tilt switch available on ebay, Amazon and some local alarm shops. The one I bought locally was not the Mobilistics brand and was right at $10 with tax. It is a rolling ball but still rated about one amp so high enough for the 46-50. The #55 bulb used in 46-50 pulls approx 400ma, the #81 bulb for 51-4 is about 1.1 amps and the #89 for 55-6 is about 600ma. If you have the option, buy the higher capacity but at least make sure the switch you buy is rated appropriately for the bulb.
The 46-7 trunk lid has an opening in the lid above the light assy, 48-50 probably does too. I took advantage of that opening for the switch placement. Mounting was done with a piece of 1/4" phenolic board with an 8-32 screw and nut. Plexiglass would work too. I wanted something thick enough to be able to countersink the heads of the mounting and terminal screws so chose the 1/4" board. The terminal screw is 4-40 and head is countersunk well away from the metal lamp body but I still added a layer of tape on the bottom of the phenolic to cover the head. Don't know about 51-4 but 55-6 will need a different place and method to mount the switch as the lamp housing is long and in a confined space with no extra room above the assy. Possibly the switch could be mounted in the hollow space on the side of the light using one of the original mounting holes with a different screw and a nut and washer to hold the light and switch.
As the switch is made and mounted, the angle is such that when installed in the car the light turns on when lid is about 3/4 up and turns off when about 1/3 down. The bracket can be bent slightly to change those angles.
Wiring was a matter of removing the guts out of the original socket. Mine had been wet at some point so the cardboard tube and contact support piece were in bad shape. Made a nylon spacer to replace the mercury switch. It is the same diameter as the old cardboard sleeve and same length as the old mercury switch. Roughly 3/8 long and just under 7/16 in diameter. You could use other materials too. A terminal lug was soldered on one lead of the new switch and running the other lead thru the socket pieces and then soldering a contact button on the end completed the wiring. If it is in good shape, you can cut and add a terminal to the old supply wire to attach to the new terminal screw or just run a new wire..
Attach file:
(92.36 KB)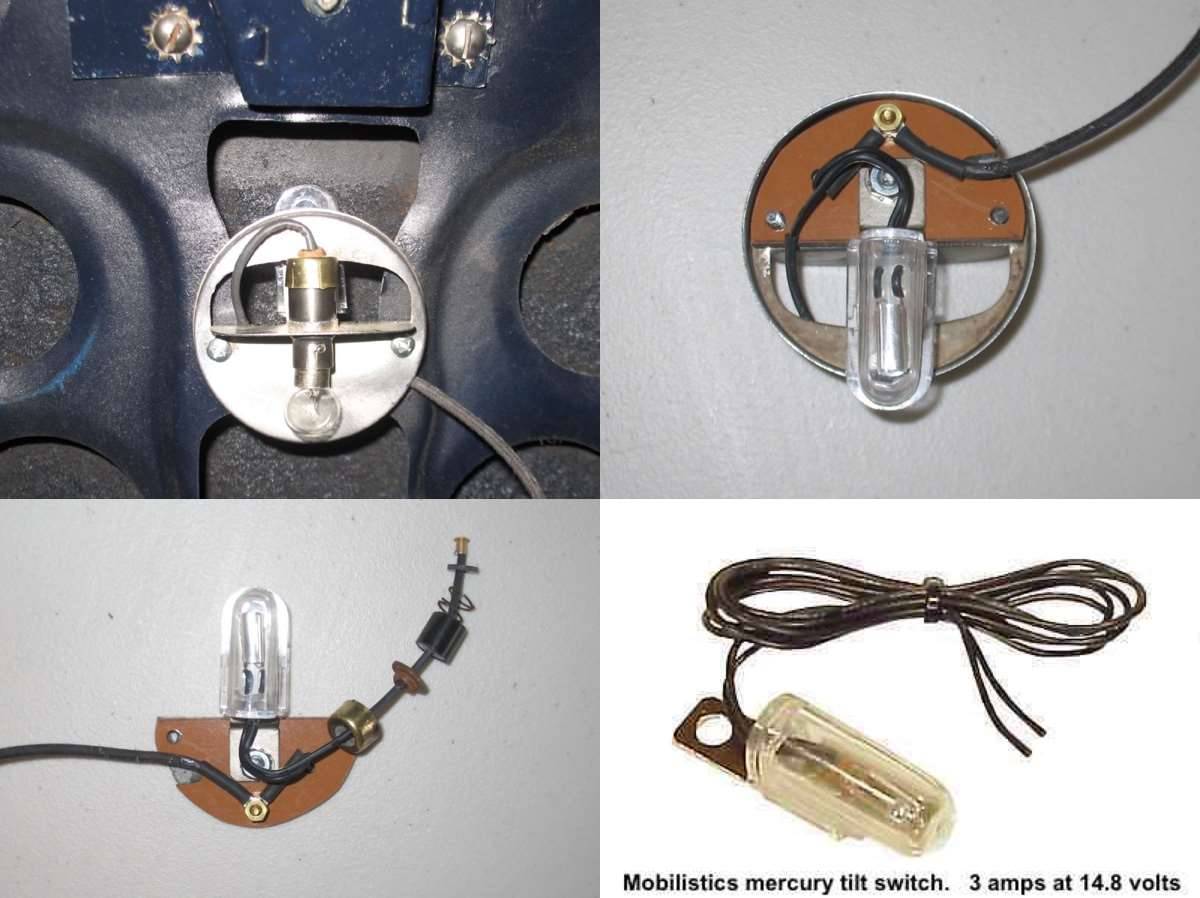
This Post was from: https://packardinfo.com/xoops/html/modules/newbb/viewtopic.php?post_id=188241