Re: 47 Custom Super Clipper Dash
Posted by HH56 On 2018/1/15 10:29:46
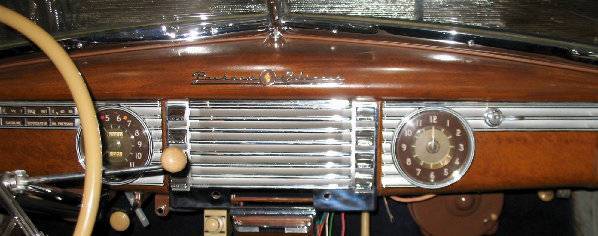
Wes, it is a multi stage process. The dash was sandblasted and dents fixed or filled then coated with primer. It is imperative the dash be smooth since the roller can find a dent and either leave no ink as it skips over or else fills it with ink. Either makes a blemish in the finish pattern. The roller also needs to be perfectly smooth as any defects there will also show. On the primer, as I said in another post I made the mistake of using red oxide primer whereas gray would have been a better choice with the very thin base color paint. In my case the base was a sort of yellow orange color.
Next step is to ink the plates and use the rollers to pick up the pattern. The pattern rolls over the base coat in the darker color which on mine was a very dark brown. It is a thick oil based ink so takes several days to dry. There is a technique which I have not fully mastered. Did manage to get presentable results after several attempts but others do it so much better. Look at Joe Santana's dash and the fellow from Montana that used to post here before selling his cars.. The nice thing about the ink is as long as it is fresh it can be wiped off as many times as needed leaving the base color perfectly OK for the next attempt. After many wipes the base coat starts to look dingy but a quick light clean with the ink solvent removes the ink traces and leaves the base untouched.
Once the pattern is on you let the ink dry. As it dries the ink tends to look faded and pattern becomes less distinct which GrainIt says is normal. It must be because the next steps brings it back but not as pronounced and contrasty as when first applied.
They have a toning compound which is the graining ink very much thinned -- almost like water. After the pattern ink is COMPLETELY dry the toning compound is very lightly applied to blend the two contrasting colors a bit. After that dries then the clear coat and polishing. You could elect to leave the toning compound step off which is what I did because of the fading mentioned.
As mentioned somewhere else, I couldn't decide how glossy the dash was supposed to be. Some refinished dashes I see in photos are very shiny but I didn't really like a mirror or lacquered look so elected to go with more of a satin finish. That choice is yours and I do not know which is correct.
Here is what GrainIt came up with when I sent photos of my undamaged parts for their recommendations. They did have some videos on their website showing the process so you might see if still there and check them out.
Quote:
Attach file:
 (180.33 KB)
Next step is to ink the plates and use the rollers to pick up the pattern. The pattern rolls over the base coat in the darker color which on mine was a very dark brown. It is a thick oil based ink so takes several days to dry. There is a technique which I have not fully mastered. Did manage to get presentable results after several attempts but others do it so much better. Look at Joe Santana's dash and the fellow from Montana that used to post here before selling his cars.. The nice thing about the ink is as long as it is fresh it can be wiped off as many times as needed leaving the base color perfectly OK for the next attempt. After many wipes the base coat starts to look dingy but a quick light clean with the ink solvent removes the ink traces and leaves the base untouched.
Once the pattern is on you let the ink dry. As it dries the ink tends to look faded and pattern becomes less distinct which GrainIt says is normal. It must be because the next steps brings it back but not as pronounced and contrasty as when first applied.
They have a toning compound which is the graining ink very much thinned -- almost like water. After the pattern ink is COMPLETELY dry the toning compound is very lightly applied to blend the two contrasting colors a bit. After that dries then the clear coat and polishing. You could elect to leave the toning compound step off which is what I did because of the fading mentioned.
As mentioned somewhere else, I couldn't decide how glossy the dash was supposed to be. Some refinished dashes I see in photos are very shiny but I didn't really like a mirror or lacquered look so elected to go with more of a satin finish. That choice is yours and I do not know which is correct.
Here is what GrainIt came up with when I sent photos of my undamaged parts for their recommendations. They did have some videos on their website showing the process so you might see if still there and check them out.
Quote:
The Amboyna burl that Is refereed to is the same as our Carpathial Elm Burl plate (the Automakers came up with many variations of fancy names for the same patterns ( like Ricardo Montabon's rich "Corinthian Leather" )
The Pearwood is the same as our Oriental wood plate.
The base color looks to be our GBC-CE1
The Graining and Toning compounds are Carpathian Elm.
Attach file:
(180.33 KB)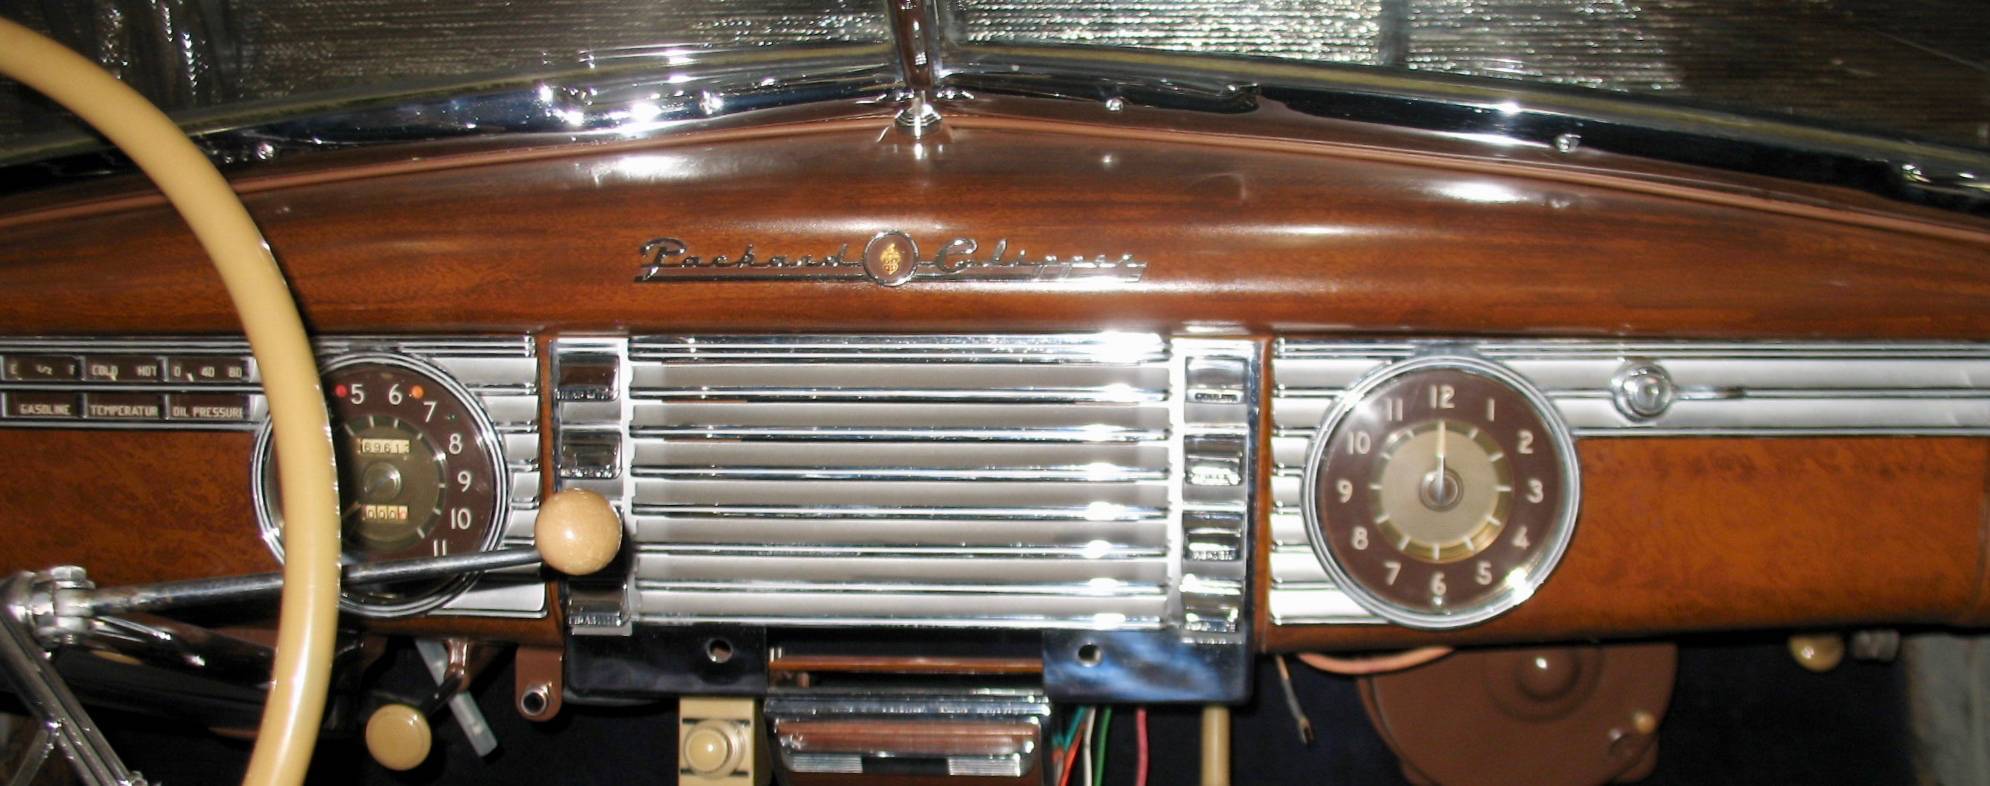
This Post was from: https://packardinfo.com/xoops/html/modules/newbb/viewtopic.php?post_id=199294