Re: 23rd series tail light removal
Posted by Joe On 2024/4/10 22:17:52
Just chiming in because I did some work on my tail lights recently, the whole rebuild and just bulb replacement. Please excuse my rust...
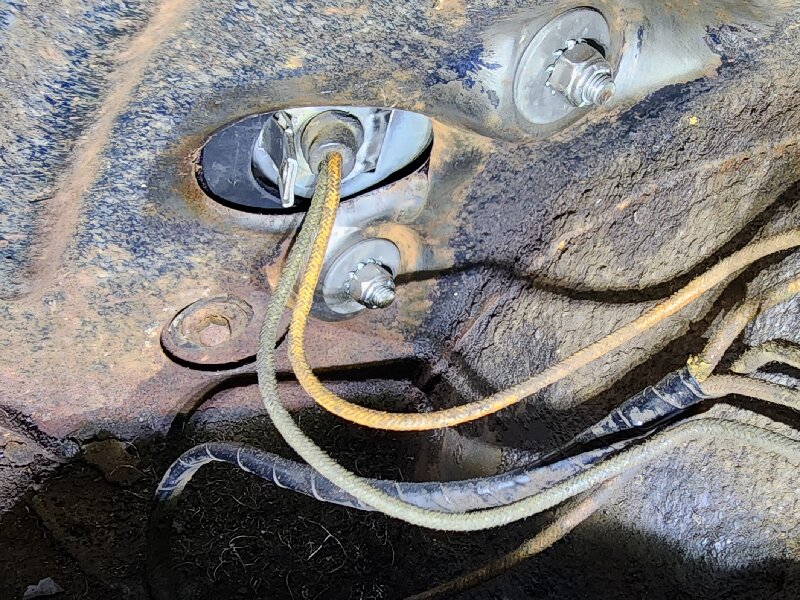
1. If you're just changing the bulb (or want to get to the socket), take the metal tab and both push it toward the outside of the vehicle while gently pulling on the tab. So for example, if I'm working on the driver's side (i.e. left) tail light, push the tab to the left and pull. You can try working it gently with needle nose pliers if it doesn't seem to be doing anything. It's VERY easy for the socket to suddenly let go, and then you've got a broken bulb and glass inside the lens. Ask me how I know...
2. If you ever feel like getting into the whole reassembly of the tail light, the illustration from the Parts List is a must have. Found here:https://packardinfo.com/xoops/html/modules/partslist/viewplate.php?cat=19&PlateNumber=81&partslist=1948-1954
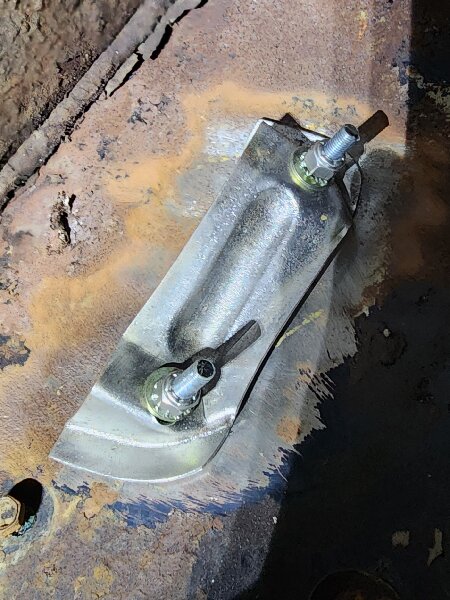
The second picture shows what the reinforcement bracket on the fender (4.16012) looks like installed on the vehicle. Might check Merritt, Tucson, Seattle, Packards SW, etc. to see if you can find a set. The studs can be made from 1/4-28 threaded rod. Best of luck!
p.s. 1154 (will have offset bayonets) is the correct bulb for the tail lights. The tail lights and parking lights are the same size bulb. The 1158 listed in the owner's manual is incorrect.
Attach file:
 Socket.jpg (1,482.21 KB)
Tail Light Bracket - Fender.jpg (1,435.21 KB)
1. If you're just changing the bulb (or want to get to the socket), take the metal tab and both push it toward the outside of the vehicle while gently pulling on the tab. So for example, if I'm working on the driver's side (i.e. left) tail light, push the tab to the left and pull. You can try working it gently with needle nose pliers if it doesn't seem to be doing anything. It's VERY easy for the socket to suddenly let go, and then you've got a broken bulb and glass inside the lens. Ask me how I know...
2. If you ever feel like getting into the whole reassembly of the tail light, the illustration from the Parts List is a must have. Found here:https://packardinfo.com/xoops/html/modules/partslist/viewplate.php?cat=19&PlateNumber=81&partslist=1948-1954
The second picture shows what the reinforcement bracket on the fender (4.16012) looks like installed on the vehicle. Might check Merritt, Tucson, Seattle, Packards SW, etc. to see if you can find a set. The studs can be made from 1/4-28 threaded rod. Best of luck!
p.s. 1154 (will have offset bayonets) is the correct bulb for the tail lights. The tail lights and parking lights are the same size bulb. The 1158 listed in the owner's manual is incorrect.
Attach file:
Socket.jpg (1,482.21 KB)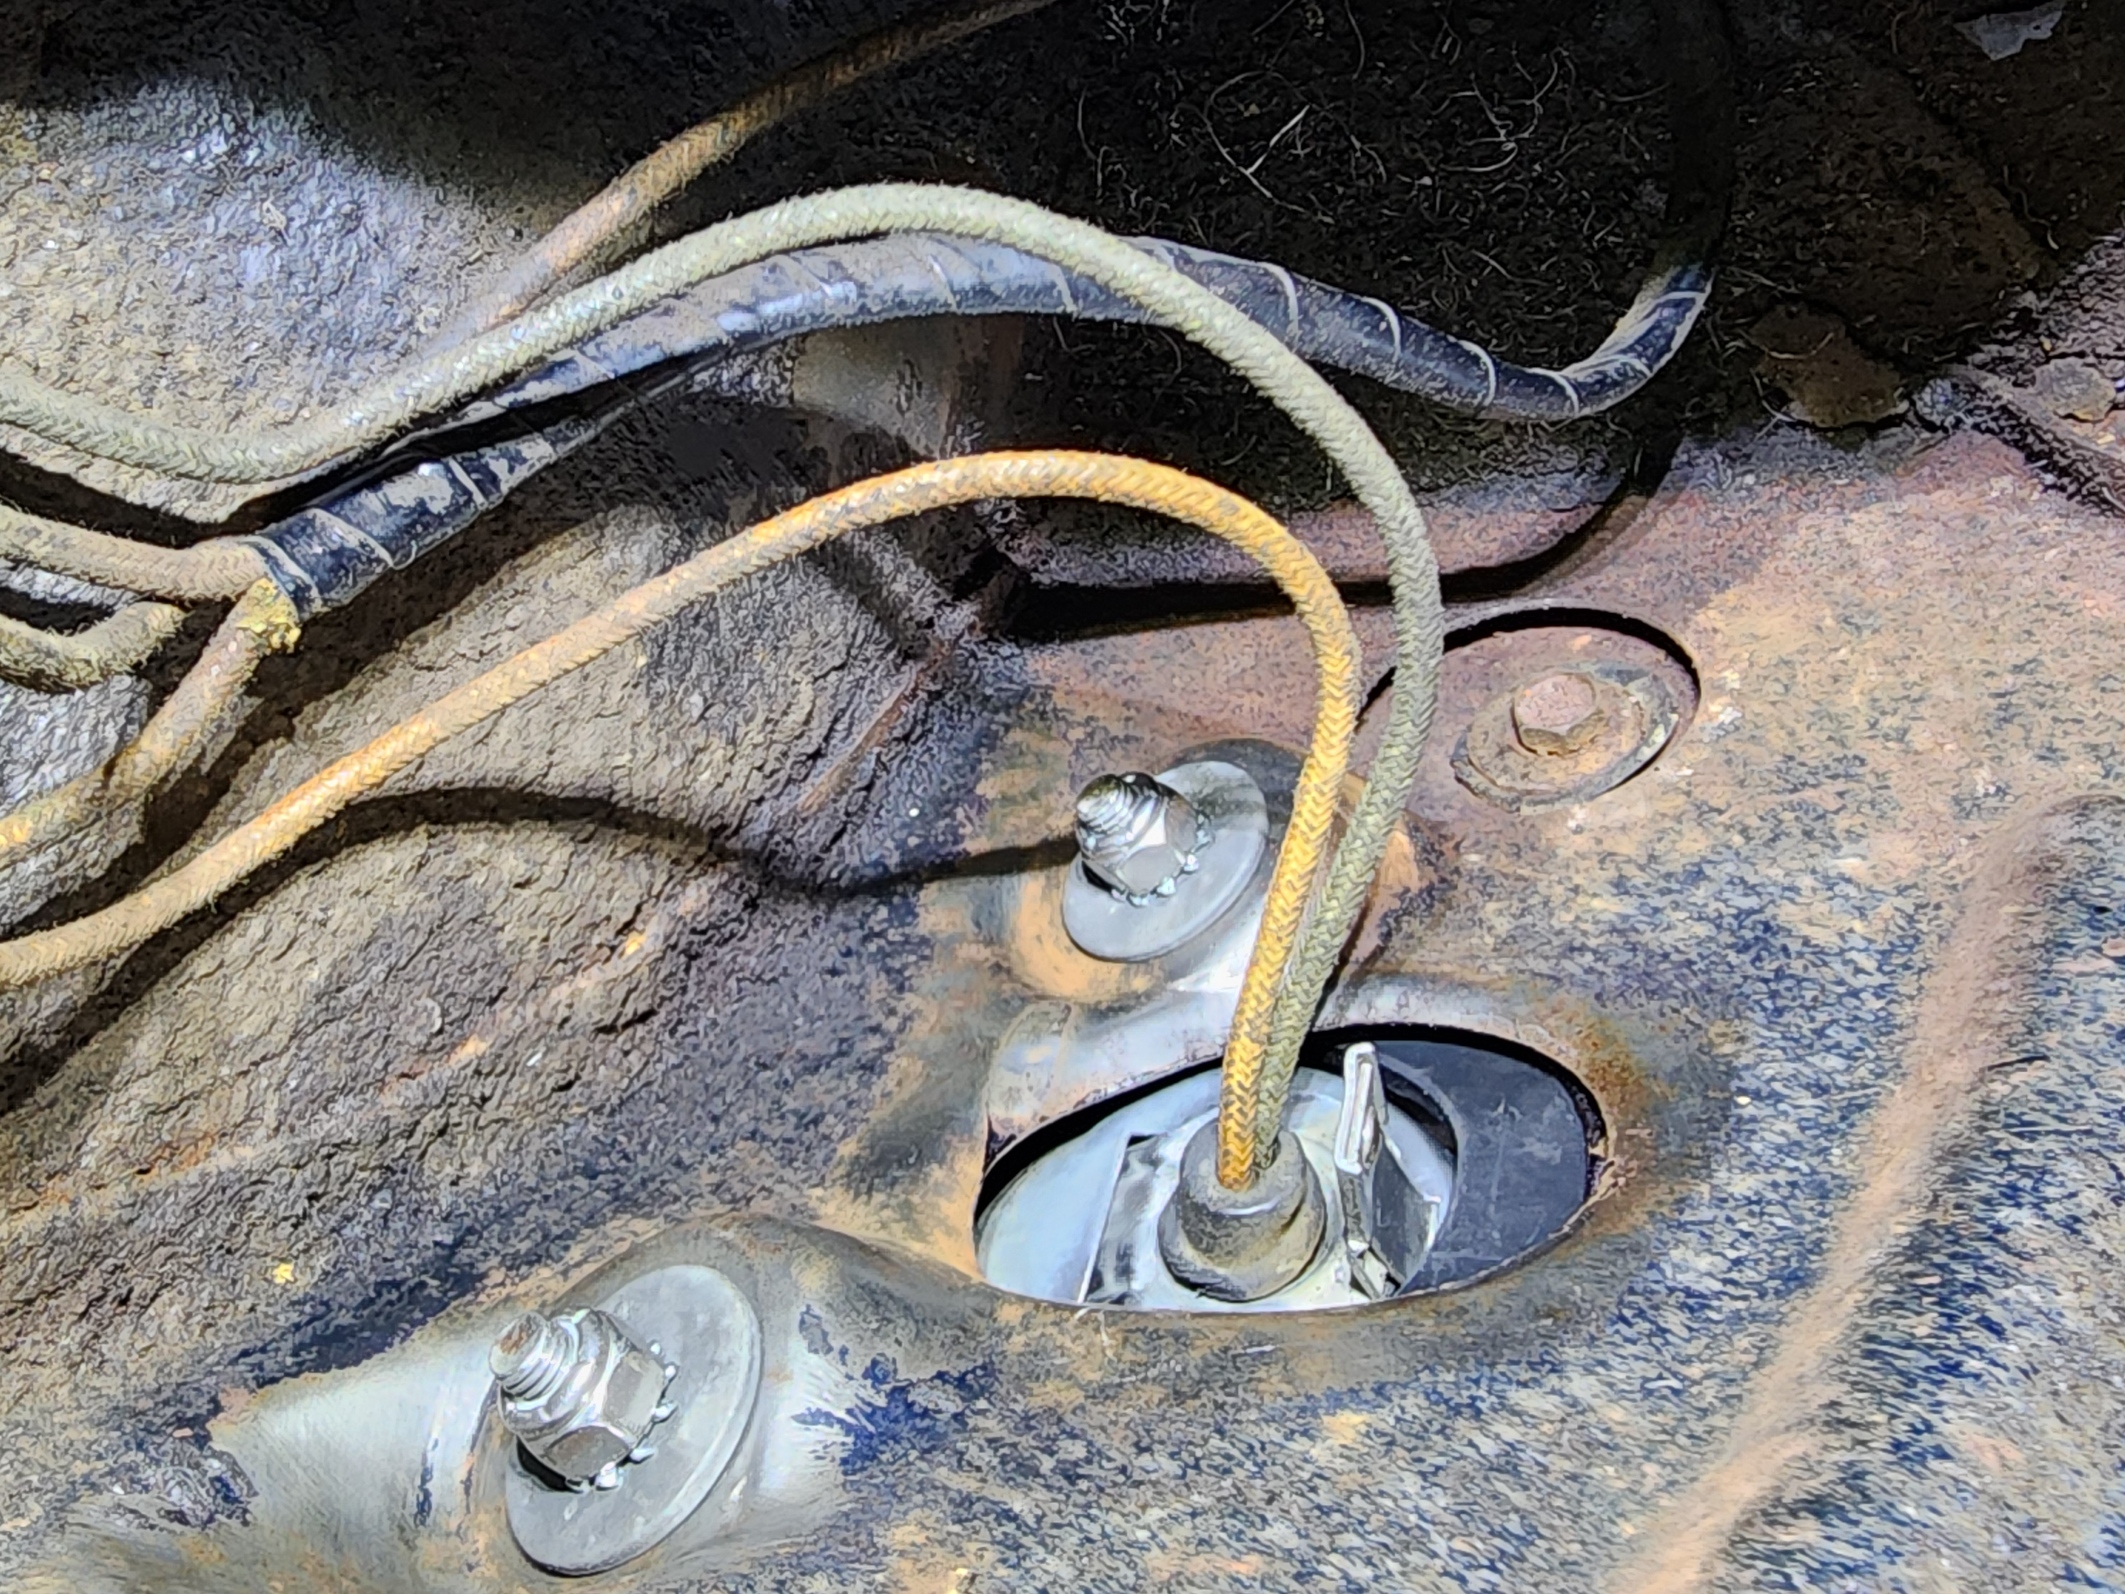 Tail Light Bracket - Fender.jpg (1,435.21 KB)
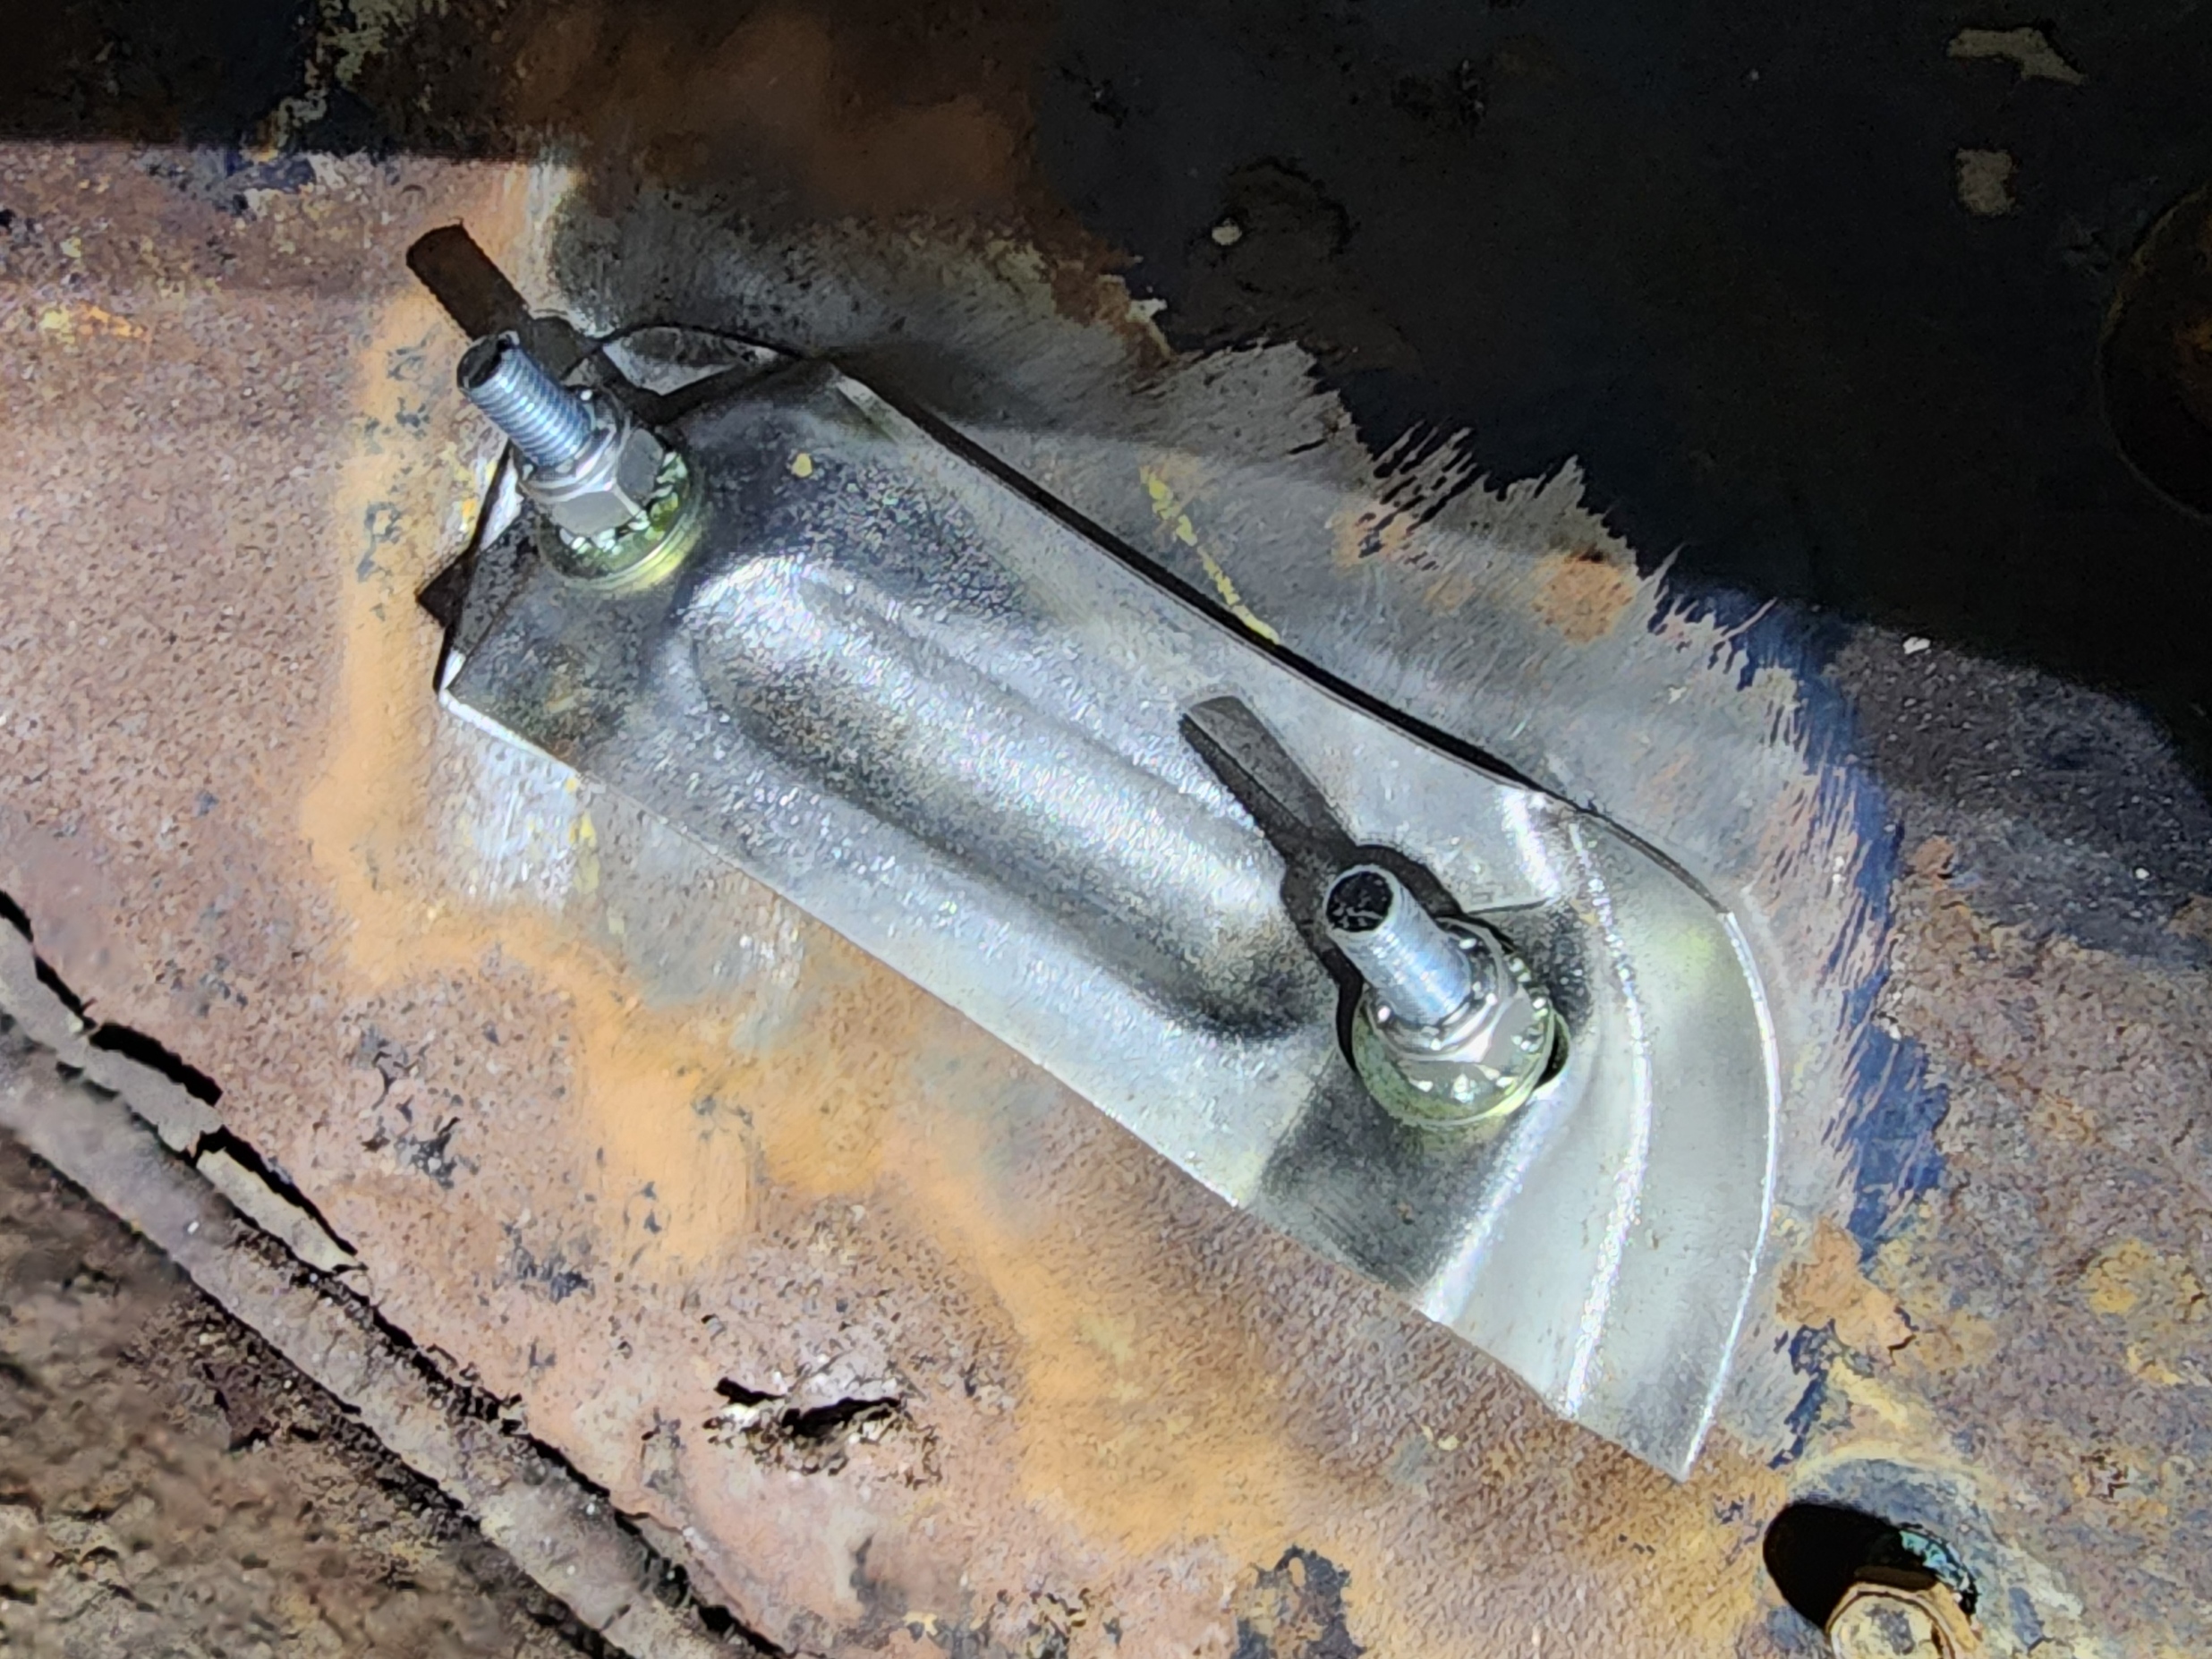
This Post was from: https://packardinfo.com/xoops/html/modules/newbb/viewtopic.php?post_id=270099