V8 Radio Removal Instructions
Posted by Pgh Ultramatic On 2023/12/10 12:49:22
Yesterday I removed the radio from my Clipper and I found the process to be somewhat frustrating, so I thought I'd share some tips here. As many of us know, the radio installation is explained in the Accessories section of the service manual, but it is not particularly useful for removing a radio.
First, I would advise to remove the glovebox and passenger ashtray. It takes some extra effort, but one will likely find that the effort required is well repaid in easier access to the radio mounting hardware and wiring components. The glovebox door is optionally removed by 4 screws in plain sight when the door is opened. Then the glovebox is held in simply with a multitude of Phillips screws all around the opening which screw into speed nuts integrated into the flocked cardboard from which the glovebox is made. But first, note the glovebox light at the top left and its power wire running through a hole in the glovebox. Gently pull the slack in the wire through the hole until you see the bullet connector. Hold the insulator and the glovebox light wire; pull to separate. Now you can remove the Phillips screws; the glovebox then rotates out away from you and down. Remove the passenger ashtray proper by pulling it out and depressing the tab, then remove its holder by unscrewing the 3 Phillips screws. Now, you will have easier access to the necessary areas and more room to swing a ratchet.
Note the two connections on the speaker unit. Unplug the 3 prong plug, and disconnect the power wire by grasping the wire on the speaker side, and the insulator, and gently pulling/wiggling the two apart. Locate the radio power wire on the fusebox and pull/wiggle to remove. Locate the antenna cable on the right side of the radio head unit and pull straight out to remove. Now the radio is electrically disconnected and the two halves are disconnected from each other.
Depress a small screwdriver into the radio knob notch to remove both knobs. Gently wiggle and pull the Tone and Sensitivity levers (if equipped) to remove them. Use a socket to remove the low-profile nuts and labels. Reach behind the radio head unit and remove the Keps nut and washer holding the rear of the radio head unit up. Gently push the bracket off the stud and rotate the back of the radio down to remove it. Note, there is a washer between the radio and bracket.
Look under the passenger side of the dash for two screw heads. Unscrew these to detach the bottom of the speaker unit. Note, they have mating nuts on the top. Then crawl under the dash and remove the nuts from the T-Bolts popped into the dash. Sometimes these bolts don't much like to stay in place once loosened a bit, and the head of the bolt must be pushed forward for the bolt to again index to its mating hole and the nut to unscrew easily. Once these nuts are removed, the speaker unit can be easily removed from under the dash.
P.S. Once all this is done, it is of trivial difficulty to remove the two nuts holding the clock on, unscrew the nut for the one power wire and remove the light socket, and get it repaired too.
Here are the radio hardware connections:

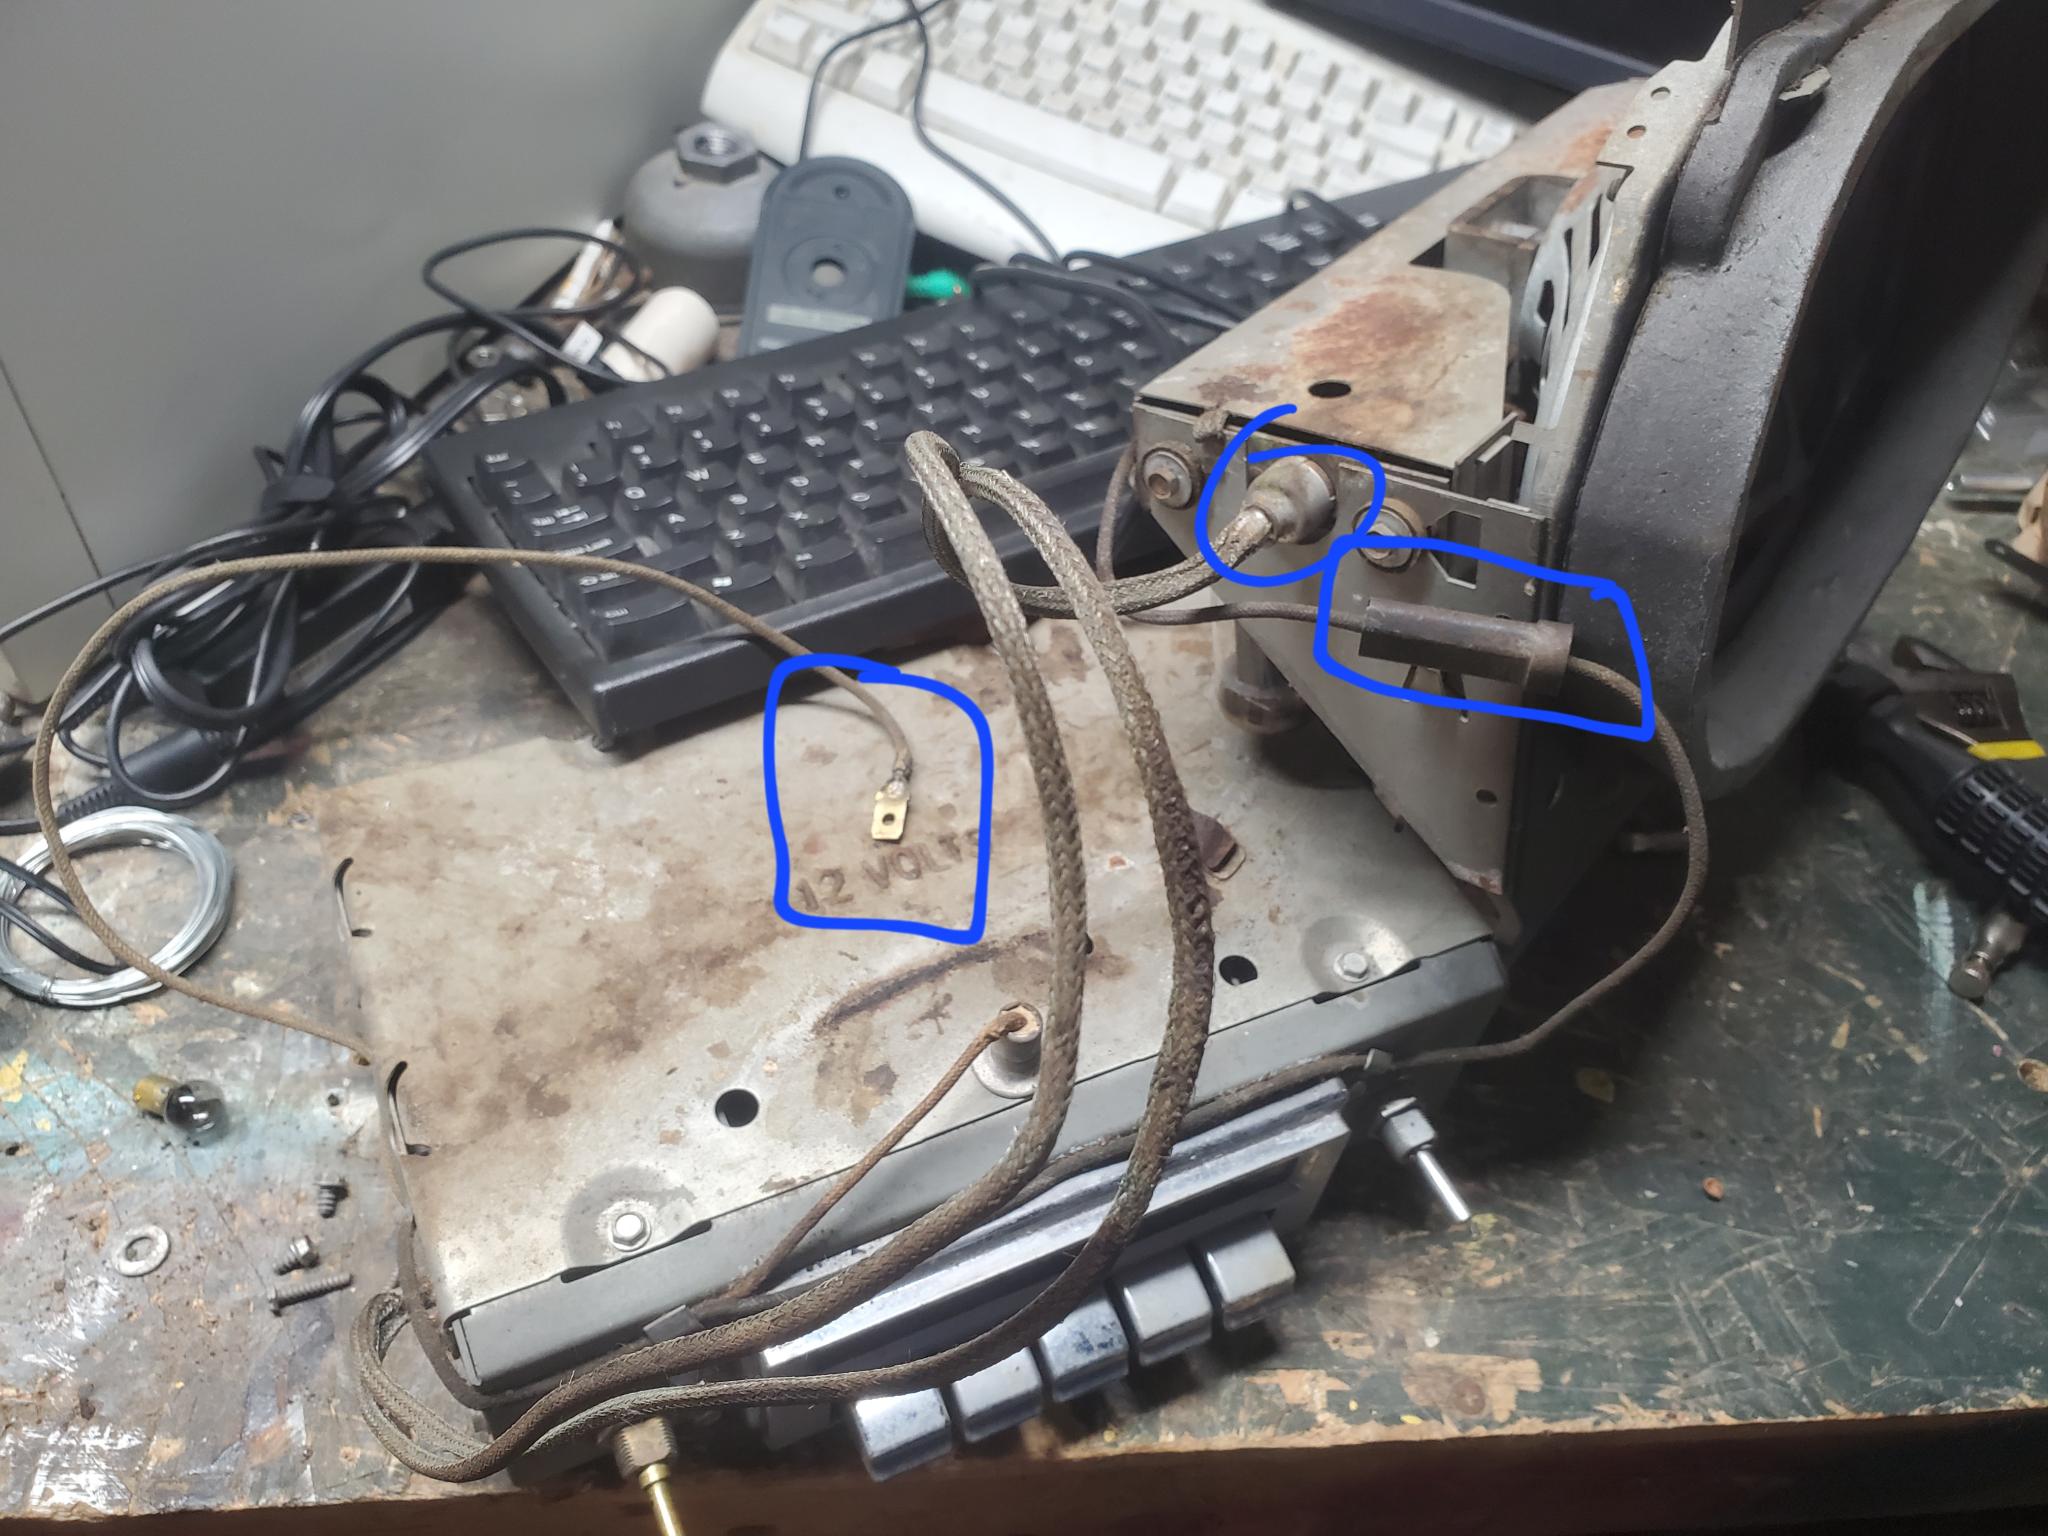
Here are the radio electrical connections (except antenna cable):

Please let me know if you have any other tips or if this helped you out.
First, I would advise to remove the glovebox and passenger ashtray. It takes some extra effort, but one will likely find that the effort required is well repaid in easier access to the radio mounting hardware and wiring components. The glovebox door is optionally removed by 4 screws in plain sight when the door is opened. Then the glovebox is held in simply with a multitude of Phillips screws all around the opening which screw into speed nuts integrated into the flocked cardboard from which the glovebox is made. But first, note the glovebox light at the top left and its power wire running through a hole in the glovebox. Gently pull the slack in the wire through the hole until you see the bullet connector. Hold the insulator and the glovebox light wire; pull to separate. Now you can remove the Phillips screws; the glovebox then rotates out away from you and down. Remove the passenger ashtray proper by pulling it out and depressing the tab, then remove its holder by unscrewing the 3 Phillips screws. Now, you will have easier access to the necessary areas and more room to swing a ratchet.
Note the two connections on the speaker unit. Unplug the 3 prong plug, and disconnect the power wire by grasping the wire on the speaker side, and the insulator, and gently pulling/wiggling the two apart. Locate the radio power wire on the fusebox and pull/wiggle to remove. Locate the antenna cable on the right side of the radio head unit and pull straight out to remove. Now the radio is electrically disconnected and the two halves are disconnected from each other.
Depress a small screwdriver into the radio knob notch to remove both knobs. Gently wiggle and pull the Tone and Sensitivity levers (if equipped) to remove them. Use a socket to remove the low-profile nuts and labels. Reach behind the radio head unit and remove the Keps nut and washer holding the rear of the radio head unit up. Gently push the bracket off the stud and rotate the back of the radio down to remove it. Note, there is a washer between the radio and bracket.
Look under the passenger side of the dash for two screw heads. Unscrew these to detach the bottom of the speaker unit. Note, they have mating nuts on the top. Then crawl under the dash and remove the nuts from the T-Bolts popped into the dash. Sometimes these bolts don't much like to stay in place once loosened a bit, and the head of the bolt must be pushed forward for the bolt to again index to its mating hole and the nut to unscrew easily. Once these nuts are removed, the speaker unit can be easily removed from under the dash.
P.S. Once all this is done, it is of trivial difficulty to remove the two nuts holding the clock on, unscrew the nut for the one power wire and remove the light socket, and get it repaired too.
Here are the radio hardware connections:

Here are the radio electrical connections (except antenna cable):
Please let me know if you have any other tips or if this helped you out.
This Post was from: https://packardinfo.com/xoops/html/modules/newbb/viewtopic.php?post_id=265708