|
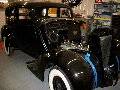
1936 120 Overheating
|
||||
|---|---|---|---|---|
|
Quite a regular
|
I realize some of this topic has been discussed previously, but would like to post this and make sure I have covered all of the possible solutions.
Background: I started the restoration 18 years ago. Block was cooked and flushed, all new bearings, pistons, etc. were installed. Radiator was cooked, flushed and pressure checked. It was not re-cored at that time. Engine was run twice for about 3 hours each time over several years until last November, then run again with no problems. Note: radiator had 50/50 antifreeze/water mix in it for years while being stored. Car finally assembled this spring and summer. Engine was running with no problems, but had a carburetor issue. Carb repaired and run again..... within 15-20 minutes it overheated while driving it back and forth in the driveway. Continues to overheat. What I have done: water pump removed and inspected, radiator and block drained. Radiator flushed using water from garden hose and captured. Only very tiny rust particles present and not very much of those. Pretty clean. New 50/50 antifreeze installed (note: Packard specs state 18 quarts in system - I could only get 14-1/2 quarts in it). Heater valve (on top of head) and block drain plug opened to remove air pockets. Air came out of heater valve, but just steady stream of coolant out of drain plug. Heat riser valve in exhaust manifold tested - works properly. Using a laser temperature device when running the car at idle, radiator temperature differential between top and bottom is approximately 40 to 50 degrees (cooler at the bottom of course). Temperature gauge needle gets to 212 degrees, but laser devise shows a little less at probe entry point. Gauge was not rebuilt because it worked when I tested it. After shutting engine down, in a few (15-30) seconds or so it "burps" coolant from the overflow tube. There are no detectable leaks in the radiator or anywhere else. Not a head gasket issue - oil looked good, but was changed again along with coolant. Has anyone rebuilt their engine, then had this issue due to close tolerances of new parts (bearings, rings, etc.) which builds up heat in the block? I don't believe the rings have seated yet because this motor has not been run "under load" - by driving it. Any advice would be greatly appreciated. I have waited a long time to get this thing done, now I am stymied with the overheating. Daryl Forgot one thing: does anyone know what the "normal" operating temperature is (say at 70 degrees ambient)? A couple of pictures. Attach file:  (375.00 KB) (375.00 KB) (387.80 KB) (387.80 KB) (302.40 KB) (302.40 KB)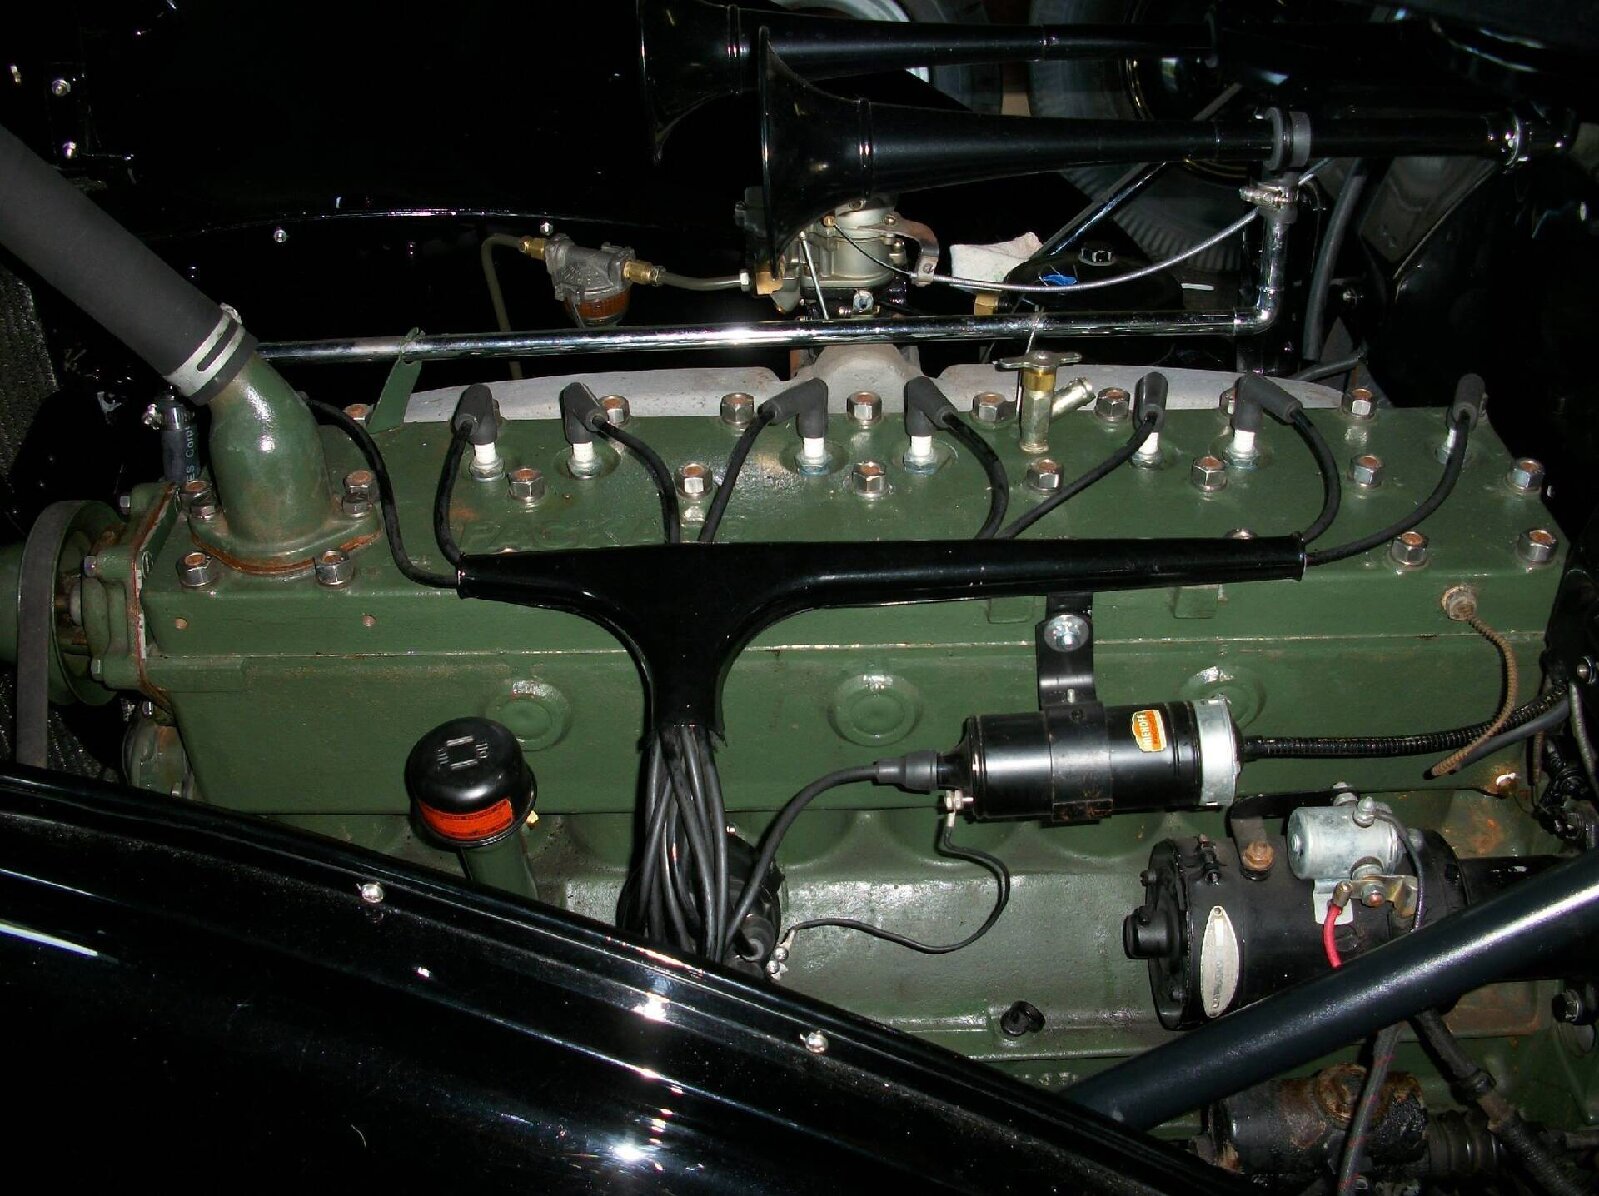
Posted on: 2016/9/10 15:17
|
|||
|
||||
|
Re: Assembly of Sidemount Covers for 1936 Packard 120
|
||||
|---|---|---|---|---|
|
Quite a regular
|
I am a little surprised that no one has responded to this. I have seen a lot of pictures on the web of 36 120's with sidemounts identical to mine. They must have mounted them somehow. (I am not complaining, just a little surprised)
At this point, I will deflate the tires and see if the 2 "tread or top" covers will "slip" on. After that, inflate the tires and see what happens. Maybe it is as simple as that. Could be that the foam pieces fit between the top of the tire and the bolt/nut assembly for the mirror. This would provide a cushion between the mirror post/bolt and the tread; and also help retain the tread cover in place.
Posted on: 2016/9/10 14:34
|
|||
|
||||
|
Re: 1936 Packard 120 Horn Button Assembly
|
||||
|---|---|---|---|---|
|
Quite a regular
|
My sincere thanks to everyone that helped out with this. I got the relay wired correctly and the horn works like a charm! It sure is loud too. Daryl
Posted on: 2016/9/10 14:28
|
|||
|
||||
|
Re: 1936 Packard 120 Horn Button Assembly
|
||||
|---|---|---|---|---|
|
Quite a regular
|
One last question:
Can you tell me exactly where the wire coming out of the steering column connects at the relay? The relay I have is an old one that is not labeled. I understand that the horn contact actually make the "ground". There is a small ground strap between 2 posts on the horn bracket.
Posted on: 2016/8/30 4:48
|
|||
|
||||
|
Re: 1936 Packard 120 Horn Button Assembly
|
||||
|---|---|---|---|---|
|
Quite a regular
|
Thanks Wes..... I appreciate the help. Daryl
Posted on: 2016/8/29 19:48
|
|||
|
||||
|
Re: 1936 Packard 120 Horn Button Assembly
|
||||
|---|---|---|---|---|
|
Quite a regular
|
Thanks for the picture !! It appears that the contact is captured by the round retaining ring that is in the horn button. That would make sense. Now all I have to do is get the retaining ring out of my button without damaging it. Unlike other snap rings, it does not have any little holes at the ends to use the special snap ring tool. I'll try and use a little patience. Thanks again for verifying exactly what I thought.
Posted on: 2016/8/29 19:48
|
|||
|
||||
|
Assembly of Sidemount Covers for 1936 Packard 120
|
||||
|---|---|---|---|---|
|
Quite a regular
|
I am looking for some guidance on the assembly of the sidemount covers for my 120 Touring Sedan. Here are 3 pictures of what I have.
My questions: What "retains" the covers onto the tires? I have the chrome rod, 2 rods, and locks. I know how they attach to the tire....... the one with the lock goes thru the center hub and is locked. The shorter rod pushes against the tire (or rim) to keep the tire in place. I have deflated one tire in an attempt to get the cover(s) on. I think they will go on with a little nudging. My concern is that the 2 covers (upper with mirror and face) will be rattling around. The 3rd picture is of some shaped foam rubber that was with the sidemounts when I received them from the previous owner 18 years ago...... not sure what they are for. Any help would be greatly appreciated as I am almost (99%) complete with my very long restoration. Thanks in advance. Daryl Attach file: (419.80 KB)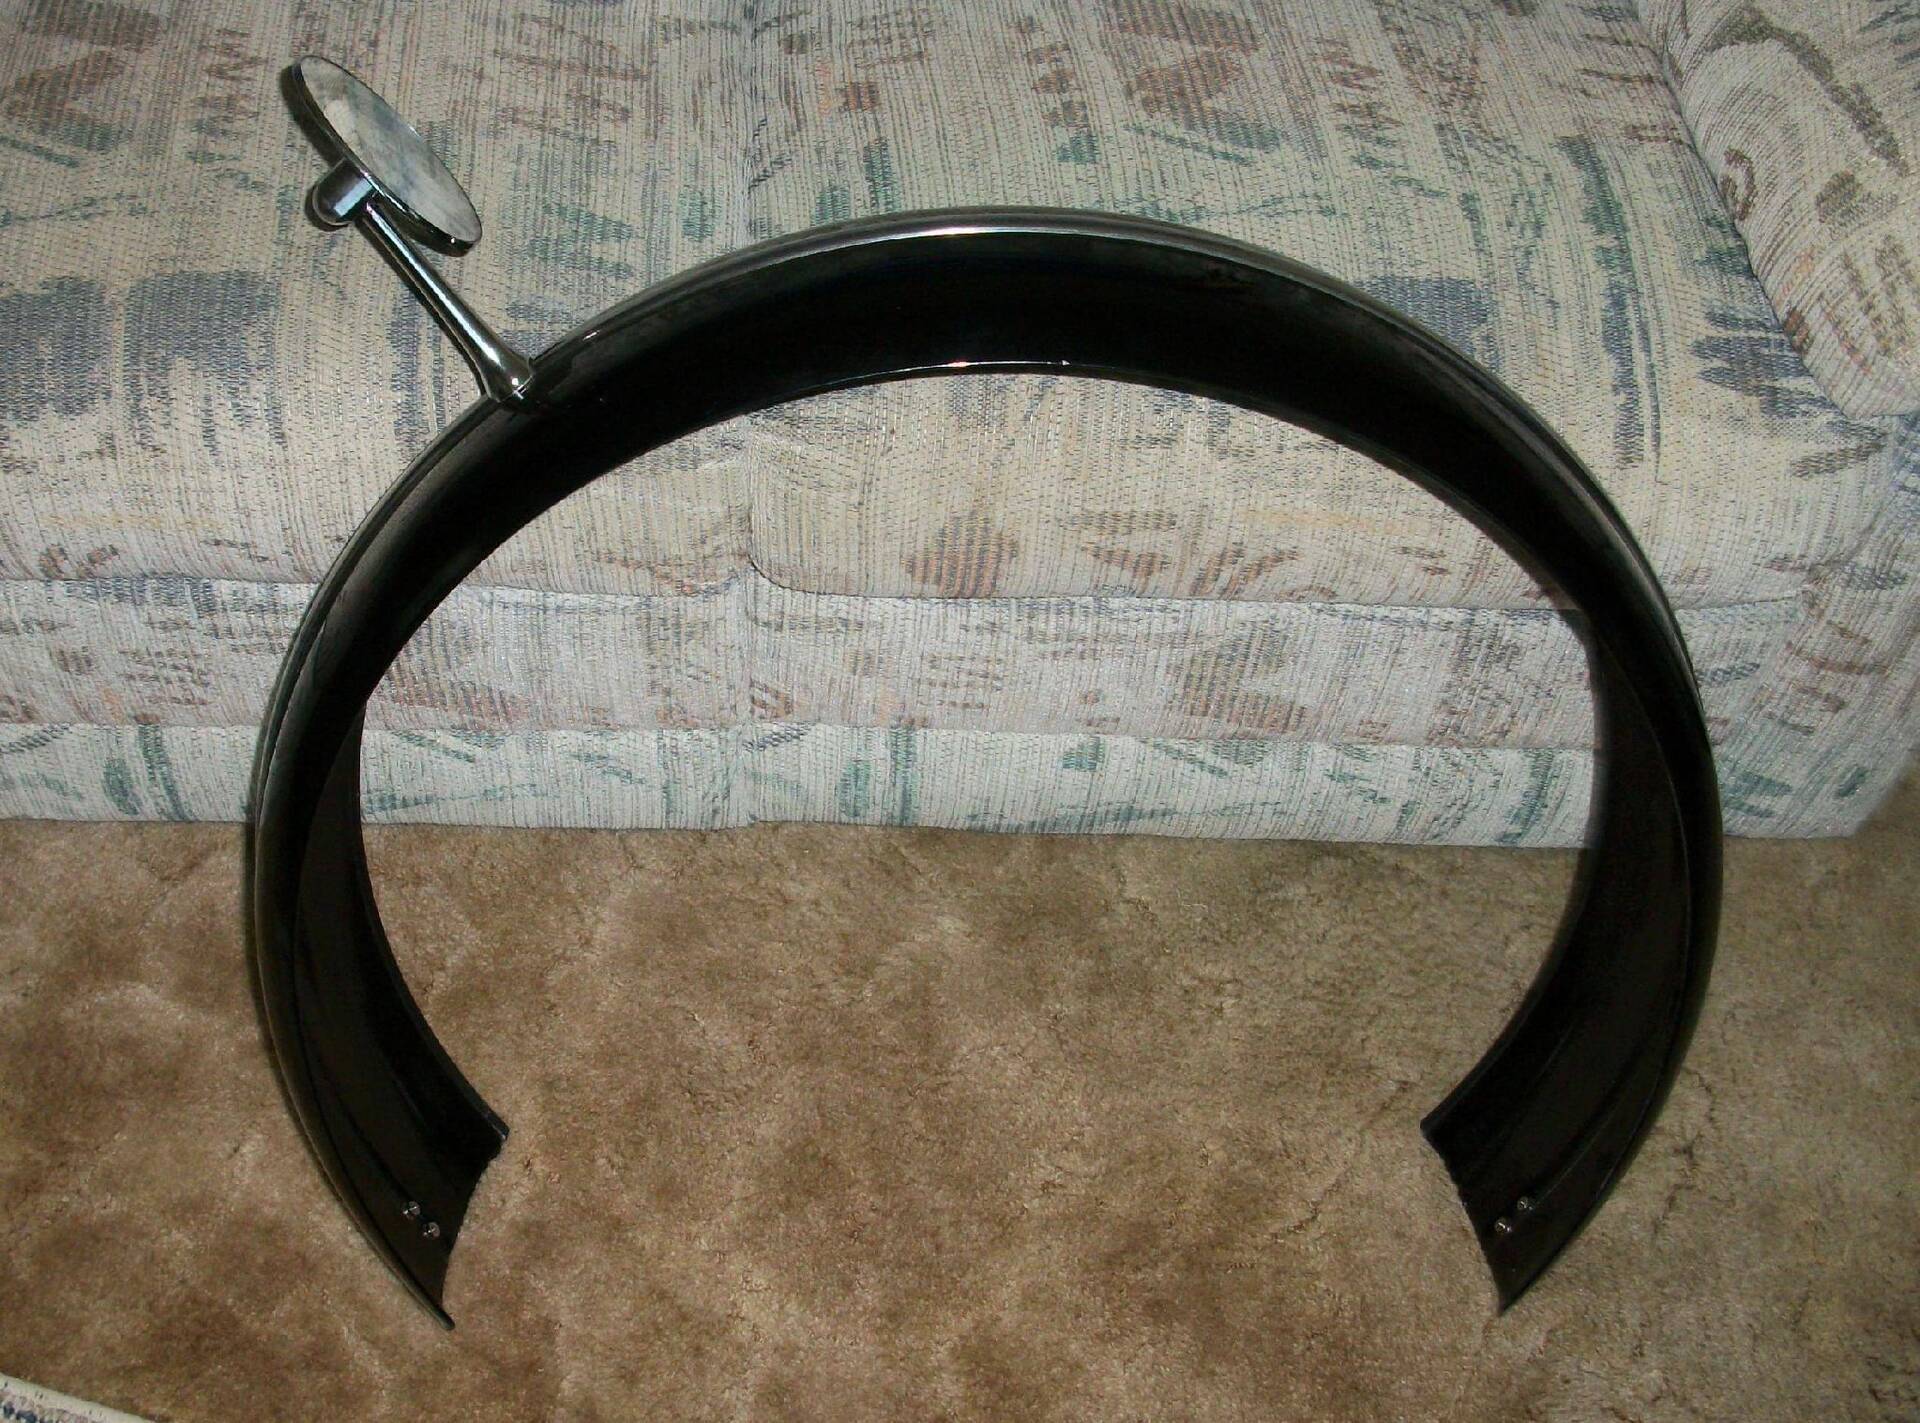 (268.76 KB) (268.76 KB) (376.94 KB) (376.94 KB)
Posted on: 2016/8/29 16:18
|
|||
|
||||
|
1936 Packard 120 Horn Button Assembly
|
||||
|---|---|---|---|---|
|
Quite a regular
|
Does anyone know the exact configuration for assembly of the horn button, spring, and contact (with wire) as it goes into the horn ring hub for a 1936 120? It is probably the same for 1935 and 1937 also (just a guess).
Here are pictures of what I have. Maybe the contact (with wire attached) goes under that "retainer ring" that is located on the underside of the button? If so, then the contact would be captured by that ring..... Attach file: (286.79 KB)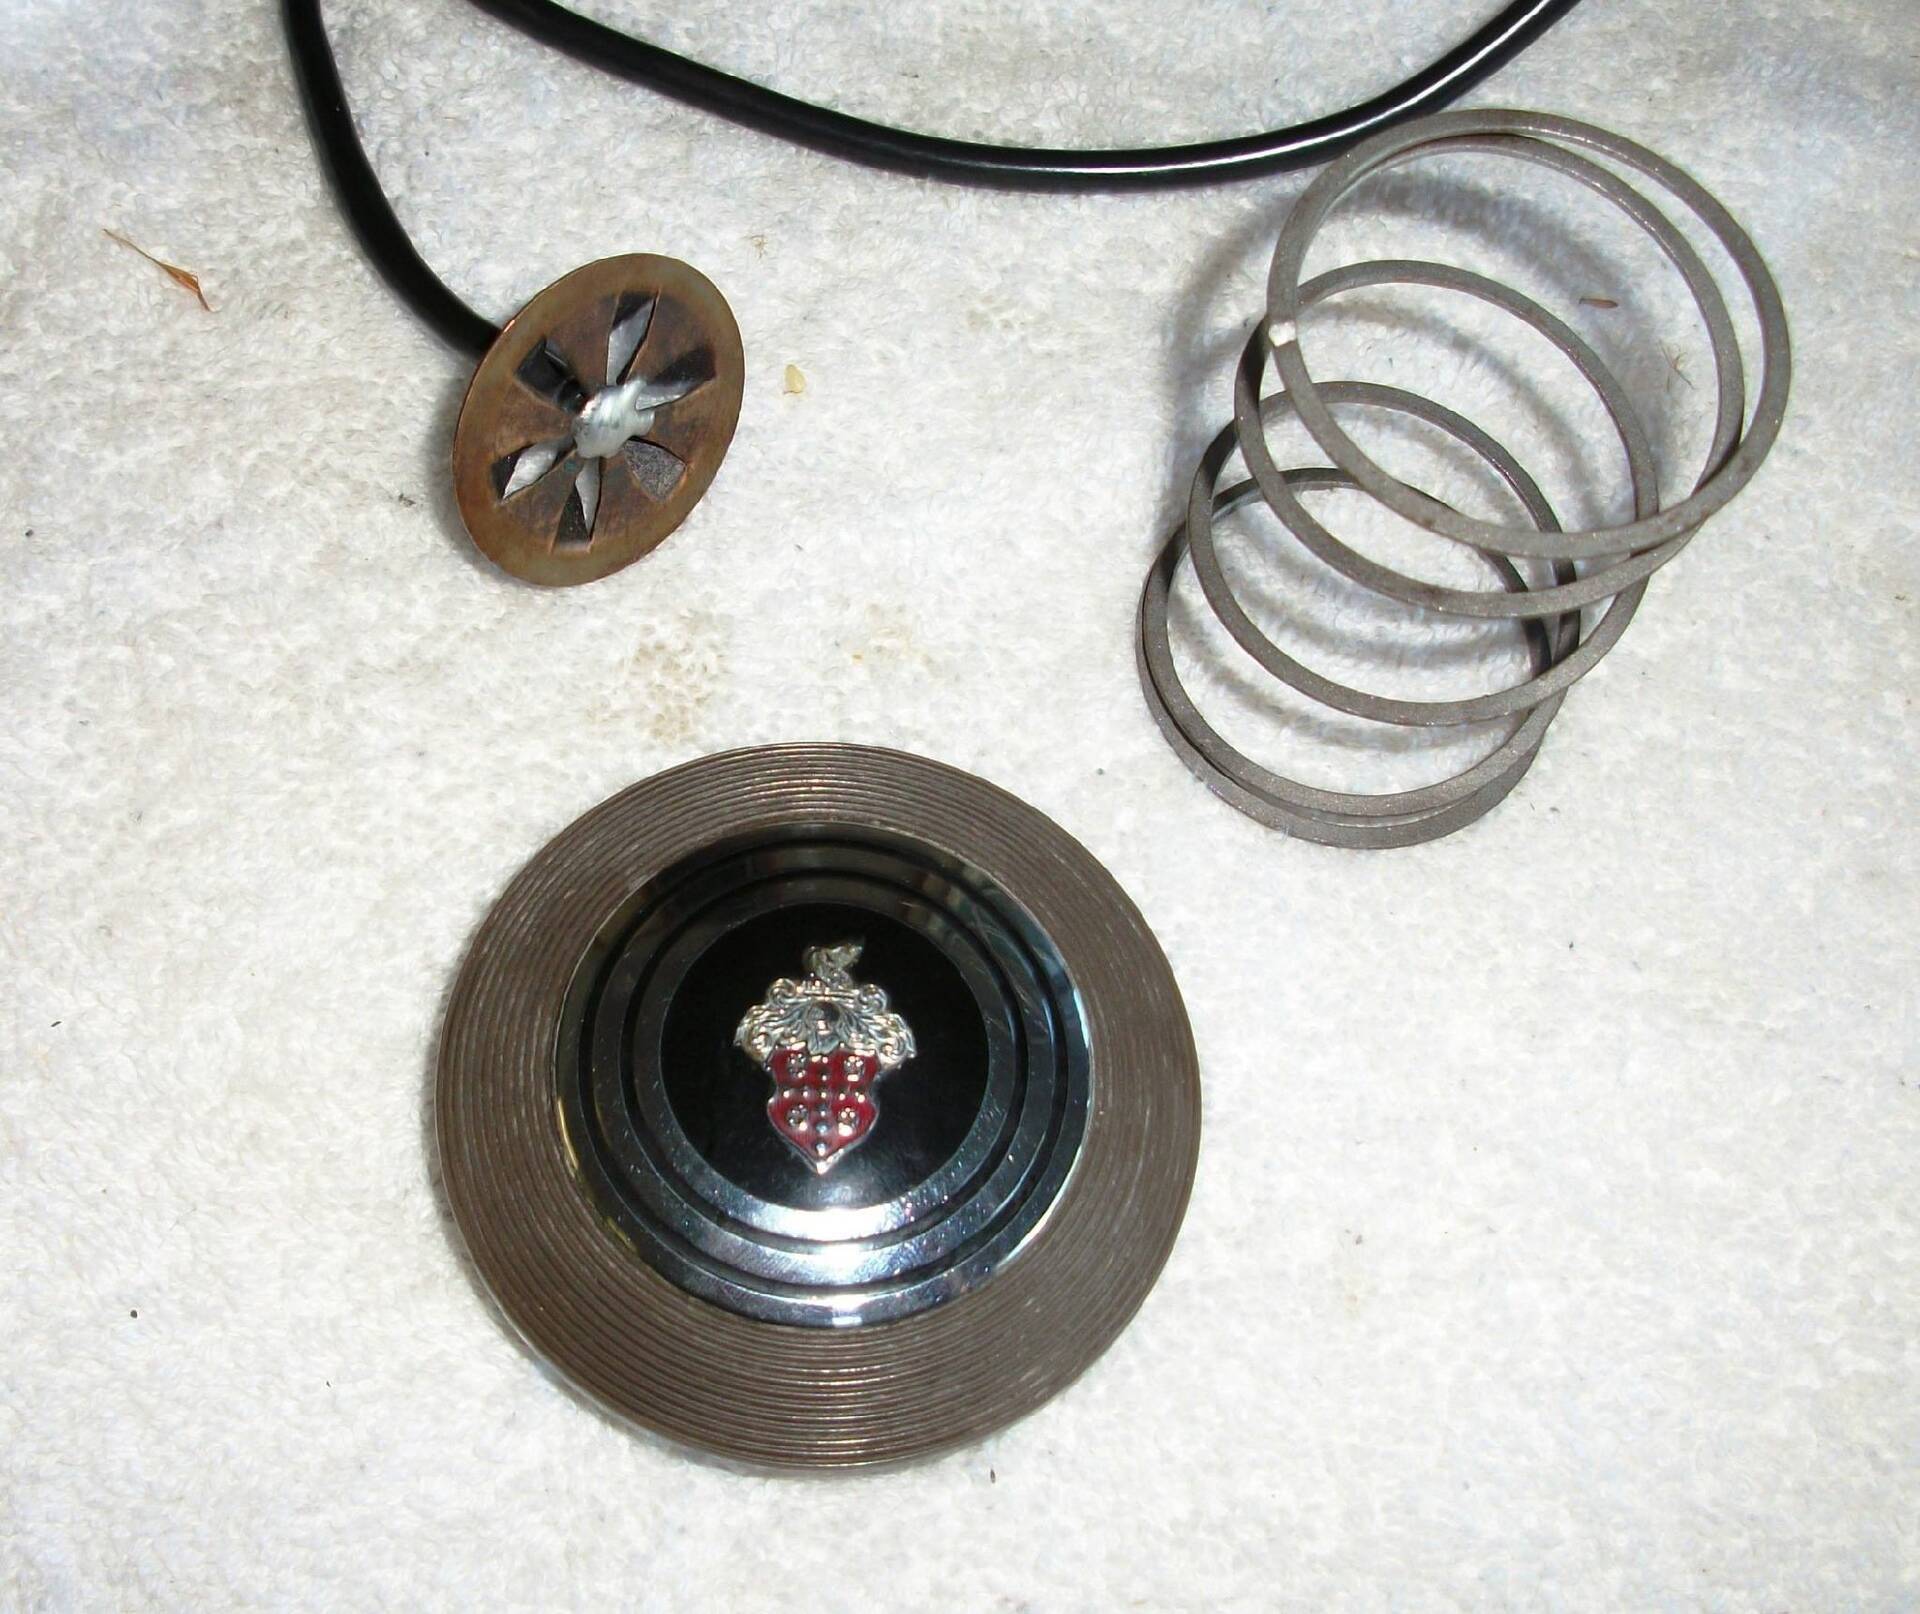 (377.41 KB) (377.41 KB)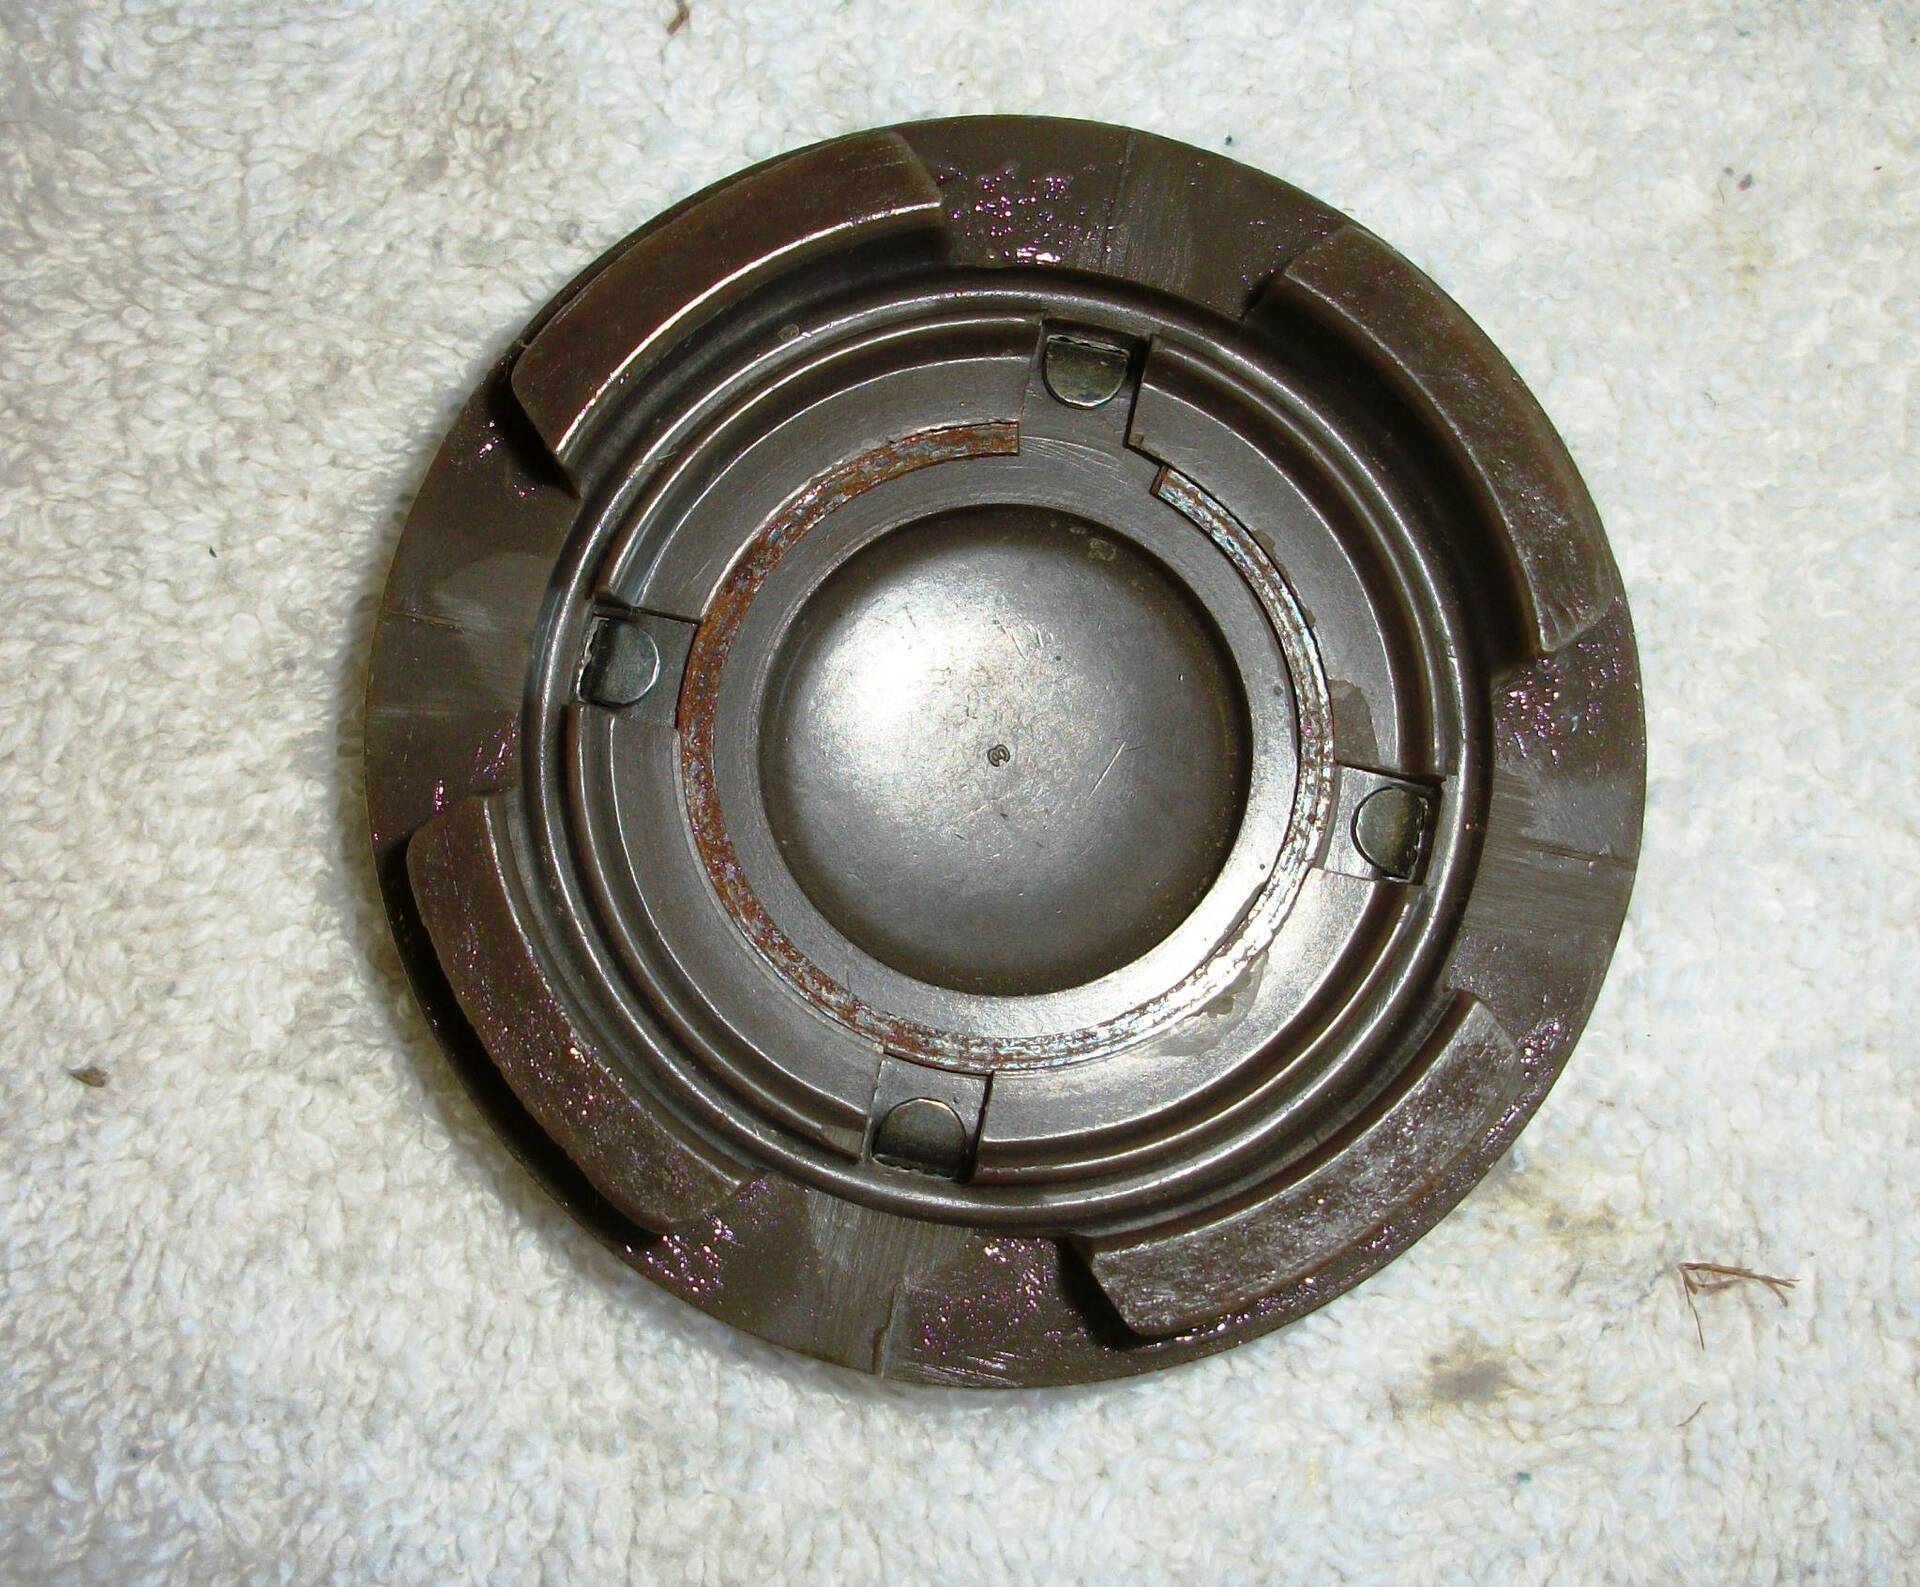 (294.00 KB) (294.00 KB)
Posted on: 2016/8/29 16:09
|
|||
|
||||
|
Re: 1935-1936 120 Front License Bracket & Bumper Brackets
|
||||
|---|---|---|---|---|
|
Quite a regular
|
Thank you very much. It bolted right up. Interesting that the license plate bracket is slightly tilted to the left. Also, I have no idea what the other bracket is for. It's too big to be the bracket for holding the air cleaner( I have that piece). It came with the car and seems to mold (curve) with the very front of the front bumper brackets. It is very thick, heavy steel.
Posted on: 2016/8/28 7:59
|
|||
|
||||
|
Re: 1935-1936 120 Front License Bracket & Bumper Brackets
|
||||
|---|---|---|---|---|
|
Quite a regular
|
Thank you for the reply. Is there any chance you could take a photo looking down on the brackets (vertically) from above, but slightly in front of the license plate?
That should show me exactly how it goes together. Thanks again !! Daryl
Posted on: 2016/8/17 13:48
|
|||
|
||||


