|
Re: 1954 Pacific disc brake conversion kit / the residual pressure valve must be removed
|
||||
|---|---|---|---|---|
|
Home away from home
|
Spot on Howard. Thank you for your help. I dug deeper with the manufacturer.
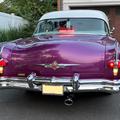
Master Cylinder: *This brake kit may be used with the OEM single circuit master cylinder. However, the RESIDUAL PRESSURE VALVE must be removed inside the master cylinder to prevent unwanted front brake drag. NOTE: Care must be taken not to damage the master cylinder seals when reinstalling the piston assembly. *For increased safety, and improved pedal feel, we recommend replacing the OEM master cylinder with a dual circuit Wilwood 7/8" bore tandem master cylinder (P/N 260-9439). The new master cylinder will require replumbing of some brake lines. So here you have it....remove drum, add disc, connect flex line and remove residual pressure valve from OEM single circuit master cylinder. I am curious how daunting it will be to remove the residual pressure valve. https://www.wilwood.com/BrakeKits/BrakeKitsProdFront?itemno=140-12724 TC Attach file:  (12.37 KB) (12.37 KB)  Size: 598.89 KB; Hits: 103 Size: 598.89 KB; Hits: 103
Posted on: 2020/8/25 13:05
|
|||
|
||||
|
1954 Pacific disc brake conversion kit
|
||||
|---|---|---|---|---|
|
Home away from home
|
Hi Howard. My next project is adding front disc brakes to my Pacific. The parts website is very concise and has a very clear Youtube install video.
Remove drum, add disc and connect flex line. There is no mention of changing the master cylinder or removing the residual pressure valve. Most posts mention this or are quite old. What am I missing? As always, you help is greatly appreciated. parts: https://www.wilwood.com/brakekits/brakekitlistfront?year=1950&make=packard&model=super+eight&mod video: https://www.youtube.com/watch?v=qB4FYNRRyC4 video transcript: First you need to lift the front wheels off the ground. Snap off the hub cap and remove the lug nuts. Remove the dust cap, cotter pin, castle nut and spindle washer. Carefully lift off the drum. Four bolts hold the internal drum assembly to the spindle. The lower two have cotter pins. Remove the bolts and slide off the drum brake backing plate and internals. Exposed spindle will need to be cleaned of any dirt, grease, burs or debris. The new hardware comes with two specific bolts: The shorter bolt with threads that go to the end, goes towards the front of the vehicle. The longer bolt with an unthreaded tip goes towards the rear of the vehicle. The washer and nut thread onto the inboard side of the spindle. Torque it down to specification. The top two bolts have the threads towards the outboard side of the spindle. Install the spacers and apply BLUE Loctite to the threads. Thread them into the bracket. The bracket should mount up flush without any interference. Now it's time to assemble your new Hub. First install the wheel studs using RED Loctite. Bolt the hat to the hub. Bolt the rotor to the hat also using RED Loctite and torque it down in a crisscross pattern. Refer to the supplemental instructions for all the proper torque settings. Now it's time to get your bearings. The supplied bearings need to be packed with disc brake grease. Install the inner bearing and evenly tap the dust seal into place. Dropping the smaller outer bearing in and your hub is complete. This kit utilizes an indexing ring with a bevel. The beveled edge slides on first and will face towards the vehicle. Slide on the hub using your thumbs to prevent the outer bearing from dropping out. Install the spindle washer and castle nut. You want to work the bearing tension with the castle nut to the manufacturer spec. Install the cotter pin and tap on the dust cap. This kit comes with a wheel spacer for use with the stock wheels. The wheel spacer provides a clamping surface between the steel wheel and the aluminum hub. Apply teflon tape to the brake hose fitting and screw it into the caliper, the footing should end up up and parallel with the caliper. Start assembling the caliper without using any thread lock. This way you can make shim adjustments and properly align the caliper. Start off trying two shims. The caliper needs to be centered on the rotor and the outside edge of the rotor should align with the outside edge of the brake pads. You can add or subtract the supplied shims to achieve proper alignment. Once you have everything properly adjusted, go ahead and disassemble the caliper. Apply blue Loctite to all the bolts and torque everything down to the settings outlined in the installation instructions. Secure the pads with the supplied cotter pin and bend the pin to lock everything in place. Disconnect the OEM rubber brake line by removing the clip and unbolting it from the connection. Reconnect the new flex line quickly keeping fluid leakage to a minimum. You should route the flex line on so it doesn't interfere with any of the moving parts such as suspension, steering or wheel components. Before hitting the streets with your new disc brake upgrade carefully follow the brake bleeding and break in procedures included with your kit.
Posted on: 2020/8/24 13:05
|
|||
|
||||
|
Re: 1954 Pacific Parking/Marker/ Turn Signal round amber lens
|
||||
|---|---|---|---|---|
|
Home away from home
|
I'm on it. Thanks Howard.
Posted on: 2020/8/18 8:25
|
|||
|
||||
|
1954 Pacific Parking/Marker/ Turn Signal round amber lens
|
||||
|---|---|---|---|---|
|
Home away from home
|
Hi Howard. I hope you don't mind me hijacking. My 54 Pacific has clear front Parking/Marker/Turn Signal round lens'. As do all I assume. Venerable vendors sell them for $45. Recently on EBAY there is a 54 Cavalier with front amber lenses. I believe the lens diameter is 5 inches. Packard part #439177 / lens #163 / PAPDJ / #22731 for clear lens. Every truck/trailer vendor has 4 inch diameter omix/crown/united pacific round amber lens for $1.22 A stab in the dark but do you know of anywhere to get 5 inch diameter round park/marker/turn amber lens' for a 54 Packard?
Regards, Tim Attach file: (37.66 KB) (247.65 KB) (247.65 KB)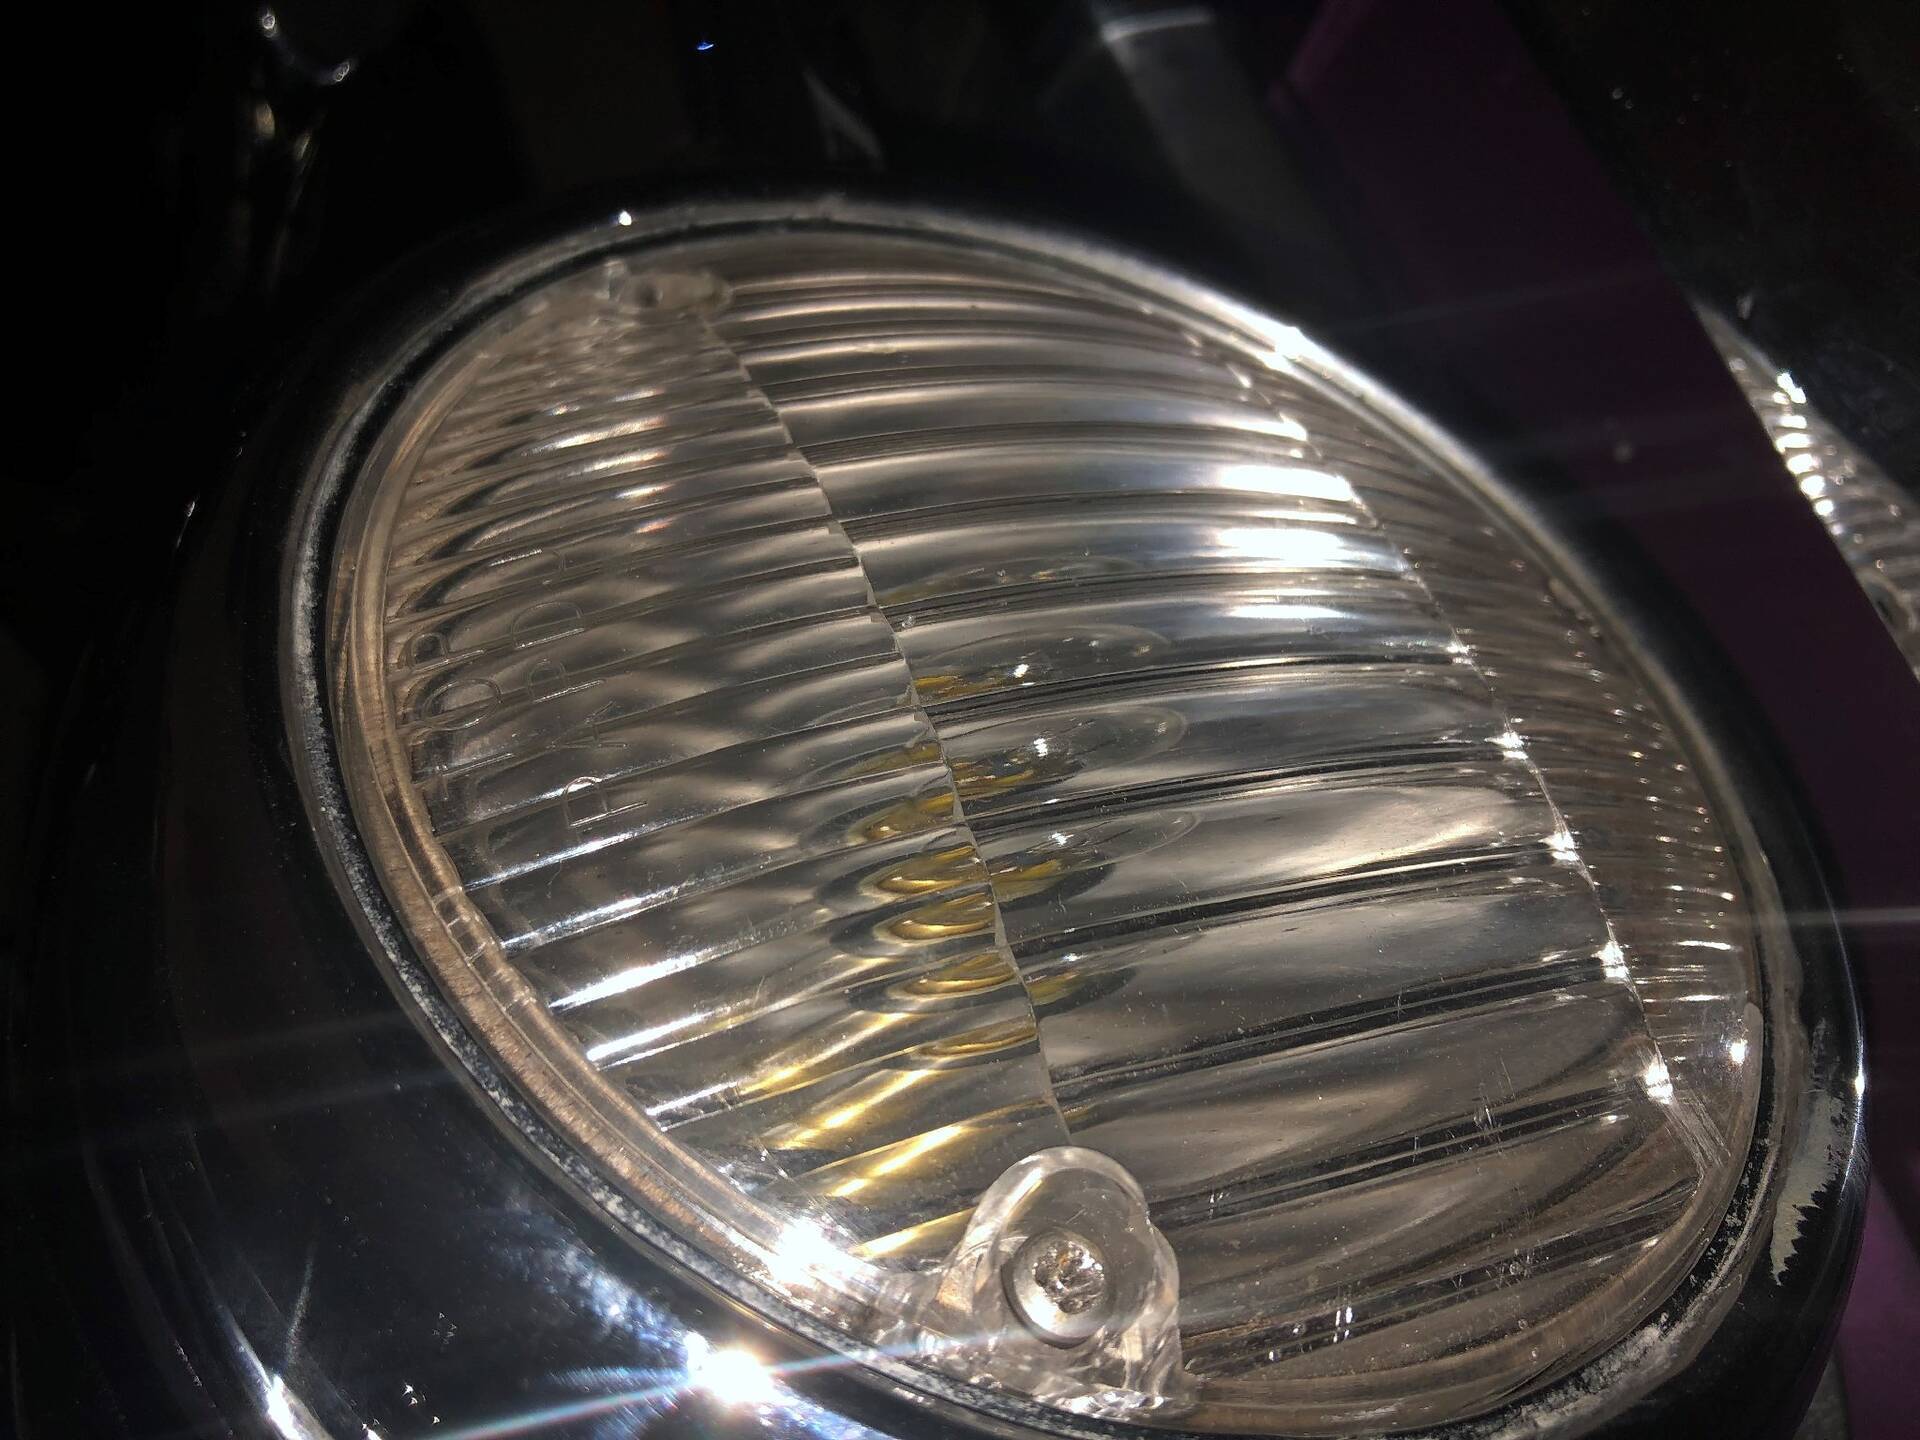
Posted on: 2020/8/17 14:19
|
|||
|
||||
|
Re: 1954 Pacific / headlight out / headlight dimmer switch/ NAPA DS102/solved
|
||||
|---|---|---|---|---|
|
Home away from home
|
Hi Howard. All set now. Thank you for your advice. Turns out I did pull the headlight wire off the headlight switch. I accessed by removing the ash tray on the left of the steering column. Turns out the original dimmer switch was ok. I did replace the headlight wire harness and socket and the headlight junction boxes as well. Only thing now is the high beam indicator light on dash is toast now. Probably time for me to stop messing around with the wires.
Attach file: (195.98 KB)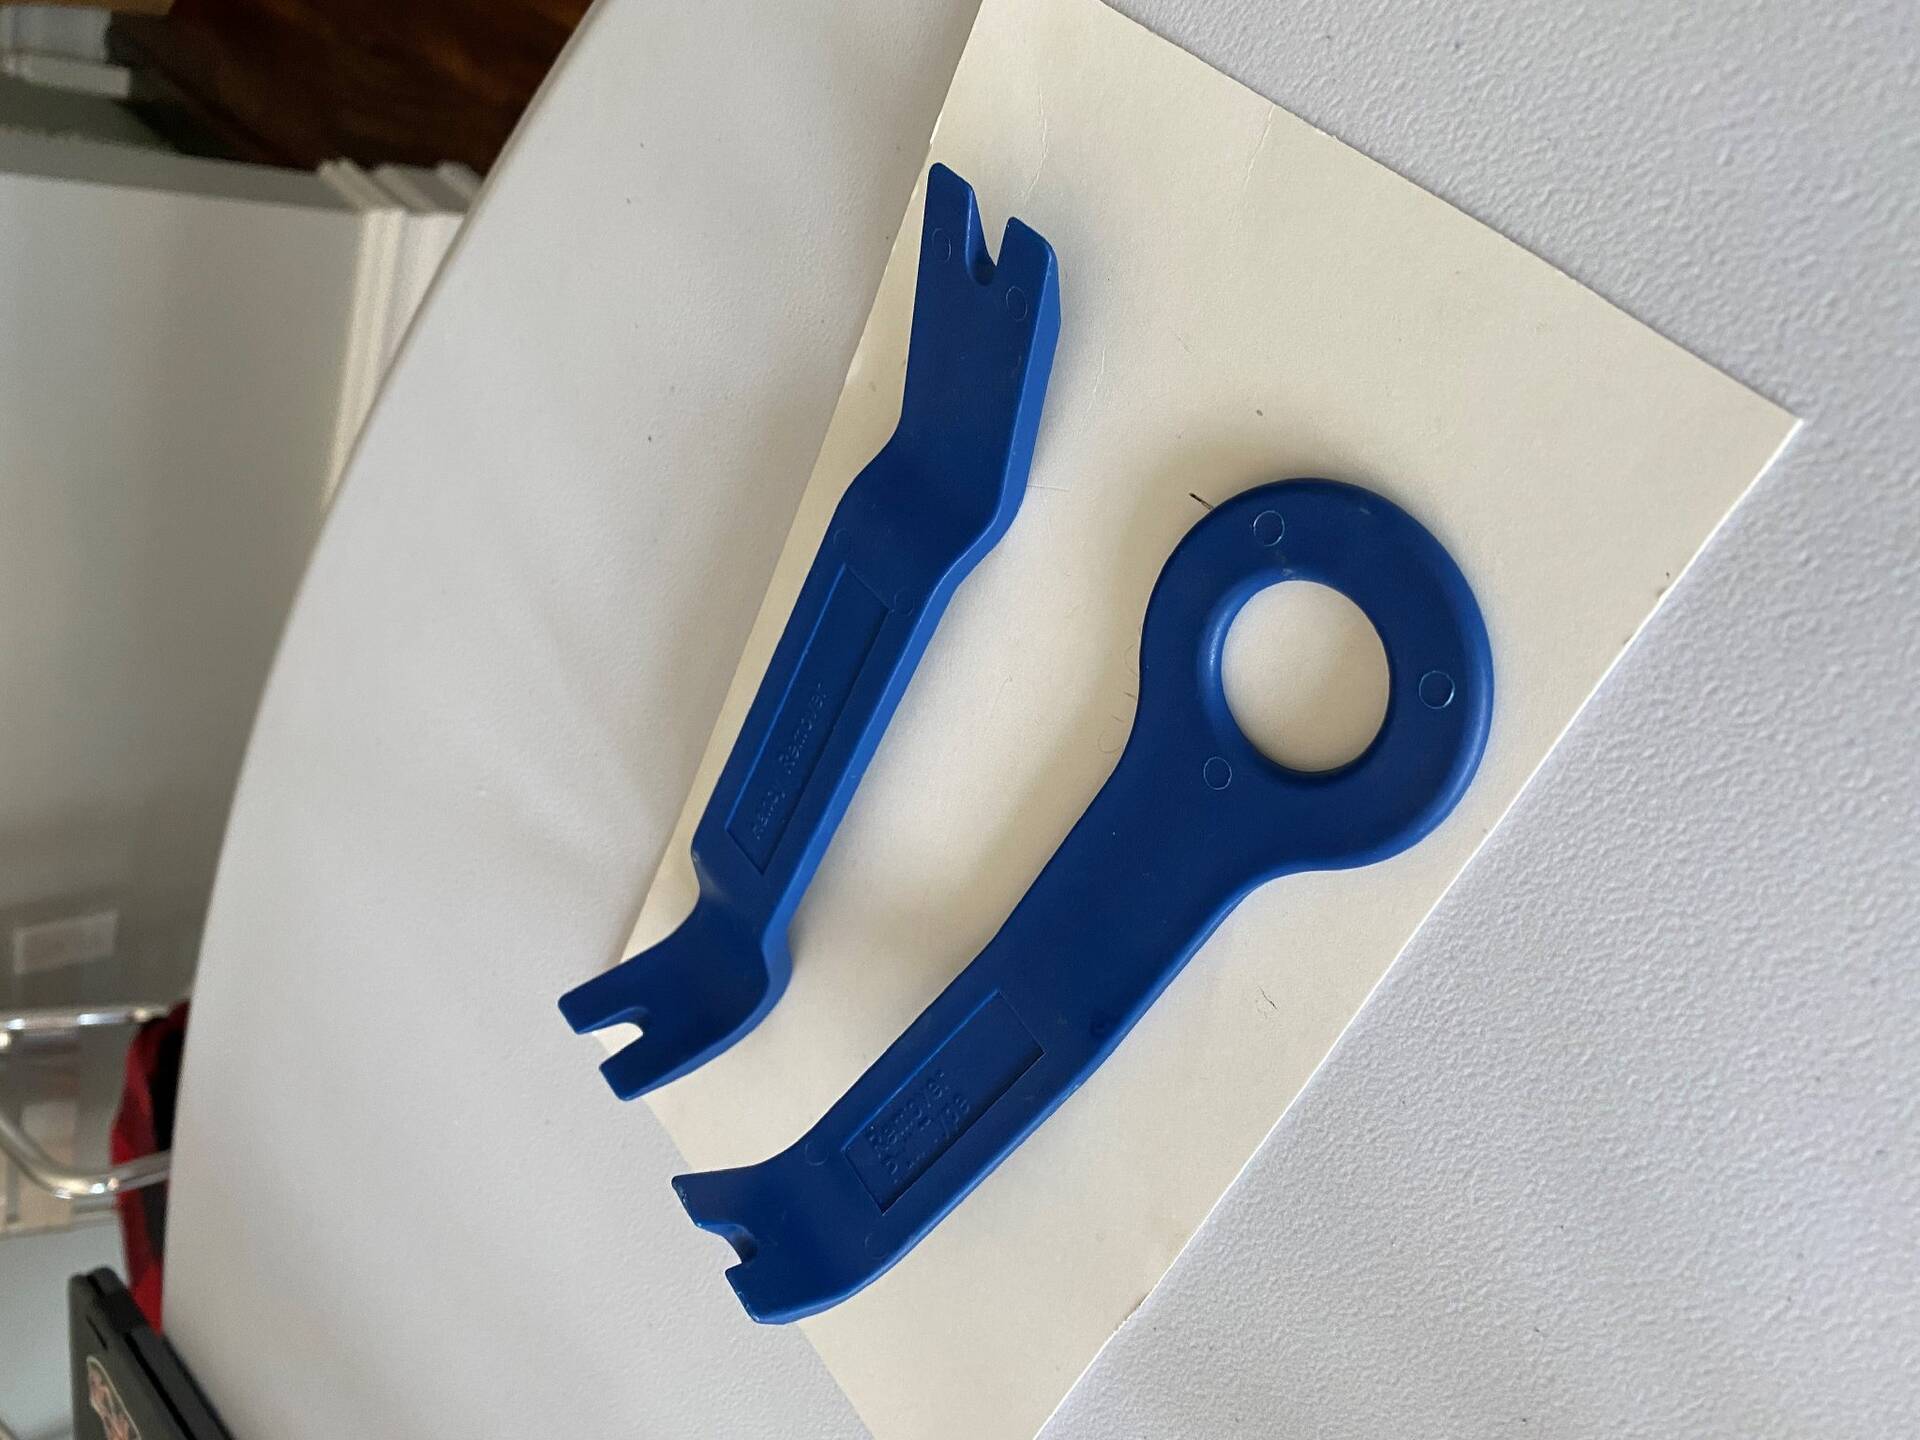
Posted on: 2020/7/20 9:26
|
|||
|
||||
|
Re: 1954 Pacific / headlight out / headlight dimmer switch/ NAPA DS102
|
||||
|---|---|---|---|---|
|
Home away from home
|
Hi Howard,
I went the route of changing the dimmer switch. I removed the highly crusted original Delco-Remy switch. I had 2 x NAPA DS102's and one new from a vendor. Alas, no go. All lights work except the head lights still. You mentioned a green wire from the headlight switch. I attached a photo of the green wire coming from the direction of the headlight switch with a fuse on it. Could this be the problem? What kind of fuse is it? and how do I open it? Would I still have to change the headlight switch circuit breaker if all the other lights work except the headlights? TC Attach file: (295.34 KB)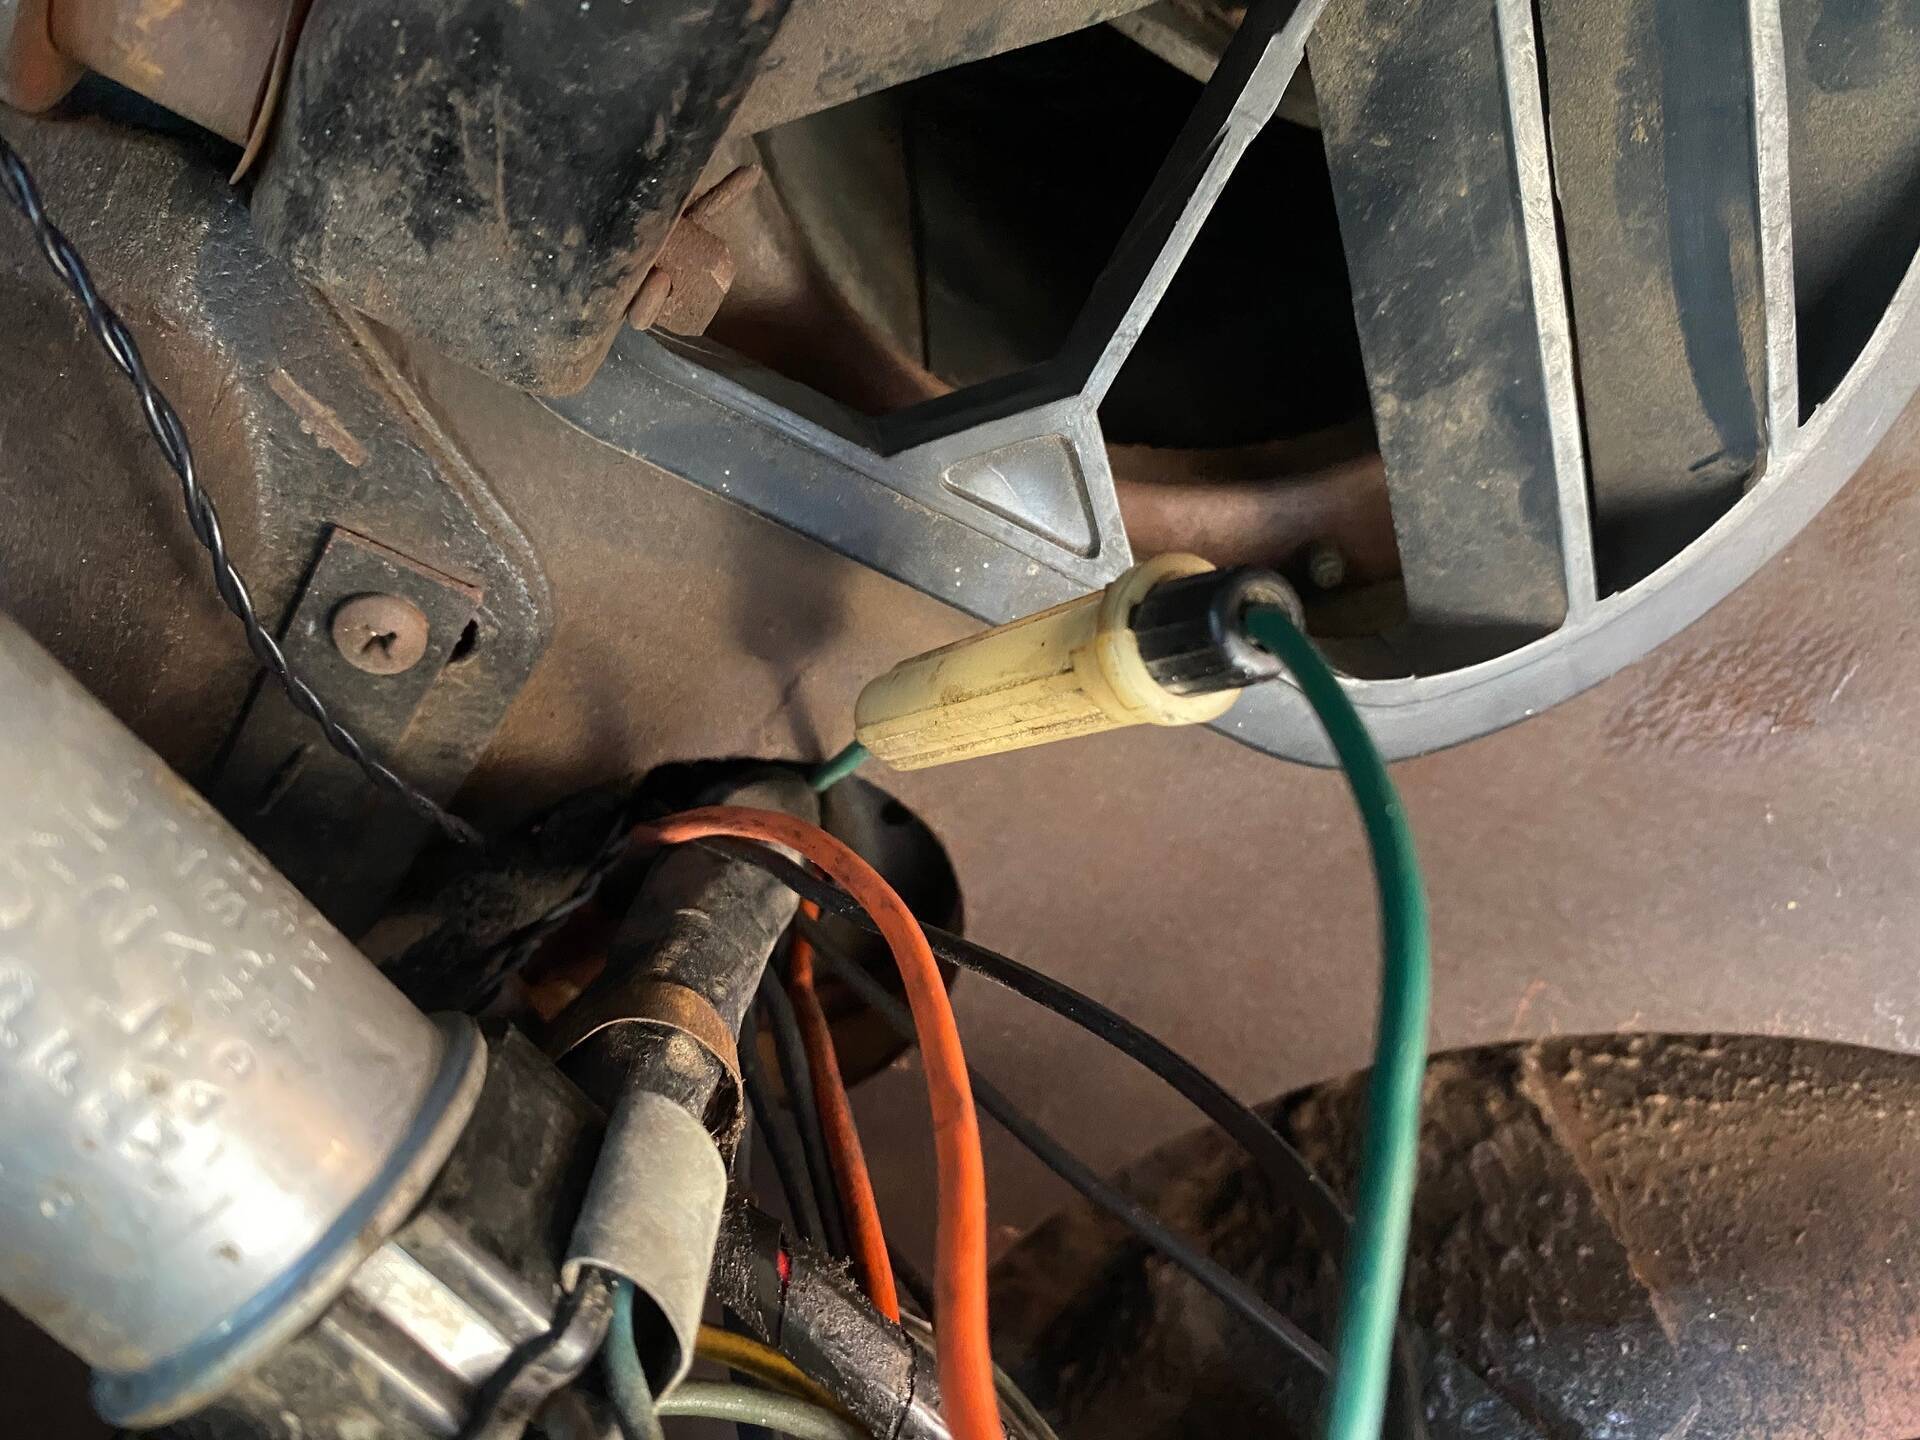 (220.82 KB) (220.82 KB)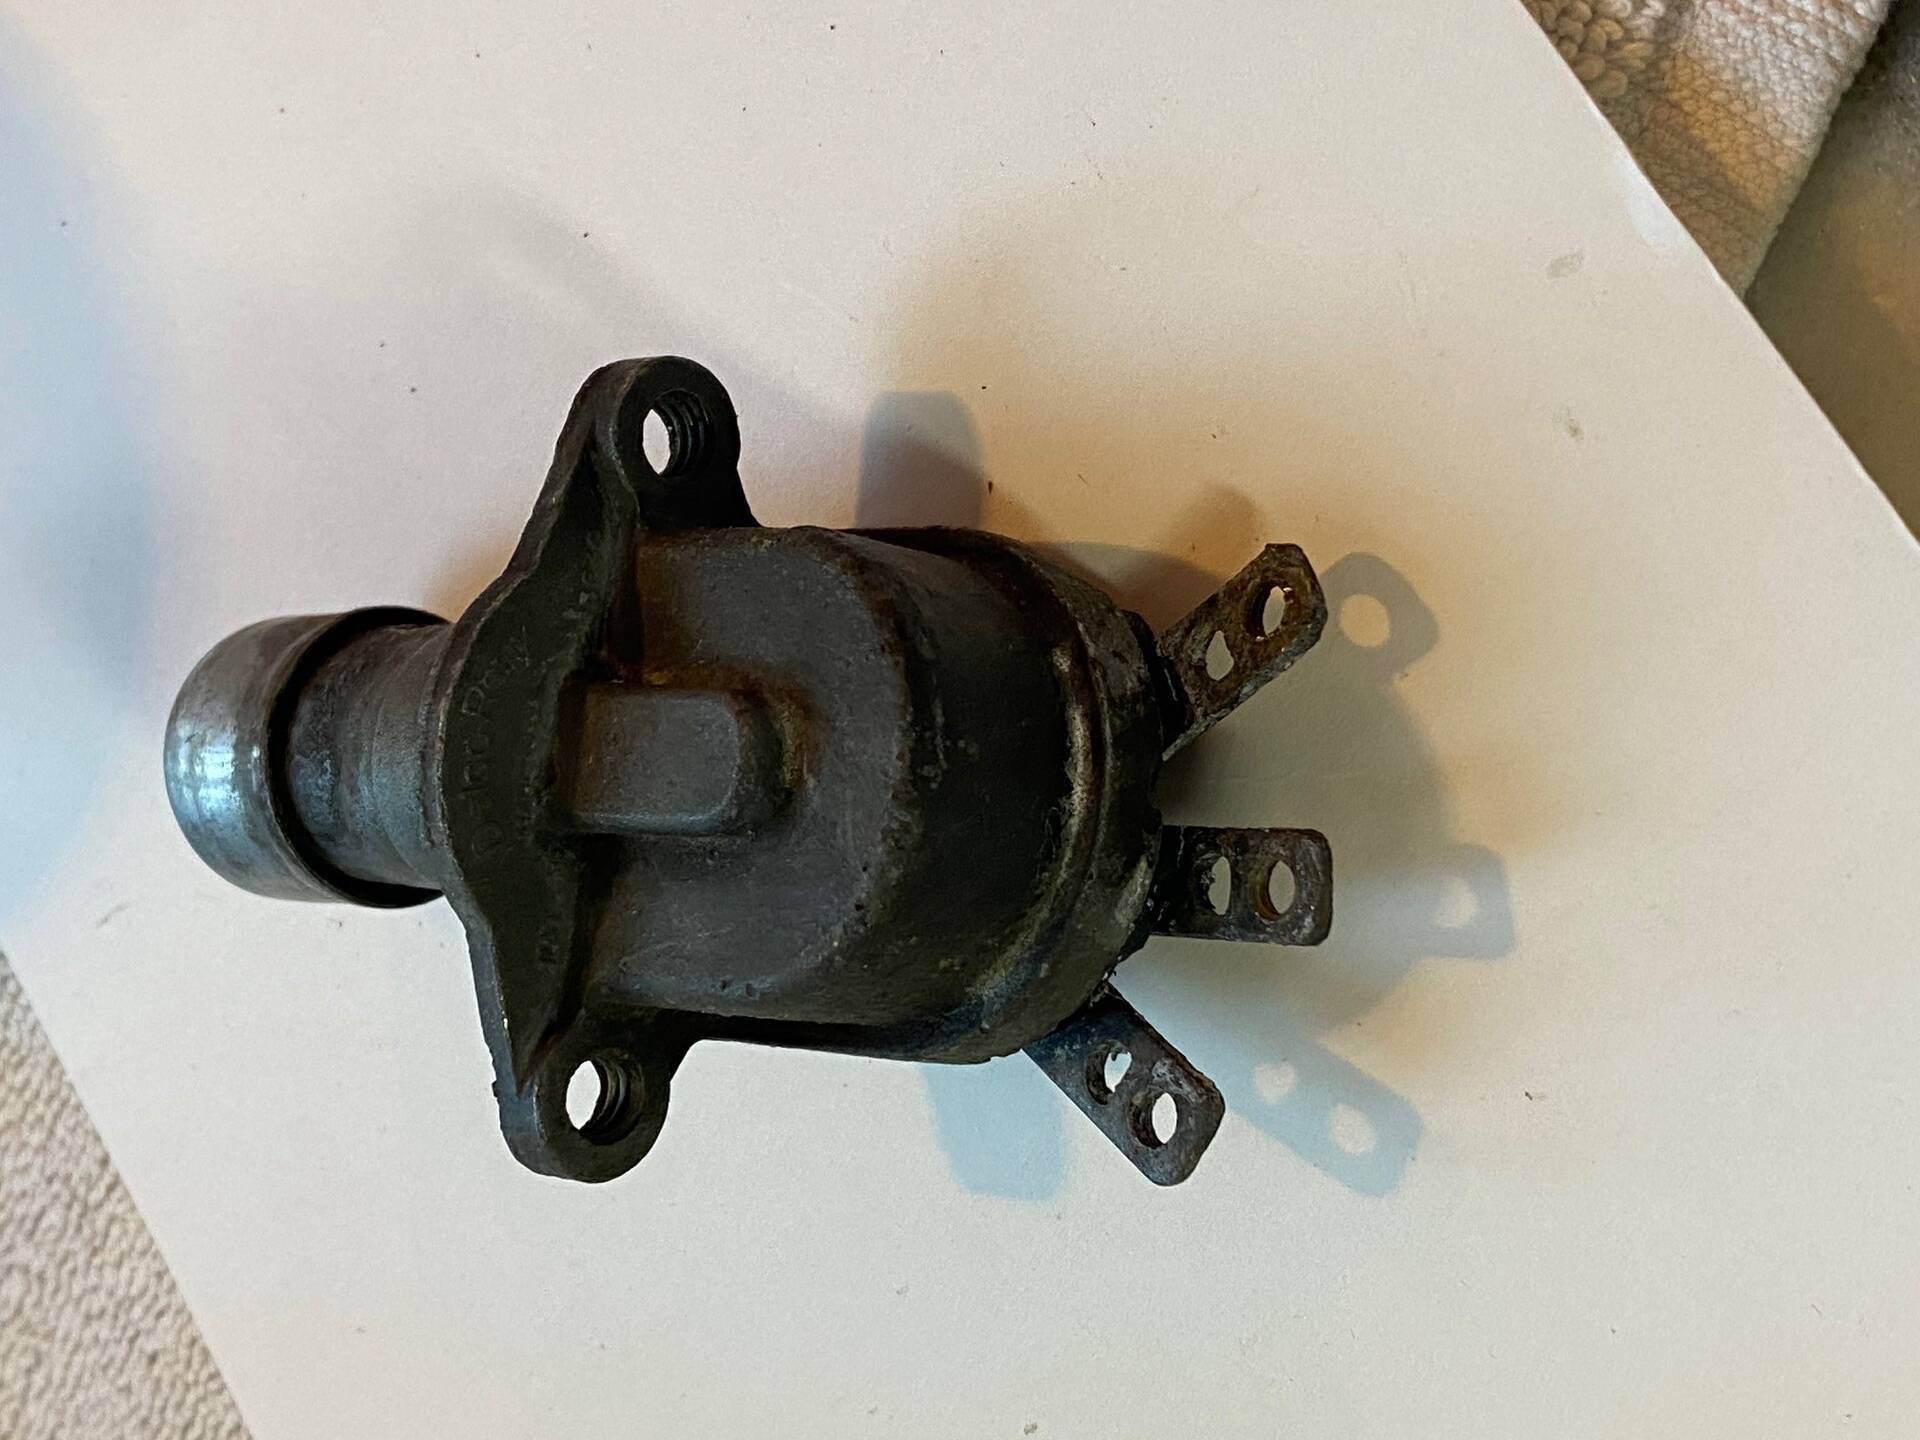 (237.70 KB) (237.70 KB) (271.51 KB) (271.51 KB)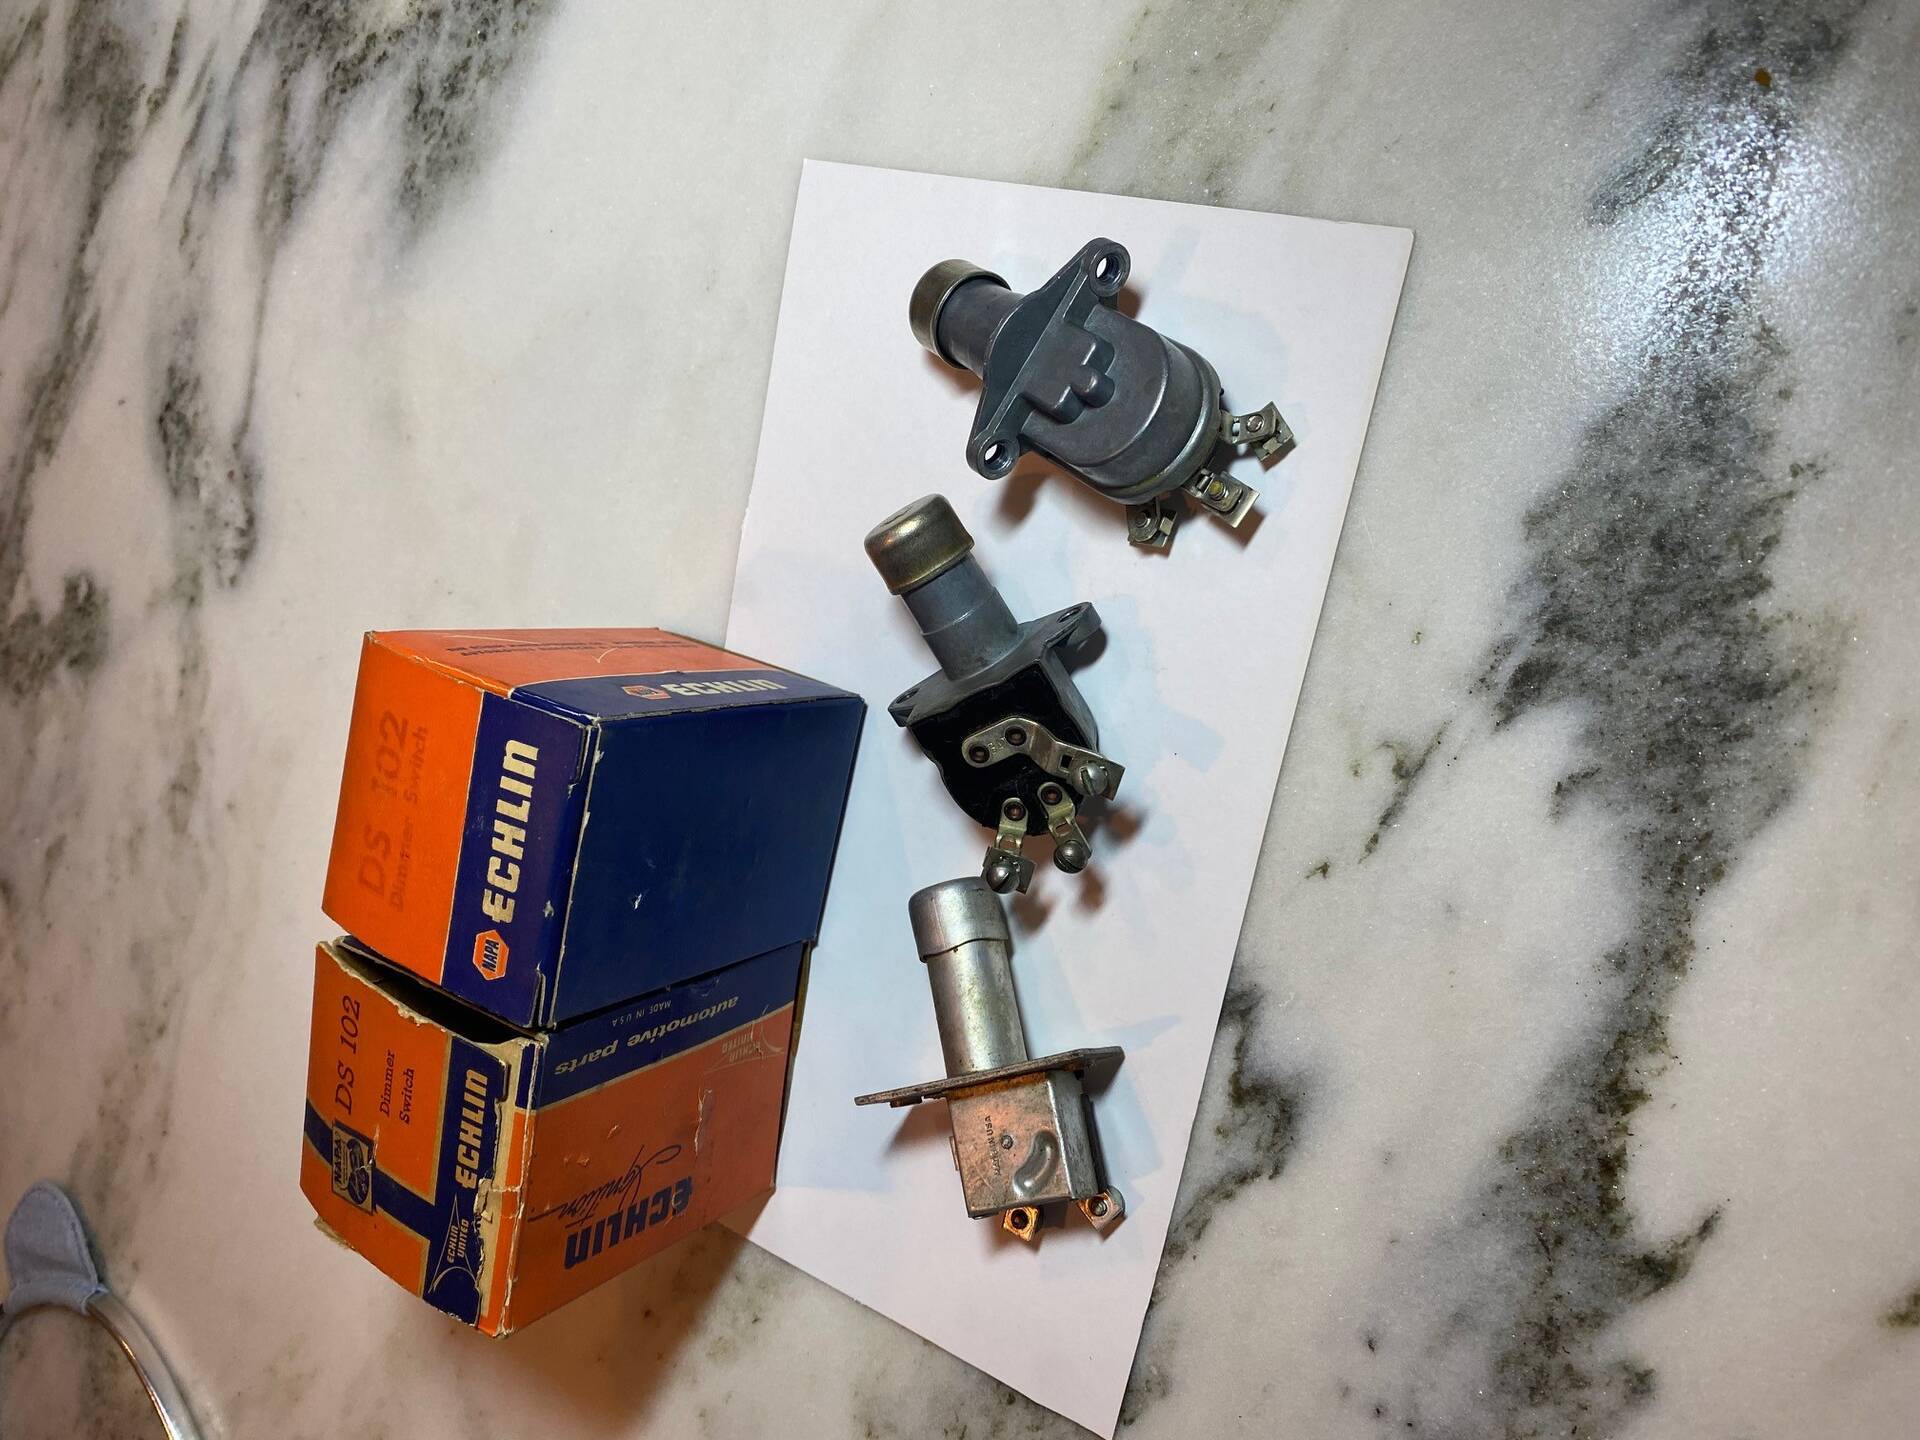
Posted on: 2020/7/13 9:30
|
|||
|
||||
|
Re: 1954 Pacific / headlight out / headlight circuit breaker switch / dimmer switch
|
||||
|---|---|---|---|---|
|
Home away from home
|
I'm on it. Many thanks !
TC
Posted on: 2020/7/6 7:10
|
|||
|
||||
|
Re: 1954 Pacific / headlight out / headlight circuit breaker switch / dimmer switch
|
||||
|---|---|---|---|---|
|
Home away from home
|
Hi Howard. Thank you for your response. Dash lights and parking lights are on. Headlights are out. I will start with the dimmer switch and disconnected wires. I did yank a wire out right before this happened. One end was a thin red wire in the vicinity of the headlight switch and another thin black wire connected to nothing. The 2 wires converged in one wire that tapered wider and had electric tape wrapped around the end. The tapered wire looked like an old bell telephone house phone wire. When I cut it, there were 2 thin blue wires in there. I thought it was an old gauge light insert. Did I yank the headlight wire? The wires are a real tiny gauge. Also, how do I remove the headlight switch to change the breaker?
TC Attach file: (146.24 KB)
Posted on: 2020/7/5 21:09
|
|||
|
||||
|
1954 Pacific / headlight out / headlight circuit breaker switch / dimmer switch
|
||||
|---|---|---|---|---|
|
Home away from home
|
Hi Howard. I hope you don't mind me asking as you have been great help so far. My headlights just went out. The dash, turn and driving lights still work fine. The wiring to the headlights is pretty crumbly. I have replacements. The junction boxes look decrepit but all has worked up until now. Other forums have mentioned the headlight circuit breaker switch and the dimmer switch. I have both new. FYI, I had 6V LED headlights with no resistor in there until boom. Back to the normal lights now. Where is the location of the headlight circuit breaker switch for me to replace? I have BigKev's wiring diagrams. Would it be possible for you to shoot me a road map to the circuit breaker switch? Also, parts X-Refs would be great for the switches if this happens again. Your help is greatly appreciated.
TC
Posted on: 2020/7/5 13:20
|
|||
|
||||
|
Re: add dual temp gauges / dual station temperature sender / 359 L8
|
||||
|---|---|---|---|---|
|
Home away from home
|
Thanks Howard. Your advice is greatly appreciated.
TC
Posted on: 2020/6/26 13:45
|
|||
|
||||


.jpg")


