|
Re: Tail light backing for 23 series
|
||||
|---|---|---|---|---|
|
Home away from home
|
There is a gasket, which I have, the goes between the tail light assembly and the fender, but there is nothing on the inside of mine except a nut and washer.
I have combed through Kanter and Merritt's catalogs, checked on line and the service manual, no dice. I wonder if it was a bolt that went through from the inside of fender to the assembly and the 2 studs went through into the trunk (Hope that makes sense). I am hoping someone has a part number or photos of how their tail light assembly is attached. Also, am hoping to see a picture of the wiring for the rear "reading" light above the rear window. I messed up and didn't get a picture. B
Posted on: 2016/2/22 19:30
|
|||
|
[url=http://packardinf
|
||||
|
||||
|
Tail light backing for 23 series
|
||||
|---|---|---|---|---|
|
Home away from home
|
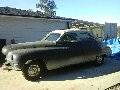
Of course more problems and questions pop up as I am replacing the wiring harness in my '49 / 23 series. I'm doing the tail lights (waiting for the new lens gaskets)and I'm thinking there must be some kind of backing piece to hold the assembly to the fender. Would Packard run the studs through the fender gasket and maybe put a washer and nut to hold it in place? The washer does not fit flush to the fender, thus the nut does not make a good contact with the washer.
The studs stick into the interior of the fender by more than 1 to 1 1/2 inches. Maybe I am missing something? It possible that this is not original because there are many odd things on this car (Previous post about the clutch and blower switches). Another problem that I caused, I didn't take pictures of the "reading light" wiring when I changed the wiring for the switch to the light and so forth. Would anyone have a picture of how this is suppose to be wired? There is a dual bakelite junction between the light and the switch and that's about all I recall. Thanks for the help. Pictures of the fender and tail lights attached included. The ride arrows on the interior of the fender show the bolt holes. No shots of the trunk. Attach file:  (88.87 KB) (88.87 KB)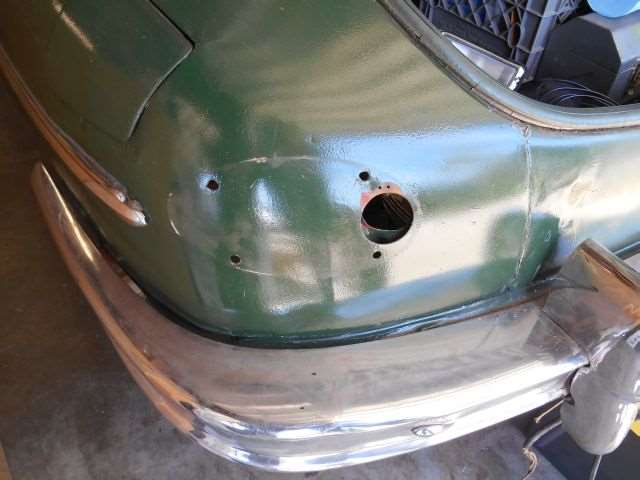 (96.65 KB) (96.65 KB) (100.43 KB) (100.43 KB)
Posted on: 2016/2/22 16:57
|
|||
|
[url=http://packardinf
|
||||
|
||||
|
Re: Upholstery Repair
|
||||
|---|---|---|---|---|
|
Home away from home
|
Is this the same type of board on the "B" pillar?
Now that I have to replace the headliner I have noticed the material on panels covering the B pillar. Where is the best place to get panel board? Thanks for your help!
Posted on: 2016/2/17 23:25
|
|||
|
[url=http://packardinf
|
||||
|
||||
|
Re: Stewart's 1955 Packard 400
|
||||
|---|---|---|---|---|
|
Home away from home
|
I remember my dad telling me to use a similar type of washer, see pic, on painted surfaces as they will dig into the metal a bit for grounding.
Attach file: (44.07 KB)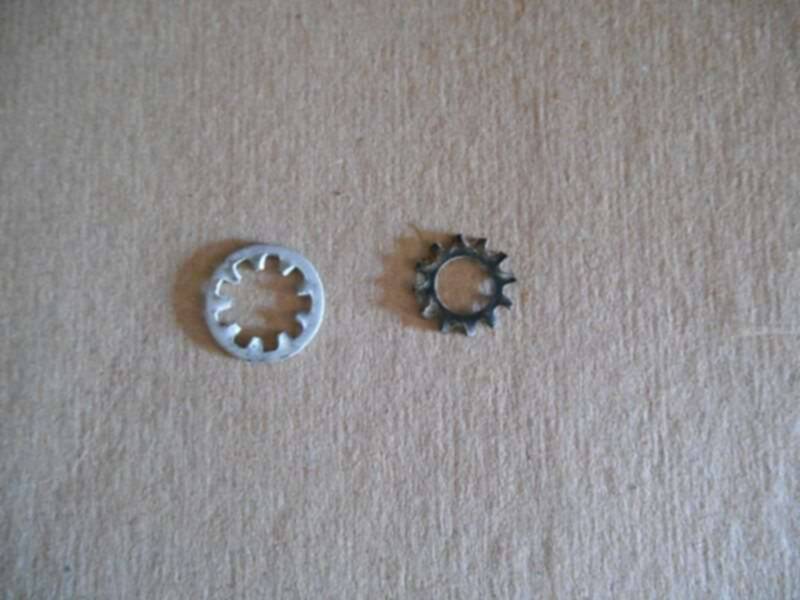
Posted on: 2016/2/13 20:14
|
|||
|
[url=http://packardinf
|
||||
|
||||
|
Re: 49 dash switch removal
|
||||
|---|---|---|---|---|
|
Home away from home
|
BDeb, you are correct, no other fasteners but I noticed that my radio, which is heavy, rides on the switch assembly. I assume Packard placed the rubber pieces in the assembly to stop any metal to metal contact and to soften the blow for the radio tubes.
I had to push up on the back of the radio to get my assembly out to work on it. Since starting to write this I crawled under my dash and had a look. There is a brace for the radio go to who knows where, mine doesn't have any thing holding it or bolted to it. You never know who owned the car before, someone could have added a brace or something similar preventing the assembly to be easily removed. Attach file: (87.18 KB)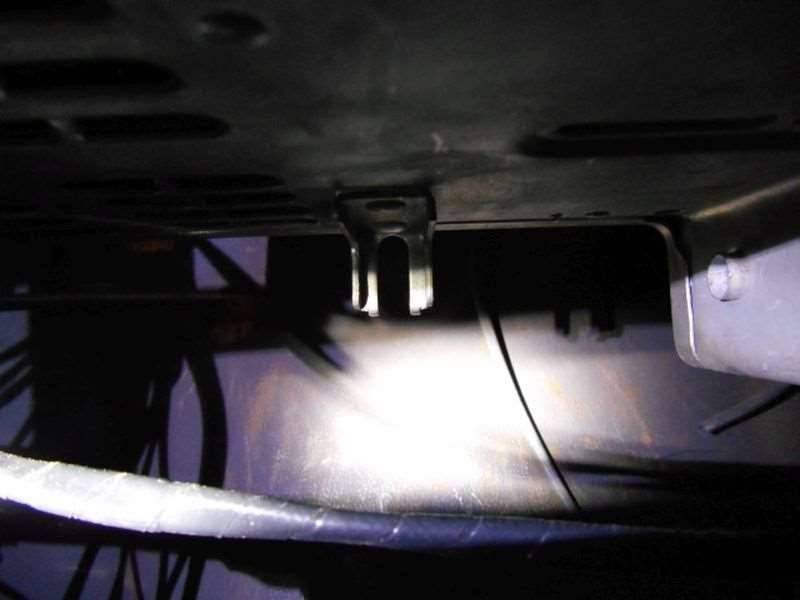
Posted on: 2016/2/13 15:27
|
|||
|
[url=http://packardinf
|
||||
|
||||
|
Re: Re wiring a 23 series
|
||||
|---|---|---|---|---|
|
Home away from home
|
Hey Sloride75
Howard is a great source of information and has helped me a lot. I did post some pics about 2 weeks ago about 2 discs that are on the back of the clutch and blower switches. I didn't know what they were and guessed they might have been for the wiper assembly as they had a ridge cut in them. Well it was deduced that the discs are resistors, again thanks to Howard and others. You can check out those pics. I bought my harness from Harnesses Unlimited. There are many others out there, but I just liked what I saw with H.U. They make your harness according to your car and it can take a couple of months. I send the dash and had the speedometer repaired, clocked cleaned and lubed and the other instruments checked. Of course if you doing a restoration you will want the gauges looking like new. Mine cars just a driver. When the harness(s) arrived I was surprised by the instructions as they detail where every wire goes. My old harness was of no use as many wires had been changed, so I just took it out a piece at a time. My suggestion is order all the gaskets ahead of time! I'm putting in new bulbs through out (even checking them before they go in). I needed a new glove box insert as the old one was almost falling out. I suggest you get the speedometer checked and lubed and get the gauges checked since you are going to have all that opened up. Now,I guess I'll have to spring for a new headliner. I don't think the wiring is the hard part, its all the other things like the resistors on the back of the switches, things disconnected and left hanging. Someone's immortal words on this board went something like this; "The problem with Packards is the idiot that owned before you". I'm learning this is very true and I'm trying not to be an idiot! Let me know if I can help
Posted on: 2016/2/7 16:54
|
|||
|
[url=http://packardinf
|
||||
|
||||
|
Re wiring a 23 series
|
||||
|---|---|---|---|---|
|
Home away from home
|
More work on the re wiring job on the '49 23 series. I bought a complete wiring harness and have installed the front lights and engine compartment, switches, ignition. I did not want to complete the dashboard until all the wiring is in. The dash inst. will be my last thing to finish. So now I'm starting on the rear lights and working forward.
Here is my questions: Do I need to drop the headliner to get to the wires running along the roof line from the dash to the truck? Can the wires just be pulled or are there clips hold them in place? Any other ideas or tricks are very much welcomed. All the best and thanks!
Posted on: 2016/2/7 11:58
|
|||
|
[url=http://packardinf
|
||||
|
||||
|
Re: 23 series windshield wiper assembly?
|
||||
|---|---|---|---|---|
|
Home away from home
|
Here is an update
Took Howard's advice contacted McMaster-Carr, ordered a 1 /16th inch sheet of Garolite or phenolic (Really fast shipping by the way). I made a template out of cardboard from the best piece of paper insulation (lack of a better name)piece then traced the template on to the garolite piece. Using a Dremel with a diamond bit I was able to cut all four pieces. Of course using a sanding stone I rounded the edges. Not the prettiest girls at the ball, but they look like they should do the trick. The last pictures shows the inst. cluster ready to be installed and wired (Or vice versa) Thanks again Howard! Thanks to Big Kev for keeping this site up and running! Here are some pictures for the files in the event someone has the same type of switches. Attach file: (83.32 KB)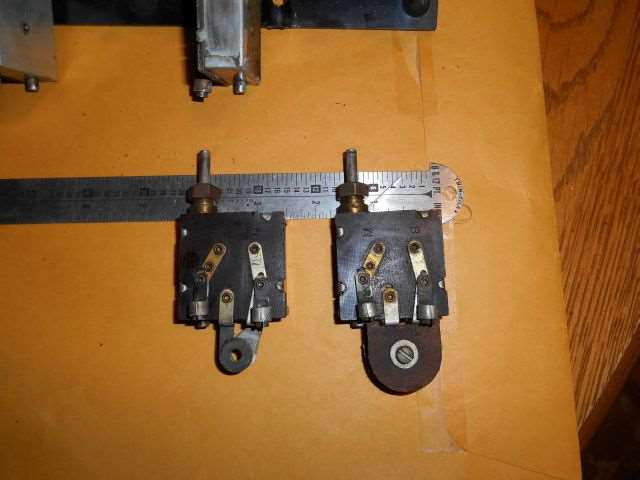 (84.08 KB) (84.08 KB)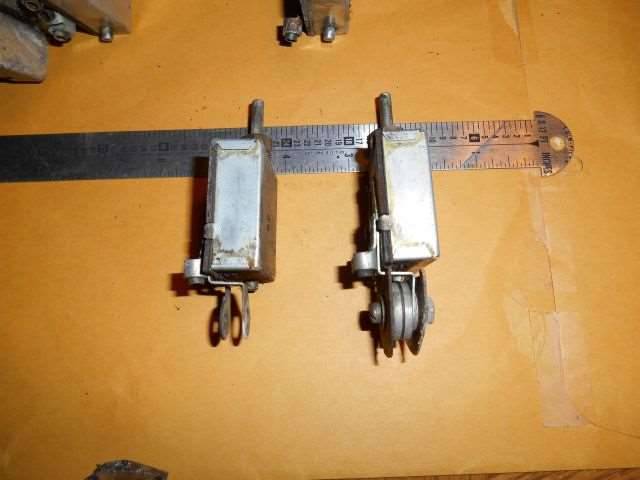 (79.41 KB) (79.41 KB)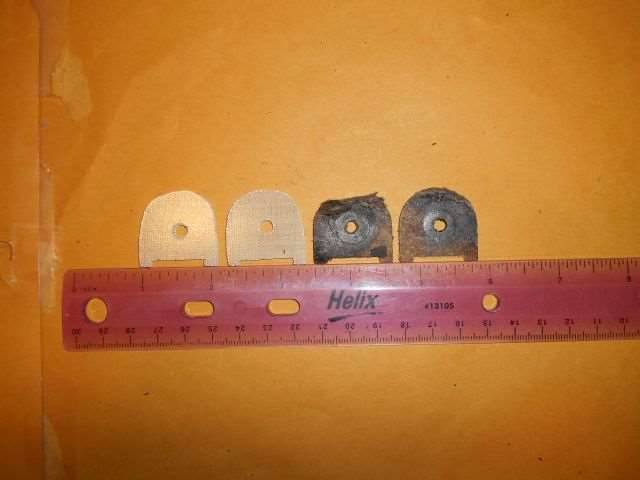 (77.20 KB) (77.20 KB)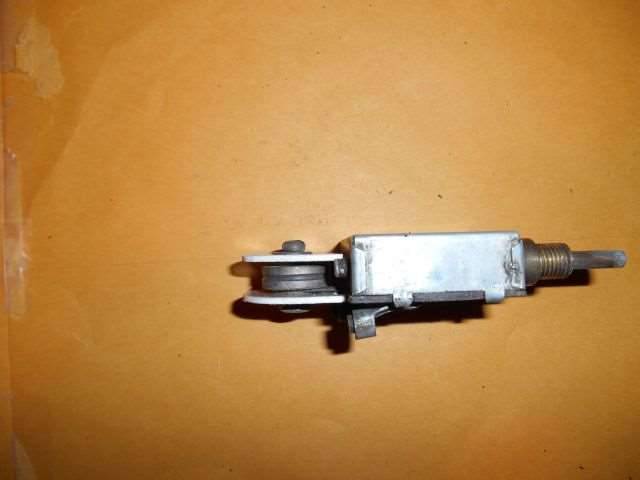 (80.87 KB) (80.87 KB)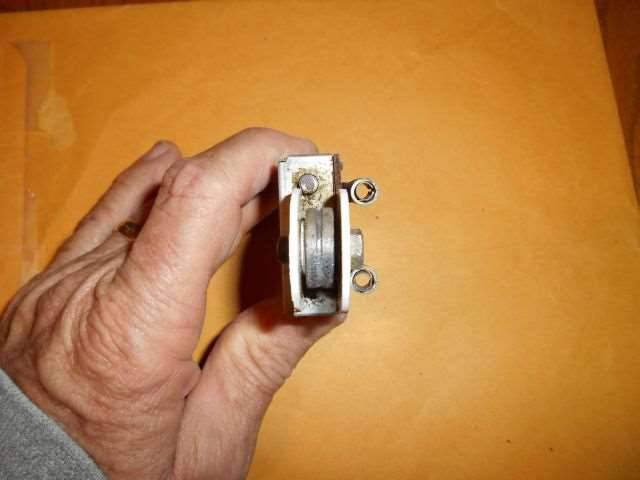 (83.02 KB) (83.02 KB)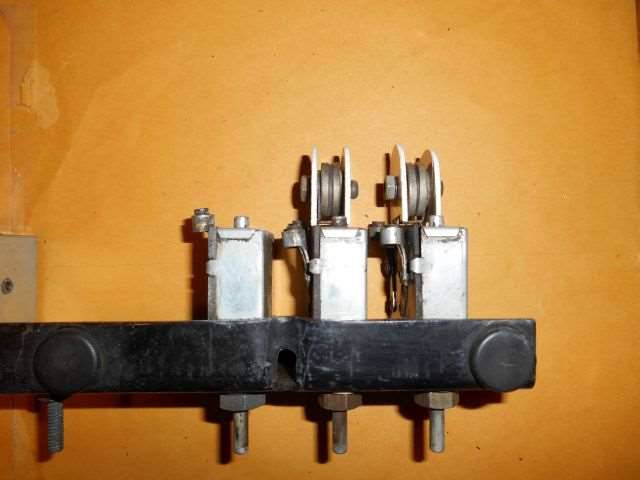
Posted on: 2016/1/28 22:42
|
|||
|
[url=http://packardinf
|
||||
|
||||
|
Re: Ted's 1956 Clipper Restoration
|
||||
|---|---|---|---|---|
|
Home away from home
|
Welcome back! Like Howard said "We look forward to following your renewed project".
I think its a good idea to post lots of pictures as I have followed a few project and these guys are great catching stuff. All the best on your project
Posted on: 2016/1/27 22:28
|
|||
|
[url=http://packardinf
|
||||
|
||||
|
Re: 23 series windshield wiper assembly?
|
||||
|---|---|---|---|---|
|
Home away from home
|
Very interesting Howard, thanks for the research. Mine appear in good shape it just the phenolic material on the sides that look burnt or even water damaged. I will contact McMaster-Carr for prices and how to cut the phenolic (not sure if scissors would be good or not).
Posted on: 2016/1/26 13:28
|
|||
|
[url=http://packardinf
|
||||
|
||||


