|
Re: Trunk Interior Finish for 1940
|
||||
|---|---|---|---|---|
|
Home away from home

|
Thanks for doing that, West. Looks like more "hog's hair." This Sunday Dave in Portland is going to take some pix of his car's trunk. That should clinch it. I guess judges never open the trunk, off limits? That's why there are no specs floating around? And why so many cars are different. Here's to less junk in the trunk.
Posted on: 2011/6/10 8:24
|
|||
|
||||
|
Re: Trunk Interior Finish for 1940
|
||||
|---|---|---|---|---|
|
Home away from home
|
That would be great, West. Would you say the thickness of the carpet is closer to 3/16th or more like 3/8th inch?
There wasn't anything left in Jim's trunk. So we have two cars that could use the solution. I just returned from Canyon Auto. They finished painting the body. The fellow from the German auto repair next door loved the color and called her a sexy lady. Just wait til she fixes up her hair. Attach file:  (77.03 KB) (77.03 KB)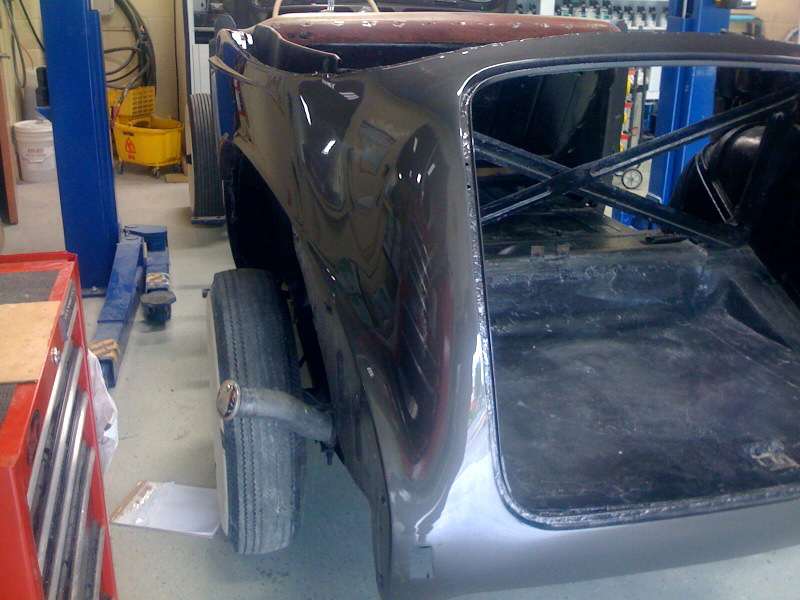
Posted on: 2011/6/8 16:31
|
|||
|
||||
|
Re: Trunk Interior Finish for 1940
|
||||
|---|---|---|---|---|
|
Home away from home
|
And, flackmaster, I think you're right about the wood well for the conv top having some kind of fabric on it, guessing, maybe like bow drill.
Posted on: 2011/6/8 15:02
|
|||
|
||||
|
Re: Trunk Interior Finish for 1940
|
||||
|---|---|---|---|---|
|
Home away from home
|
Thanks for photos.
Dave C PM'd: "The floor is covered with a dark brown "leatherette" - identical (I believe) to the firewall panel material under the dash. The side walls of the trunk (inner fenders) on my 120 were flocked with a tan/brown flocked material. On my current 120 (an original car when I got it) the plywood spare tire shelf is covered with a tan burlap material, which is (as I remember) what was used for the side walls of the trunk of the 160 and 180. (Not flocked.) It's almost a "hounds tooth" brown/tan fabric with a very big weave. I have seen this same material in other trunks of the era. and The trunk floor material is very stiff - backed with a cardboard material. Yes, identical to the firewall. Like a "flat" leatherette. A very dull pebbled vinyl might be spray-glued to a piece of masonite or thick cardboard and then bound around the edges like carpet. (The gloss of the vinyl might also be cut with a liberal wipe of acetone over the surface.) " Me, again... So I think the floor is like the firewall material..photo attached of my original one, so I will look for that. If the fabric/material Dave is describing for lining the sides of the trunk is "hog's hair," then I will use that. But gee it looks thick as carpeting, West, and I don't remember pulling out anything that substantial. Pictures very helpful in resolving this. Thanks. Attach file: (49.49 KB)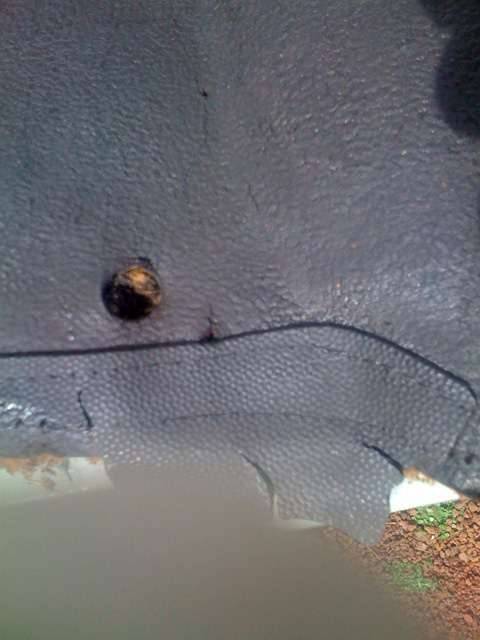
Posted on: 2011/6/8 14:38
|
|||
|
||||
|
Re: Trunk Interior Finish for 1940
|
||||
|---|---|---|---|---|
|
Home away from home
|
Help! What's in your trunk? If you have a 1940, what, if any, covering is on the metal? If you have a convertible, what's on the wood top box? Painted only?
What's on the floor? Rubber? Carpet? I've seen some pictures in magazines but all seem different. Looking for what might be original. Thanks much.
Posted on: 2011/6/8 9:10
|
|||
|
||||
|
Re: 1940 front door window mechanism
|
||||
|---|---|---|---|---|
|
Home away from home
|
Thanks, West. I talked to Jim about it and my friend Vaughn, who came by last night and took a look.
He thinks there's a bushing of some kind that rides in the big hole in the primary arm. The screw hole in the secondary arm is for a screw to hold the bushing in place, perhaps with a washer, too, allowing the arms to move with a scissor action. I just don't know what I'm looking for. Jim thinks the other hole in the secondary arm, the slotted hole, is for a second screw and the slot allows for adjustment to keep the window from binding.Almost every hole in the door is slotted for that purpose, so I think that's right. This is a real roadblock at this point. I'll have to take the front doors to the upholsterer so they can cover the door panels without windows and take them back to attached the door panels after I get the windows in. Attach file: (81.59 KB)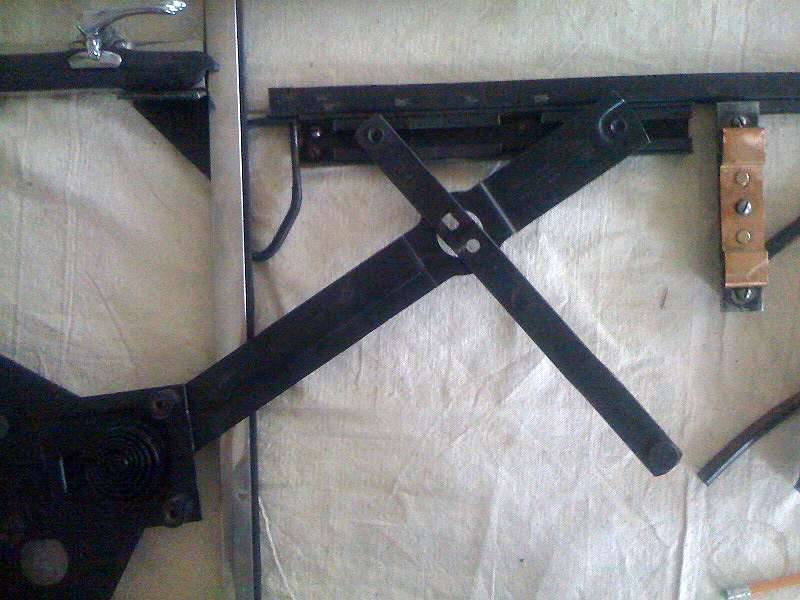 (84.57 KB) (84.57 KB)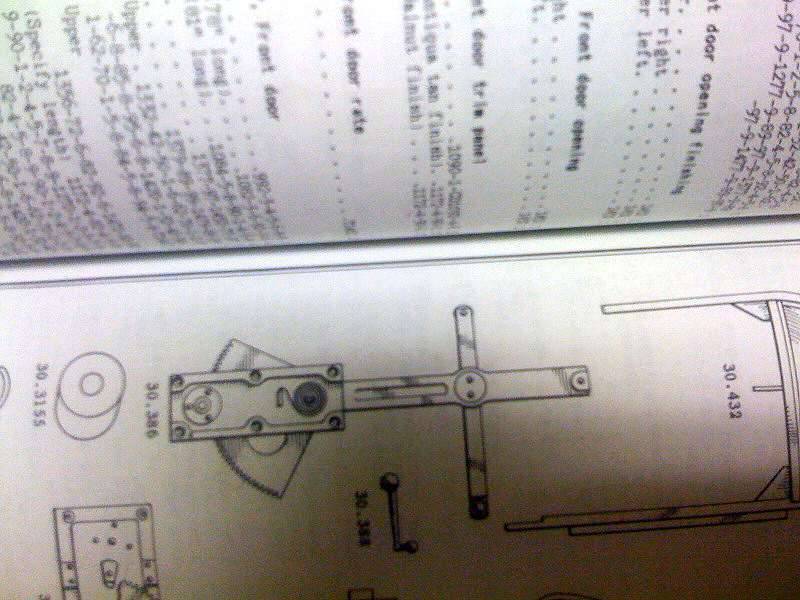
Posted on: 2011/6/8 9:01
|
|||
|
||||
|
Re: The Duchess Project: 1940 Super 8 Convertible Sedan
|
||||
|---|---|---|---|---|
|
Home away from home
|
BODY: Final masking. Paint tonight.
Attach file: (78.95 KB)
Posted on: 2011/6/7 16:33
|
|||
|
||||
|
Re: The Duchess Project: 1940 Super 8 Convertible Sedan
|
||||
|---|---|---|---|---|
|
Home away from home
|
BODY: Finally in the paint booth. Another coat of sanding primer and Twan's talent at creating a glass-like finish being applied. Final paint should be today. Then she goes from Canyon Auto Repair to Beaverton Auto Upholstery.
UPHOLSTERY: I wired and sanded the rust off seat frames and parts, and painted them before delivery the seats and new leather yesterday morning. This is a very tight schedule, tighter now. I may have to take doors in without their windows because of questions about the mechanisms and those darn pins for the rear window gears. After the panels are upholstered but not attached, I'll finish assembly. ASHTRAY: Received a rear seat ashtray lid from Seattle Packard, David Moe, but actually have 2 armrest ashtrays that I needed the face plate for. By cutting the larger cover in half, I'll have 2 armrest face plates, the last pieces in line for woodgraining. BEAUTY RINGS. Polished these on the buffing wheel (3 edges) and with the drill for one edge. Stainless can gleam. TRUNK INTERIOR FINISH: Still a question of what to put on it, in it, etc. Apparently this is the one area you are allowed to customize. Asking Jim to look again in his original car. Posted as Trunk Interior Finish for 1940 with pictures. FRONT WINDOW MECHANISM: Still stuck on what connects the to arms to get a scissor action.Posted as 1940 Front Window Mechanism with picture. Attach file: (78.32 KB)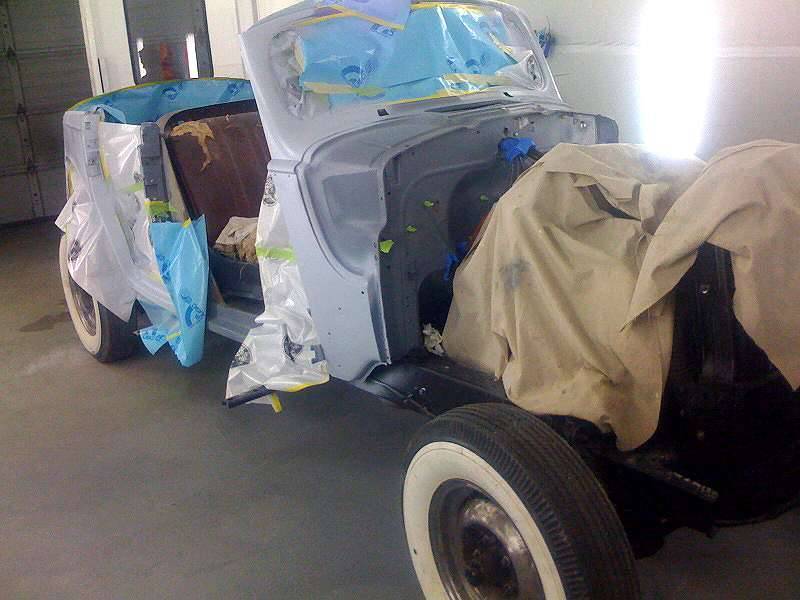 (71.83 KB) (71.83 KB)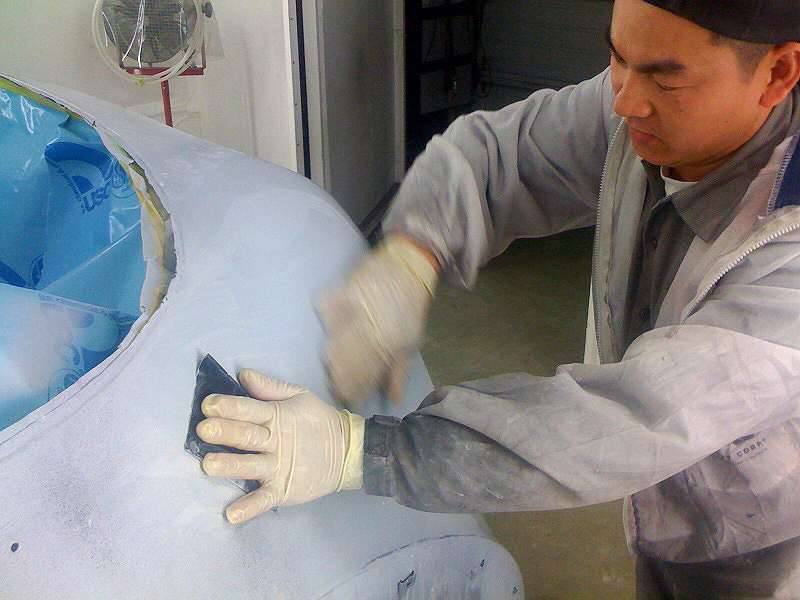 (64.72 KB) (64.72 KB) (71.20 KB) (71.20 KB)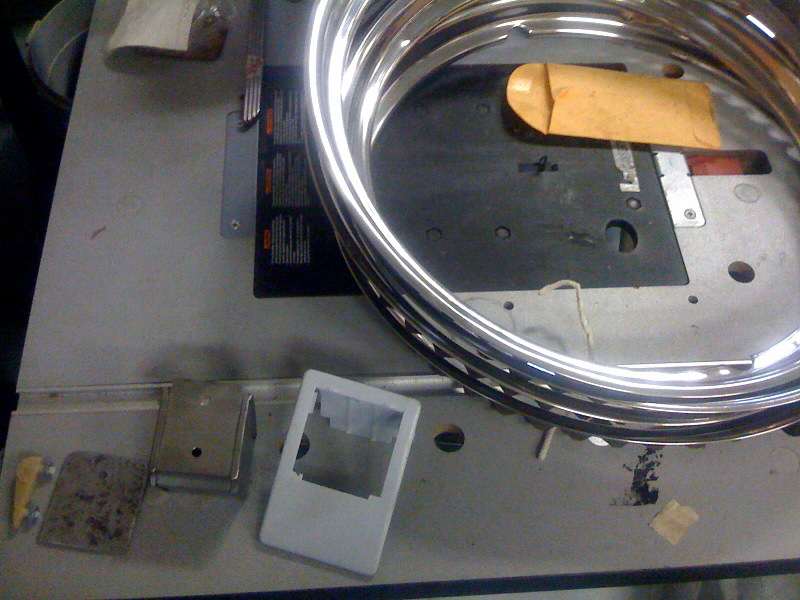
Posted on: 2011/6/7 8:40
|
|||
|
||||
|
1940 front door window mechanism
|
||||
|---|---|---|---|---|
|
Home away from home
|
The clueless forge on.
I seem to be getting close on re-installing the front windows. BUT I can't figure out how the arms connect. In the parts book they connect at the large hole on the main arm, but I don't have or recognize what the parts that hold the two arms together. Also not sure if the arms are arranged correctly. The bottom of the small arm rides in a horizontal guide inside the door. On the small arm there's a round hole and a short slot. Unless the part is simple, something generic, I can't imagine tossing it. If you can put me out of my misery, please do. Thanks Attach file: (78.03 KB)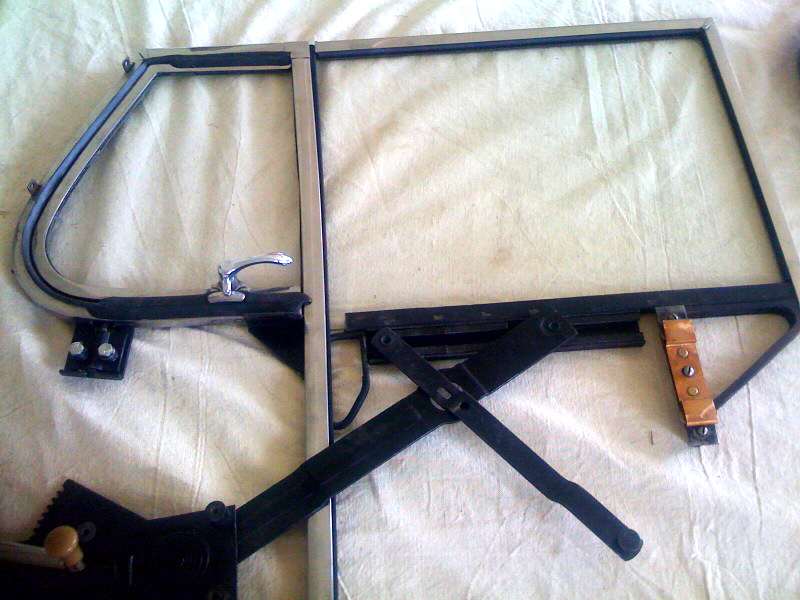
Posted on: 2011/6/5 15:00
|
|||
|
||||
|
Re: The Duchess Project: 1940 Super 8 Convertible Sedan
|
||||
|---|---|---|---|---|
|
Home away from home
|
Paid a visit to the Duchess at the paint shop on their off day. Twan, who is the primary person prepping and painting the car manages the other shop on Saturdays.
Nevertheless I plan to take a load of items to Beaverton Auto Upholstery Monday morning, items I'm cleaning and painting, frames, other metal pieces. DOORS: I picked up some weatherstrip with a self-adhesive and a 3/8 rubber lip ro try in the outer position alongside the windows to keep the dust out, listed as a dust seal, I think, in the parts book. I'm also cleaning the garage floor to ceiling and reorganizing while the car is away. Yes, away. Post partem blues? Can I trust having her in other hands? No choice really. Attach file: (72.80 KB)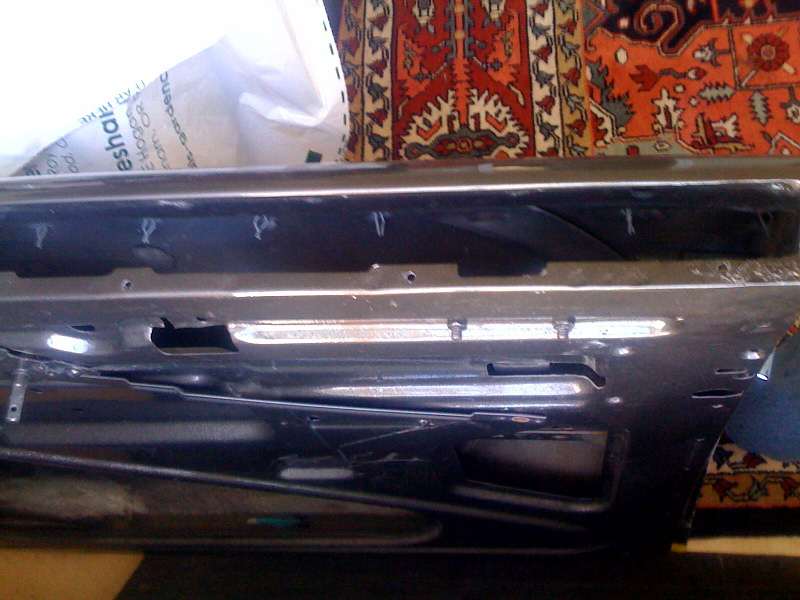 (80.03 KB) (80.03 KB)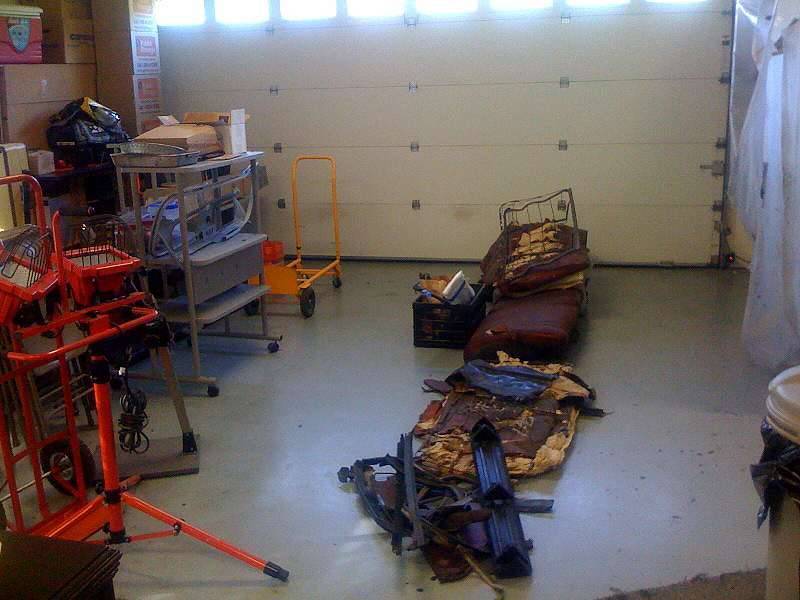 (68.82 KB) (68.82 KB)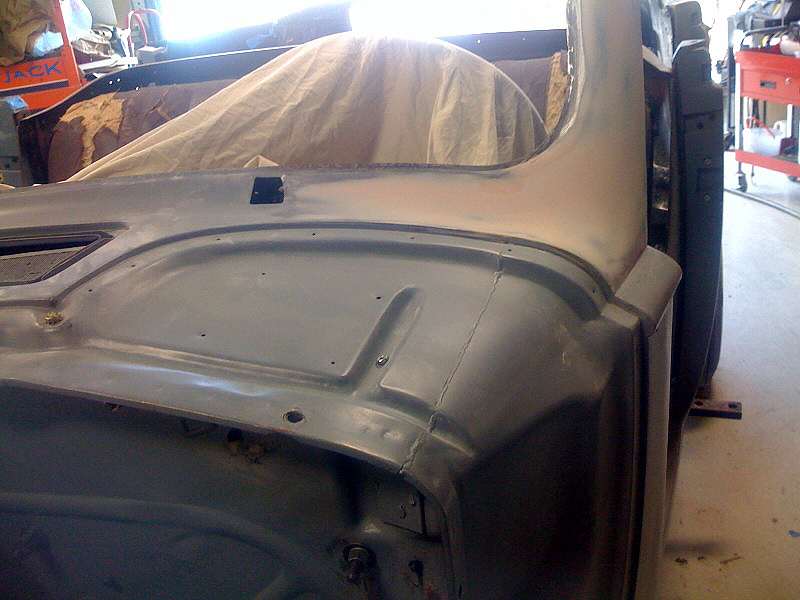 (60.90 KB) (60.90 KB)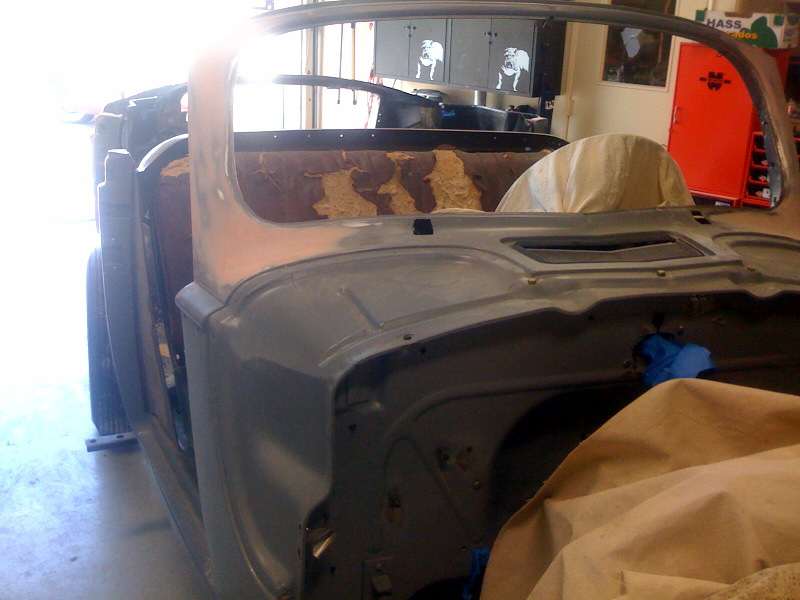 (78.39 KB) (78.39 KB)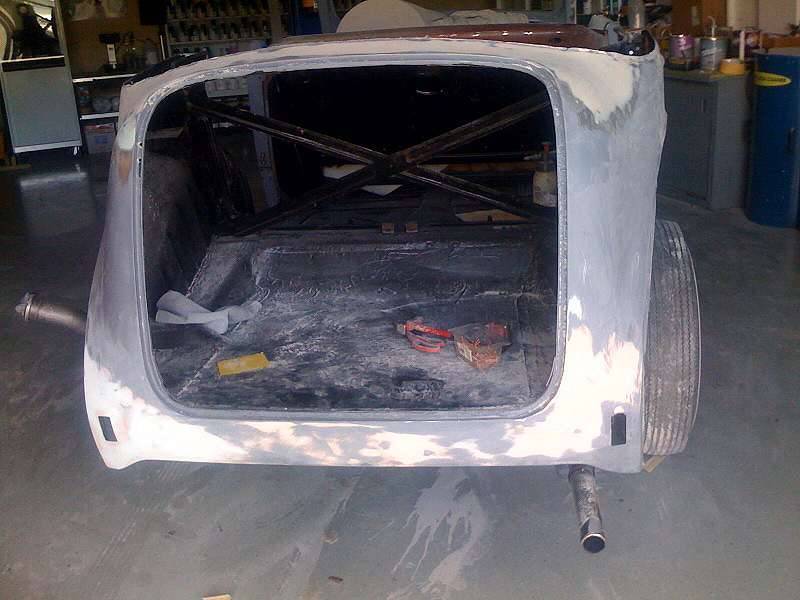
Posted on: 2011/6/4 20:18
|
|||
|
||||


