|
Re: Repace Coil
|
||||
|---|---|---|---|---|
|
Home away from home

|
I bought one for my 1940 that connects at the top as in the photo from David Moe. But you could place a wanted ad in the For sale, Wanted Forum here. Try all the usual suspects like Kanter and Max Merritt, though I suspect those prices are premium. Or search on eBay and perhaps find good electrical parts suppliers who have the goods, but don't advertise in Packard publications.
Posted on: 2011/2/16 9:57
|
|||
|
||||
|
Re: 1939 Packard grille assembly instructions
|
||||
|---|---|---|---|---|
|
Home away from home
|
What it looks like on a 1940.
Shoulder rivets from Bill Hirsch. Packard Grille Shoulder Rivets FLAT .203 .125 .156 .125 .313 .063 SEMI-TUBULAR BRASS As measured using my pathetic caliper. Rivet tool from hansonrivet.com HT-178. Attach file:  (164.92 KB) (164.92 KB)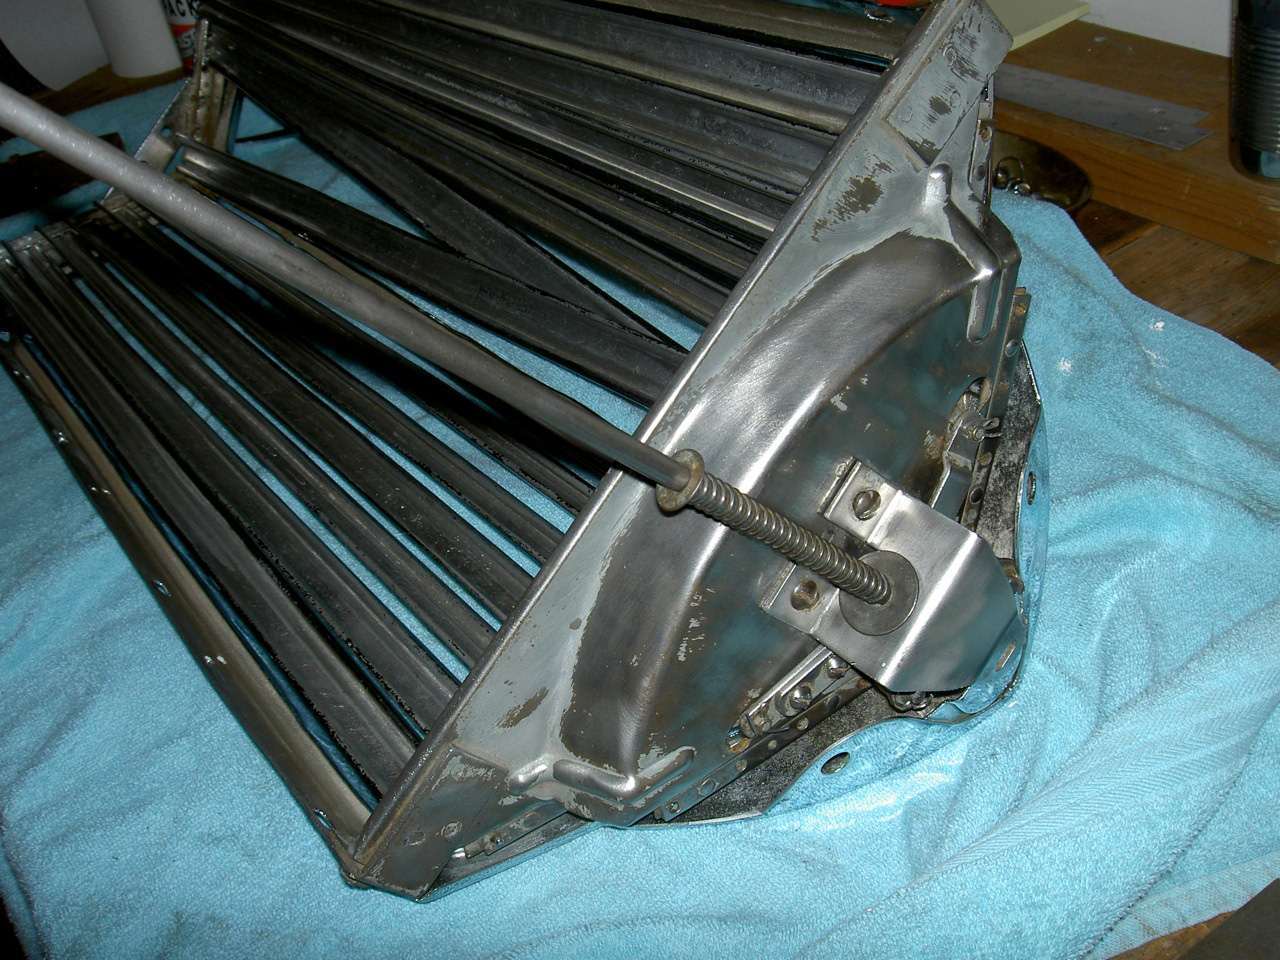 (128.79 KB) (128.79 KB)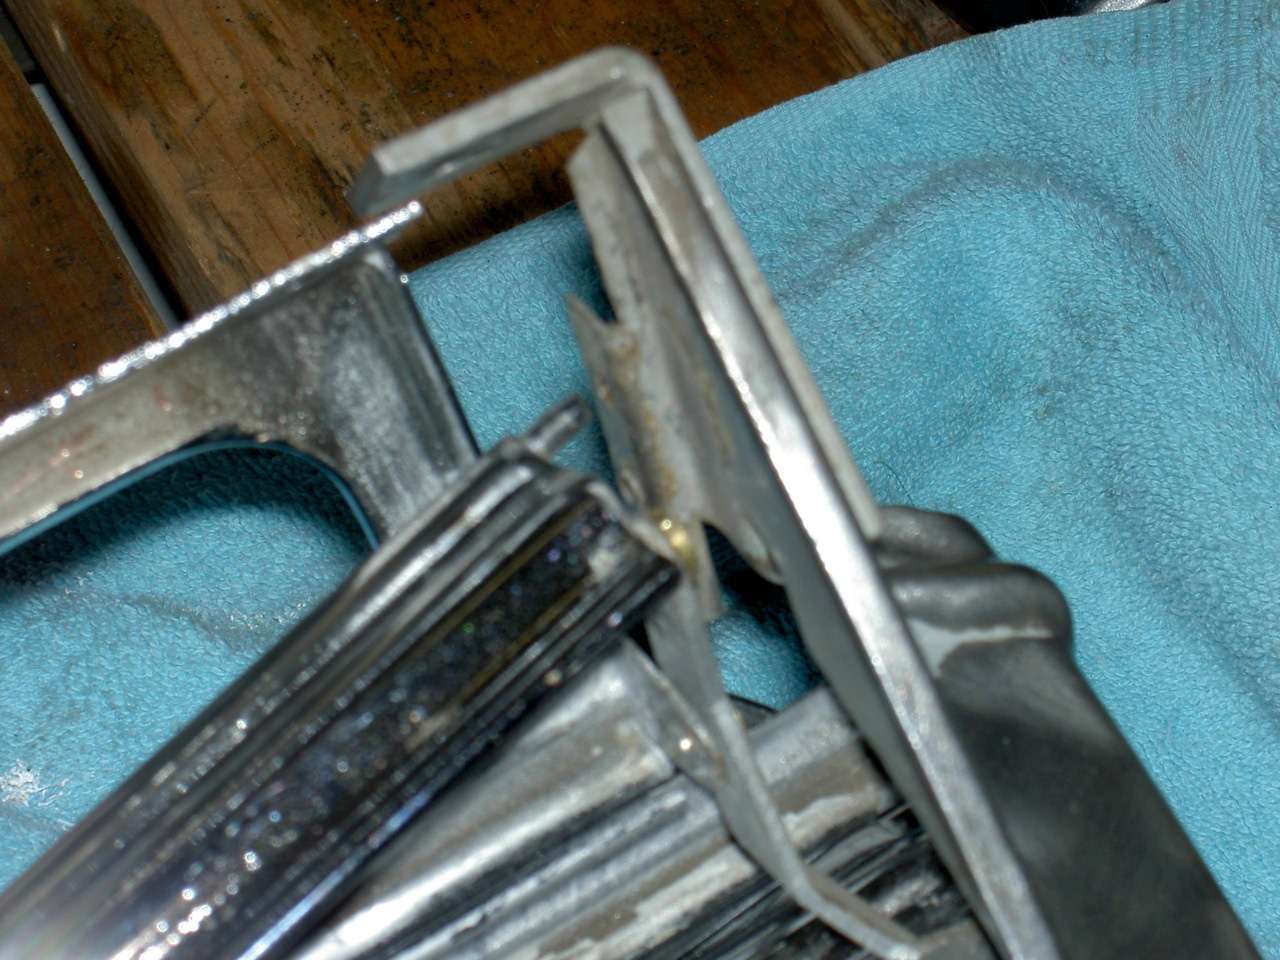
Posted on: 2011/2/15 16:22
|
|||
|
||||
|
Re: WGD carburator with a mind of its own
|
||||
|---|---|---|---|---|
|
Home away from home
|
This is all very helpful for the Duchess (40 Super 8). I did set the choke a little looser, but the manual says not usually more than 2 notches from the middle setting. But I hadn't considered the pressure, and I have a pressure gauge. So I will check that. And wondering... my fuel pump air line (new fuel pump), with new rubber hose, is not connected at the wiper end because the wipers aren't in yet.
Should that be plugged? Also I'll adjust the idle and needle screws.
Posted on: 2011/2/14 20:48
|
|||
|
||||
|
Re: The Duchess Project: 1940 Super 8 Convertible Sedan
|
||||
|---|---|---|---|---|
|
Home away from home
|
STARTING PROBLEM After everything was hooked up... new fuel lines, new oil lines, new water lines, I was ready to re-start the engine. My son had come over a few weeks ago and we managed to get the engine running, but it wasn't great. I replaced the points and the fuel filter and the above connections. Yesterday I tried to re-start the engine.
It wouldn't start until opened the choke. Then it started and ran smoother as it warmed up. I ran it for 20 minutes. No leaks anywhere. Then I idled it way down and it stayed lit to a point where you could, as they say, count the fan blades. I would just adjust the weather setting on the choke so it wouldn't close all the way, but the weather is cold right now in the garage. It seems that choke should be closed all the way shut when the engine is cold. Problem is, it won't start that way. I had the needle valves set as prescribed in the owner's manual. I could change those. My heat control valve is new and I think set up right. The counter balance at the end of the arm on the rear of the lower exhaust manifold start up high and moves down midway as the engine warms. So I'm wondering. If an engine won't start with the choke closed as it should when the weather is cold, what's the problem?
Posted on: 2011/2/14 14:58
|
|||
|
||||
|
Re: The Duchess Project: 1940 Super 8 Convertible Sedan
|
||||
|---|---|---|---|---|
|
Home away from home
|
A WEEK OF PROGRESS
TAUPE PARTS Final throes of painting these parts for the top and steering. Everything left is primed and sanded, so just waiting for some parts for my Sharpe spray gun which broke a plastic pipe when I dropped it. I also had some paint loaded into spray cans. Had to get a quart's worth, so I have 6 cans coming. It's enamel for the main front wood bow and the rear wood bow. HEATER HOSE I connected the heater hoses after installing the firewall insulation from Quiet Ride. FIREWALL INSULATION This looks great. I had to remove the steering column support bracket to get it in, but once in position, it fit well. The instructions are to mark the places for additional holes as needed for the radio speaker and heater pipes and support bolts. The radio box holes were already in place. Then remove the firewall, pull back the insulation, which wraps around your drill bit if you don't, and drill addition holes. I didn't trust myself, plus removing the wall once in place is a hassle. I positioned the firewall, push nails through the existing fasteners holes that match up to the holes in the cowl, then I used a small drill bit from the engine compartment through the center of each larger hole I needed to mount the accessories. This gave me a small starter hole on the inside of the car to drill the larger holes from. The grain and the finishing skirt along the bottom look nice. Attach file: (41.87 KB)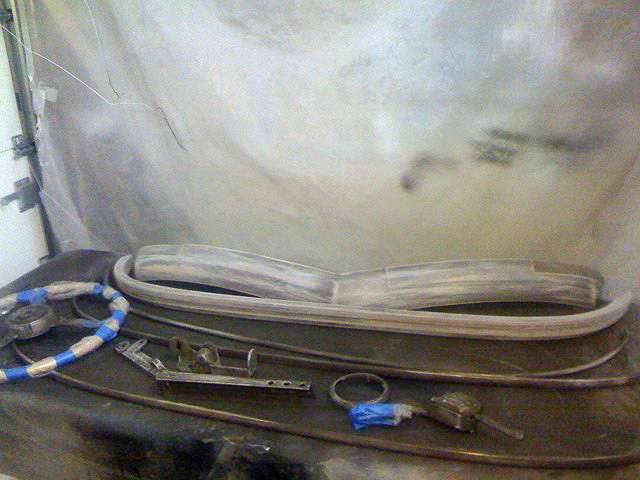 (36.07 KB) (36.07 KB)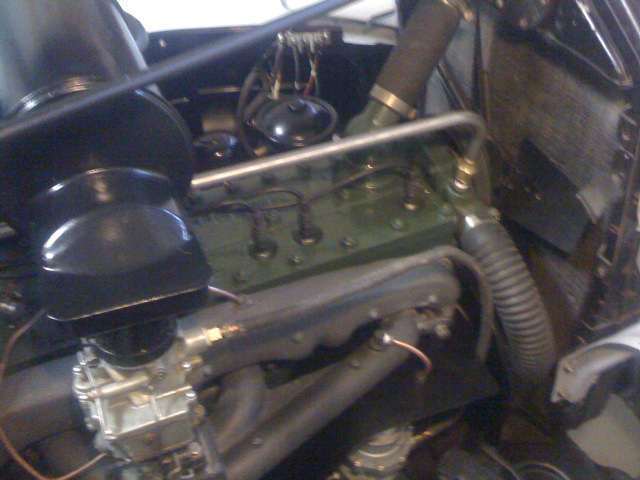 (33.66 KB) (33.66 KB)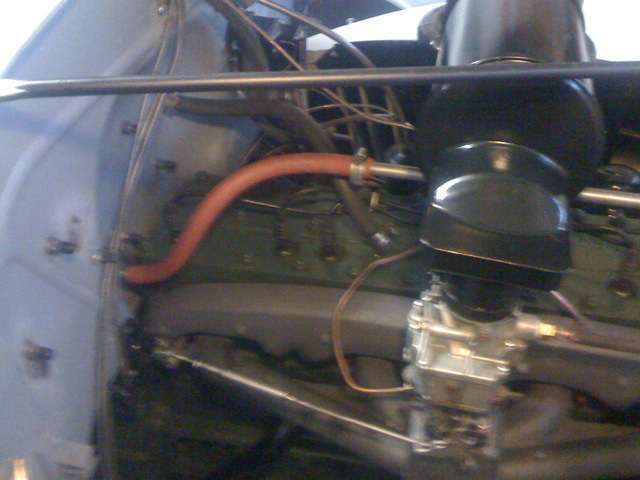 (34.39 KB) (34.39 KB)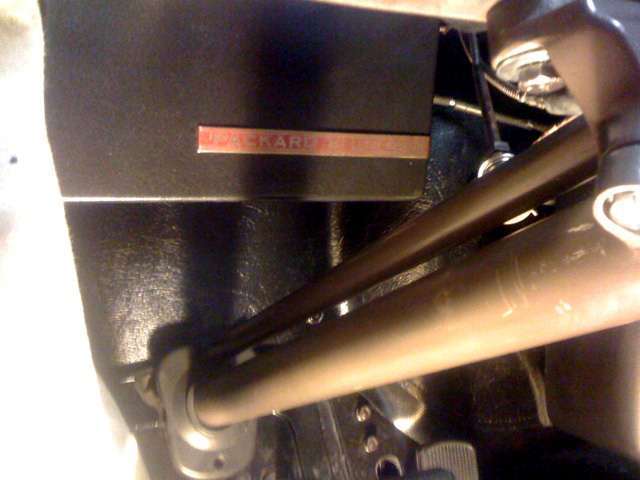 (38.27 KB) (38.27 KB)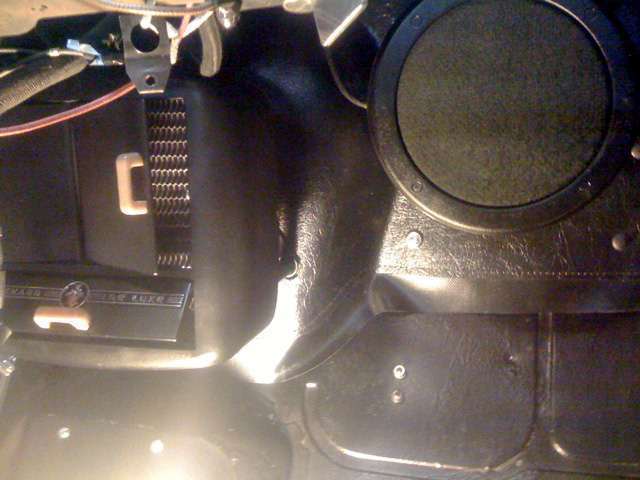
Posted on: 2011/2/14 13:54
|
|||
|
||||
|
Re: The Duchess Project: 1940 Super 8 Convertible Sedan
|
||||
|---|---|---|---|---|
|
Home away from home
|
I don't have an answer for that. I think you could find a modern equivalent and wire the slow speed circuit to it. It wouldn't show, the switch would work the same way and it might work better.
Posted on: 2011/2/14 13:32
|
|||
|
||||
|
Re: 1935-1947 Fuel Pump Heat Shield Mystery
|
||||
|---|---|---|---|---|
|
Home away from home
|
Great suggestion, Howard. Might look more appropriate, too. There is a jog in the front for the gas line coming up from the fuel pump. In the back, engine side, there are 2 jogs for the shape of the side of the engine down there.
I could make 2 cuts from the 1/2" hole and toward the engine to make a slot so the shield could come off without having to remove the lower fitting of the tube.
Posted on: 2011/2/9 16:50
|
|||
|
||||
|
Re: 1935-1947 Fuel Pump Heat Shield Mystery
|
||||
|---|---|---|---|---|
|
Home away from home
|
The passion for thorough research is not everyone's forte. My workaround was to drill a 1/2" hole for the venturi tube. The shield is not made to attach at the fuel pump mounting bolt, but at the valve cover. Anyway, I'm calling it good. Thanks much for the direction.
Attach file: (55.49 KB)
Posted on: 2011/2/9 10:54
|
|||
|
||||
|
Re: 1935-1947 Fuel Pump Heat Shield Mystery
|
||||
|---|---|---|---|---|
|
Home away from home
|
Fantastic, Bill. Same as Howard's. That's where it's going. One way or another. Thank goodness John Ulrich has a No Hassle Guarantee.
Posted on: 2011/2/8 16:24
|
|||
|
||||
|
Re: 1935-1947 Fuel Pump Heat Shield Mystery
|
||||
|---|---|---|---|---|
|
Home away from home
|
Lan'sakes, there are a lot of ways to skin a cat! The shield I have (according to instructions) bolts to that forward manifold fastener and the rear part bolts to the second valve-cover bolt. I think the picture is very applicable.
Posted on: 2011/2/8 15:42
|
|||
|
||||


