|
Re: KPack's 1954 Panama
|
||||
|---|---|---|---|---|
|
Home away from home

|
Quote:
I think that's a great idea. If I were to do it again I would recommend doing this. Hopefully I never have to remove them again, but if I do then that'll be the test of how well the JB Weld does on a flat surface.
Posted on: 4/11 11:21
|
|||
|
||||
 , I think if you wind up needing to repair it again drilling a couple of holes in the flat wide surface of the clip will let some of the JB Weld squeeze thru the holes and sort of lock the clip to the ring. Clip would be able to take more shear or pull force which is kind of what the clip needs to withstand.
|
Re: KPack's 1954 Panama
|
||||
|---|---|---|---|---|
|
Home away from home
|
Did a small project the other day. The headlight rings on my parts car were nearly perfect so I wanted to switch them out. The rings that came on the Panama weren't terrible, but they had some pitting:
 The upper tabs were missing from both of the donor headlight rings. I found a tab from one of the original rings in the box of random pieces that came in the trunk of the Panama. I used that as a pattern to make another tab from a stainless steel bracket: 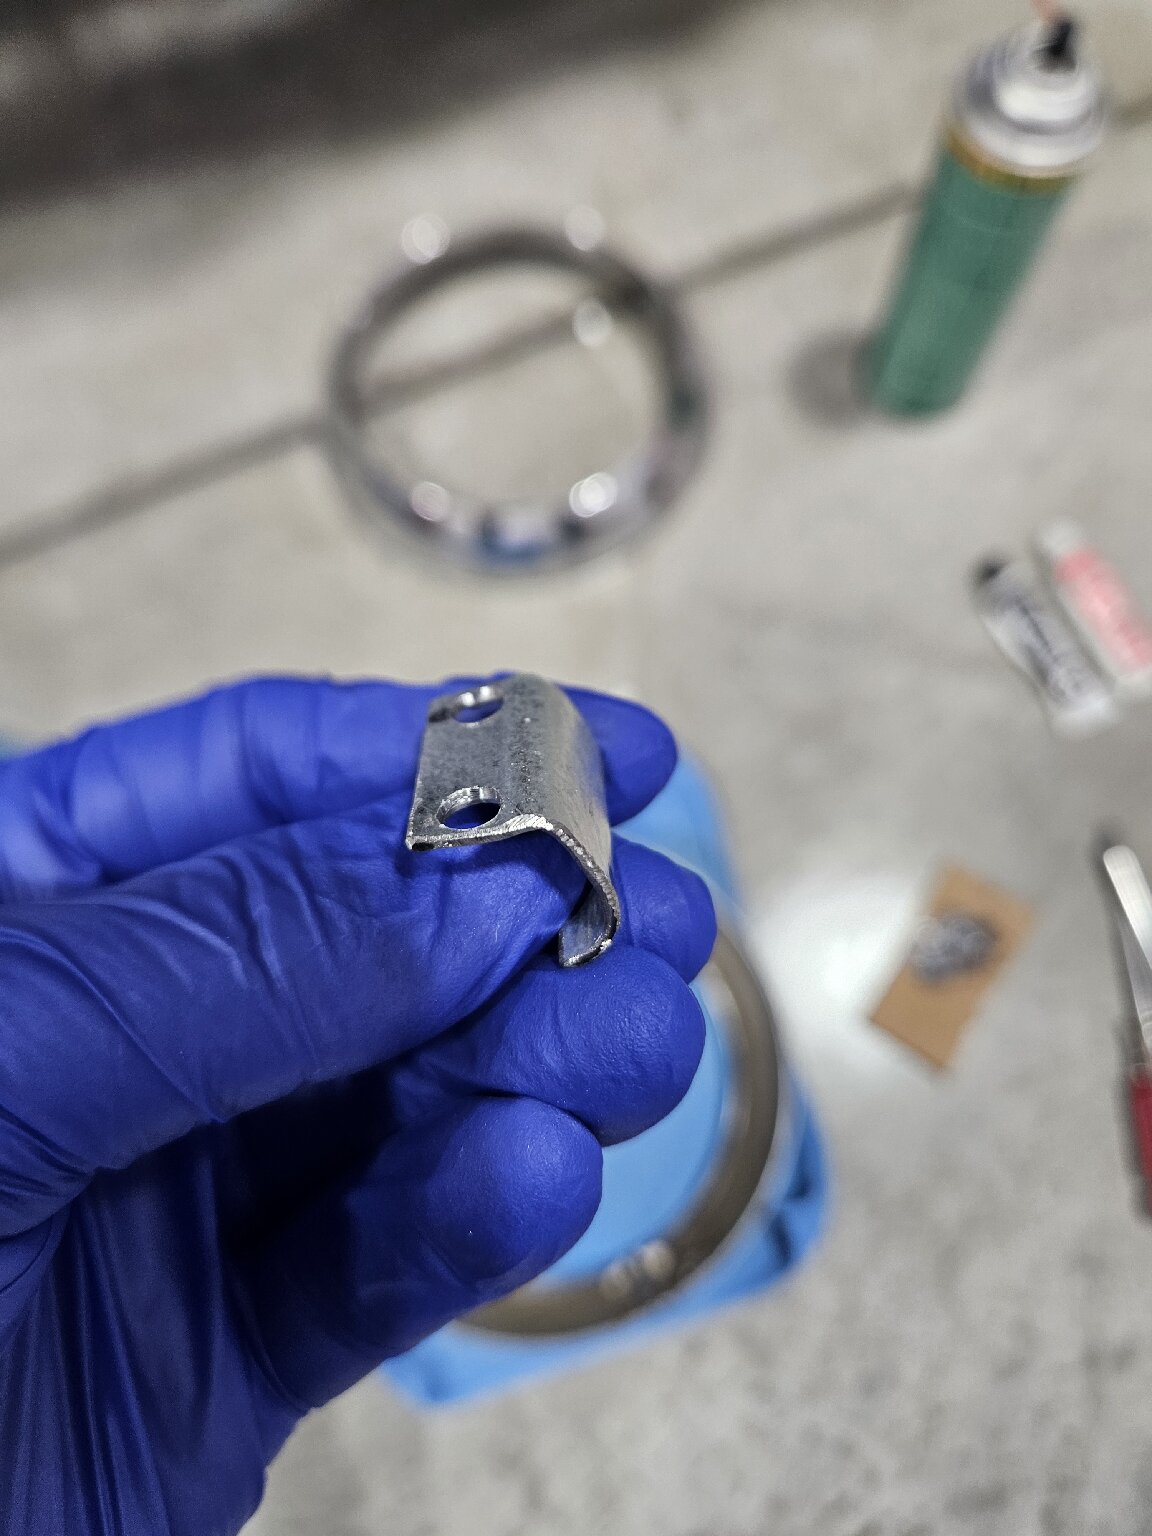 Then I glued the tab I made and the old tab onto the new rings with JB Weld: 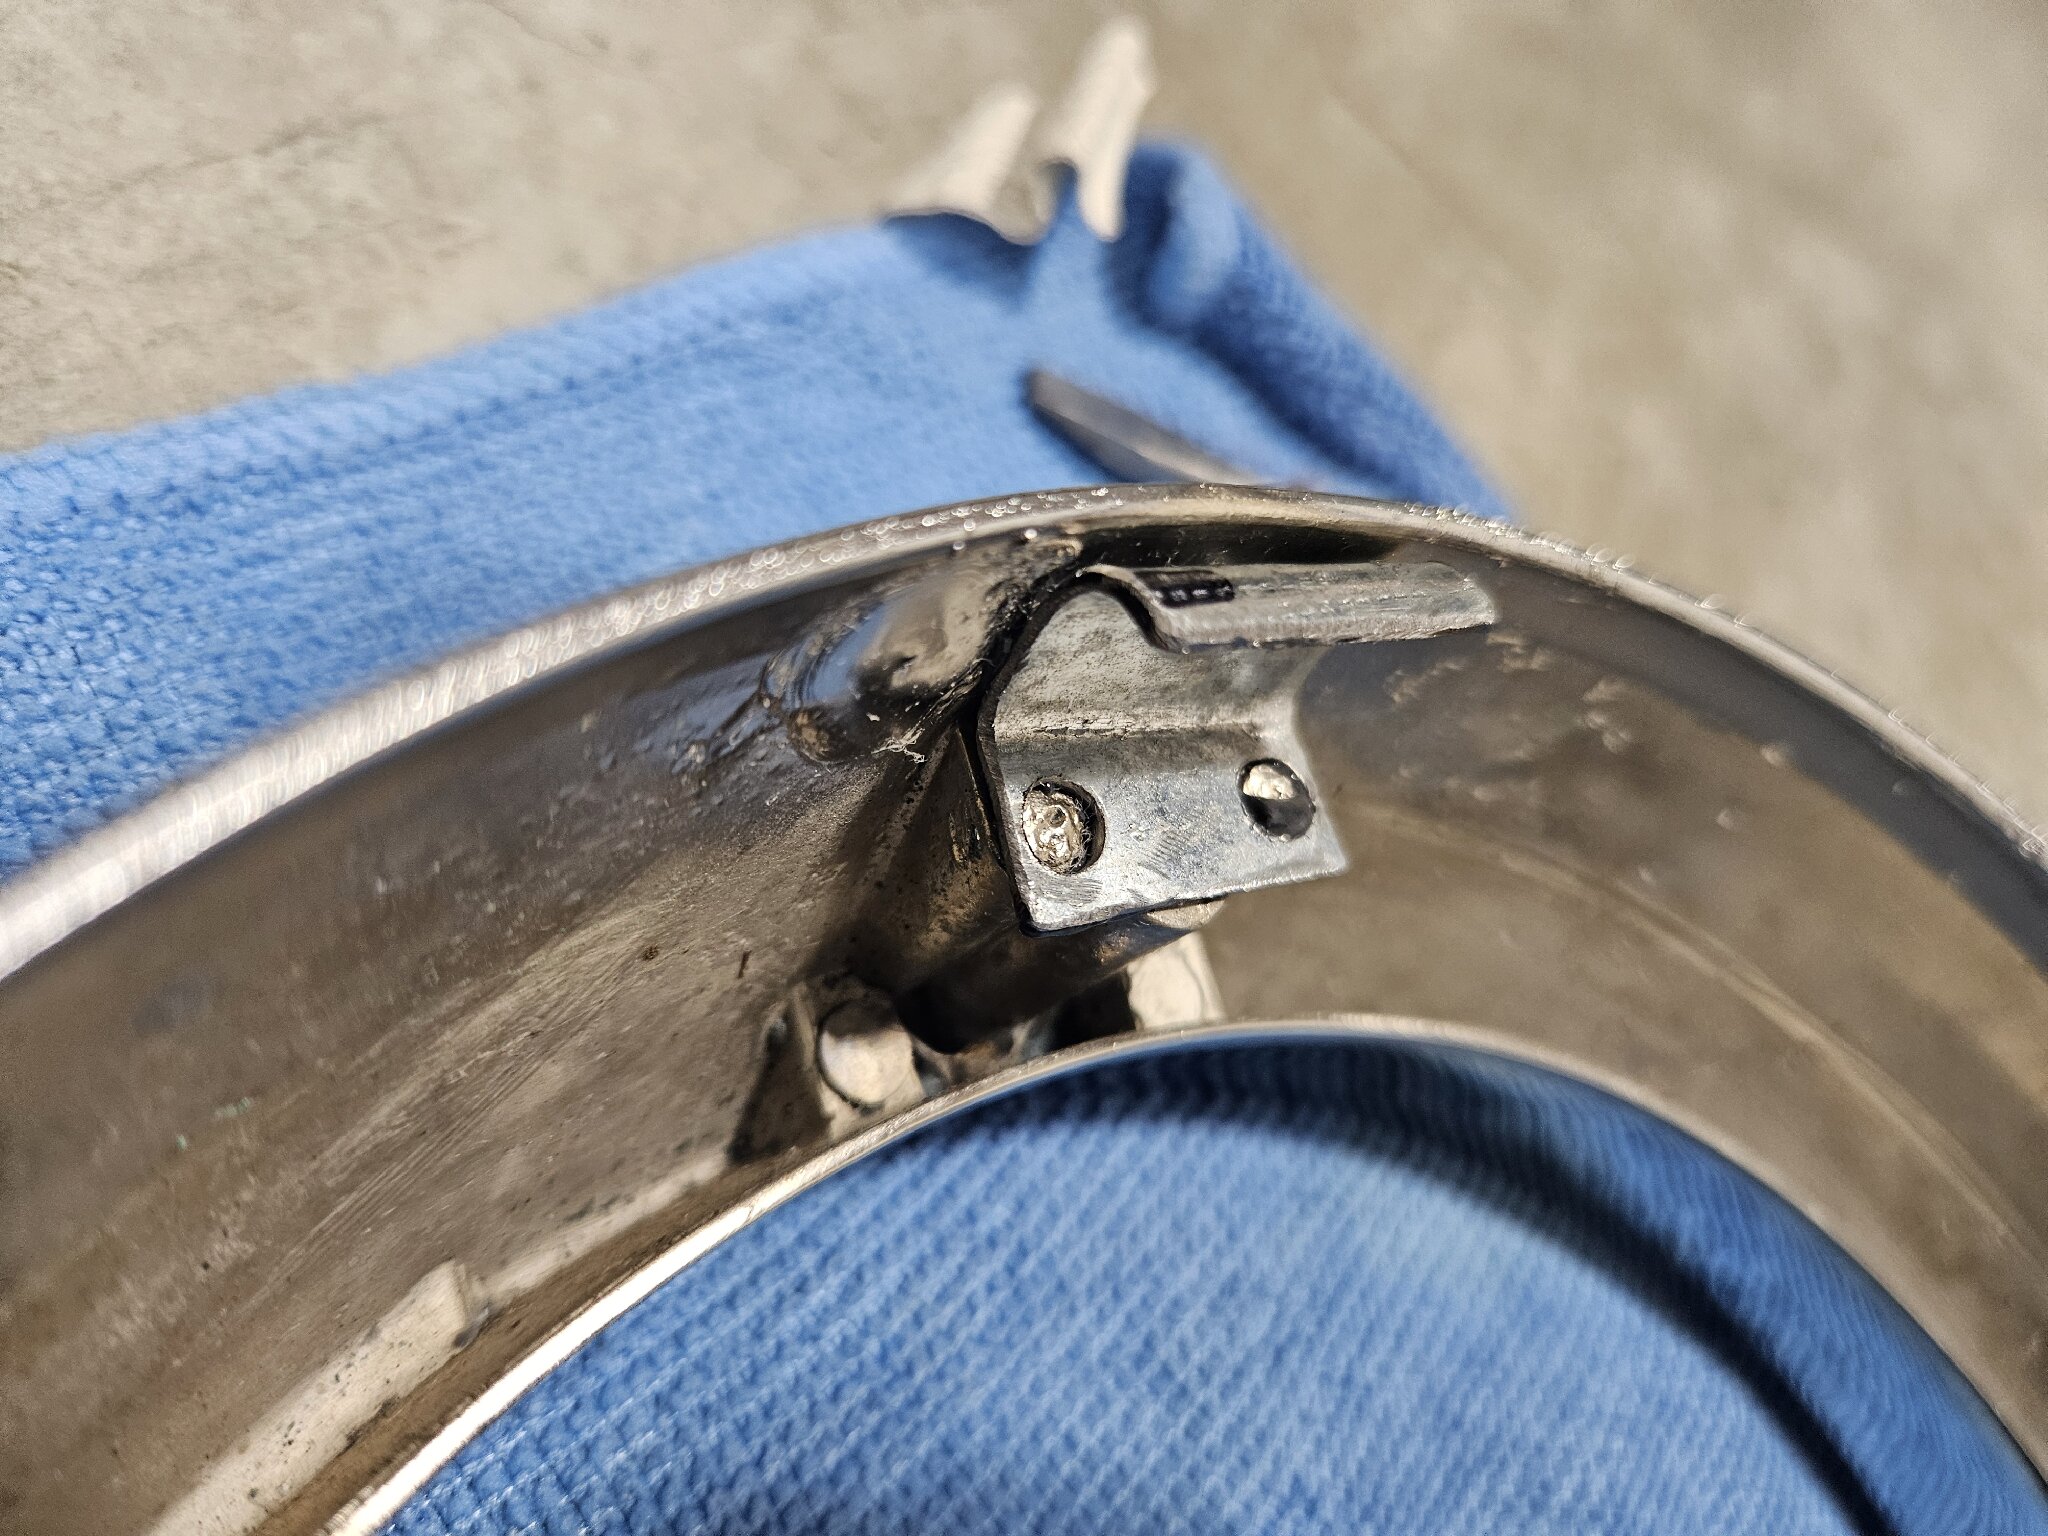 After letting it cure overnight I popped both the rings on with no issue. They are rock solid and should do fine. I'm not sure if the JB Weld will hold up if I have to take them back off, but at least for now they are working. 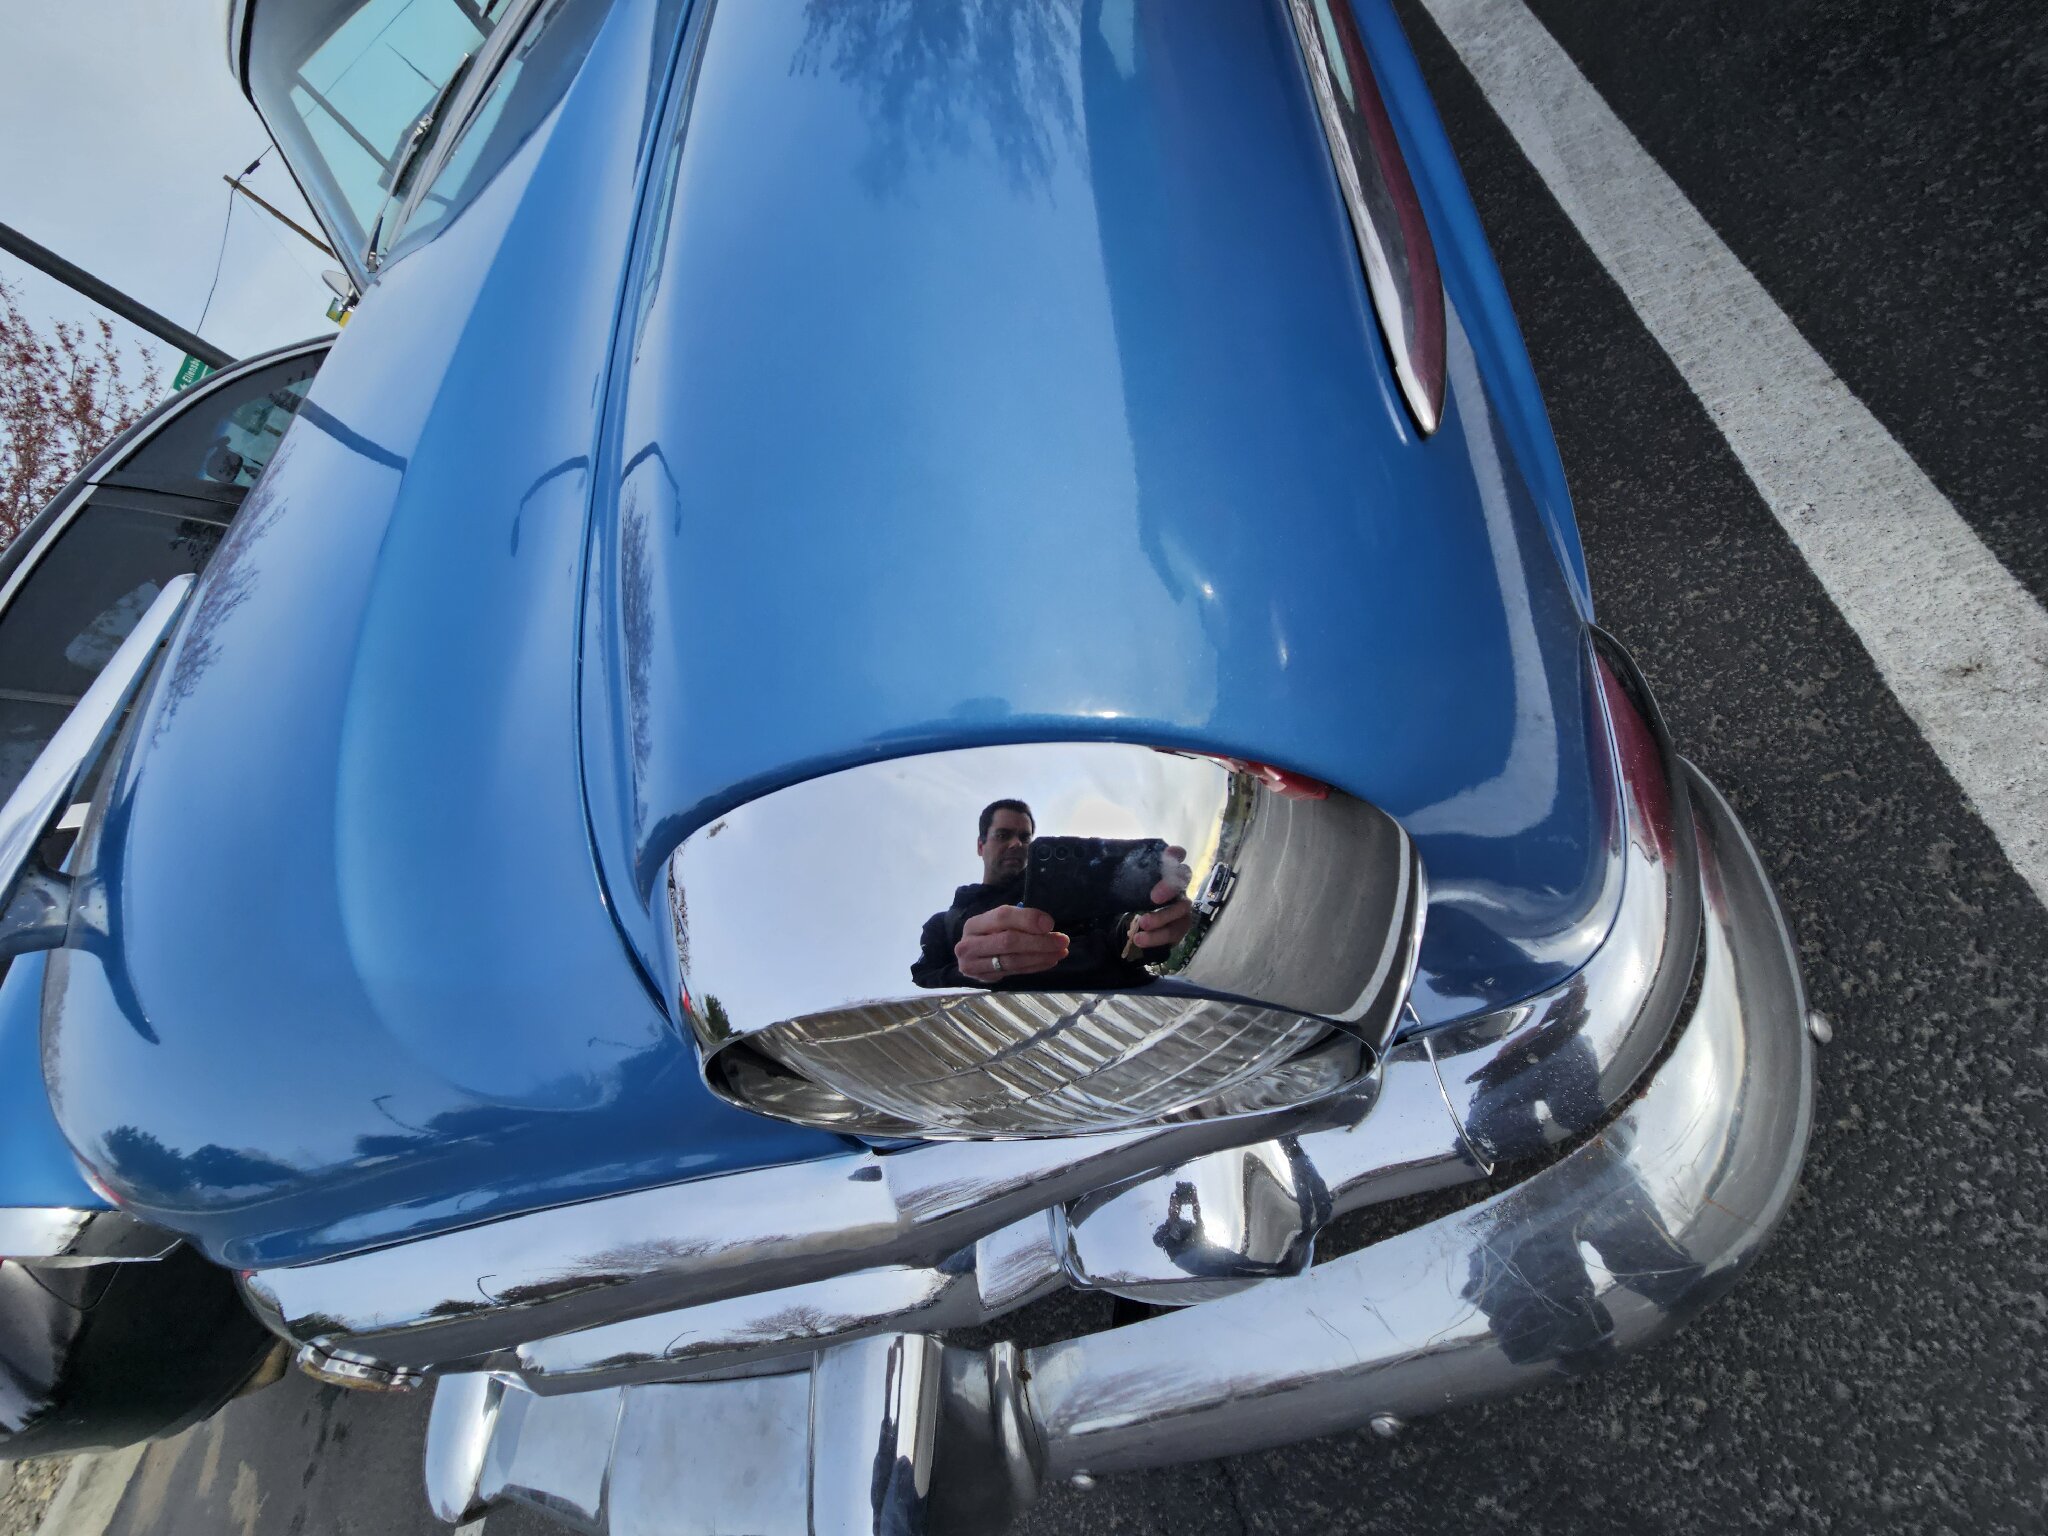
Posted on: 4/11 10:07
|
|||
|
||||
|
Re: Upholstery Refresh
|
||||
|---|---|---|---|---|
|
Home away from home
|
That turned out nice. Same dye that you used on the seat frames?
Posted on: 4/11 9:59
|
|||
|
||||
|
Re: New Forum Feature
|
||||
|---|---|---|---|---|
|
Home away from home
|
That's a good addition Kev. I've been keeping a OneNote document with all the links to specific posts that I need to reference later, and their descriptions. I've had it going since I bought the Panama in 2020. It's been working well for me, but it'll be nice to keep it all contained on the website.
Posted on: 4/10 16:02
|
|||
|
||||
|
Re: KPack's 1954 Panama
|
||||
|---|---|---|---|---|
|
Home away from home
|
Quote:
No, at least mine doesn't. And I'm kind of glad it doesn't because I don't have to deal with collapsed lifters. But there is definitely some valvetrain noise going on. Not much, but I think I can dial it in and make it even smoother.
Posted on: 4/9 23:34
|
|||
|
||||
|
Re: KPack's 1954 Panama
|
||||
|---|---|---|---|---|
|
Home away from home
|
Got the Panama out of hibernation this evening. It was a fantastic feeling.
Disconnected the coil and cranked the engine a couple times to get oil moving. Connected it back up and the car started within about 5 seconds. Nice and smooth. The starter rebuild made a huge difference. Let it warm up, the checked the trans fluid, which was surprisingly mostly full. My wife and I went for a nice 10 mile drive to check everything out. Ran great. The car is filthy from 5 months of sitting in the shop. But overall no major issues. I need to adjust the transmission linkage and pull the fuel pump to find the noise. Also need to adjust the valves for fun.
Posted on: 4/9 21:12
|
|||
|
||||
|
Re: KPack's 1954 Panama
|
||||
|---|---|---|---|---|
|
Home away from home
|
Thanks guys. Very happy with how it's coming together. I have just a few more small things to do on the interior, then I can call it done. The interior is essentially new from front to back. The only thing that I haven't redone is the carpet. The owner before had it replaced and it was good enough for me.
Looking ahead at the weather to see if I can get it back on the road this week. Should be able to tomorrow or Thursday. I spent some time yesterday going through things to prep it for awakening....checked fluids, topped off power steering since most of it is now in the drip pan, air up tires, top off battery charge, etc. I'll need to go through the process to get the transmission topped off, since much of that is also in the drip pan. -Kevin
Posted on: 4/9 11:22
|
|||
|
||||
|
Re: KPack's 1954 Panama
|
||||
|---|---|---|---|---|
|
Home away from home
|
Seats are done! They called at the end of the day, so I made the drive down to pick them up and pay. It ended up being more expensive than what we had first discussed. But they had to make a few new ABS panels (the original cardboard was rotten), had to sew new panels for the rear of the front seats (was hoping to reuse the original vinyl, but it was unusable), and took an entire day to make the two rope rails. The more I looked carefully at their work, the more I'm glad I didn't attempt it myself.
They adjusted the padding on the rear seat and it looks much better now: 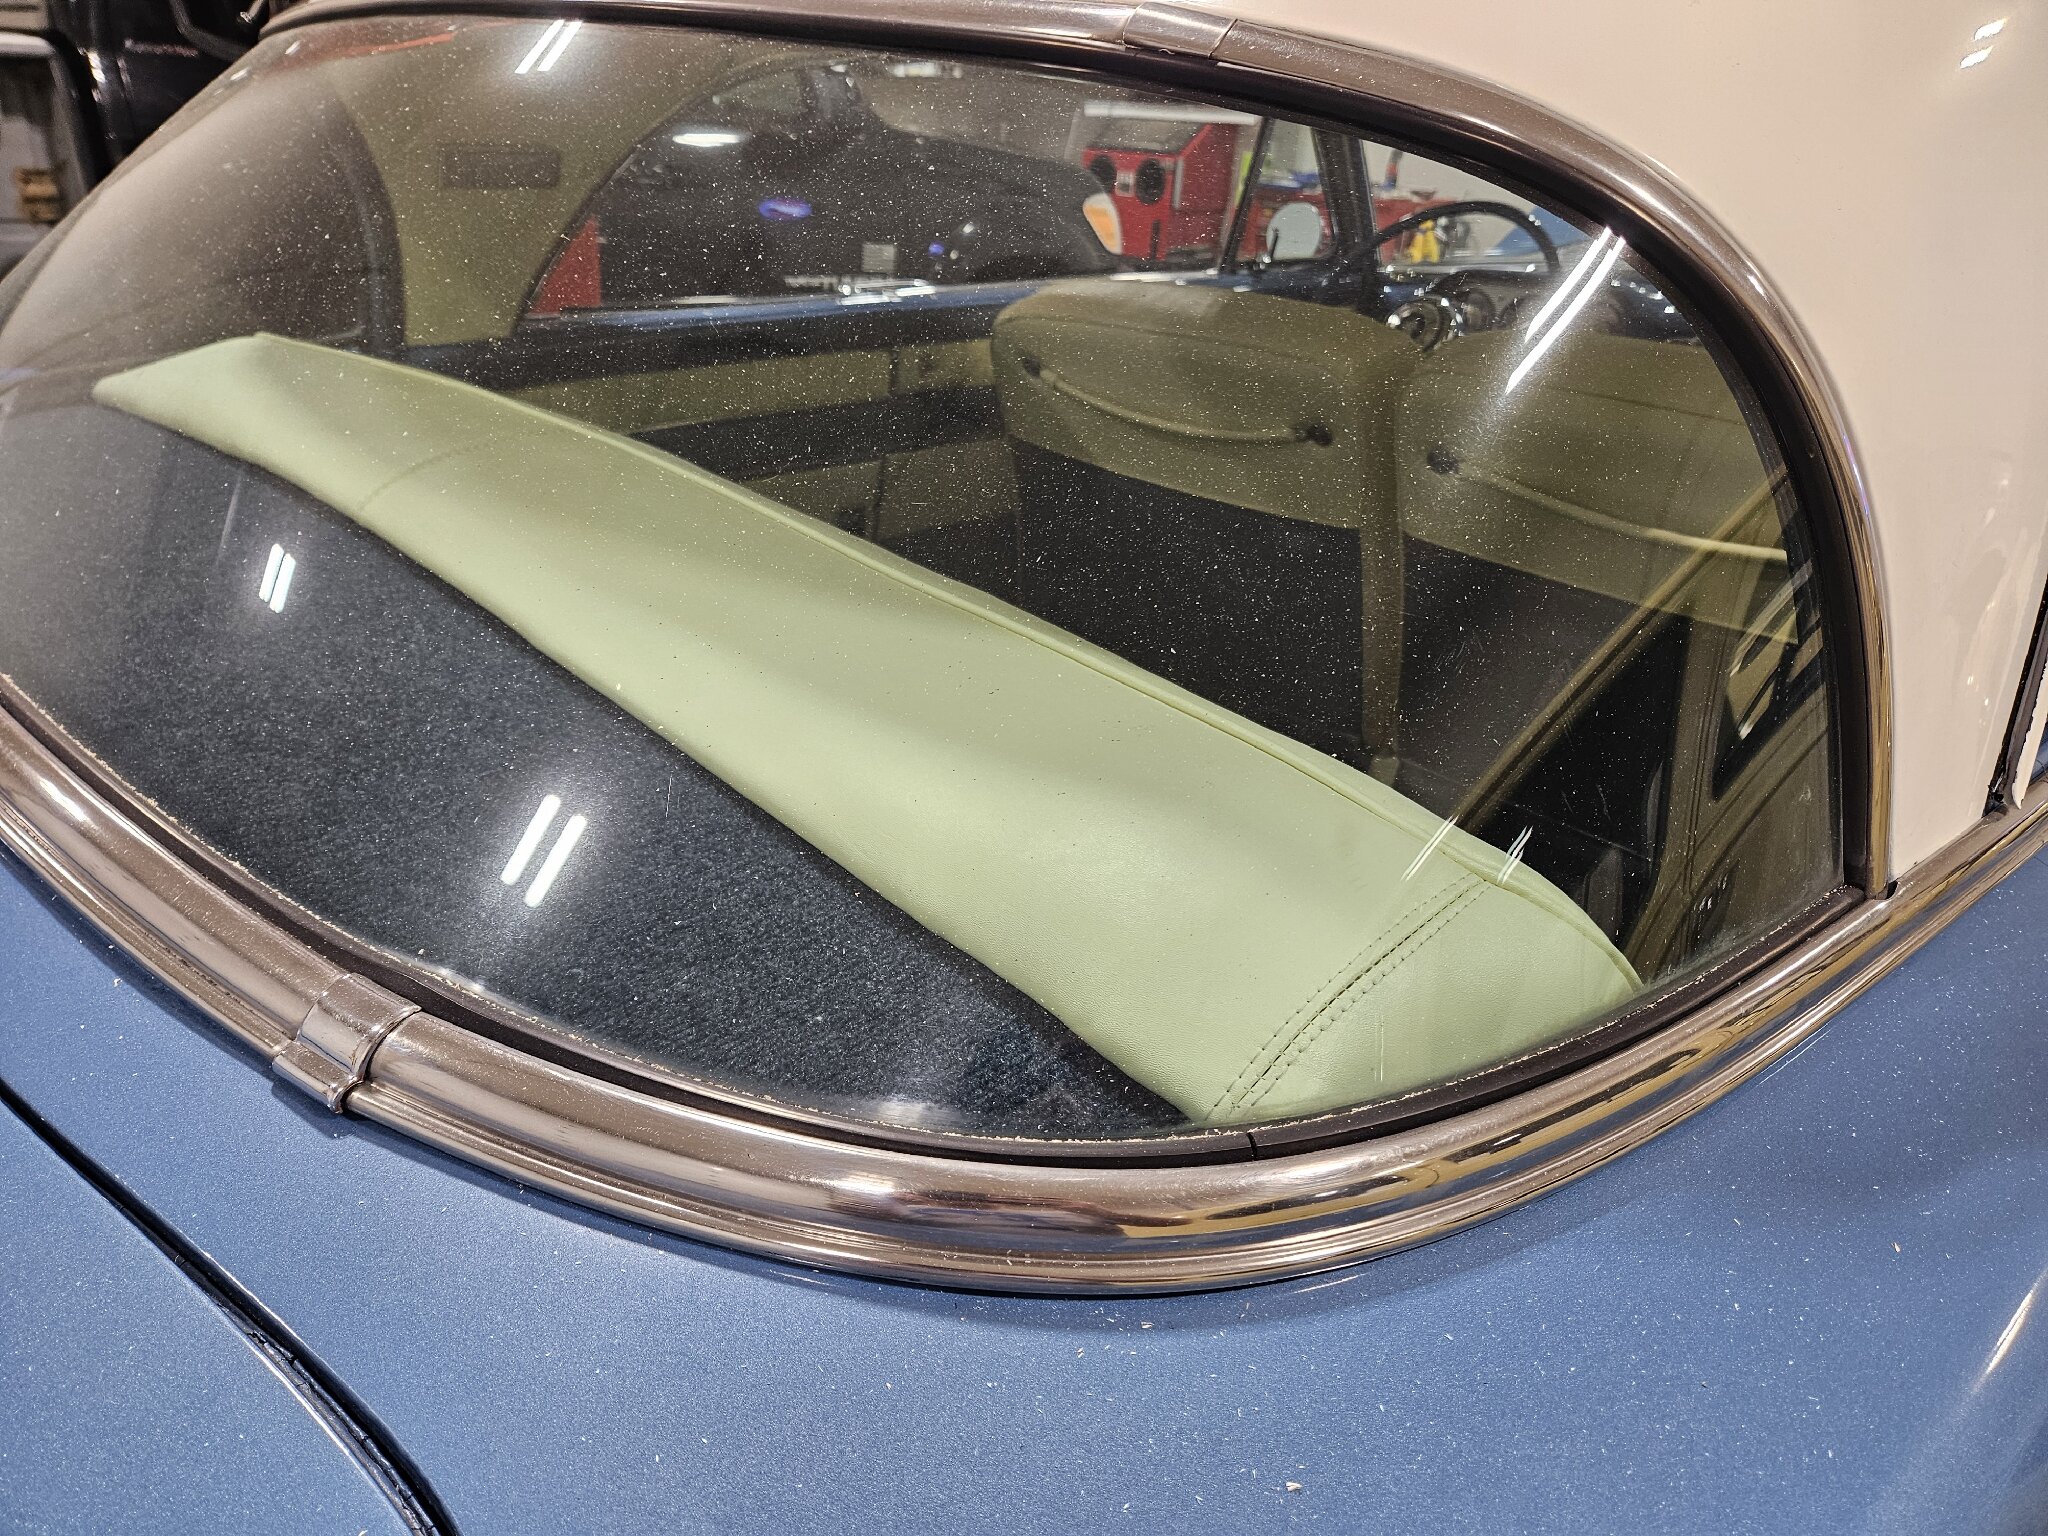 Rear seat 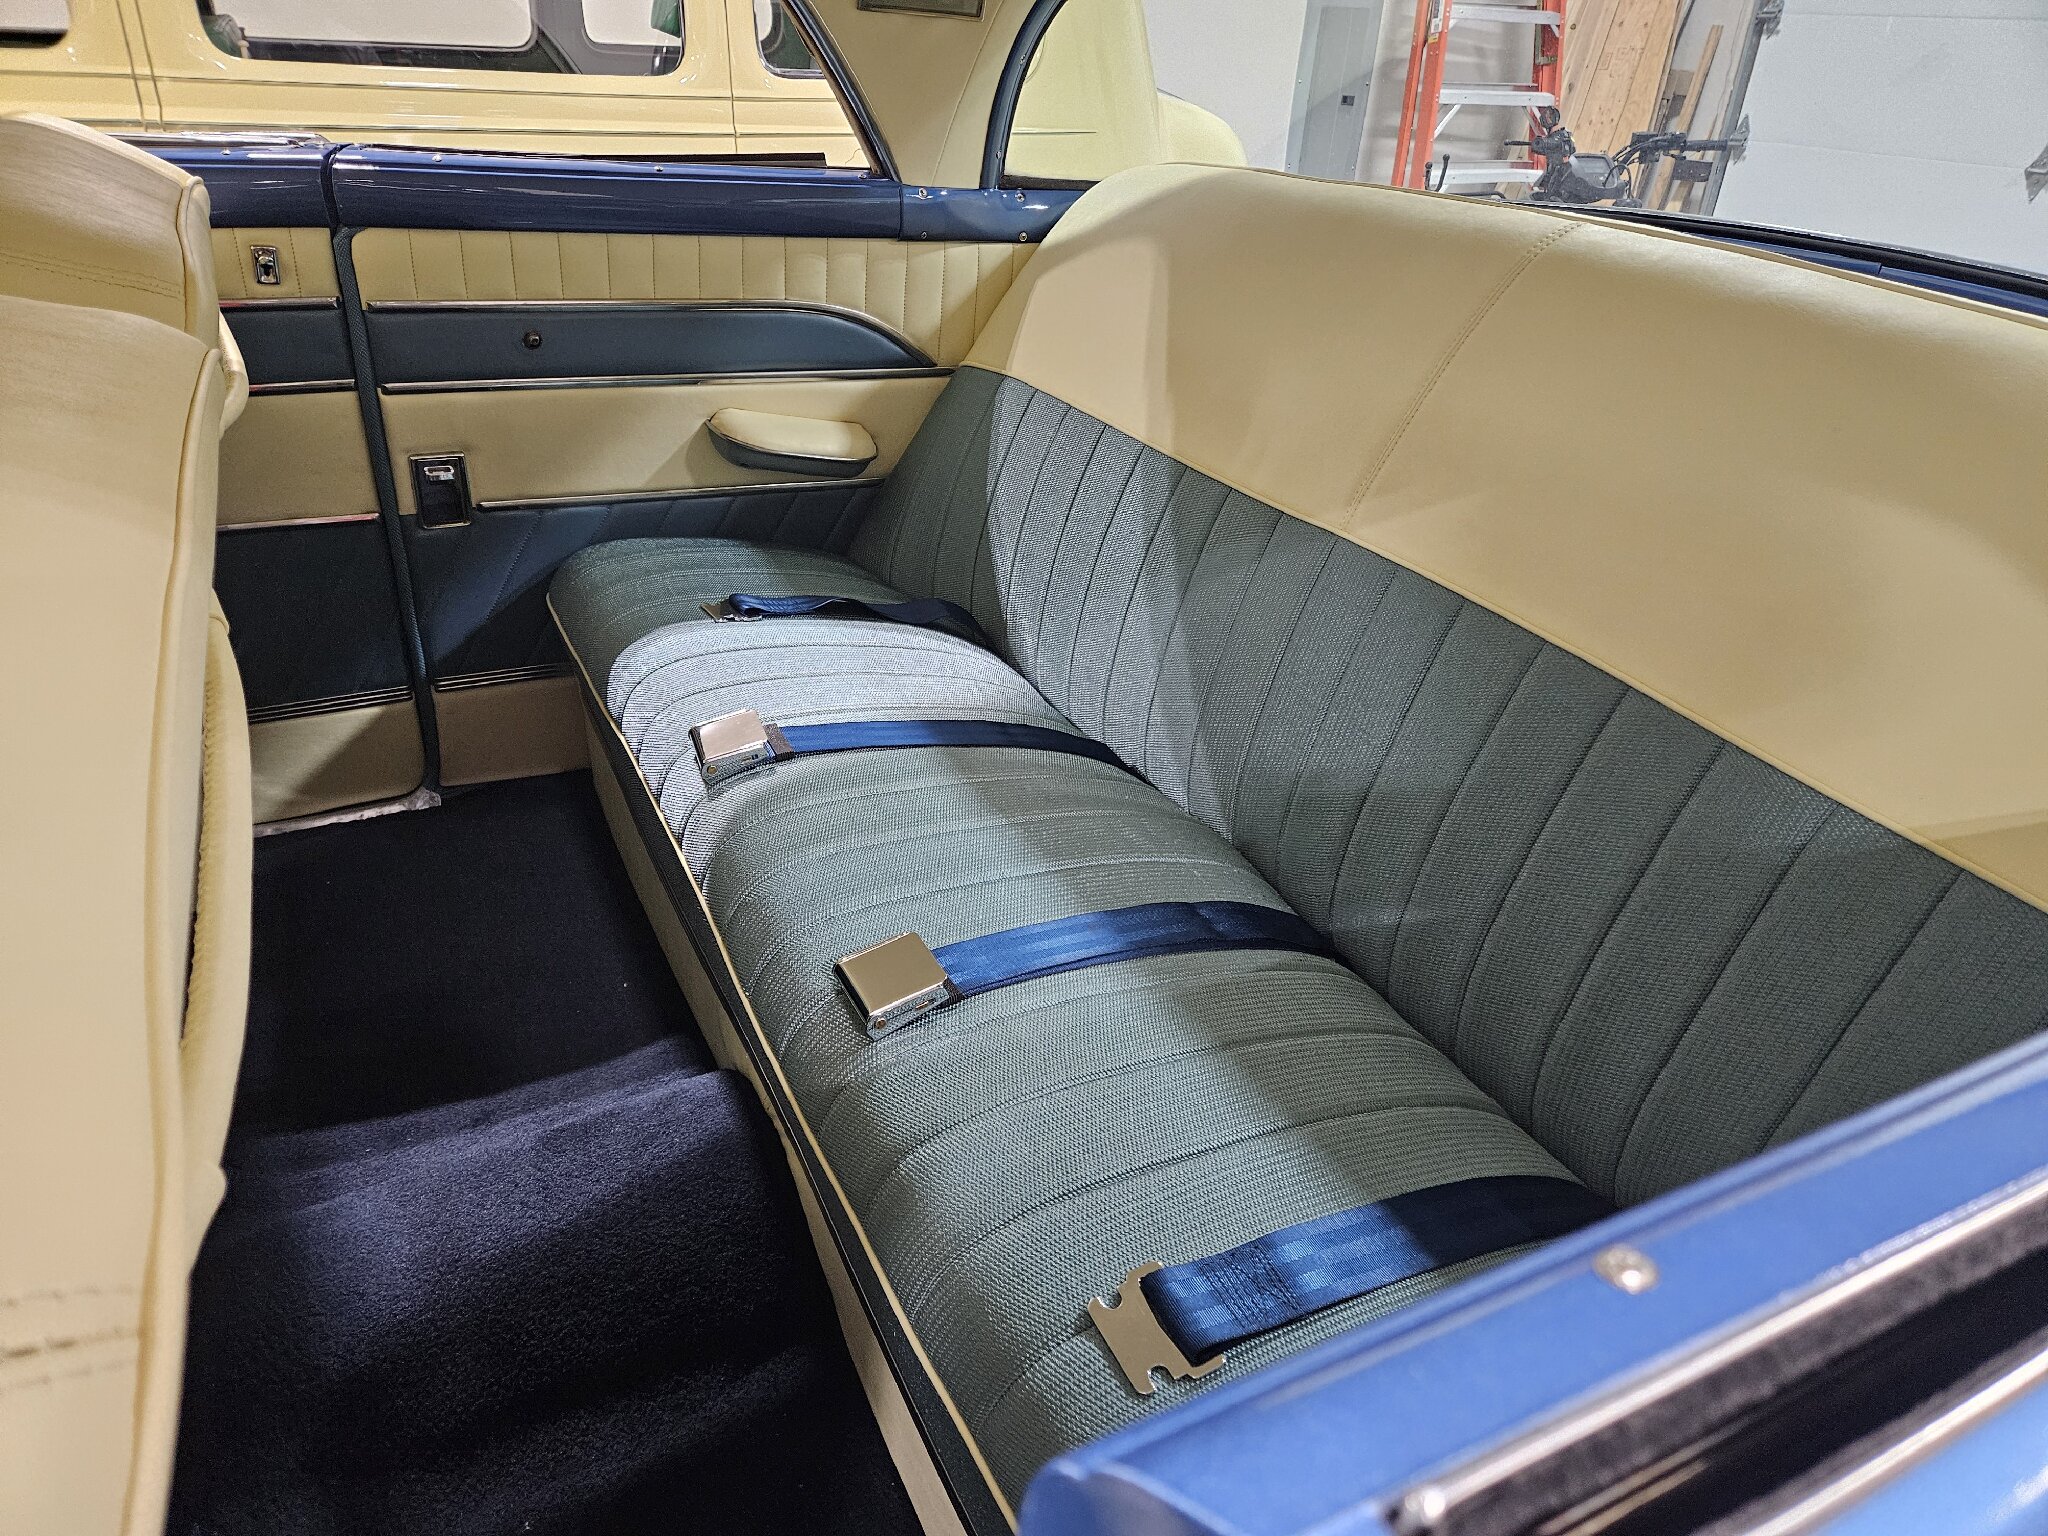 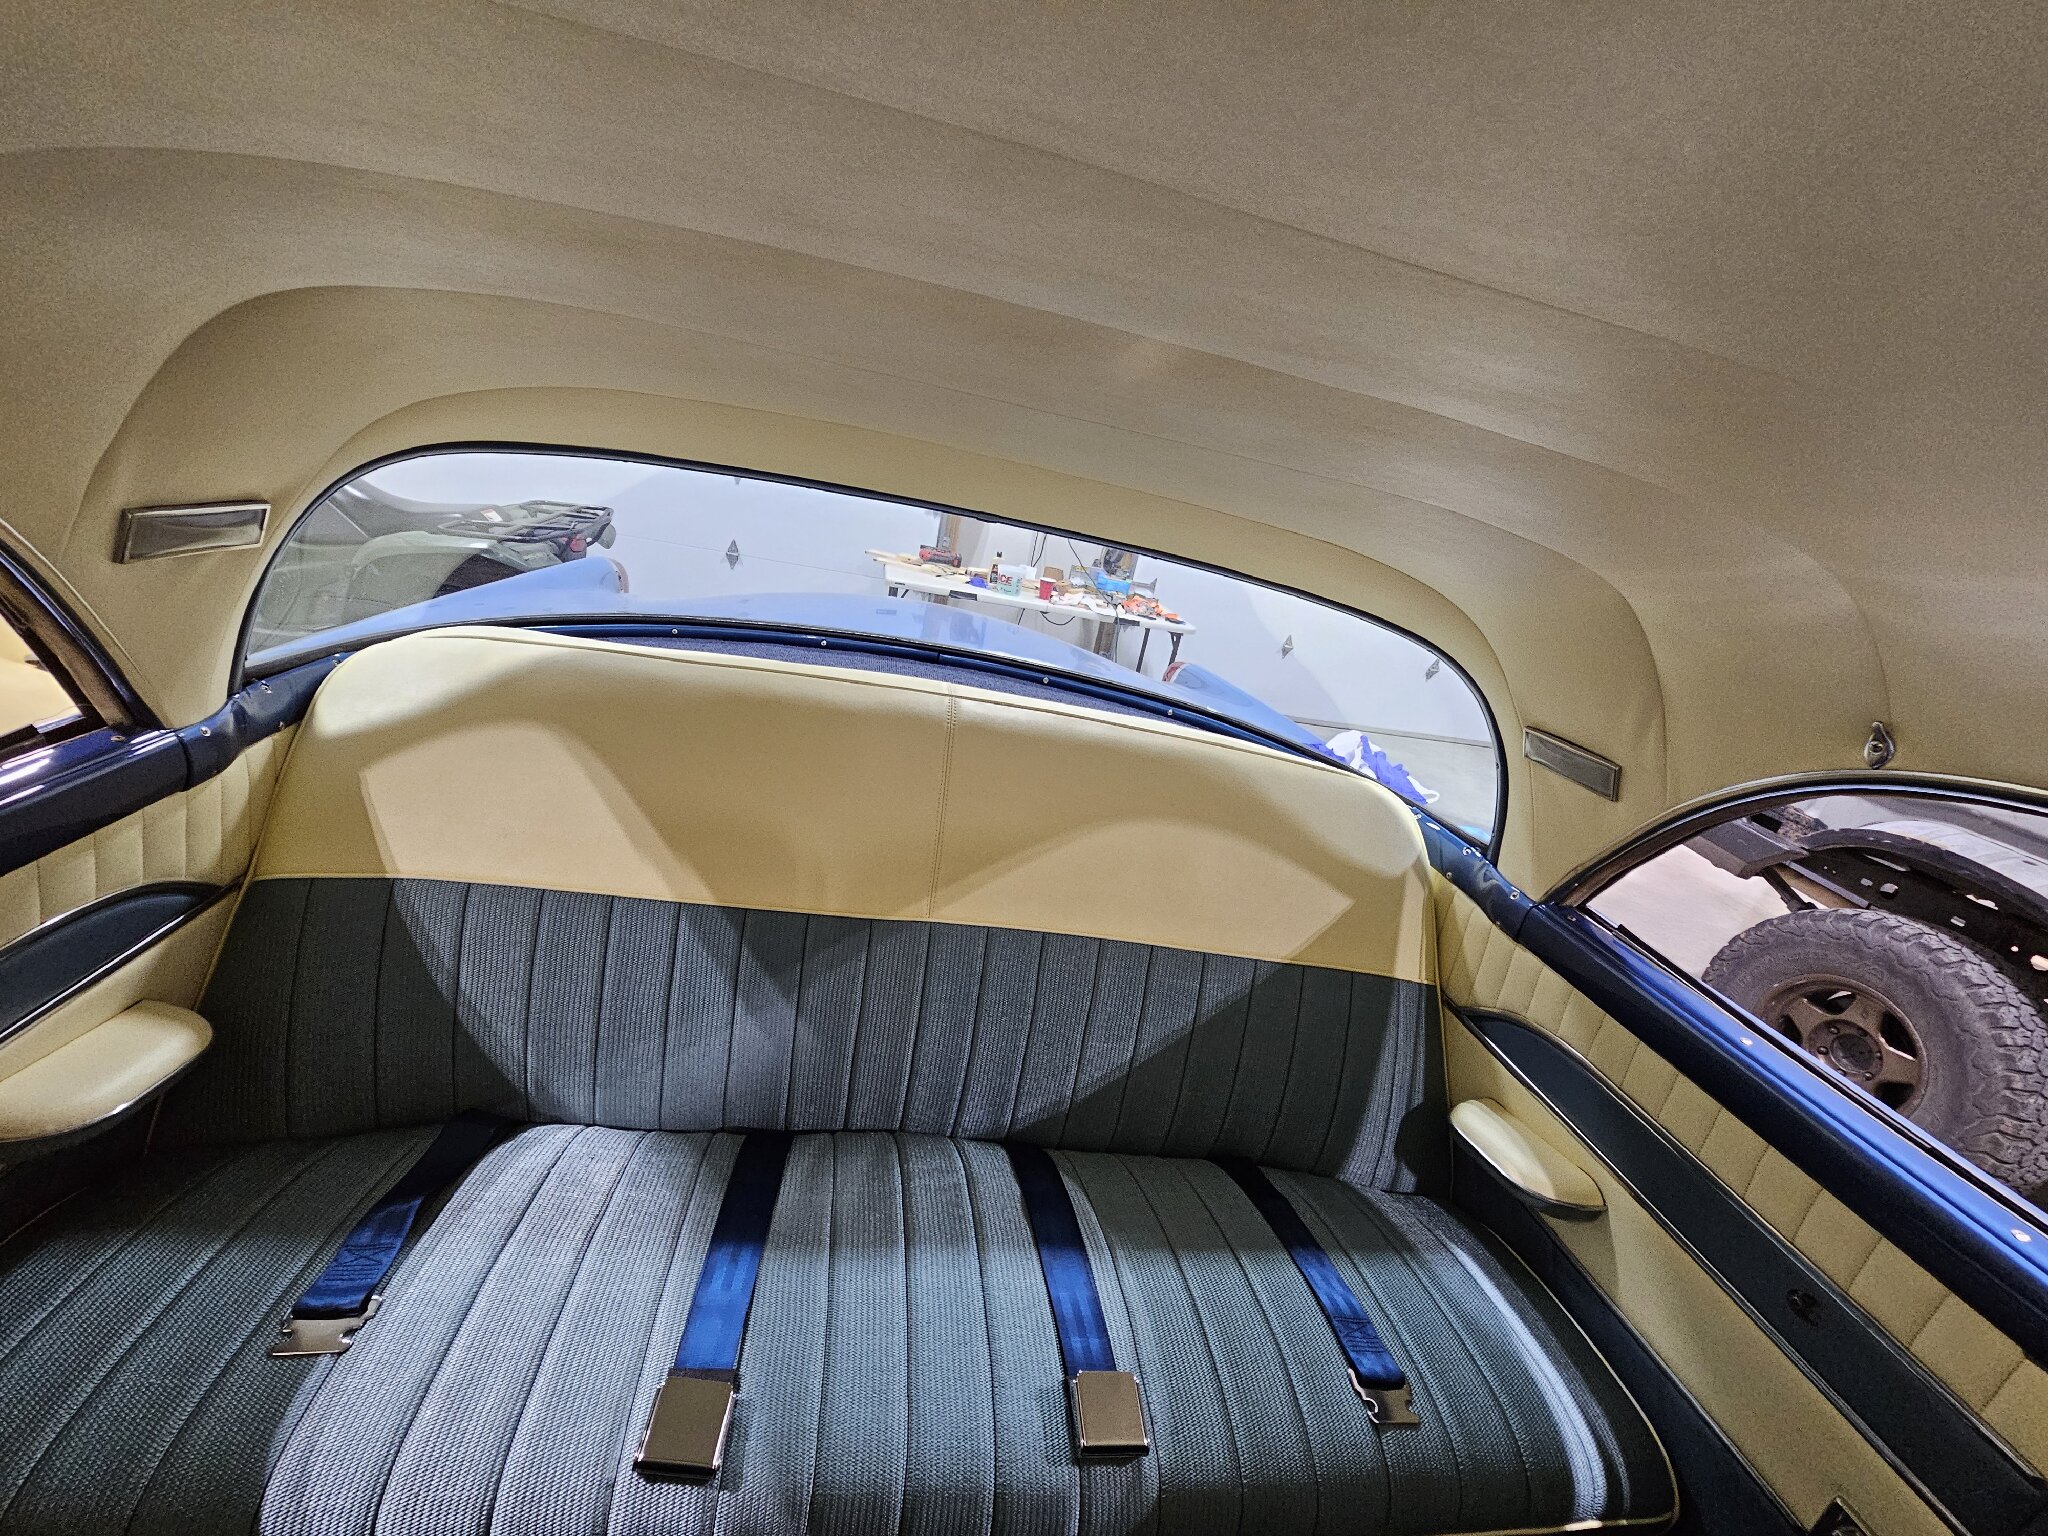 Front seat 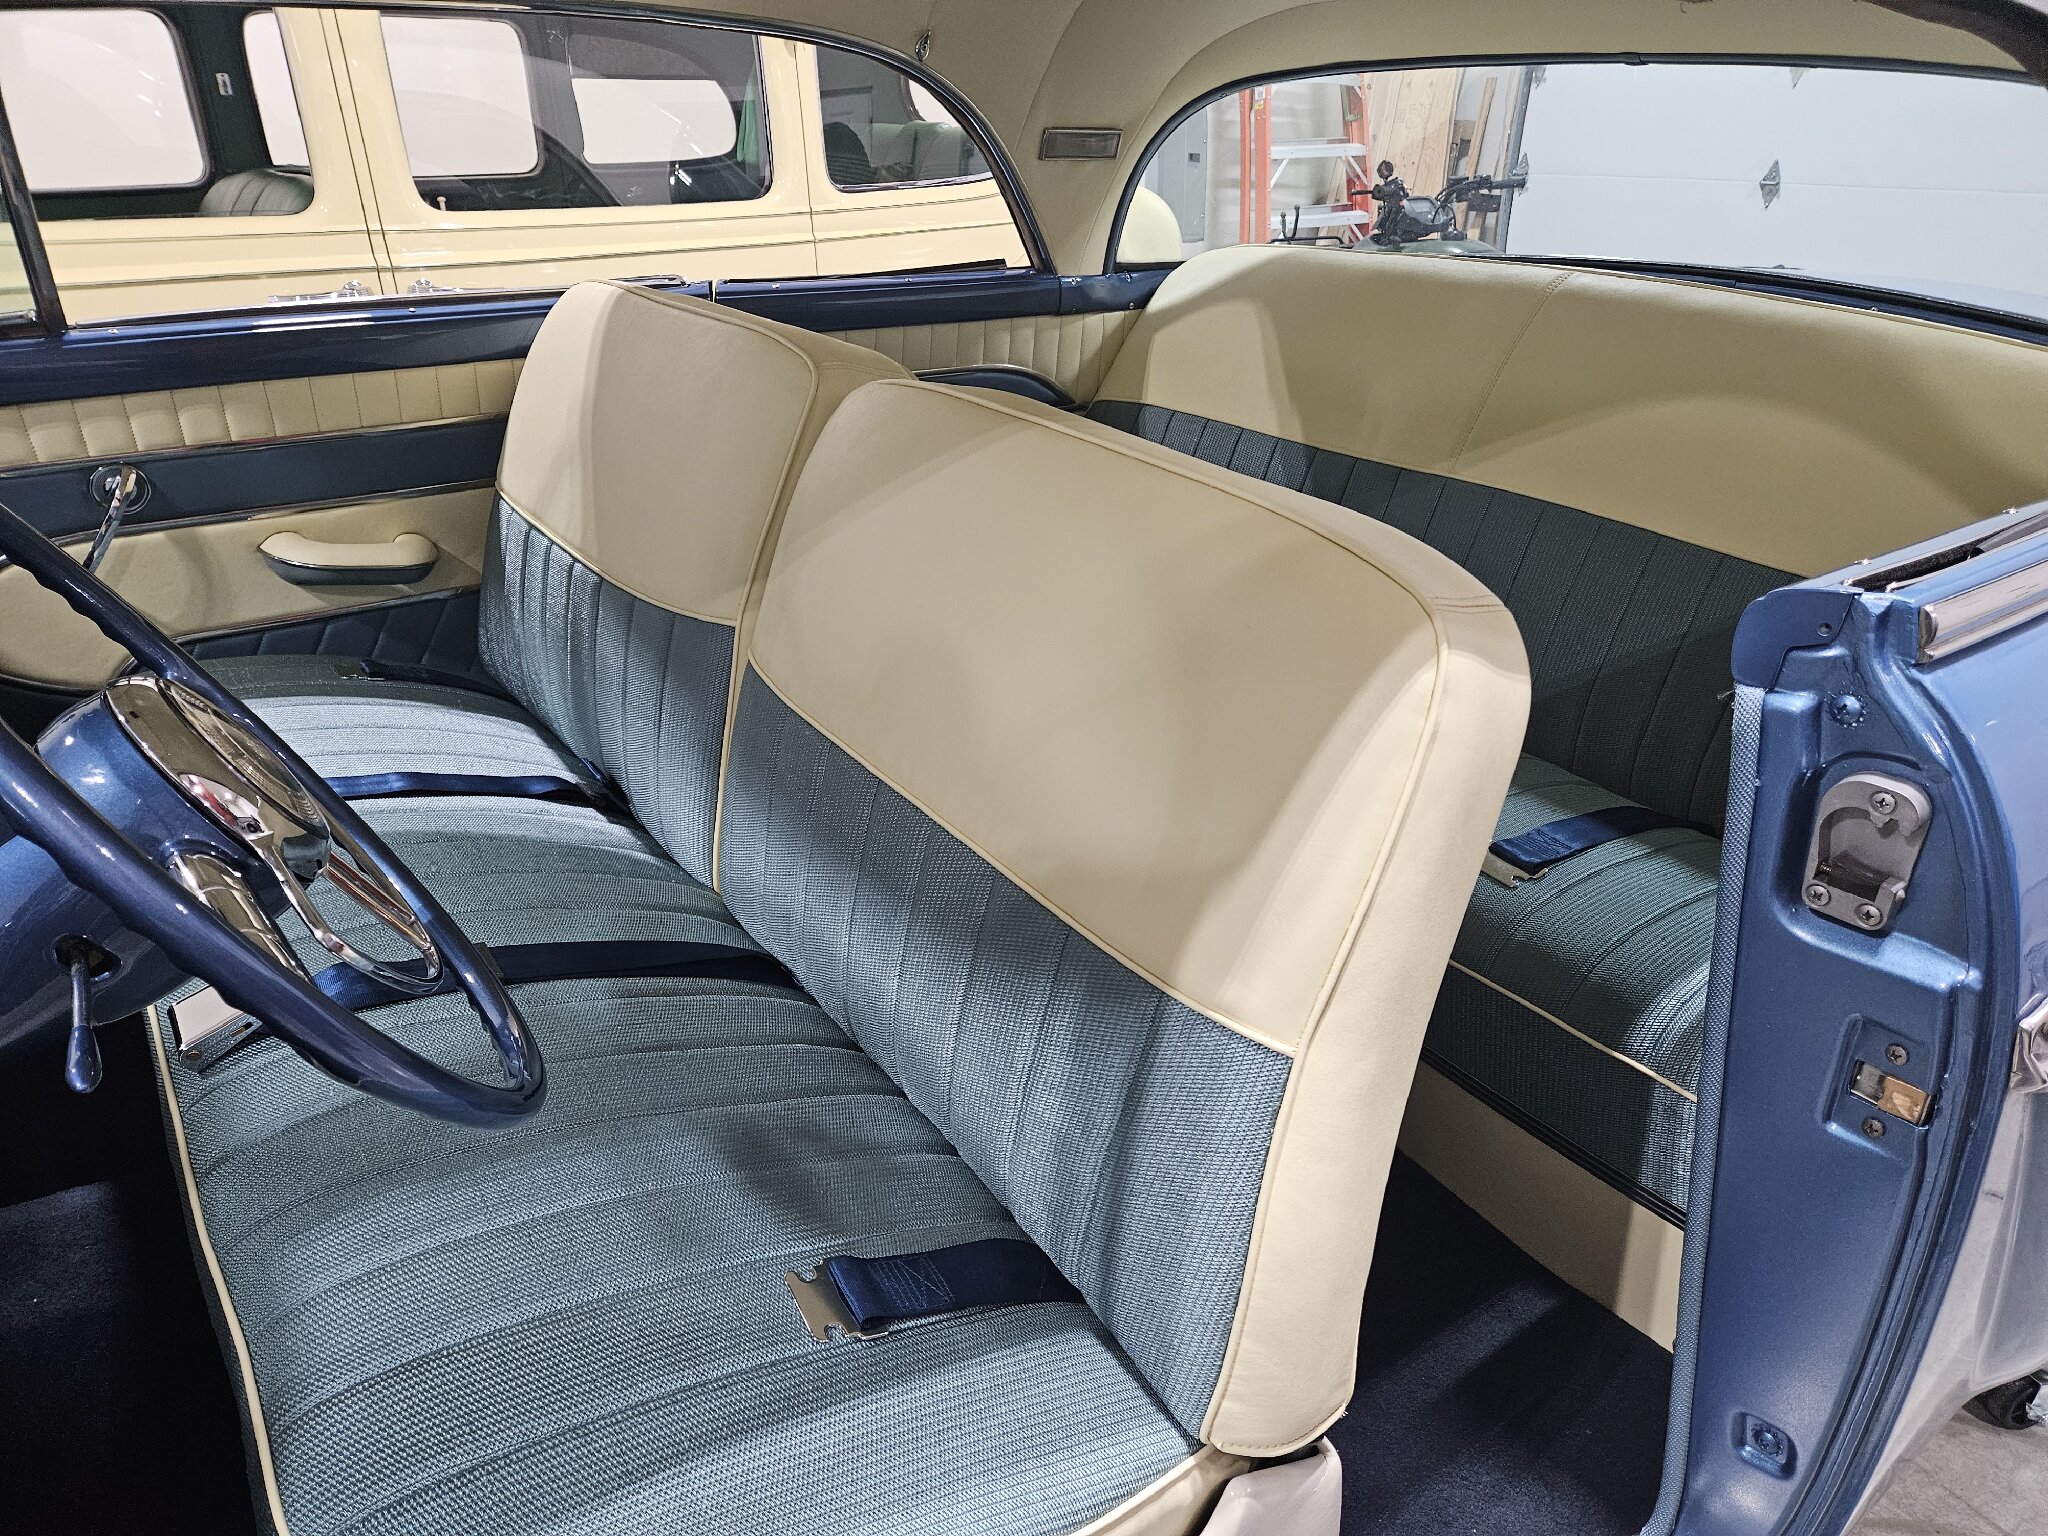 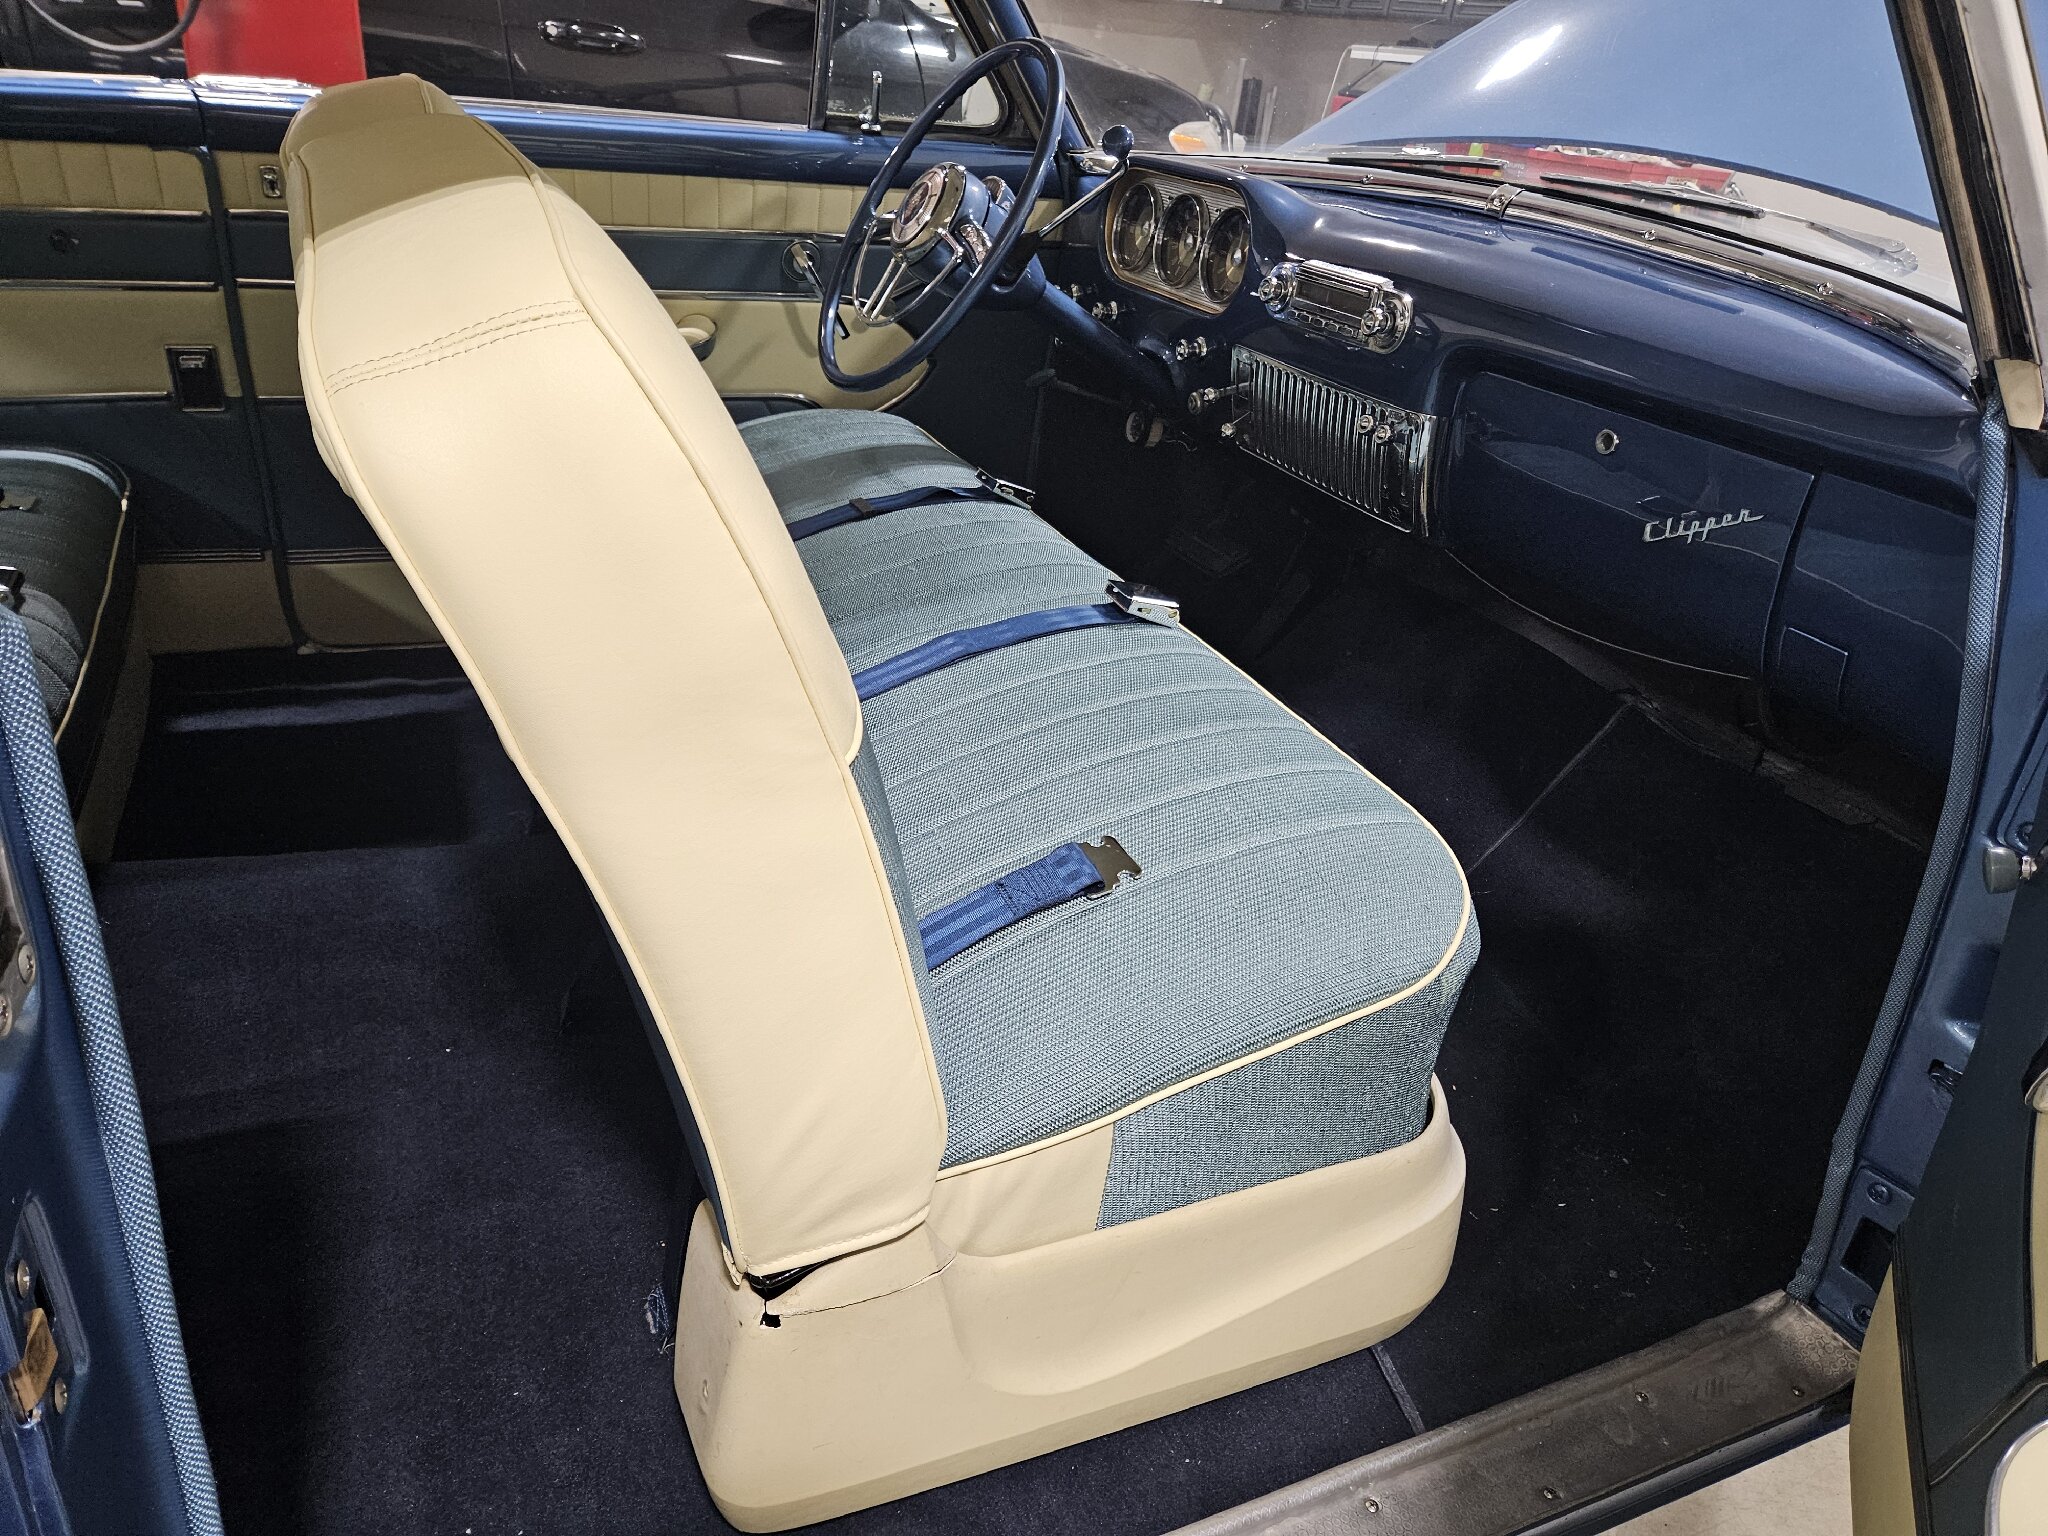  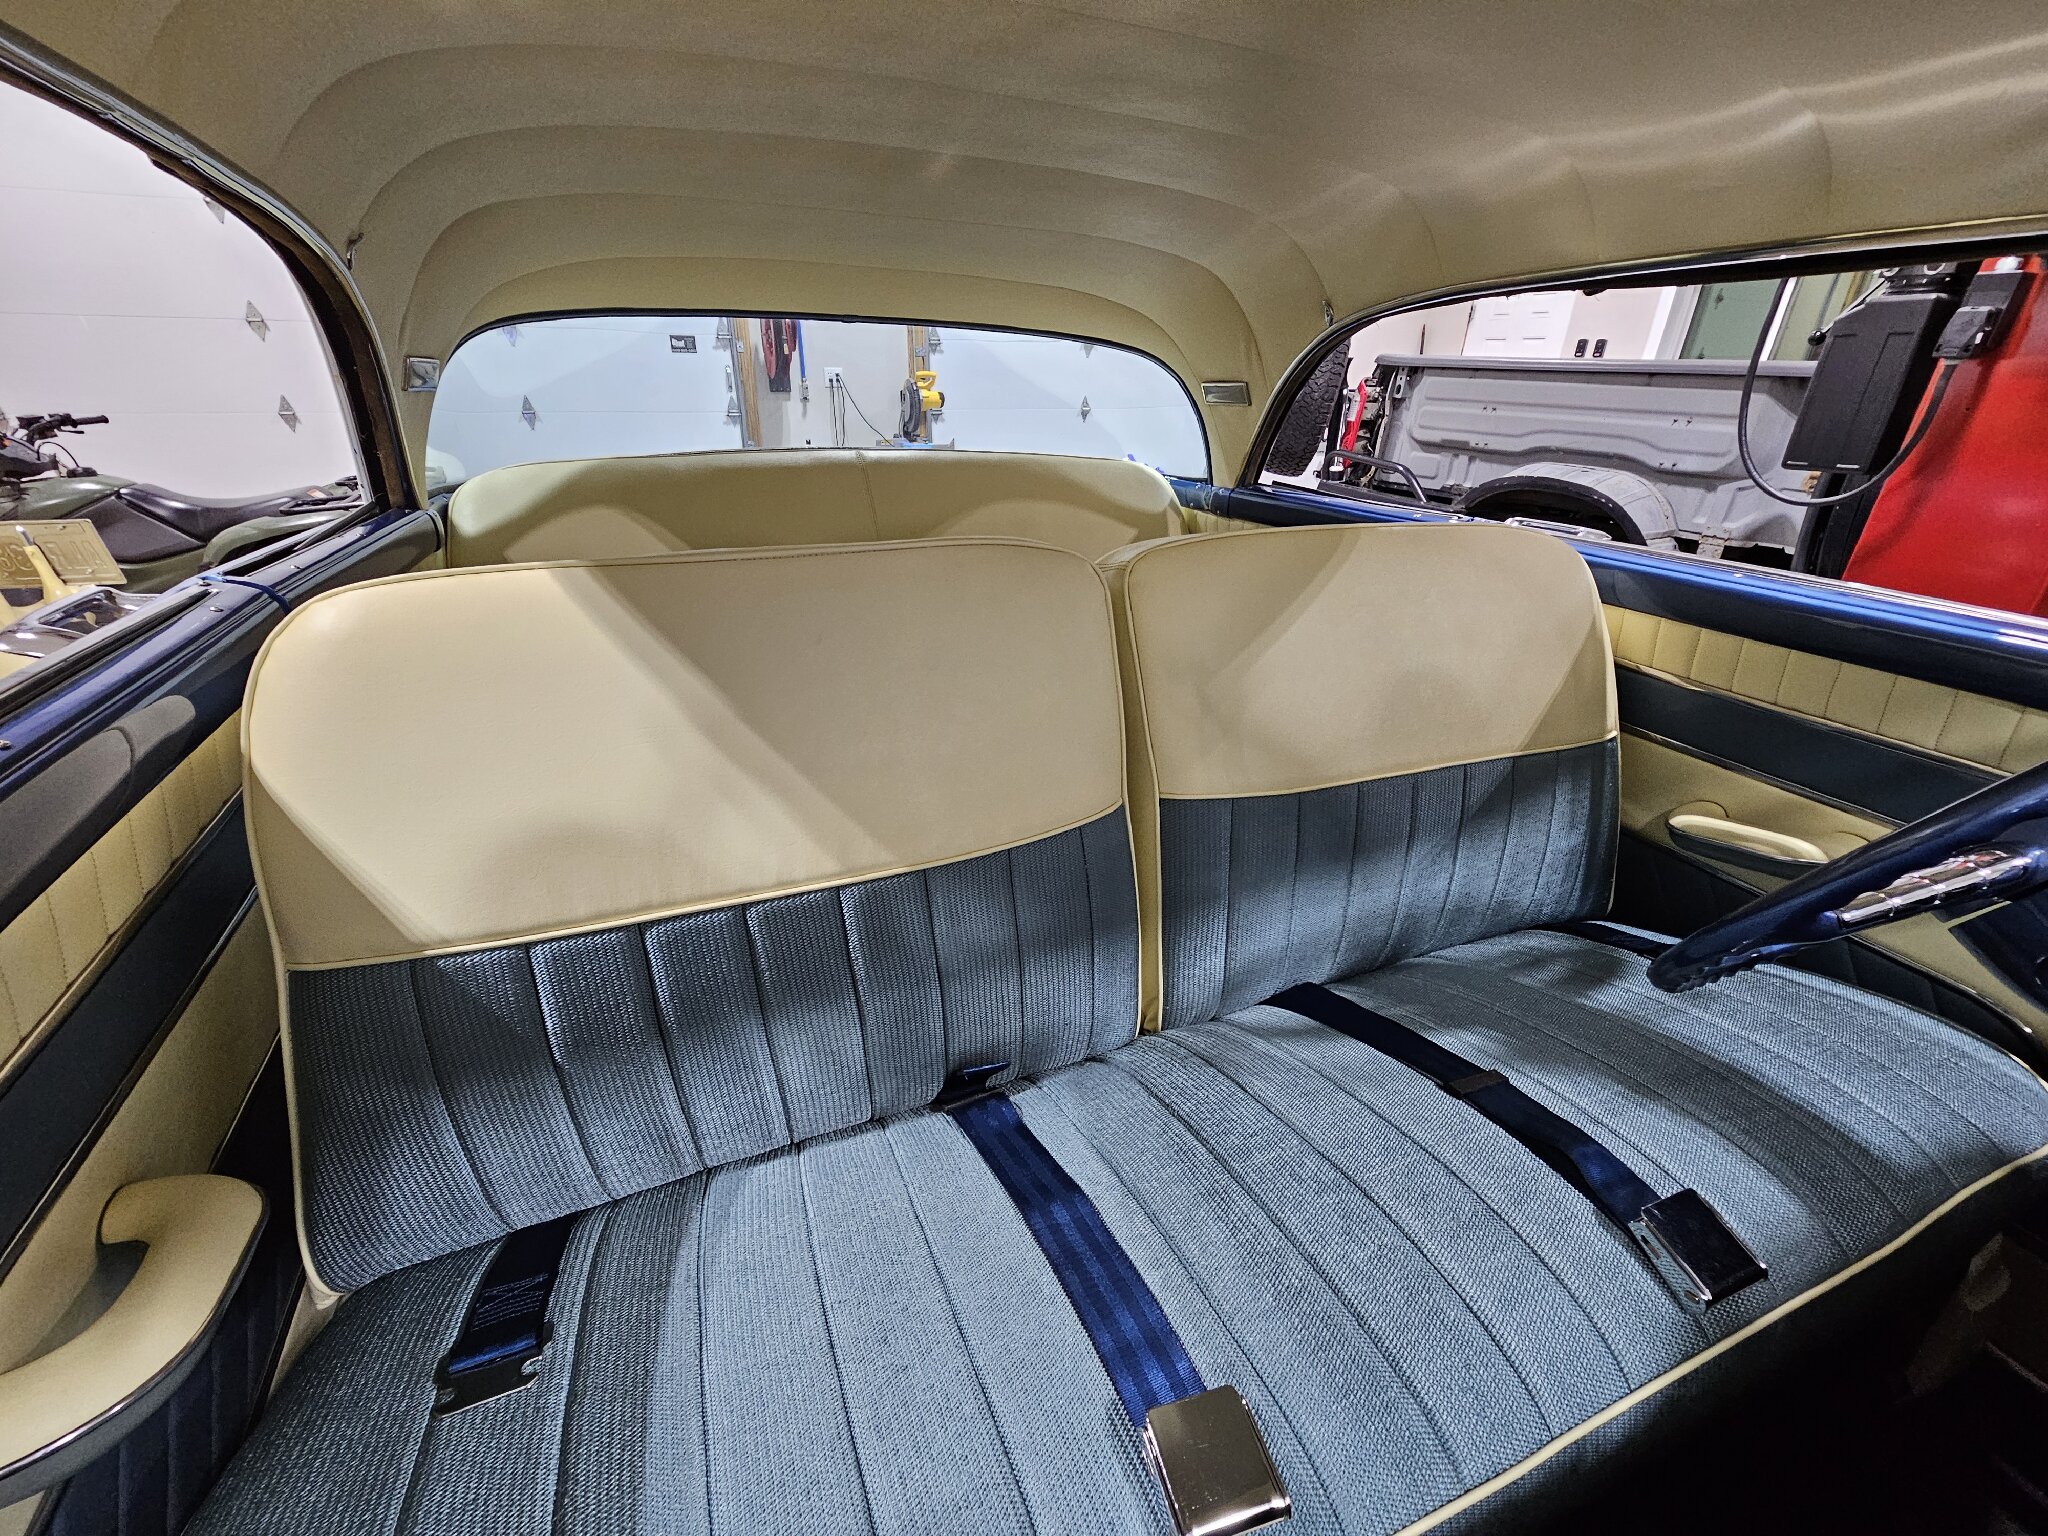 Rope rails and new blue panels 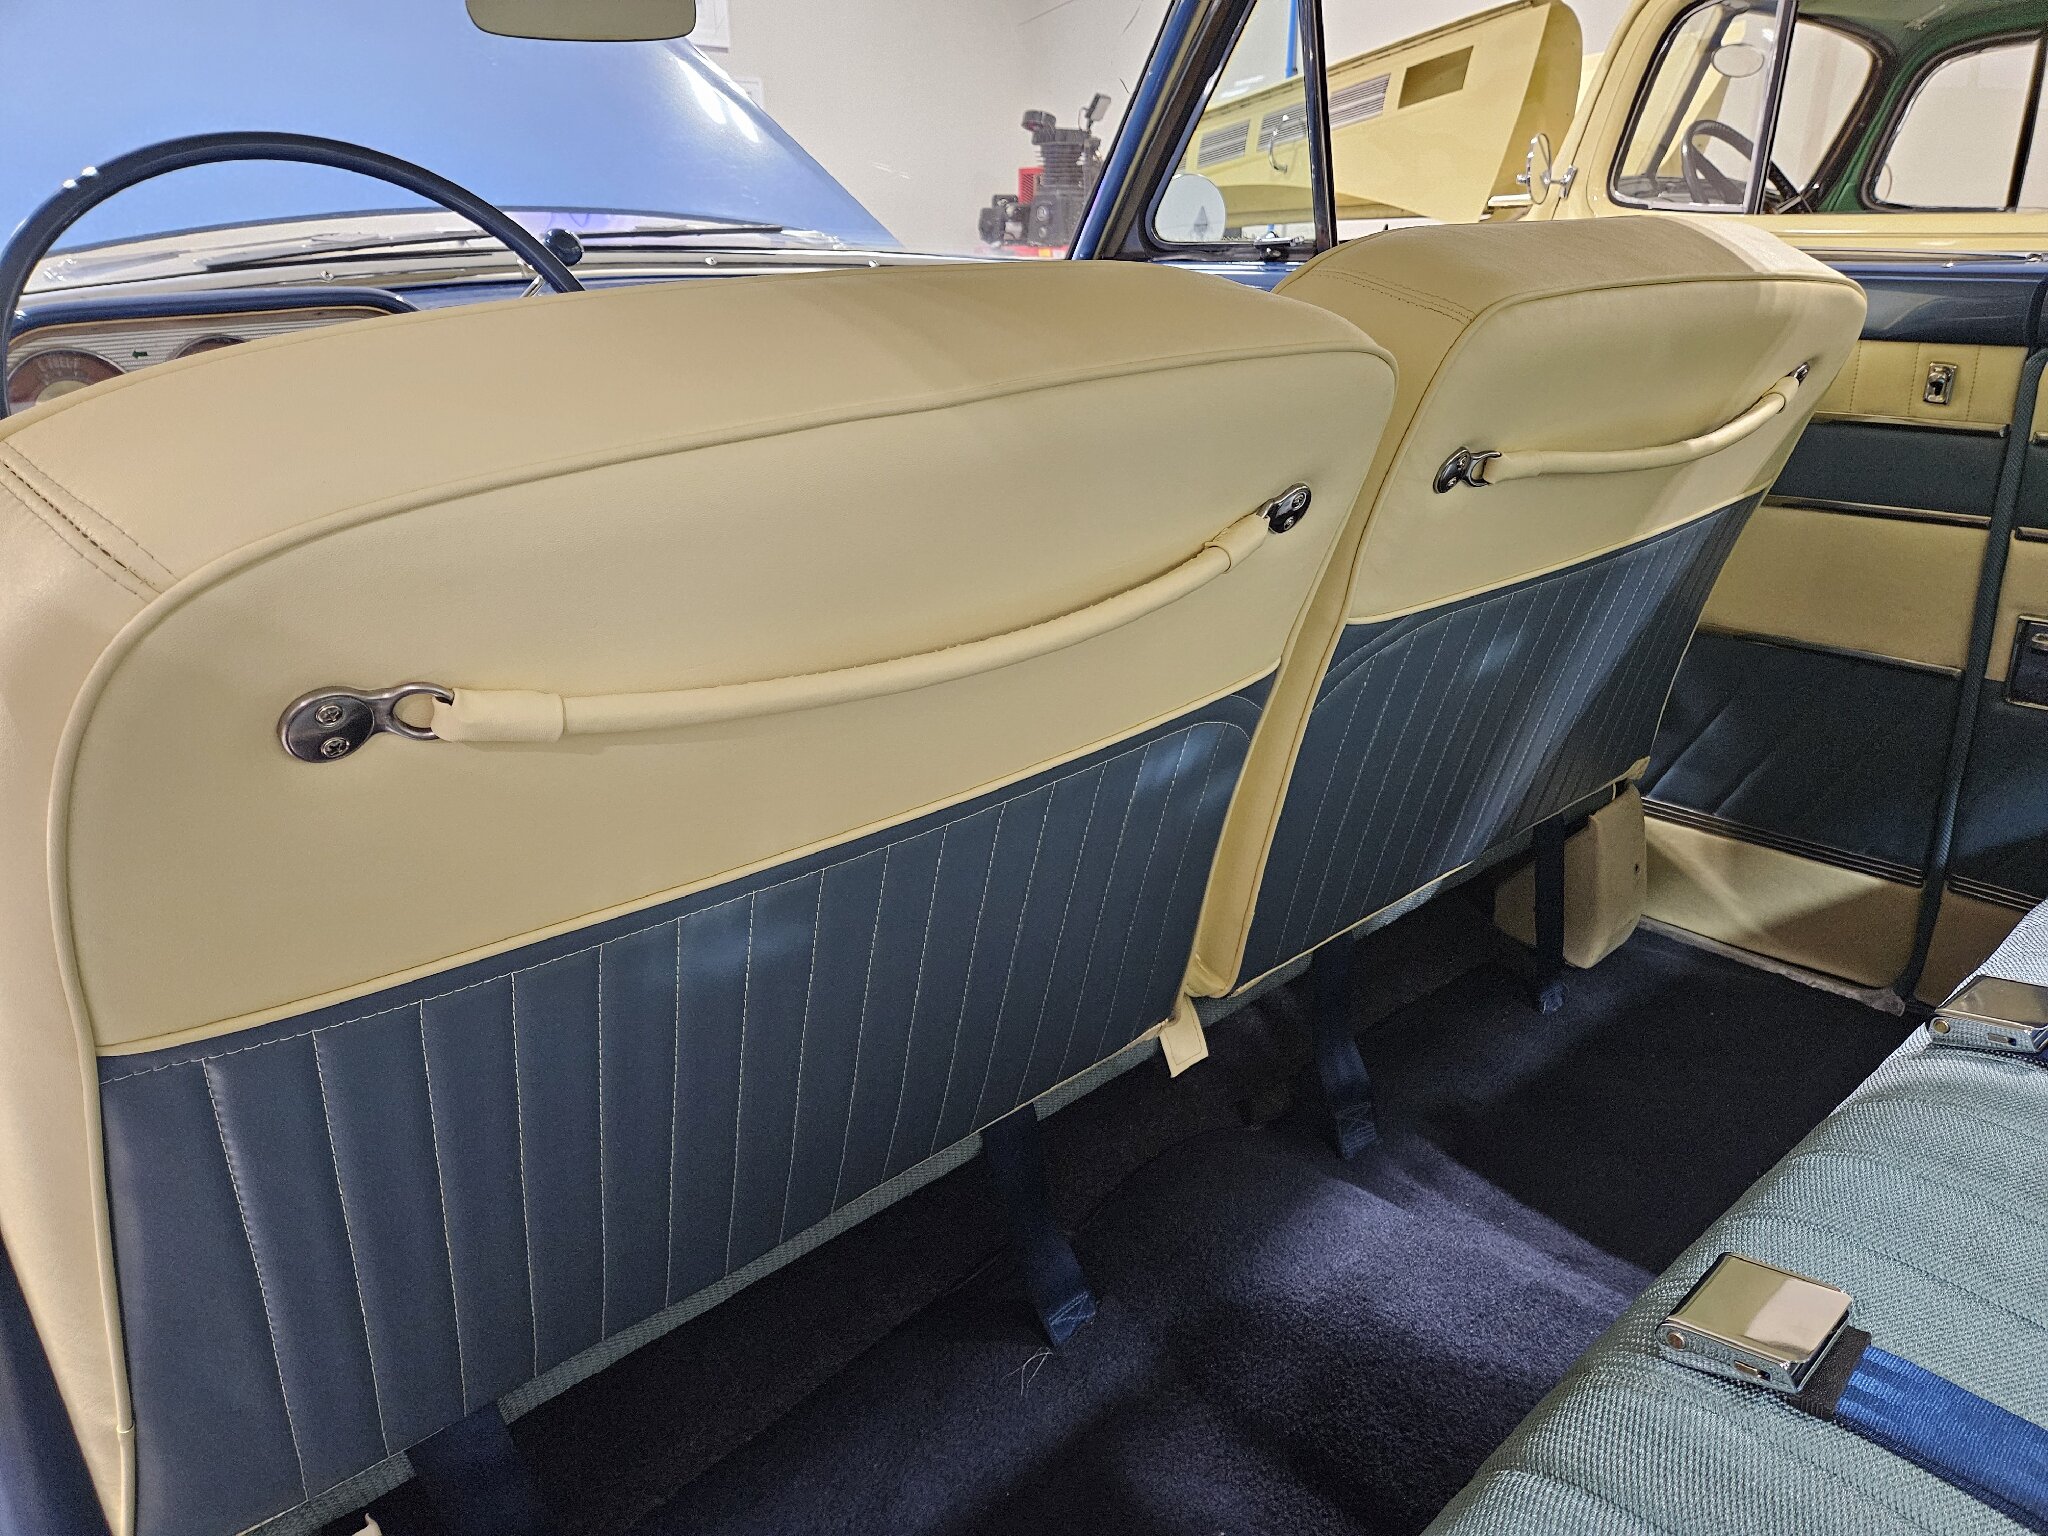 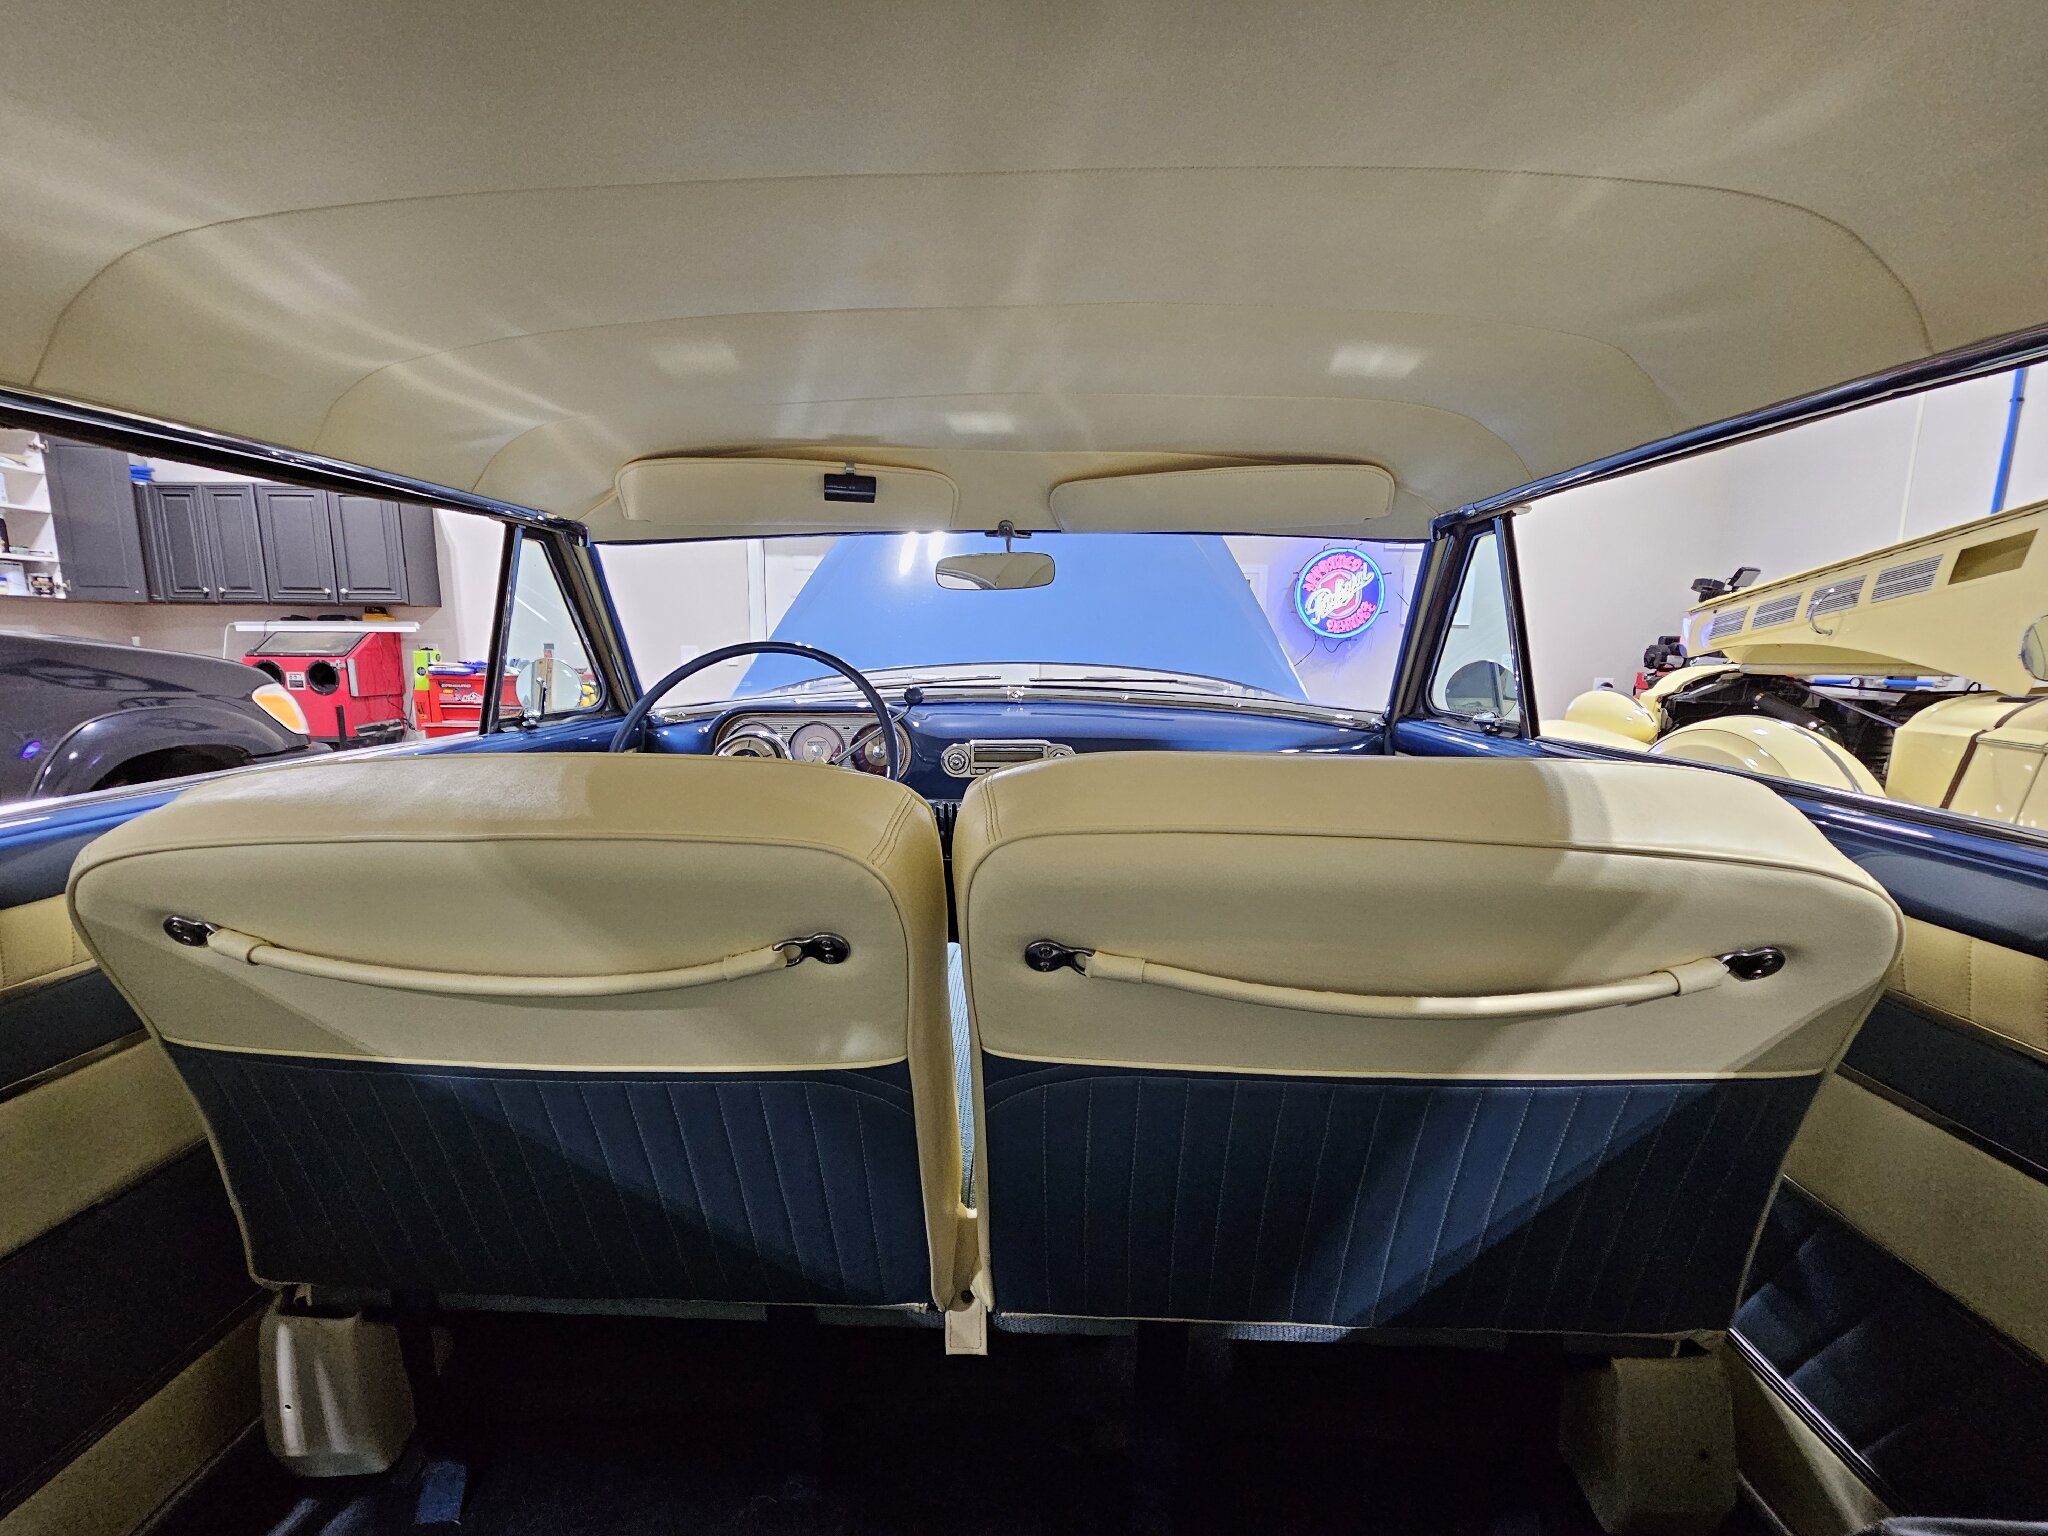 Overall I'm very happy with how it came out. Looks great. I'll have to be gentle with the blue fabric....just like the original it's a pretty loose weave and tends to develop little tags. I think that will get better over time as the seats are used (I hope). -Kevin
Posted on: 4/8 22:51
|
|||
|
||||
|
Re: Don’s 1937 (120) 138CD Deluxe Touring Limo
|
||||
|---|---|---|---|---|
|
Home away from home
|
Making progress! Small victories are a good feeling.
Posted on: 4/8 22:37
|
|||
|
||||
|
Re: KPack's 1954 Panama
|
||||
|---|---|---|---|---|
|
Home away from home
|
More progress
I reinstalled the starter. I tried using a wobble extension and 5/8 socket, but it wouldn't work for me. The bolt that holds the return spring to the solenoid is right in the way, and solenoid is so tight to the engine that I couldn't get the extension to slide in and line up anywhere close to the bolt. So I got to climb back into the engine bay and thread the upper bolt in 1/12 turn at a time. Great times. Still need to paint the cover band and put that back on. 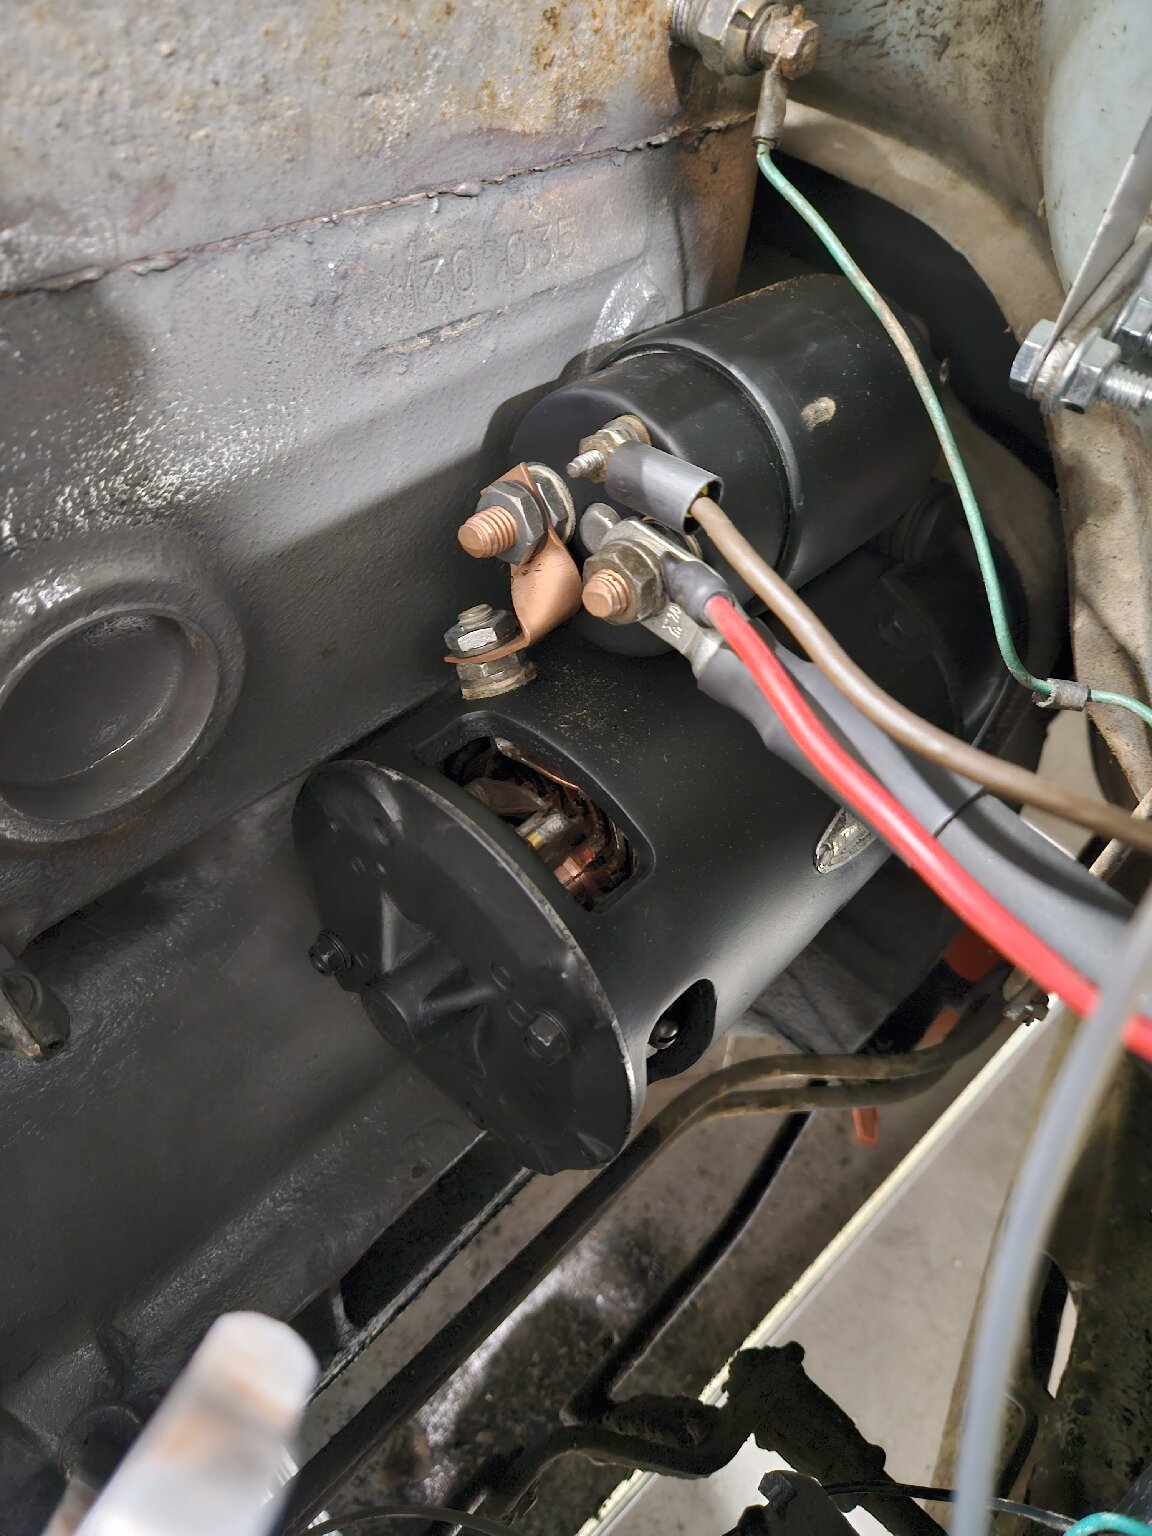 I dropped off the rear seat back to the upholstery place to see if they can adjust the padding a bit. I got a look at the front seat, which is nearly done. They are just doing the rope rails now. The seat looks fantastic. 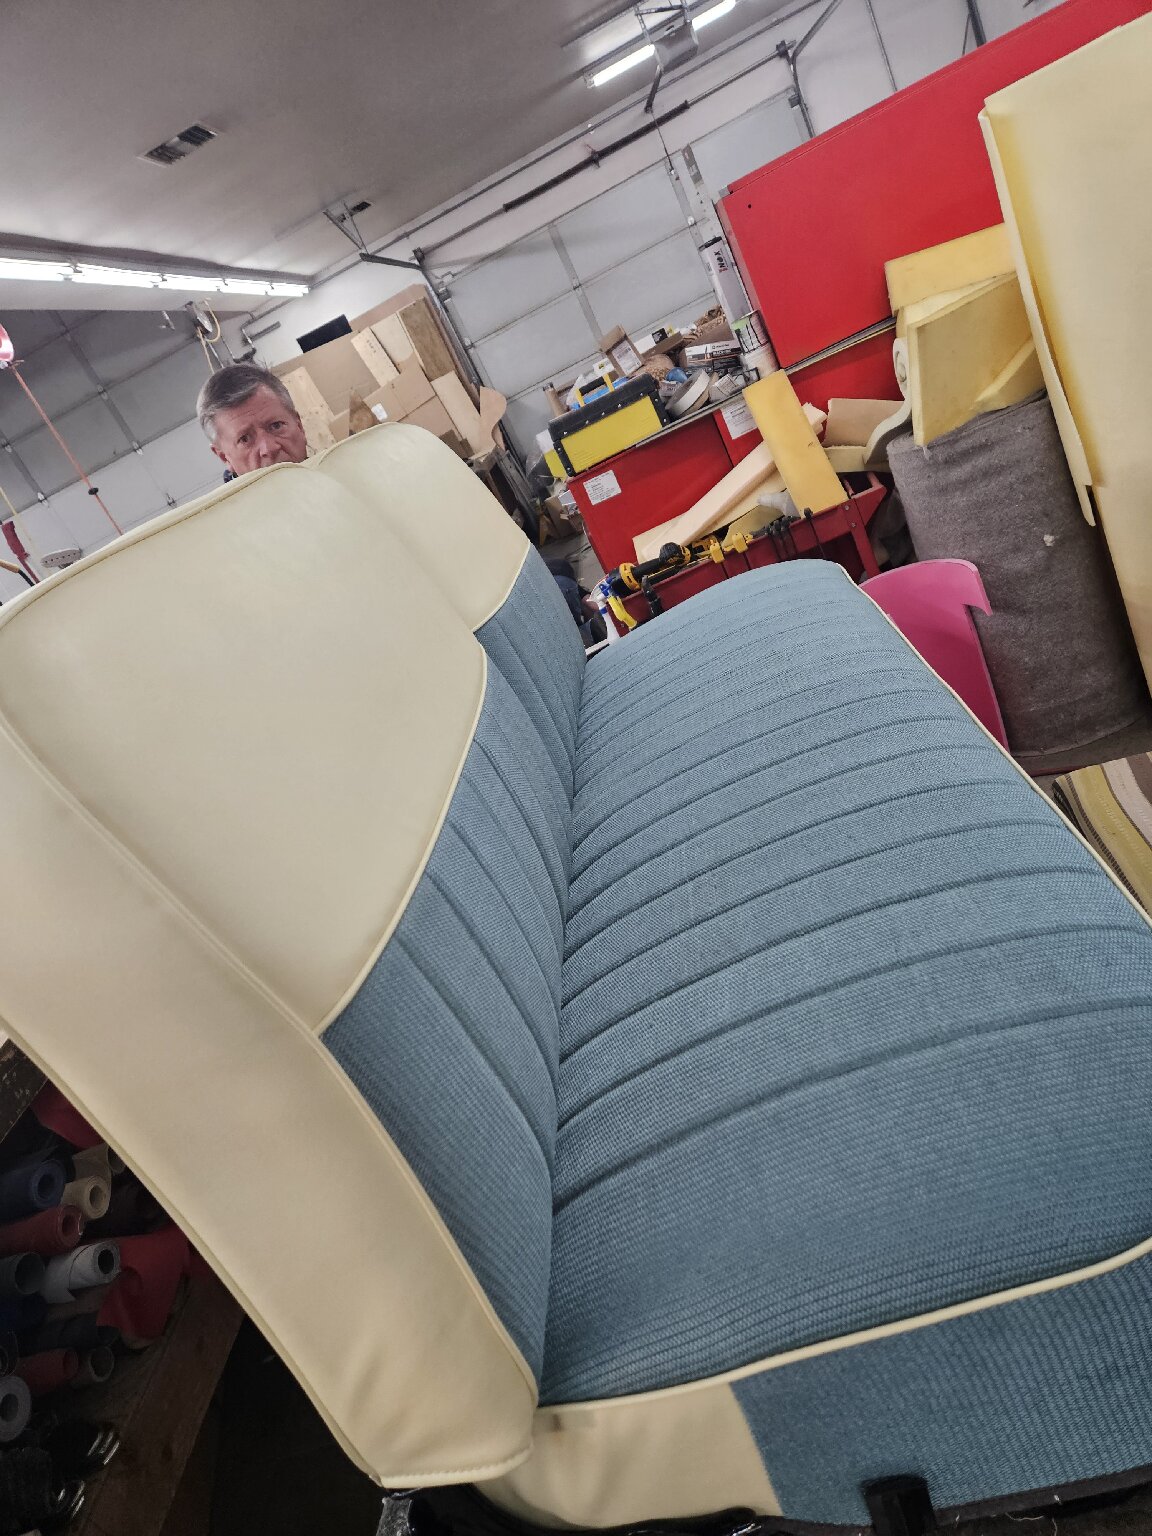 And I ran into an unforeseen issue with the rear door panels I made. I didn't realize how much the trim piece pushes the panel in at the rear. I made the door panels with some stiff hardboard, which didn't allow it to flex as much as it needed. Here's the shape of the upper trim: 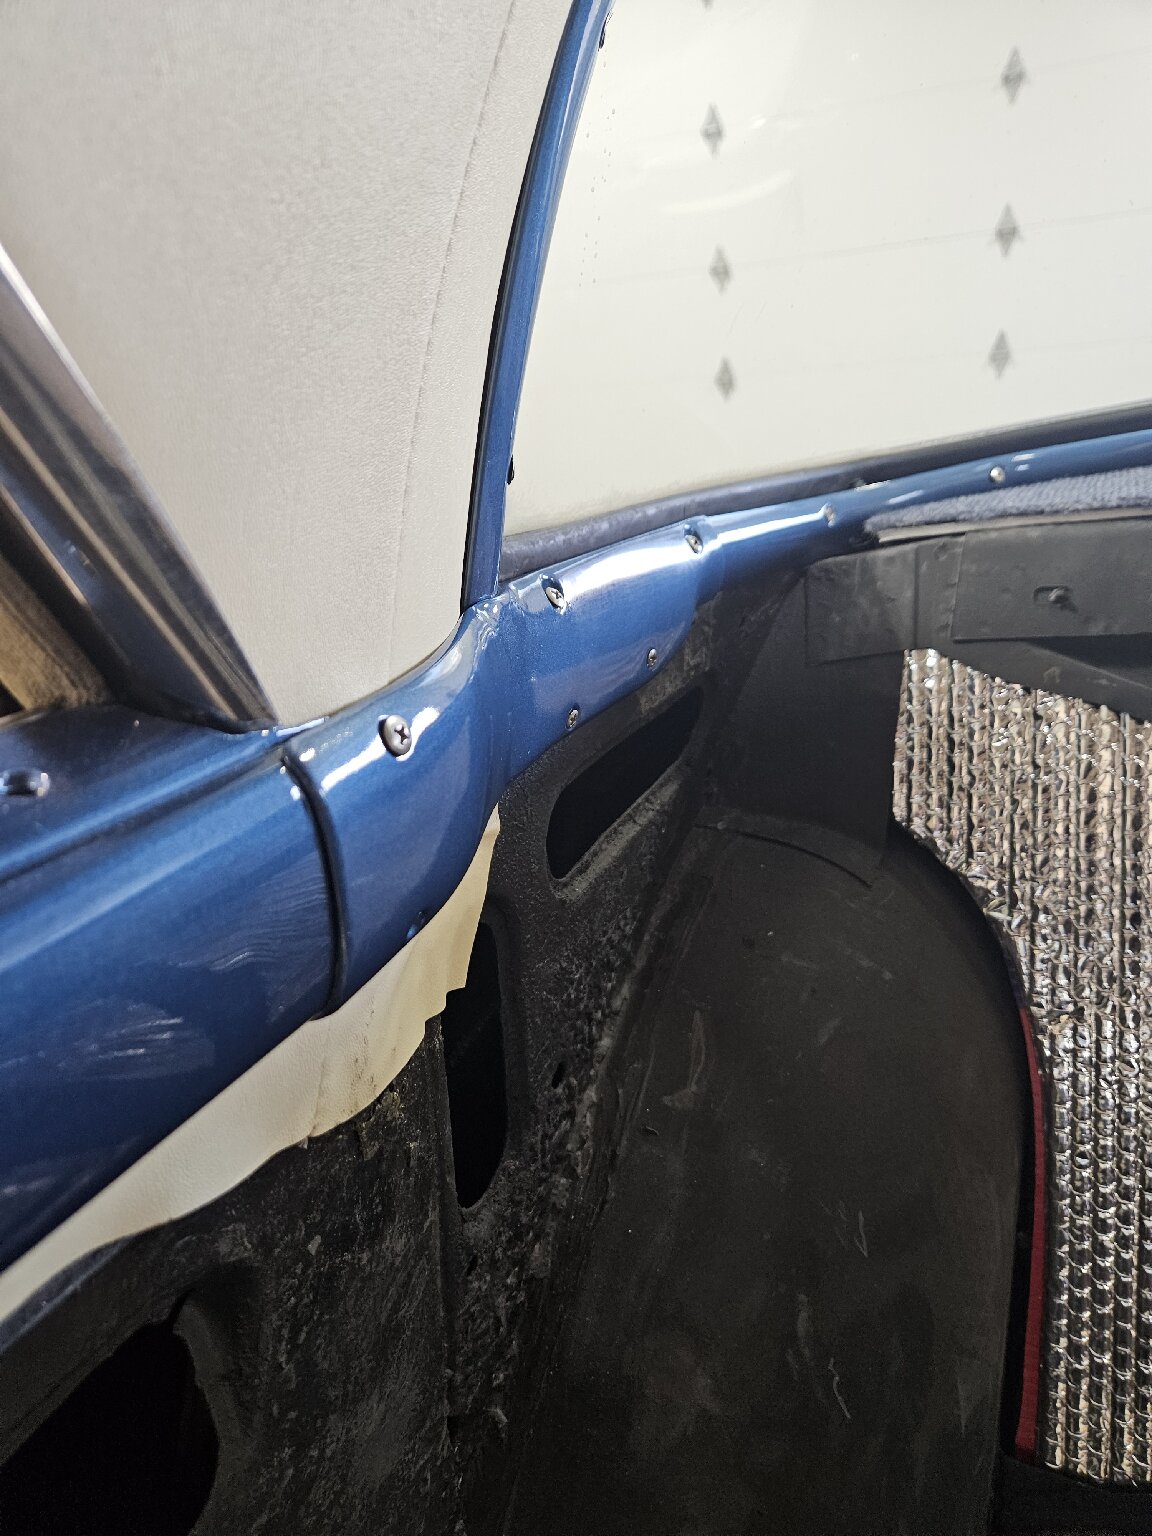 The door panel 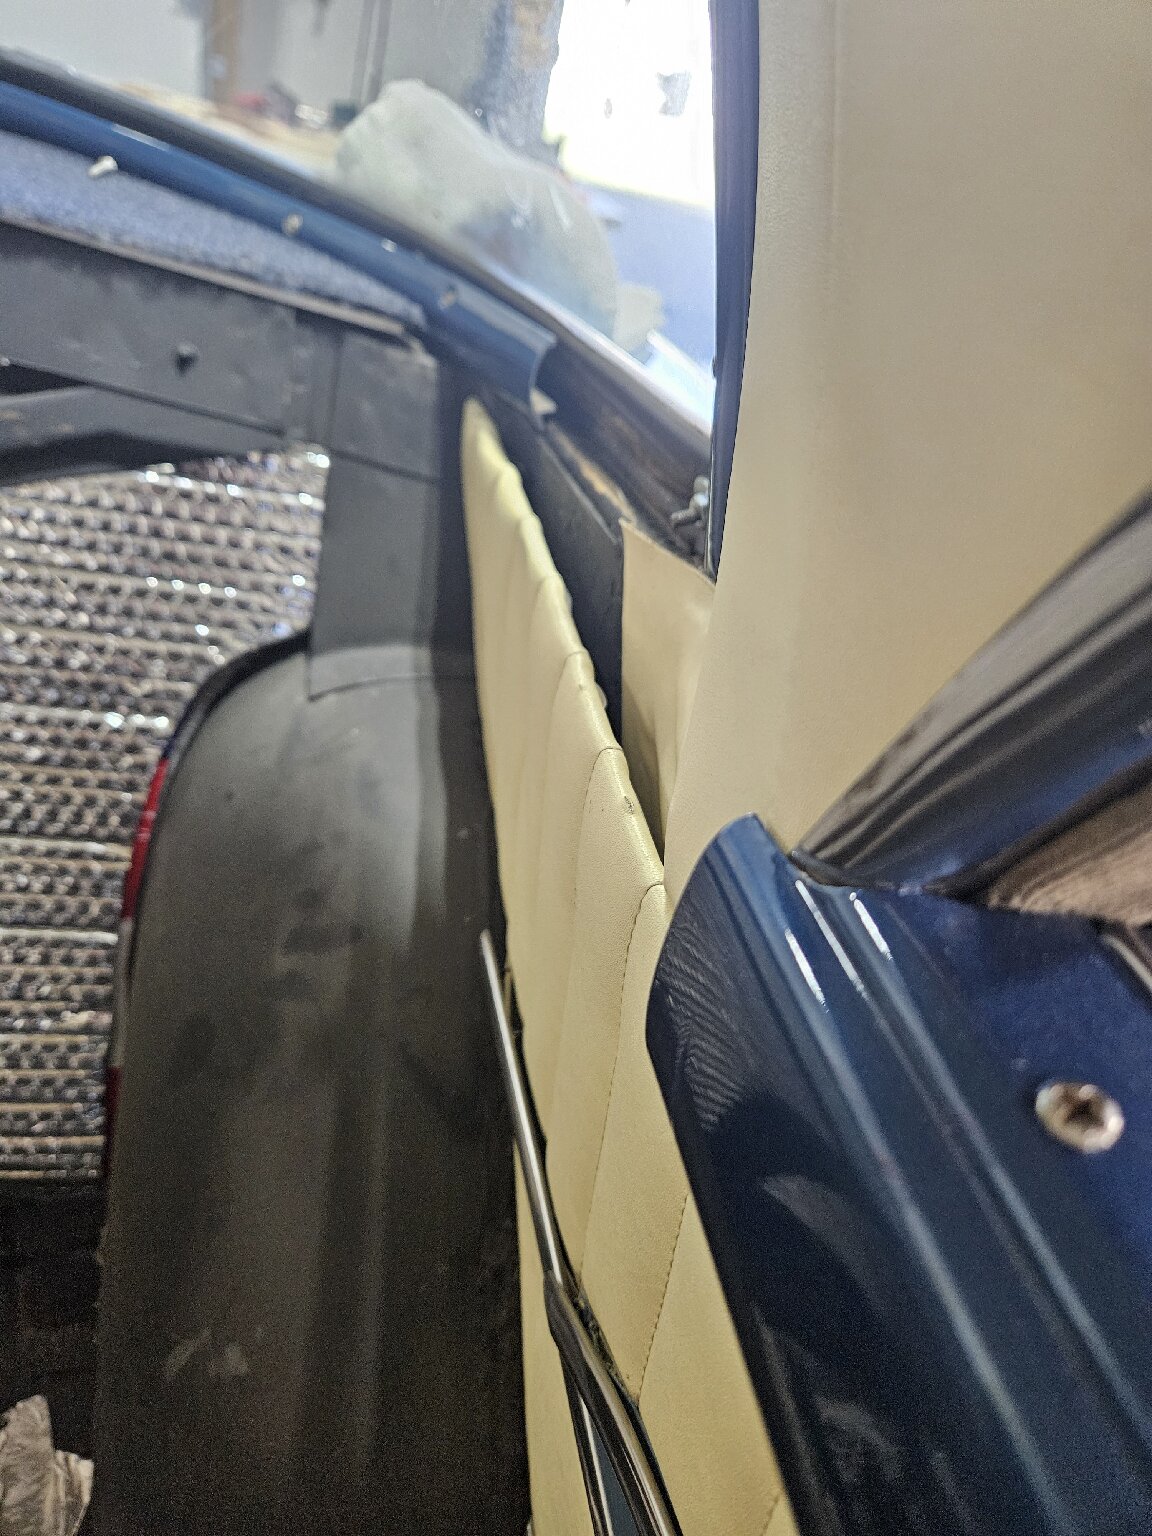 I solved the problem by taking a dremel to the hardboard panel itself. I cut a slit through the panel a little longer than the trim piece 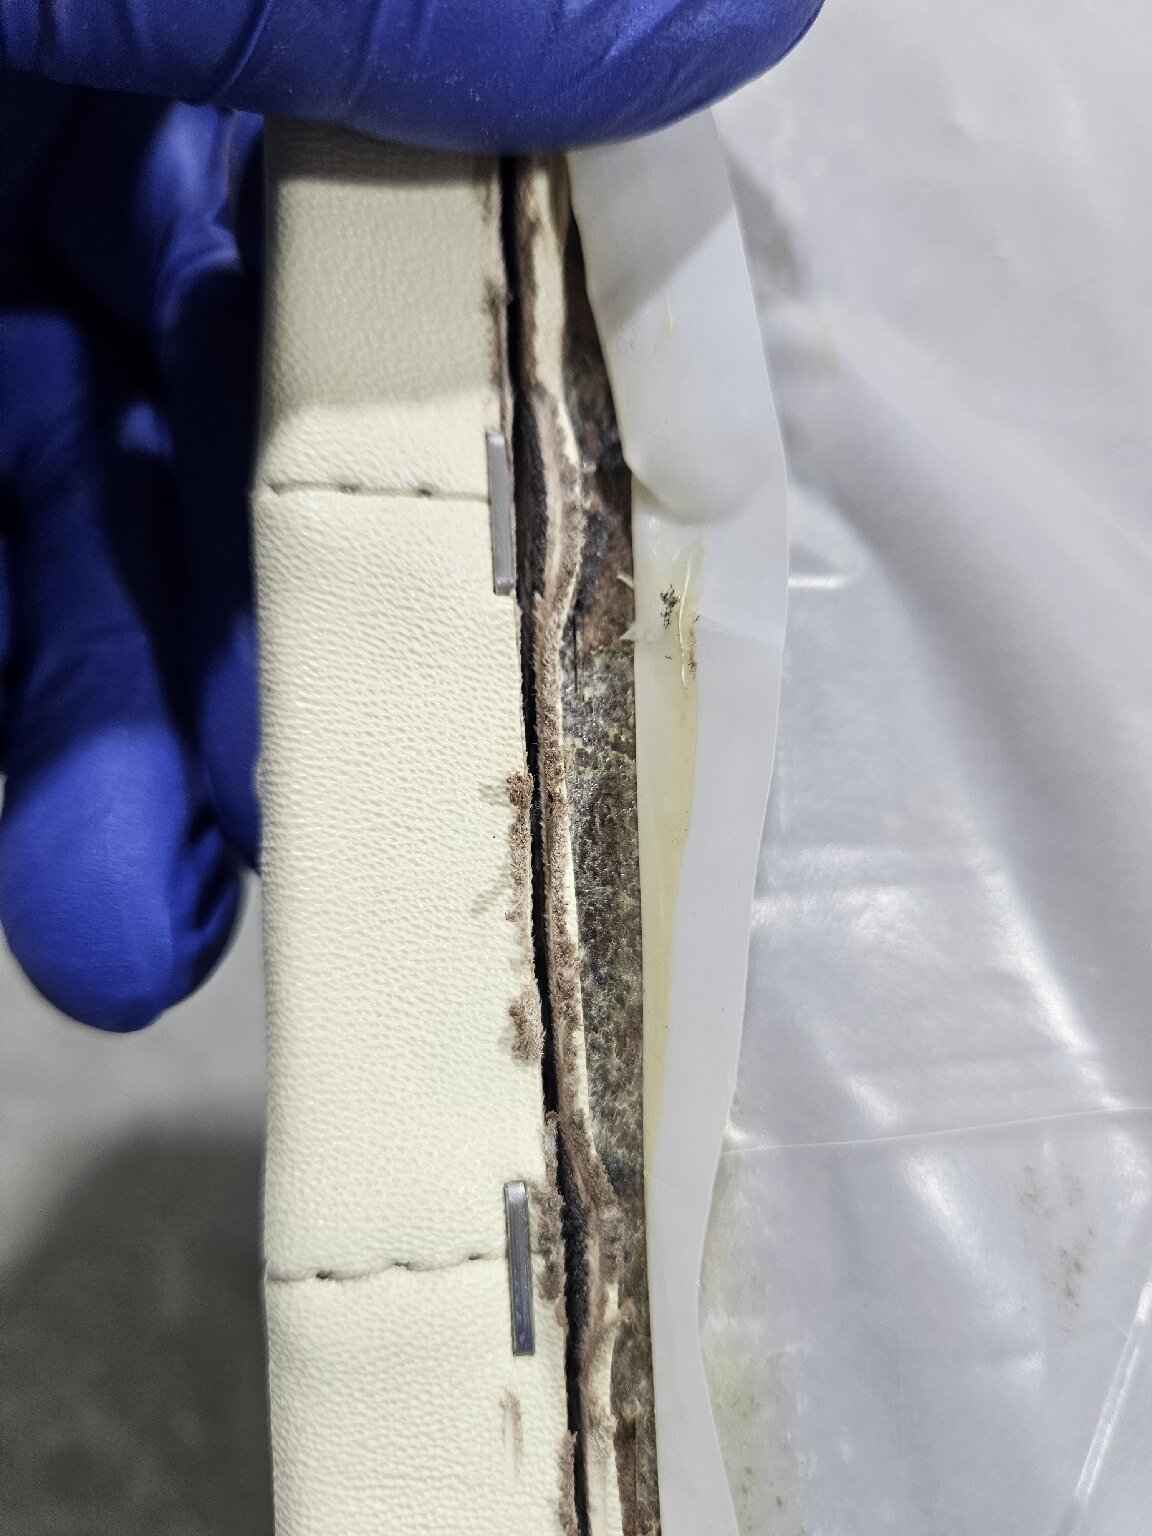 That allowed it to flex enough to get the trim sit properly 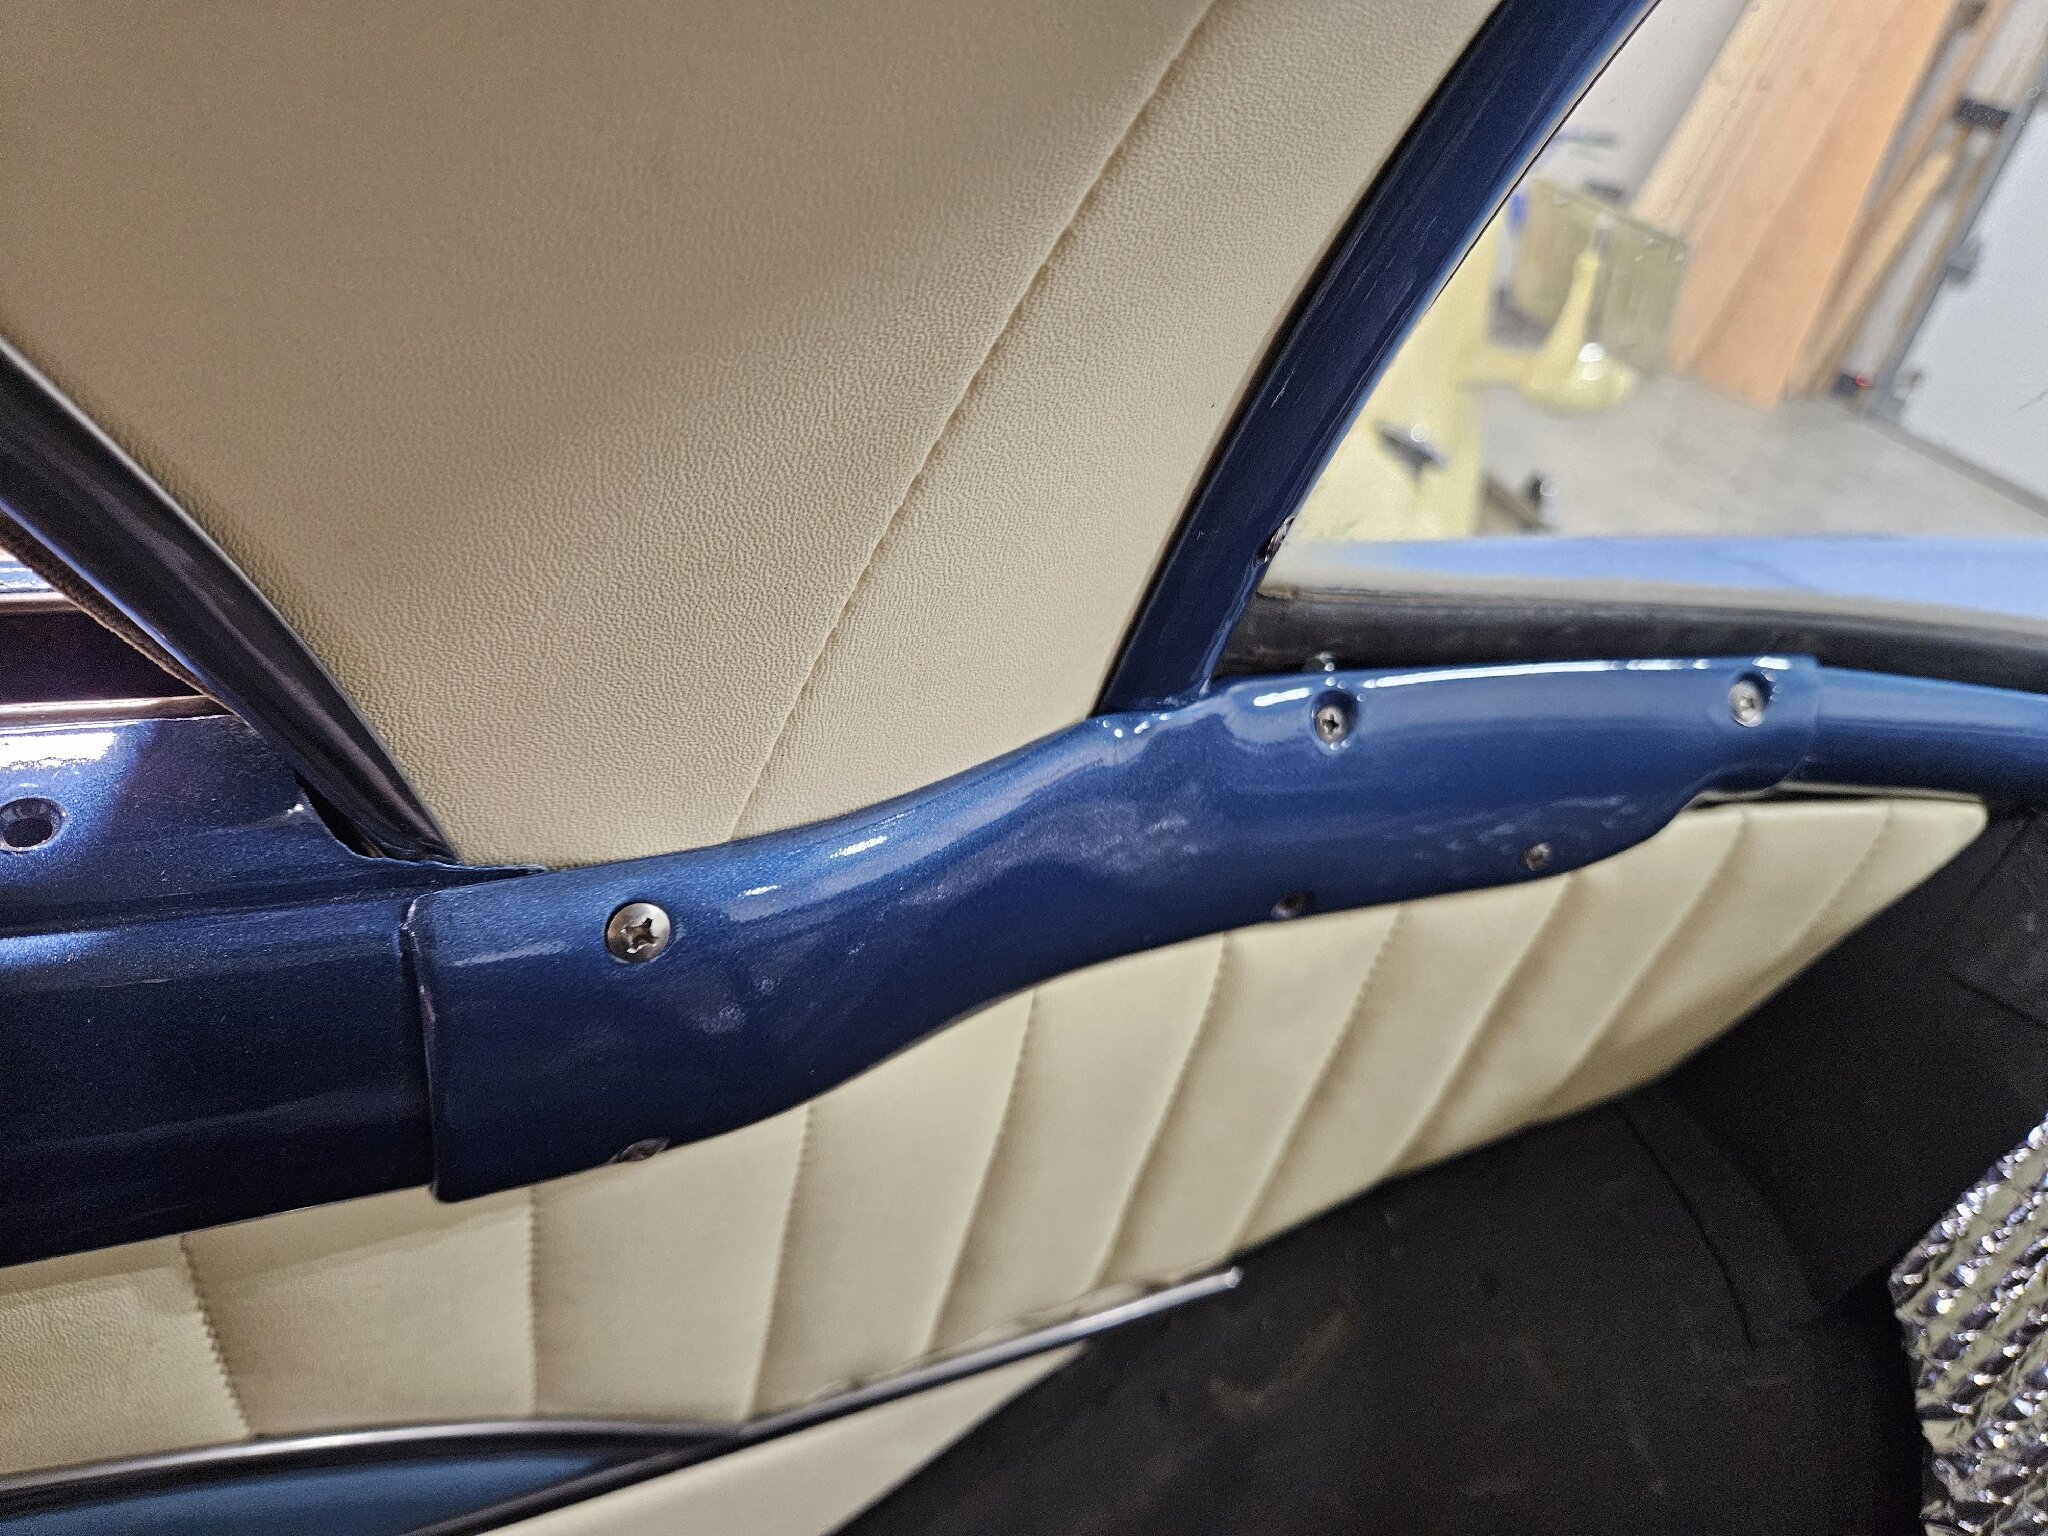
Posted on: 4/8 15:59
|
|||
|
||||


