|
Re: Jeff's 48 Custom 8 Victoria Project
|
||||
|---|---|---|---|---|
|
Home away from home

|
Quote:
Dell, I don't recall the exact measurements off the top of my head, but I remember that 8 of the 9 mains were on the tight side of the spec, and one was towards the loose end of the spec. All the rod bearings were dead center of spec. The cam bearings are new, and were installed by the machine shop, but felt good when I installed the cam. I do remember that the Packard service manual states that the hydraulic lifter mechanisms are carefully matched to the lifter bodies at the factory and should not be mixed up. It's possible that the reproduction lifter mechanisms are a bit of a loose fit in the bodies, and I'm loosing some pressure there. They did seem a little loose to me when I put them in. There's so many places on this motor to loose a bit of pressure: nine mains, nine cam bearings, eight lifter bodies, plus I think the mains are fully grooved, which tends to drop your pressure a bit too. The oil pump really needs to move some oil to keep the pressure up. As with everything else, the brake work is taking longer than expected, so I haven't had the chance to run the car again. I should be able to do that this afternoon. Jeff
Posted on: 2013/11/17 11:12
|
|||
|
||||
|
Re: Jeff's 48 Custom 8 Victoria Project
|
||||
|---|---|---|---|---|
|
Home away from home
|
Quote:
JD, I see that you have three Packards. What do you usually see on your dash oil pressure gauges at speed and at idle on a hot day with the Rotella? Thanks, Jeff
Posted on: 2013/11/16 9:27
|
|||
|
||||
|
Re: 1948 Deluxe 2262 engine vacuum lines
|
||||
|---|---|---|---|---|
|
Home away from home
|
Check out my restoration blog. I installed all new metal lines. Mine are a bit neater than the originals, but follow the same general path. The following pics show the lines best:
177 219 226 227 253 254 https://packardinfo.com/xoops/html/modules/newbb/viewtopic.php?topic_id=12179&viewmode=flat&order=ASC&type=&mode=0&start=30 Jeff
Posted on: 2013/11/16 2:37
|
|||
|
||||
|
Re: 1956 Packard Patrician Rebuild Project
|
||||
|---|---|---|---|---|
|
Home away from home
|
Hi Troy, Tough break on the Packard. I don't envy your situation, but I've been there in the past. Back in 1988 I bought a very rusty 1965 GMC pickup truck, which forced me to learn how to weld and fabricate patch panels. My hood had 32 separate patches along with another 75 to 100 tiny rust perforations in the outer skin that had to be welded. The fender and door bottoms were gone, the rockers and front cab mounts were gone too. There was a six inch long hole in the roof overhang above the windshield, and the cowl was rotted out across the entire width of the truck up behind the dashboard. There were additional holes in the fronts of the fenders, tail gate, bed sides, wheel wells, inner fenders, firewall, the filler panels between the hood and doors, and the big panel behind the grill. Parts availability back then was just outer rocker skins, cab mounts, lower door skins and fender bottoms. It's more important to make sure to completely cut out the old rust than it is to have your new metal perfectly match the original parts. The only way to completely stabilize the car is to make sure no rust remains, even if it means being real aggressive when cutting away the rot.
Jeff Attach file:  (49.17 KB) (49.17 KB)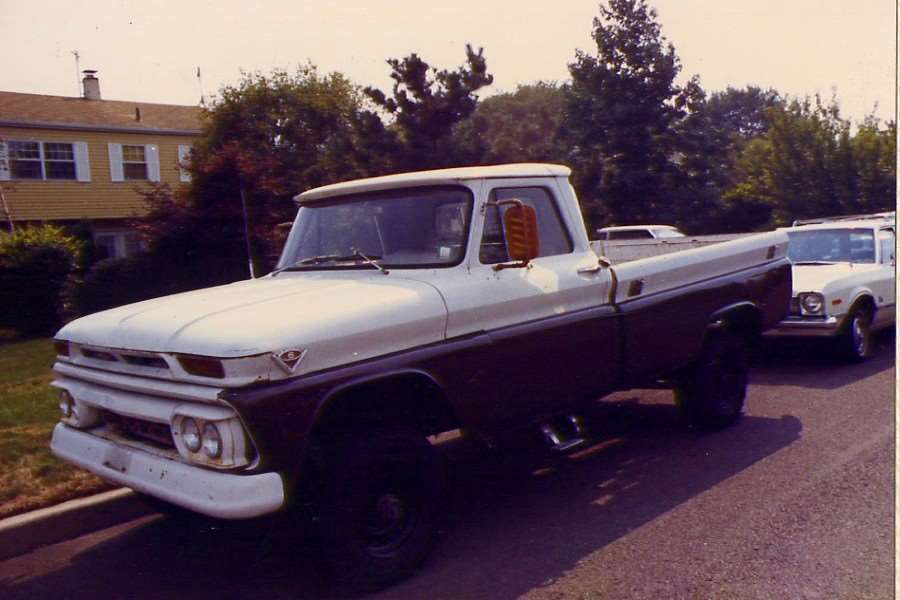 (62.05 KB) (62.05 KB)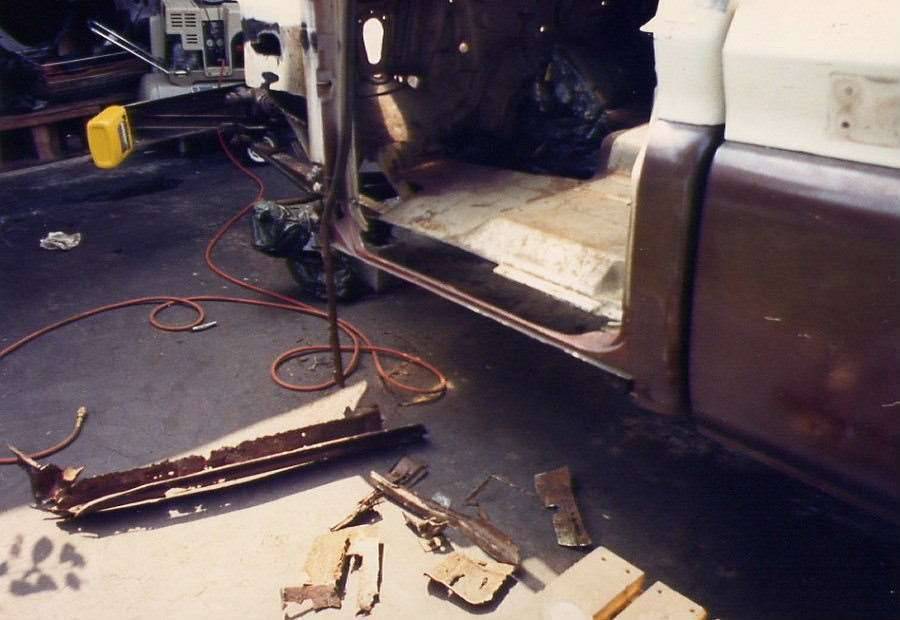 (48.69 KB) (48.69 KB) (37.10 KB) (37.10 KB)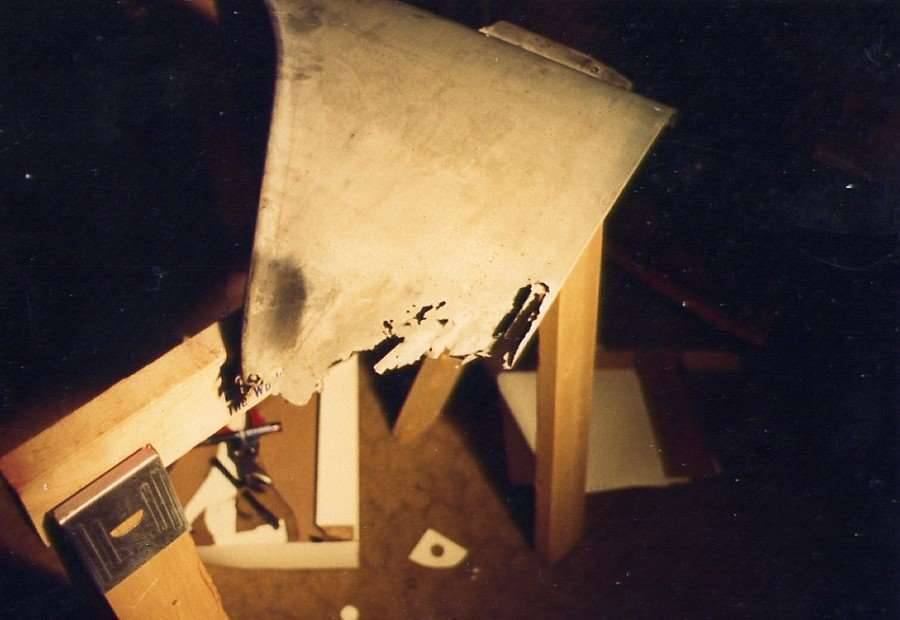 (77.18 KB) (77.18 KB)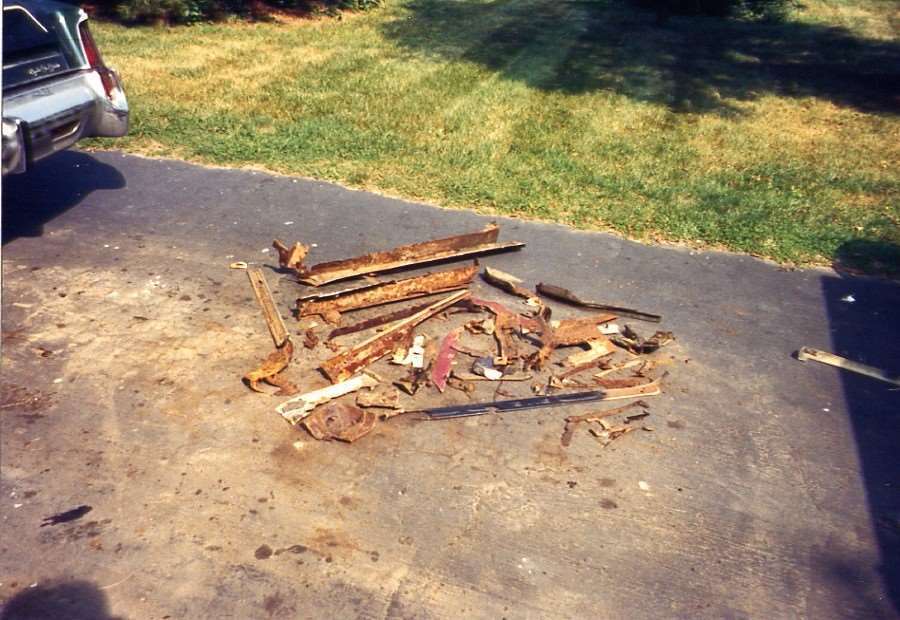 (50.12 KB) (50.12 KB)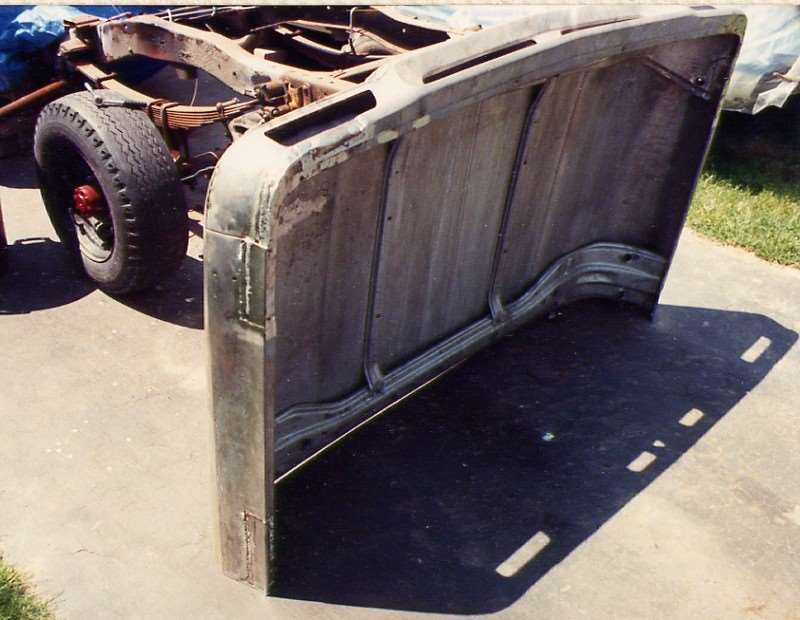 (61.19 KB) (61.19 KB)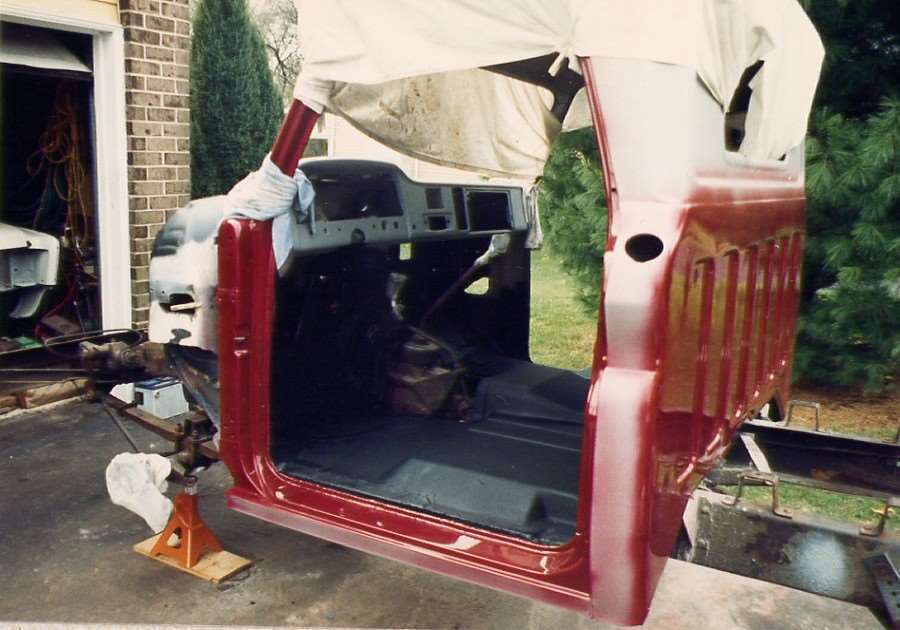 (42.05 KB) (42.05 KB)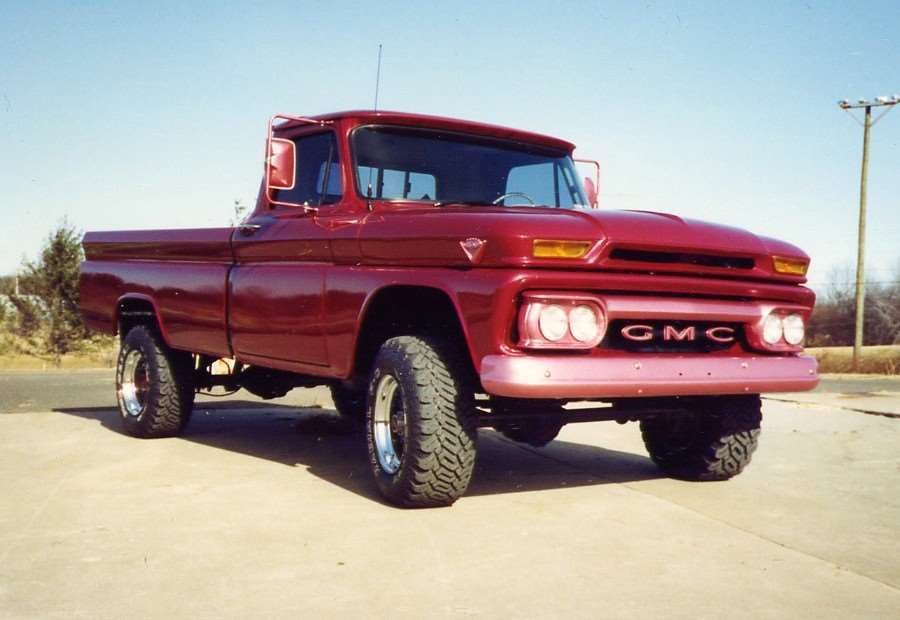 (92.10 KB) (92.10 KB)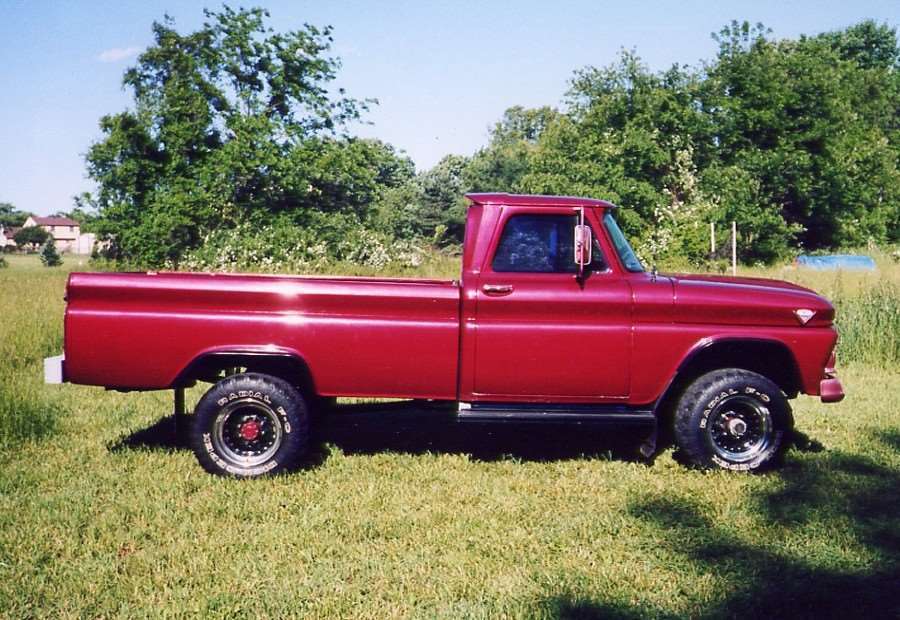 (36.67 KB) (36.67 KB)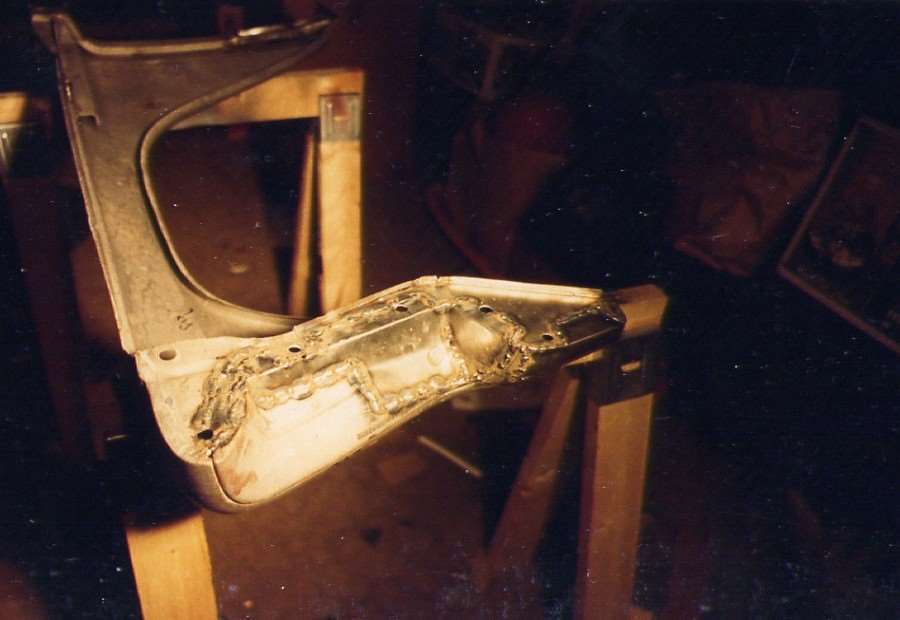 (37.47 KB) (37.47 KB)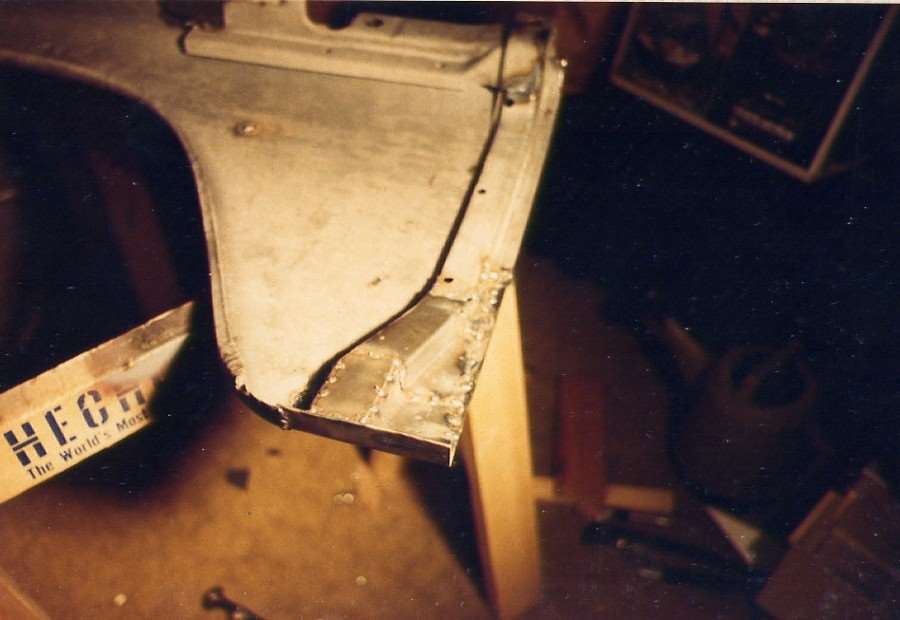
Posted on: 2013/11/16 1:40
|
|||
|
||||
|
Re: Debi's 1953 Patrician
|
||||
|---|---|---|---|---|
|
Home away from home
|
Darn tortoises. Worse than bulls in a china shop...
 My dog ate my homework...My tortoise knocked my fender over...Now I've heard them all... On a more serious note. The purple and white actually looks pretty nice. As a Mopar guy, the purple looks pretty close to Plum Crazy. Also, your upholstery guy did a real nice job on the seats. I really like the pattern that he made. I look forward to seeing the car all back together. Jeff
Posted on: 2013/11/16 1:06
|
|||
|
||||
|
Re: wanted to share my 49 restored Packard "story"
|
||||
|---|---|---|---|---|
|
Home away from home
|
That's a beautiful car you have! I love the woodgraining on the closed cars. Very classy. I also really like how Packard did the back of the front seat in the four doors. It's really got that art deco look.
 ..........Jeff ..........Jeff
Posted on: 2013/11/16 0:56
|
|||
|
||||
|
Re: Jeff's 48 Custom 8 Victoria Project
|
||||
|---|---|---|---|---|
|
Home away from home
|
Hi Dell, I was thinking about trying to shim the relief valve spring as a last resort. The leak seems to be getting worse the longer I run the engine, but it can't hurt to give it another half hour run time to see what happens. Hopefully, I'll have the functioning brakes by tomorrow afternoon, and I'll be able to drive it out of the shop and let it run outside for a while. I'll hook the mechanical gauge back up so that I can keep a close eye on the oil pressure.
What temp thermostats do you use? I notice that the owner's manual says that the standard stat is 145 degrees and the high temp is 160, where the parts manual says standard is 160 and high temp is 180. Jeff
Posted on: 2013/11/16 0:43
|
|||
|
||||
|
Re: 22nd series battery ground wire
|
||||
|---|---|---|---|---|
|
Home away from home
|
Hi JH, you were clear as a bell. I did need to partially remove the generator to access the bolt.
Thanks, Jeff
Posted on: 2013/11/16 0:27
|
|||
|
||||
|
Re: Jeff's 48 Custom 8 Victoria Project
|
||||
|---|---|---|---|---|
|
Home away from home
|
I pulled the cover off of the oil pump this morning and measured the clearances. The pump checks out fine. It's actually in much better shape than I remembered, showing no significant wear on the rotors or housing. It did have the thin gasket on the cover, so that can be eliminated as a possible problem too. I think the car has a 180 degree thermostat in it, so I ordered a 160 and I'm going to drain the 10W-30 and replace it with 15W-40. Hopefully the two changes will get me another 5 psi of pressure. I ordered a new front crank seal and related gaskets.
I have some brake work to do on the car, then I'll get it off the lift and pull the front of the engine apart, maybe on Sunday. Jeff
Posted on: 2013/11/15 15:21
|
|||
|
||||
|
Re: Jeff's 48 Custom 8 Victoria Project
|
||||
|---|---|---|---|---|
|
Home away from home
|
Thanks for the tips and compliments guys. I have to decide if I should pull things apart right now for inspection, or order parts now and take it apart after the parts arrive. I could really use the lift to get some other things done in the meantime.
Dell, you have me worried about the plug with the hole. I never noticed any difference between the four plugs. They all looked a bit crude in the way they were made, not something that would have a precise hole in it to lube the chain. If I had one with a hole, it's obviously not at the back of the engine, or it would be pouring out between the engine and trans. Not sure what would happen if it's in the wrong spot in the front. I'll also take a look at those pedals. I wasn't sure which way they went. I do know that the gasket for the oil pump cover was on the thick side. I'll have to take that apart too, make some measurements of the clearances, then cut out a new gasket. Here are close-ups of the front seal and cover. everything looks 100% in the photos. In the second pic, the seal looks like it's perfectly positioned against the cover and nicely centered. Jeff Attach file: (114.71 KB)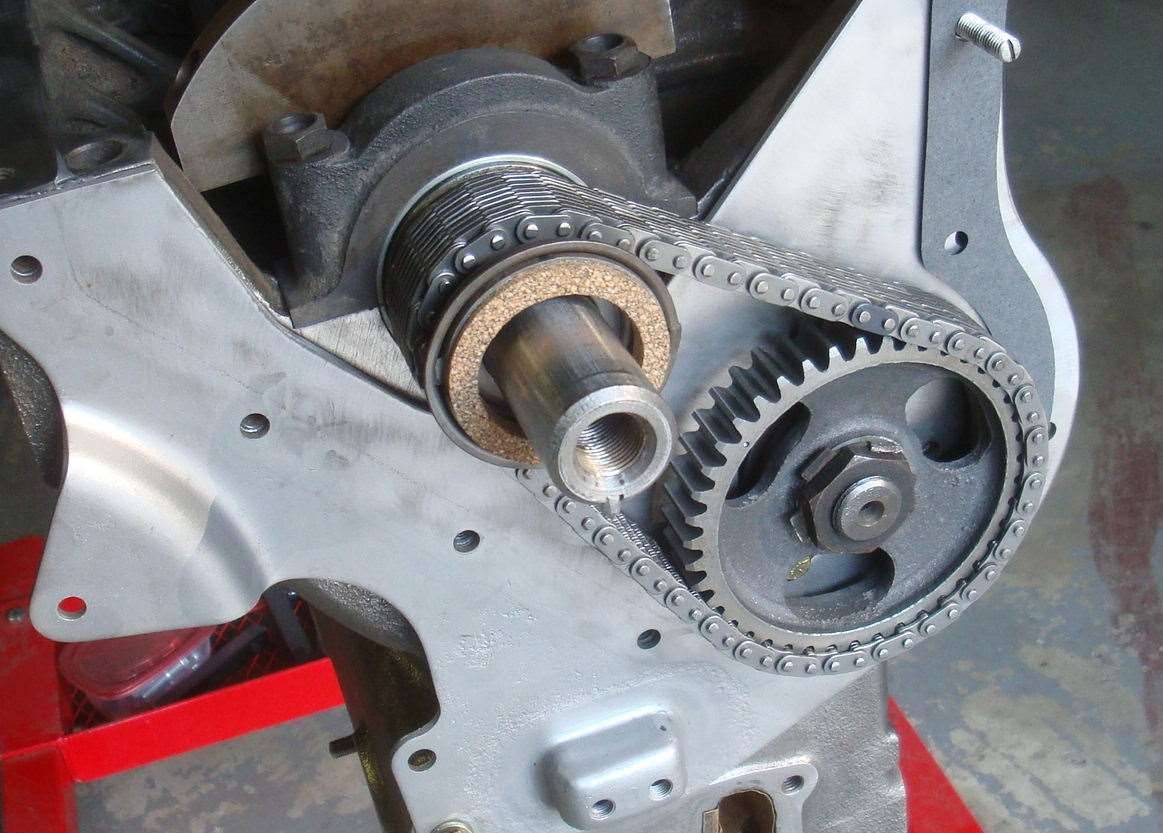 (72.98 KB) (72.98 KB)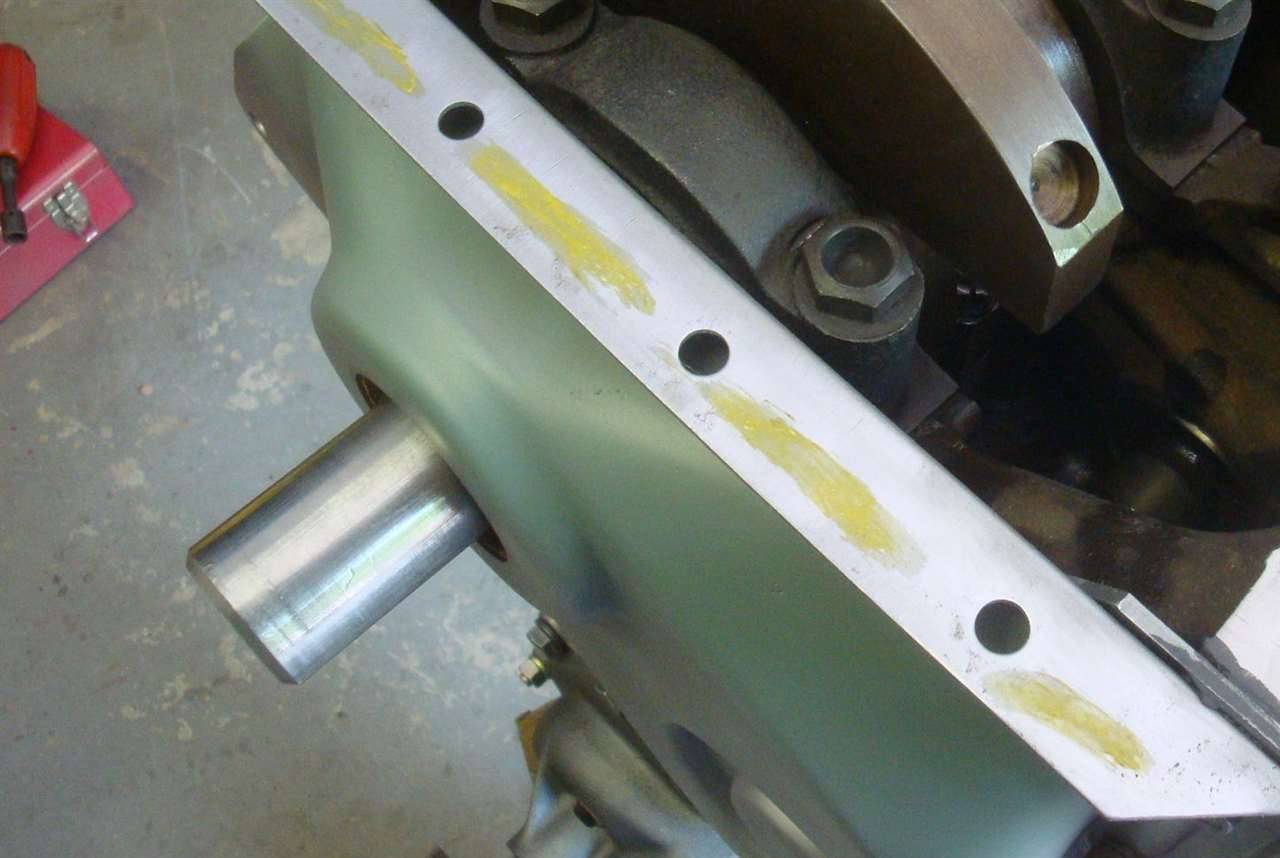
Posted on: 2013/11/15 8:55
|
|||
|
||||


.jpg")


