|
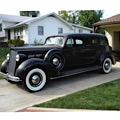
Re: Don’s 1937 (120) 138CD Deluxe Touring Limo
|
||||
|---|---|---|---|---|
|
Home away from home
|
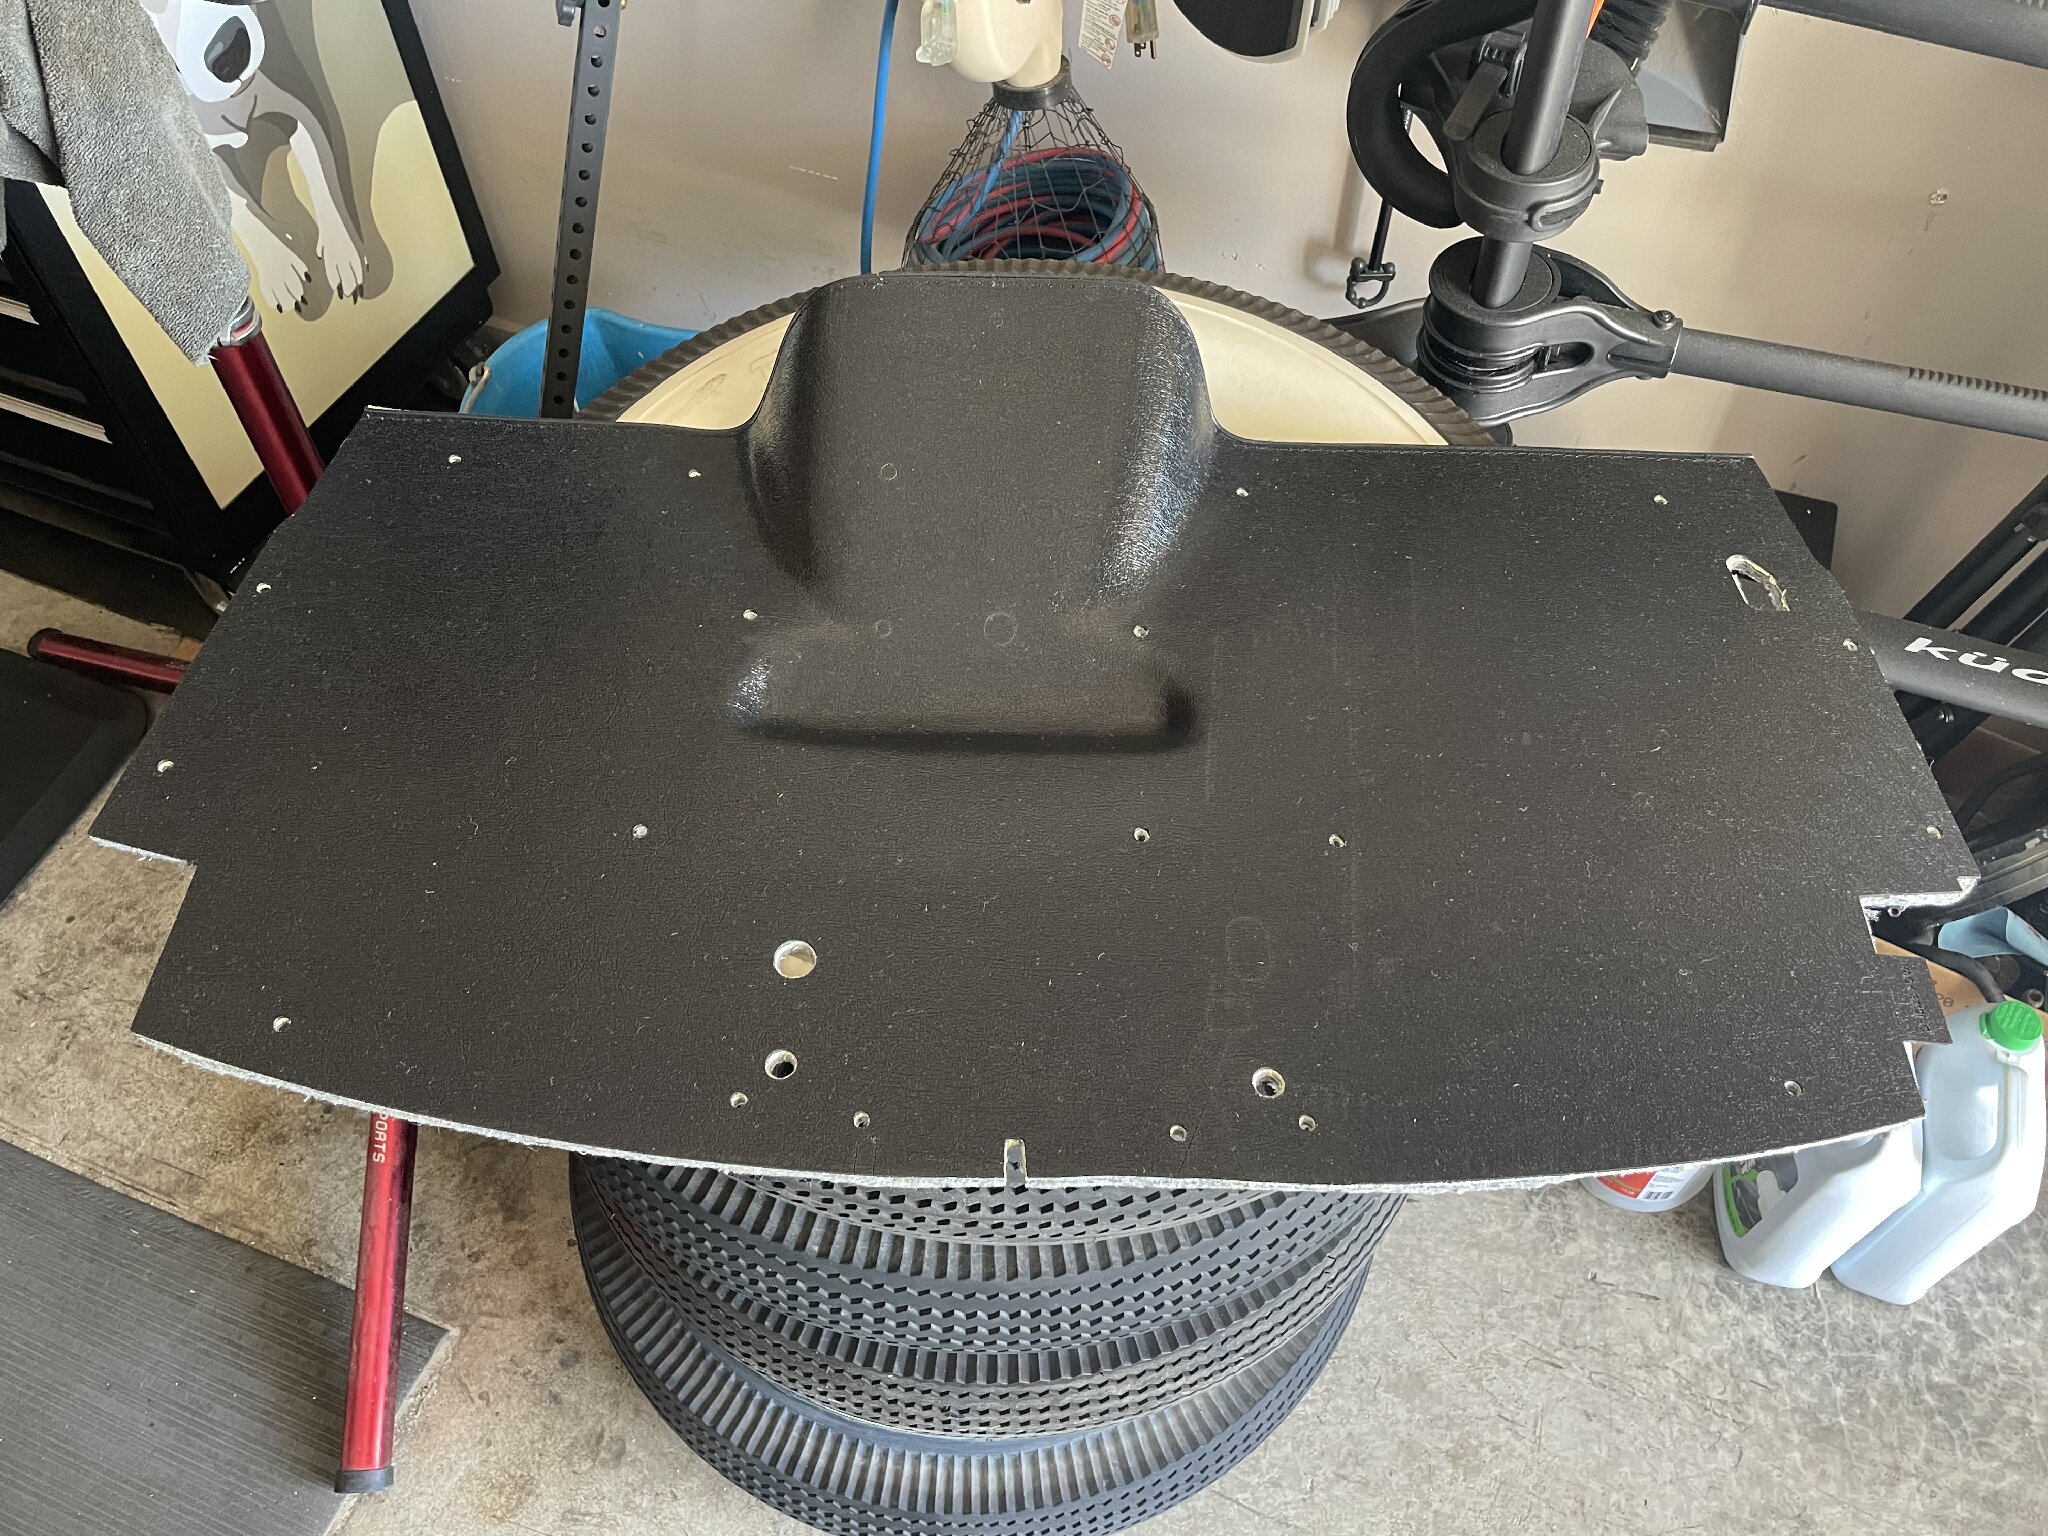
Question for the group…
As I’ve mentioned before, I have the typical break in my left front fender. I think it will be fine if we’re careful when removing the front clip, but I would like to stabilize a bit if I can. 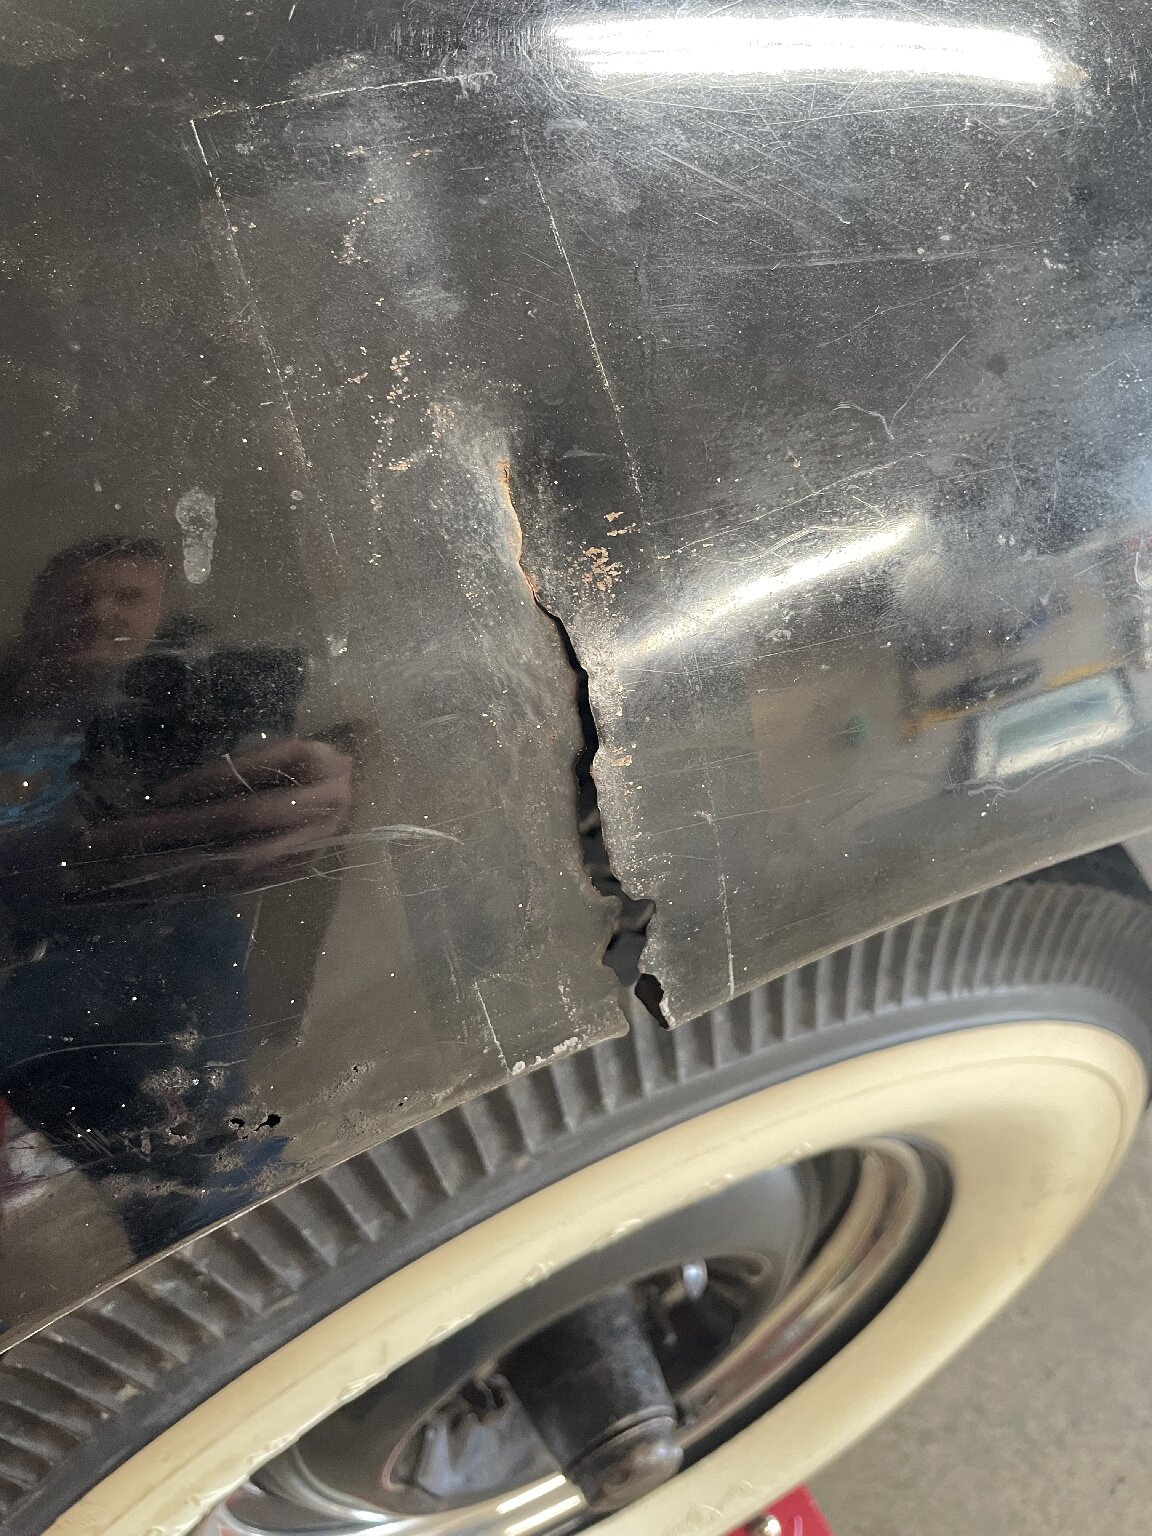 Given that this area will ultimately be cut out and a new piece welded in, (like BigKev) had to do, what are your thoughts on using some simple strapping like this to keep the break from spreading.? The idea would be to just drill a couple holes on either side of the break and bolt this strapping to the fender. 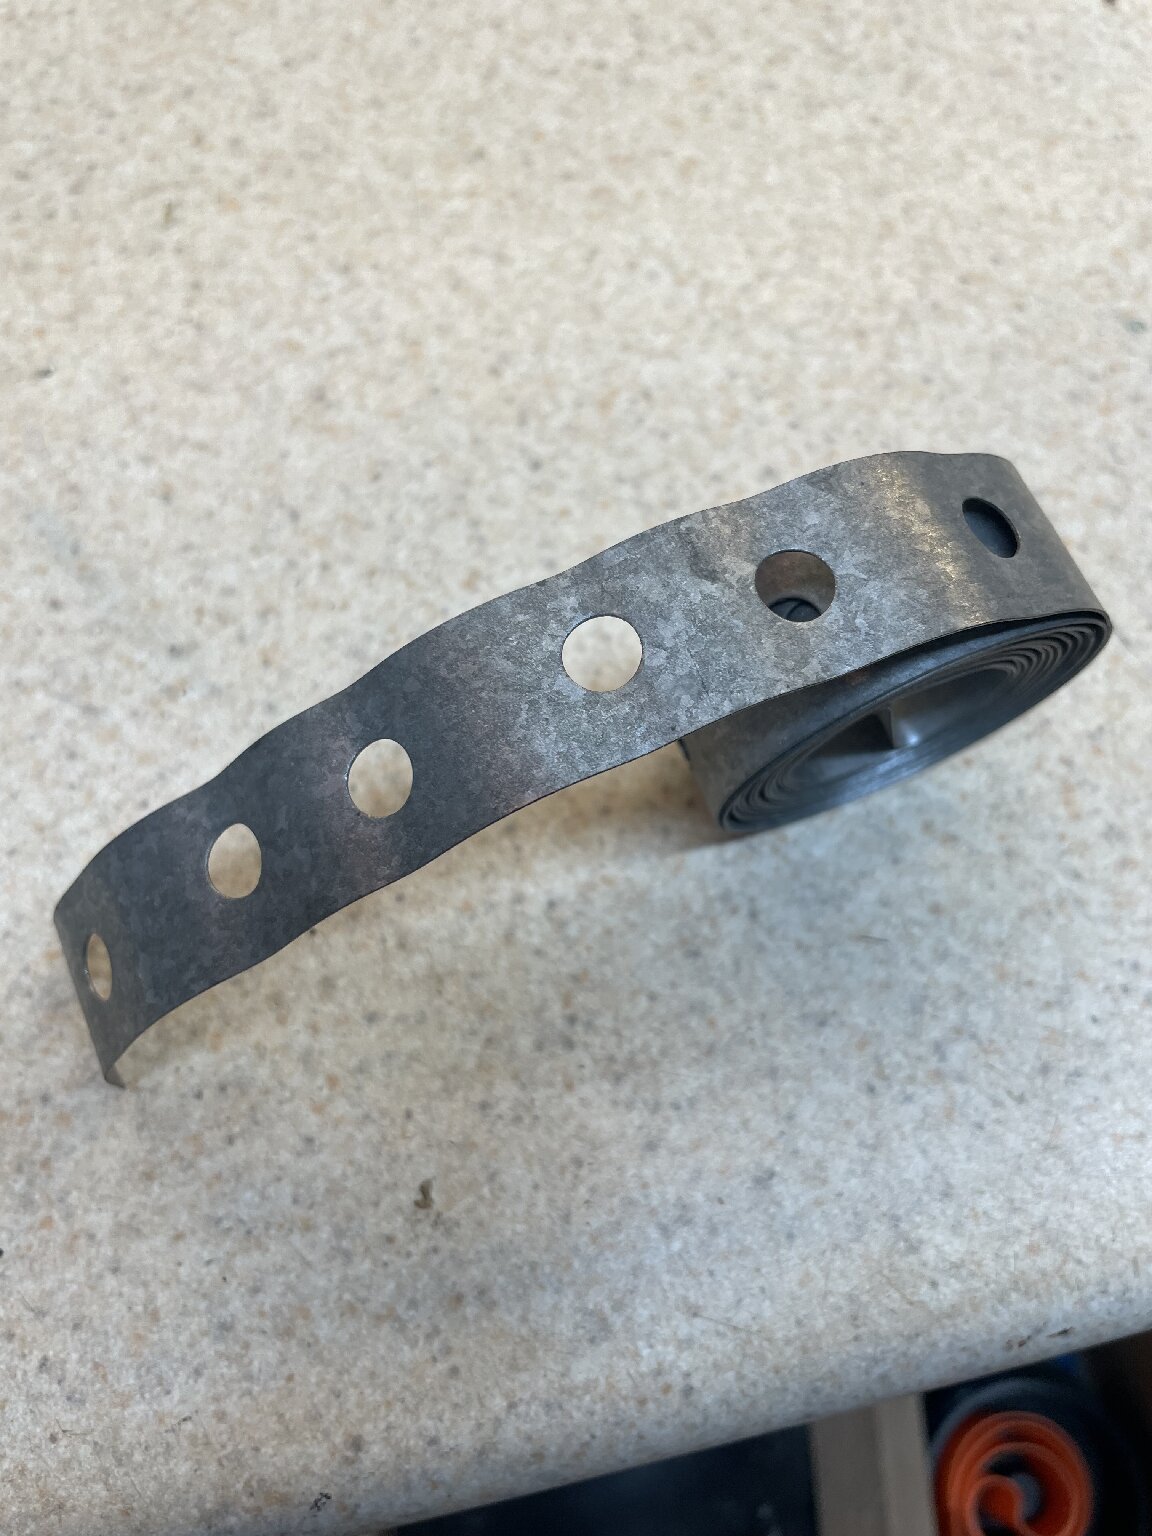
Posted on: 5/1 17:48
|
|||
|
||||
|
Re: Don’s 1937 (120) 138CD Deluxe Touring Limo
|
||||
|---|---|---|---|---|
|
Home away from home
|
Today was a good day. I got everything loose on the front end and the radiator drained and hoses off. The front clip is ready for “lift off”. I have the Three Hooligans signed up to lift it off Friday evening. I think we’ll make it a neighborhood party and I’ll put some chicken on the grill. But, nobody eats (or drinks) until AFTER the work is done. I don’t think it will take long.
I also went back to the heater refinishing and tried the “wrinkle” paint that Dan (DM37) recommended. I just did the insides for now and they came out pretty nice, I think. I’ll do the outsides tomorrow. Here’s before and after the heat gun to bring out the wrinkle effect.  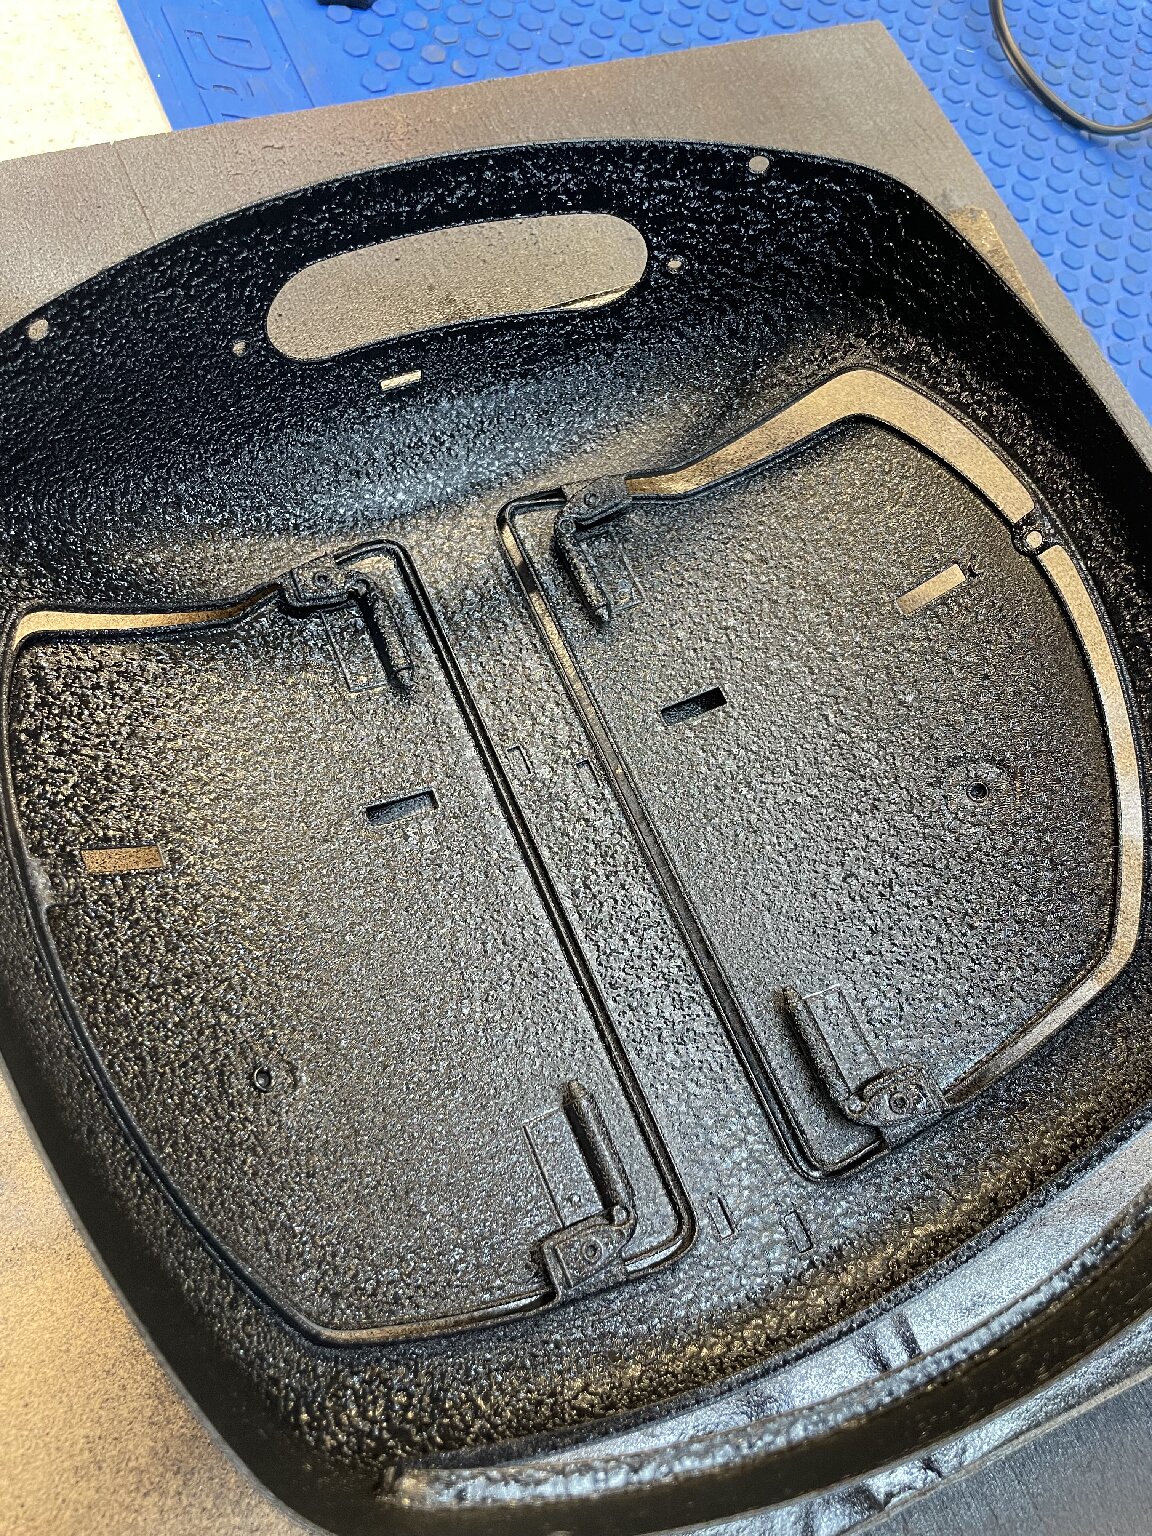
Posted on: 5/1 17:01
|
|||
|
||||
|
Re: Don’s 1937 (120) 138CD Deluxe Touring Limo
|
||||
|---|---|---|---|---|
|
Home away from home
|
Quote:
Check out Quietride.com I actually bought mine on eBay, but it was directly from Quietride. For whatever reason, the shipping when ordering through eBay was about $10 less.
Posted on: 5/1 7:57
|
|||
|
||||
|
Re: Don’s 1937 (120) 138CD Deluxe Touring Limo
|
||||
|---|---|---|---|---|
|
Home away from home
|
Thanks, TxGOAT.
It looks like I have it covered. I’m going to work on the bolts to the running boards tomorrow.
Posted on: 4/30 23:40
|
|||
|
||||
|
Re: Don’s 1937 (120) 138CD Deluxe Touring Limo
|
||||
|---|---|---|---|---|
|
Home away from home
|
This arrived today. I just unboxed it to make sure it was in good shape since the box took a bit of a beating. Then, put it right back in the box for another day down the road a bit.
Posted on: 4/30 10:46
|
|||
|
||||
|
Re: Don’s 1937 (120) 138CD Deluxe Touring Limo
|
||||
|---|---|---|---|---|
|
Home away from home
|
Quote:
Thanks, I’ll look that up. I’m pretty optimistic now. I can’t say that I was a couple days ago. I don’t have access to a hoist, but I do have access to three 25-30 year olds. I think the four of us should be able to handle it. I’l put the two strong guys at the front. Then me and the other can help guide the fenders.
Posted on: 4/30 10:43
|
|||
|
||||
|
Re: Don’s 1937 (120) 138CD Deluxe Touring Limo
|
||||
|---|---|---|---|---|
|
Home away from home
|
Thanks, guys. Good ideas all around. I’m trying to take it slow and steady. I want to get this right.
I do think the clamp and blocks idea is worth a try to stabilize the fender. It may not be needed, but can’t hurt. To be honest, I’ve thought about the general location of where I’ll put the clip, but I really hadn’t thought about how to actually set it down. I need to look in to that. I know I can get a pallet. That may help. I also have quite a bit of foam packing material that I can put under in places to as well. I’ll think on that some more.
Posted on: 4/29 22:31
|
|||
|
||||
|
Re: Don’s 1937 (120) 138CD Deluxe Touring Limo
|
||||
|---|---|---|---|---|
|
Home away from home
|
Thanks, Kev.
I assume the braces you are talking about are the ones shown here along with my bumper brackets. Obviously, I have those out and all cleaned up. 
Posted on: 4/29 20:35
|
|||
|
||||
|
Re: Don’s 1937 (120) 138CD Deluxe Touring Limo
|
||||
|---|---|---|---|---|
|
Home away from home
|
Yes…I’m replacing all of the hardware and yes, the left headlight bucket is also disconnected. I forgot to mention that since it is so short.
Also, I forgot to list “disconnect the radiator support rods”. I’m am planning to take the front clip off as one piece…radiator, radiator shell, and front fenders. Fingers crossed, but it’s going pretty well so far. One thing I’m a bit concerned about is making sure I don’t make the break in in the left fender worse. It has the common break in it right about center. We’ll just have to be careful and keep it supported well.
Posted on: 4/29 20:06
|
|||
|
||||
|
Re: Don’s 1937 (120) 138CD Deluxe Touring Limo
|
||||
|---|---|---|---|---|
|
Home away from home
|
Progress…
I got 1-5/16 socket and was able to get the nuts off the sidemount support with no problem at all. Surprisingly, the bolts from fenders to the cowl came out without a fuss. So now, I just need to work on the bolts to the running boards. Those are all VERY rusty, so they may be a challenge. But worst case, I can carefully cut them off if needed. So….I’m getting close and I’d like someone to make sure I’m not missing anything for the front clip removal. 1. Remove front bumper and brackets….done 2. Remove hood….done 3. Remove running board trim….done 4. Remove support bars under fenders….done 5. Remove bolts from fenders to cowl….done 6. Remove nuts from sidemount supports….done (I put these back on until I’m ready to actually lift off the clip)….done. 7. Remove bolts to running boards…. 8. Disconnect wiring harness to right headlight bucket and secure….done 9. Drain coolant 10. Disconnect radiator upper and lower hoses 11. Remove bolt under center of radiator (this should be easy for me since Allen just replaced it) 12. Recruit the Three Hooligans. 13.. Lift up and out . Is there anything I’m missing?
Posted on: 4/29 19:01
|
|||
|
||||


