|
Re: Dashboard on
|
||||
|---|---|---|---|---|
|
Home away from home
|
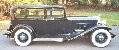
Some dash panel images, hope they are helpful.
Switches on a Senior 8 model, located on the left side of the dash panel, control the lights for the dash gauges and reading light above the gauges. Attach file:  36 Packard 12 Dash_a.jpg (89.93 KB) 36 Packard 12 Dash_a.jpg (89.93 KB)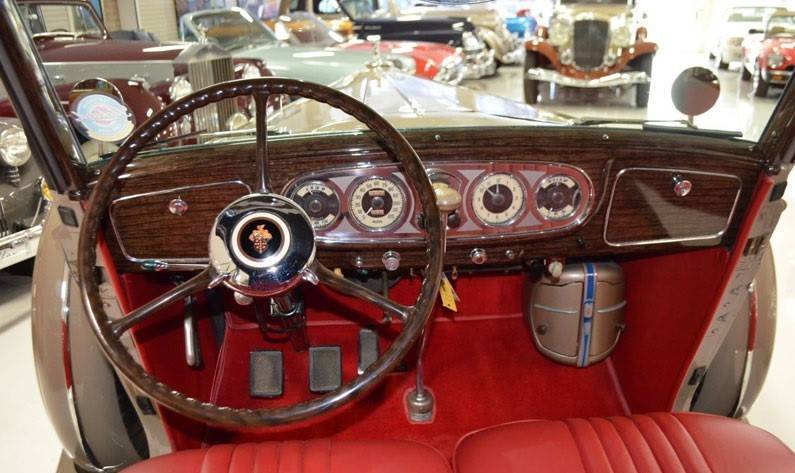 36 Packard 12 Dash_b.jpg (72.61 KB) 36 Packard 12 Dash_b.jpg (72.61 KB)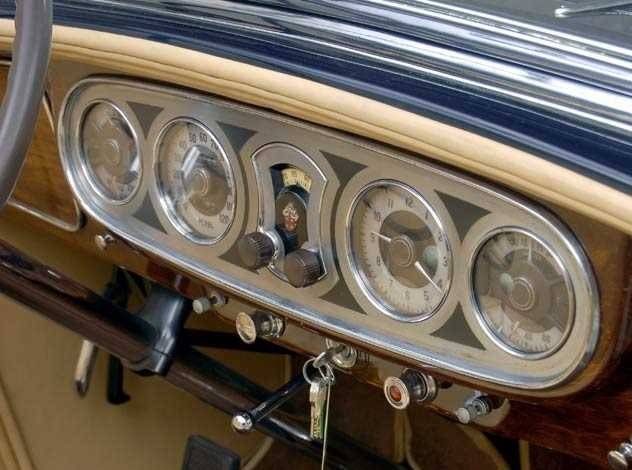 36 Packard 12 Dash_c.jpg (116.58 KB) 36 Packard 12 Dash_c.jpg (116.58 KB)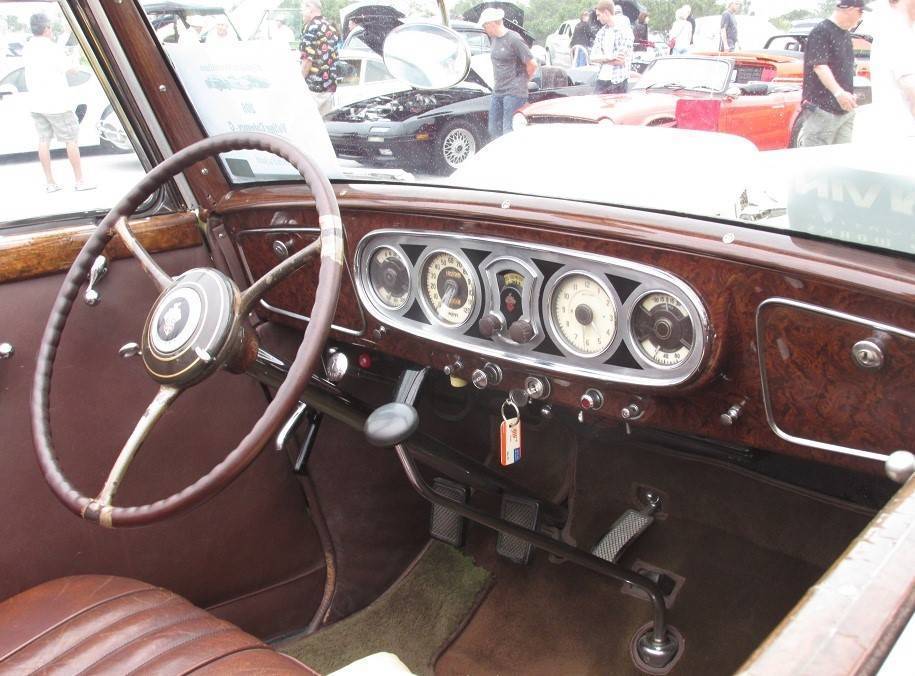 36 Packard 12 Dash_d.jpg (61.03 KB) 36 Packard 12 Dash_d.jpg (61.03 KB)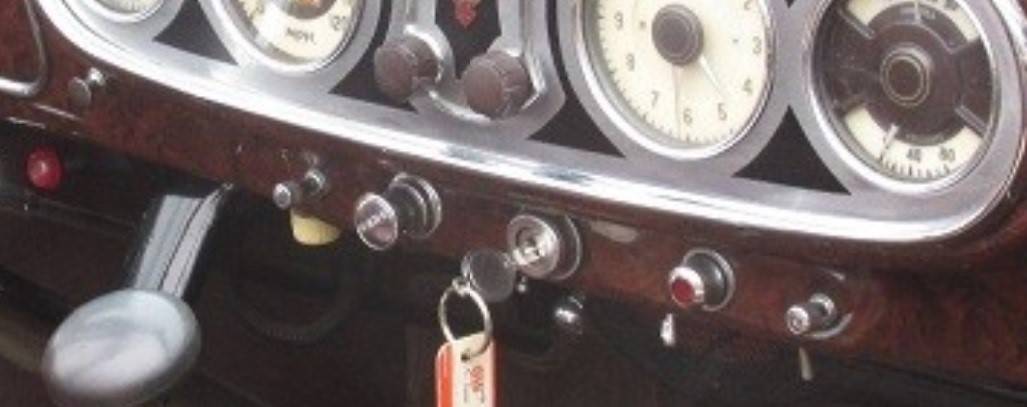
Posted on: 2021/5/22 18:35
|
|||
|
||||
|
Re: Burr Ripley L-8 Oil Filter question...how do you replace the filter??
|
||||
|---|---|---|---|---|
|
Home away from home
|
I think they just don't have the fittings installed in the picture.
Another design for an L6 replacement. Separates in the center, not on one end. Closer to the original. Attach file: L6 Filter.jpg (52.78 KB)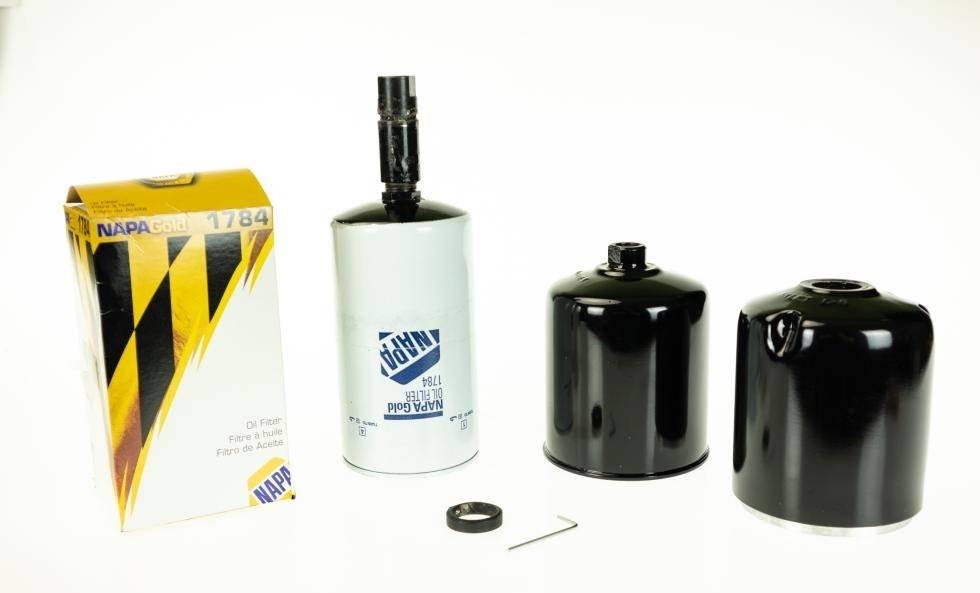
Posted on: 2021/5/7 18:01
|
|||
|
||||
|
Re: Burr Ripley L-8 Oil Filter question...how do you replace the filter??
|
||||
|---|---|---|---|---|
|
Home away from home
|
L-6 and L-8 Filters
CNC machined from billet aluminum stock Purolator-style complete replacement unit. Screws apart with replaceable filter inside.(Available at local parts stores.) Unit is show quality painted and wrenches provided for L-8 style filters. http://ra-restorations.com/Oil_FIlters/OilFilters.html
Posted on: 2021/4/30 8:08
|
|||
|
||||
|
Re: Burr Ripley L-8 Oil Filter question...how do you replace the filter??
|
||||
|---|---|---|---|---|
|
Home away from home
|
Attached pictures show a replacement element for the Burr Ripley, NAPA 1522 and if you close you can see the joint in the center of the filter where the two pcs. fit together. Unscrew one pc. from the other to disassemble (right hand thread)and change the internal screw on filter.
Attach file: Burr Ripley Filter_NAPA 1522.JPG (167.13 KB) Burr Ripley Filter.JPG (183.03 KB) Burr Ripley Filter.JPG (183.03 KB)
Posted on: 2021/4/25 18:22
|
|||
|
||||
|
Re: Burr Ripley L-8 Oil Filter question...how do you replace the filter??
|
||||
|---|---|---|---|---|
|
Home away from home
|
The outer housing of the filter is made up of two pcs. that screw together, right hand thread. Once you unscrew the housing there is a standard modern style screw on filter inside, attached to the side with the in / out oil fittings. Standard NAPA available filter.
Posted on: 2021/4/25 6:53
|
|||
|
||||
|
Re: distributor options?
|
||||
|---|---|---|---|---|
|
Home away from home
|
Correction, go Packard not original, not all those shown are correct for your year.
Posted on: 2020/8/8 6:46
|
|||
|
||||
|
Re: Adding antifreeze every 50 miles 1937 115
|
||||
|---|---|---|---|---|
|
Home away from home
|
I've used this inexpensive leak detector to check for combustion gases in coolant. Easy to use.
Head gasket, or crack(s) in the head / block can be a source for leakage. Also saw a problem where a loose water pump packing nut was allowing air into the impeller area at higher speeds, causing aeration and foaming / loss of coolant. https://www.harborfreight.com/combustion-leak-detector-64814.html?cid=paid_google|||64814&utm_source=bing&utm_medium=cpc&utm_campaign=&utm_content=&msclkid=de582b21b7611aeb636e740f3b5b69b3
Posted on: 2020/8/8 6:32
|
|||
|
||||
|
Re: 1936 STD 8, Coil Question
|
||||
|---|---|---|---|---|
|
Home away from home
|
Crin,
The wiring picture from Pertronix should show the wire from the ignitor (electronic switch) going to the bottom of the coil, based on the coil in your car. The other wire from the ignitor will go to the ignition switch. This way your ignition switch still controls the supply of power to your coil in the correct polarity. Power has to go thru the ignitor before it gets to the coil, since the ignitor is the electronic replacement for your original points. If you were to connect both wires from the ignitor to the same bottom terminal on the coil, power would always be on to the coil, as long as the ignition switch was on. The coil would not fire in sequence based on the distributor cam lobes and the engine would not run. Hope this helps, Dave
Posted on: 2020/6/14 13:40
|
|||
|
||||
|
Re: 32 901 Front Seat Attachment
|
||||
|---|---|---|---|---|
|
Home away from home
|
Marty,
Never had them off so I can't tell you. I tried pulling up on them to see if they would lift out but no luck. Dave
Posted on: 2020/5/31 8:19
|
|||
|
||||


