|
Re: Ignition Adjustment
|
||||
|---|---|---|---|---|
|
Home away from home
|
Hallo Mike, schau mal in Deine Box.
Posted on: 2022/11/21 13:35
|
|||
|
||||
|
Ignition Adjustment
|
||||
|---|---|---|---|---|
|
Home away from home
|
After restoration of my Dual Point Distributor for my 1924 6 Volt 8 Zylinder Serie 1 Engine... I need all Information about the adjustment. Points gap, closing braket .. and where I´ve specialy to looking for. Somebody can help me please.
Karl
Posted on: 2022/11/18 6:31
|
|||
|
||||
|
Re: Need correct screws to attach top bows on a
|
||||
|---|---|---|---|---|
|
Home away from home
|
That would be my way to fix this problem.
Why the screws come out of the wood bows … because the wood is now 87 years old dry and the whole top frame is “flexible” and shaking and rattle all the time if the car is running. There is no way that screws in original size will hold the metal frame piece properly into the wood. So … I use only stainless steal and select the next size of diameter. Over here in Germany the size grows up by 0.5mm. That’s perfect for this problem. But the head of the shrew has a bigger diameter which will not fit into the funnel (?) hole. So I use the lathe (which everybody has in his basement … I hope) and make the hut the same size like the original one. Then I polish the hut on my polishing stand (which also everybody has in his basement or garage) Now the screw will sit strong into the old wood hole and if you put a little (!!!) drop of this special PU glue “Titebond” on the tip of the thread. The only what additional is to do … open the diameter of the hole into the top frame piece. DON`T try to do this with a drill in a drill machine by hand. If you try this … the drill will pull you very fast to the metal right trough the wood and the hood fabric. Use a “Dremel” or a drill stop tool as you see it into the pictures. Hope this is helpful … Karl And … have fun on my English grammar. Attach file:  1.JPG (143.27 KB) 1.JPG (143.27 KB)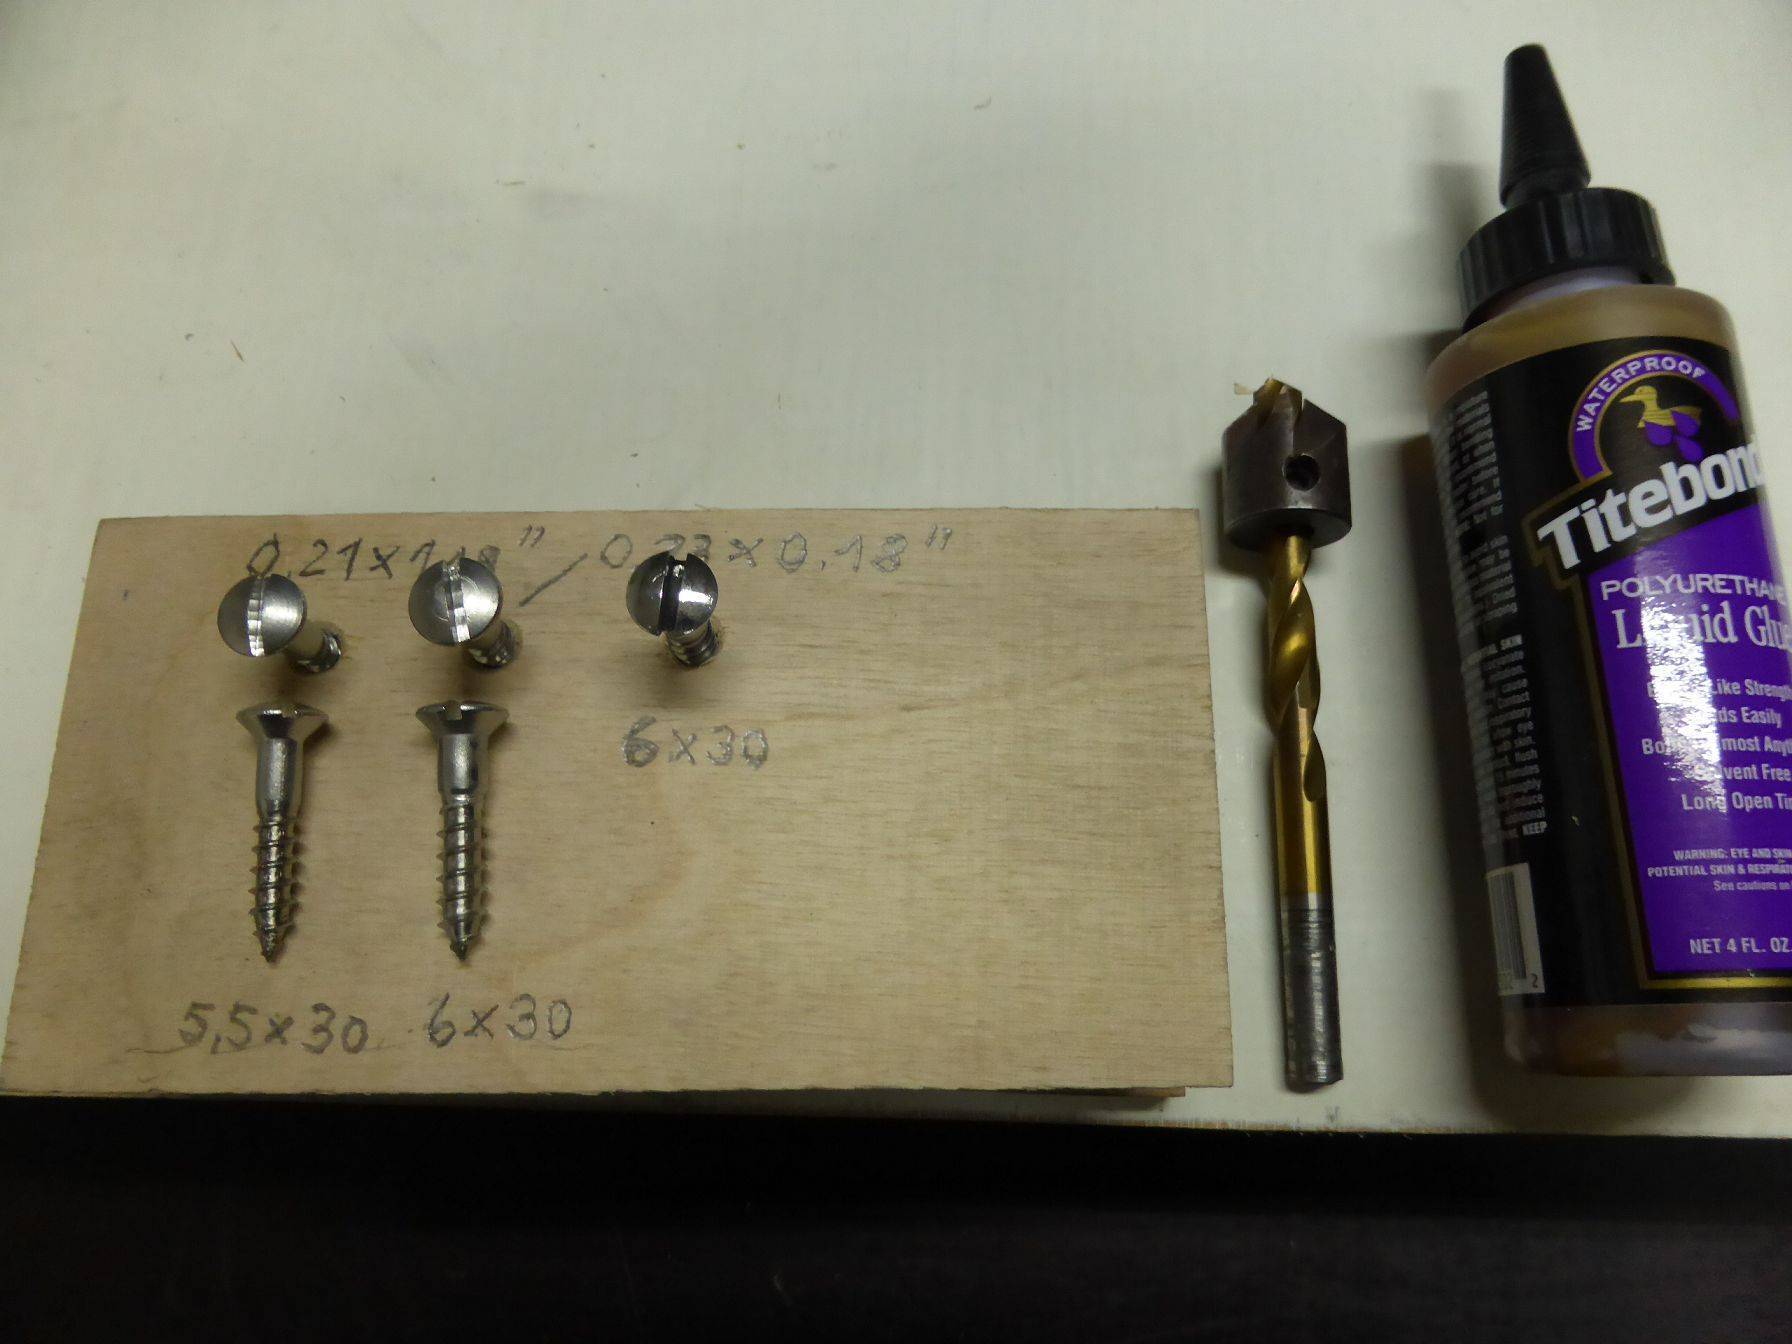 2.JPG (212.33 KB) 2.JPG (212.33 KB)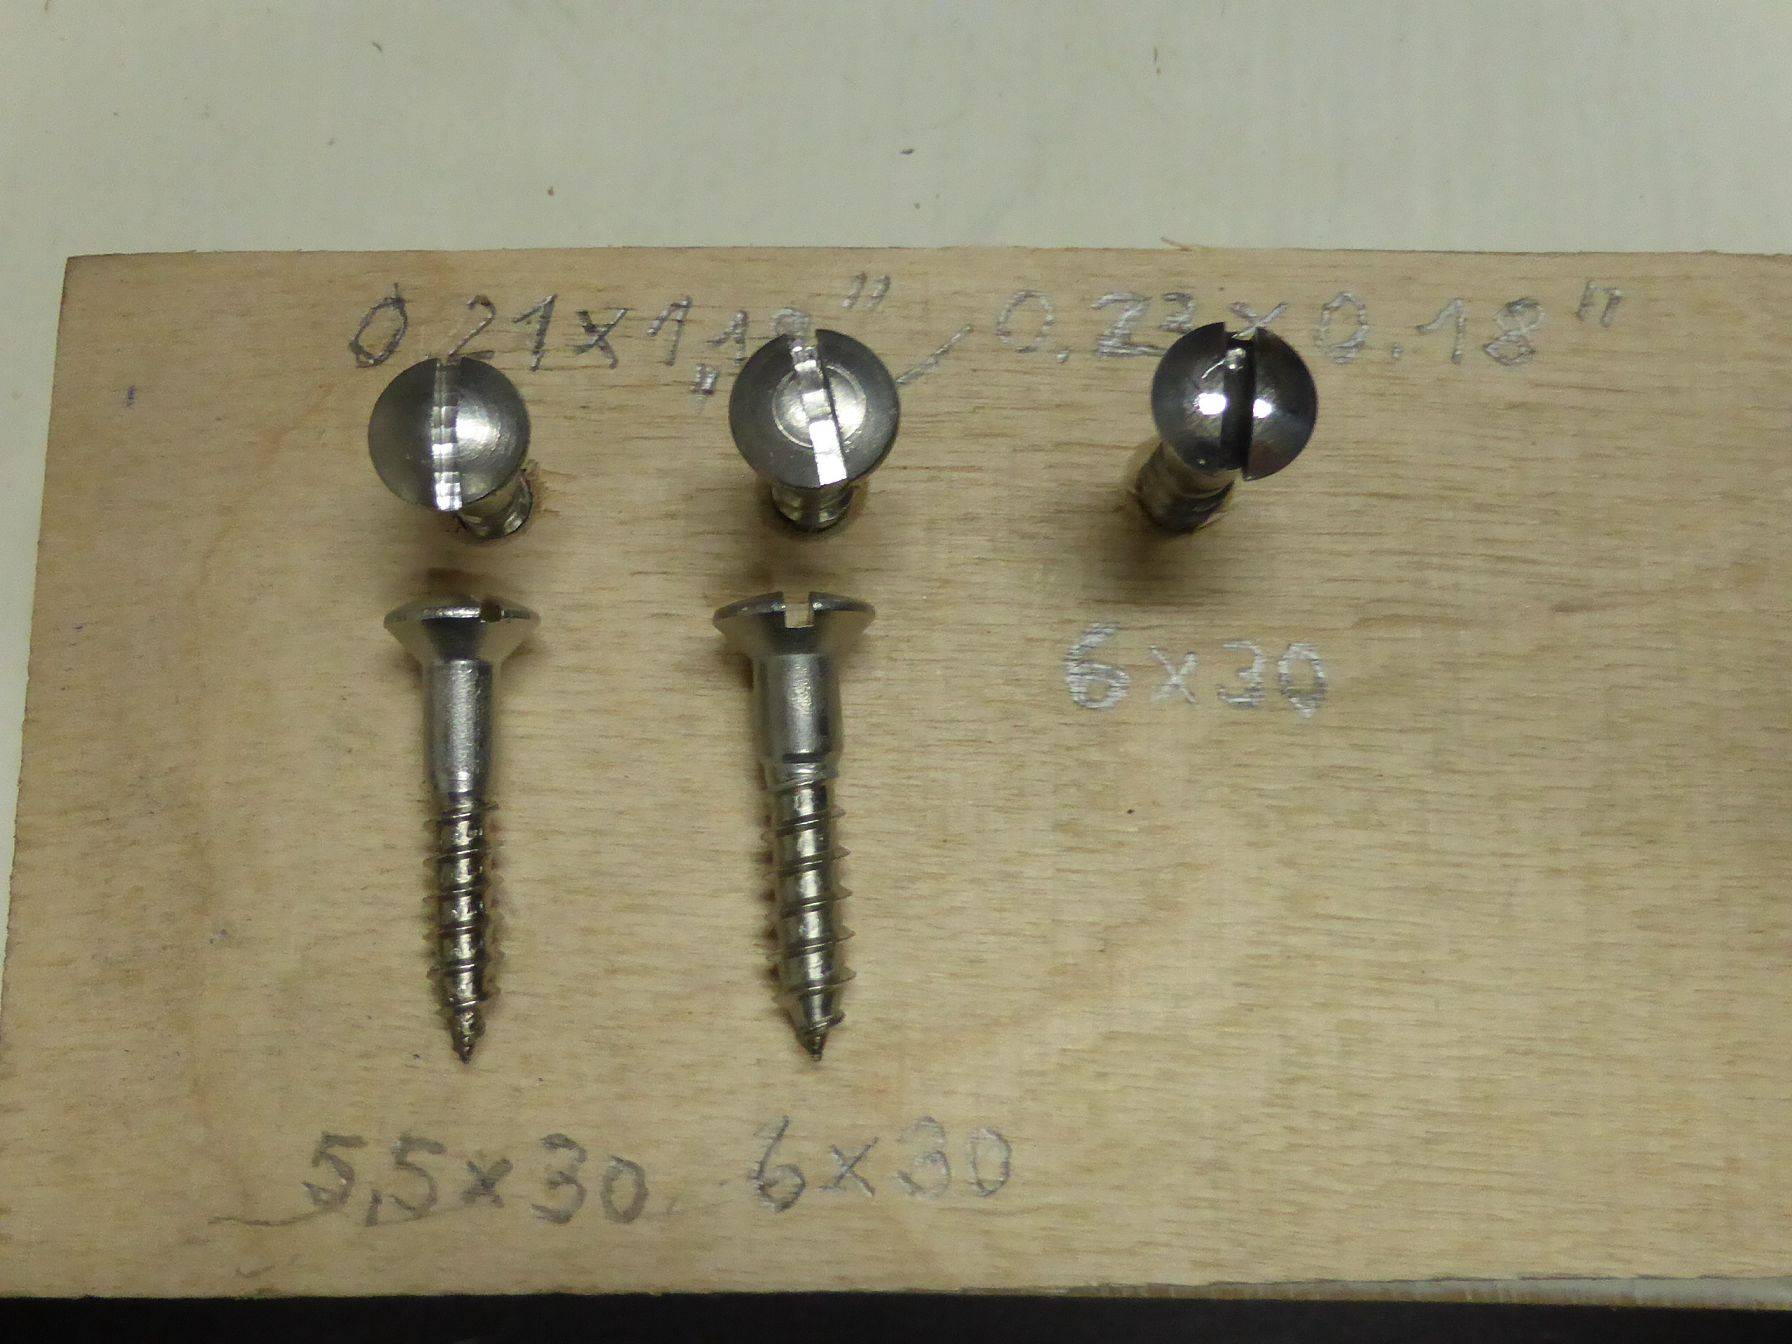 3.JPG (220.01 KB) 3.JPG (220.01 KB)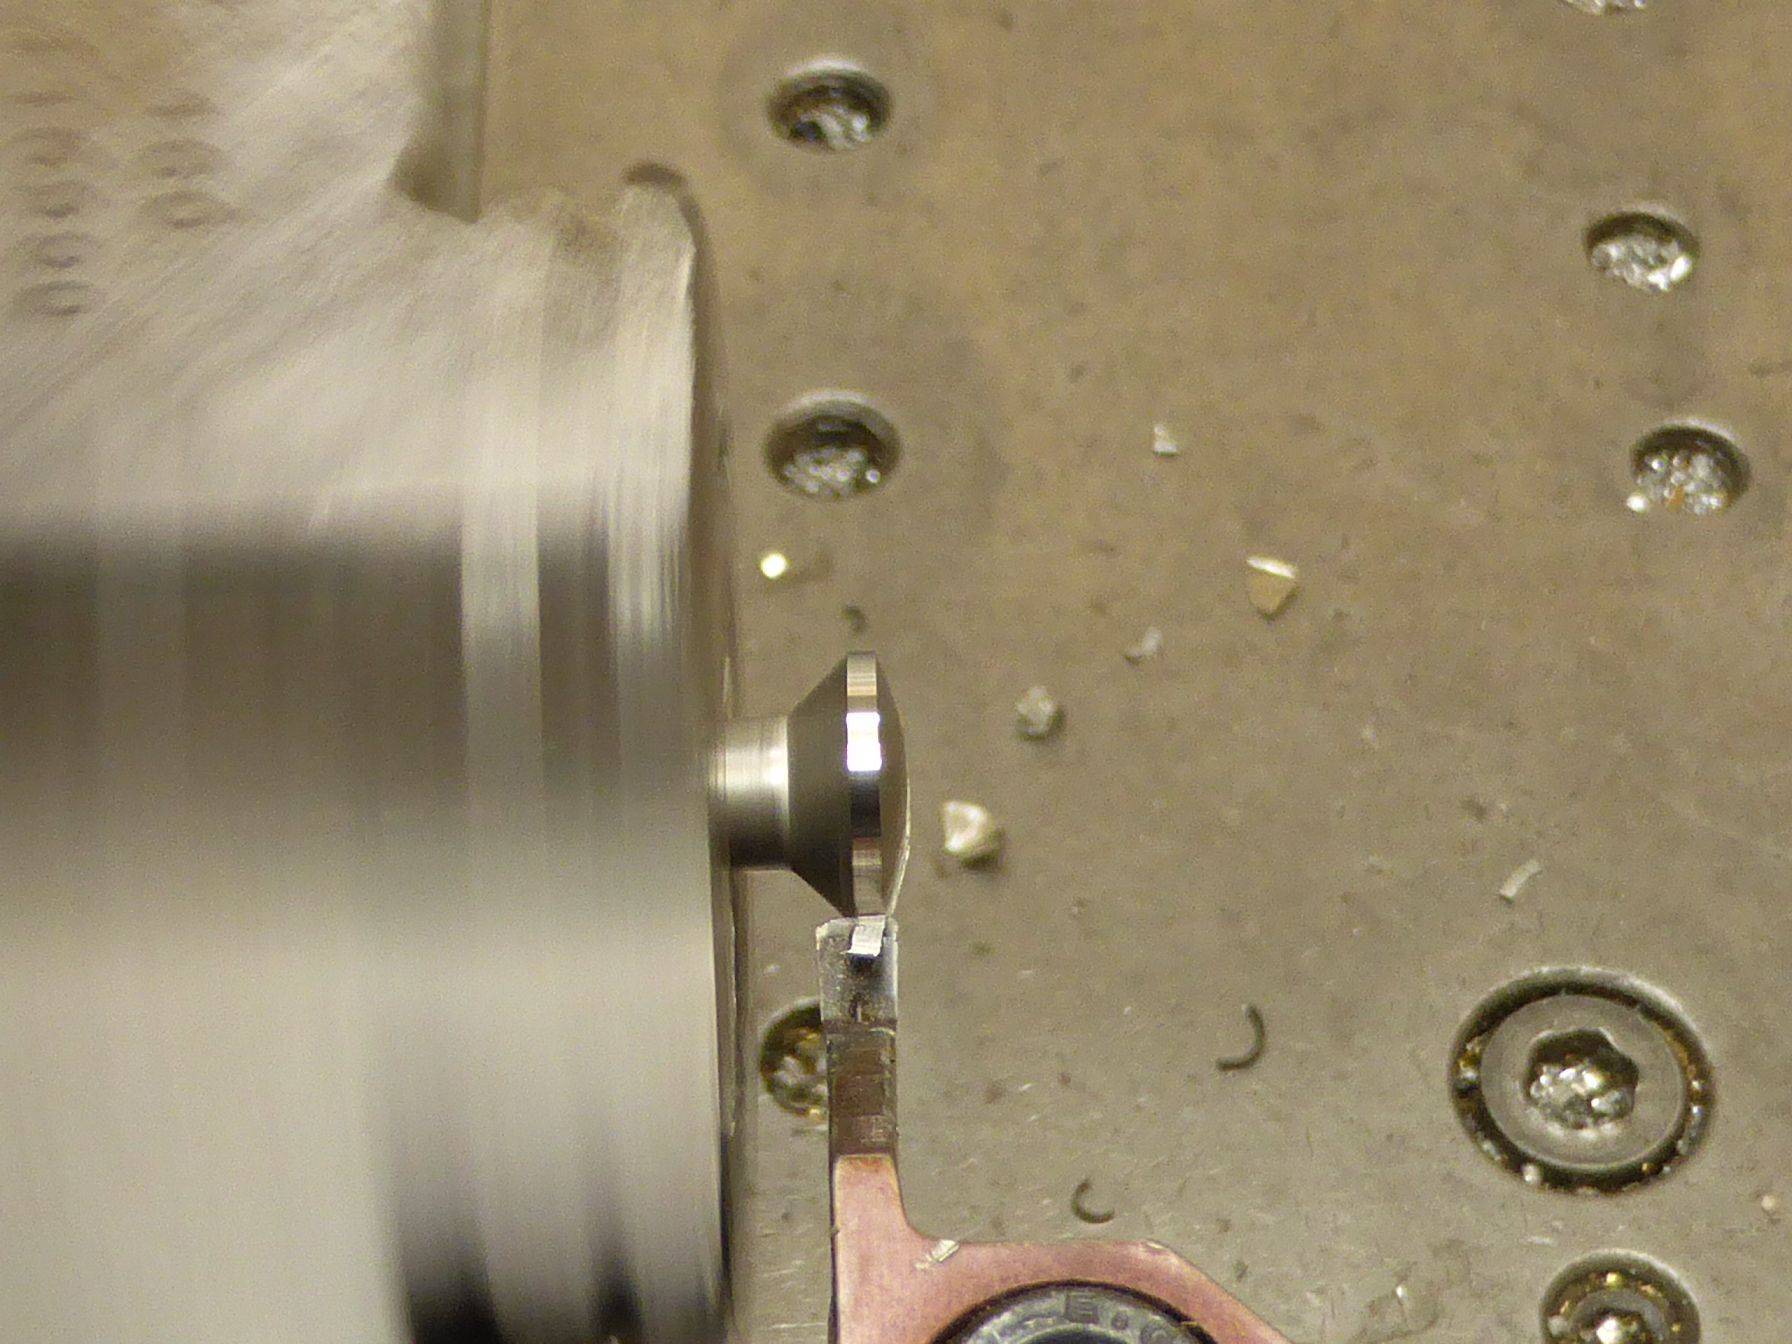 4.JPG (226.38 KB) 4.JPG (226.38 KB) 5.JPG (256.68 KB) 5.JPG (256.68 KB)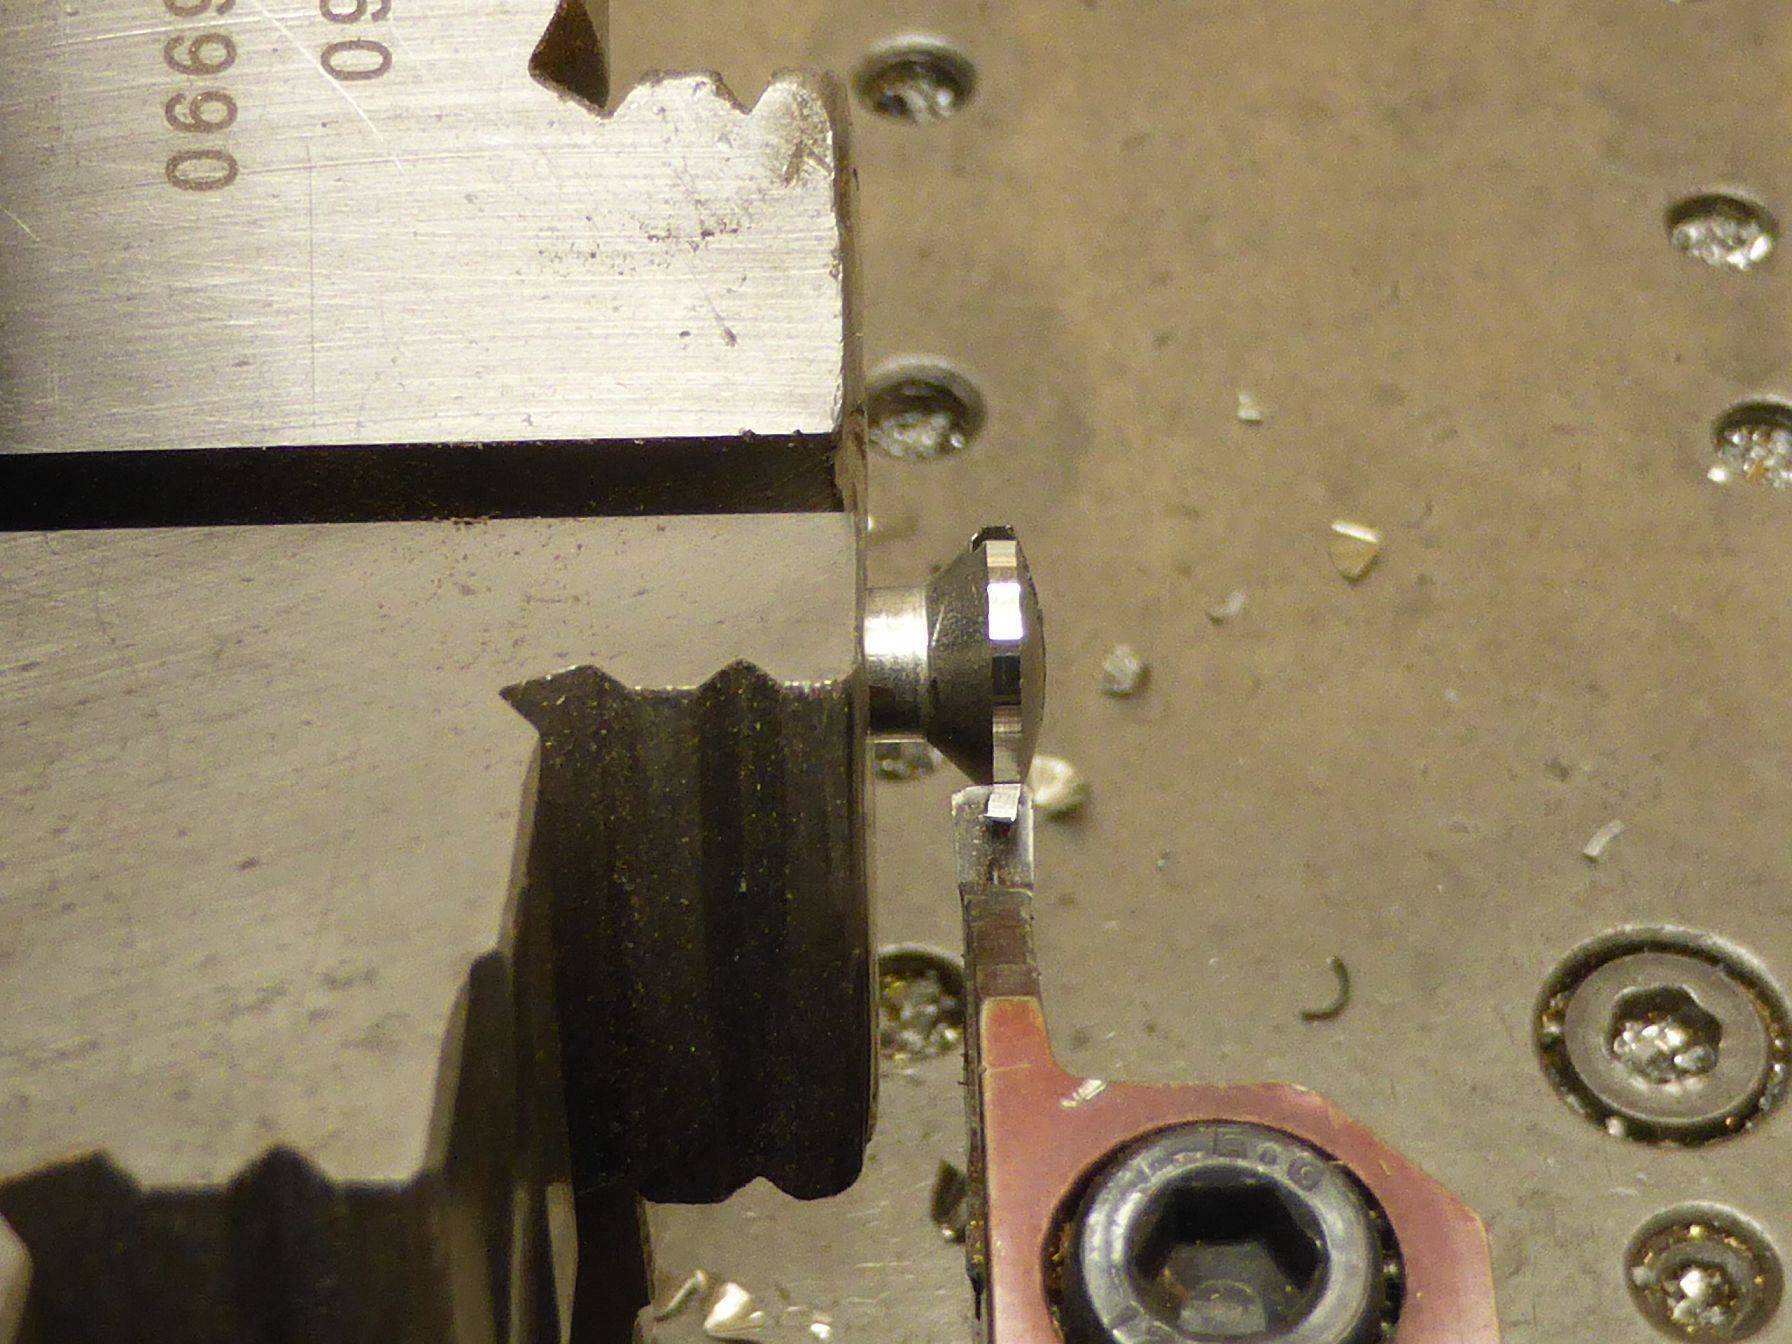 6.JPG (146.13 KB) 6.JPG (146.13 KB)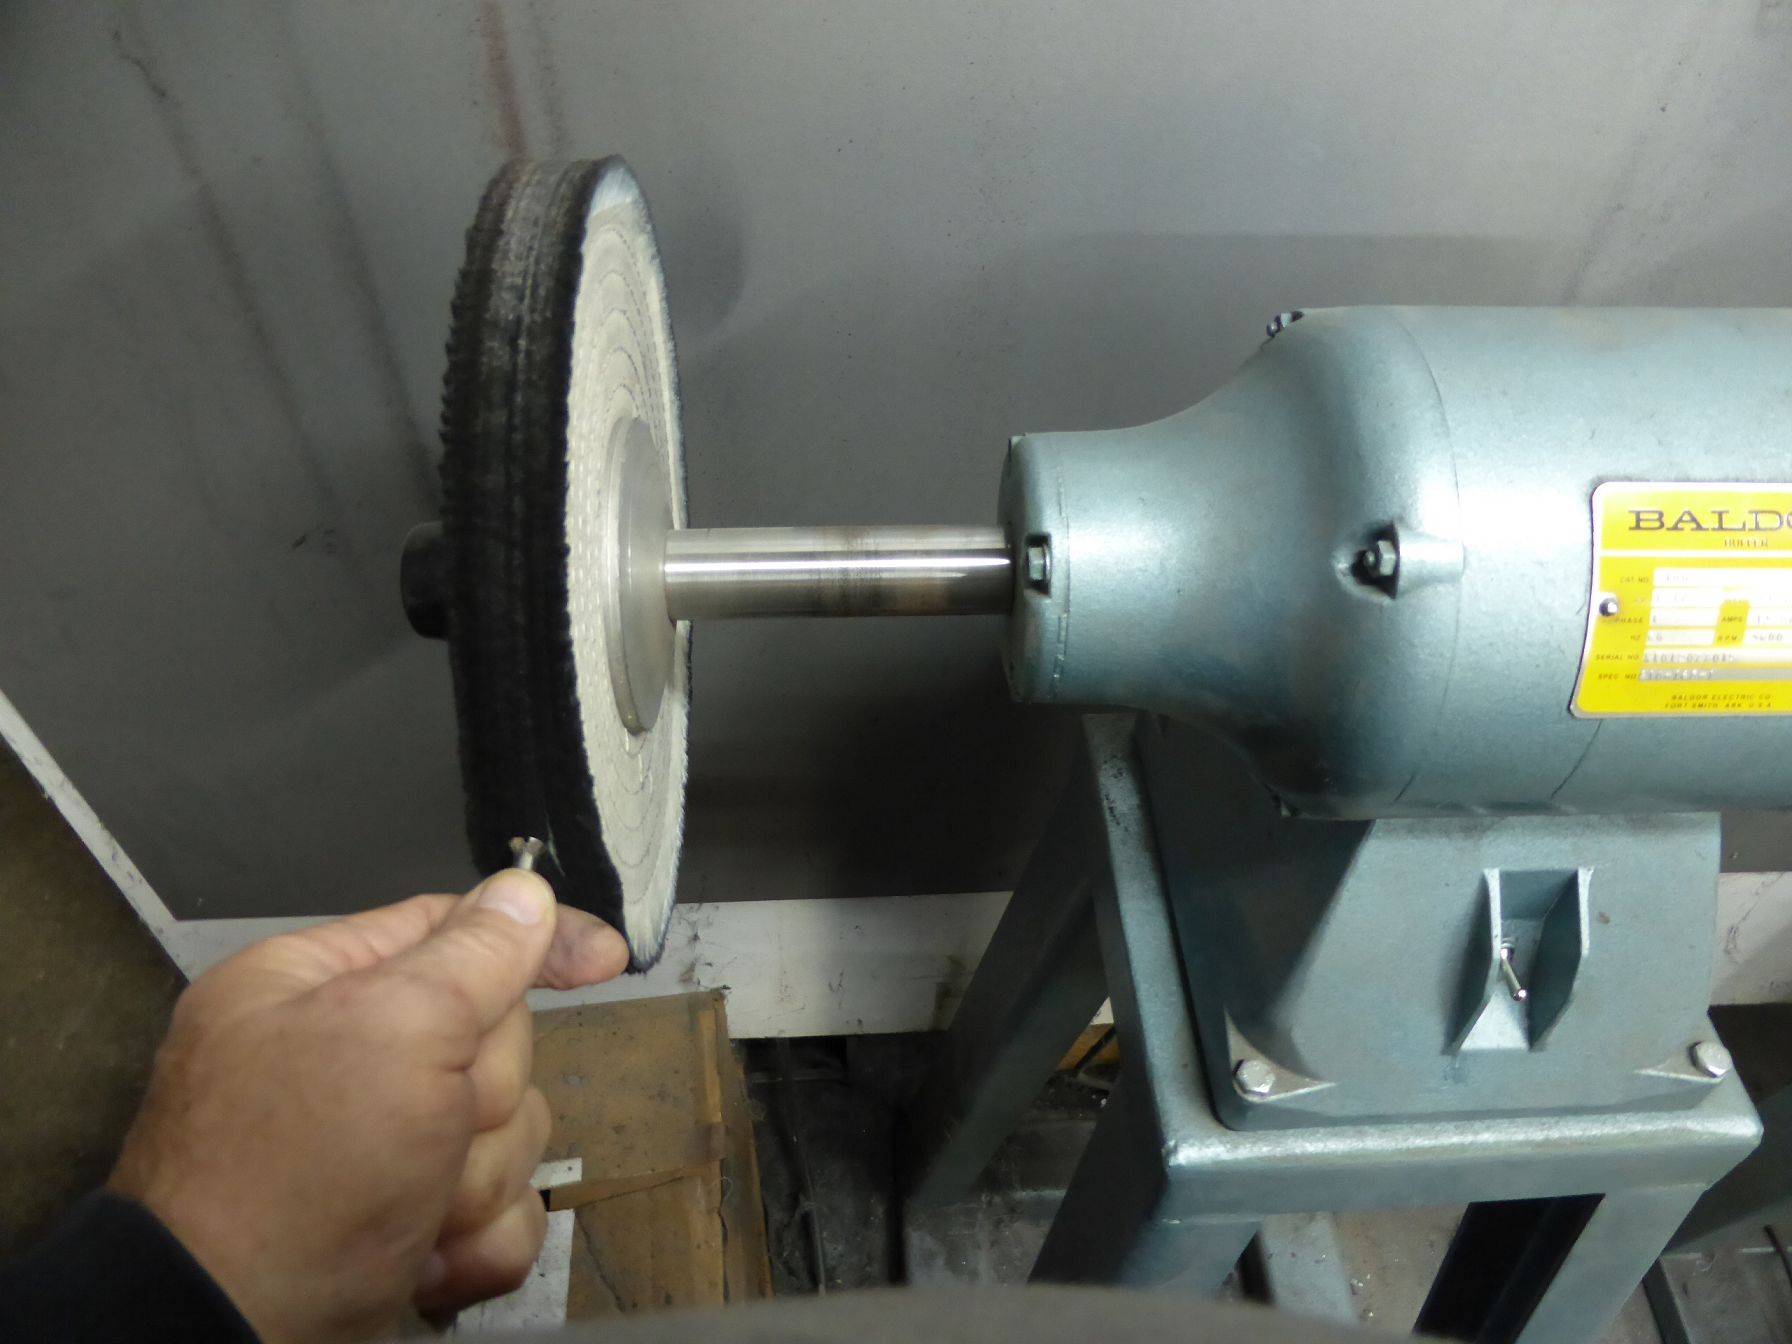
Posted on: 2022/10/7 7:04
|
|||
|
||||
|
1924 Sport Phaeton Update
|
||||
|---|---|---|---|---|
|
Home away from home
|
For all Packard Friends of my 1924 Sport Phaeton who ask for pictures … here the current situation of restauration.
After round about 300 hours ... the bodywork is done. All gaps between doors and body … specially the factory made terrible curves between rear doors and fenders lined up now. The running boards are original rebuild. The wrong hood sides … (somebody cut off the lower parts from a Touring hood which are 4 inch higher so he also cut off all bracings which hold the hood sides straight) … are now original rebuild. Engine and gearbox are temporary installed because it is important to have enough weight on the frame. The frame looks very heavy and stabile …. but if you lift the car on a 4-arm car hoist … the door gaps open on top up to 5mm. The frame is really weak. So better there is the whole weight on the car like the car is finished and in drivable condition. Of course, you can adjust the body if you put shims between body and frame … but this can end in a "never ending story". Now I have to start the work I hate more than anything else. Putty and sanding …. putty and sanding … putty and sanding … I´ll start this work in spring. In the meantime, I´ll finish the restauration of fuel tank an carburetor and build stainlessteel muffler in original style/construction ( min. 2mm thick) to start the Engine before the final installation. Karl Attach file: k-P1030776.JPG (191.61 KB)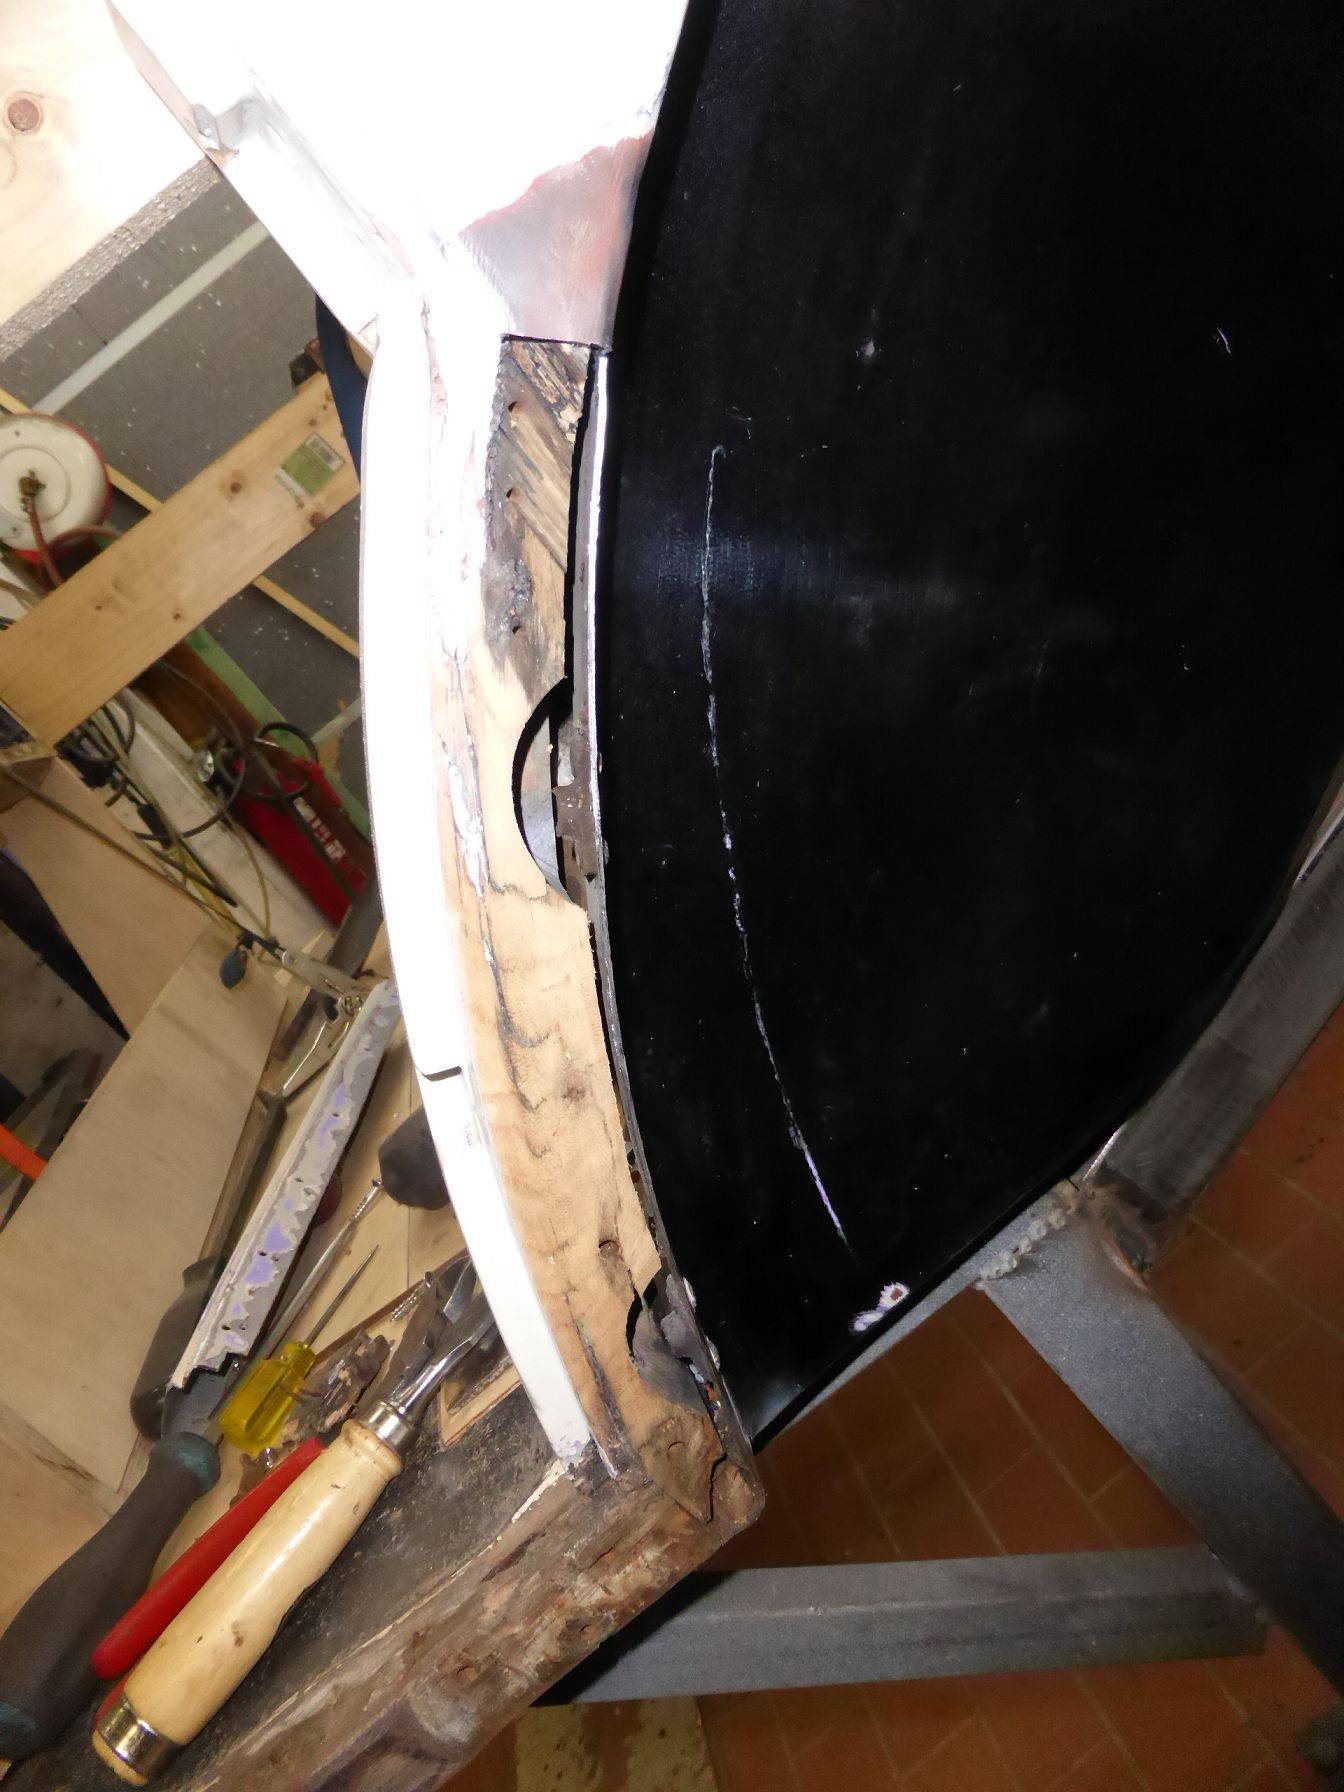 k-P1040133.JPG (412.34 KB) k-P1040133.JPG (412.34 KB)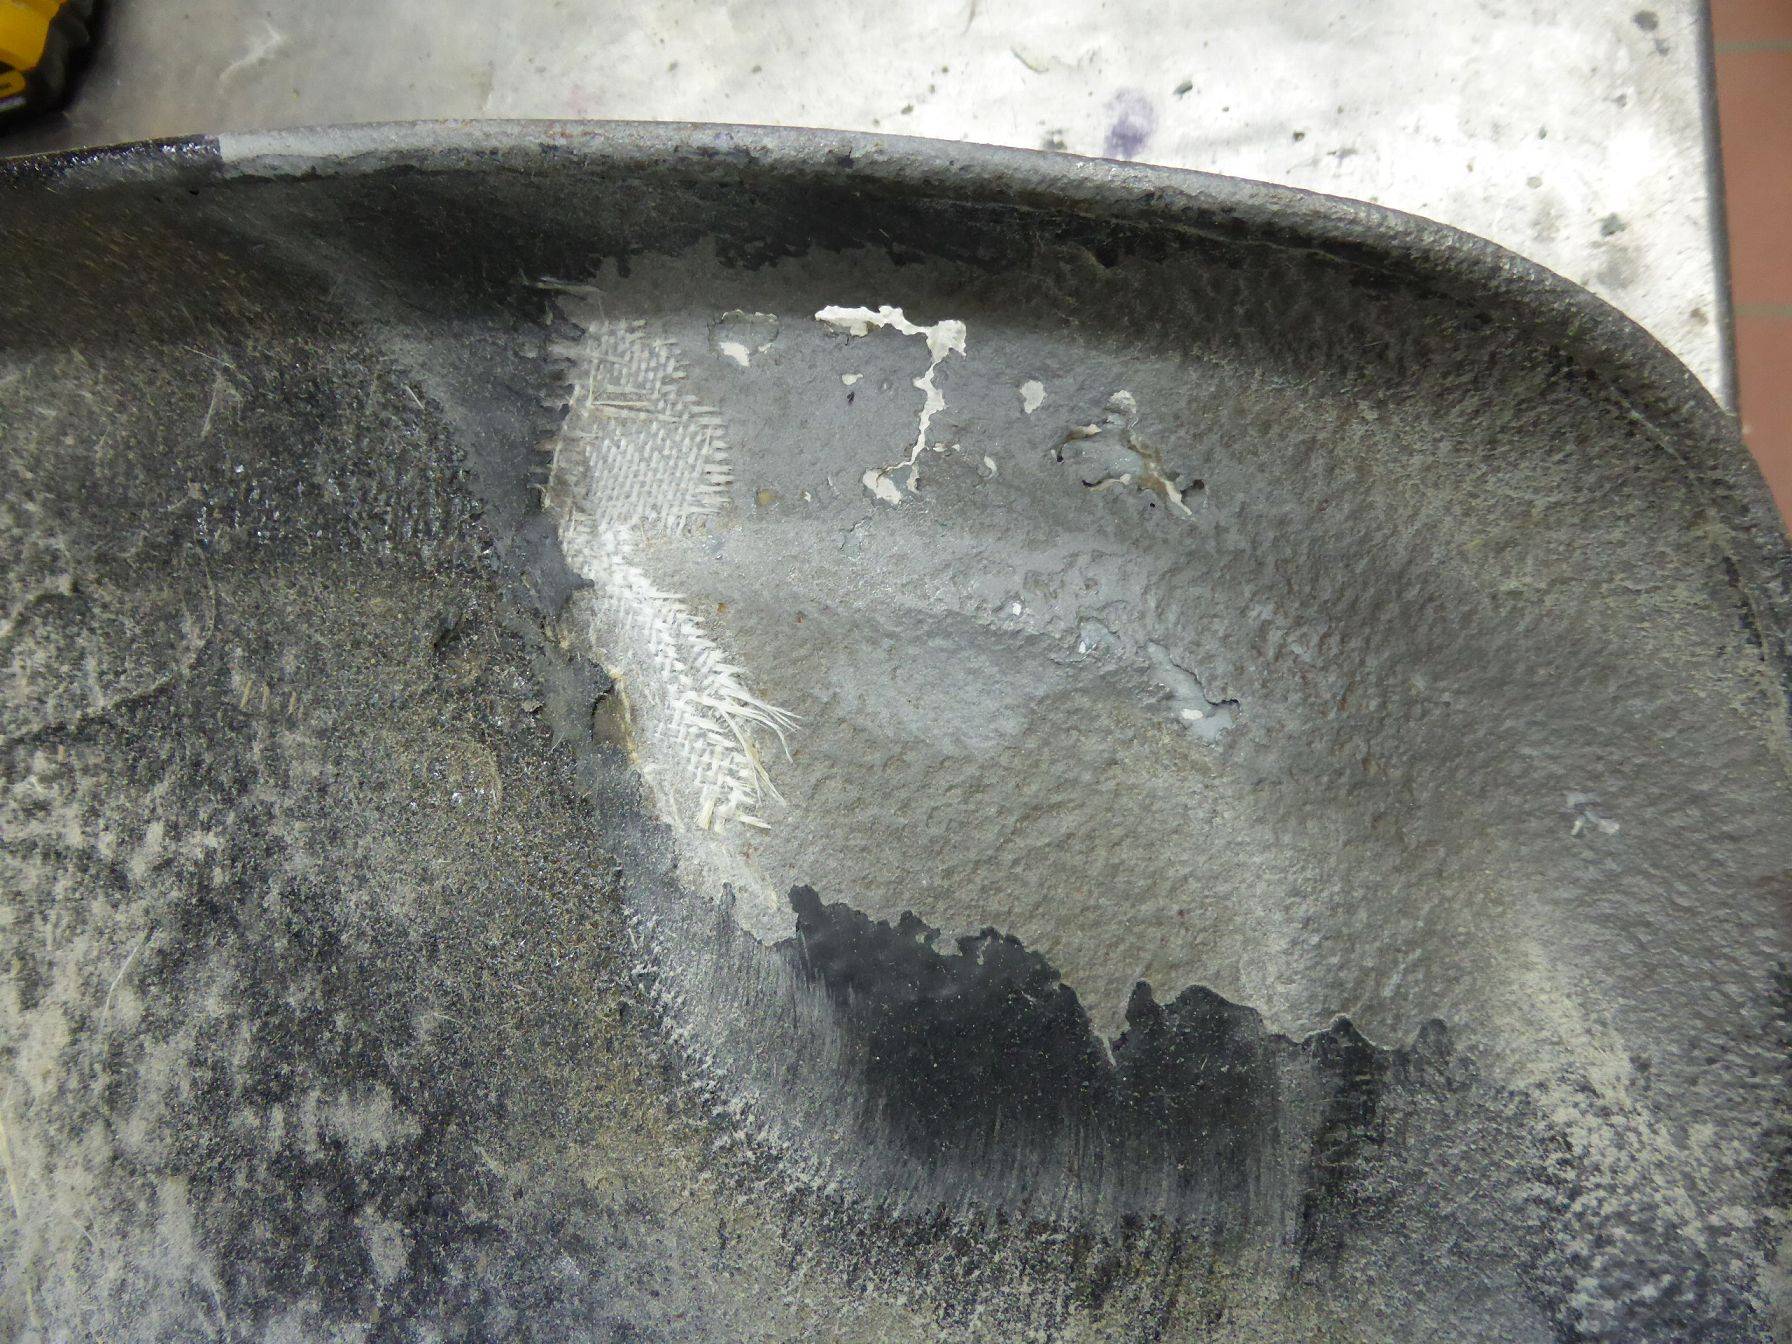 k-P1040135.JPG (346.57 KB) k-P1040135.JPG (346.57 KB)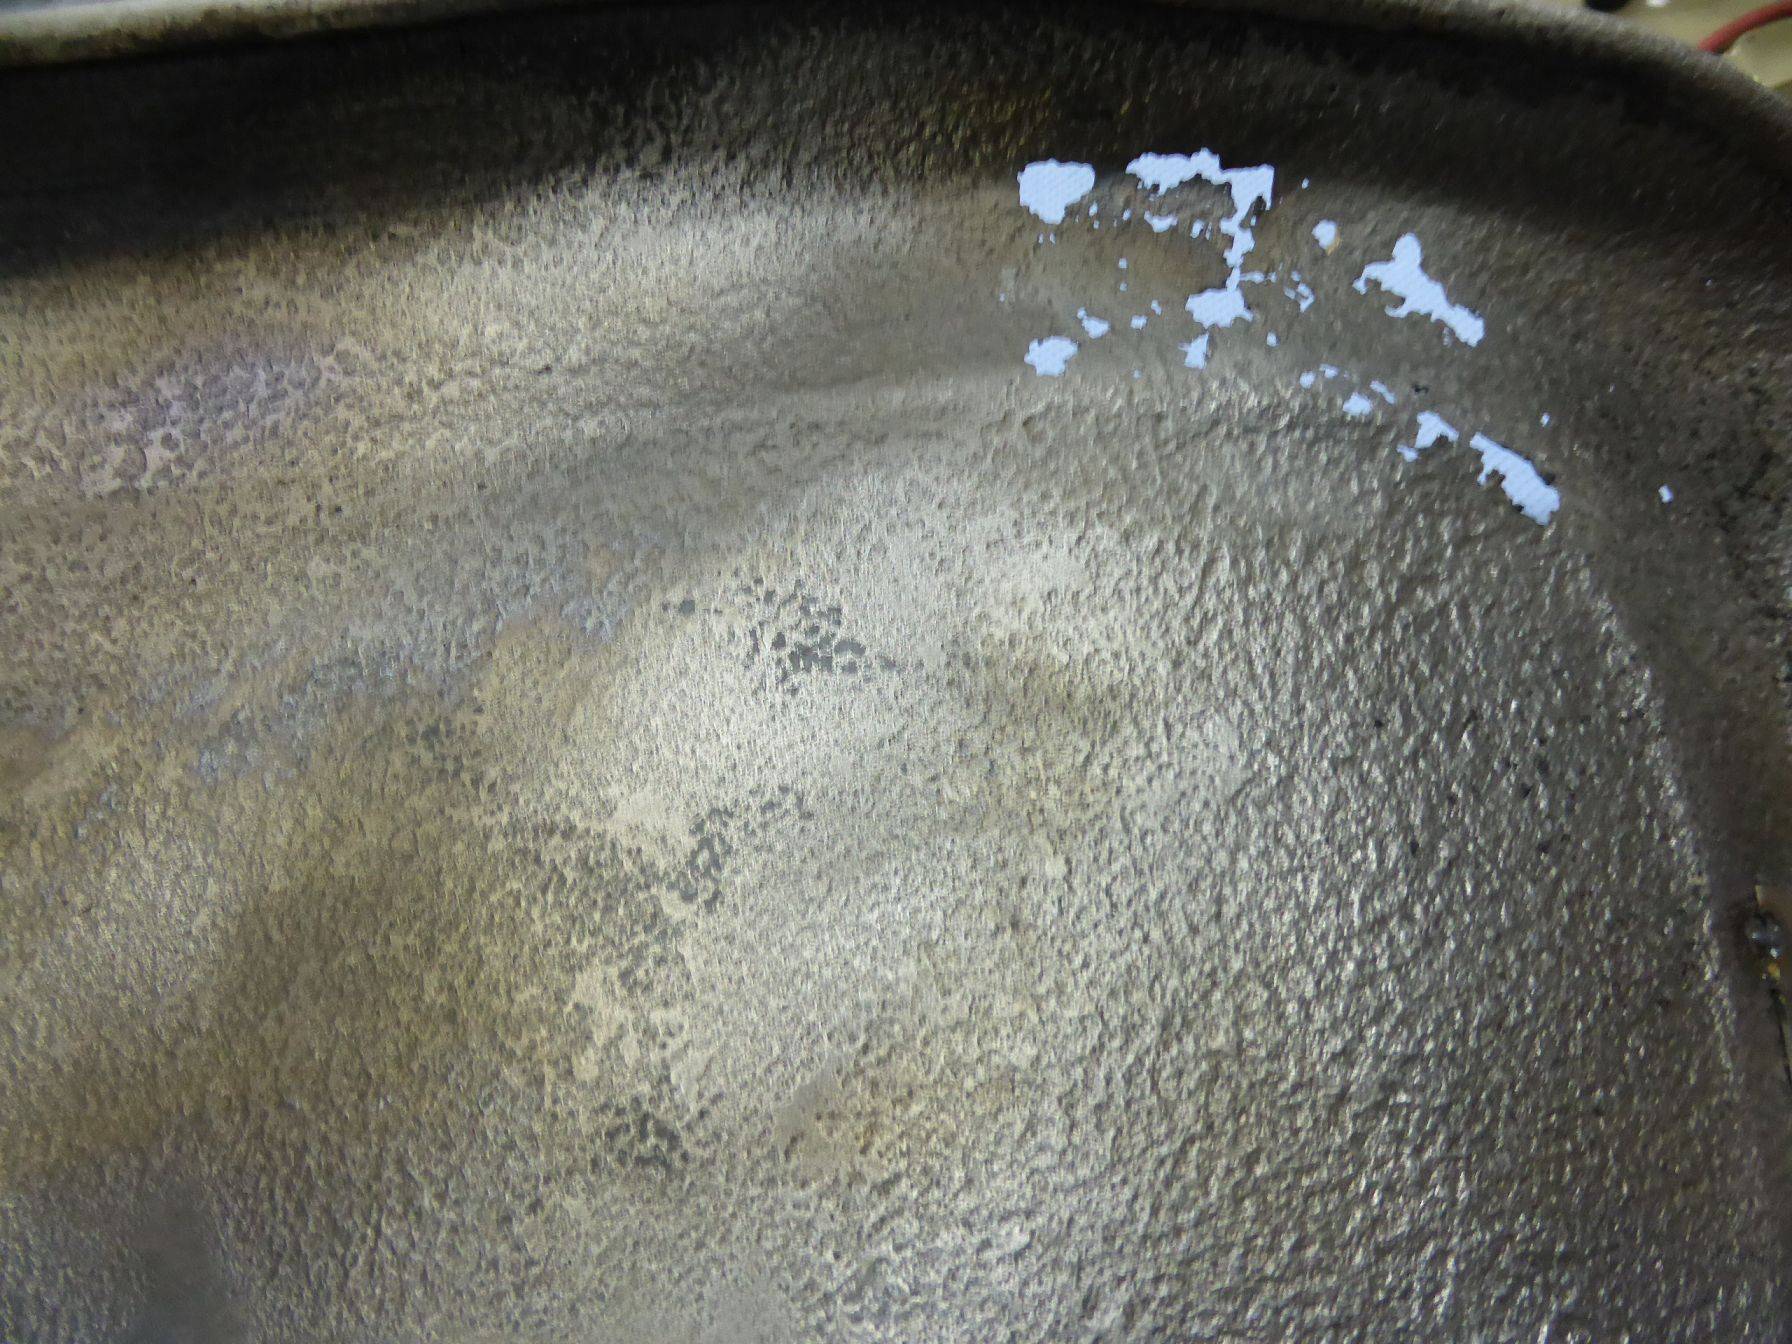 k-P1040158.JPG (227.06 KB) k-P1040158.JPG (227.06 KB)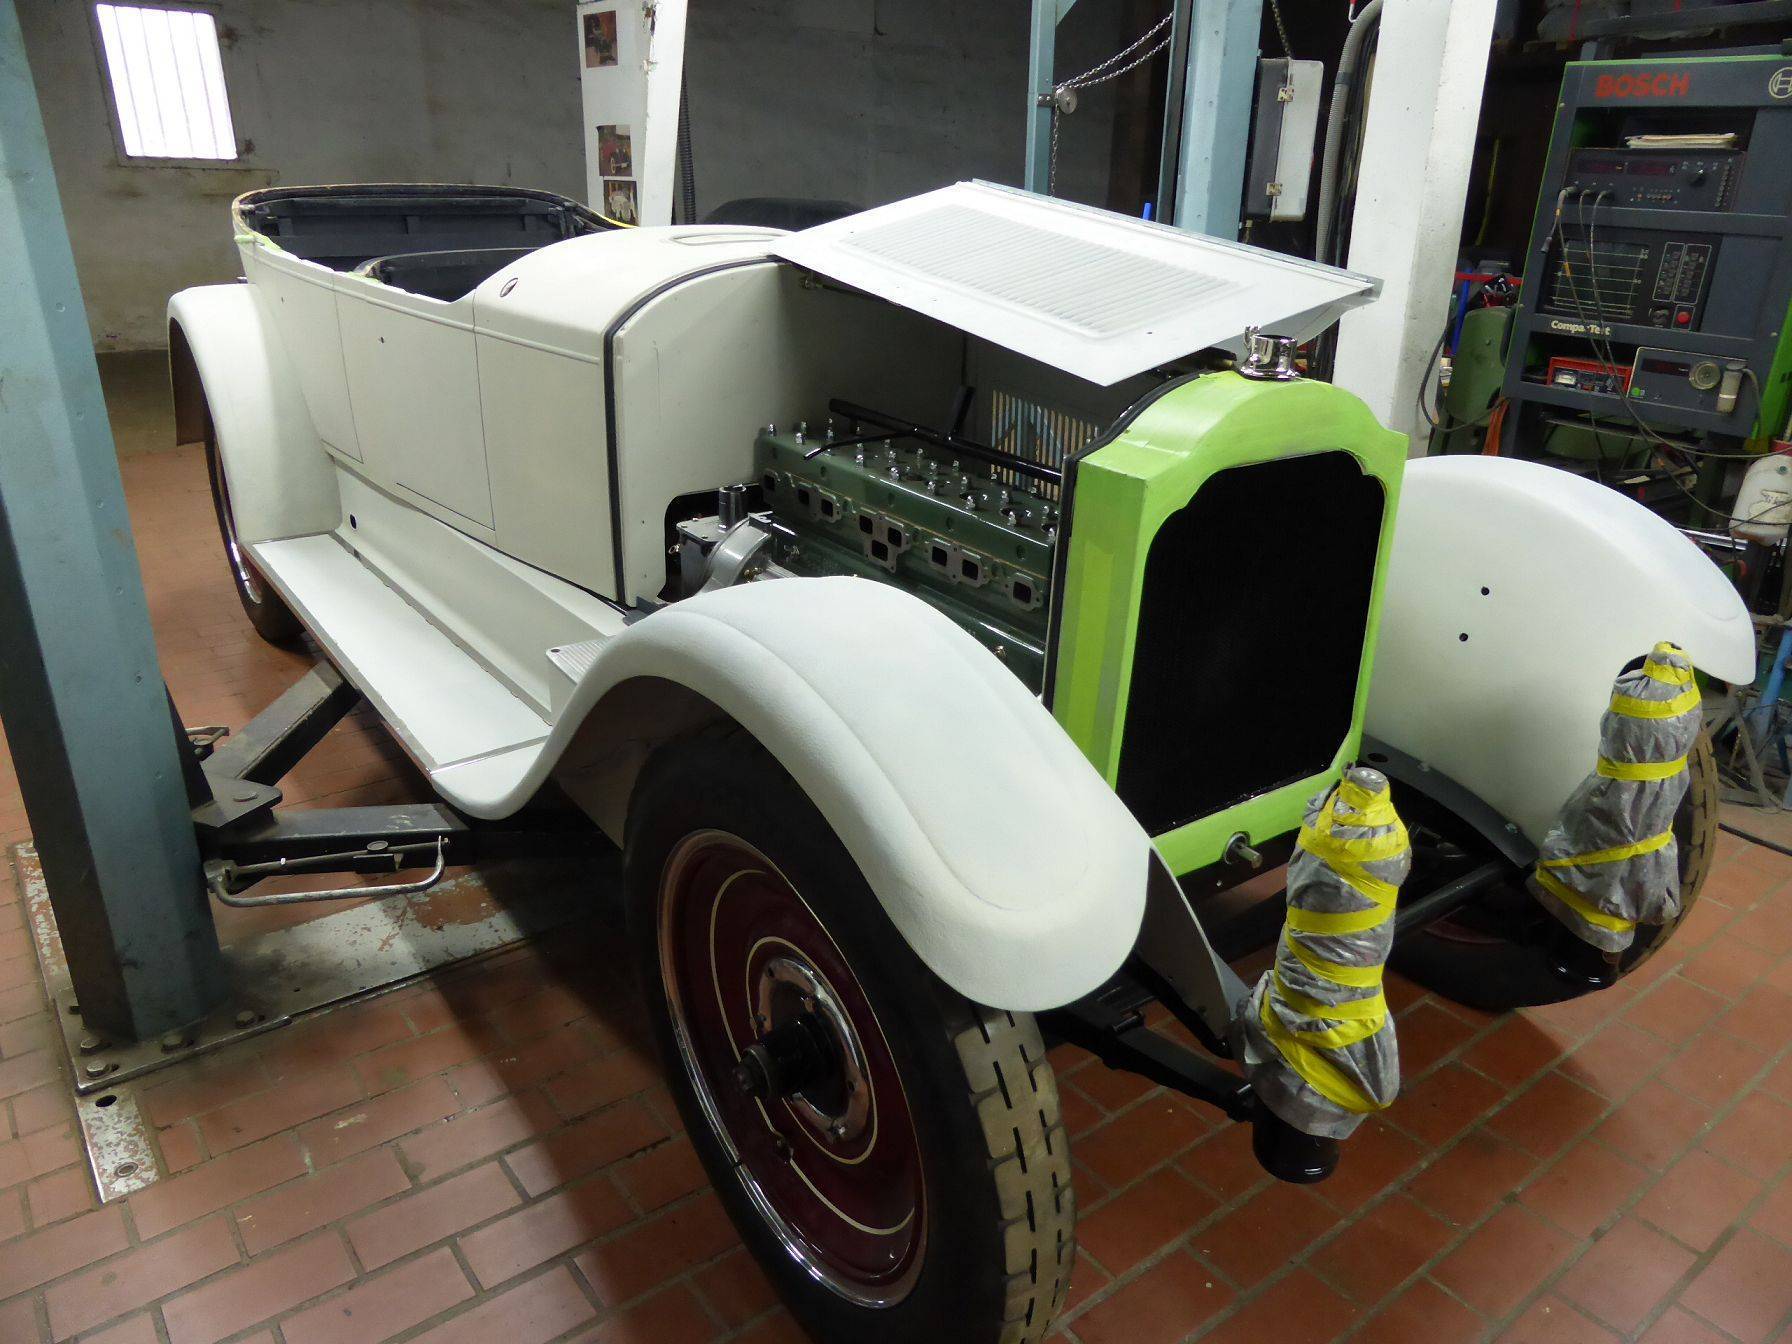 k-P1040159.JPG (179.17 KB) k-P1040159.JPG (179.17 KB)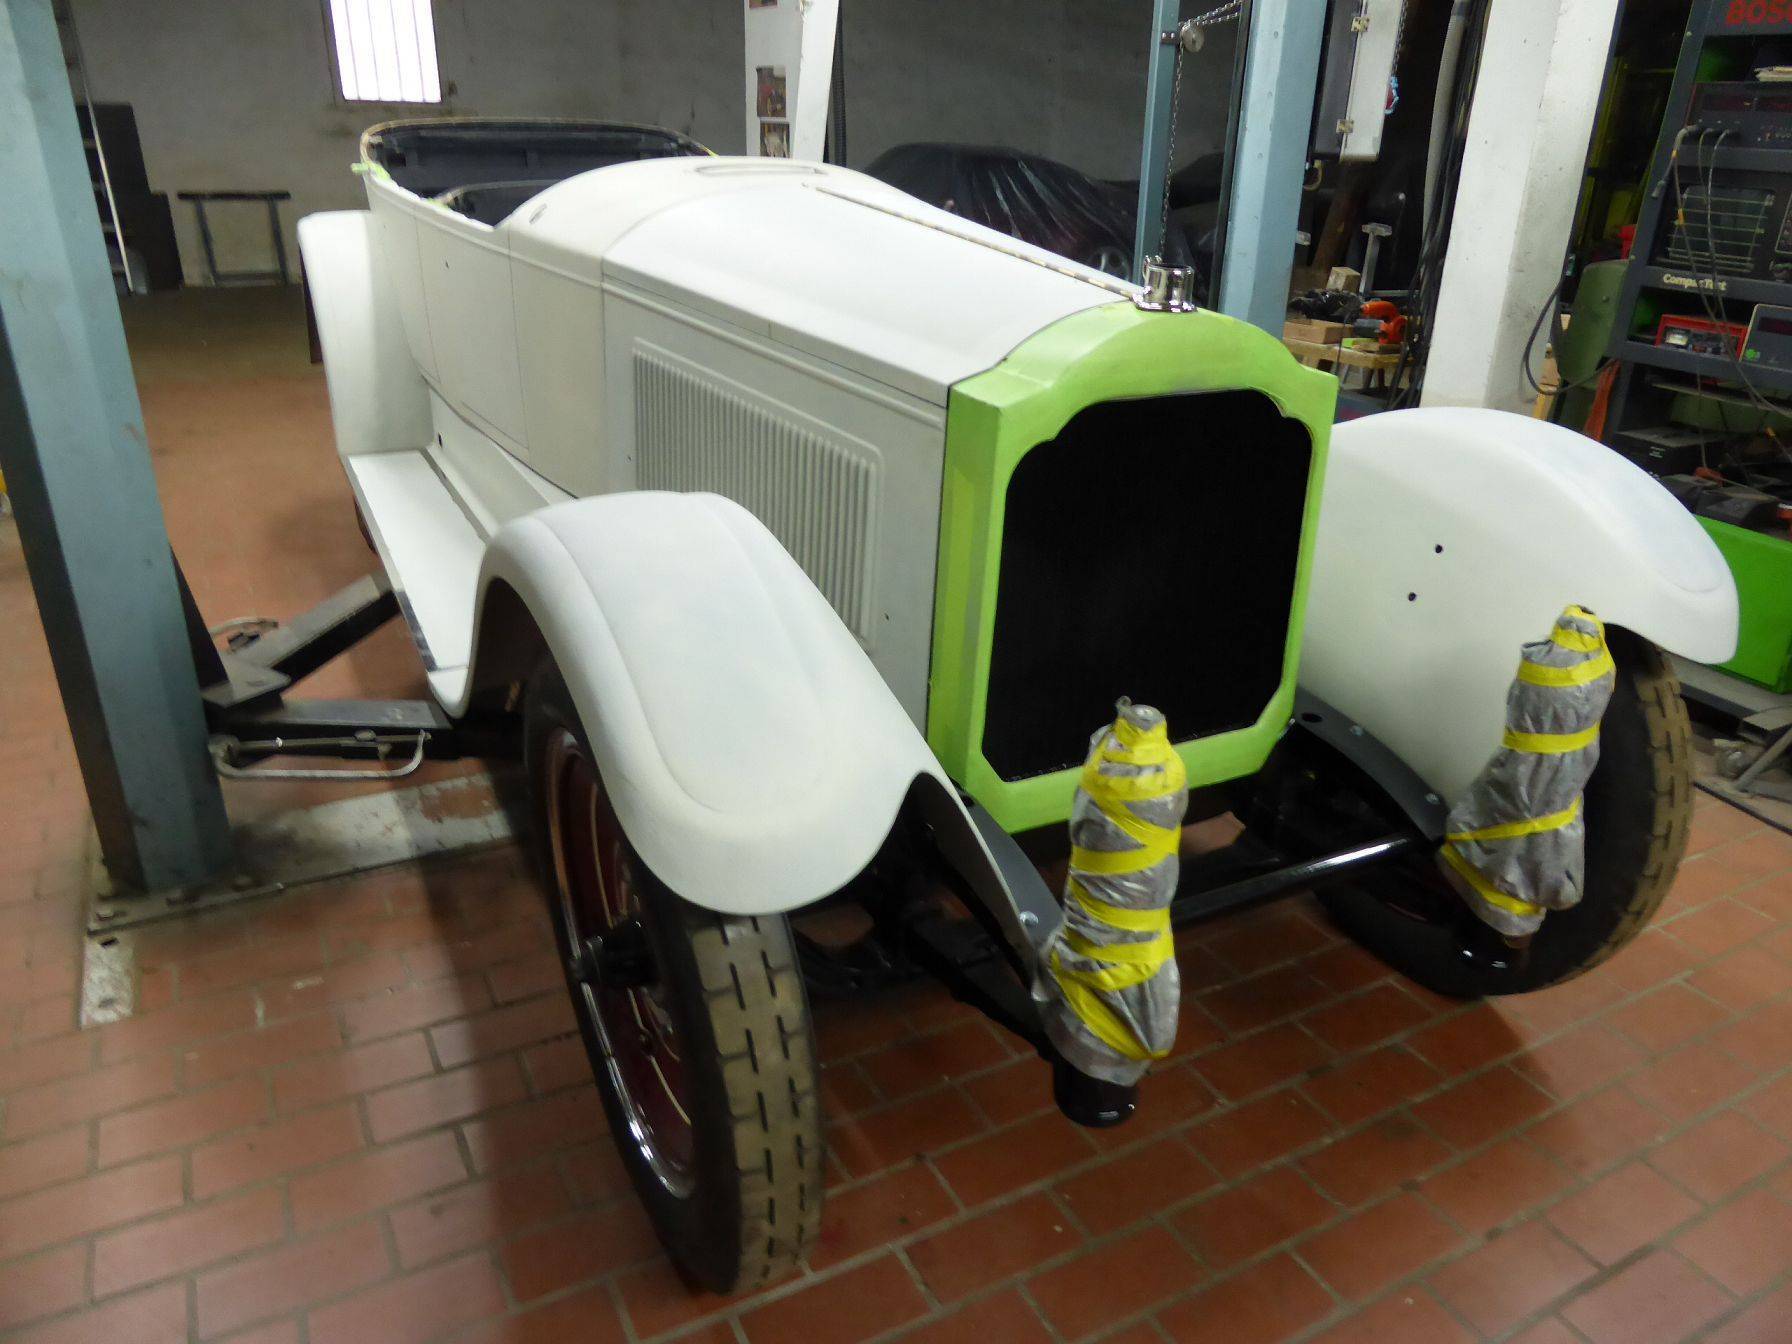 k-P1040161.JPG (213.20 KB) k-P1040161.JPG (213.20 KB) k-P1040162.JPG (184.86 KB) k-P1040162.JPG (184.86 KB)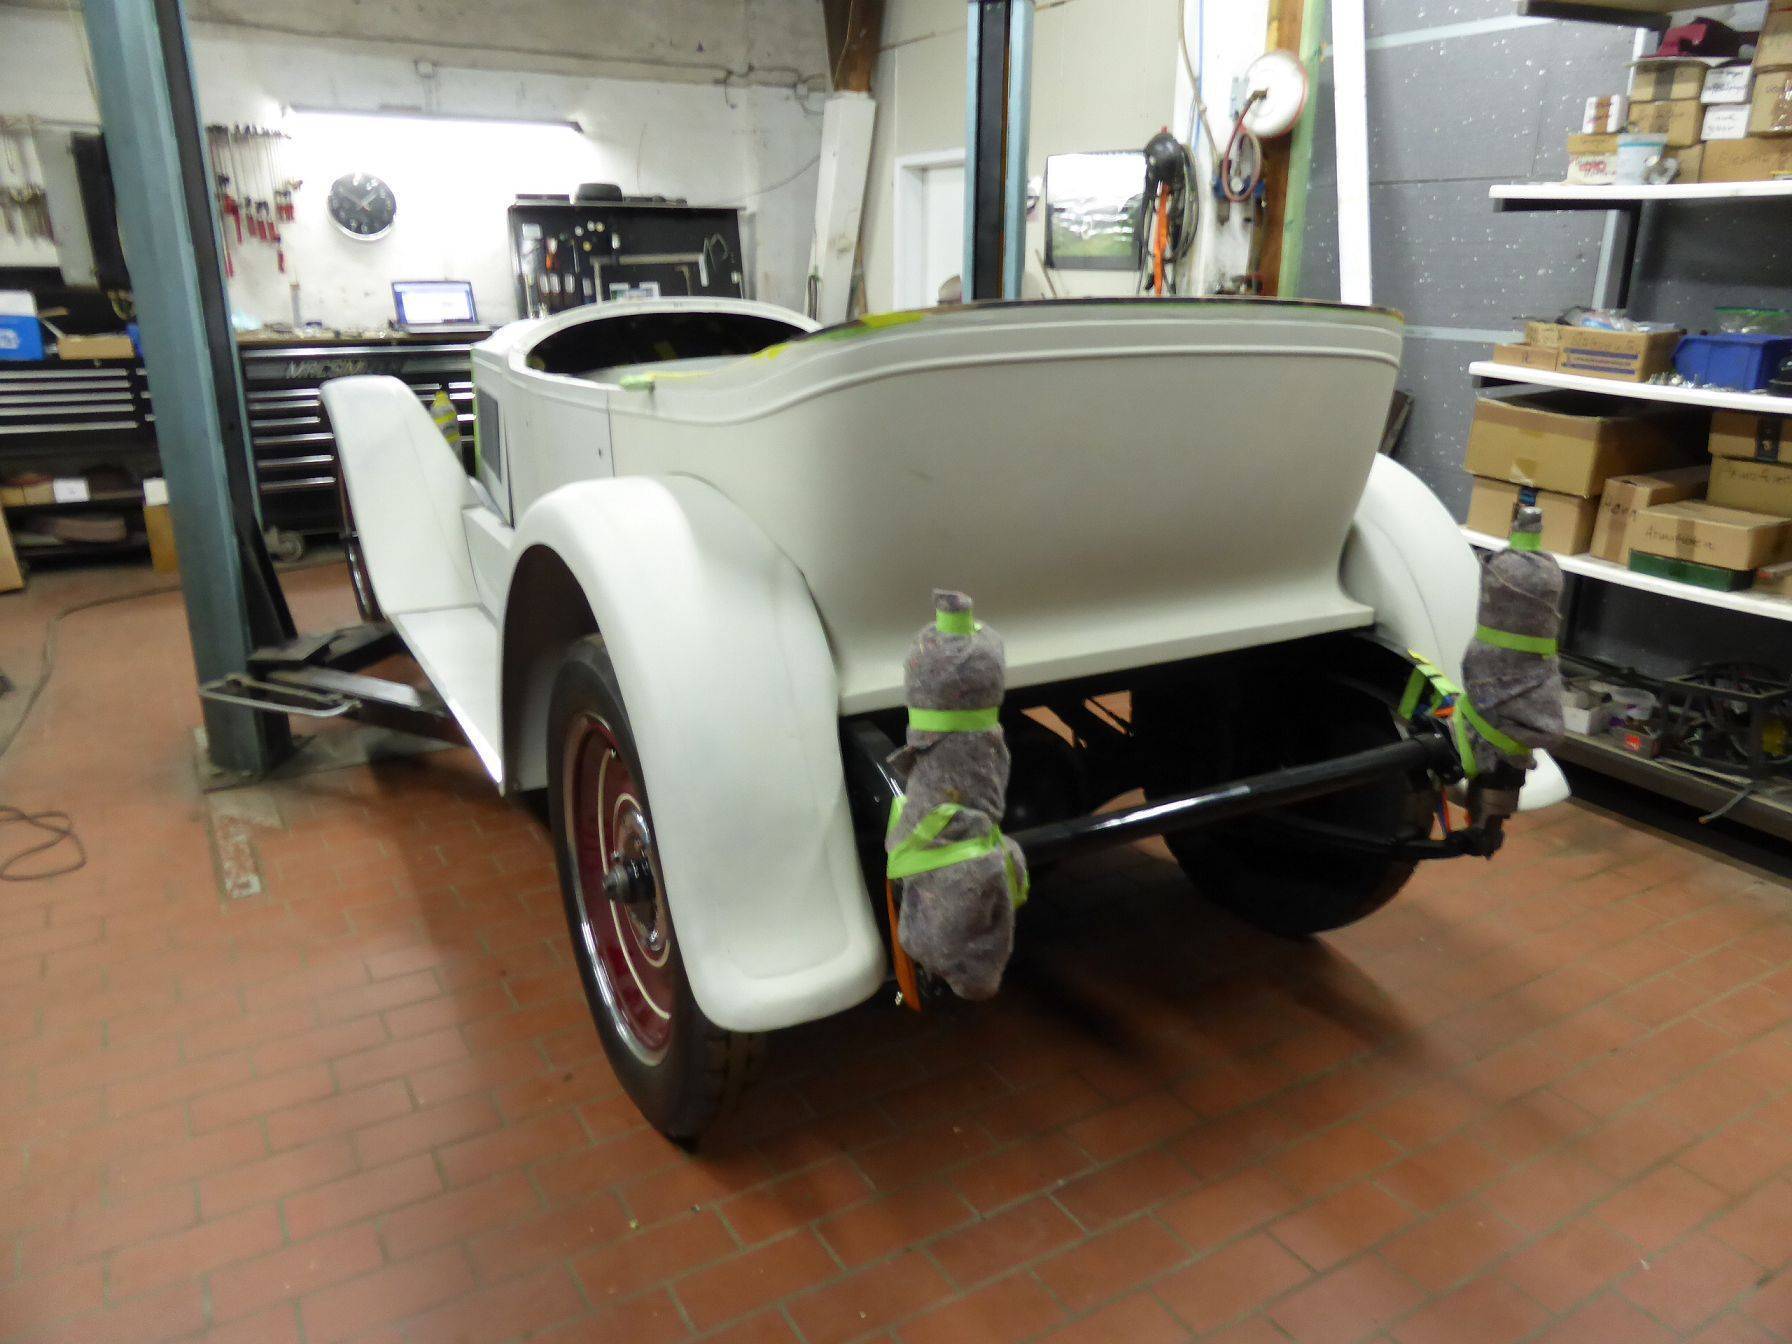 k-P1040163.JPG (184.04 KB) k-P1040163.JPG (184.04 KB)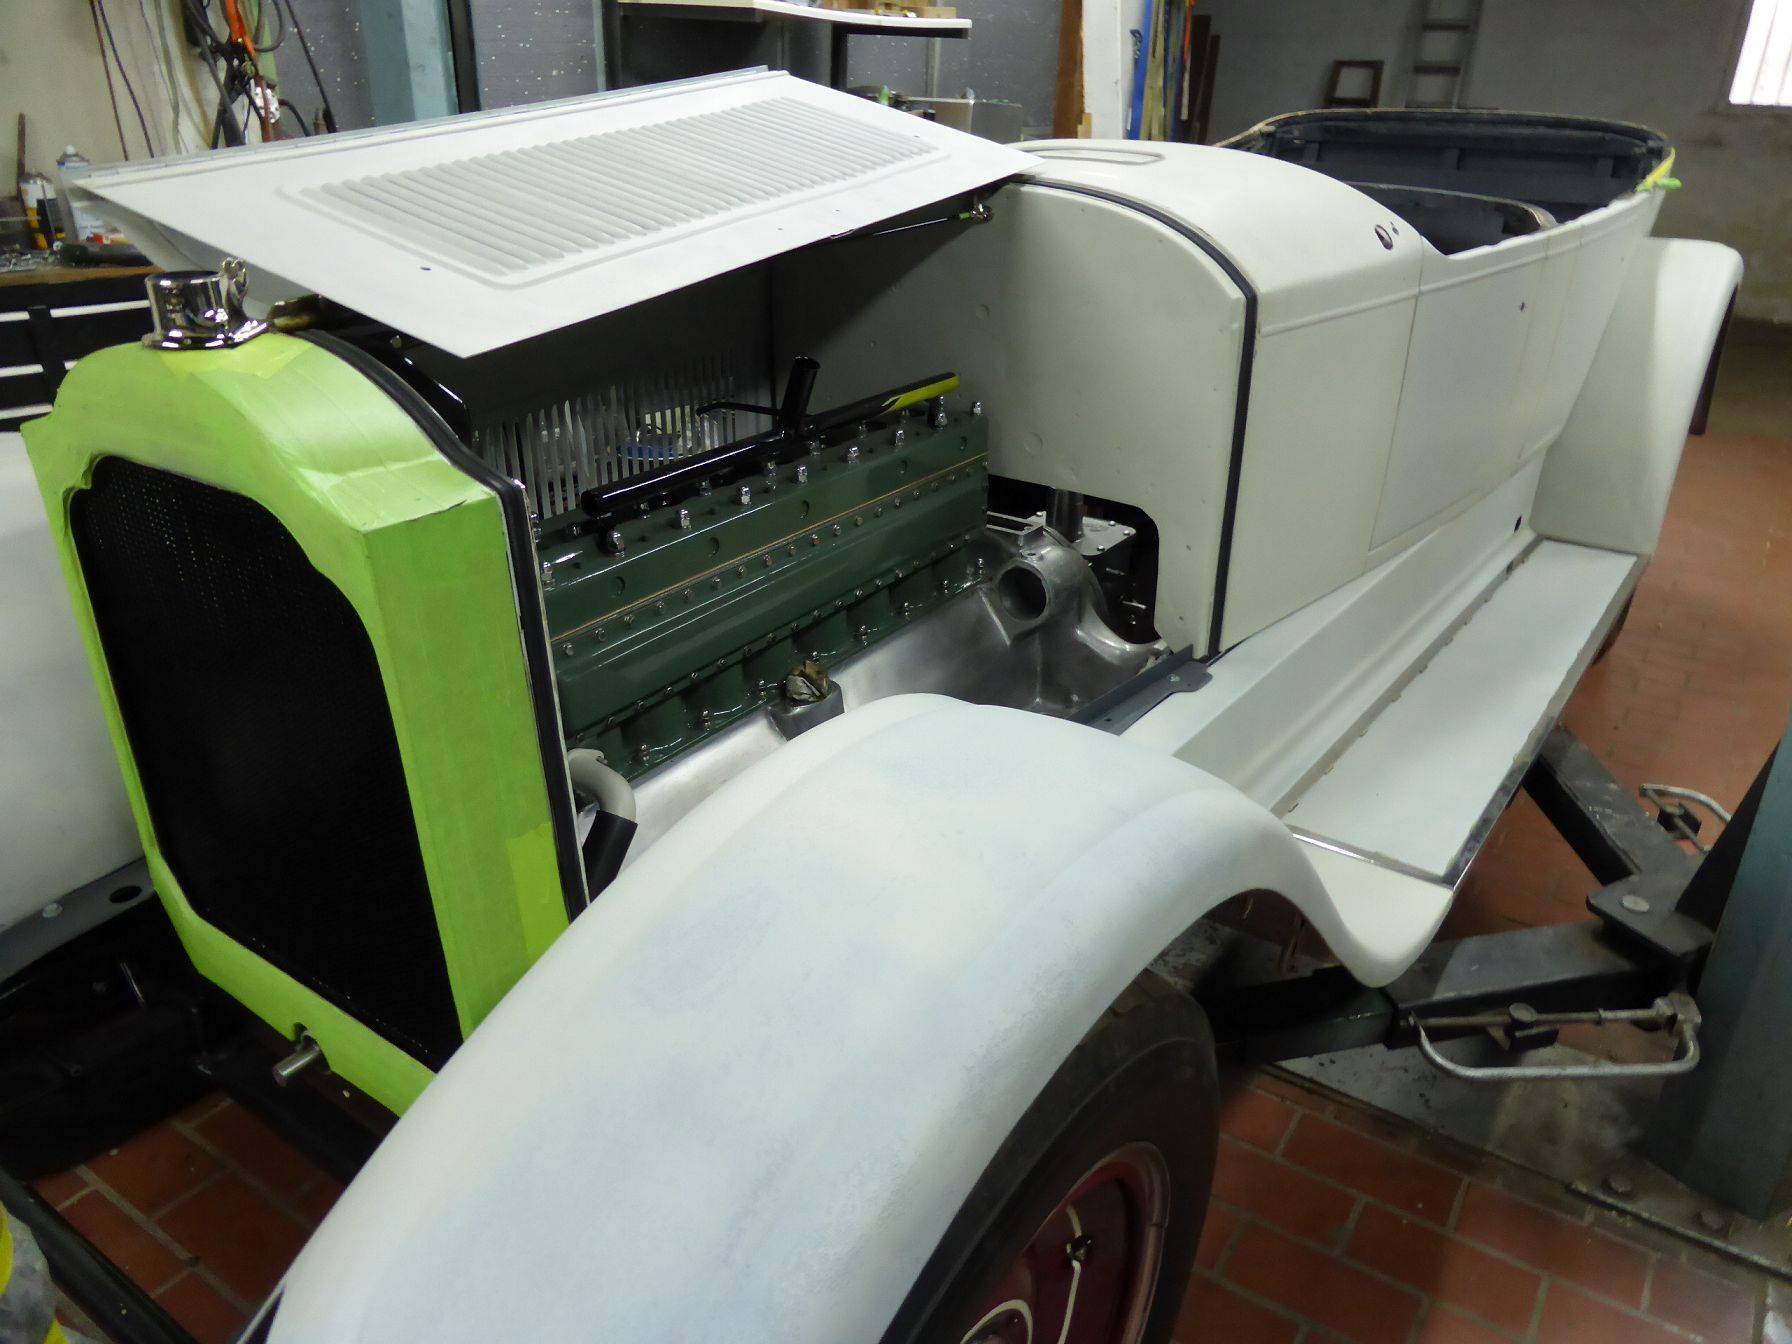 k-P1040165.JPG (193.78 KB) k-P1040165.JPG (193.78 KB) k-P1040166.JPG (235.88 KB) k-P1040166.JPG (235.88 KB)
Posted on: 2021/12/1 14:34
|
|||
|
||||
|
Re: underside paint color
|
||||
|---|---|---|---|---|
|
Home away from home
|
1929PG,thanks again for answer.
I´ve a LOT of pictures from Packards Engineroom early 20th and 30. I´ll paint the side of the hood in dark/dark red. underneath the top of the hood black.The top of the hood black like the whole area above the side molding include the sidemolding self. So ... the car will be Black/Dark Red/Black. My preferred color for the firewall is dark red but I´m not 100% sure till now. Karl
Posted on: 2021/10/1 4:43
|
|||
|
||||
|
Re: underside paint color
|
||||
|---|---|---|---|---|
|
Home away from home
|
.. thanks for answer 1929 PG.
I specialy mean the hood underside and the hoodside inside. Karl
Posted on: 2021/9/28 11:53
|
|||
|
||||
|
Re: underside paint color
|
||||
|---|---|---|---|---|
|
Home away from home
|
...are this rules also valid for cars from 1924 ... ?
Posted on: 2021/9/28 5:15
|
|||
|
||||
|
1924 Battery Box
|
||||
|---|---|---|---|---|
|
Home away from home
|
... by the way ... does sombody know if the Battery-Box on the 1924 Phaeton was aluminum polished or painted gloss black?
The lid should be aluminum ... not painted ? Karl
Posted on: 2021/8/11 9:46
|
|||
|
||||
|
Re: 1924 Headlight Lens
|
||||
|---|---|---|---|---|
|
Home away from home
|
David … Erni Venturi, thank you for your advice and informations. I,m an old man and a friend of old school metalwork on old cars. Specially on this “Old Lady” (1924 Sport Phaeton)! And I´ll cover her not in any Plastic to her 100th Birthday. So I´ll fix this problems by the old way on sheet metal work. All dents and waves I´ll smooth out by lead solder how I did it always on this kind of special classic cars. I know that this cost time I don’t have. But I bought 4 weeks a go a new welding machine and this tool make perfect results on thin Sheetmetal. Very less heat and also very little mechanical distortion. This will help to save a lot of time on this work.
In the meantime I spend more than 2000 hr´s on this car to remake a lot of missing parts and restore all from the Frame component .. to build new the complete missing seat cushions to the new build Soft Top Frame. And not to forget all this little parts for the door locks, aluminum moldings for the Floor Wood plates, let cast new Door handles, mirror coating the reflectors of Head - and Fog light lamps, dashboard parts and countless more. And I´m still have fun on this car. Also because … this will be my last full frame off Car Restauration. Karl
Posted on: 2021/8/11 3:52
|
|||
|
||||
|
Re: 1924 Headlight Lens
|
||||
|---|---|---|---|---|
|
Home away from home
|
Mal, .. of course … the Internet and PI is for us Packard car freaks the most helpful way ever. Without this .. I never could finish my 1924 Sport restauration to a nearly 100% original condition. And without friends like DavidMc and Pat from “Bills Speedometershop” helpful Informations and parts search and parts shipping organization it would be impossible to restore a Packard over here in Germany into this condition I work on. I hoped the Car is painted till July this year because I believed that the Fenders and the Running boards are in paintable condition after I removed them 3 years ago. But …. now after a closer inspection …. all Fenders has nearly a ¼ inch thick plastic putty on it. And after I removed this there was a lot of holes every where closed with fiberglass. On the rear Fender the whole surface was … patchwork .. but overall .. inside and outside they was great sanded and painted. The Runnigboards was made on the same way and after stripping .. they was just scrap. So … there is no paint the car this year because I have to fix the fender problems. After this .. West Peterson .. I `ll post some pics from the car. I hope to finish the restauration in the middle of next year.
Posted on: 2021/8/7 6:29
|
|||
|
||||


