|
Re: Installing fenders & splash aprons on a '32
|
||||
|---|---|---|---|---|
|
Home away from home

|
Can anyone out there help me out with the correct placement of the fender welt. Especially where it goes around the running board and where it ends. Also, a picture of what the corect look for material to use on the running board mat.
A few pictures would be greatly appreciated.
Posted on: 2013/3/16 4:20
|
|||
|
||||
|
Sylphon Thermostat on a '32 (901)
|
||||
|---|---|---|---|---|
|
Home away from home
|
I'm preparing to install the Sylphon thermostat on my '32 901and have several questions.
1. Is the brass housing that covers the bellows painted black 2. Is the rod that passes through the radiator nickel plated 3. Is it correct that the bellows travels about 1" when it is at a temperature of 160 to 170 F 4. Are both sides of the bellows exposed to coolant in the radiator 5. What thickness should I use for gasket (1/16") 6. And is there somewhere to read to help figure out the easiest way to adjust the whole thing Thanks in advance for any and all help.
Posted on: 2013/3/15 21:28
|
|||
|
||||
|
Re: Installing fenders & splash aprons on a '32
|
||||
|---|---|---|---|---|
|
Home away from home
|
Tom,
Thanks for the quick input. Your idea about the frame rail covers makes good sense. I was thinking about using 6 mil black polyethylene as an anti-squeak material in place of nothing figuring it wouldn't hurt since it is so thin. Also, it would help to protect the painted surfaces. Again Thanks for the great input.
Posted on: 2013/3/8 15:17
|
|||
|
||||
|
Installing fenders & splash aprons on a '32
|
||||
|---|---|---|---|---|
|
Home away from home
|
I'm getting close to the point where I want to install the fenders and various splash aprons on the my '32, 4 door, 5 passenger sedan. Since I don't want to figure the best way by trial and error, I thought I'd get some input from others who have gone down this road before me.
Just to bring everyone up to date, this is what I've done to date: 1. Made all necessary sheet metal repairs to fenders, splash aprons, doors, hood panel, body, etc. by replacing sections and filling as required 2. Primed, and block sanded sheet metal until it looked good 3. Mounted body to frame and installed doors (Note did not install lower splash apron that goes below the doors at this time 4. Blocked and shimmed body until doors aligned correct (note tightening all bolts after making each adjustment to shims) 5. Removed doors for final paint 6. Removed all body bolts & bagged all shims & blots as to correct location for re-installation 7. Removed body for final paint 8. Painted all body parts and color sanded 9. Placed body back on frame and installed the firewall that is in the engine compartment I was thinking that one approach to this would be: 1. Correctly re-position body on frame 2. Lift one side of the car 3. Lay down a strip of anti-squeak material on frame where the splash apron that goes between the fenders 4. Install splash apron 5. Place blocks and shims in correct location between the body and apron and loosely install bolts 6. Install running board leaving bolt slightly loose 7. Install rear fender again leaving bolt loose 8. Install aprons at front of car (loose bolts) 9. Install front fender 10. Repeat process for other side 11. Install radiator and braces 12. Install hood 13. Tighten bolts and verify alignment and adjust accordingly I could use some pictures of the correct installation of the fender welting and it's positioning and best type (if any) of what to use as anti-squeak material between the aprons and frame.
Posted on: 2013/3/8 11:29
|
|||
|
||||
|
Re: 1951 engine and transmission oil leaks
|
||||
|---|---|---|---|---|
|
Home away from home
|
To All & Steve
I'm not all that knowledgeable on the Ultramatic so I can't really provide you with much assistance in answering your questions, but wish you all the luck you may need. Wanting to get back to everyone on what's happening with my transmission. With the rattle/clunking noise the box was making I wasn't sure on how to handle leak situation. I decided that I would replace the gasket and fill it with Type F ATF fluid, since money wise it was by far the most economical approach. Doing so after draining the transmission I found that it only had about 8 qts. in it. The new pan gasket solve the major leak(s), but to my dismay I found that I ended up with a shift selector seal rather than the downshift seal that I wanted to replace. I have driven the car some and it appears that the noise is gone. So I'm keeping my fingers cross. BTW - I decided that I would not go with a 727 conversion and would just spend some of the inheritance that the kids think might be coming their way (hopefully a long way) down the road if that's what it took. Thanks to everyone for your help and support.
Posted on: 2013/2/27 19:32
|
|||
|
||||
|
Re: Our 1932 901
|
||||
|---|---|---|---|---|
|
Home away from home
|
During the body that I performed the frame that had been painted by the previous owner got mess up a little. I've had the frame all ready for re-painting for about a month now, but the weather (either too cold or to windy). Today was different with a temperature in the mid 70's and only a slight breeze, I covered up the area around the car with plastic sheeting, mixed up some enamel and turned on the compressor.
It took longer to block off the garage with plastic than it took to paint the frame, but it is now done so I can start putting it together. Attach file:  (92.56 KB) (92.56 KB)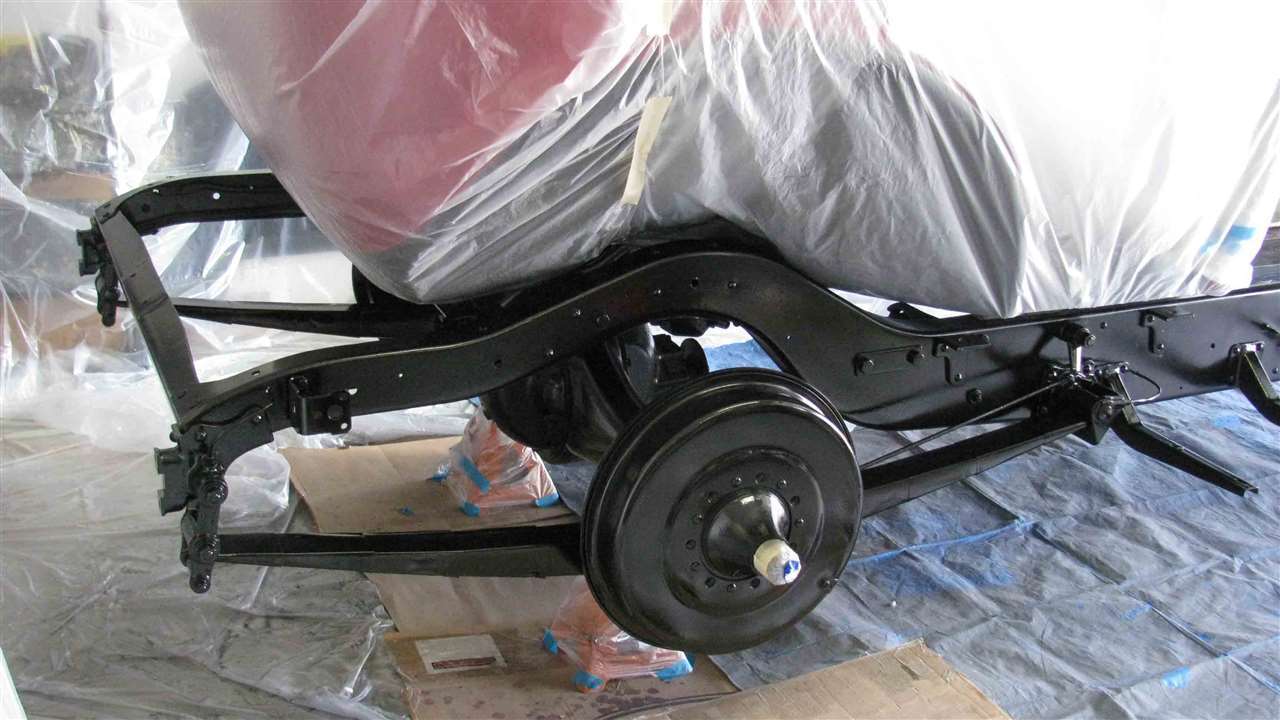 (88.01 KB) (88.01 KB)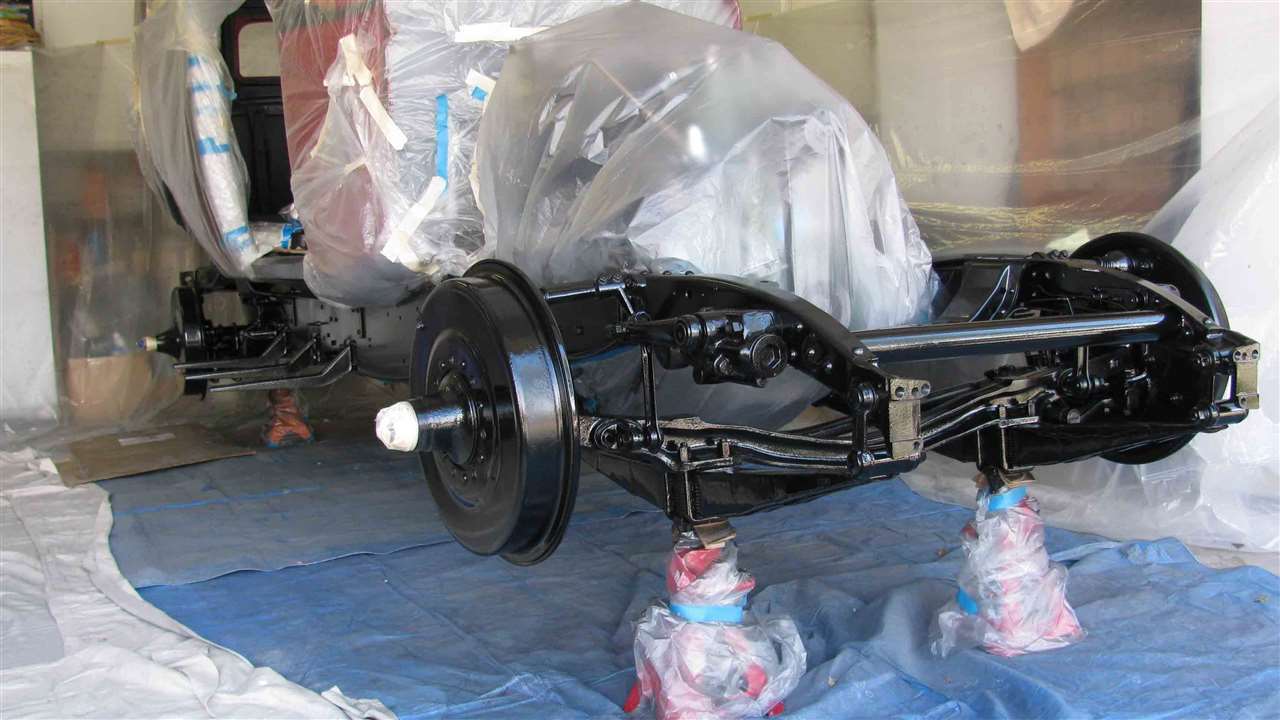 (107.95 KB) (107.95 KB)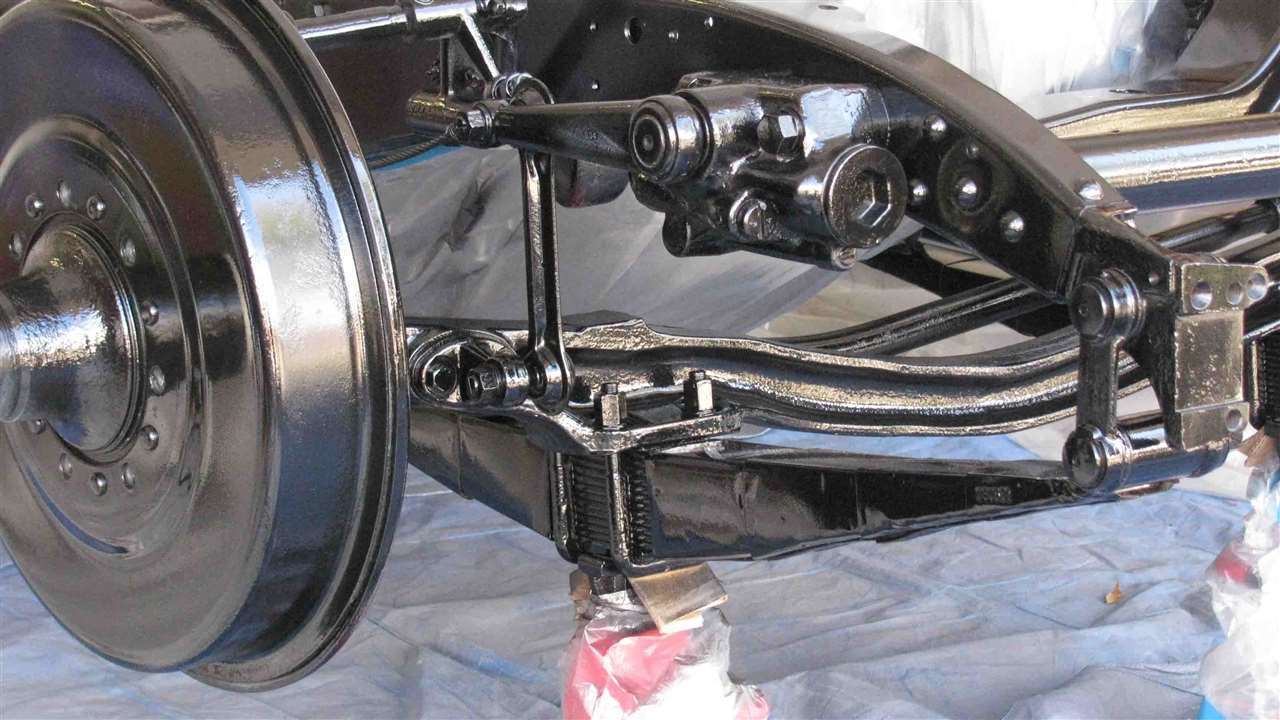
Posted on: 2013/2/16 20:30
|
|||
|
||||
|
Re: 1951 engine and transmission oil leaks
|
||||
|---|---|---|---|---|
|
Home away from home
|
After examining everything it would appear that most of the oil comes from the pan and maybe the selector shaft seal. So I'll try replacing them both and see if that solves the leak problem.
On another note, when the transmission shifts from low to high it will sometimes make a rattling noise. It occurs more frequently when the car has been driven for 10 or 15 minutes. The noise stops as soon as one backs off on the gas pedal. Any ideas as to what may be causing it?
Posted on: 2013/2/9 20:35
|
|||
|
||||
|
Re: Fan Blades - '32
|
||||
|---|---|---|---|---|
|
Home away from home
|
Dave,
Thanks - the blades are a little pitted. I'll clean up the blades and paint the hub and see how everything looks when it is together. Hopefully, it looks good. Otherwise I'll need to come up with another approach.
Posted on: 2013/2/5 22:32
|
|||
|
||||
|
Fan Blades - '32
|
||||
|---|---|---|---|---|
|
Home away from home
|
Not wanting to steal Thomas Wilcox's post on his '34 that I've been following, but what color and how many fan blades should there be on a 901. I've got hubs with 3, 4, & 6 blades all aluminum.
Posted on: 2013/2/5 15:25
|
|||
|
||||
|
Re: Brake & Clutch Pedals and Parking Brake on a '32
|
||||
|---|---|---|---|---|
|
Home away from home
|
Dave,
I apologize for incorrectly identifying the submitter of the "Great Photos". Thanks for the additional input. So far I've found the springs, spring attachment plate, some spacer washers, cable for attaching the clutch, hardware for connecting brake pedal, and the brake & clutch pedals. These have been cleaned and the paint is drying as of this afternoon. I need to dig into a storage area where I have some more parts in boxes. Hopefully, I can find the missing parts there. It appears that I can buy thrust washers in various thicknesses along with a wave-spring washers. I hope that I find the switch and Bijur fitting and stop light switch. Again thanks to for you inputs. I'll keep you posted with progress.
Posted on: 2013/2/4 20:19
|
|||
|
||||


