|
Re: 288 igniton wire to carburetor cut at firewall, now what?
|
||||
|---|---|---|---|---|
|
Just popping in
|
that is great advice.........it is supposed to be close to 70 here today so hopefully I will get around to checking it this afternoon...thanks again
Posted on: 2017/2/21 11:11
|
|||
|
||||
|
Re: 288 igniton wire to carburetor cut at firewall, now what?
|
||||
|---|---|---|---|---|
|
Just popping in
|
Yes, the starter switch (assuming it is the black disc on the side of the carburetor), there are no wires coming out of it. So, apparently the previous owner cut them. So, I need two wires, a yellow-red and a green white, it looks like and reconnect into the cut part of the wire? Raining today but will try to reconnect tonight or tomorrow. thanks for the info, HH56.
Posted on: 2017/2/20 16:29
|
|||
|
||||
|
288 igniton wire to carburetor cut at firewall, now what?
|
||||
|---|---|---|---|---|
|
Just popping in
|
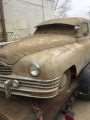
I do not have a picture of it, but I can take one. I am trying to get the '48 off the ground for St. Patrick's Day Parade and have not been able to get her running as of yet, but I'm getting there. How do I lengthen and add new wiring and reconnect the ignition cable that goes to the carburetor? I cannot find it on the forums anywhere and have searched for hours. I am also not getting any fuel to the carburetor nd have to check lines and pump to find what is going on. Thanks for any help
Posted on: 2017/2/20 16:01
|
|||
|
||||
|
Re: 1948 Packard 8 Deluxe Painted Red Center Hexagon?
|
||||
|---|---|---|---|---|
|
Just popping in
|
PERFECT!!!! I never knew such an accessory existed.
Posted on: 2016/12/23 15:12
|
|||
|
||||
|
1948 Packard 8 Deluxe Painted Red Center Hexagon?
|
||||
|---|---|---|---|---|
|
Just popping in
|
Hello, I am restoring the hubcaps on my 1948 Packard Deluxe 8 that has 16 x 5.5 rims and the 12'13" hubcaps. I see no evidence of the center hexagon ever being painted the typical IH red. There was still plenty of the factory black where it says Packard, but no red. I have searched and searched trying to find any evidence that this is correct and that I should just leave the hubcaps unpainted in the center to be correct. Does anyone out there have any proof that these should remain unpainted? Thank you so much for any help and Happy Holidays. First time Packard owner, Matt
p.s. - trying to include a little before and after. All four of the hubcaps got the royal treatment, wash with soap ion the sink, scrub with scotchbrite pad and then hand dry. Next step was to hit them all with 0000 steel wool pads. Then it was off to the polish, I used both Wenol and Polishing Compound to nearly the same results. I then taped each and every one and cut out with an X-acto type knife, taped the outside with newspaper all the rest of the way around the hubcaps and then painted. Last, but not least, take off the tape and paper after it was fully dried and do a little cleanup with the knife and fingernail to get excess paint off of areas where the paint ran into high spots the were to be chrome. What a process! The final results I don't think look too bad, but I definitely don't want to do it again any time soon. Yes, this was my first attempt at anything like this. Much cheaper than buying new hubcaps or even trying to find the correct and good used ones and the satisfaction is all mine! Yes, I pounded out some of the dents with the bottom side of a jelly jar....... Attach file:  (67.02 KB) (67.02 KB) (263.25 KB) (263.25 KB)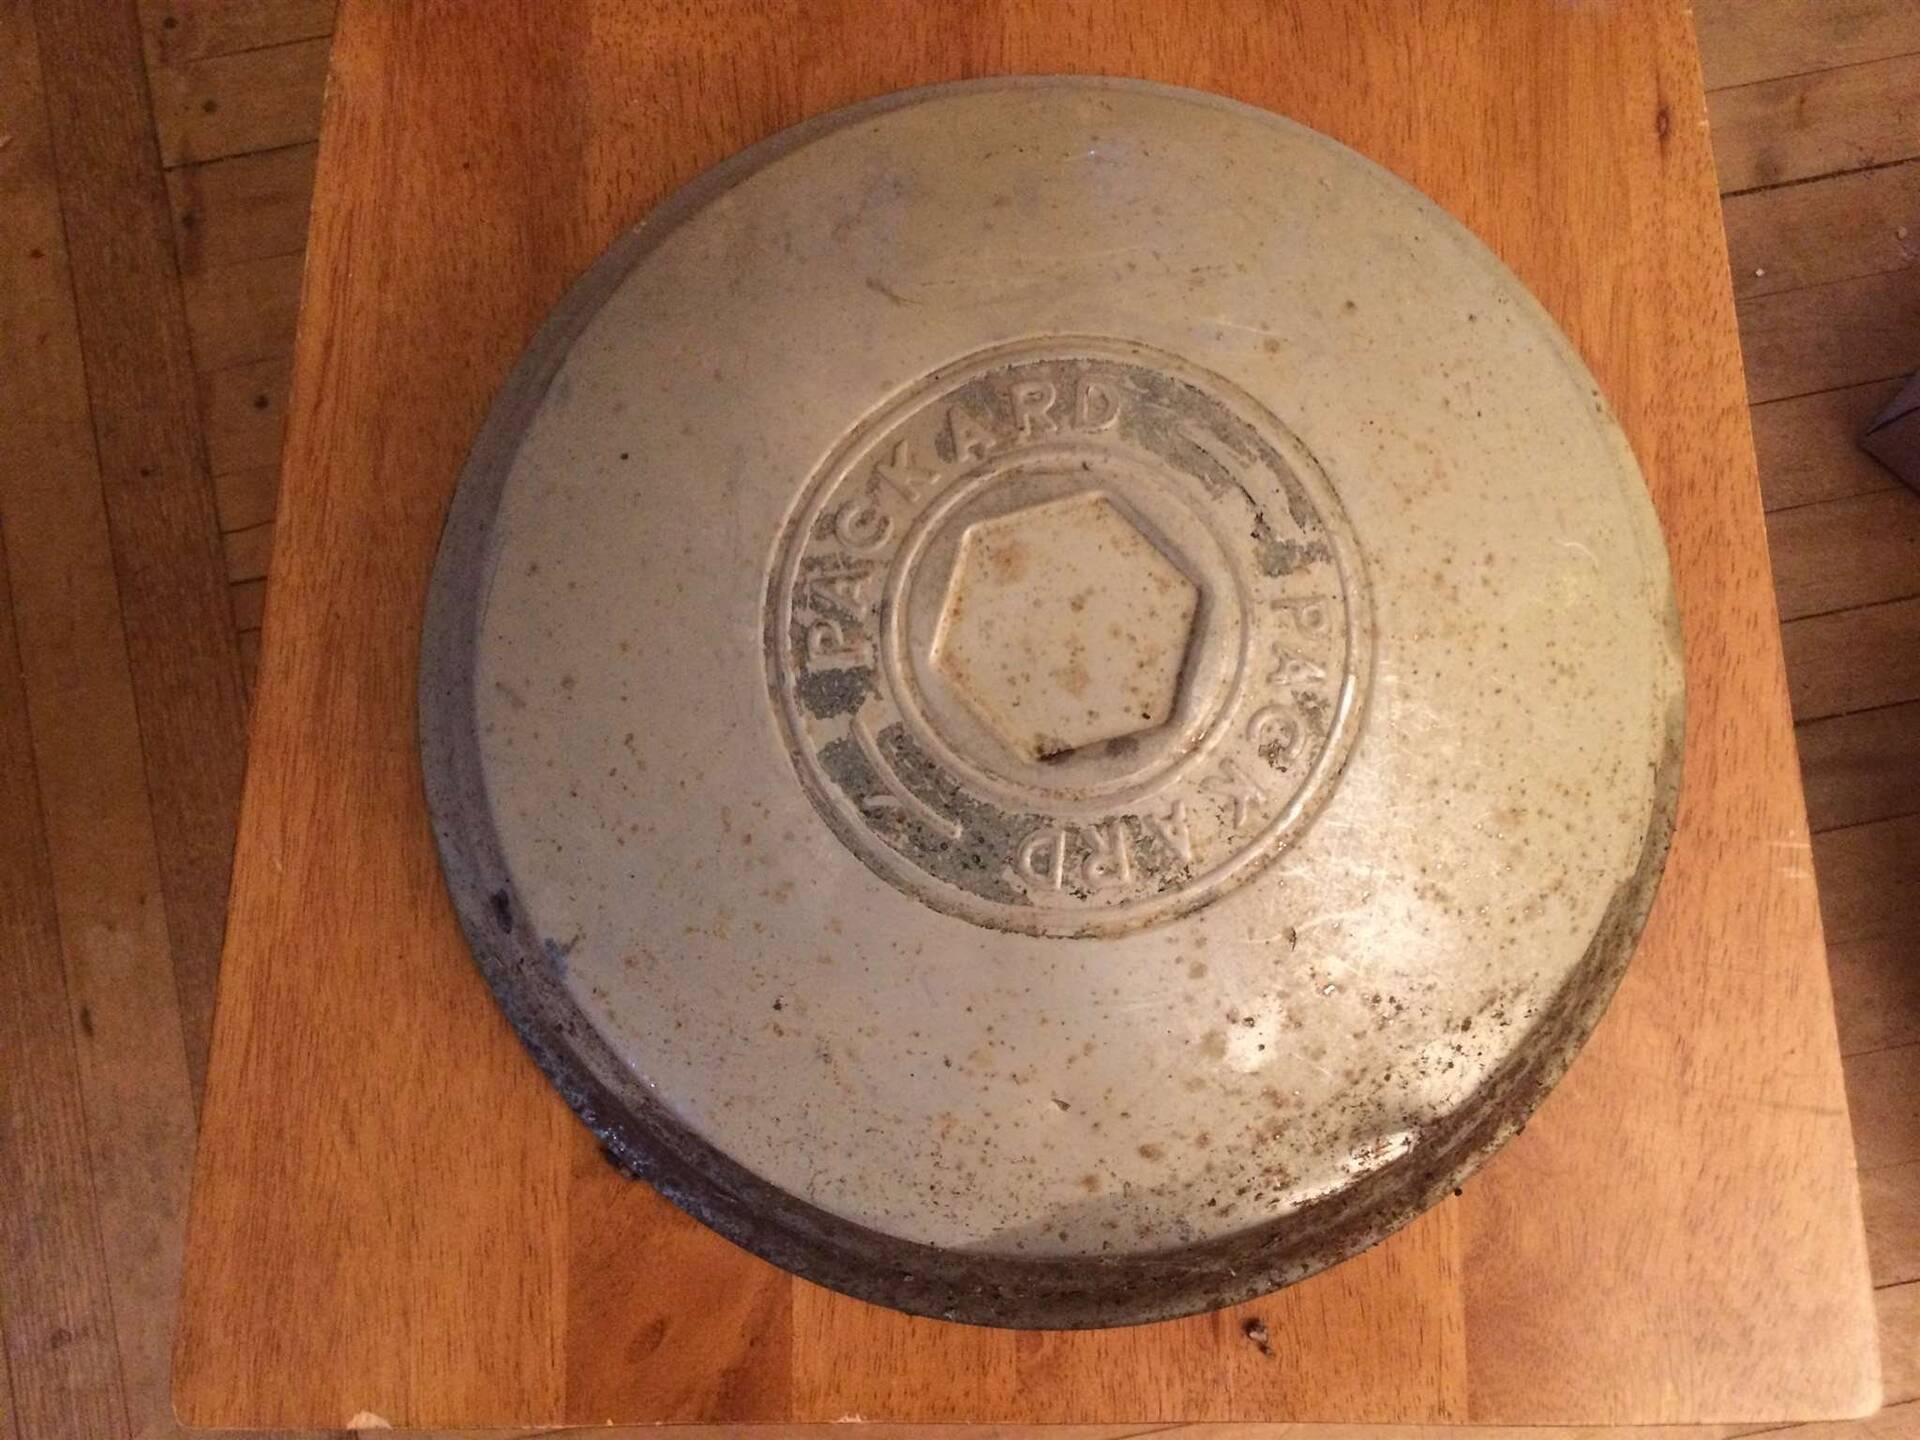 (321.05 KB) (321.05 KB)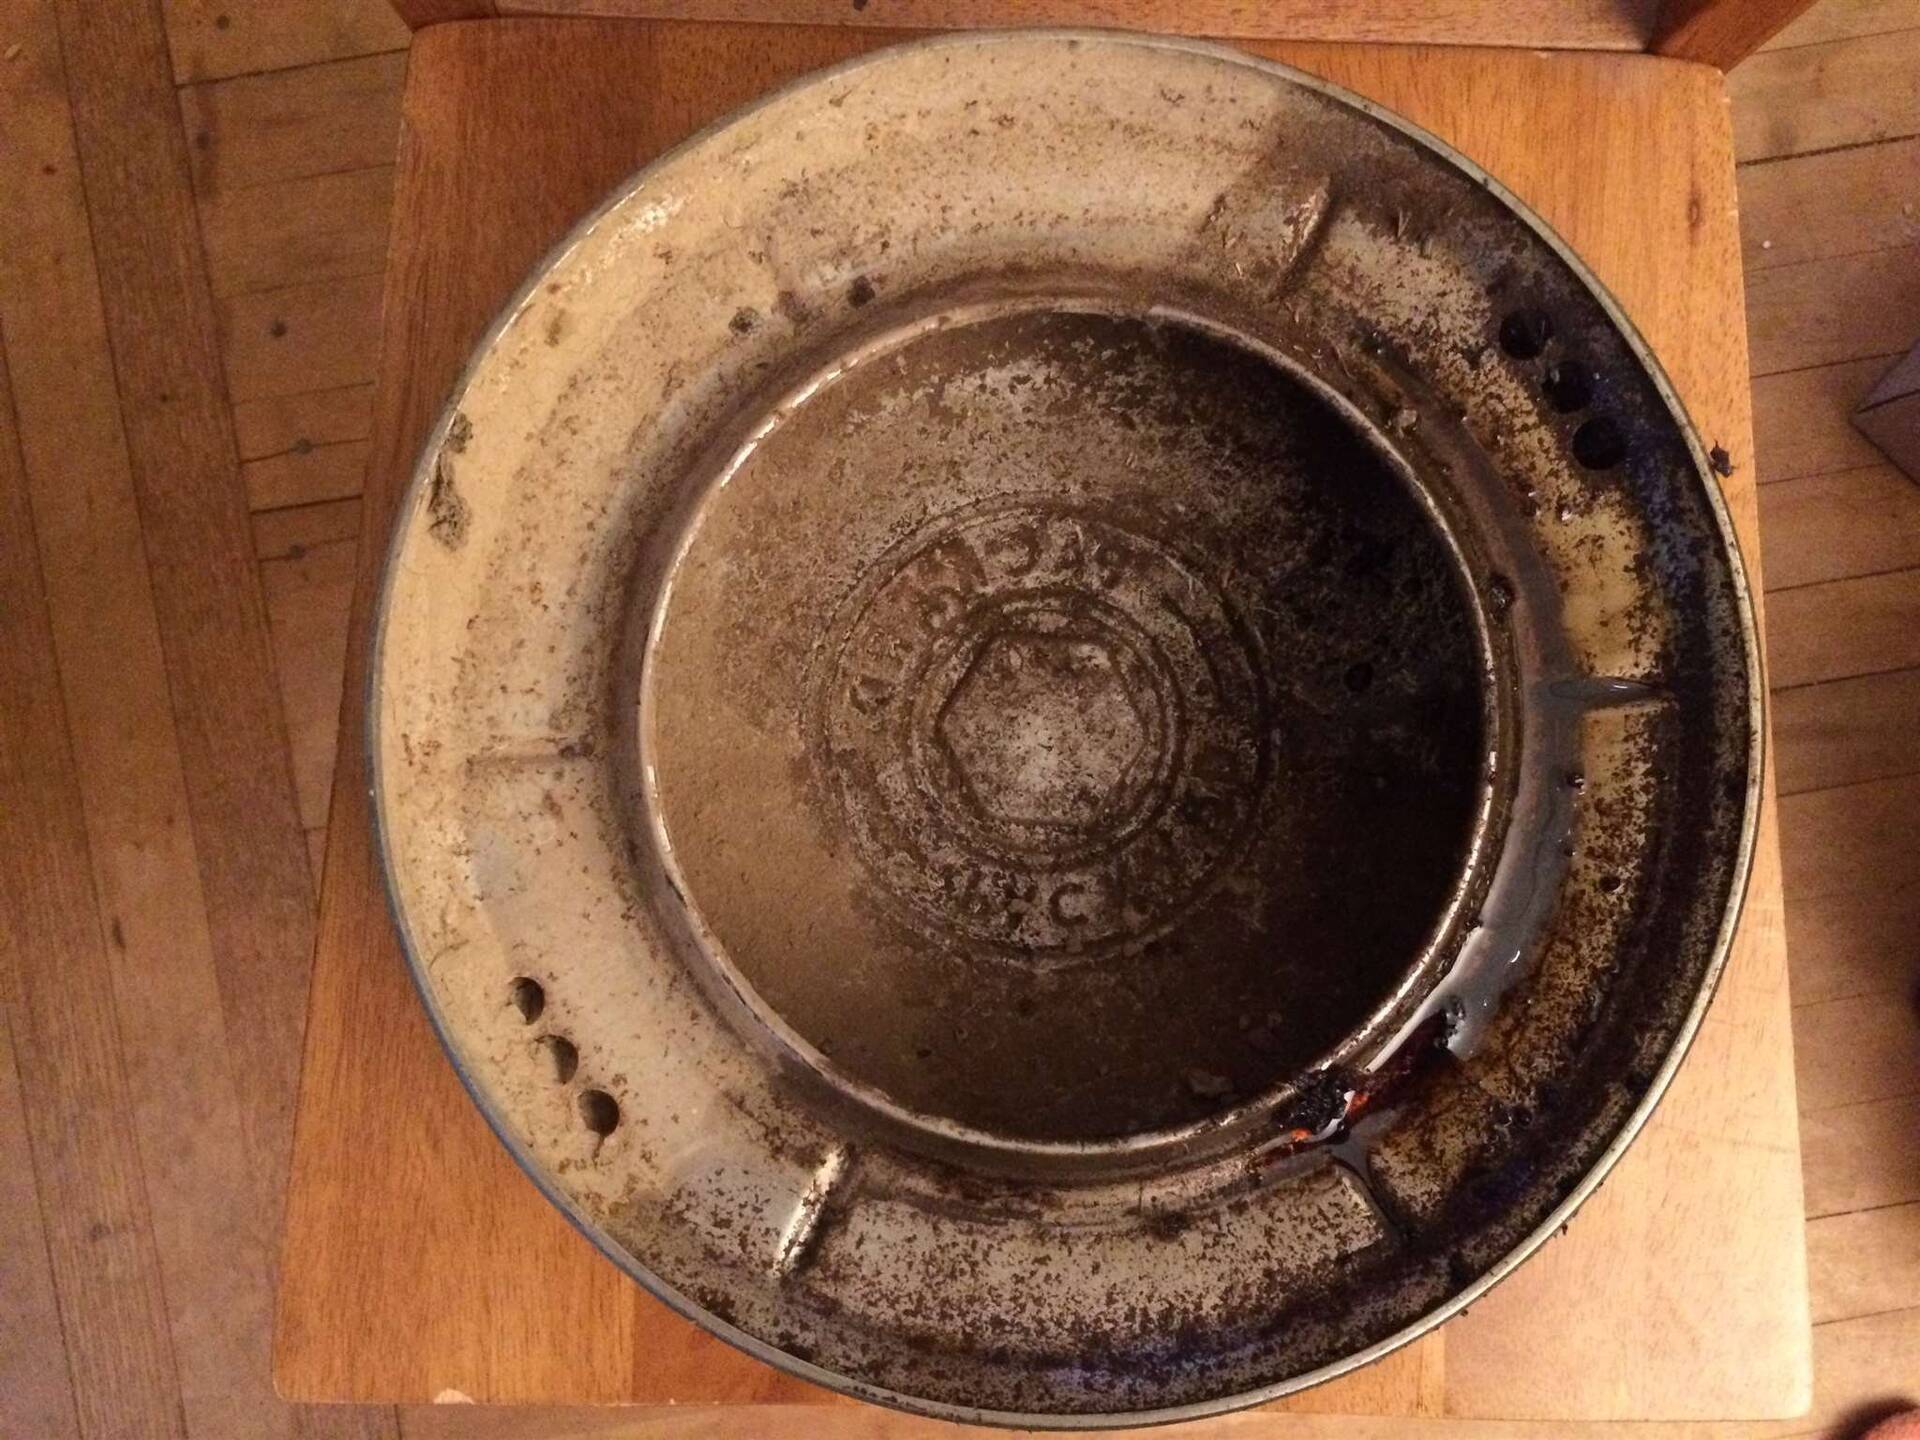 (338.64 KB) (338.64 KB) (280.54 KB) (280.54 KB)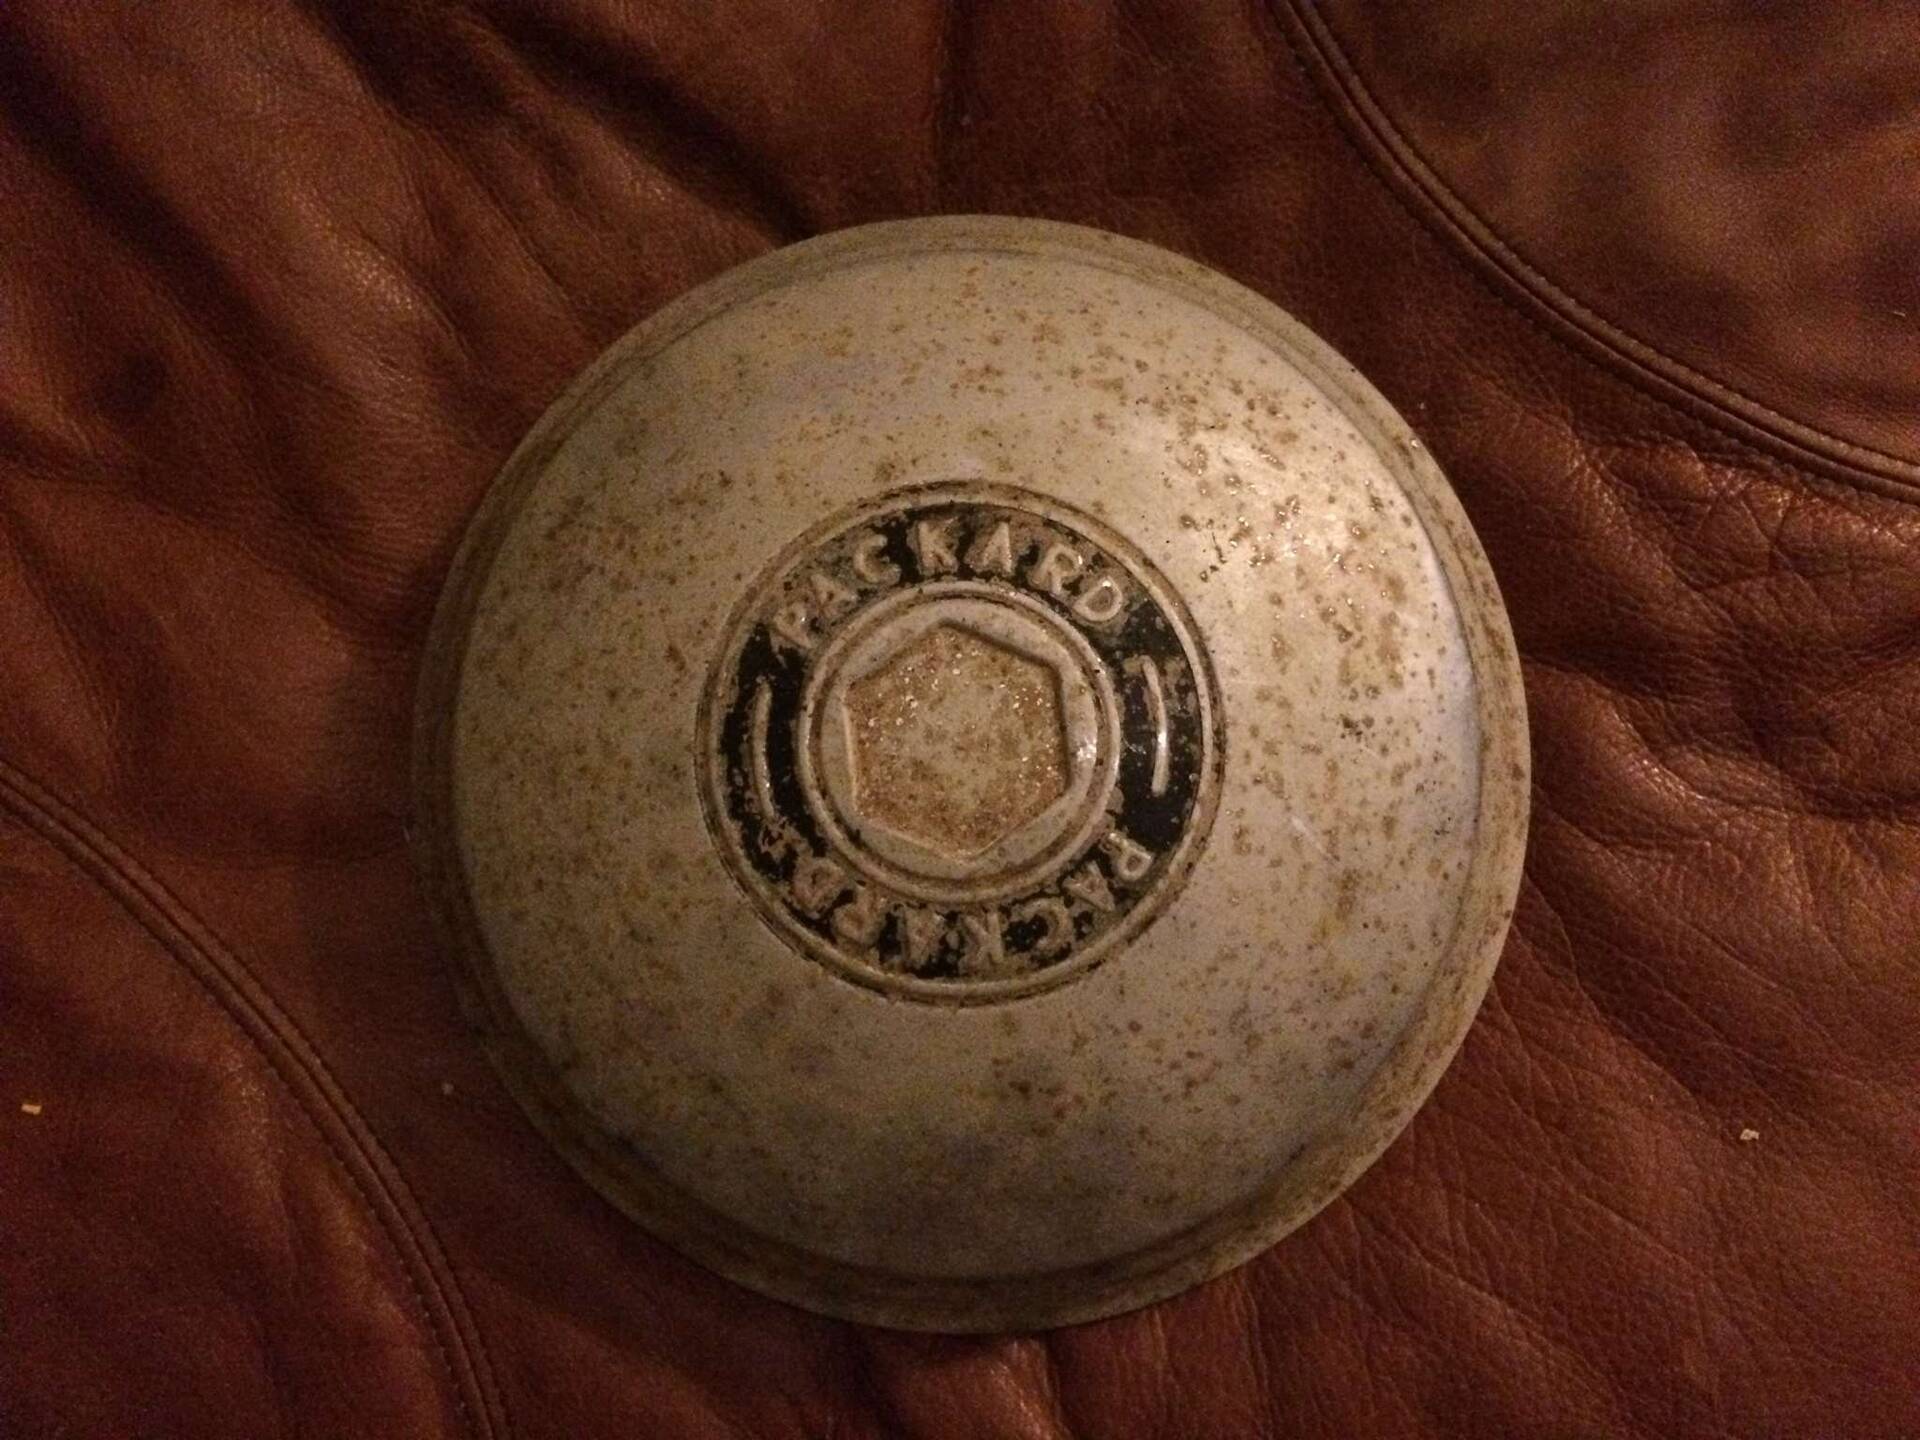
Posted on: 2016/12/23 12:11
|
|||
|
||||


