|
Re: What a car. !! (47 Clipper)
|
||||
|---|---|---|---|---|
|
Quite a regular
|
And here is the wiring diagram.
<a href="http://s102.photobucket.com/user/brianl_03/media/47overdrive_zps81f58ec8.jpg.html" target="_blank"><img src="http://i102.photobucket.com/albums/m81/brianl_03/47overdrive_zps81f58ec8.jpg" border="0" alt=" photo 47overdrive_zps81f58ec8.jpg"/></a> This may look complicated but it's really pretty easy. #57 to key on power #58 to governor switch Yes, it is that easy. If you decide to run an indicator light to show when it is on, add a wire to #58 and connect it to your light. I've been running mine this way for over 5 years with absolutely no trouble. Keep in mind.... NEVER try to put it in reverse in the overdrive position.
Posted on: 2014/4/16 8:45
|
|||
|
||||
|
Re: What a car. !! (47 Clipper)
|
||||
|---|---|---|---|---|
|
Quite a regular
|
Here is the link for the cloth wiring...
http://www.magnetoparts.com/wire.htm Now a question for West Peterson. Does your overdrive cable have a built in switch like the factory unit in my 49? If so, I want one. Can you give us some more info?
Posted on: 2014/4/16 7:58
|
|||
|
||||
|
Re: What a car. !! (47 Clipper)
|
||||
|---|---|---|---|---|
|
Quite a regular
|
any suggestions on who sells the gears? I'm considering adding a R11 overdrive to my 39 120, and it should be interesting to compare the two. I have the transmission and O/D, but do need to go thru it.
Posted on: Yesterday 20:16:11 Unfortunately, I do not know of any new suppliers. Correct me if I am wrong but the 3rd member remained unchanged for years and there were quite a few choices on gear ratios. As a rule of thumb, the early automatic cars had a better highway gear. That said, compare the two? How about combine the two? Talk about a different car! I have done this conversion and it's kind of fun buzzing past a new Lexus or BMW at slightly above highway speed. I'm not saying I can out run anything but you get a funny look from everyone involved when you can pass them running 70 all day long without pushing the rpm to the limit. That along with my gas mileage improving is enough for me to add some advice. Richie, Sounds like West Peterson has most of the OD conversion covered. Good info to have. Don't forget about the drive shaft swap and the wiring. I can send you a simple wiring diagram and a supplier for cloth wiring if you want to wire it yourself.
Posted on: 2014/4/15 21:37
|
|||
|
||||
|
Re: What a car. !! (47 Clipper)
|
||||
|---|---|---|---|---|
|
Quite a regular
|
Have you thought about a gear swap? Soooo much easier than an overdrive conversion. Same results cruising on the highway.
Posted on: 2014/4/14 22:13
|
|||
|
||||
|
Re: Fuel sending unit performance
|
||||
|---|---|---|---|---|
|
Quite a regular
|
Thanks for the input Howard. I wasn't sure how many years the bimetal unit was used. I restored a 47 clipper taxi years ago that had the same unit but that car was oddball on everything. It may have even been replaced somewhere along the line too.
<a href="http://s102.photobucket.com/user/brianl_03/media/sender2_zpsbcb788f7.jpg.html" target="_blank"><img src="http://i102.photobucket.com/albums/m81/brianl_03/sender2_zpsbcb788f7.jpg" border="0" alt=" photo sender2_zpsbcb788f7.jpg"/></a> When i took this one apart, everything was black and crusty looking. I sprayed it with Mothers mag wheel cleaner and rinsed it with hot water. Twice. I let it dry good between applications. This made everything bright again. My main problem was a poor connection on the center prong that sticks up in the middle that contacts the top. I gave it a slight pull upward. Put it all back together and I was back to the same old 1/2 tank was the highest it would go. Back apart to study some more. If you look at the photo, there is a ramp with a gear at about 9 o-clock. I turned it counter clockwise first and it dropped me to 1/4 on the gauge with the key on. I thought "sweet, it is adjustable." Next I added a couple gallons to top it off. Then I adjusted the ramp it till it read full. The next step was to drain a couple gallons at a time to see where the gauge read as I went, just fearing I had just moved the scale up and 1/2 would now be empty. Not the case. I was pretty excited to see it drop all the way to empty and even a bit below before it would actually run out and strand me. (I used a bore scope to see the pickup tube and level of fuel) Now it was time to fill it back up and watch the gauge again a gallon or two at a time to see if it had any new quirks. All is good. Everything was perfect for a test drive so why not? I knew how far it should drop off full if I burnt off about 3 gallons to go hang out with my parents for a while. Perfect. Several trips to the new house and back to the shop, it still drops and seems to be right on the money. I have a few more days before it hits E but I feel I can trust it now. Can't wait to see it on the full mark again. If you have any questions, please ask. It was over engineered for it's time. I even found a tool with a pin that sticks in the hole just above the ramp that has a tiny little cog to move it. As you can see, I bent a cog at the top when I used a pic to move mine. But it worked.
Posted on: 2014/4/14 21:51
|
|||
|
||||
|
Re: Fuel sending unit performance
|
||||
|---|---|---|---|---|
|
Quite a regular
|
Somewhere along the line someone made an access hole in the trunk to get to the sending unit. This might be a good option if you don't want to drop your tank and it's really handy when you make the final adjustments.
<a href="http://s102.photobucket.com/user/brianl_03/media/sender1_zpsa259ac3e.jpg.html" target="_blank"><img src="http://i102.photobucket.com/albums/m81/brianl_03/sender1_zpsa259ac3e.jpg" border="0" alt=" photo sender1_zpsa259ac3e.jpg"/></a> The center of the unit will pop off with a small amount of persuasion. Just pry gently on the sides. But first. make a mark on the top and another on the base so you can line it back up in the same place. As you can see in the first pic, I just used an ice pic to scribe a mark. Once the top is off... <a href="http://s102.photobucket.com/user/brianl_03/media/sender2_zpsbcb788f7.jpg.html" target="_blank"><img src="http://i102.photobucket.com/albums/m81/brianl_03/sender2_zpsbcb788f7.jpg" border="0" alt=" photo sender2_zpsbcb788f7.jpg"/></a> Inspect the inside. Once you get this far, post a pic and I'll walk you through the rest of it.
Posted on: 2014/4/14 9:37
|
|||
|
||||
|
Re: Fuel sending unit performance
|
||||
|---|---|---|---|---|
|
Quite a regular
|
I used the factory sending unit. But, it's best to test the rest of the system first. That's easy. Make sure the sending unit has a good ground. Next, take the screw off of the center post of the unit and ground the wire that goes to the gauge. Turn the key on and the gas gauge should read full. If it does not, your sending unit may be ok and you might just have a wiring issue. I'll go take some pics.
Posted on: 2014/4/14 8:50
|
|||
|
||||
|
Fuel sending unit performance
|
||||
|---|---|---|---|---|
|
Quite a regular
|
I have rebuilt several sending units over the years but not a single one gave me a challenge like the one in my, or any other Packard I have restored. I found one that would work in my 49 but would only read 1/2 tank at best long after the whistle I love so much quit alerting me it was full and ignoring it, trying to test the other half of the gauge. I could drive for days and the needle set at 1/2. Being one of the quirks of the car, I accepted the fact once the needle started moving, Better get gas in the next 100 miles.
Now I know. The other night, the gauge was setting at about an 1/8. I stopped for gas and it was windy as hell. Put the gas nozzle on full and ignored the fact the factory alert whistle stopped. About 30 seconds later it spit gas all over me. (Yes I was standing down wind) It burnt like hell the rest of the way home and lighting a cigarette was out of the question and the gas gauge went to empty. When I got home I decided to make a patch panel to take place of the sending unit since it quit working anyway, and tear it apart. I made some amazing discoveries. They are extremely serviceable and and adjustable for any tank or voltage. I'll add some pics if anyone is interested.
Posted on: 2014/4/13 23:30
|
|||
|
||||
|
Re: Restore or .....
|
||||
|---|---|---|---|---|
|
Quite a regular
|
I hope the upholstery guy comes through.
We're about done with the reconstruction of our shop and I still have some to do on the beast too.http://www.ccmauto.com/
Posted on: 2012/1/6 19:23
|
|||
|
||||
|
Re: Restore or .....
|
||||
|---|---|---|---|---|
|
Quite a regular
|
All dressed up and and still a day to go.
Attach file:  (63.04 KB) (63.04 KB) (71.26 KB) (71.26 KB) (90.45 KB) (90.45 KB) (105.07 KB) (105.07 KB)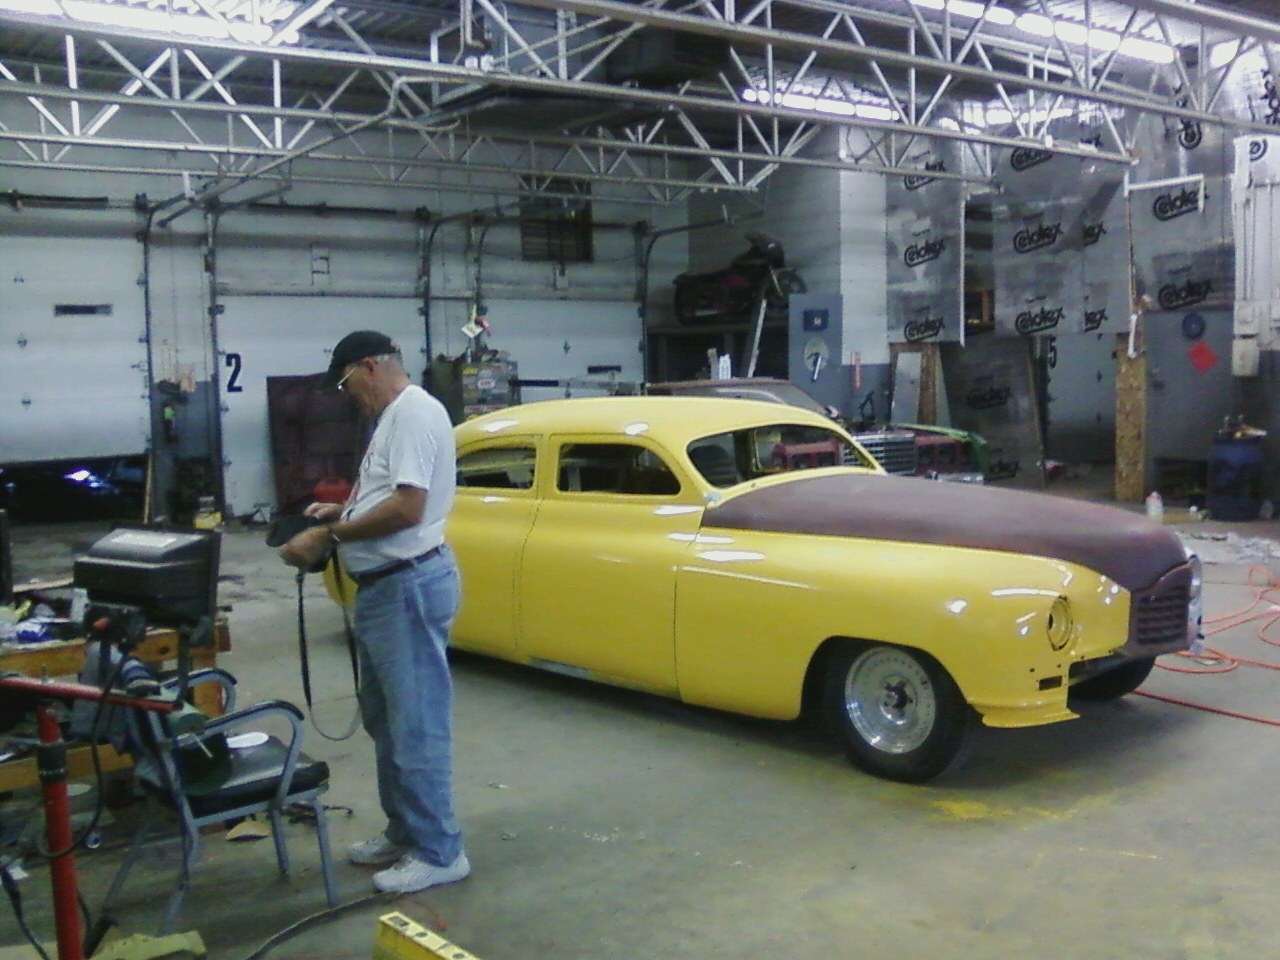 (72.82 KB) (72.82 KB)
Posted on: 2010/9/22 18:53
|
|||
|
||||


