|
Re: Stewart
|
||||
|---|---|---|---|---|
|
Home away from home

|
I picked up a plastic welding kit at HF.
It is just a soldering iron with a larger head on it but it was cheap. Then I trimmed up the duct that I had already made and welded the two sides together. As I said last time it's not pretty but no one outside of this page will ever see it. Also, I am trying to install the wiper fluid line before I install the plenum. I am running a line from each side to a tee but where does the 3rd line from the tee pass through the firewall or does it really matter? Attach file:  20230225_135354_resized.jpg (88.78 KB) 20230225_135354_resized.jpg (88.78 KB)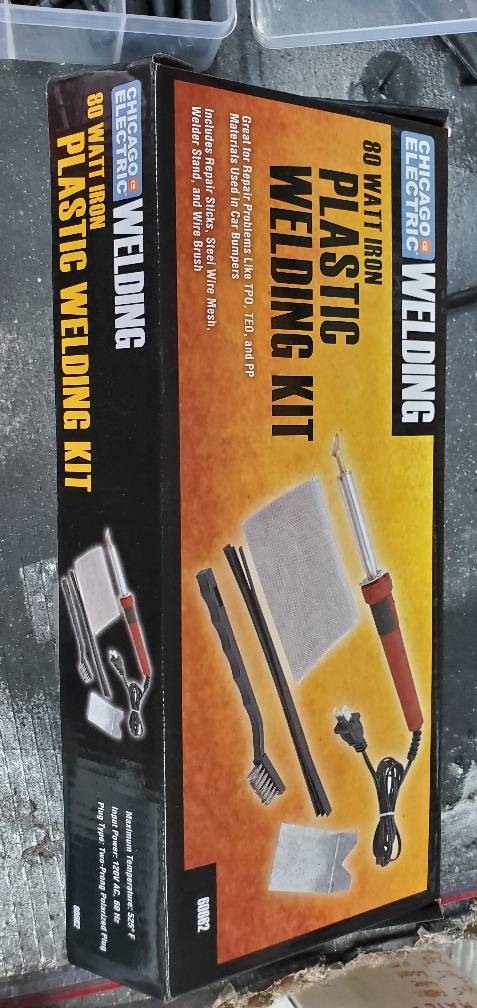 20230225_135615_resized.jpg (79.78 KB) 20230225_135615_resized.jpg (79.78 KB)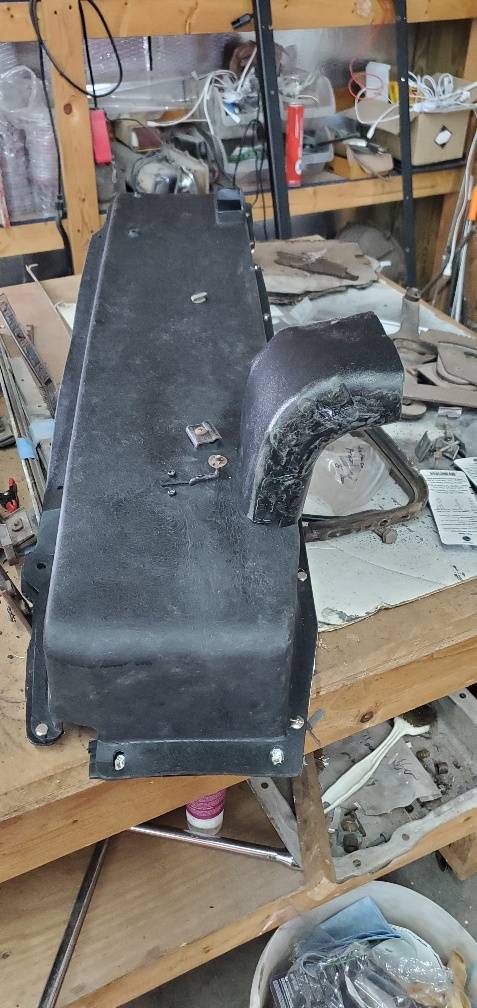 20230225_135647_resized.jpg (36.07 KB) 20230225_135647_resized.jpg (36.07 KB)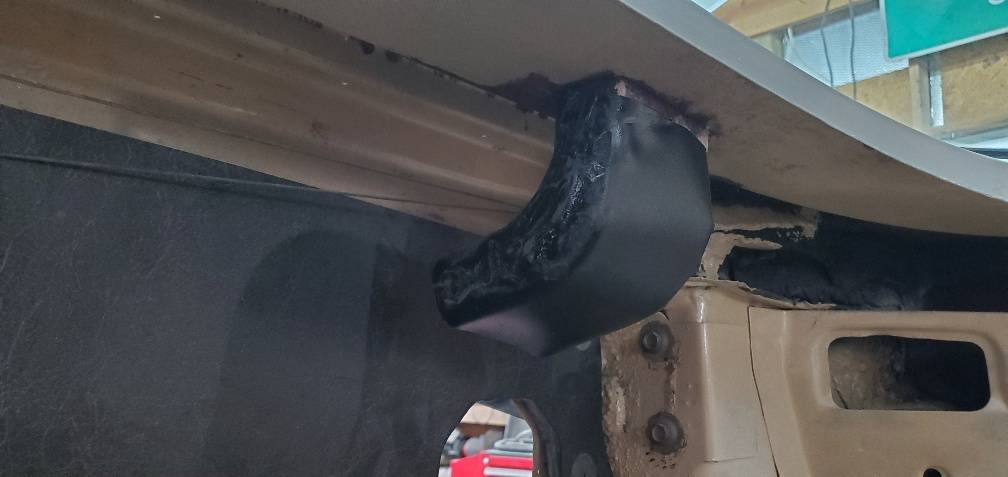 20230225_135442_resized.jpg (34.26 KB) 20230225_135442_resized.jpg (34.26 KB)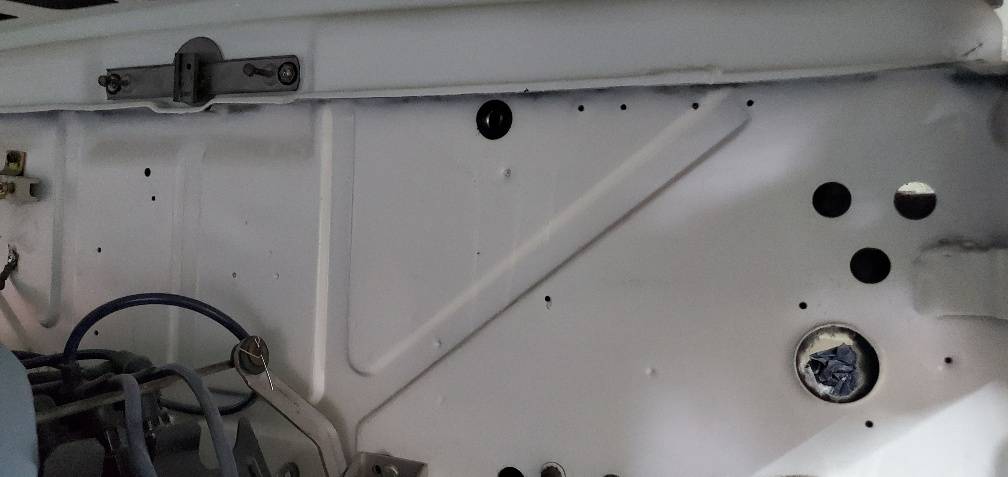
Posted on: 2023/2/25 14:52
|
|||
|
Stewart Ballard
|
||||
|
||||
|
Re: Stewart
|
||||
|---|---|---|---|---|
|
Webmaster

|
Looks great!
Posted on: 2023/2/25 15:05
|
|||
|
-BigKev
1954 Packard Clipper Deluxe Touring Sedan -> Registry | Project Blog 1937 Packard 115-C Convertible Coupe -> Registry | Project Blog |
||||
|
||||
|
Re: Stewart
|
||||
|---|---|---|---|---|
|
Forum Ambassador

|
Ducts did turn out decent.
Quote: Also, I am trying to install the wiper fluid line before I install the plenum. I am running a line from each side to a tee but where does the 3rd line from the tee pass through the firewall or does it really matter? It can go in any of the aux holes but from the factory washer is usually in the lower single hole just above the wiring loom marked K on the illustration. Almost all the accessory hose and wire routings are described in the accessory section of SM. If you are reusing your old grommets look for the aux grommet with a large hole for the hose and a bunch of smaller blanked openings individual wires for power windows and other accessories pass thru. There is another similar sized grommet without as many small holes sometimes used for the radio antenna wires and lead. I am not entirely sure Steele's grommets listed for washer hose or antenna is the correct 55 item though. Both appear to be the type that needs the external metal retainer which screws to the dash like the one shown in the photo for the wiring loom opening. I don't see any holes on your aux openings where any retainers would have been. Layout of accessory grommets usually depend on what space was already used or if enough openings are available in a grommet for extra wires or even if an accessory was installed by dealers who sometimes ignored factory recommendations. Attach file: hose route.jpg (140.62 KB)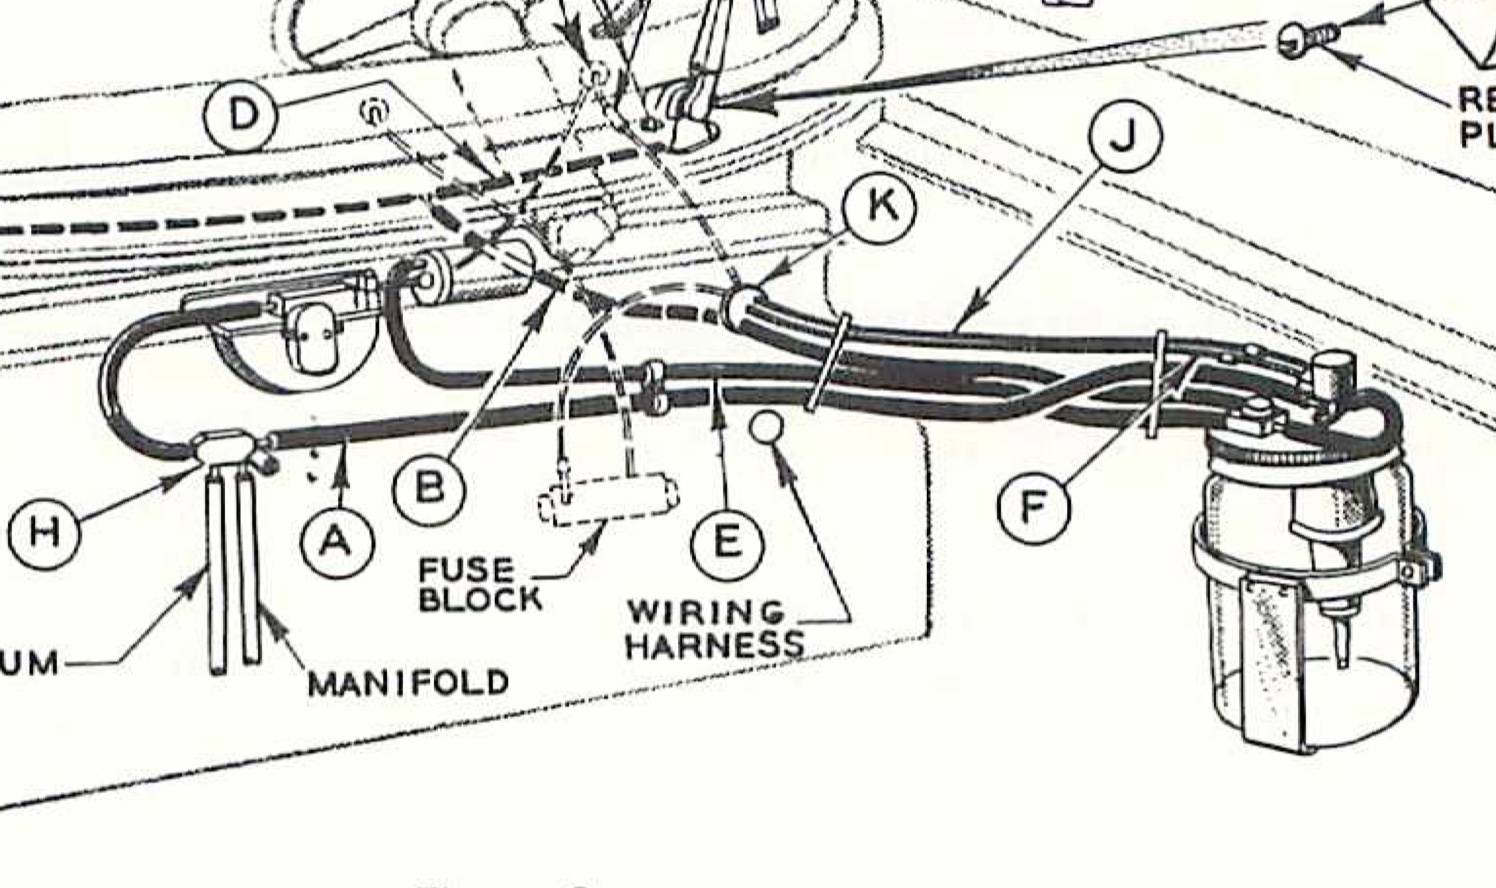 hose route1.jpg (148.76 KB) hose route1.jpg (148.76 KB)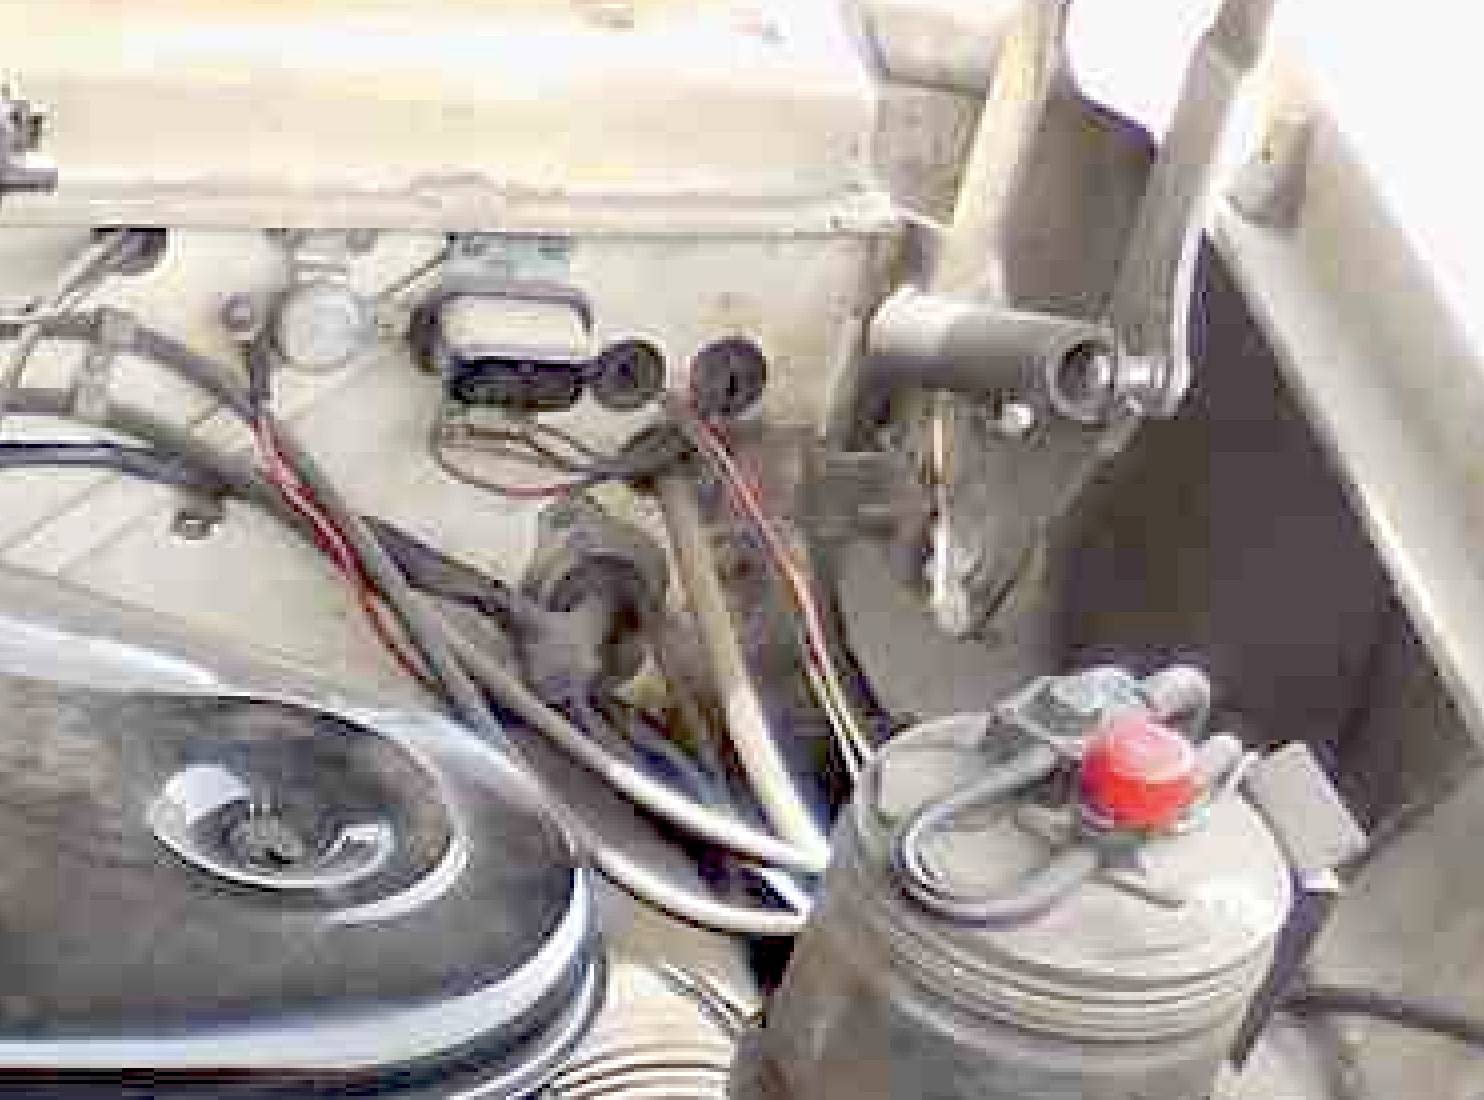
Posted on: 2023/2/25 15:21
|
|||
|
Howard
|
||||
|
||||
|
Re: Stewart
|
||||
|---|---|---|---|---|
|
Home away from home
|
Thank you, Howard. I have the same drawing but it is much smaller and harder to understand what each line is.
Another question, I pulled the heater valve out today and was planning to install it. I rebuilt it last year. Either I have it placed incorrectly or that manufactured hole in the firewall pad needs to be enlarged and squared. Attach file: 20230225_140128_resized.jpg (42.98 KB)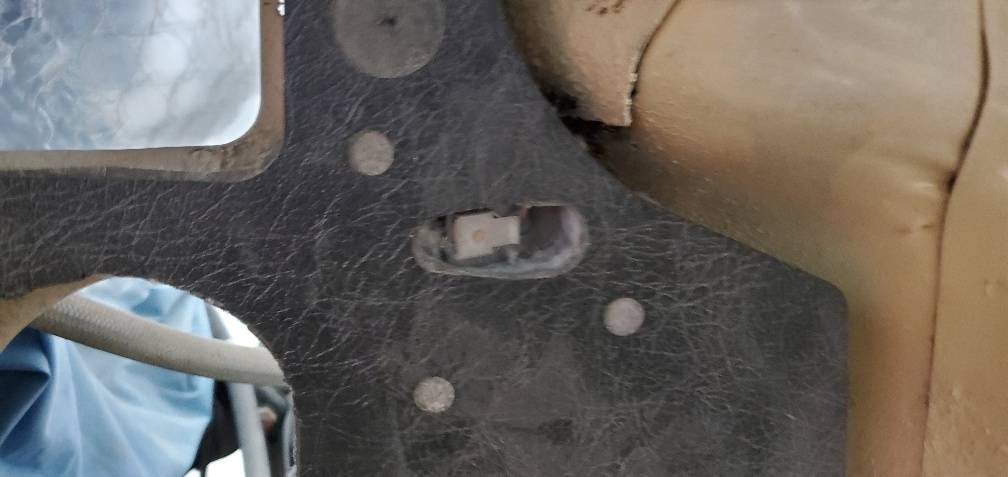 20230225_140200_resized.jpg (40.05 KB) 20230225_140200_resized.jpg (40.05 KB)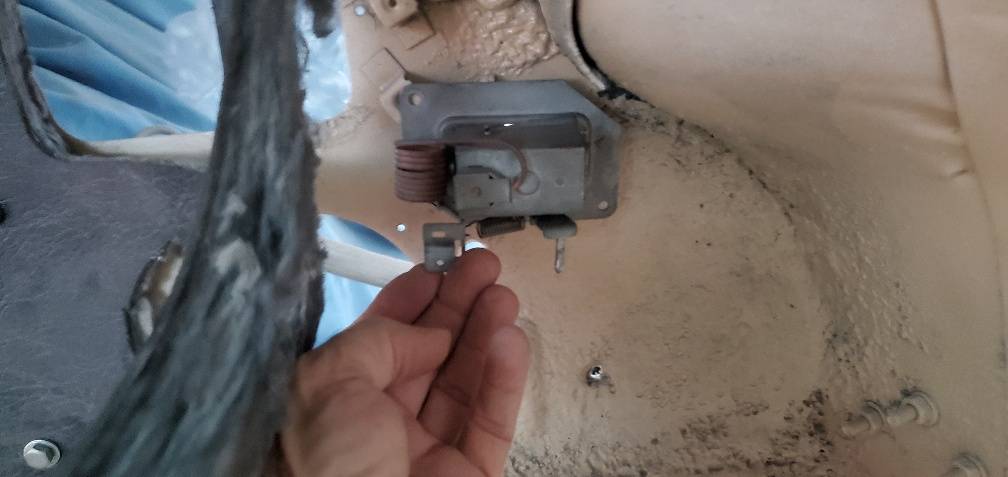 20230225_140211_resized.jpg (68.07 KB) 20230225_140211_resized.jpg (68.07 KB)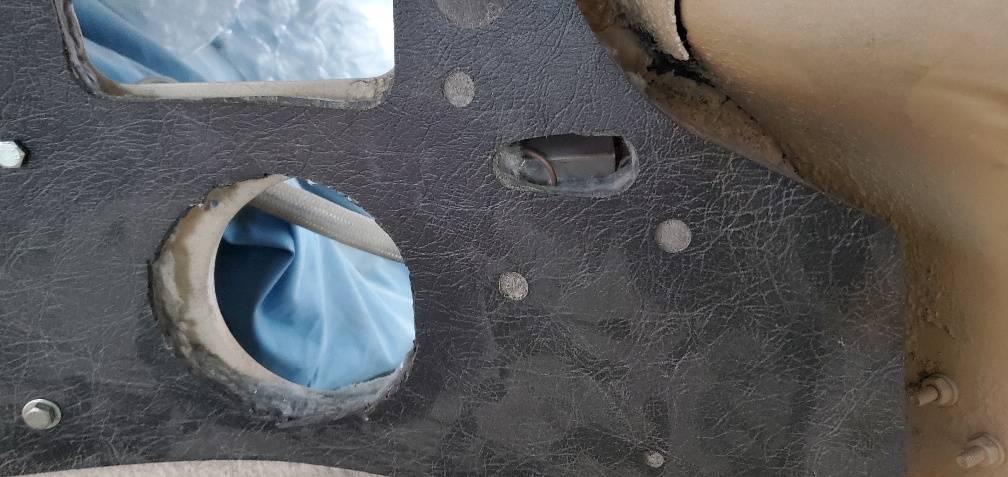 20230225_140241_resized.jpg (50.72 KB) 20230225_140241_resized.jpg (50.72 KB)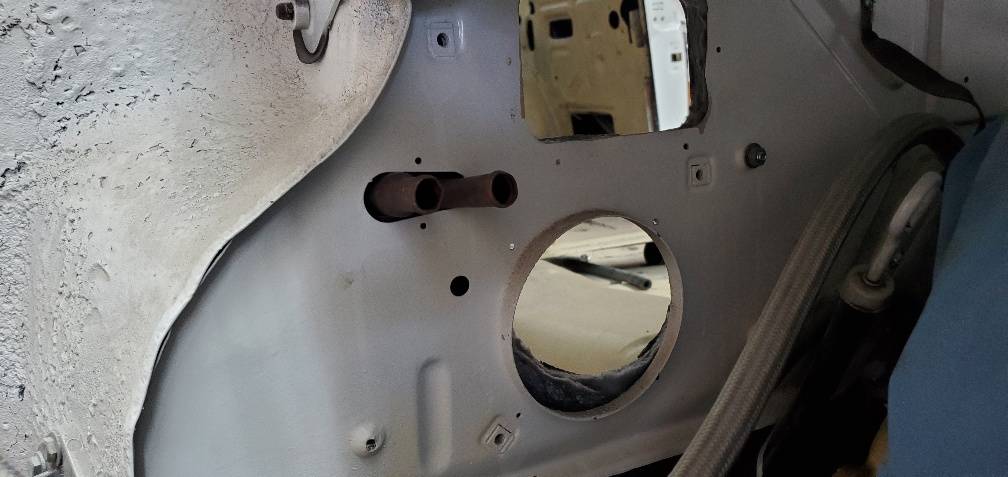
Posted on: 2023/2/25 19:42
|
|||
|
Stewart Ballard
|
||||
|
||||
|
Re: Stewart
|
||||
|---|---|---|---|---|
|
Forum Ambassador
|
I suspect there is either something wrong with the valve reassembly or possibly one or both of the standoff mounts welded to the firewall have been bent slightly out of position.
The firewall hole has been the same since 51. Valves, aside from relocations of the sensing coil and cable clamp due to differences in location of the small holes in the plenum for heater hot air to blow on the sensor have also remained essentially the same for the non AC valves. For factory air cars the hole remained the same but the valve body was offset from the horizontal layout of tubes and hole by approximately a 45 degree angle. This was necessary because of the narrower space available due to the large evaporator box that went over the air vent and heater outlet. Here is a photo from the AC install manual showing a combination of new and old mounts. The new were needed for the tilted valve body and the evaporator box. The new ones are the brighter two of the five and are screwed to the firewall. Perhaps you could check your mounts and see if you can bend them slightly without breaking the welds. It looks to be so close a tiny bend might solve the problem. If that didn't work you MIGHT get away with enlarging the hole slightly but the two hole rubber grommet that covers the tubes on engine side fits fairly close to the hole opening at the ends. Attach file: heater.jpg (80.48 KB)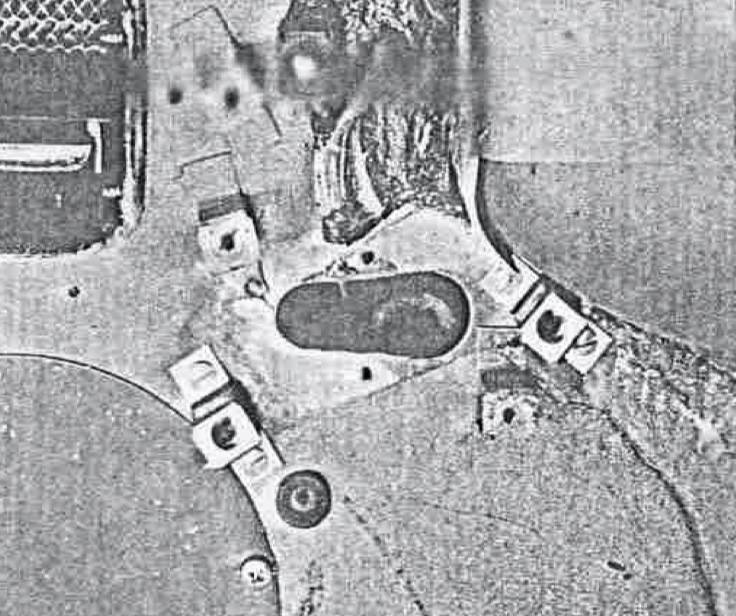
Posted on: 2023/2/25 21:23
|
|||
|
Howard
|
||||
|
||||
|
Re: Stewart's 1955 Packard 400
|
||||
|---|---|---|---|---|
|
Home away from home
|
Stewart
That duct does look good
Posted on: 2023/2/26 2:59
|
|||
|
Riki
|
||||
|
||||
|
Re: Stewart
|
||||
|---|---|---|---|---|
|
Home away from home
|
Let me try this again on that heater valve.
The "stand-off" nuts are in good shape. Does the valve go between the pad and the firewall or is the whole thing bolted on the inside with only the copper tubbing passing through the pad and firewall? Attach file: 20230226_132036_resized.jpg (96.75 KB)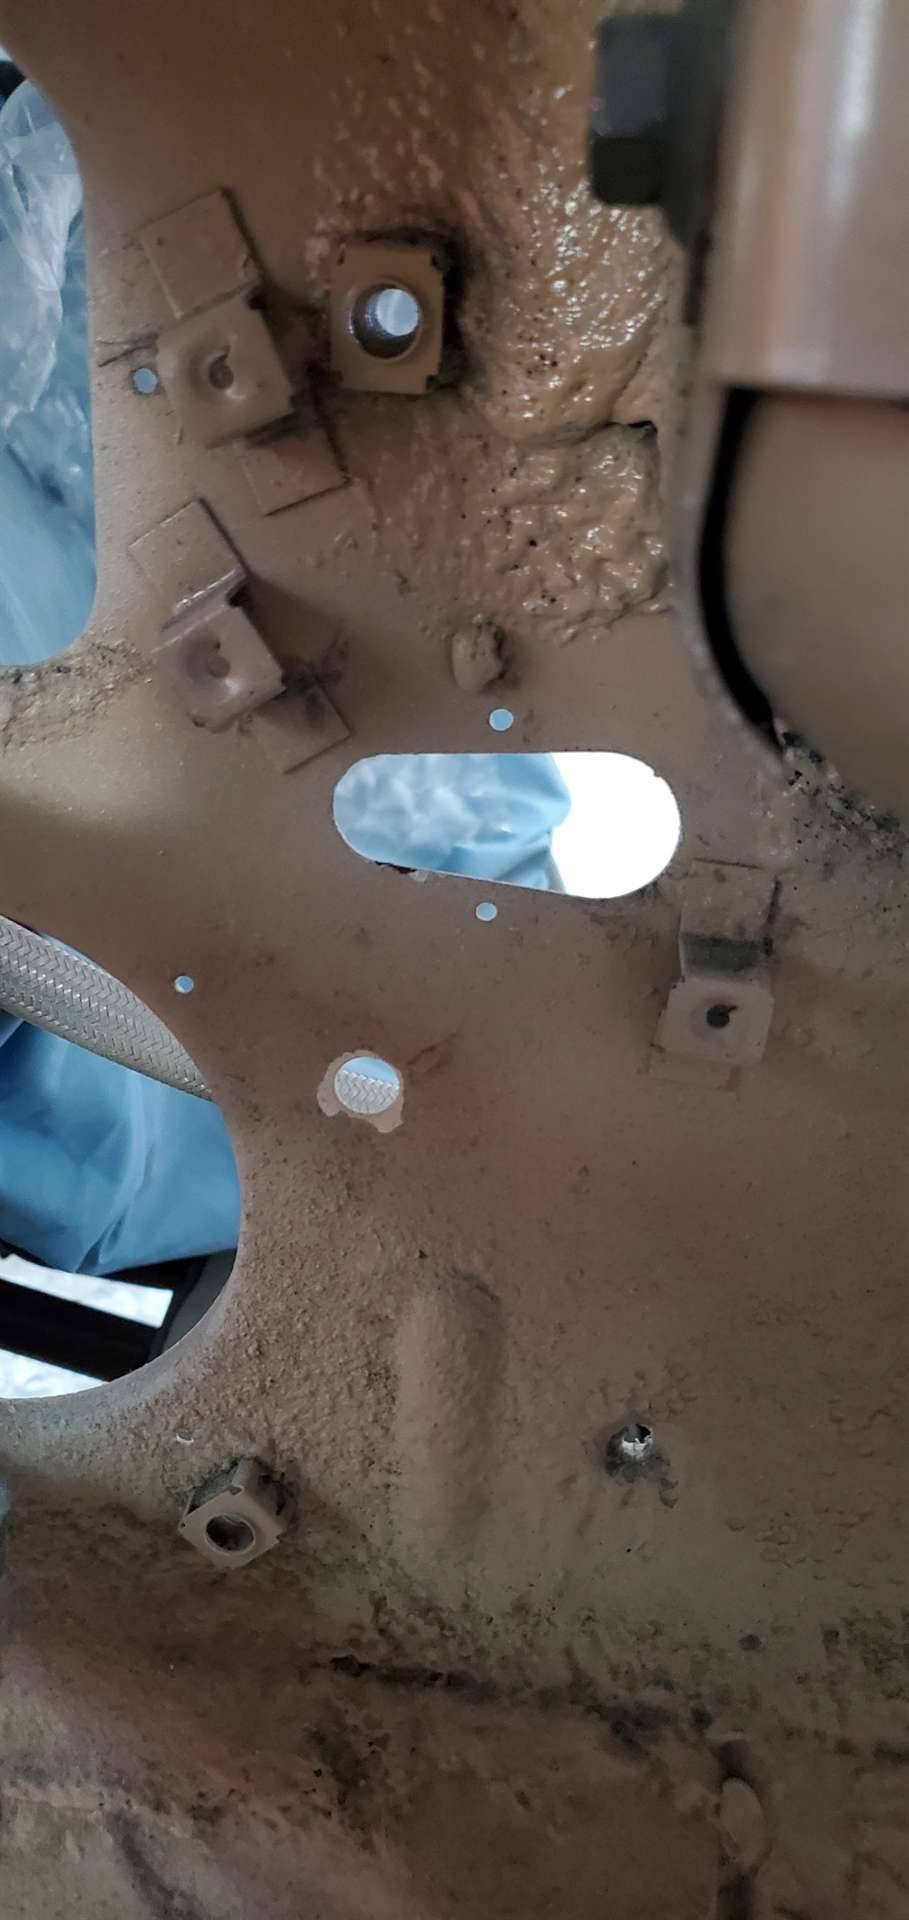 20230226_132737_resized.jpg (132.72 KB) 20230226_132737_resized.jpg (132.72 KB)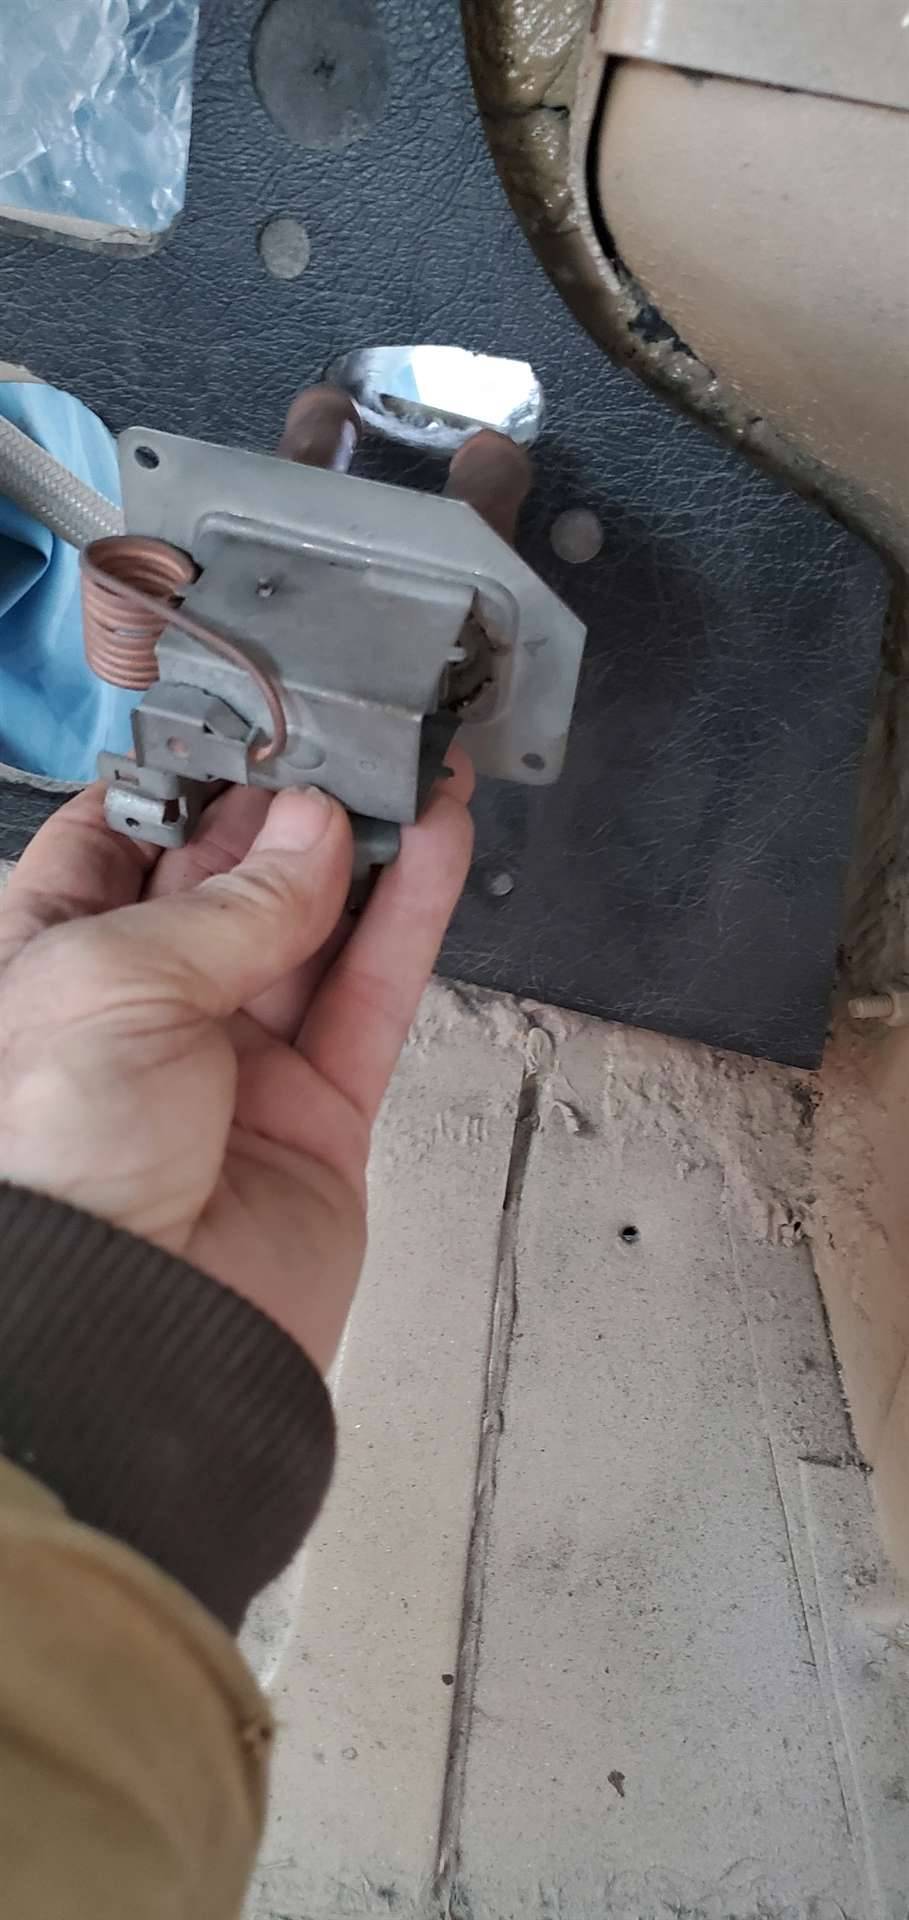
Posted on: 2023/2/26 15:08
|
|||
|
Stewart Ballard
|
||||
|
||||
|
Re: Stewart
|
||||
|---|---|---|---|---|
|
Forum Ambassador
|
Pad and any carpet over the pad goes on first and valve goes over that with only the pipes sticking thru. If you made your own padding make sure it is roughly the same thickness as the old pad or if thicker, cut and taper enough away in that area so the hard part of the pad rests directly on the mounts. Too thick a pad will not allow the tubes to stick out far enough on the engine side and getting the hoses on enough to clamp properly will be an issue.
That layout is one of the downsides on a Packard install because if the valve starts leaking it will saturate and then run under the carpet. You will not know there is a leak unless you can actually smell the coolant or it gets so bad water starts dripping out of a body bolt hole and you see the puddle on the floor under the passenger seat. Attach file: valve.jpg (41.20 KB)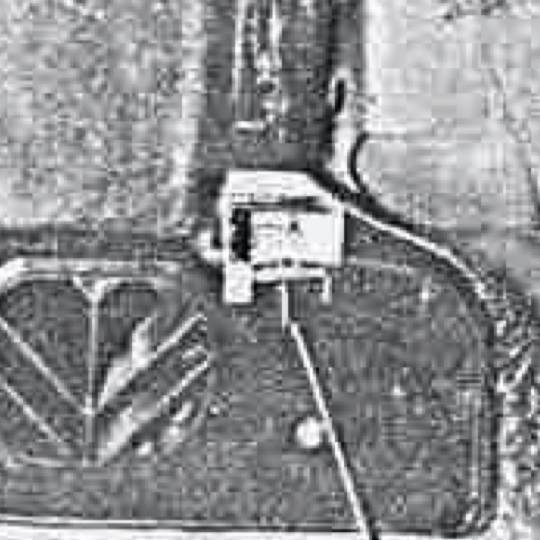
Posted on: 2023/2/26 16:09
|
|||
|
Howard
|
||||
|
||||
|
Re: Stewart
|
||||
|---|---|---|---|---|
|
Home away from home
|
This is my first official day of retirement and I am liking it. I am suddenly getting a number of projects completed.
I got the plenum and air ducts test fitted in place today. Had to take them back out to enlarge a couple of holes but I think they are ready to be finalized. The muggy weld rods arrived a few days ago so I gave them a try on the vent window frame. Those rods melt at a much lower temperature so it went pretty quickly. Attach file: 20230227_145359_resized.jpg (41.96 KB)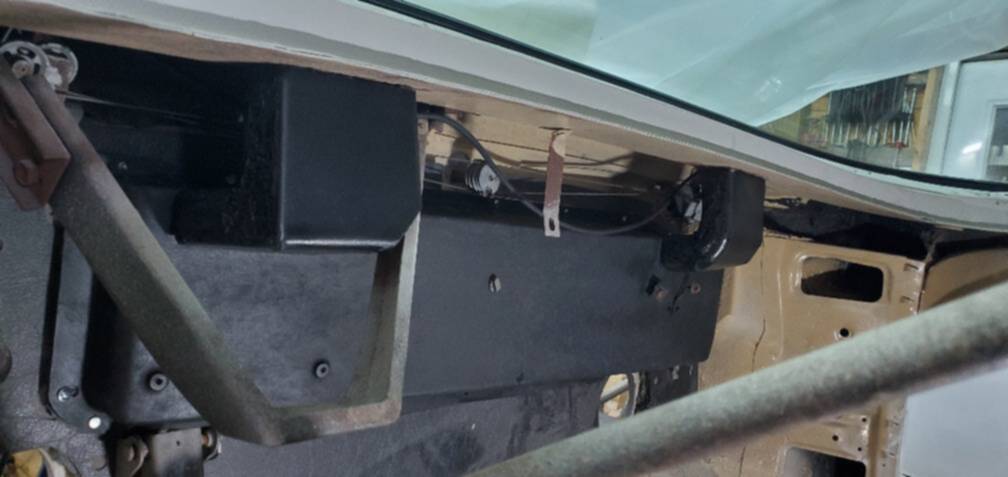 20230227_145341_resized.jpg (30.85 KB) 20230227_145341_resized.jpg (30.85 KB)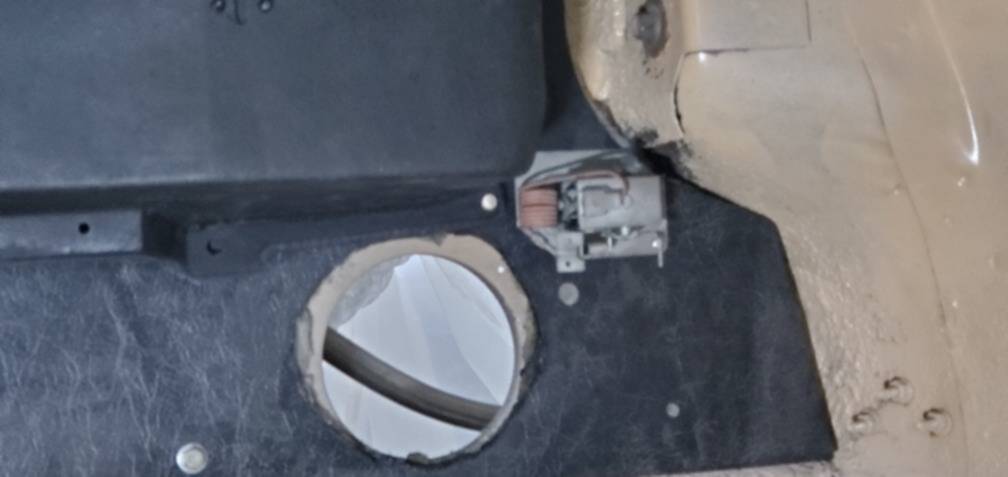 20230227_143745_resized.jpg (48.10 KB) 20230227_143745_resized.jpg (48.10 KB)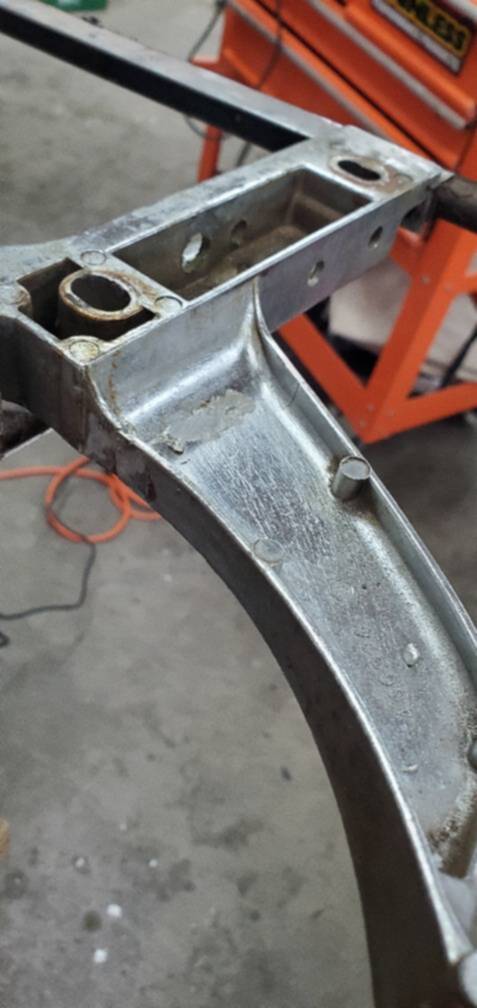 20230227_142214_resized.jpg (44.76 KB) 20230227_142214_resized.jpg (44.76 KB)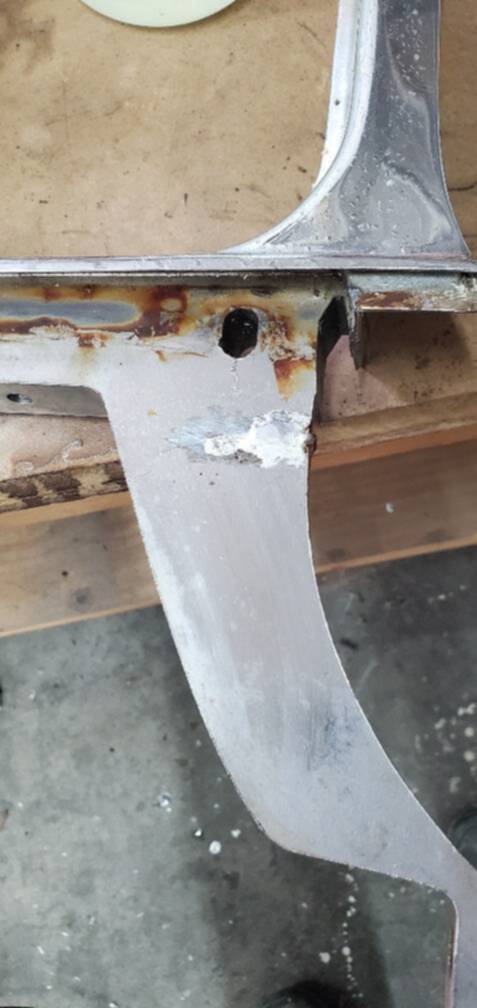
Posted on: 2023/2/27 16:57
|
|||
|
Stewart Ballard
|
||||
|
||||


.jpg")


