|
Re: The Duchess Project: 1940 Super 8 Convertible Sedan
|
||||
|---|---|---|---|---|
|
Webmaster

|
It's looking good!
I use one of these. They are very bright and run for a few hours on a single charge. https://www.harborfreight.com/845-lumen-led-rechargeable-underhood-work-light-63990.html They also work great under the hood and under the car. Still works great after 7 years.
Posted on: 2023/5/25 9:23
|
|||
|
-BigKev
1954 Packard Clipper Deluxe Touring Sedan -> Registry | Project Blog 1937 Packard 115-C Convertible Coupe -> Registry | Project Blog |
||||
|
||||
|
Re: The Duchess Project: 1940 Super 8 Convertible Sedan
|
||||
|---|---|---|---|---|
|
Home away from home

|
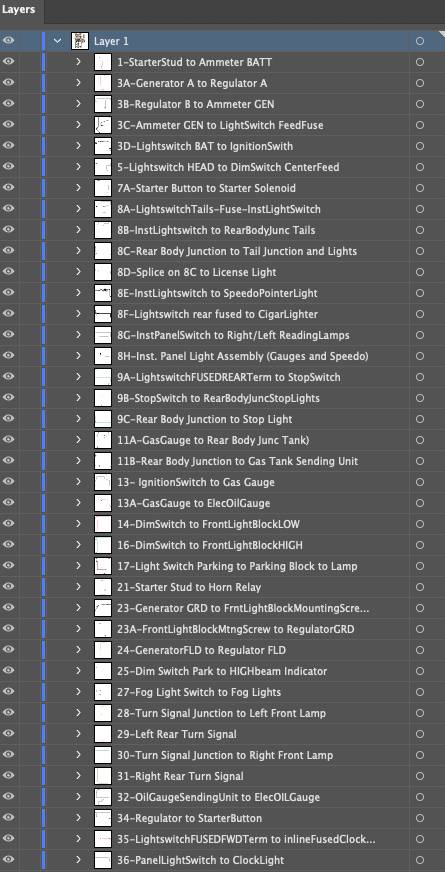
The beauty of having a vector PDF file is that you can scale it to any size without losing any resolution. I’m posting a link to the PDF which could be downloaded and added to Wiring Diagrams, if Big Kev choses. I also recorded the path of each wire by number. So, for over 70 wires, I have a listing that says, for example, “7A – Starter Button to Starter Solenoid”
Posted on: 2023/5/25 9:29
|
|||
|
||||
|
Re: The Duchess Project: 1940 Super 8 Convertible Sedan
|
||||
|---|---|---|---|---|
|
Home away from home
|
Below is a screen capture of the diagram. The pdf is posted here:http://www.mktx.com/packard/PackardOrigWiring3.pdf When the original drawing was done, I used a copy to make a new drawing with the modifications resulting from adding relays and distribution boards.
Attach file:  19OrigWiringDiagram.jpg (219.39 KB) 19OrigWiringDiagram.jpg (219.39 KB)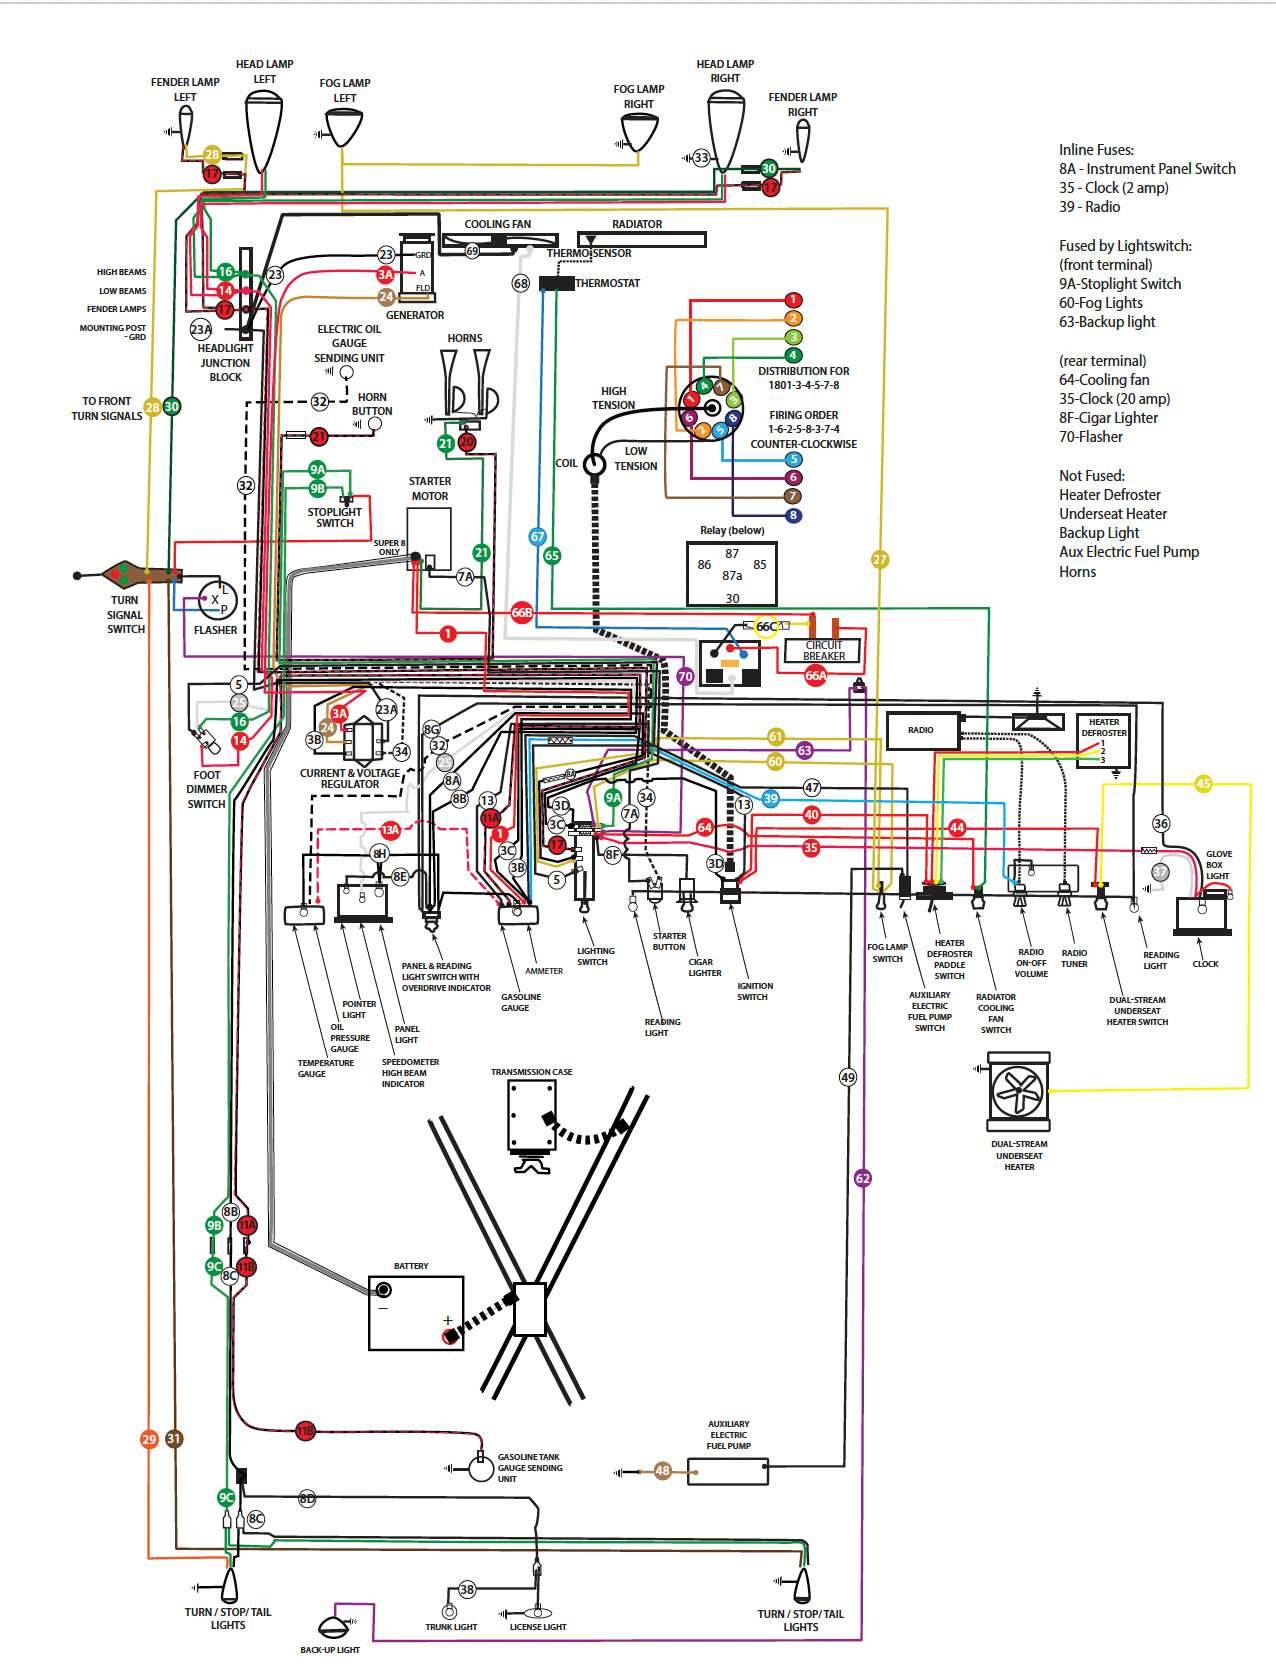
Posted on: 2023/5/25 9:30
|
|||
|
||||
|
Re: The Duchess Project: 1940 Super 8 Convertible Sedan
|
||||
|---|---|---|---|---|
|
Home away from home
|
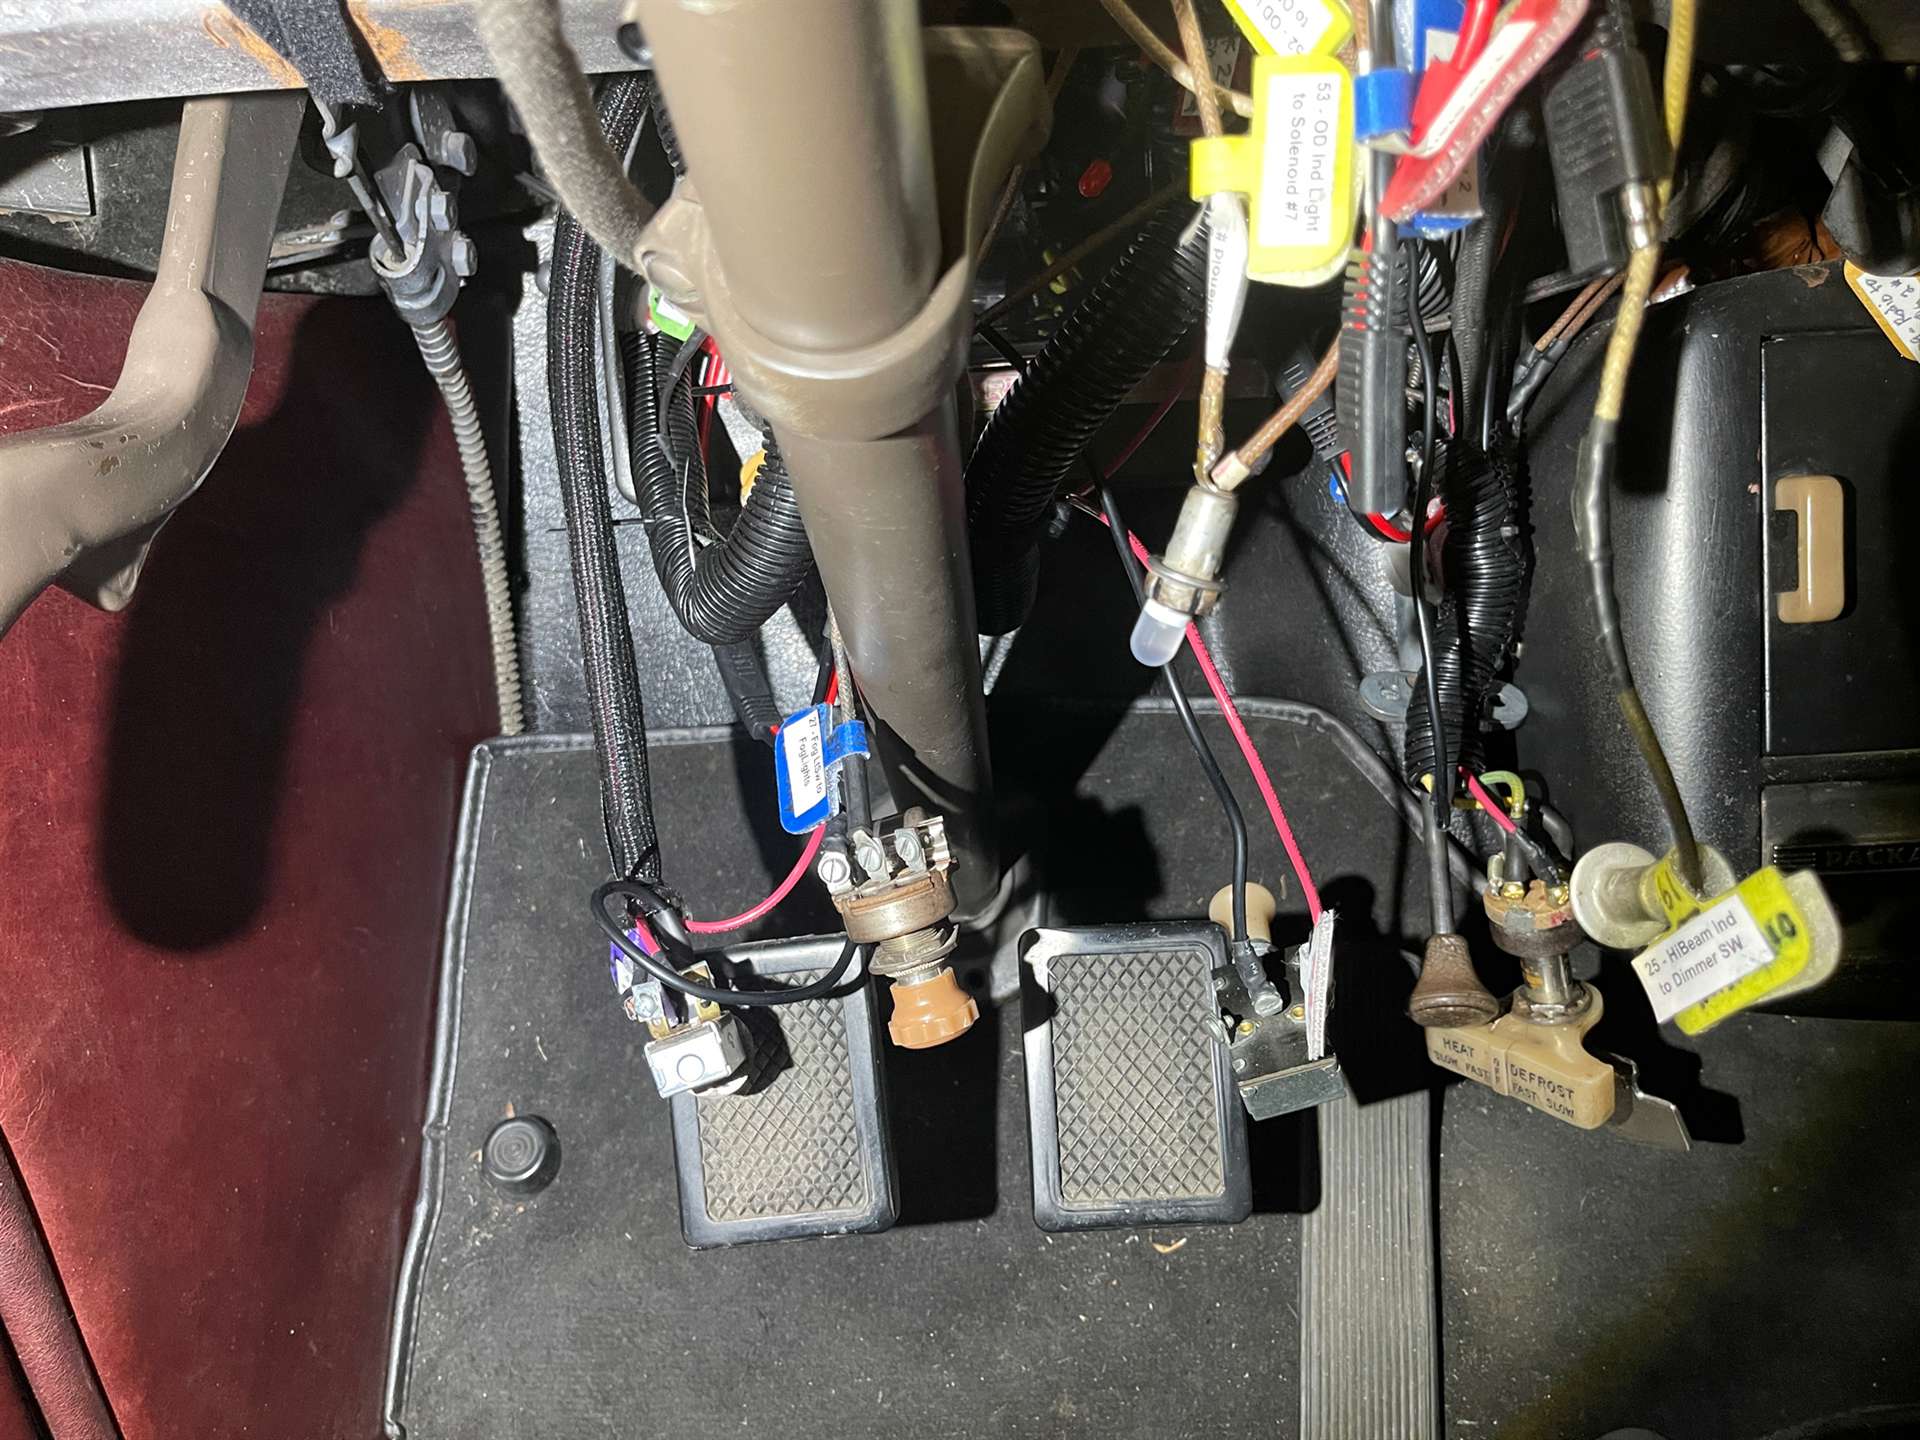
With the help and patience of Howard Hanson HH56 and Big Kev, I learned about relays and how to wire them to fused distribution boards. Howard had my back through the whole process answering lots of dumb questions thoroughly for which I am very grateful. I have to give him credit. He never screamed at me in CAPITAL LETTERS!
I used 2 relays and 2 distribution boards. All devices would be wired to the terminals of the distribution boards. The distribution boards are like fuse boxes on a modern car. The relay takes the pressure off the wiring that originally went to the light switch and the ignition switch. The power goes straight to the relays from the ammeter for devices Always Powered, which typically have a fuse and a switch, like the radio, or from the ignition switch, for those that are Only Powered if the Ignition is On. Big Kev’s concise explanation is post #1140. Basically, the whole concept made me dizzy. Two of the essential parts I needed came from the flackmaster, David Flack. May I say, Thank God, he saves old stuff? 1940 160 Battery Gauge and a 1940 160 Ignition switch . The gas gauge needle was caught on a little tab outside the gauge window that prevents it from going too far left (and another on the right side from too far right). That was an easy fix. My battery meter (I was calling it an ammeter, but it doesn’t give readings like an ammeter, just indications of whether the battery is discharging or being charged), on the other hand, was fried. I gently pried apart the gas/battery gauge casing, removed the nuts holding the battery gauge and installed the working one in my case restored by Bruce Abbott Instruments in Tigard, Oregon, then snapped it back together. Voila! A working gauge. Attach file: 20GasBatteryGauges.jpg (220.29 KB)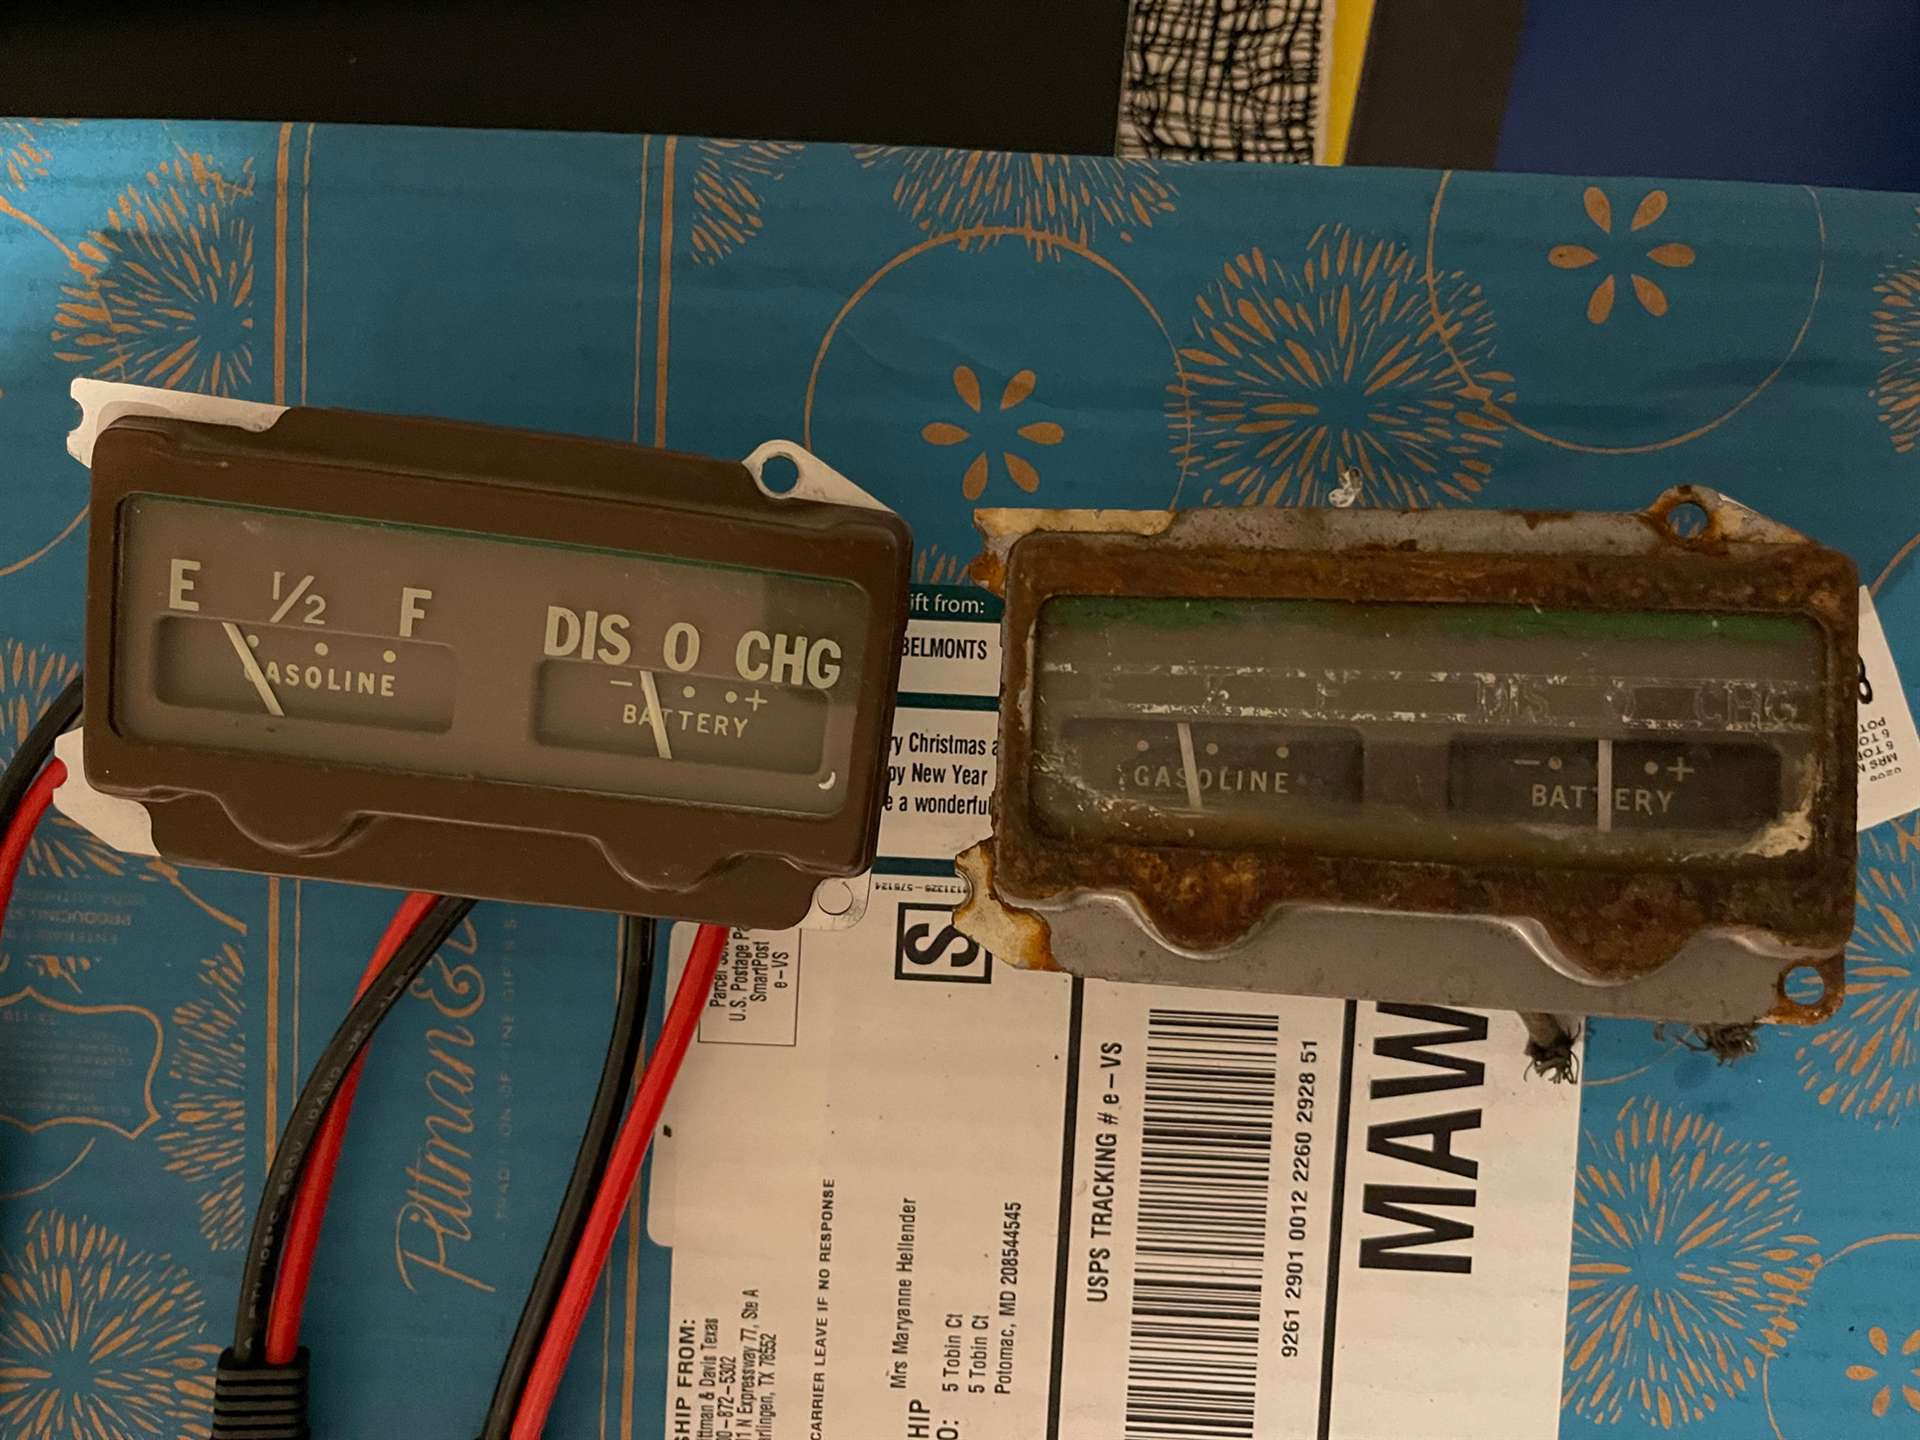 21AmmeterBacks.jpg (267.19 KB) 21AmmeterBacks.jpg (267.19 KB) 22ReplaceBatteryGauge.jpg (398.69 KB) 22ReplaceBatteryGauge.jpg (398.69 KB)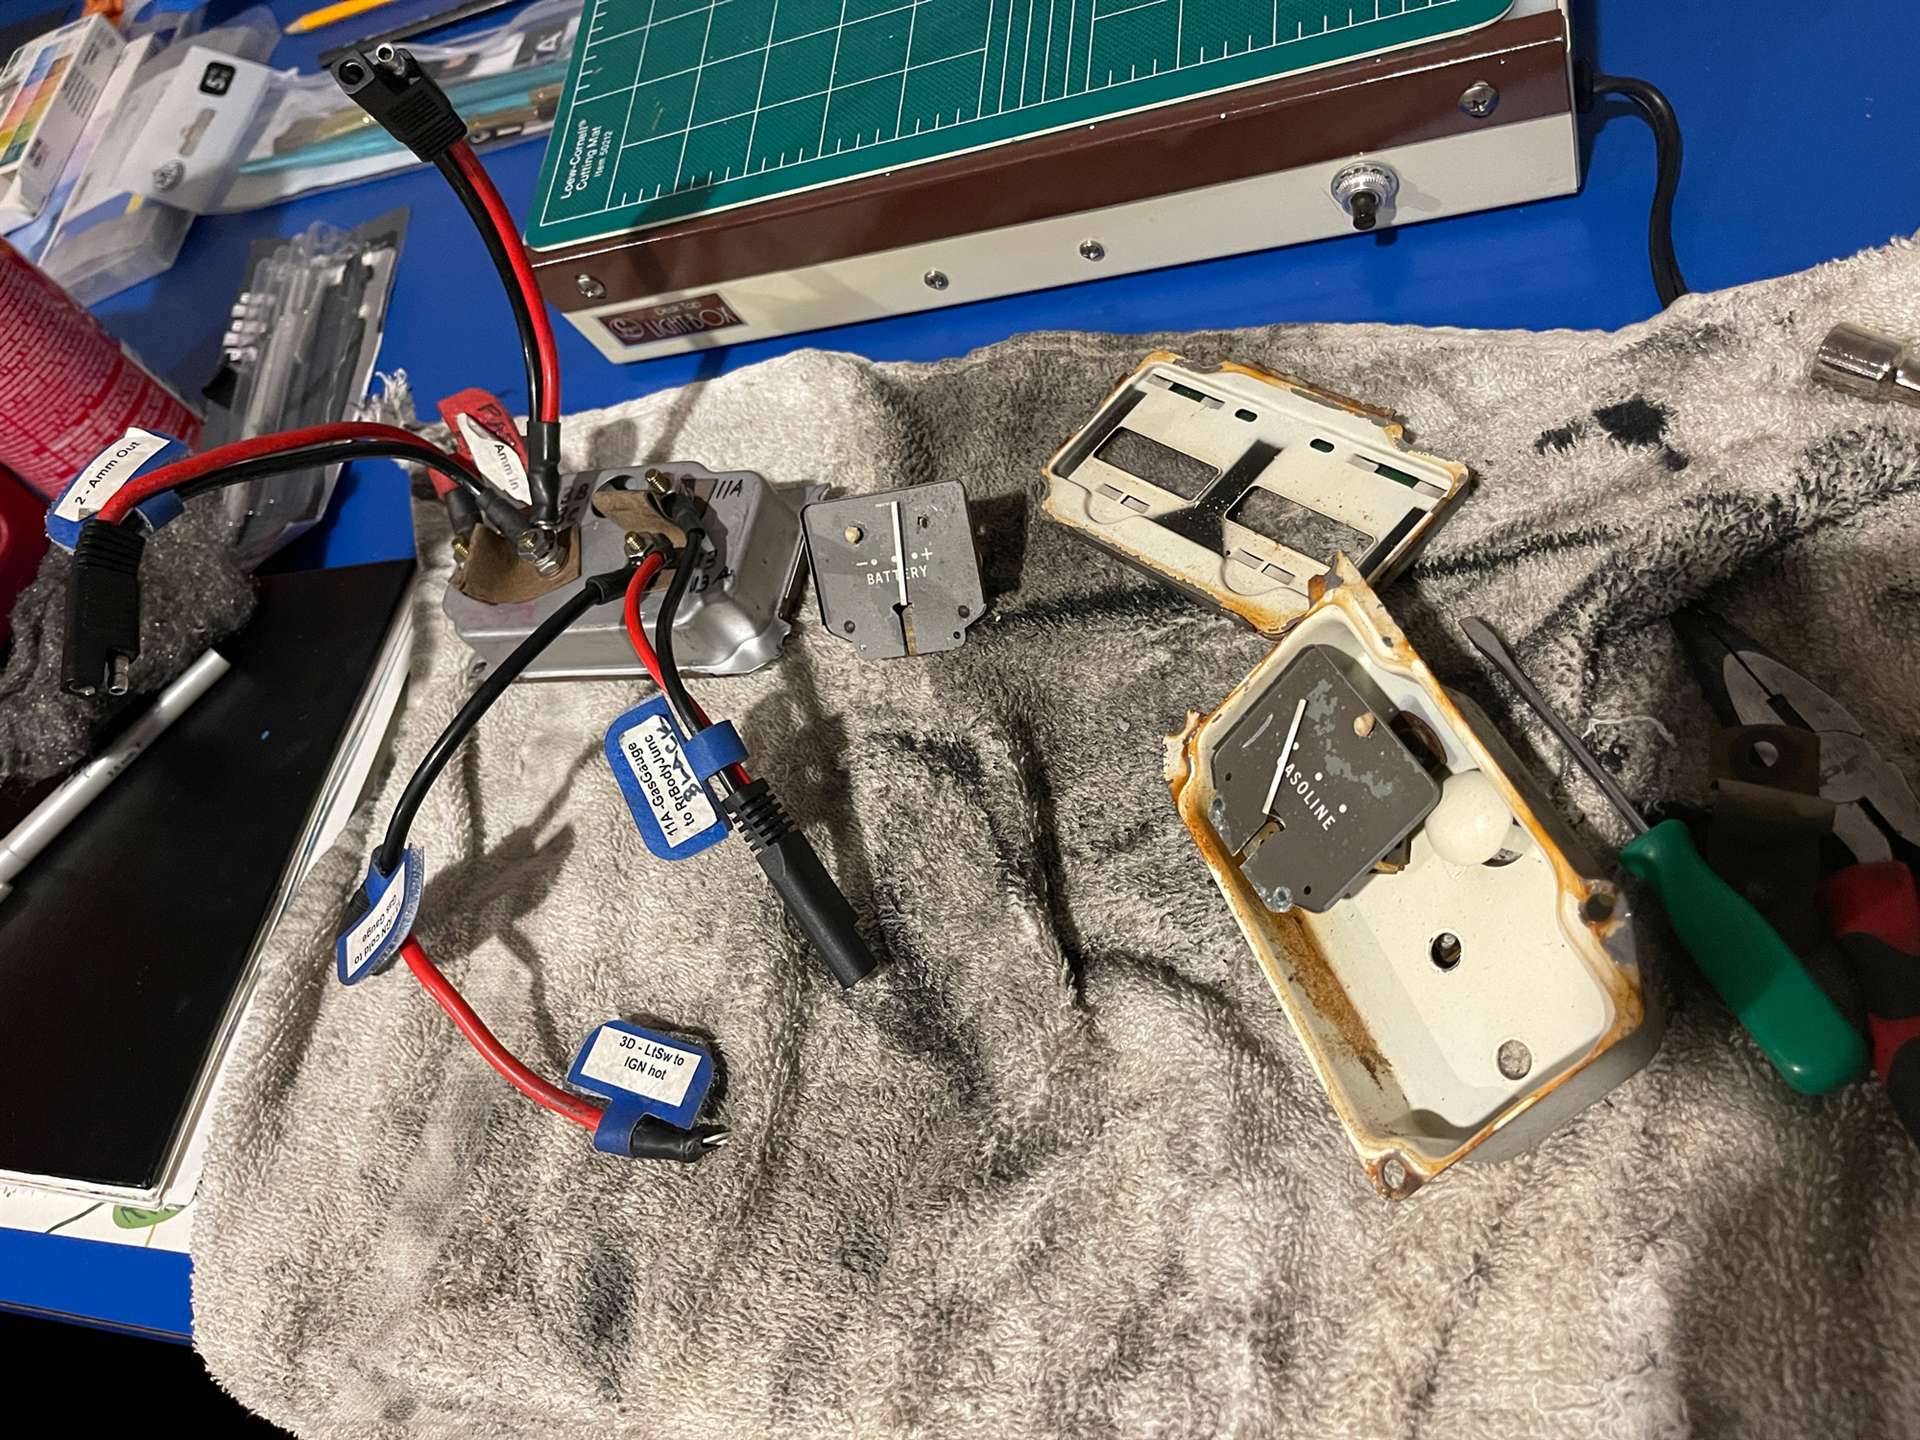
Posted on: 2023/5/25 9:32
|
|||
|
||||
|
Re: The Duchess Project: 1940 Super 8 Convertible Sedan
|
||||
|---|---|---|---|---|
|
Home away from home
|
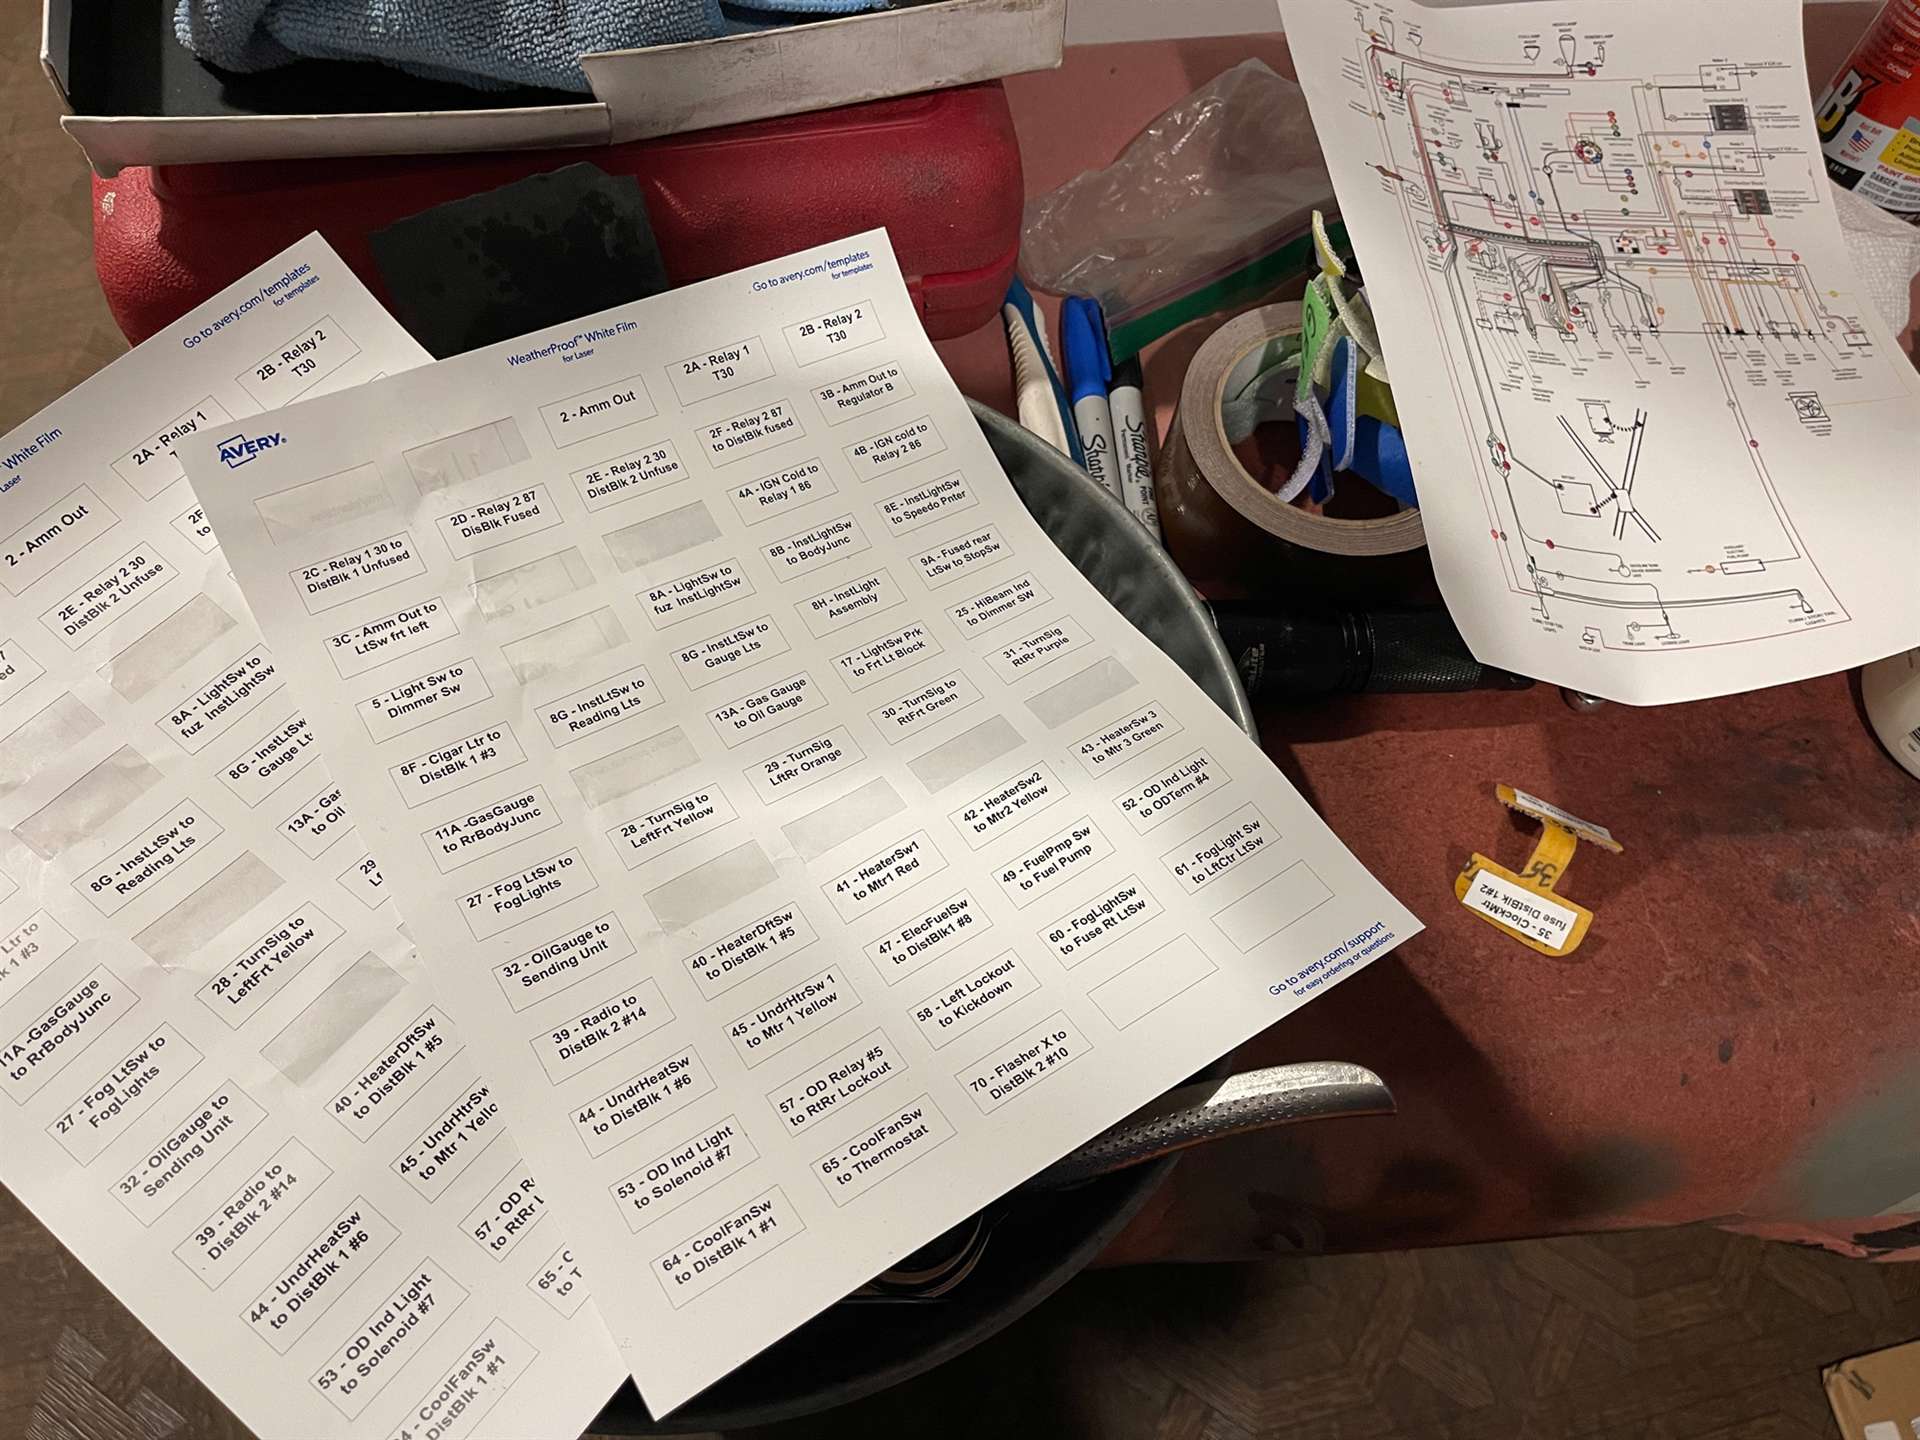
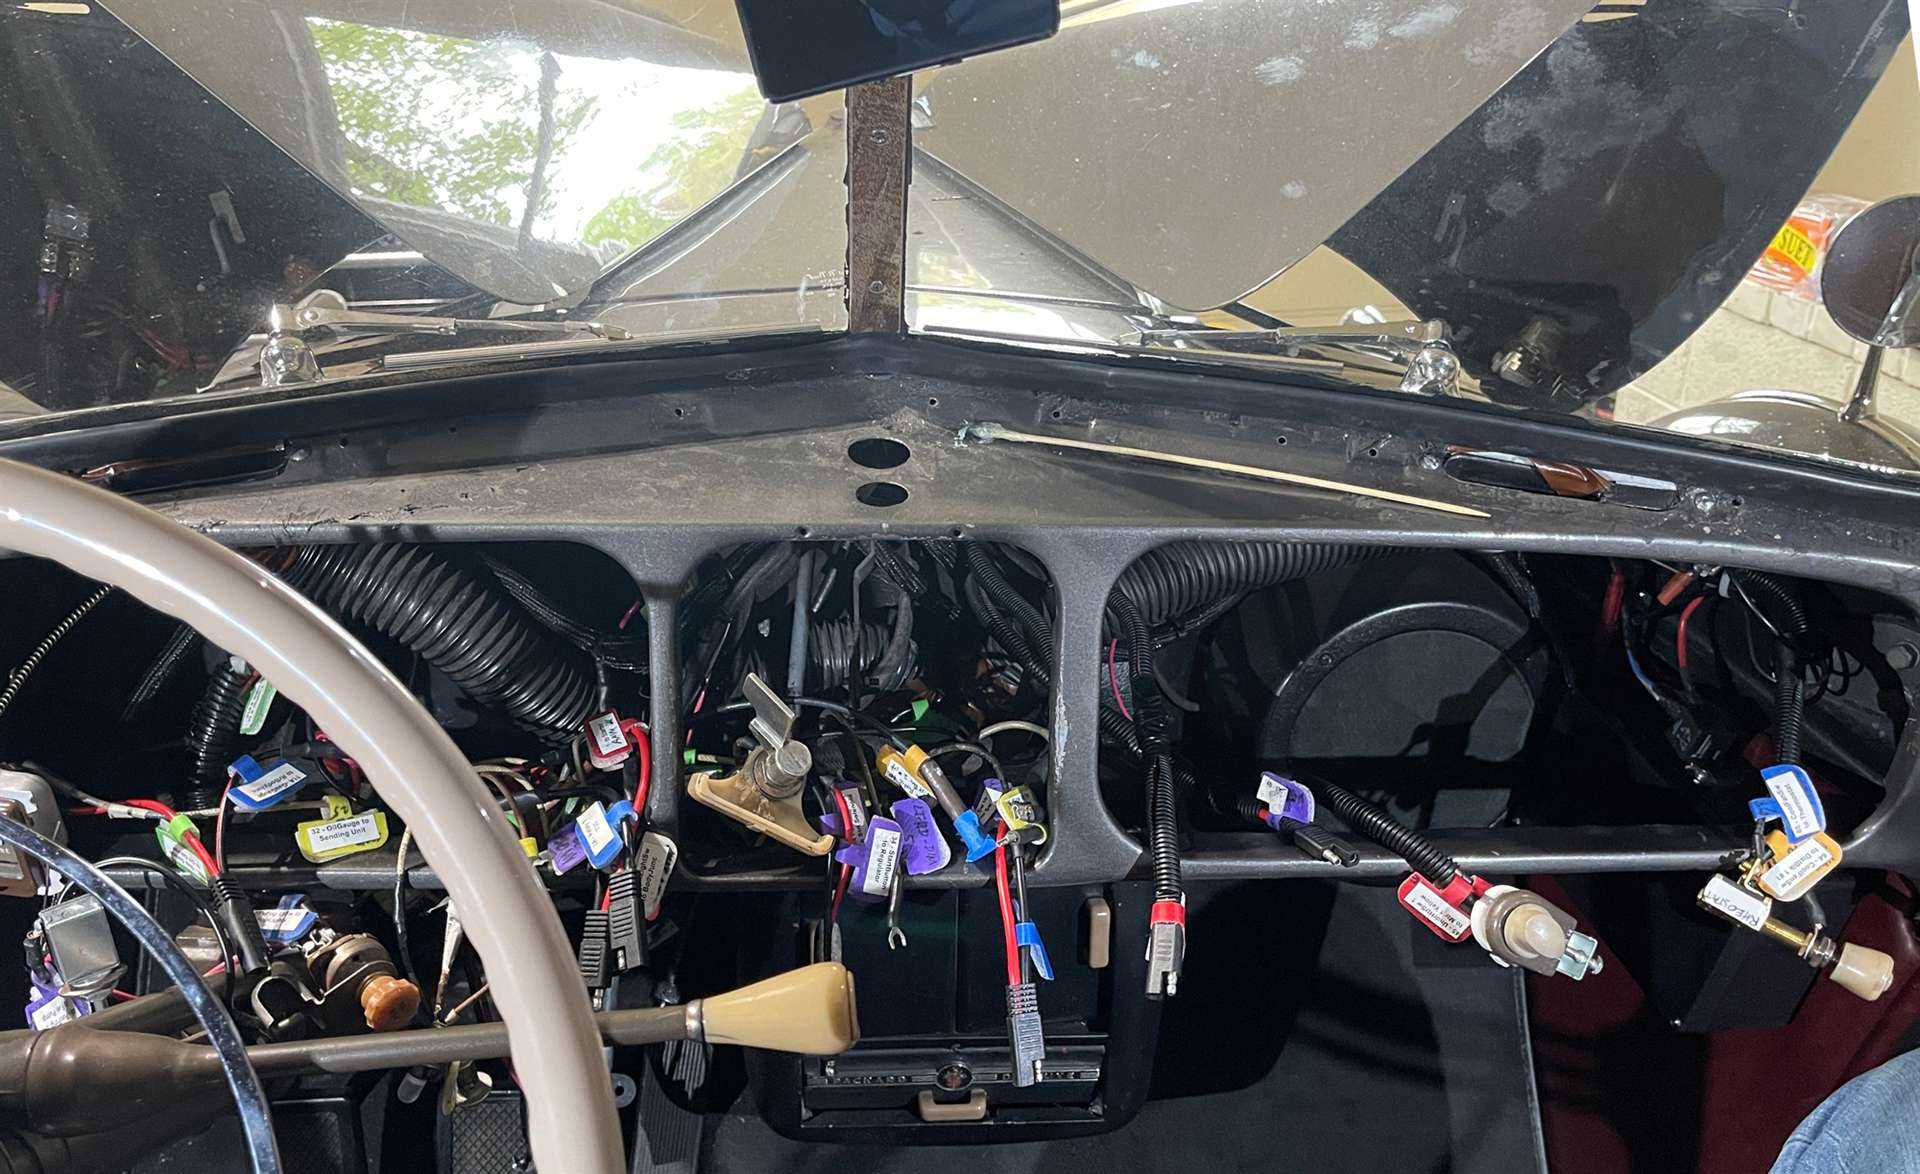
I bought a few packs of 10 gauge and 12 gauge connects and 3 packs of LuBanSir 35-Pack Velcro Cable Labels, as you see in most photos.
I also bought Avery Presta T00-13V .5”x1.25” weatherproof film labels for laser printer, 60 labels per sheet to stick on the cable labels. Ok, it’s a bit obsessive, but remember I need a lot of help remember which wire is which. Attach file: 24AveryLabels.jpg (142.98 KB)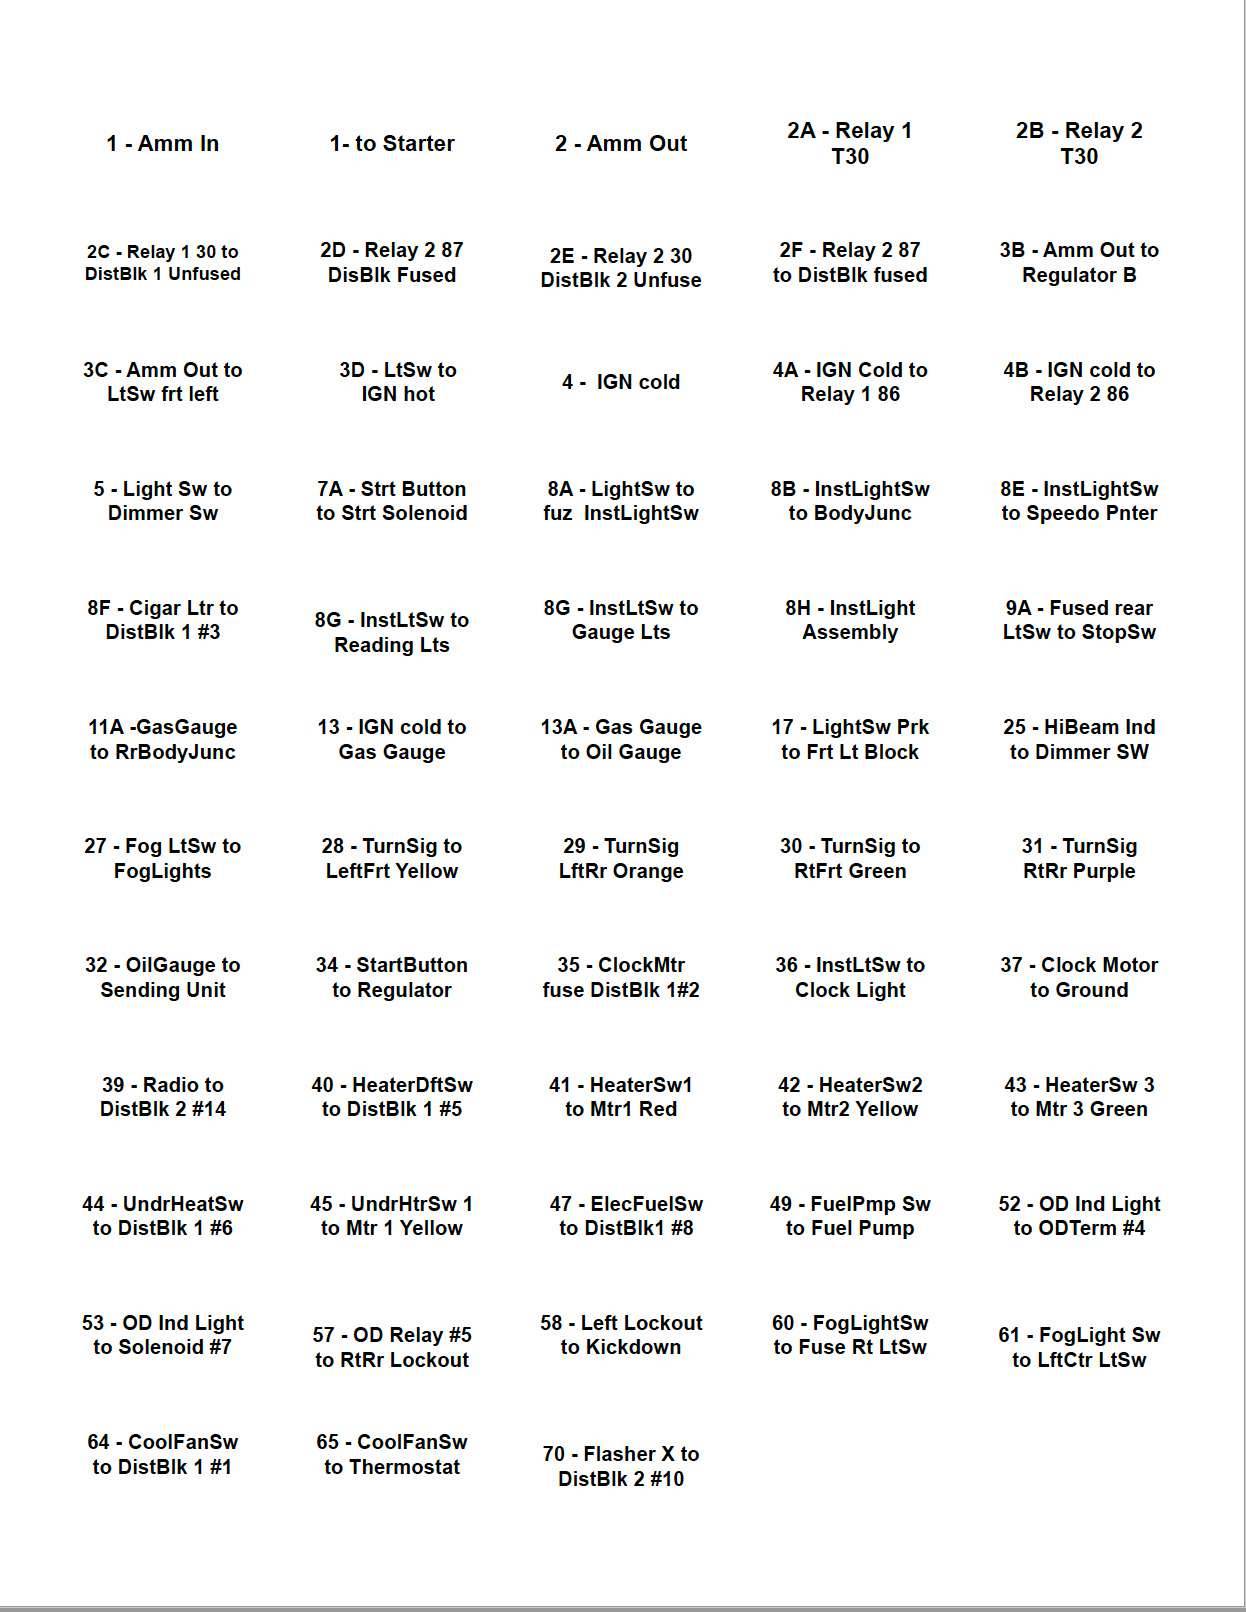
Posted on: 2023/5/25 9:58
|
|||
|
||||
|
Re: The Duchess Project: 1940 Super 8 Convertible Sedan
|
||||
|---|---|---|---|---|
|
Home away from home
|
These are the relays I used recommended by HH56.
2 TEMCo Industrial 6 V 30/40 Amp Bosch Style S Relay SPDT Automotive 2 SeaChoice Marine 4 Gang Fuse Terminal Block Common Buss Bar Brass Clips Contacts Also got a FogLite switch, Will Rose, LaVernia TX After stripping the dash of plastic and shipping it to Travis LaVine so the chrome strips could be removed and attached to the new plastic, I removed all the instruments and accessories. The clock was taken to Ecker’s Clock and Watch Shop to repair the loosey goosey hour hand. I shipped the radio control to James at Classic Motor Radios in Parkersburg, WV antiquecarradios.com to repair the mechanism for single button station changing. He found a semi-working control box and got it working smoothly. Back in the day when mine worked, it featured five Portland, Oregon stations with labels in a carousel on the left for same. I found a list of Washington DC area AM stations and selected five by content and frequency. There are some frequency limitations imposed by the Stewart Warner radio I have. I made new labels with frequency, call letters, and content type, and loaded them in the carousel. I found a coffee-stained manual on how to install this radio and set the stations, cleaned it up and printed a new copy. (http://www.mktx.com/packard/PackardRadioInstall.pdf )The radio box mounted on the firewall works great and didn’t have to come out. I was given the radio from a 1940 110 sedan, not realizing that the dash plastic available was different than the 160. La Vine made a fluted delete piece and cut it in two pieces so the 110 chrome faceplate fit between them. Attach file: 26FlutedRadioPieces.jpg (220.48 KB) 26RadioInstallGuide.jpg (267.88 KB) 26RadioInstallGuide.jpg (267.88 KB) 25RadioControlBox.jpg (249.40 KB) 25RadioControlBox.jpg (249.40 KB)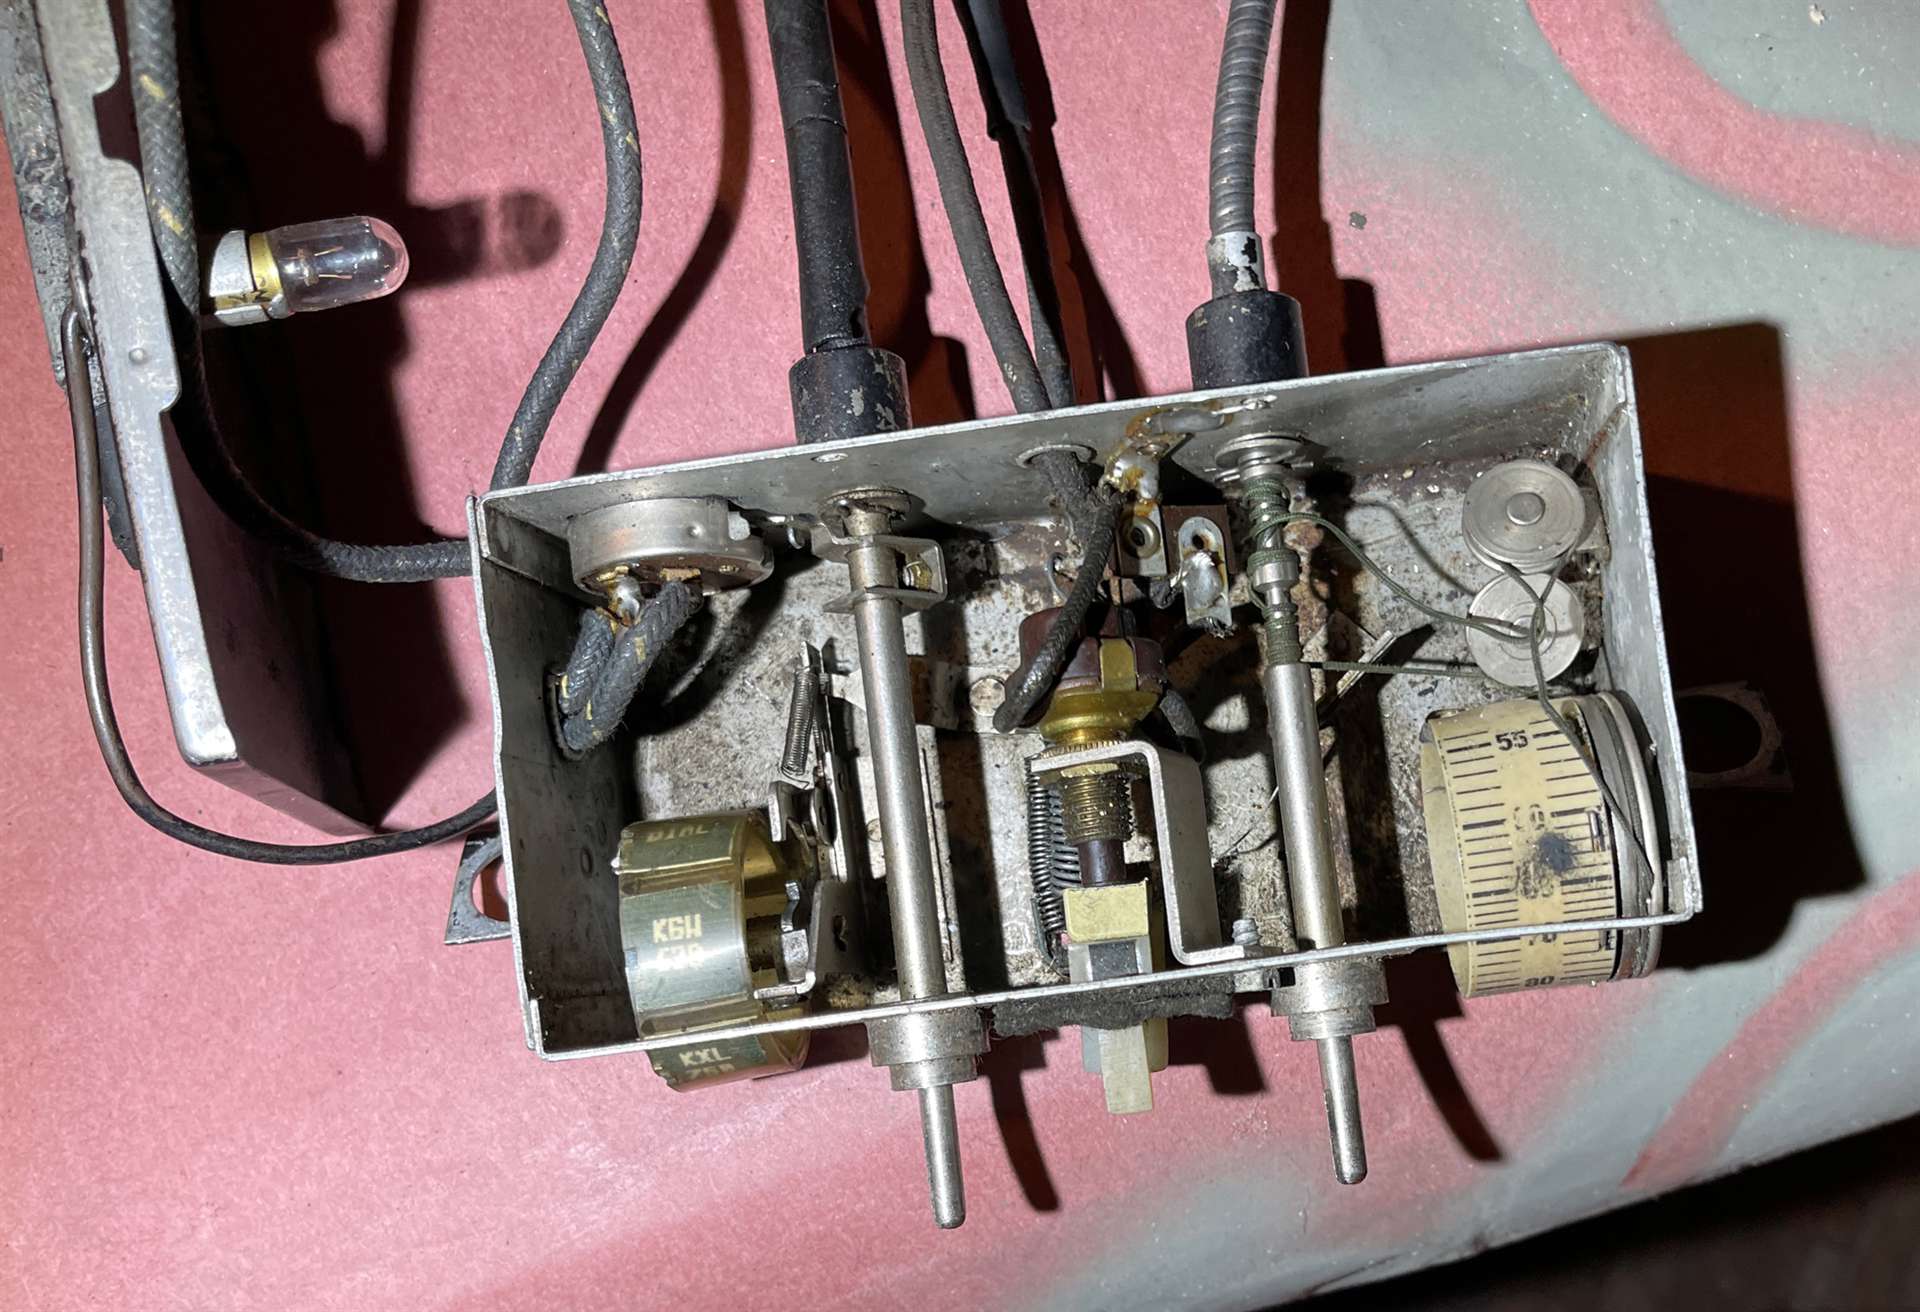 24FoglightOff.jpg (132.28 KB) 24FoglightOff.jpg (132.28 KB)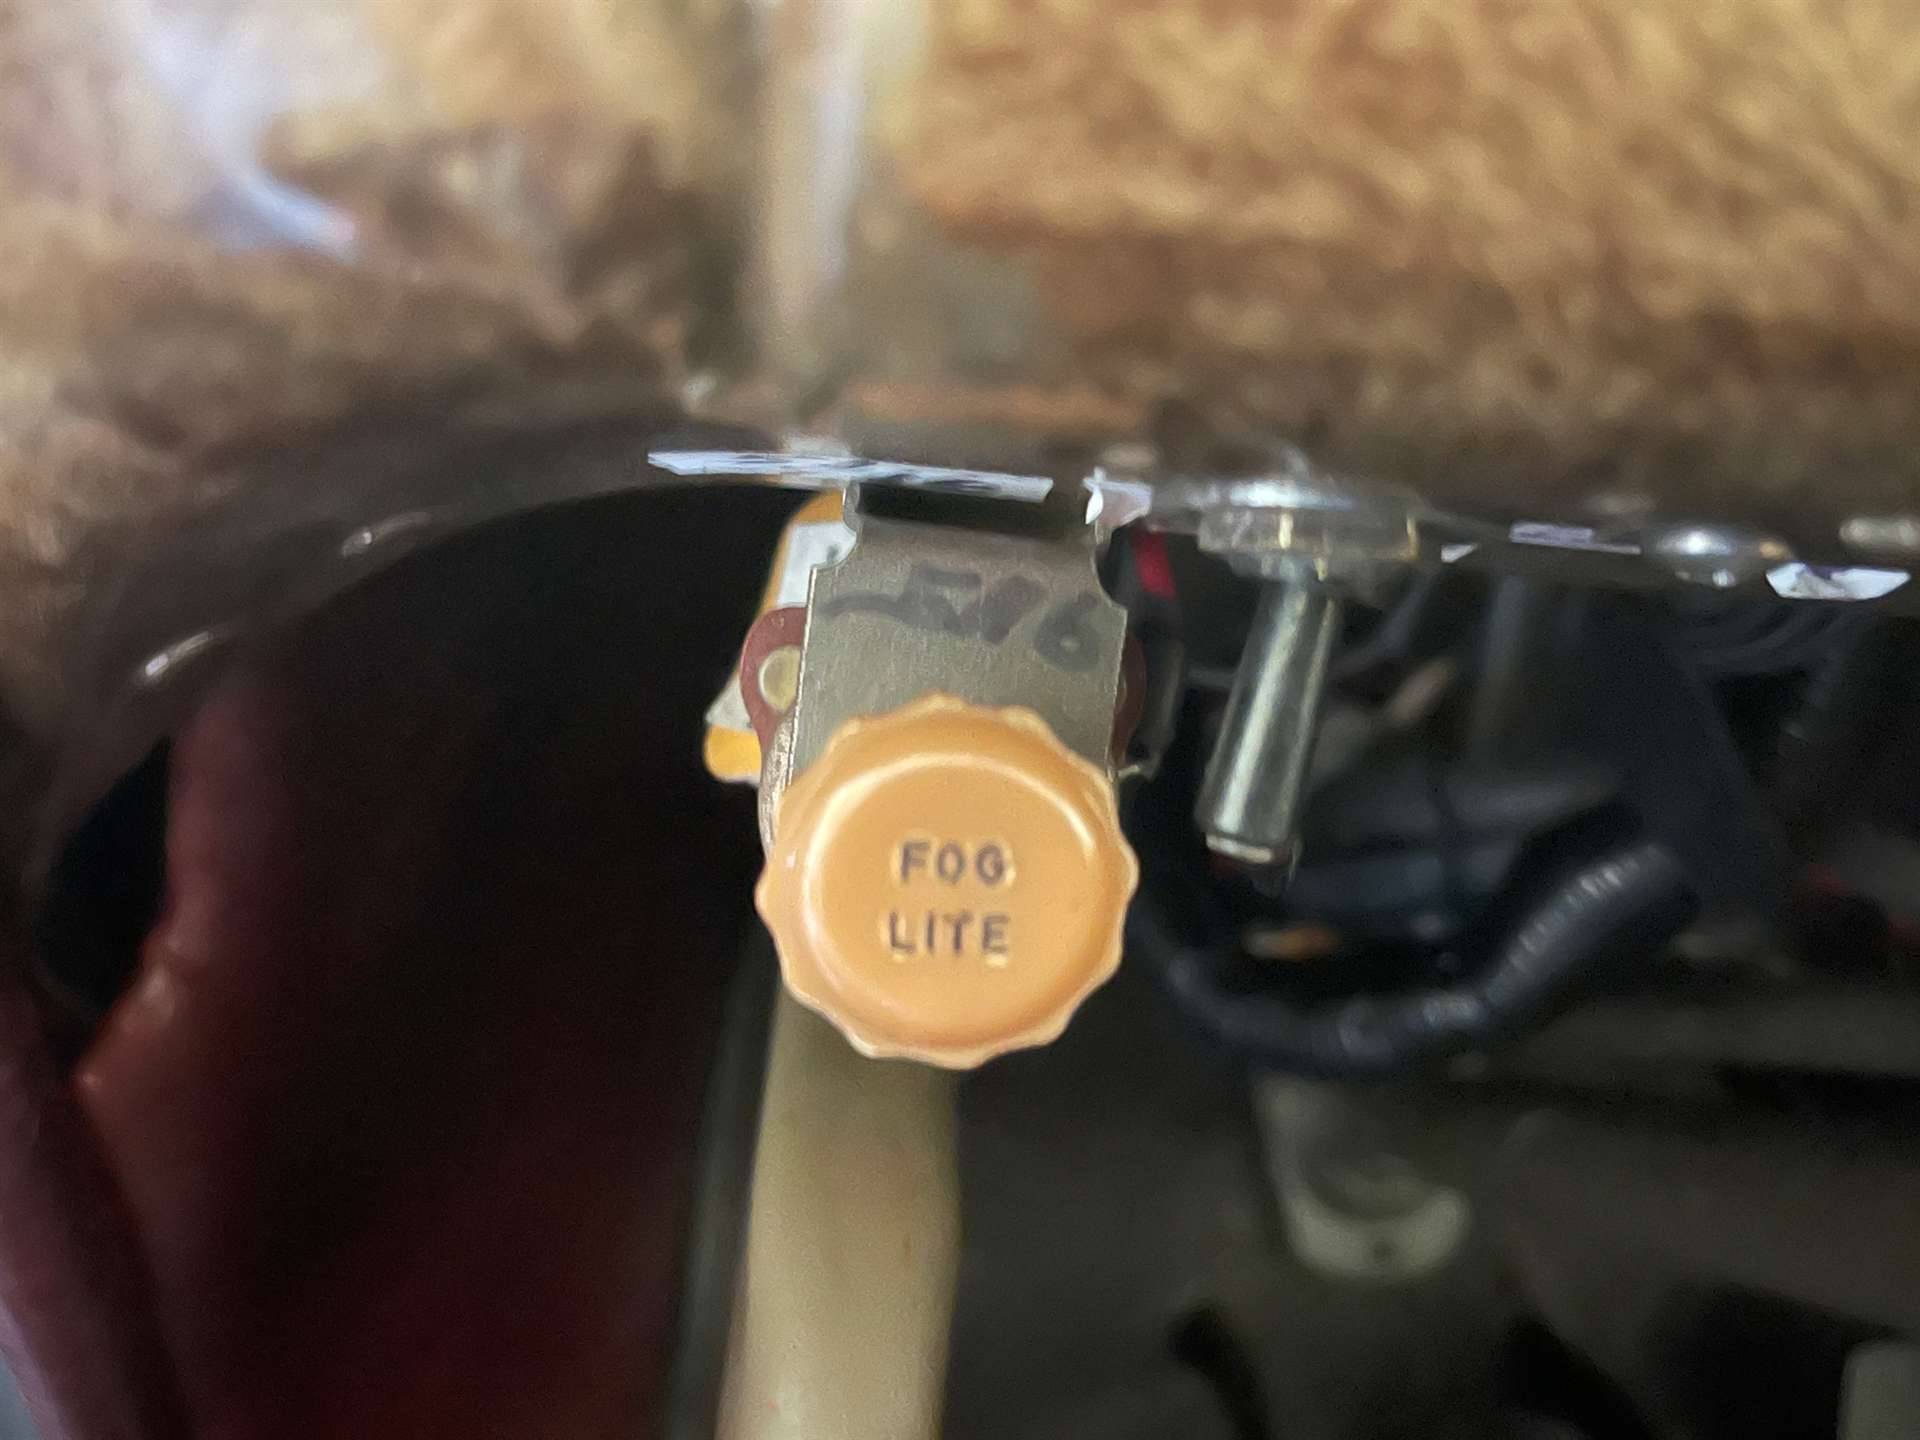 24FogLightOn.jpg (106.31 KB) 24FogLightOn.jpg (106.31 KB)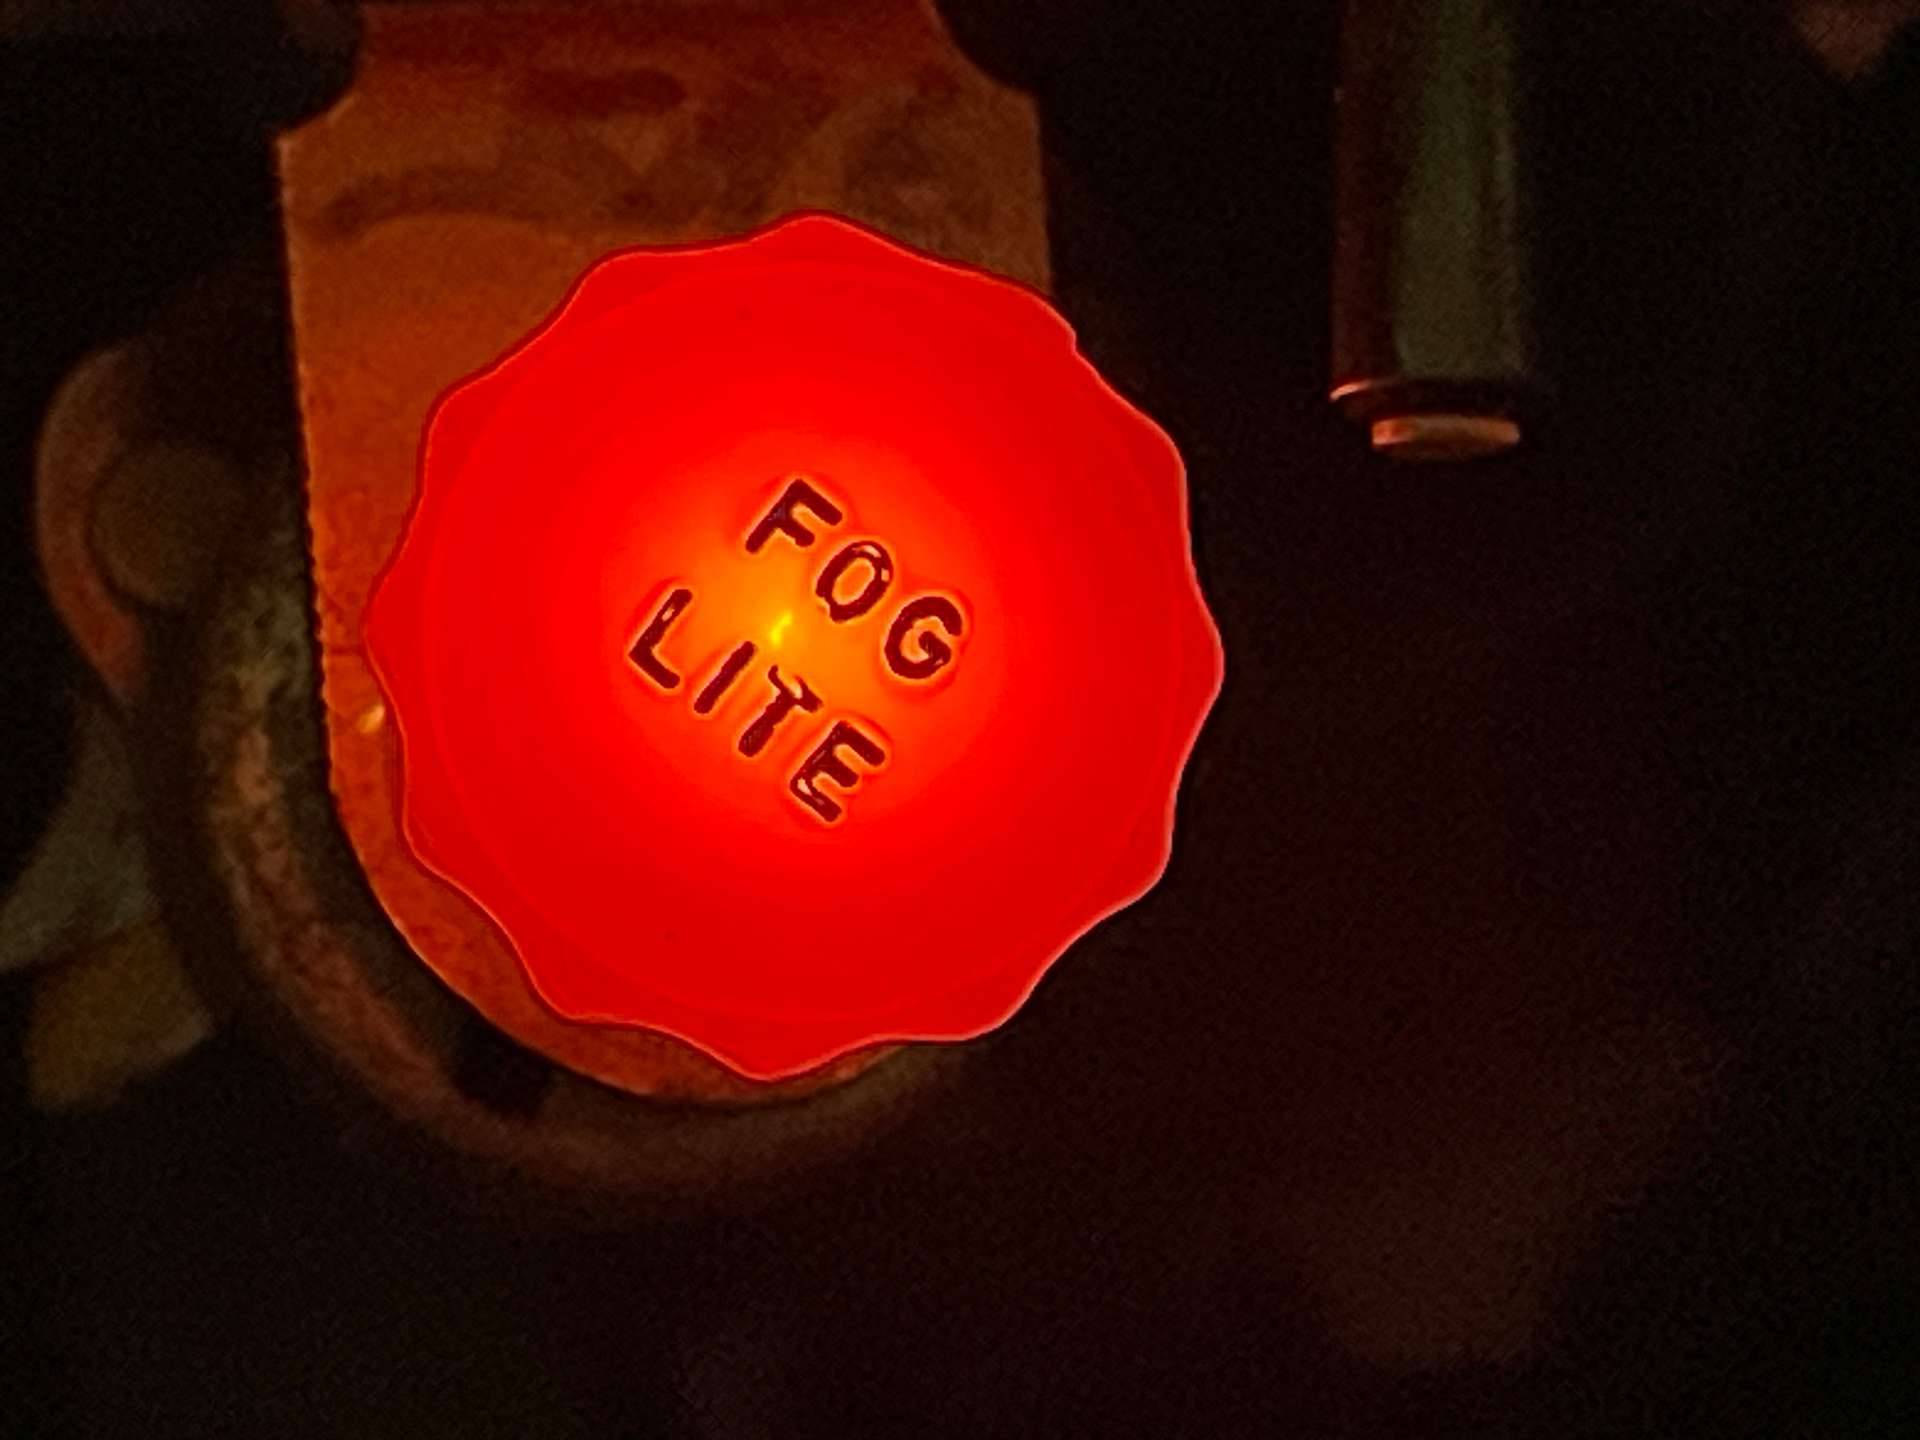
Posted on: 2023/5/25 10:04
|
|||
|
||||
|
Re: The Duchess Project: 1940 Super 8 Convertible Sedan
|
||||
|---|---|---|---|---|
|
Home away from home
|
The ignition cable came out easily because the end, the coil cover, was modified to be removable. The inside center was pried up to separate it from the cable housing, then replaced adding a threaded hole for a screw to hold it from turning. There was no way I could jam anything more through that hole, so I cut the new ignition cable with a Dremel tool, attached the engine half of my old cable with a new wire and slipped a metal spacer sleave over the connection and clamped it.
Attach file: 27CoilCapModified.jpg (118.51 KB)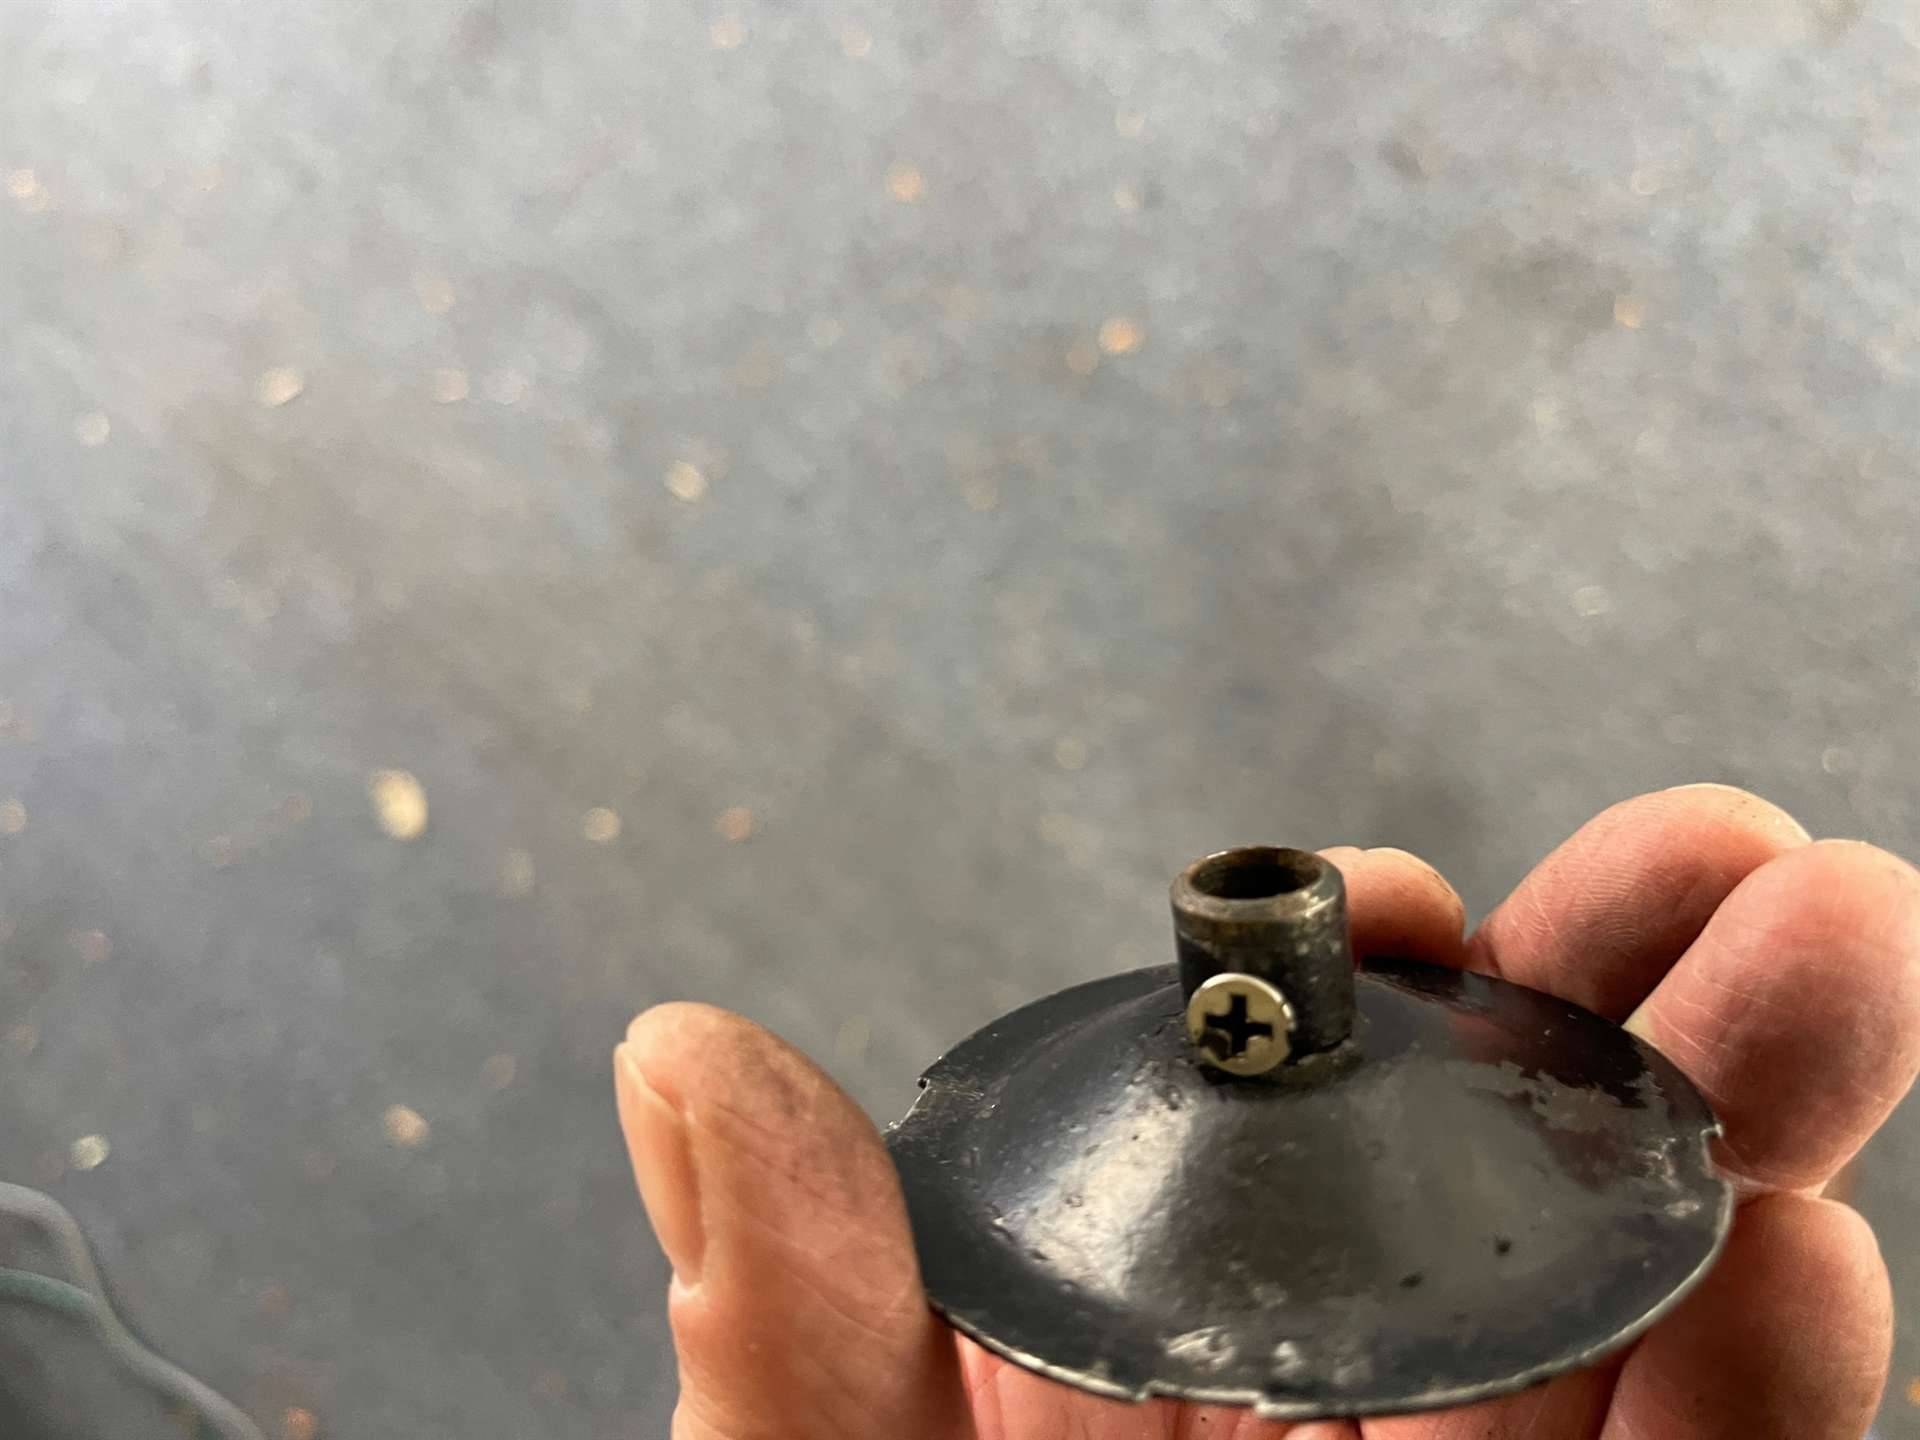 28spacerJoint.jpg (149.13 KB) 28spacerJoint.jpg (149.13 KB)
Posted on: 2023/5/25 10:29
|
|||
|
||||
|
Re: The Duchess Project: 1940 Super 8 Convertible Sedan
|
||||
|---|---|---|---|---|
|
Home away from home
|
I shipped the speedometer to Pat Mescher at Bill’s Speedometer Shop in Ohio to replace the trip odometer cable and recondition the gears. He cleaned off some paint that prevented the speedometer pointer from changing color the faster you go.
Attach file: 29SpeedoOpen.jpg (138.51 KB)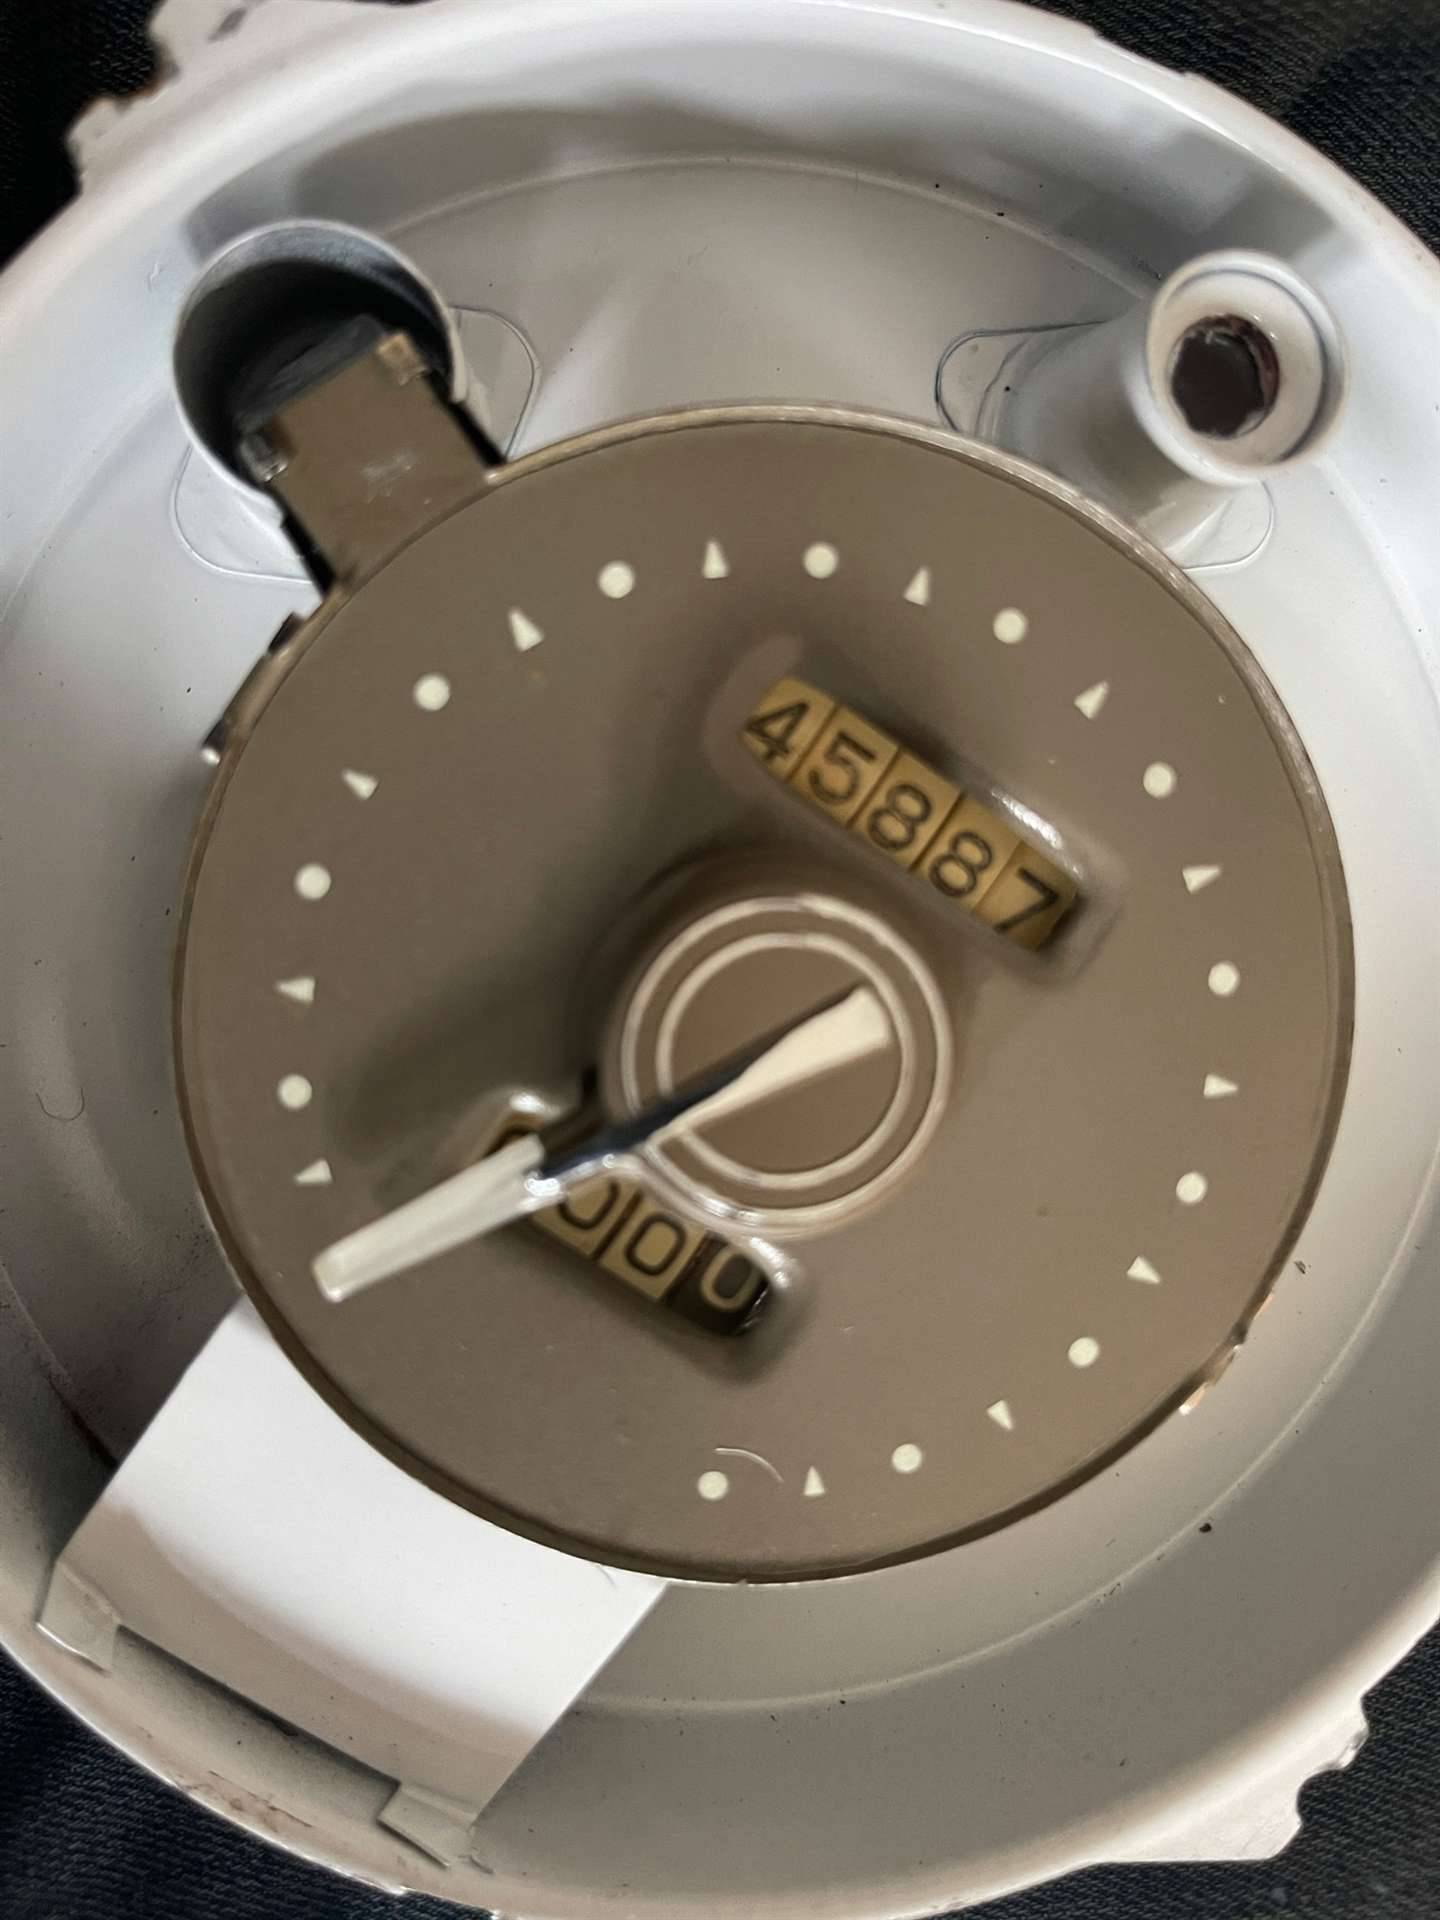 30SpeedoRepaired.jpg (125.77 KB) 30SpeedoRepaired.jpg (125.77 KB)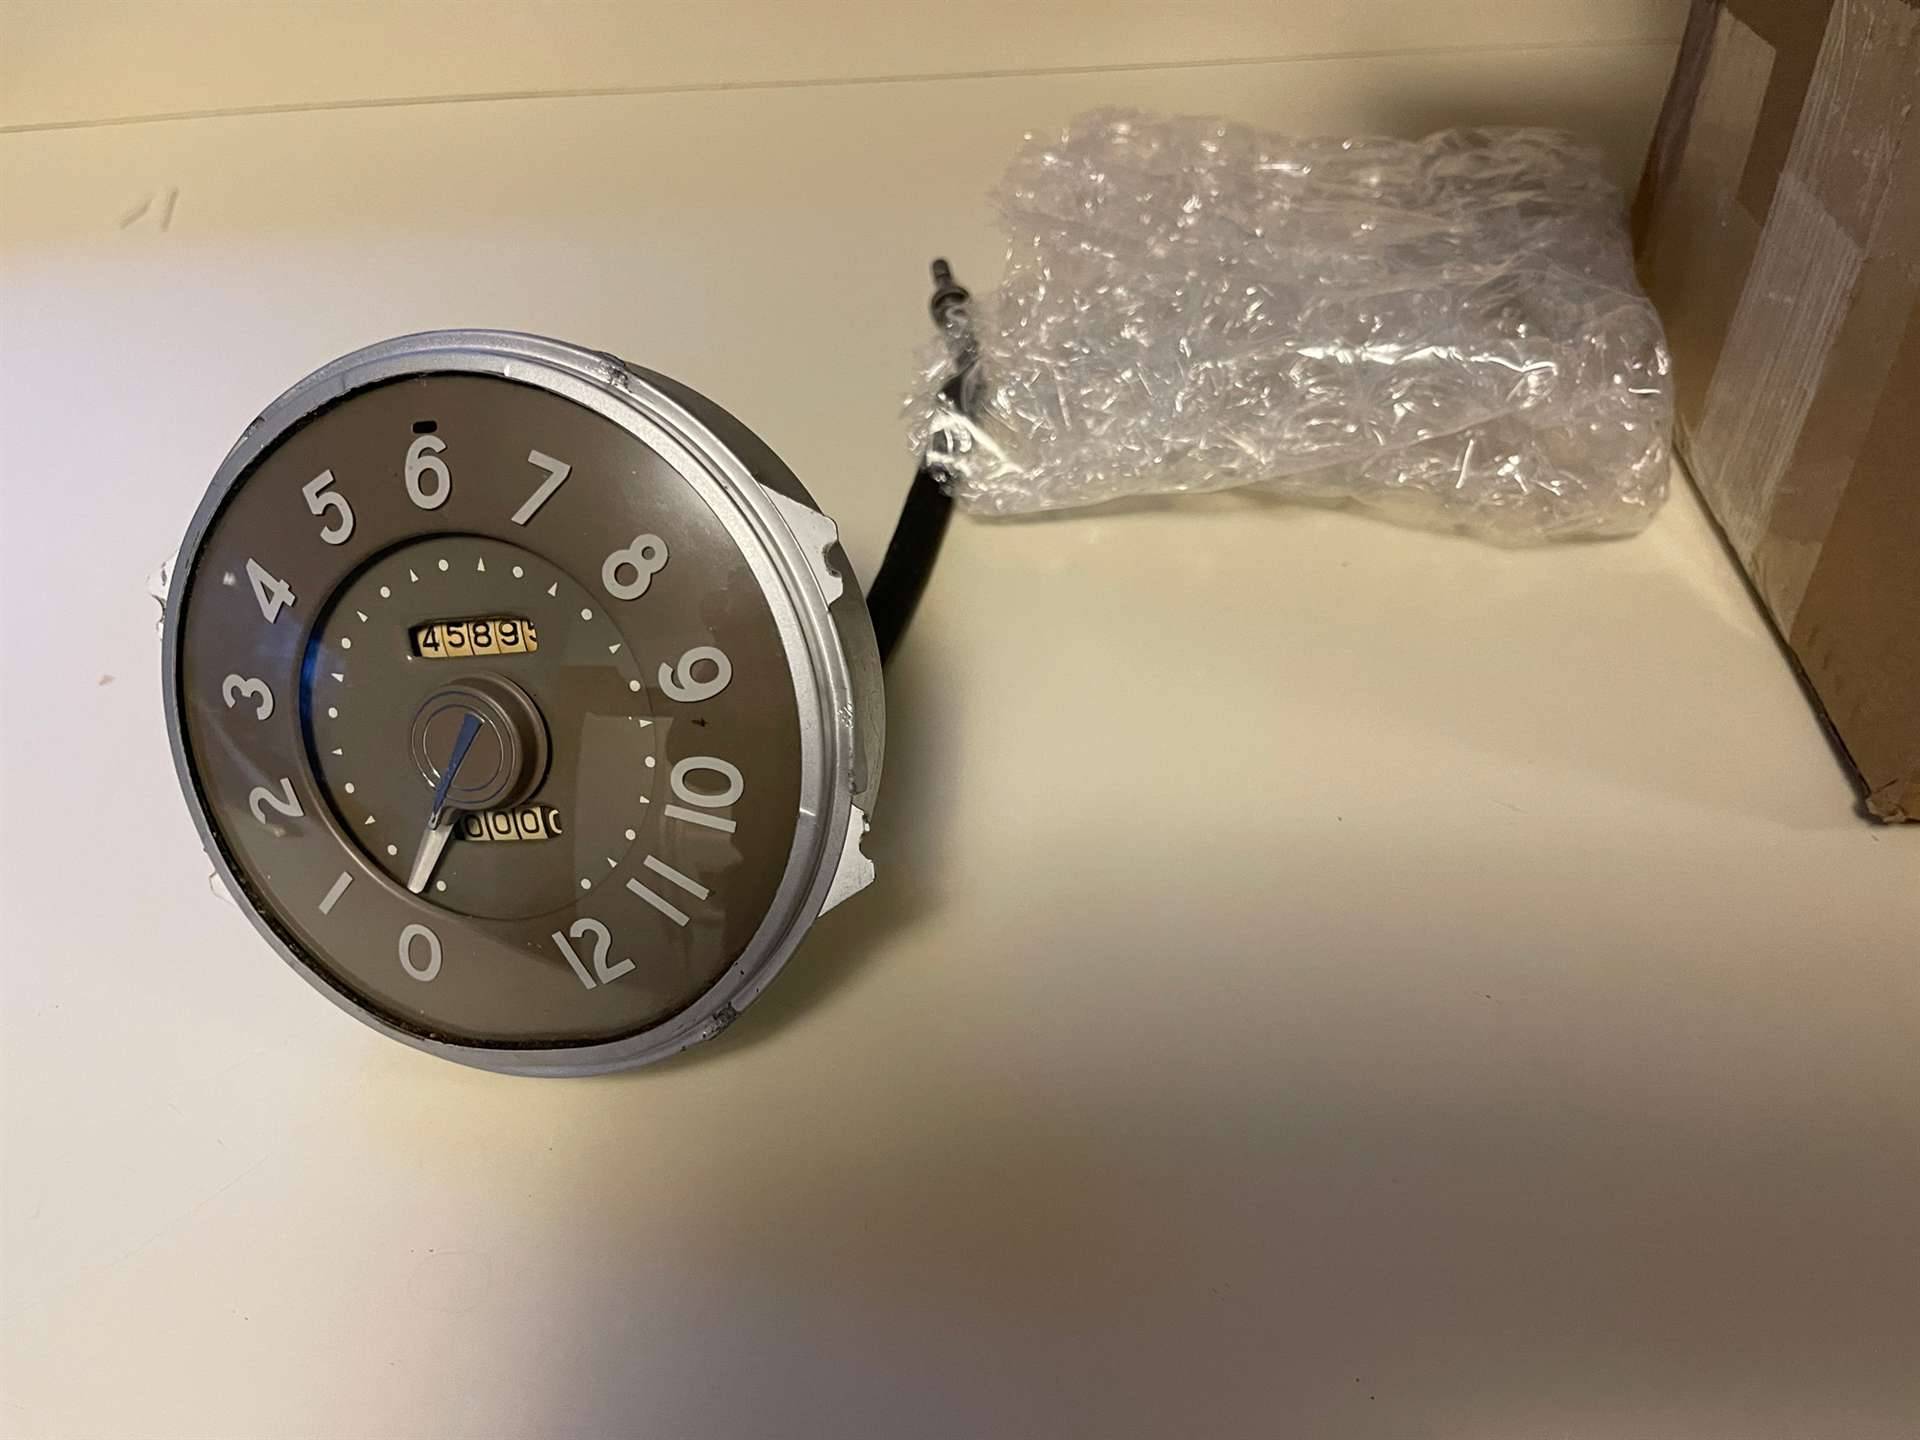
Posted on: 2023/5/25 10:32
|
|||
|
||||
|
Re: The Duchess Project: 1940 Super 8 Convertible Sedan
|
||||
|---|---|---|---|---|
|
Home away from home
|
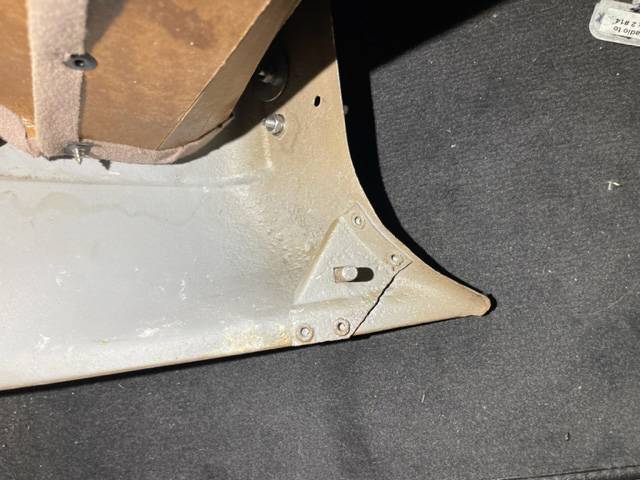
I sanded the entire dash and two panels with 2000 wet/dry, then gave it a coat of clear urethane. Sanded that after a few days and shot it again.
Attach file: 31clockpanel.jpg (346.55 KB)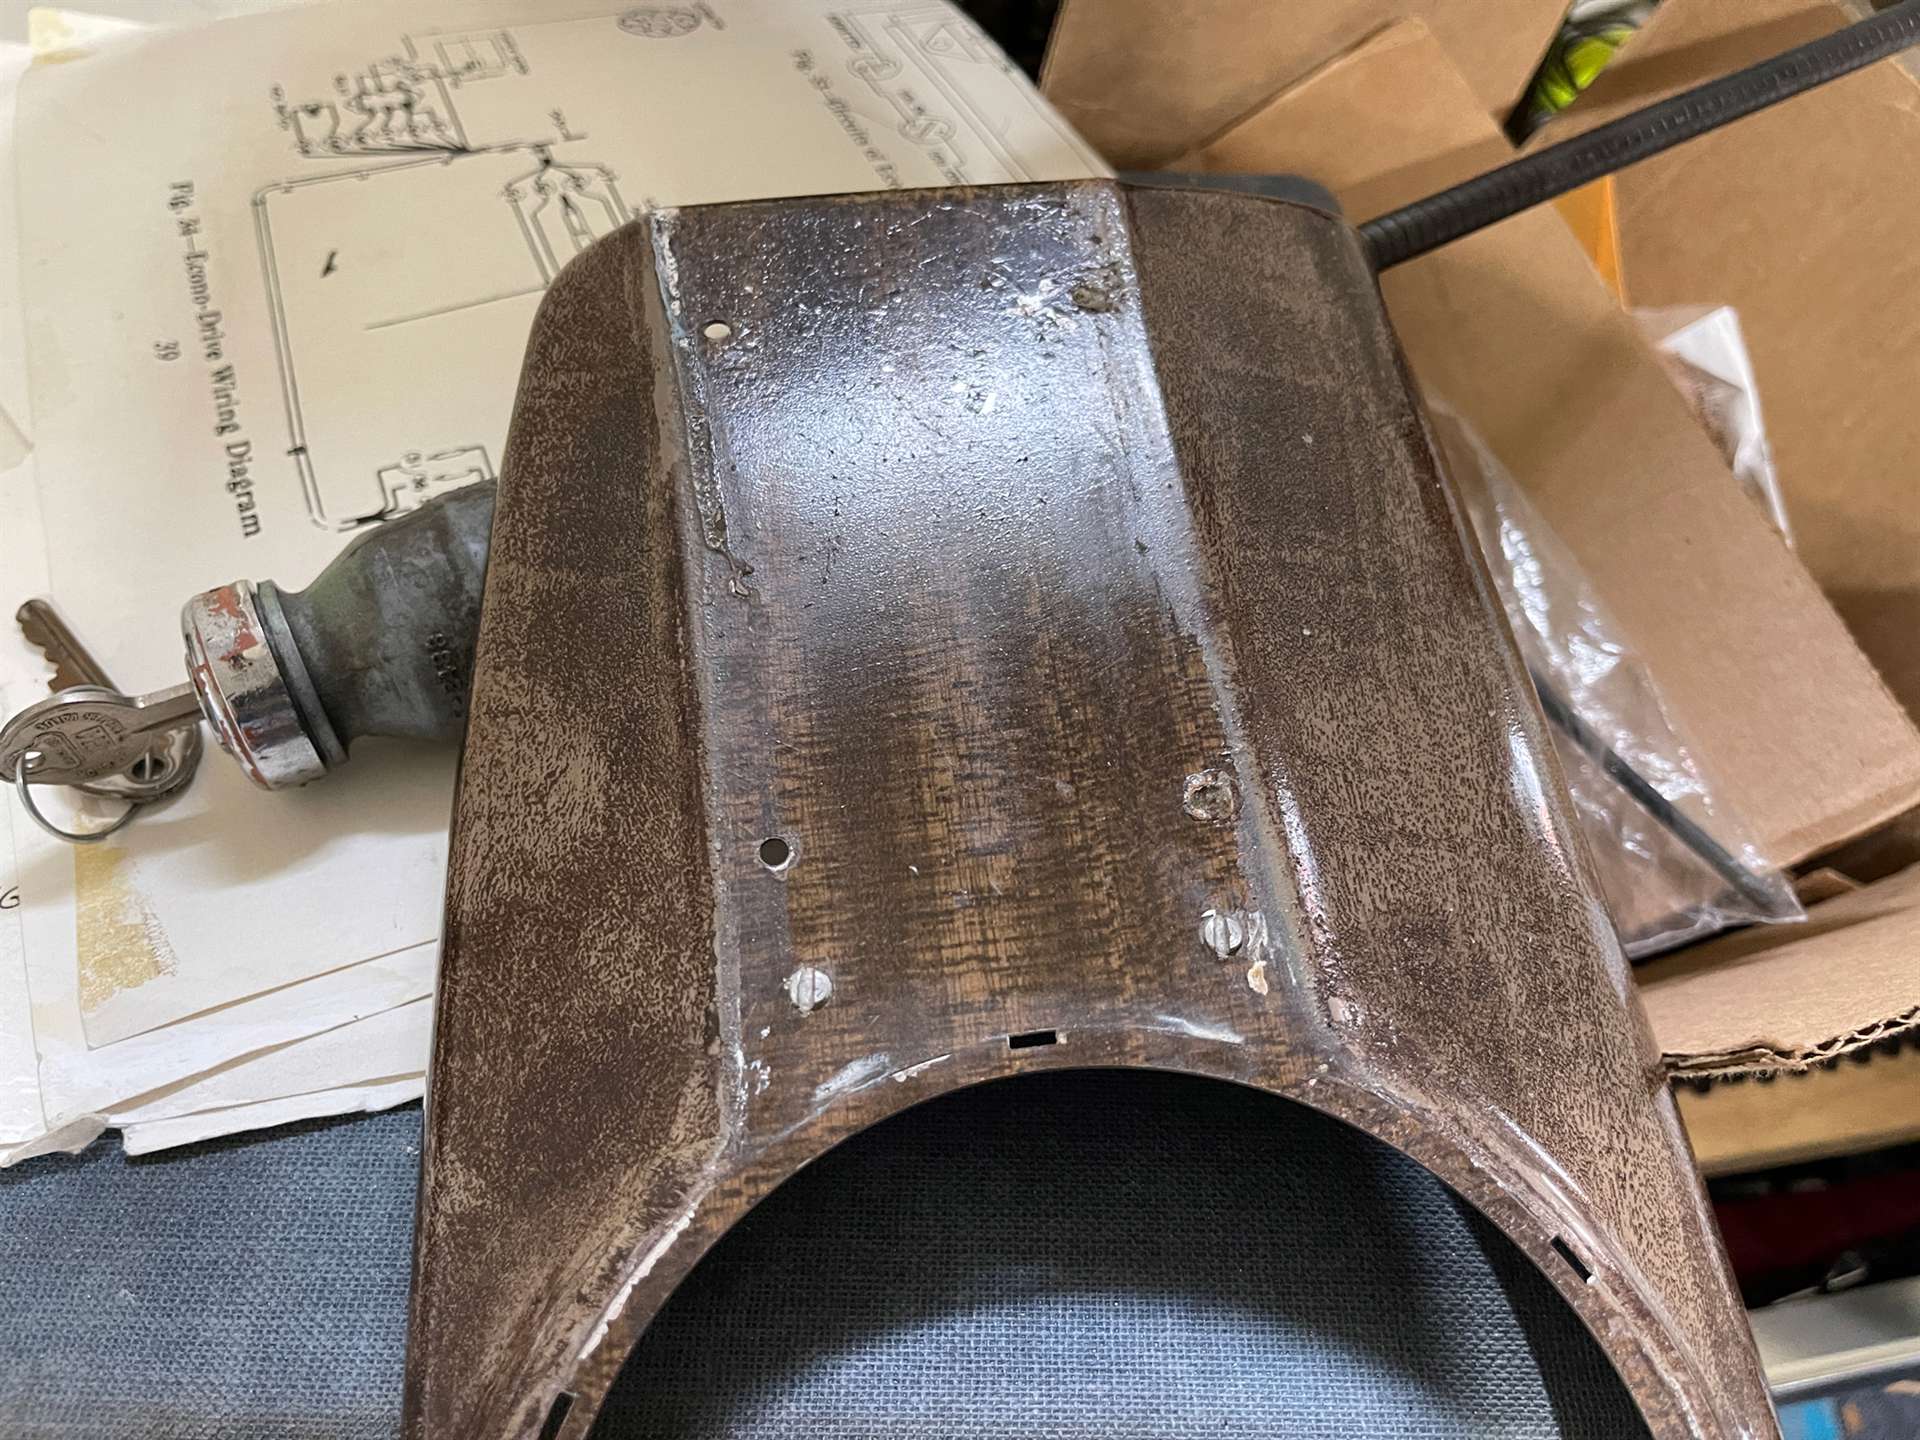 32WindshieldMouldinng.jpg (215.78 KB) 32WindshieldMouldinng.jpg (215.78 KB)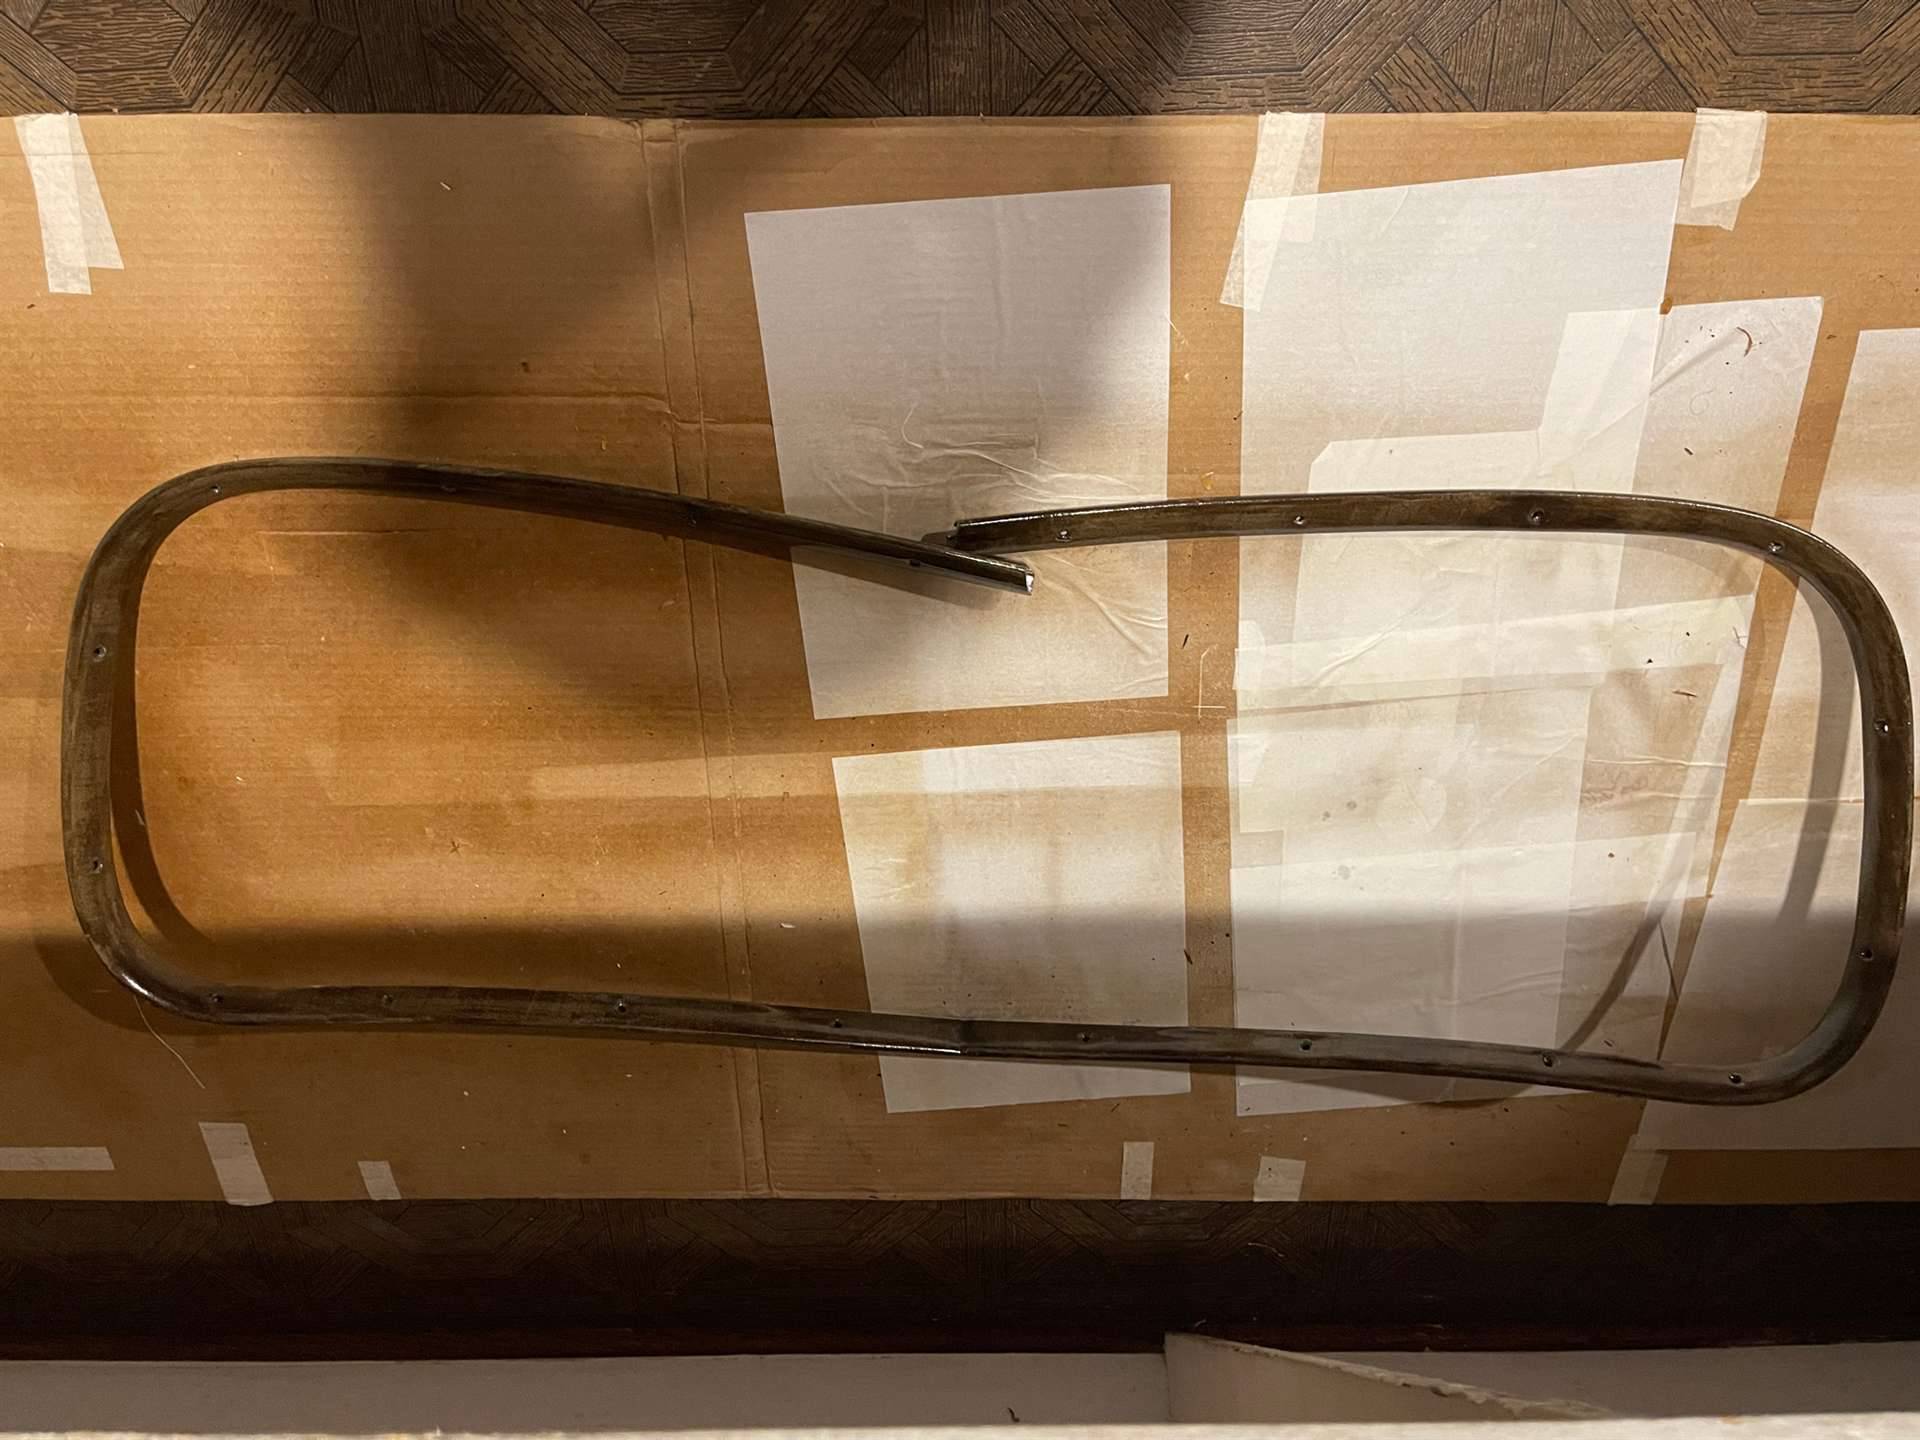 33WindowMouldingPanel.jpg (241.39 KB) 33WindowMouldingPanel.jpg (241.39 KB)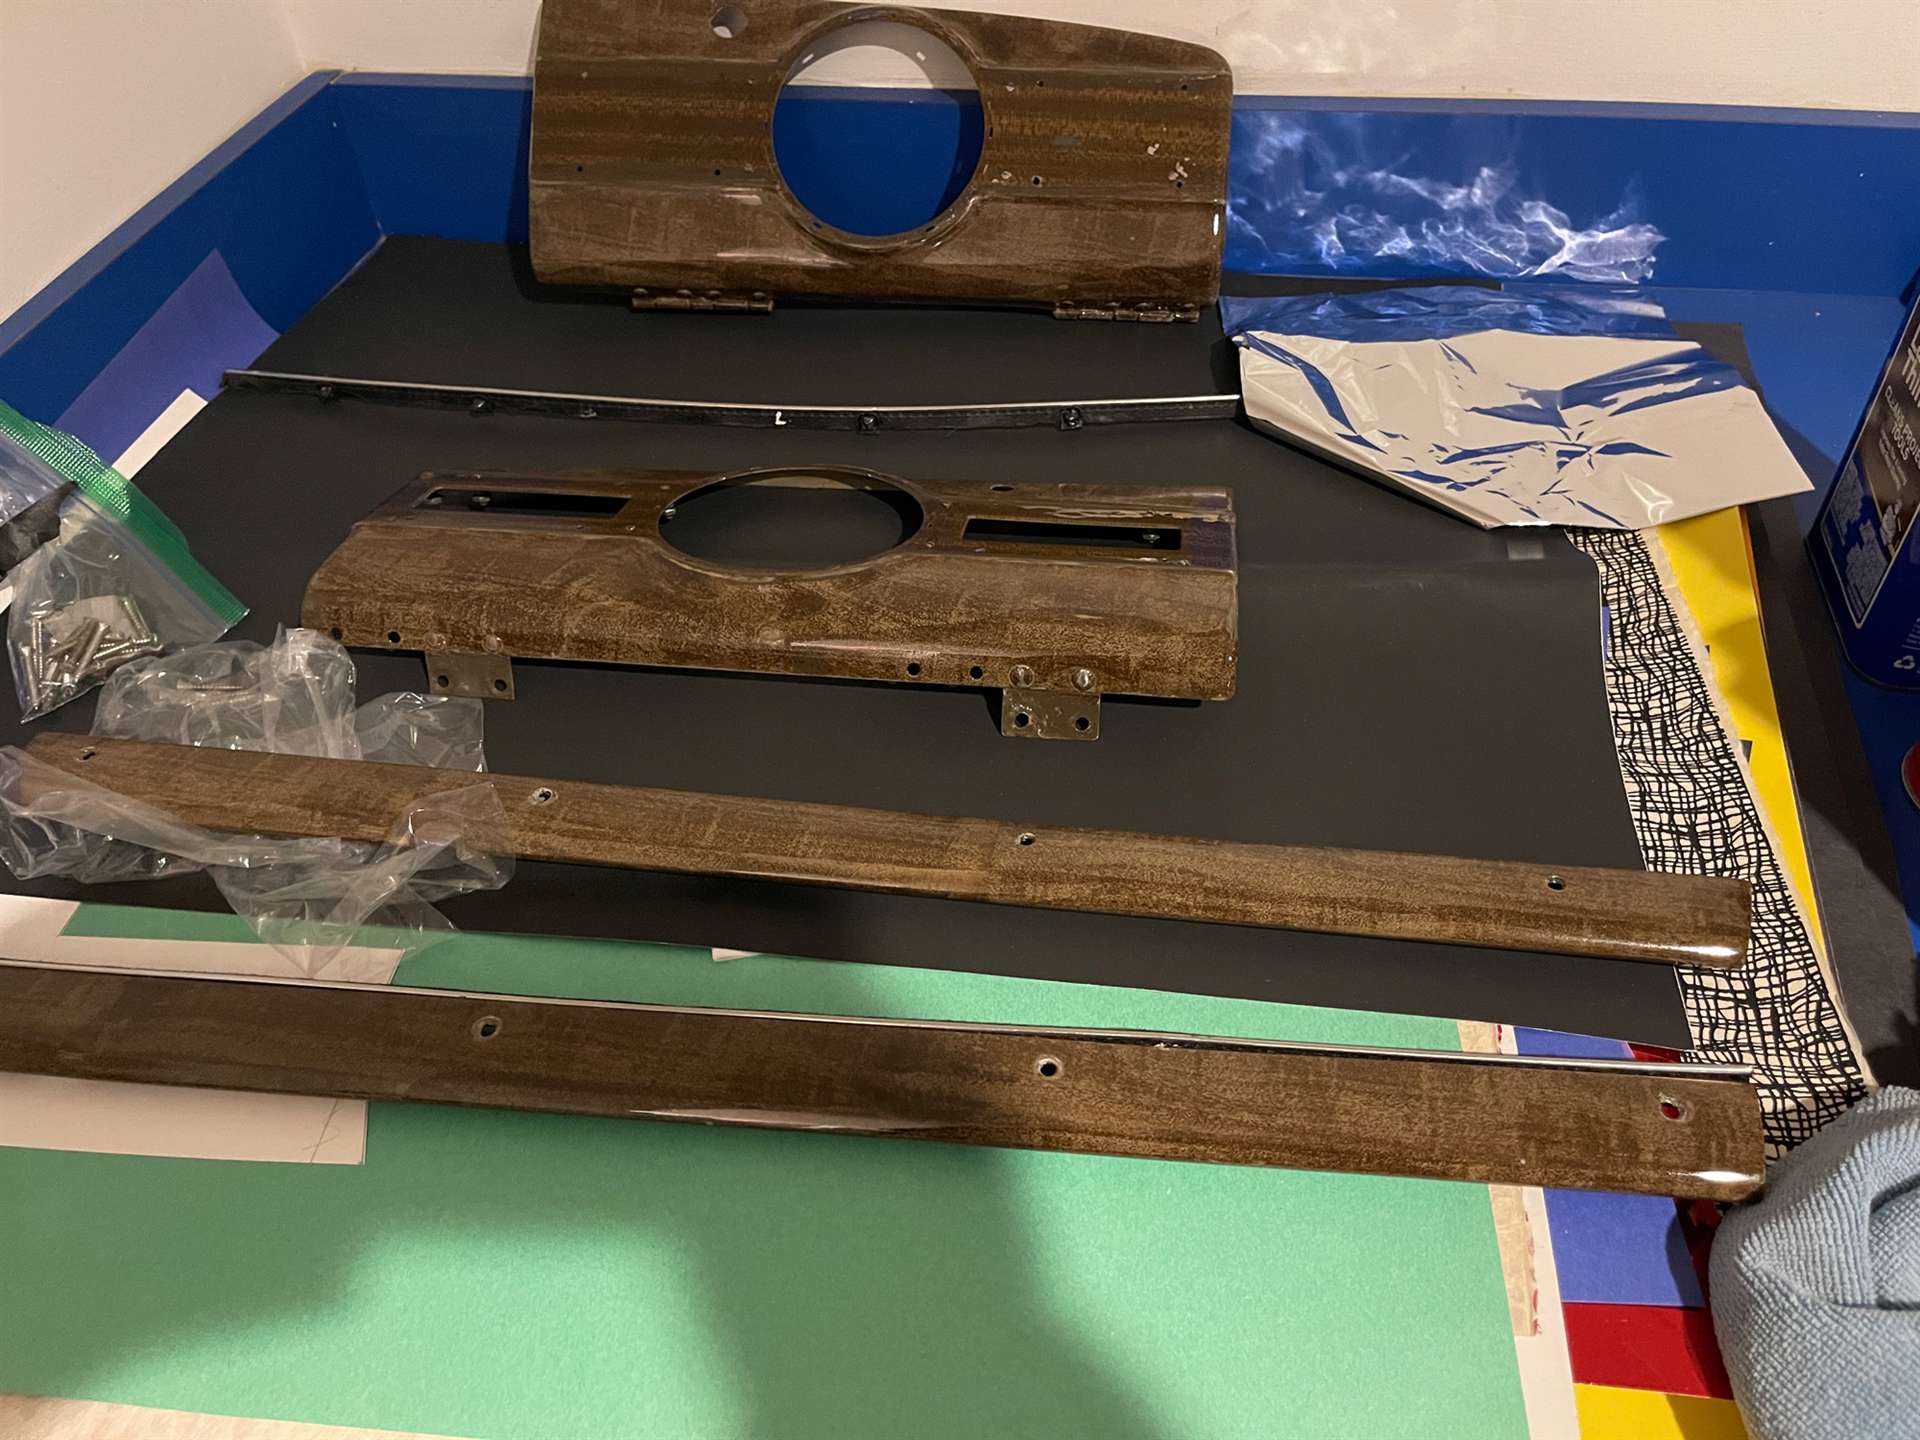
Posted on: 2023/5/25 10:35
|
|||
|
||||


.jpg")


