|
Re: Eric's 1925 Packard Barchetta Speedster Project
|
||||
|---|---|---|---|---|
|
Home away from home

|
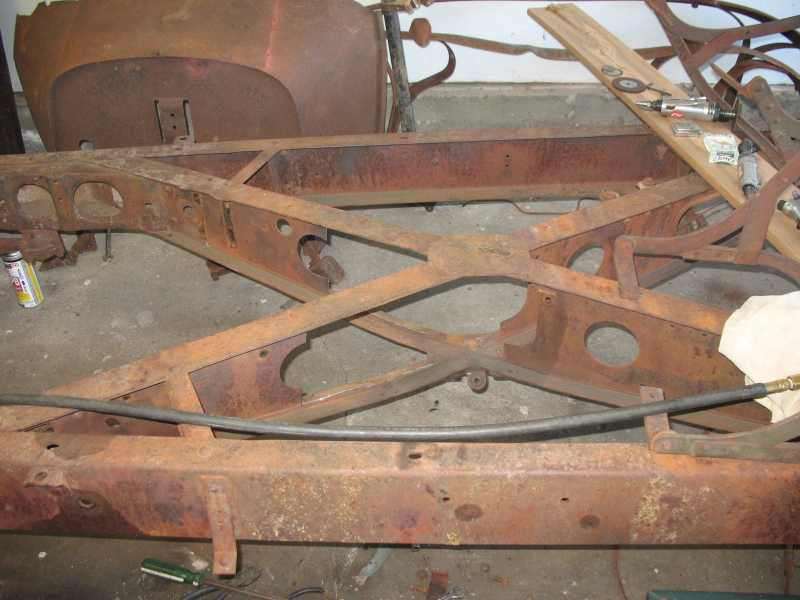
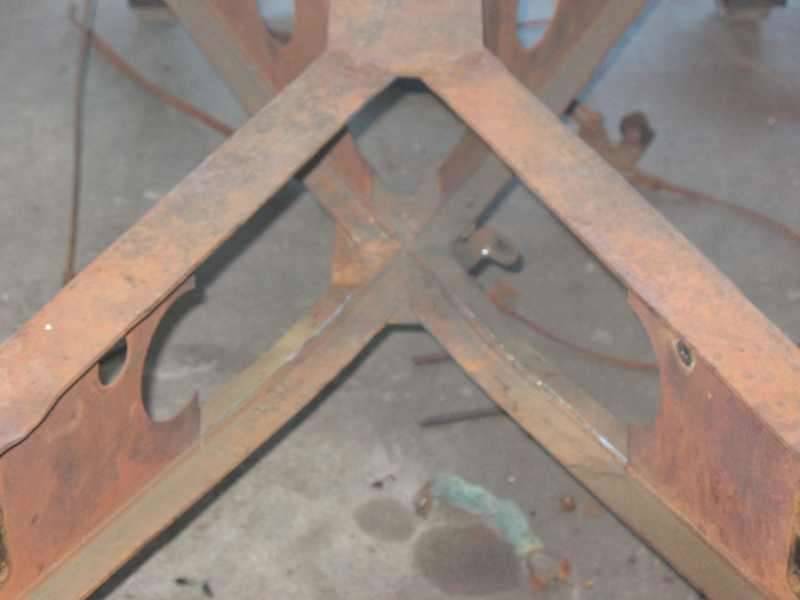
It was at this point that I realized that I did measure the width and the length of the transmission, but I forgot to measure the height! So, a quick measurement confirmed my fears, the trans is too "tall" to fit into the opening I was creating for it in the "X" member. So, the bottom of the "X" member gets removed. The nice thing about this is, I'll put it back eventually, it will just be removeable:
Attach file:  (44.10 KB) (44.10 KB) (38.40 KB) (38.40 KB)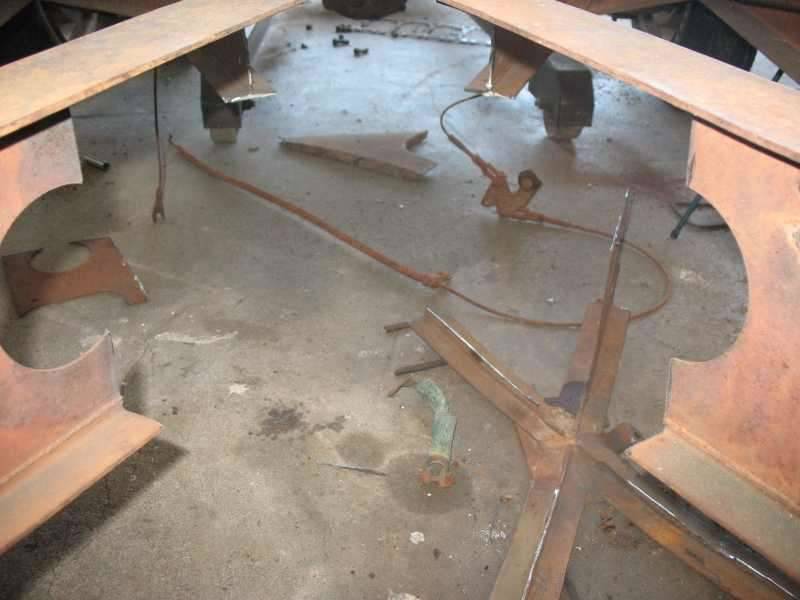
Posted on: 2008/8/3 23:11
|
|||
|
||||
|
Re: Eric's 1925 Packard Barchetta Speedster Project
|
||||
|---|---|---|---|---|
|
Home away from home
|
Now it's time to test fit the engine and trans:
Attach file: (43.68 KB)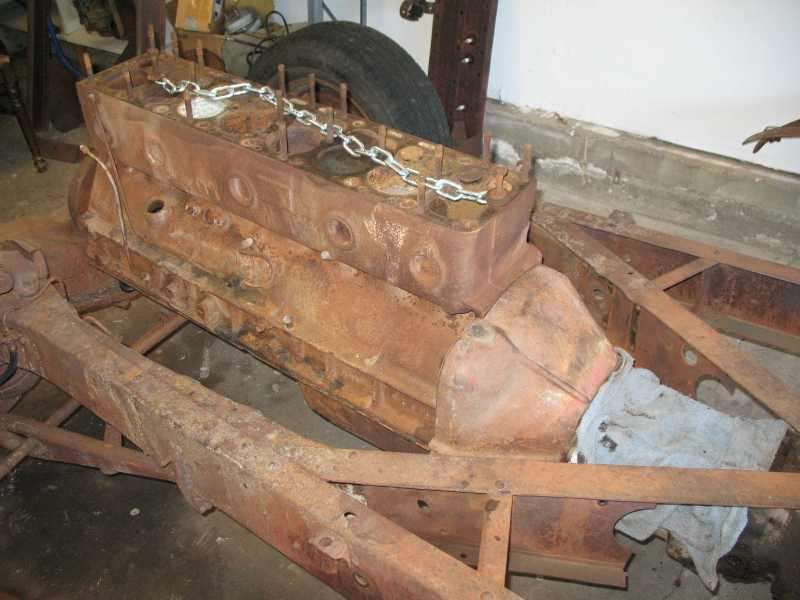 (46.15 KB) (46.15 KB)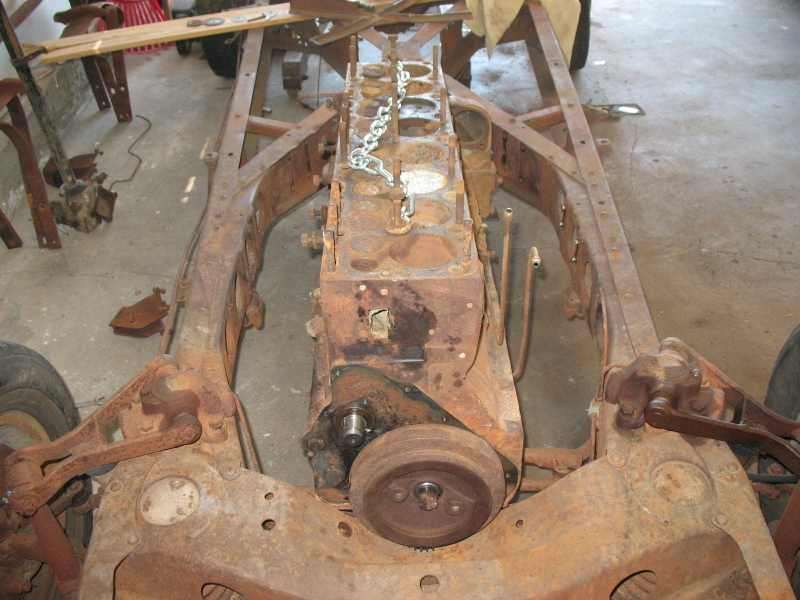 (46.67 KB) (46.67 KB)
Posted on: 2008/8/3 23:15
|
|||
|
||||
|
Re: Eric's 1925 Packard Barchetta Speedster Project
|
||||
|---|---|---|---|---|
|
Home away from home
|
Now that everything's in the position it will be when it's done, time to test fit everything else:
Attach file: (44.28 KB)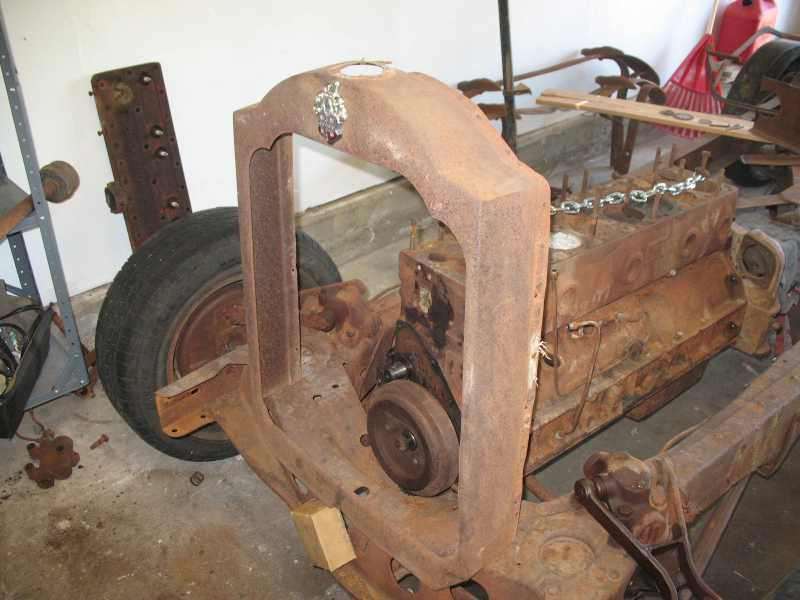 (35.03 KB) (35.03 KB)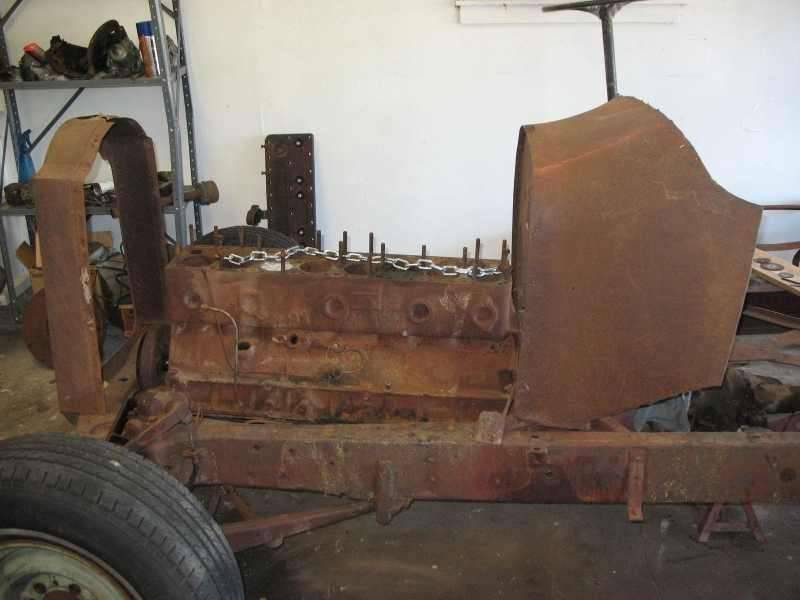 (36.90 KB) (36.90 KB)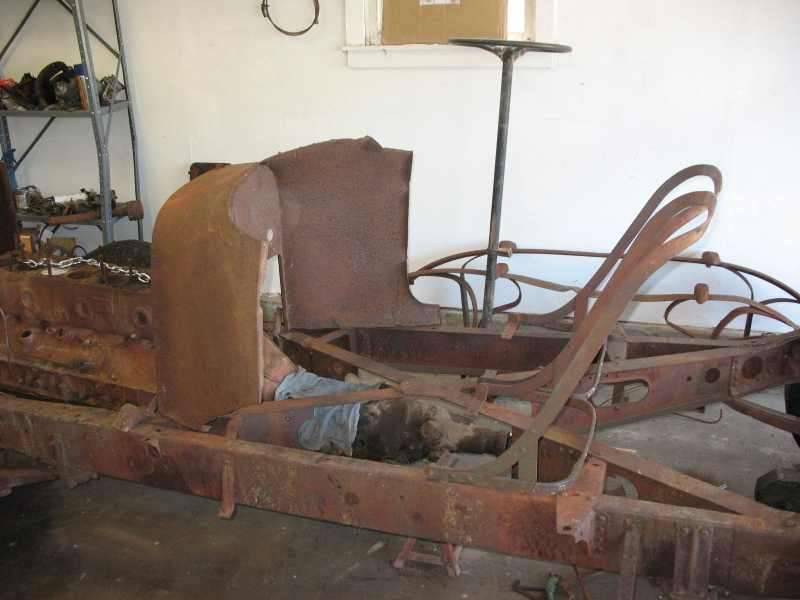 (36.44 KB) (36.44 KB)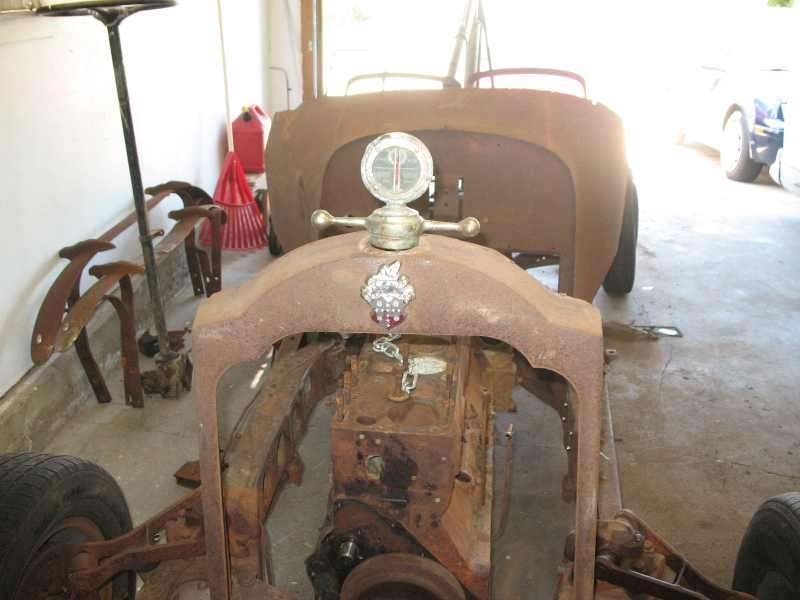
Posted on: 2008/8/3 23:20
|
|||
|
||||
|
Re: Eric's 1925 Packard Barchetta Speedster Project
|
||||
|---|---|---|---|---|
|
Home away from home
|
I know the motometer's on there backwards, the other side says "Buick" and I didn't want my car to be lowered in stature ! Now onto the other things, All the stuff that interferes and fits better:
Attach file: (45.69 KB)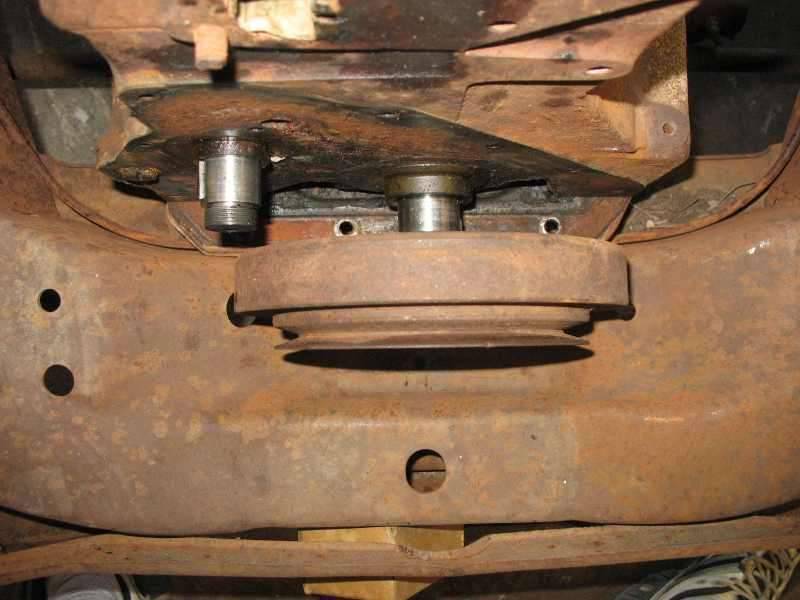 (44.52 KB) (44.52 KB)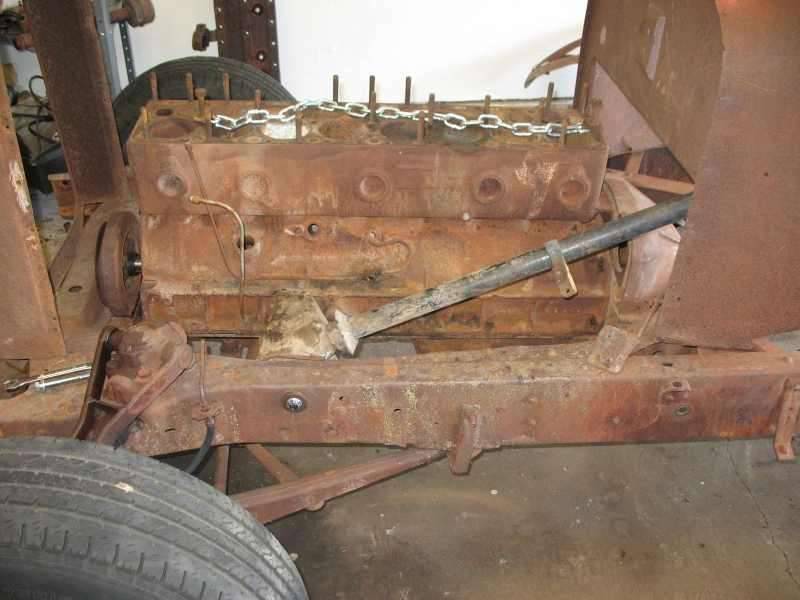 (36.40 KB) (36.40 KB)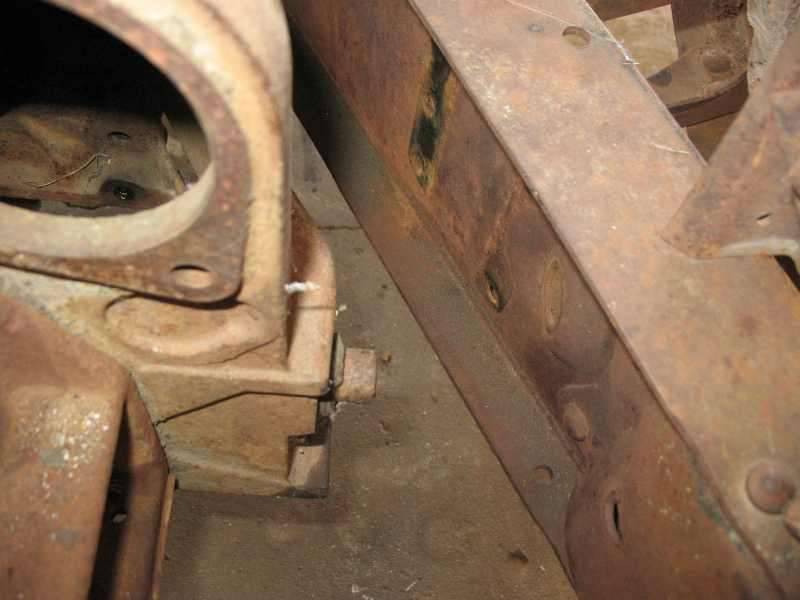 (39.85 KB) (39.85 KB) (45.34 KB) (45.34 KB)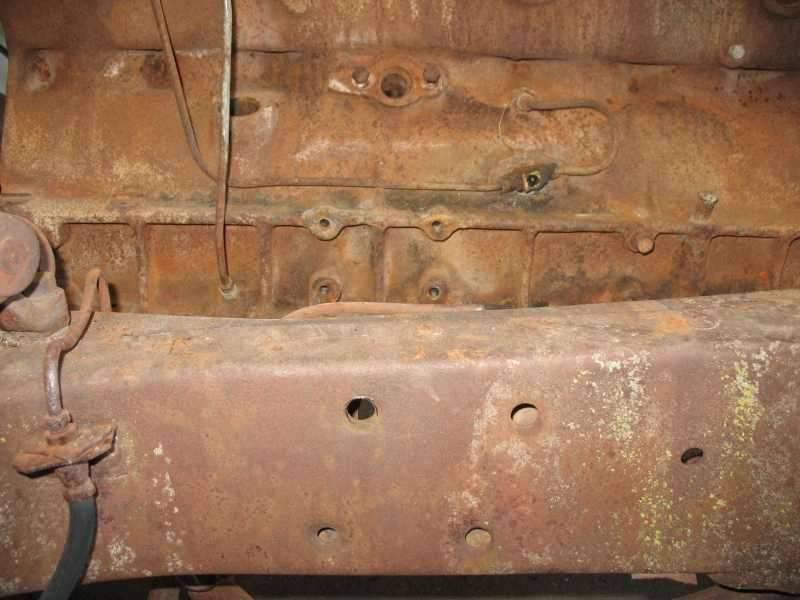 (49.39 KB) (49.39 KB)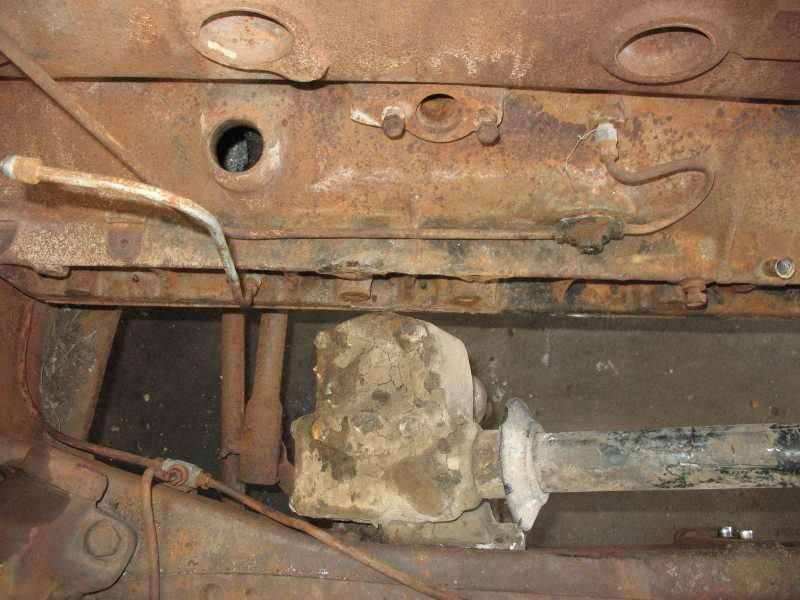
Posted on: 2008/8/3 23:28
|
|||
|
||||
|
Re: Eric's 1925 Packard Barchetta Speedster Project
|
||||
|---|---|---|---|---|
|
Home away from home
|
As you can see from the last 3 pics, the steering box is right where the driver's side engine mount goes, so I'm stuck searching for the pre '51 front mounts. The cowl gets moved forward, leaving a 2" space between it and the engine. The balancer gets 2" of space, and is sitting where I THINK it will sit above the crossmember. The brake and clutch pedals were right where the bellhousing is, so they'll need to be moved back and completely modified. Everything seems to fit pretty well, with just some slight cutting and modifying here and there to get everything to fit. Also, the seats are where I am thinking they'll go, but as the temp hit 102 with a heat index of 108 at Noon today, I decided to stop and go inside for the rest of the day. With 60% humidity, it was a sticky last couple of hours out there! I hope to get more done next weekend, but I'm working both days, so I don't know how much I'll get to.
On a lighter note, I think that I'm going to leave the Maxwell cowl the width it is now, since it's the same width as the radiator shell and will make the hood sit on the inside of the chassis, effectively bypassing the original '37 Packard shocks. The cowl widens out enough to make the body fit on the outside of the chassis, just where I want it. Next weekend will involve mounting the cowl and the seats, to get an idea of the final driving position. After all of this, it's blow it all apart, clean everything up, and begin the rebuilding and body building process. But to do all that, I need to know where I'm sitting!
Posted on: 2008/8/3 23:40
|
|||
|
||||
|
Re: Eric's 1925 Packard Barchetta Speedster Project
|
||||
|---|---|---|---|---|
|
Home away from home
|
I got bored tonight so I went out to the garage to do some trial fitting of myself, and discovered that I personally have two physical defects: at 6'2" tall, my legs are too long and my arms are too short! So what was needed to figure this out was a couple of beers and a few Camels.
What would solve my problem would be a longer steering column, but since I don't have one, I have to work with what I have. However, I do wonder if a 120 steering column would be longer than my 115c column. If it was, and I could find one, then my problems would be solved. On to what I've done so far: Attach file: (25.56 KB)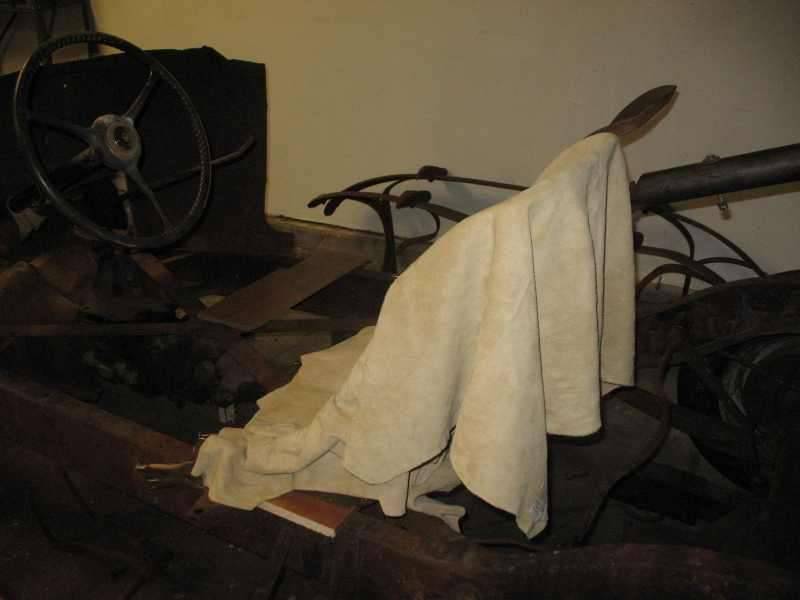
Posted on: 2008/8/8 2:04
|
|||
|
||||
|
Re: Eric's 1925 Packard Barchetta Speedster Project
|
||||
|---|---|---|---|---|
|
Home away from home
|
Sorry about the dark pics, but I don't have the best lighting in my garage at the moment. The first thing I did was move the steering column back to the rearmost bolt hole that the column originally used. This gave me about 3", and the steering linkage doesn't bind, so this will probably be the final location:
Attach file: (43.54 KB)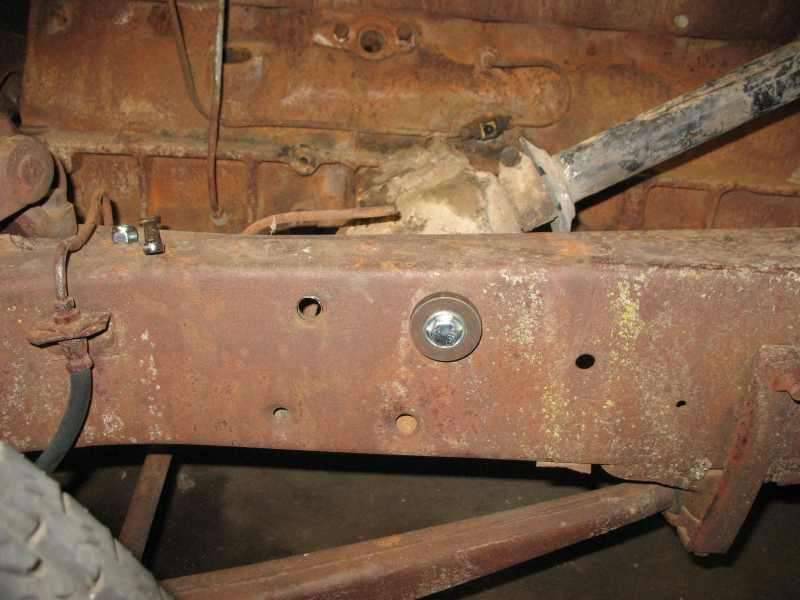
Posted on: 2008/8/8 2:07
|
|||
|
||||
|
Re: Eric's 1925 Packard Barchetta Speedster Project
|
||||
|---|---|---|---|---|
|
Home away from home
|
I then decided to position the seats where I'd be most comfortable, and I could use the pedals without my knees hitting the steering wheel. I could raise the steering wheel, but that defeats the purpose of "long, low, and lean". The lower I can sit the better, but that compounds the problem with my legs being in an uncomfortable position:
Attach file: (30.95 KB)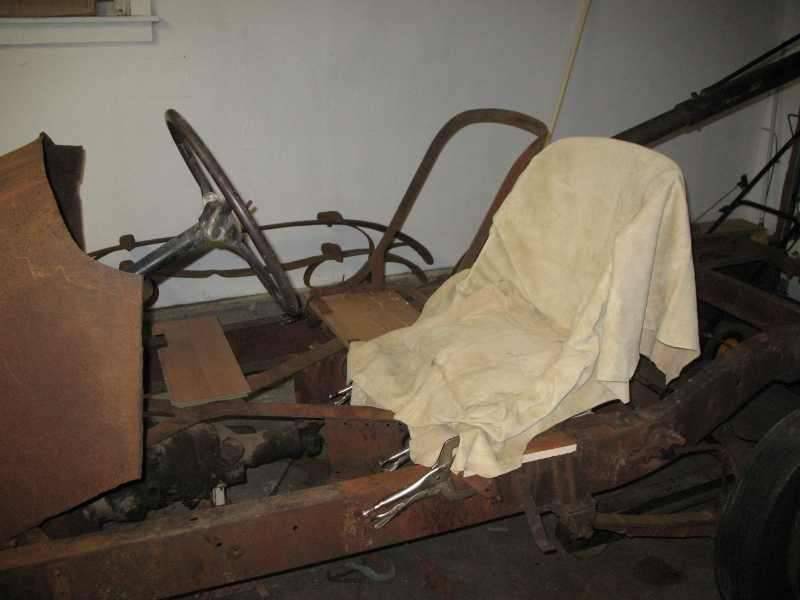
Posted on: 2008/8/8 2:12
|
|||
|
||||
|
Re: Eric's 1925 Packard Barchetta Speedster Project
|
||||
|---|---|---|---|---|
|
Home away from home
|
So now, with the seats where the pedals will be, irregardless of steering column position, I started to feel out everything. The shifter feels fine, and the cowl can come back a couple of inches, which I'll do this weekend, as using the air cutoff tool is a little noisy at 2am with the wife sleeping!
Attach file: (41.33 KB)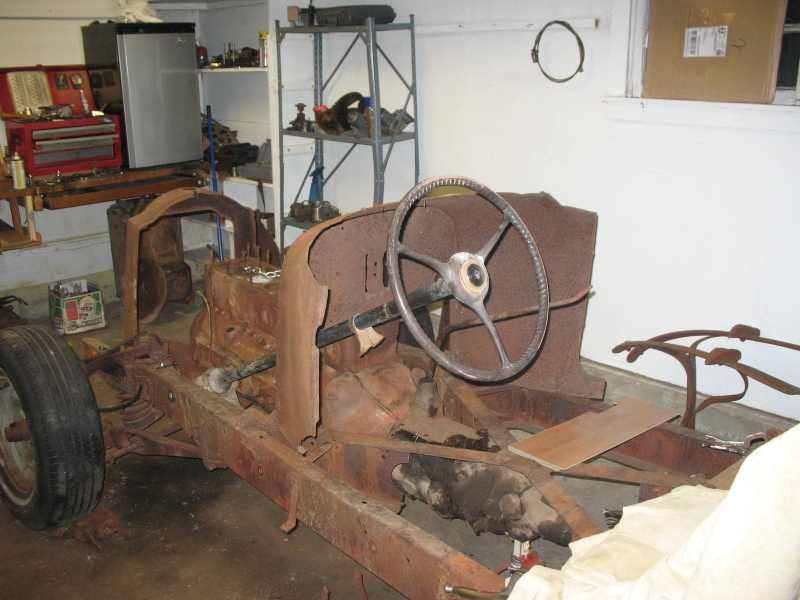 (40.93 KB) (40.93 KB)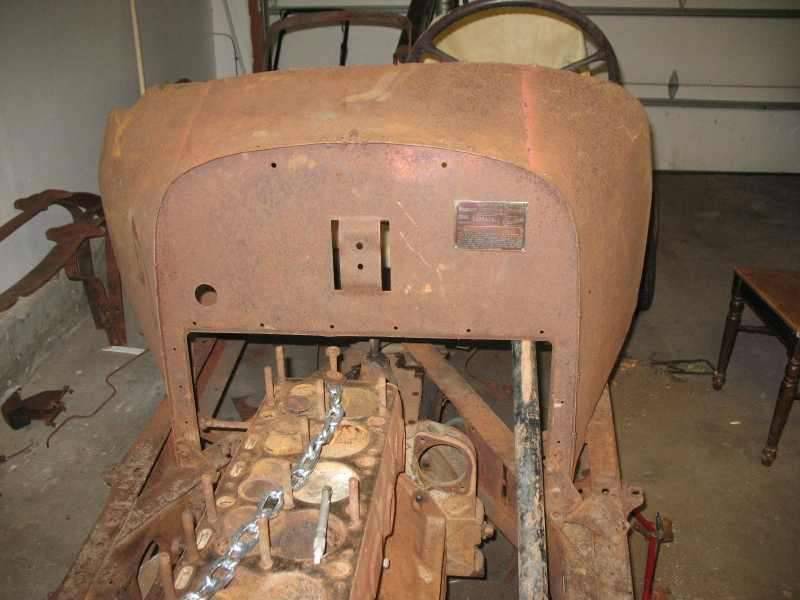
Posted on: 2008/8/8 2:18
|
|||
|
||||


